Articles
How To Hang String Lights On Fence
Modified: May 6, 2024
Learn the best way to hang string lights on your fence with these step-by-step articles. Transform your outdoor space and create a cozy ambiance.
(Many of the links in this article redirect to a specific reviewed product. Your purchase of these products through affiliate links helps to generate commission for Storables.com, at no extra cost. Learn more)
Introduction
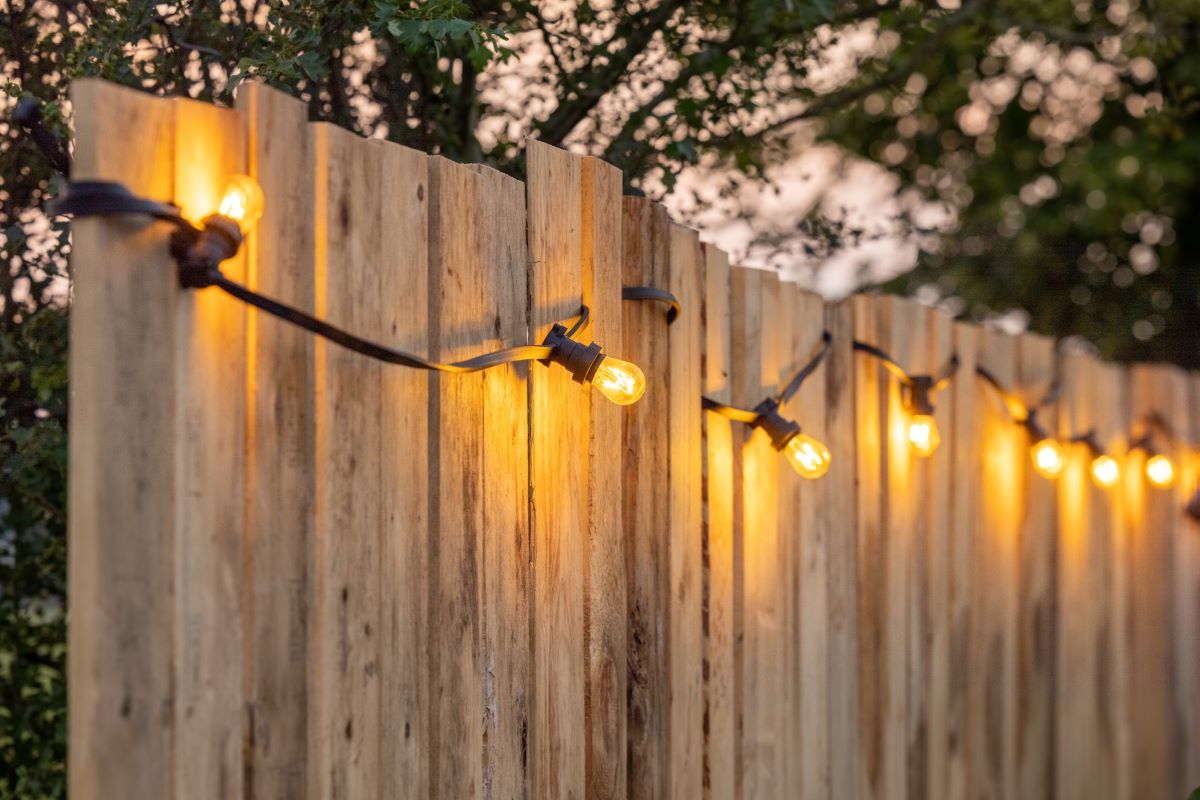
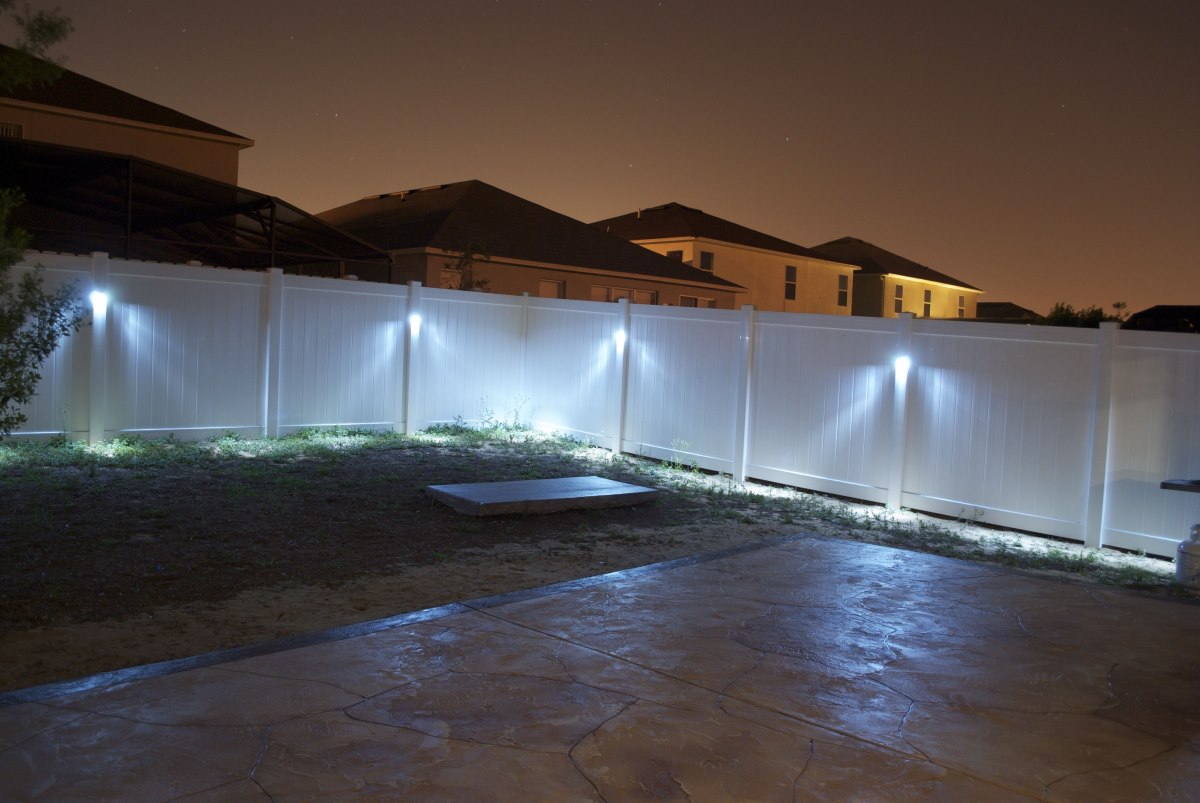
Adding string lights to your fence is a great way to create a warm and inviting ambiance in your outdoor space. Whether you’re hosting a backyard party or simply want to enjoy a cozy evening outside, hanging string lights on your fence can transform the atmosphere and make your outdoor area feel more inviting.
In this article, we will guide you through the step-by-step process of how to hang string lights on a fence. You don’t need to be an expert in DIY projects to achieve beautiful results. With a few simple materials and a little bit of planning, you can easily create a stunning lighting display that will enhance the aesthetics and functionality of your outdoor area.
Before we dive into the step-by-step process, let’s first gather the necessary materials.
Key Takeaways:
- Create a stunning outdoor ambiance by hanging string lights on your fence. Follow the simple steps to achieve a warm and inviting atmosphere for your outdoor space, perfect for relaxing evenings or entertaining guests.
- Enjoy the magical ambiance of your beautifully lit fence by adding cozy seating, additional decor, and hosting outdoor gatherings. Extend the usage beyond special occasions and maintain the lights to create a charming outdoor oasis year-round.
Read more: How To Hang String Lights On A Pergola
Step 1: Gather the necessary materials
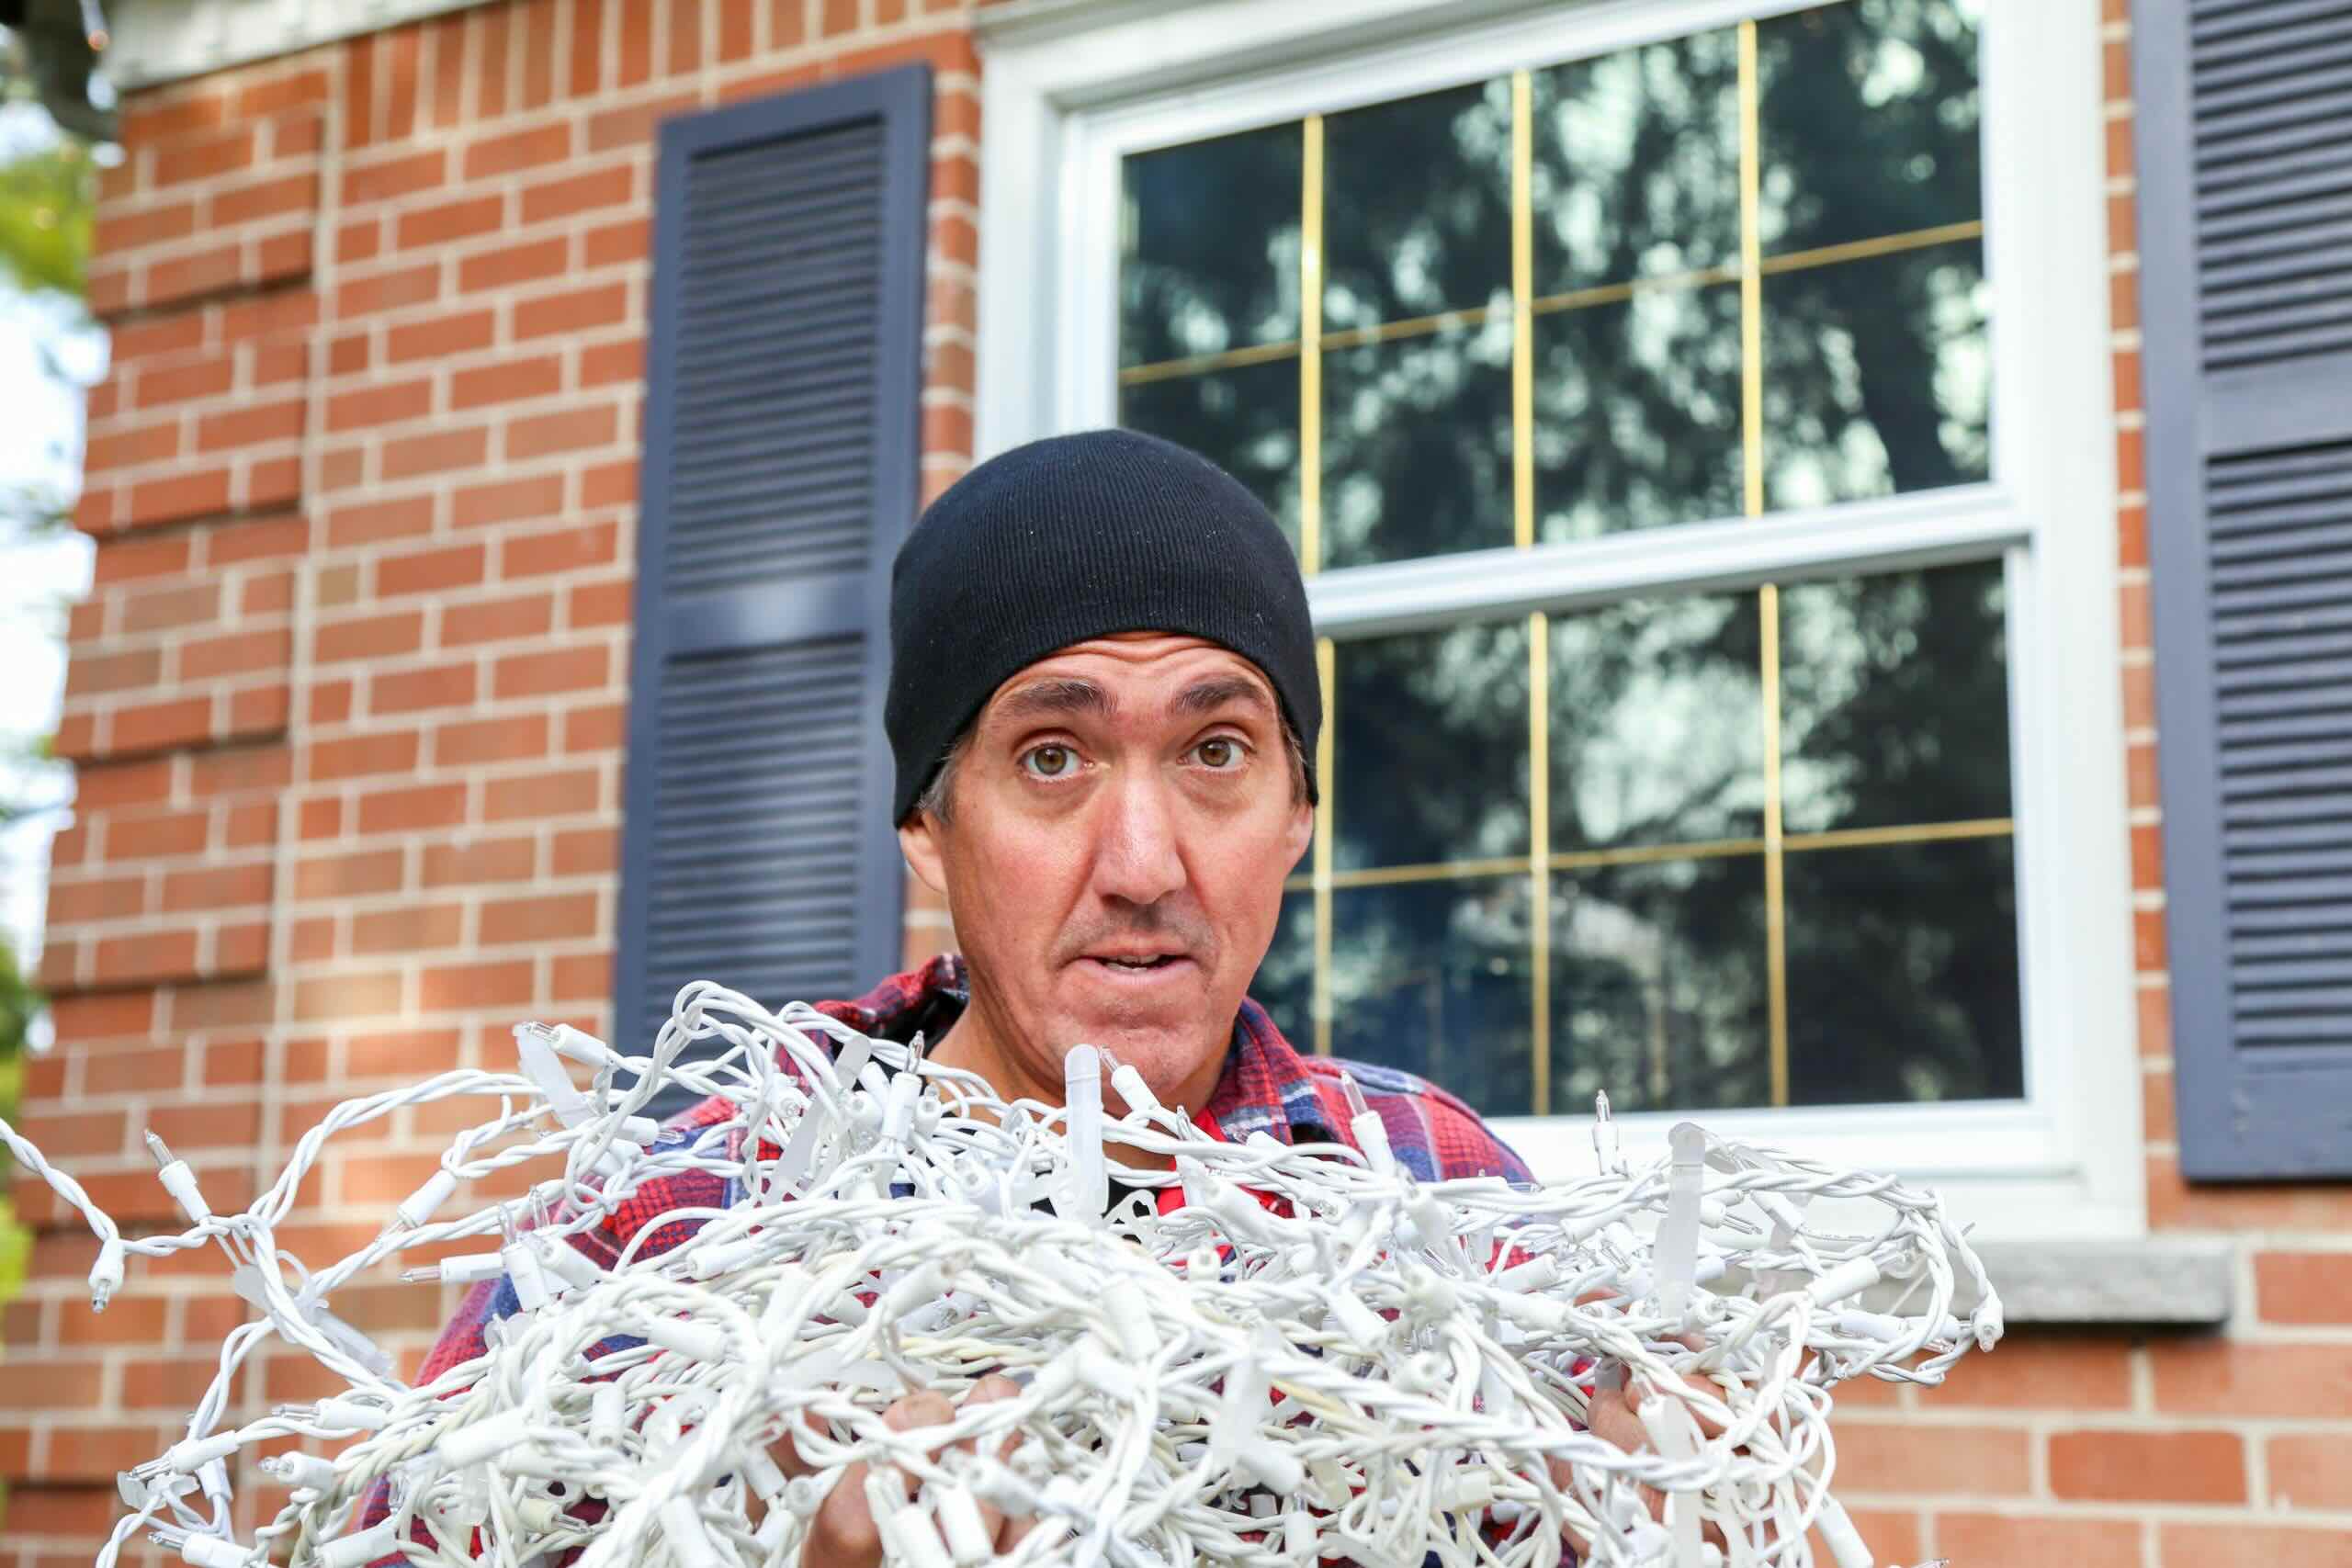
Before you begin hanging string lights on your fence, it’s important to gather all the necessary materials. This will save you time and ensure that you have everything you need to complete the project successfully. Here’s a list of the materials you’ll need:
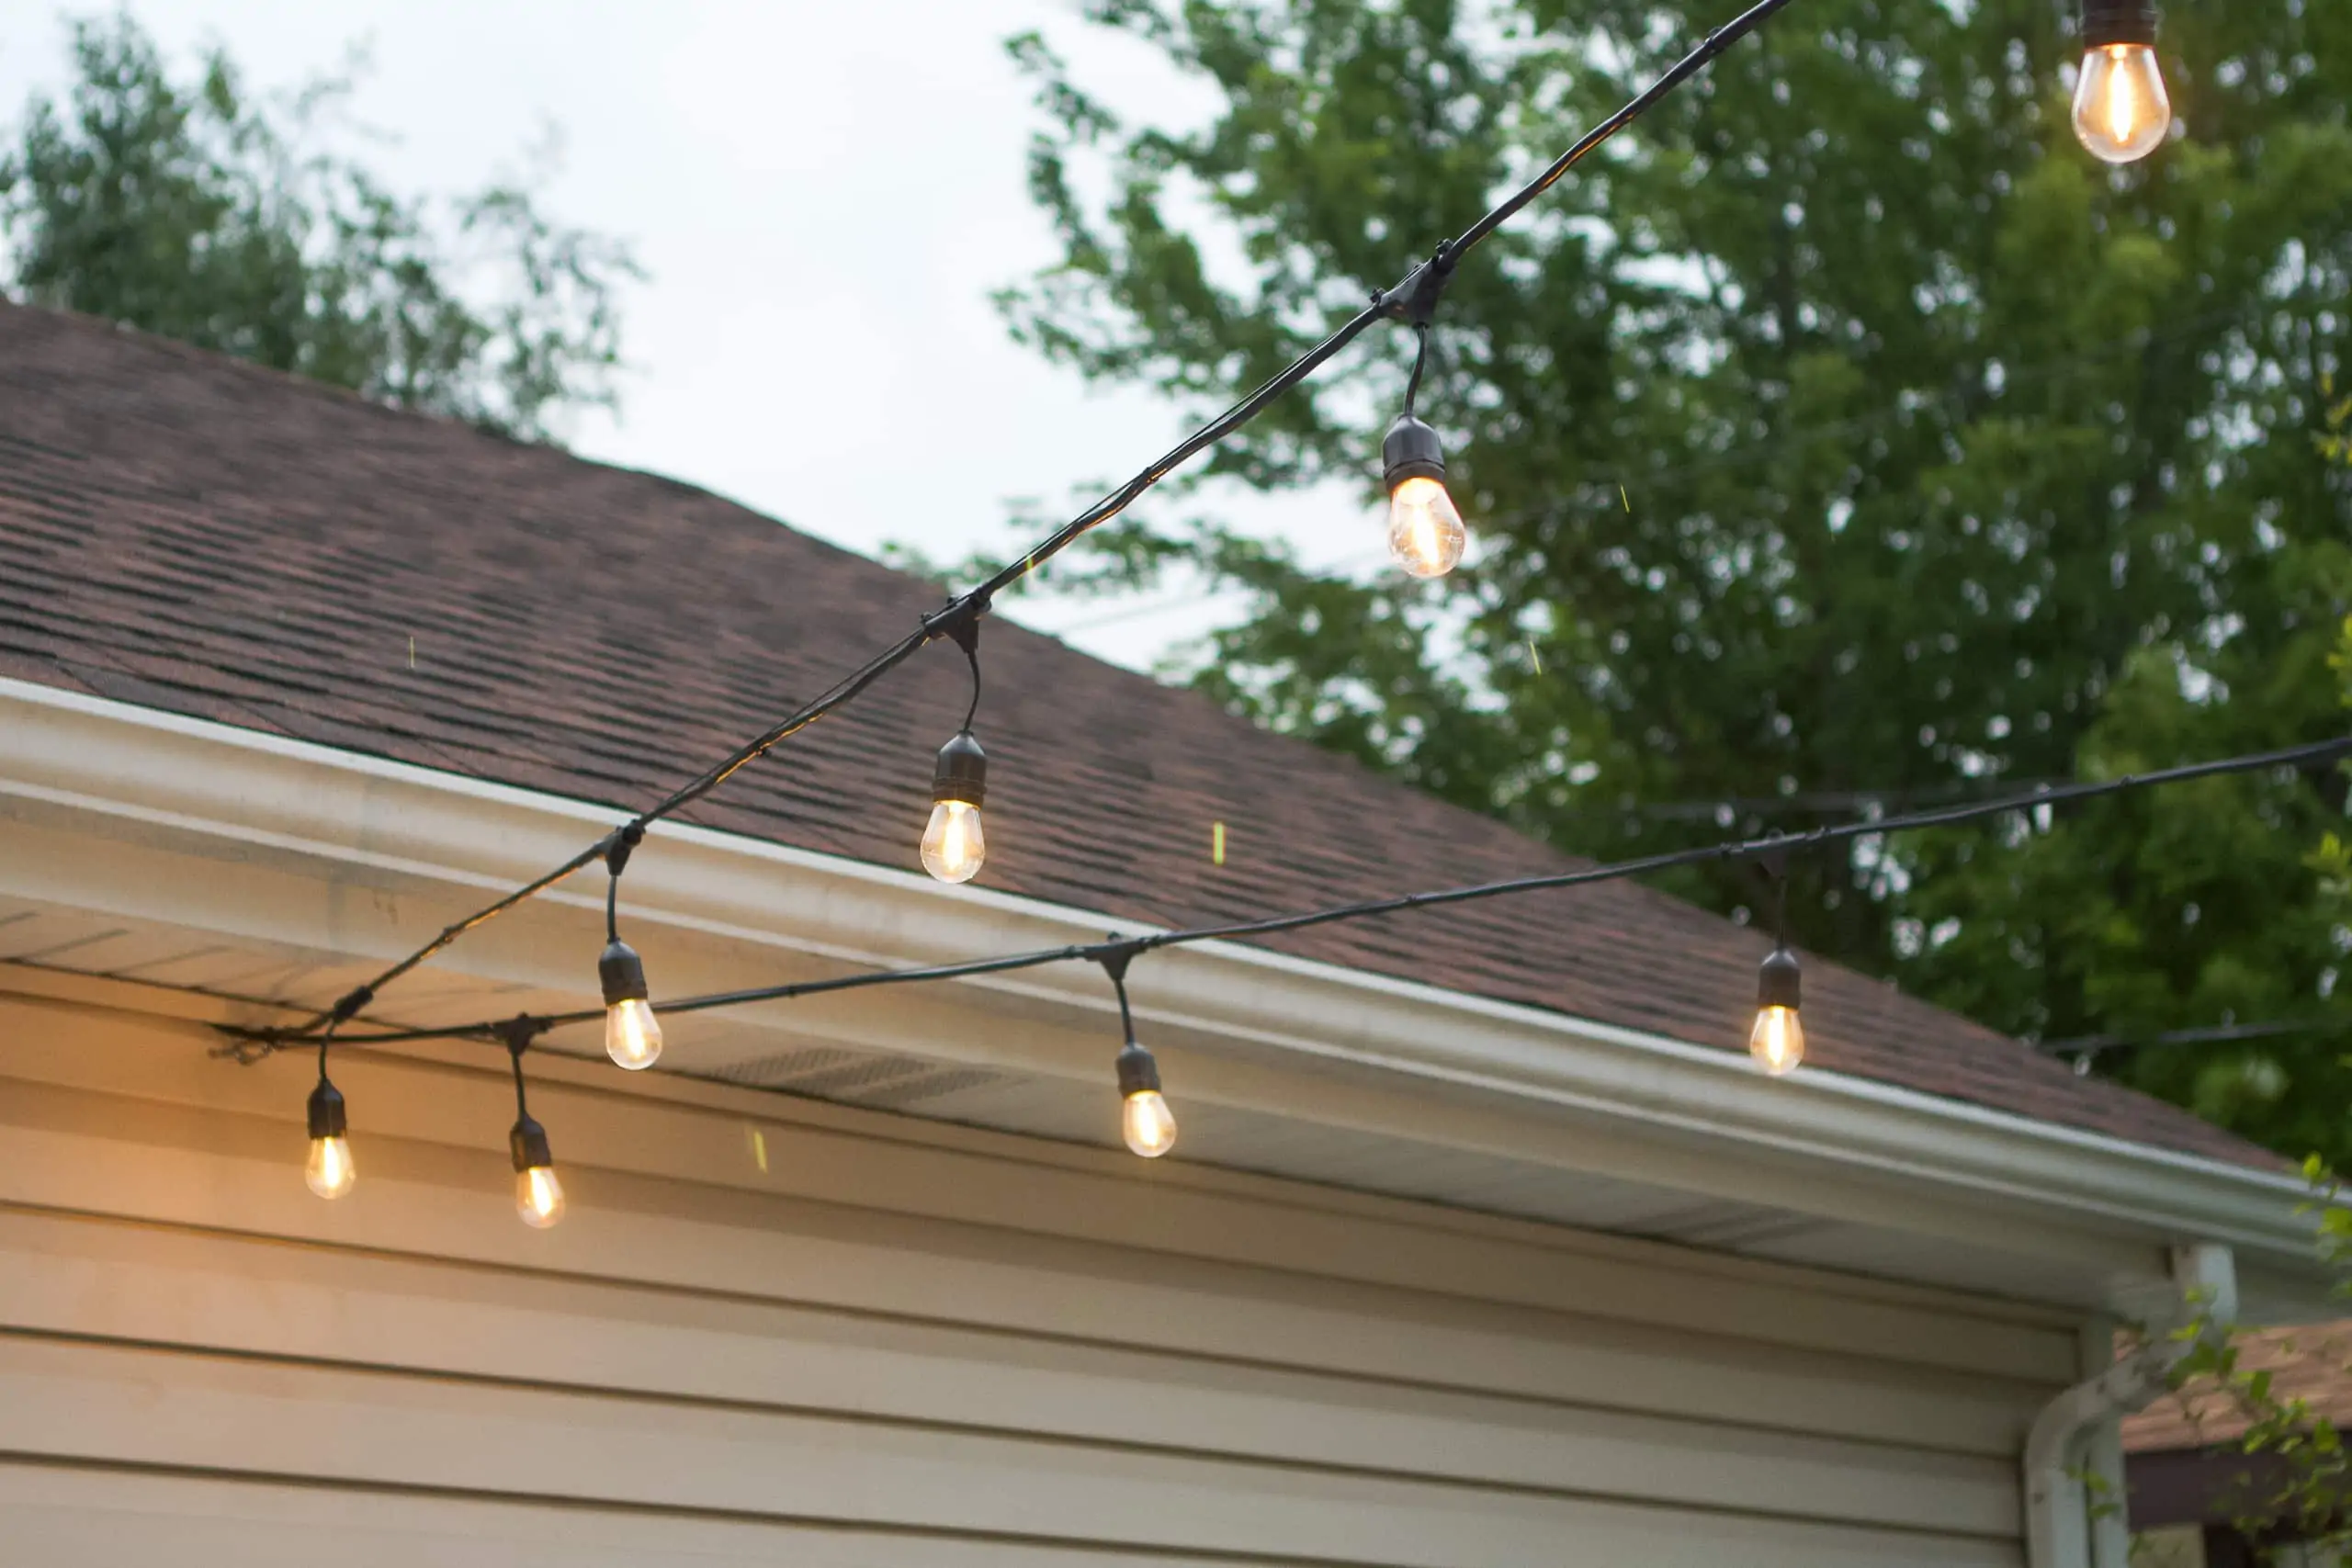
- String lights: Choose string lights that are suitable for outdoor use and have a length that matches the size of your fence. LED lights are a popular choice because they are energy-efficient and long-lasting.
- Outdoor hooks or clips: These will be used to attach the string lights to your fence. Look for hooks or clips that are specifically designed for outdoor use and can withstand different weather conditions.
- Extension cord (optional): Depending on the distance between your fence and the power source, you may need an extension cord to connect the string lights to an electrical outlet.
- Tape measure: This will help you accurately measure the length of your fence and determine the spacing between the hooks or clips.
- Pencil or marker: These will be used to mark the placement of the hooks or clips on your fence.
- Ladder or step stool: Depending on the height of your fence, you may need a ladder or step stool to reach the top and secure the string lights.
Once you have gathered all the necessary materials, you’re ready to move on to the next step: measuring and planning the placement of the lights.
Step 2: Measure and plan the placement of the lights
Before you start attaching the string lights to your fence, it’s important to measure and plan the placement of the lights. This will ensure that the lights are evenly spaced and create a visually pleasing display. Here’s how to do it:
- Measure the length of your fence: Use a tape measure to measure the total length of your fence. This will help you determine how many string lights you’ll need and how far apart the hooks or clips should be.
- Determine the spacing between the hooks or clips: Divide the length of your fence by the number of hooks or clips you have. This will give you the spacing between each hook or clip. For example, if you have 10 hooks and your fence is 20 feet long, the spacing between each hook will be 2 feet.
- Mark the placement of the hooks or clips: Use a pencil or a marker to mark the spots where the hooks or clips will be attached to the fence. Make sure to space them evenly according to the measurements you calculated in the previous step.
By measuring your fence and planning the placement of the hooks or clips, you can ensure that your string lights will be evenly spaced and create a cohesive lighting display. Now that you have planned the placement, it’s time to move on to the next step: attaching the hooks or clips to the fence.
Step 3: Attach hooks or clips to the fence
Now that you have measured and planned the placement of the lights on your fence, it’s time to attach the hooks or clips. These will serve as the mounting points for your string lights. Follow these steps to attach the hooks or clips to your fence:
- Clean the fence: Before attaching the hooks or clips, make sure the surface of your fence is clean and free of dirt or debris. This will ensure a secure attachment.
- Choose the right type of hooks or clips: Select hooks or clips that are suitable for outdoor use and can withstand different weather conditions. Consider factors such as the weight of the string lights and the material of your fence.
- Position the hooks or clips: Align each hook or clip with the markings you made earlier on the fence. Make sure they are positioned securely and evenly.
- Attach the hooks or clips: Depending on the type of hooks or clips you are using, follow the manufacturer’s instructions to securely attach them to your fence. This may involve using screws, nails, adhesive, or any other recommended method.
As you attach the hooks or clips to your fence, double-check that they are securely fastened and can support the weight of the string lights. Once all the hooks or clips are attached, you’re ready to move on to the next step: securing the string lights to the hooks or clips.
When hanging string lights on a fence, use outdoor-safe clips or hooks to secure the lights in place. Make sure to measure the length of the fence and the lights beforehand to ensure you have enough to cover the entire area.
Step 4: Secure the string lights to the hooks or clips
Now that you’ve attached the hooks or clips to your fence, it’s time to secure the string lights in place. Follow these steps to efficiently hang the string lights on your fence:
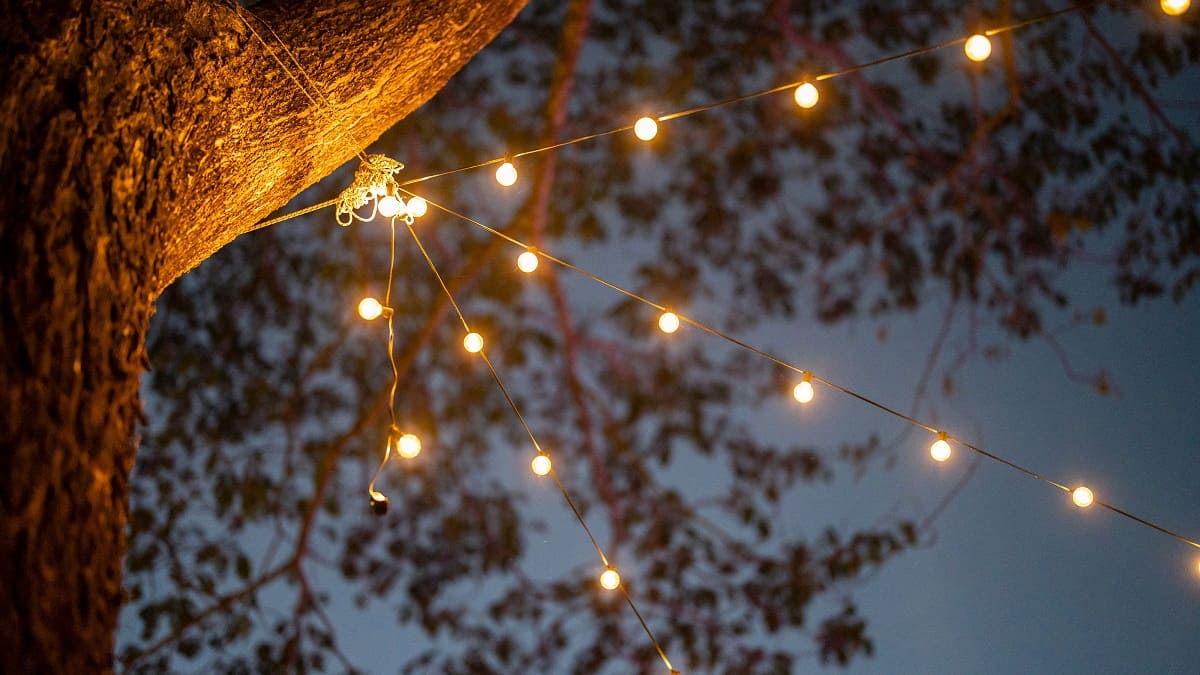
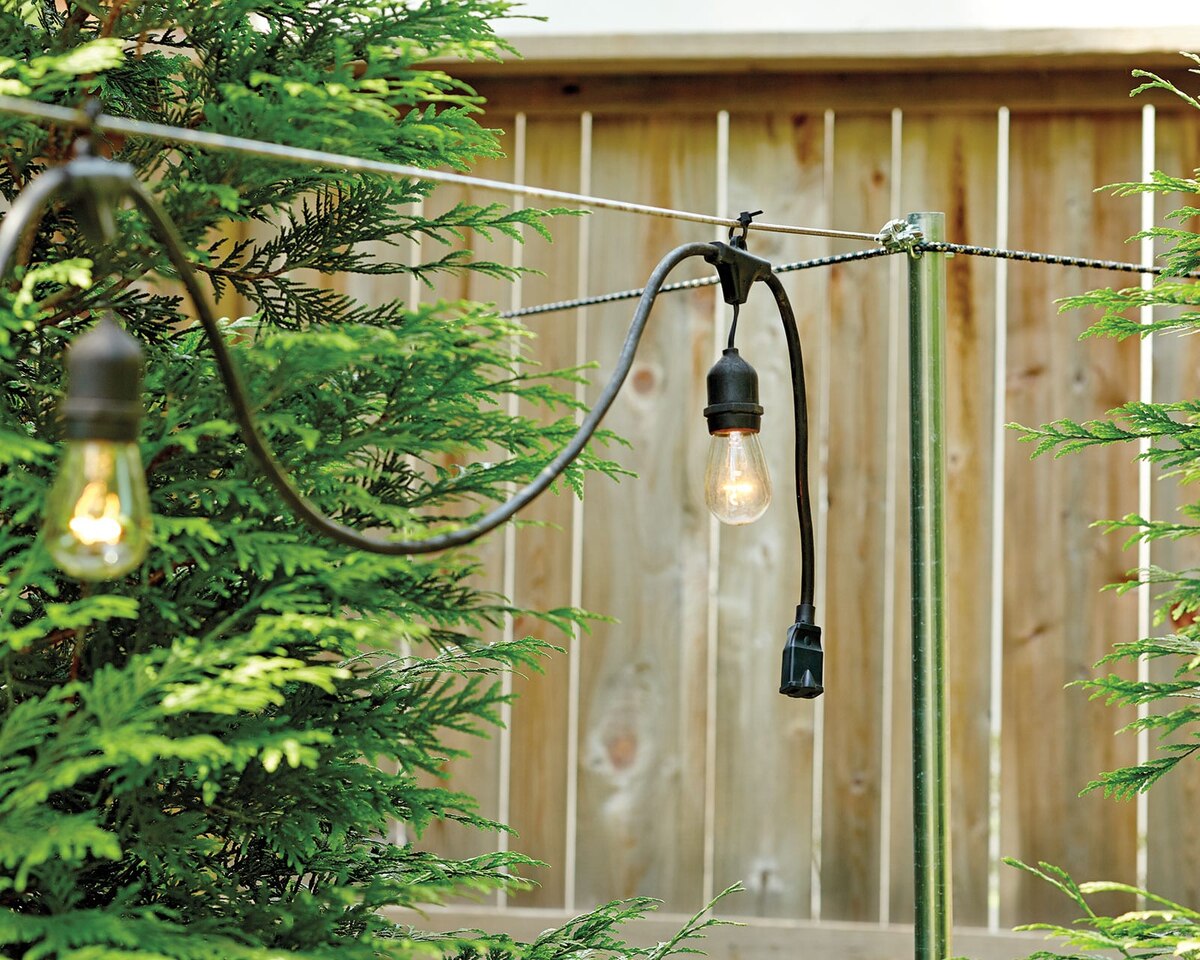
- Start at one end of the fence: Begin by securing the end of the string lights to the first hook or clip on your fence. Ensure that the lights are straight and taut as you work your way along.
- Wrap the lights around the hooks or clips: Carefully wrap the string lights around each hook or clip, following the designated spacing you measured earlier. Make sure to keep the lights evenly distributed.
- Continue attaching the lights: Work your way along the fence, attaching the string lights to each hook or clip until you reach the end. This process may involve some maneuvering and adjustments to achieve the desired lighting effect.
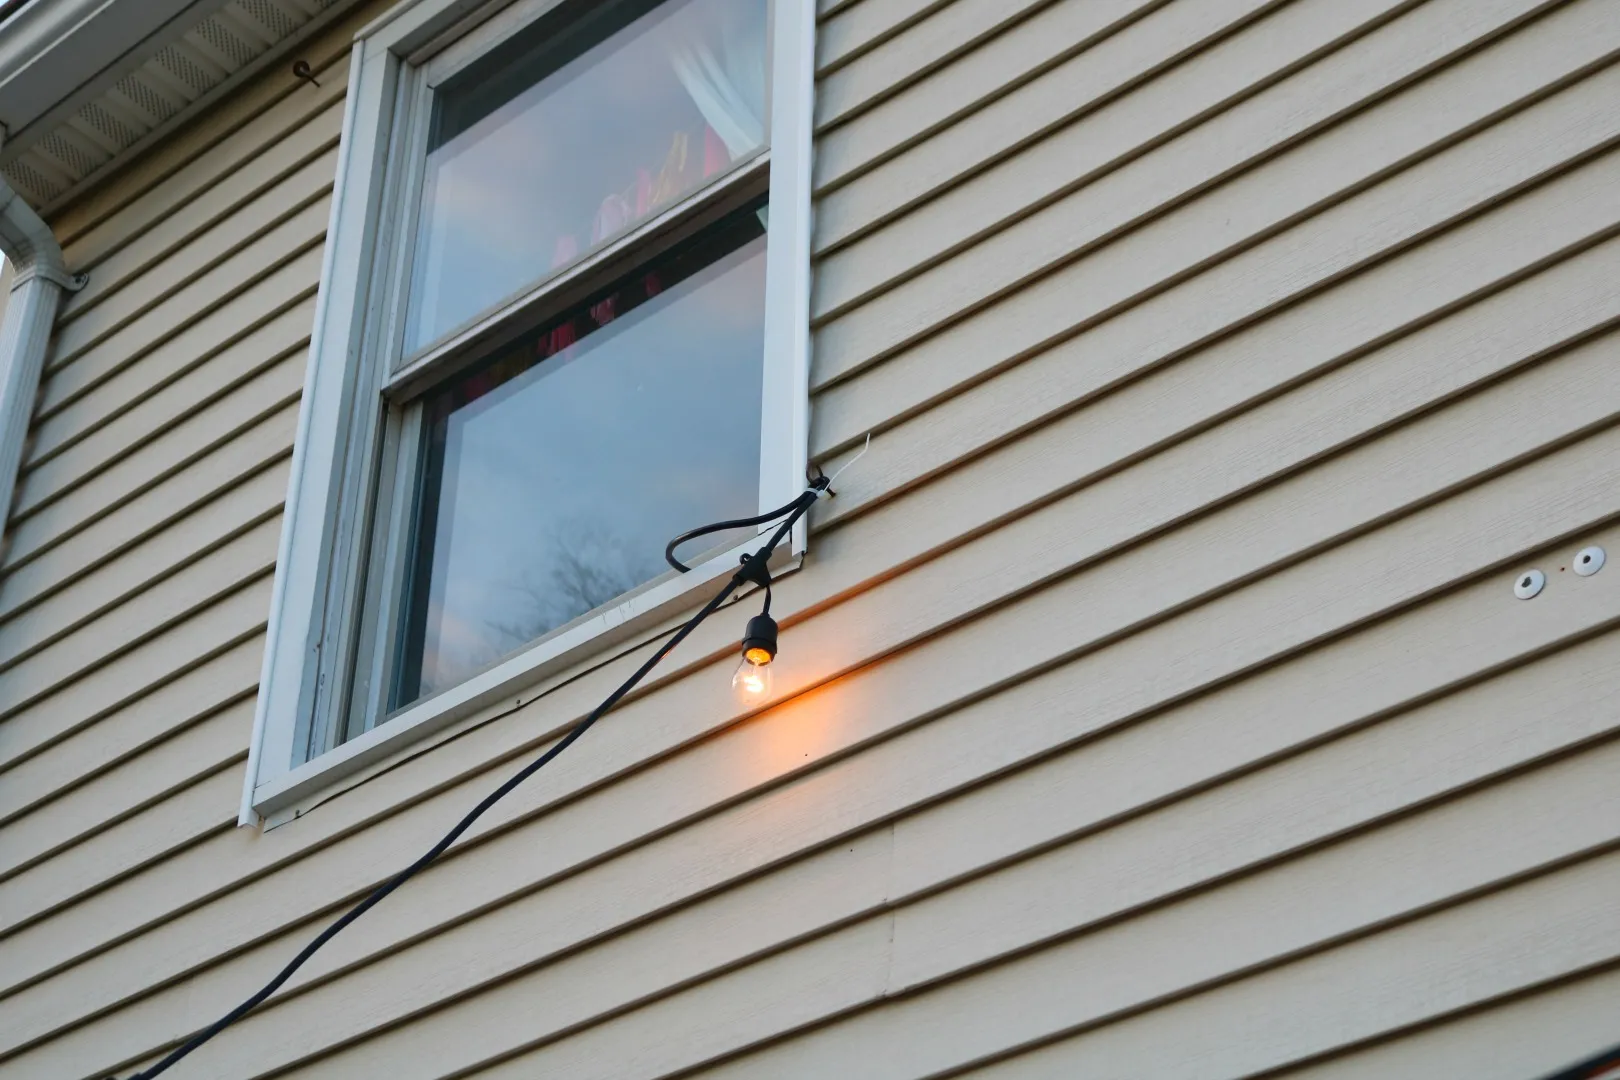
- Secure any loose sections: As you hang the string lights, check for any loose sections or areas where the lights are sagging. Use zip ties, twist ties, or clips to secure these sections and ensure that the lights are properly secured.
It’s essential to take your time and be meticulous in securing the string lights to the hooks or clips. This will ensure that they are evenly spaced and create a beautiful, well-lit fence. Once you’ve successfully secured the lights, it’s time to move on to the next step: testing the lights and making adjustments if needed.
Read more: How To Hang String Lights On Gutters
Step 5: Test the lights and make adjustments if needed
After hanging the string lights on your fence, it’s crucial to test them and make any necessary adjustments to ensure they are working properly and creating the desired effect. Follow these steps to test the lights and make any needed adjustments:
- Plug in the lights: Connect the plug of the string lights to a power outlet to see if they illuminate. This will help you detect any bulbs that may be burnt out or any sections of the lights that are not functioning.
- Check the spacing: Step back and take a good look at the string lights on your fence. Evaluate the spacing between the lights and see if you are happy with the overall appearance. If you find any sections that are either too crowded or too sparse, you can make adjustments by gently moving the lights along the hooks or clips.
- Adjust the height: If you feel that the string lights are hanging too low or too high on your fence, you can easily adjust their height. This can be done by raising or lowering the hooks or clips on the fence to achieve the desired positioning.
- Make any necessary repairs: During the testing phase, if you notice any loose bulbs or wiring, take the time to address these issues. Tighten any loose bulbs and secure any loose wiring to ensure the safety and longevity of your string lights.
By testing the lights and making necessary adjustments, you can achieve the perfect balance between functionality and aesthetics. Take your time to ensure that the lights are working correctly and creating the desired lighting effect. Once you’ve completed the testing and adjustments, it’s time to move on to the final step: enjoying your beautifully lit fence!
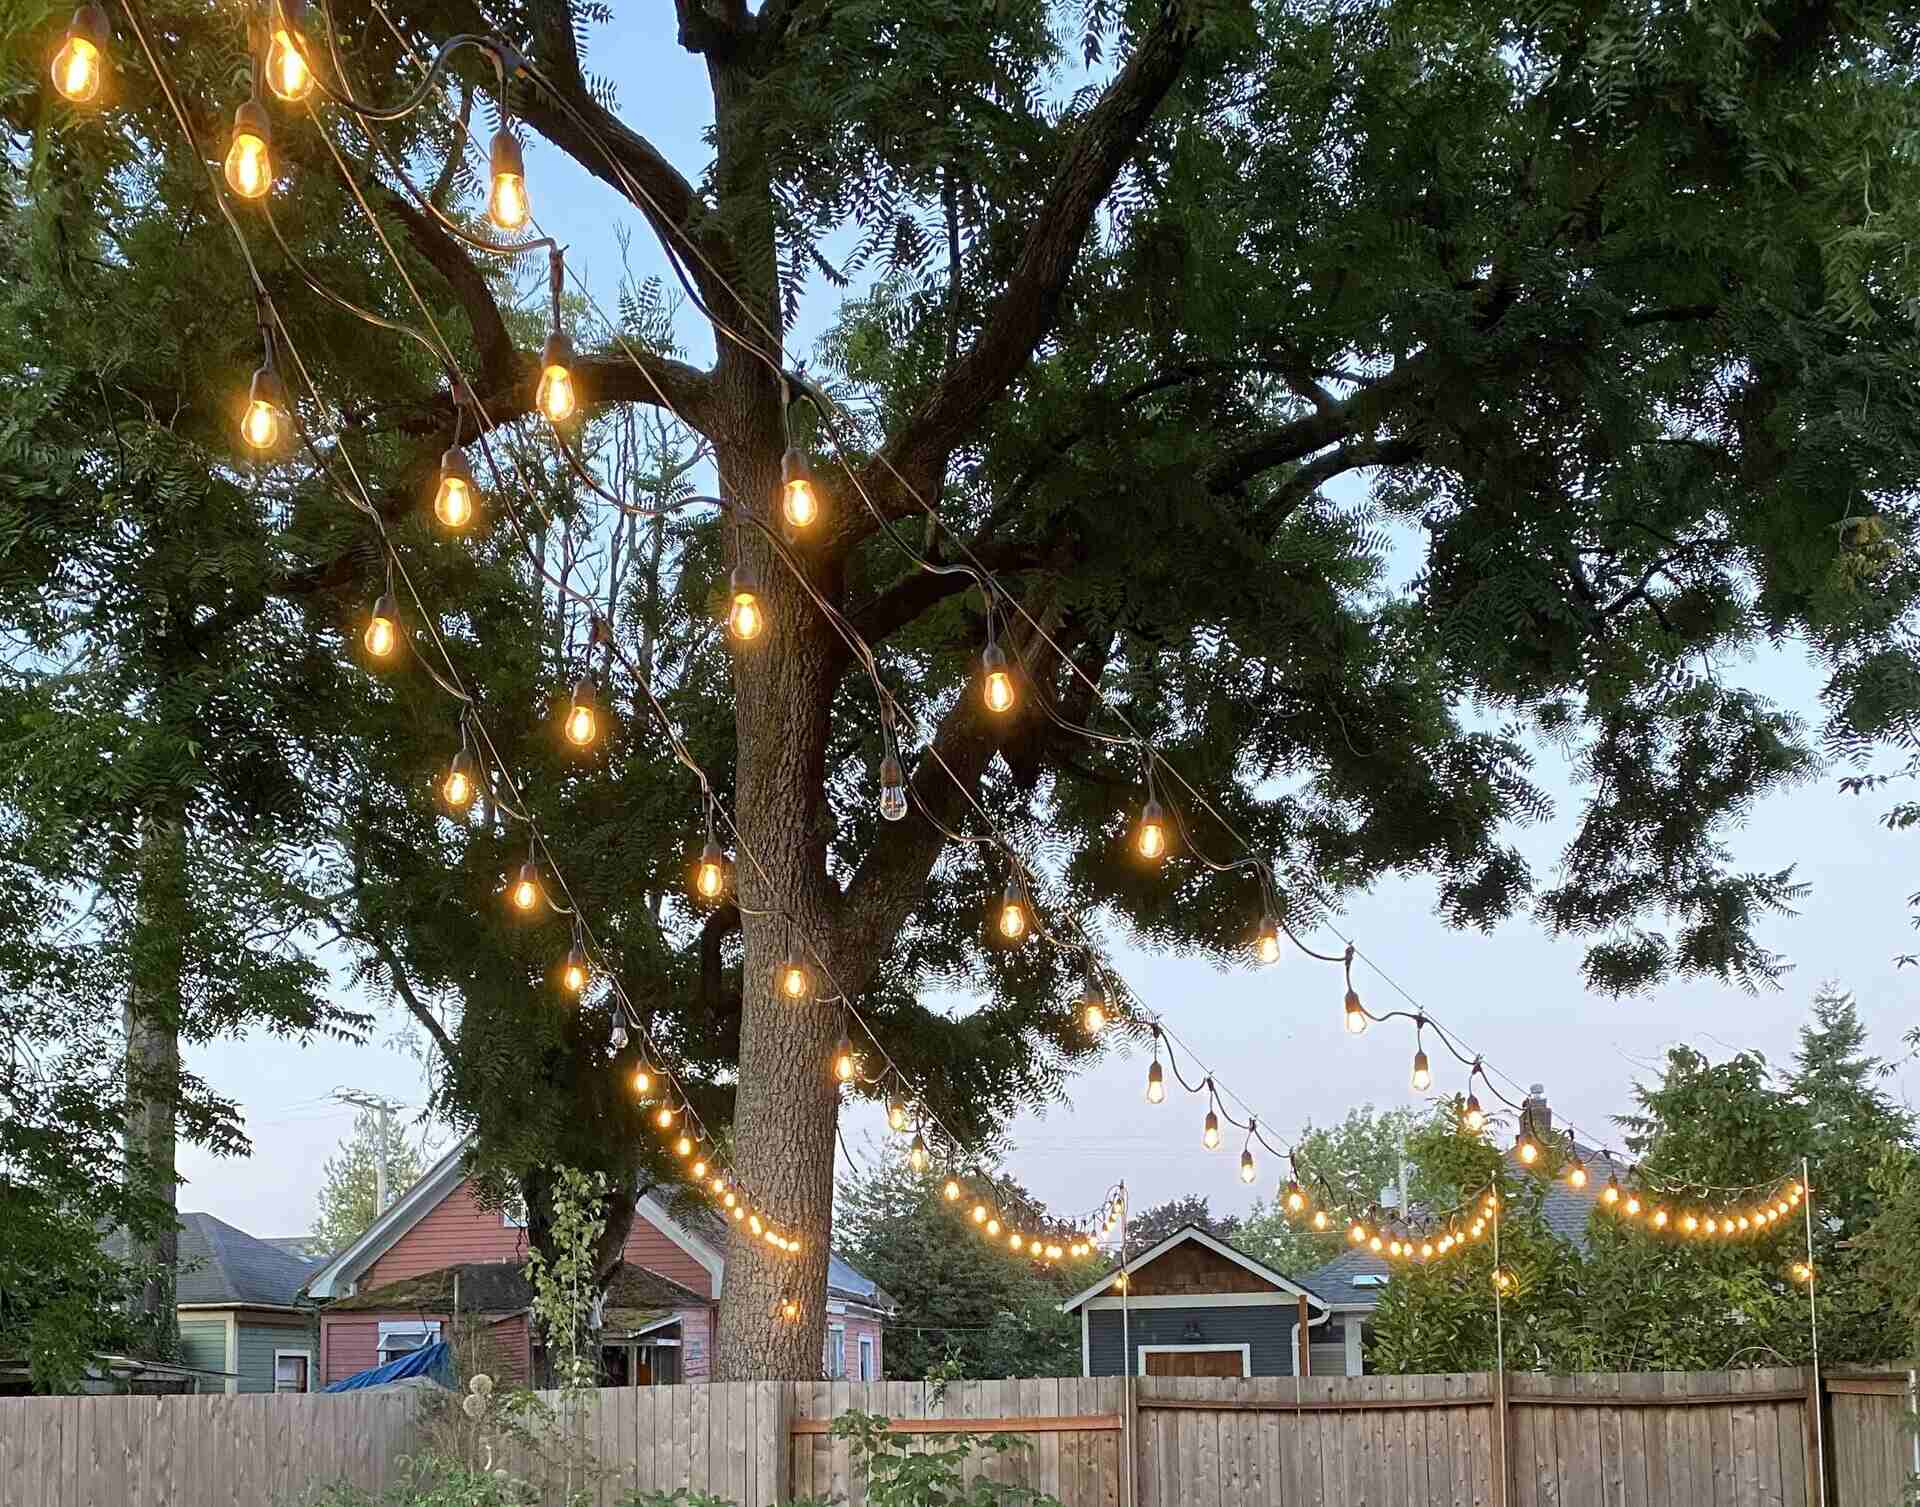
Step 6: Enjoy your beautifully lit fence!
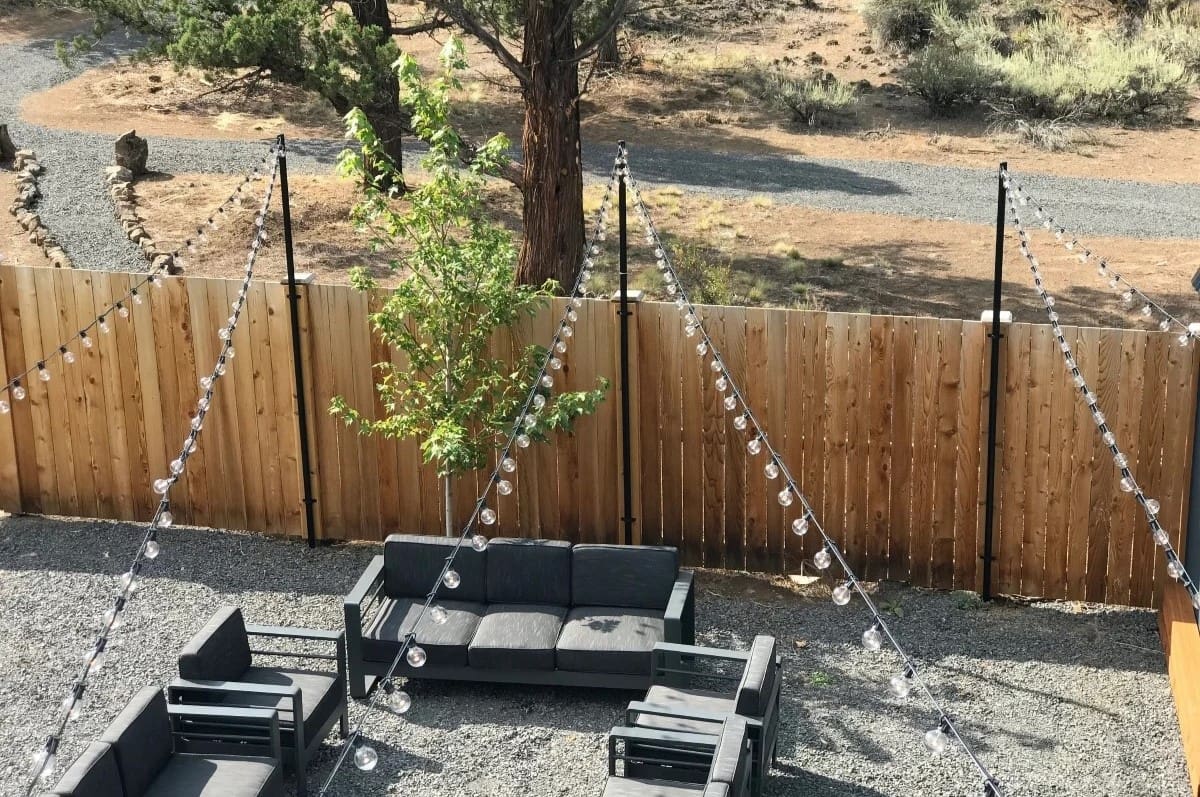
Congratulations! You have successfully hung your string lights on the fence, and now it’s time to sit back, relax, and enjoy the beautiful ambiance they create in your outdoor space. Here are a few tips to make the most of your beautifully lit fence:
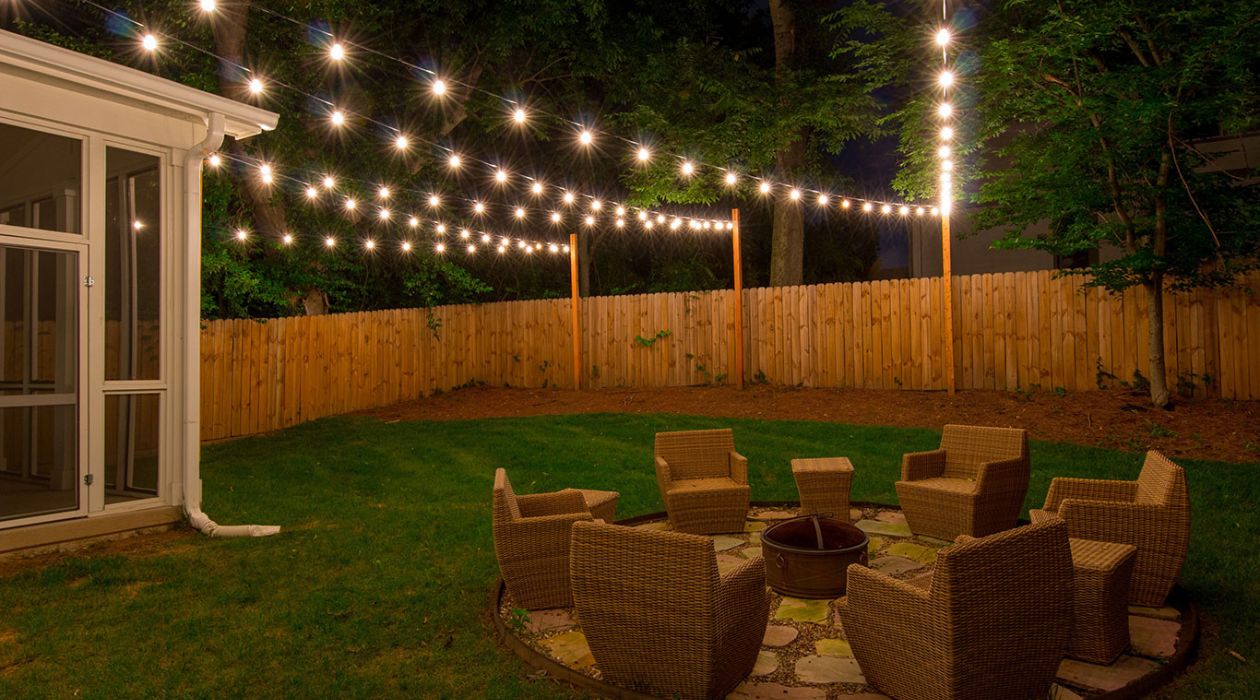
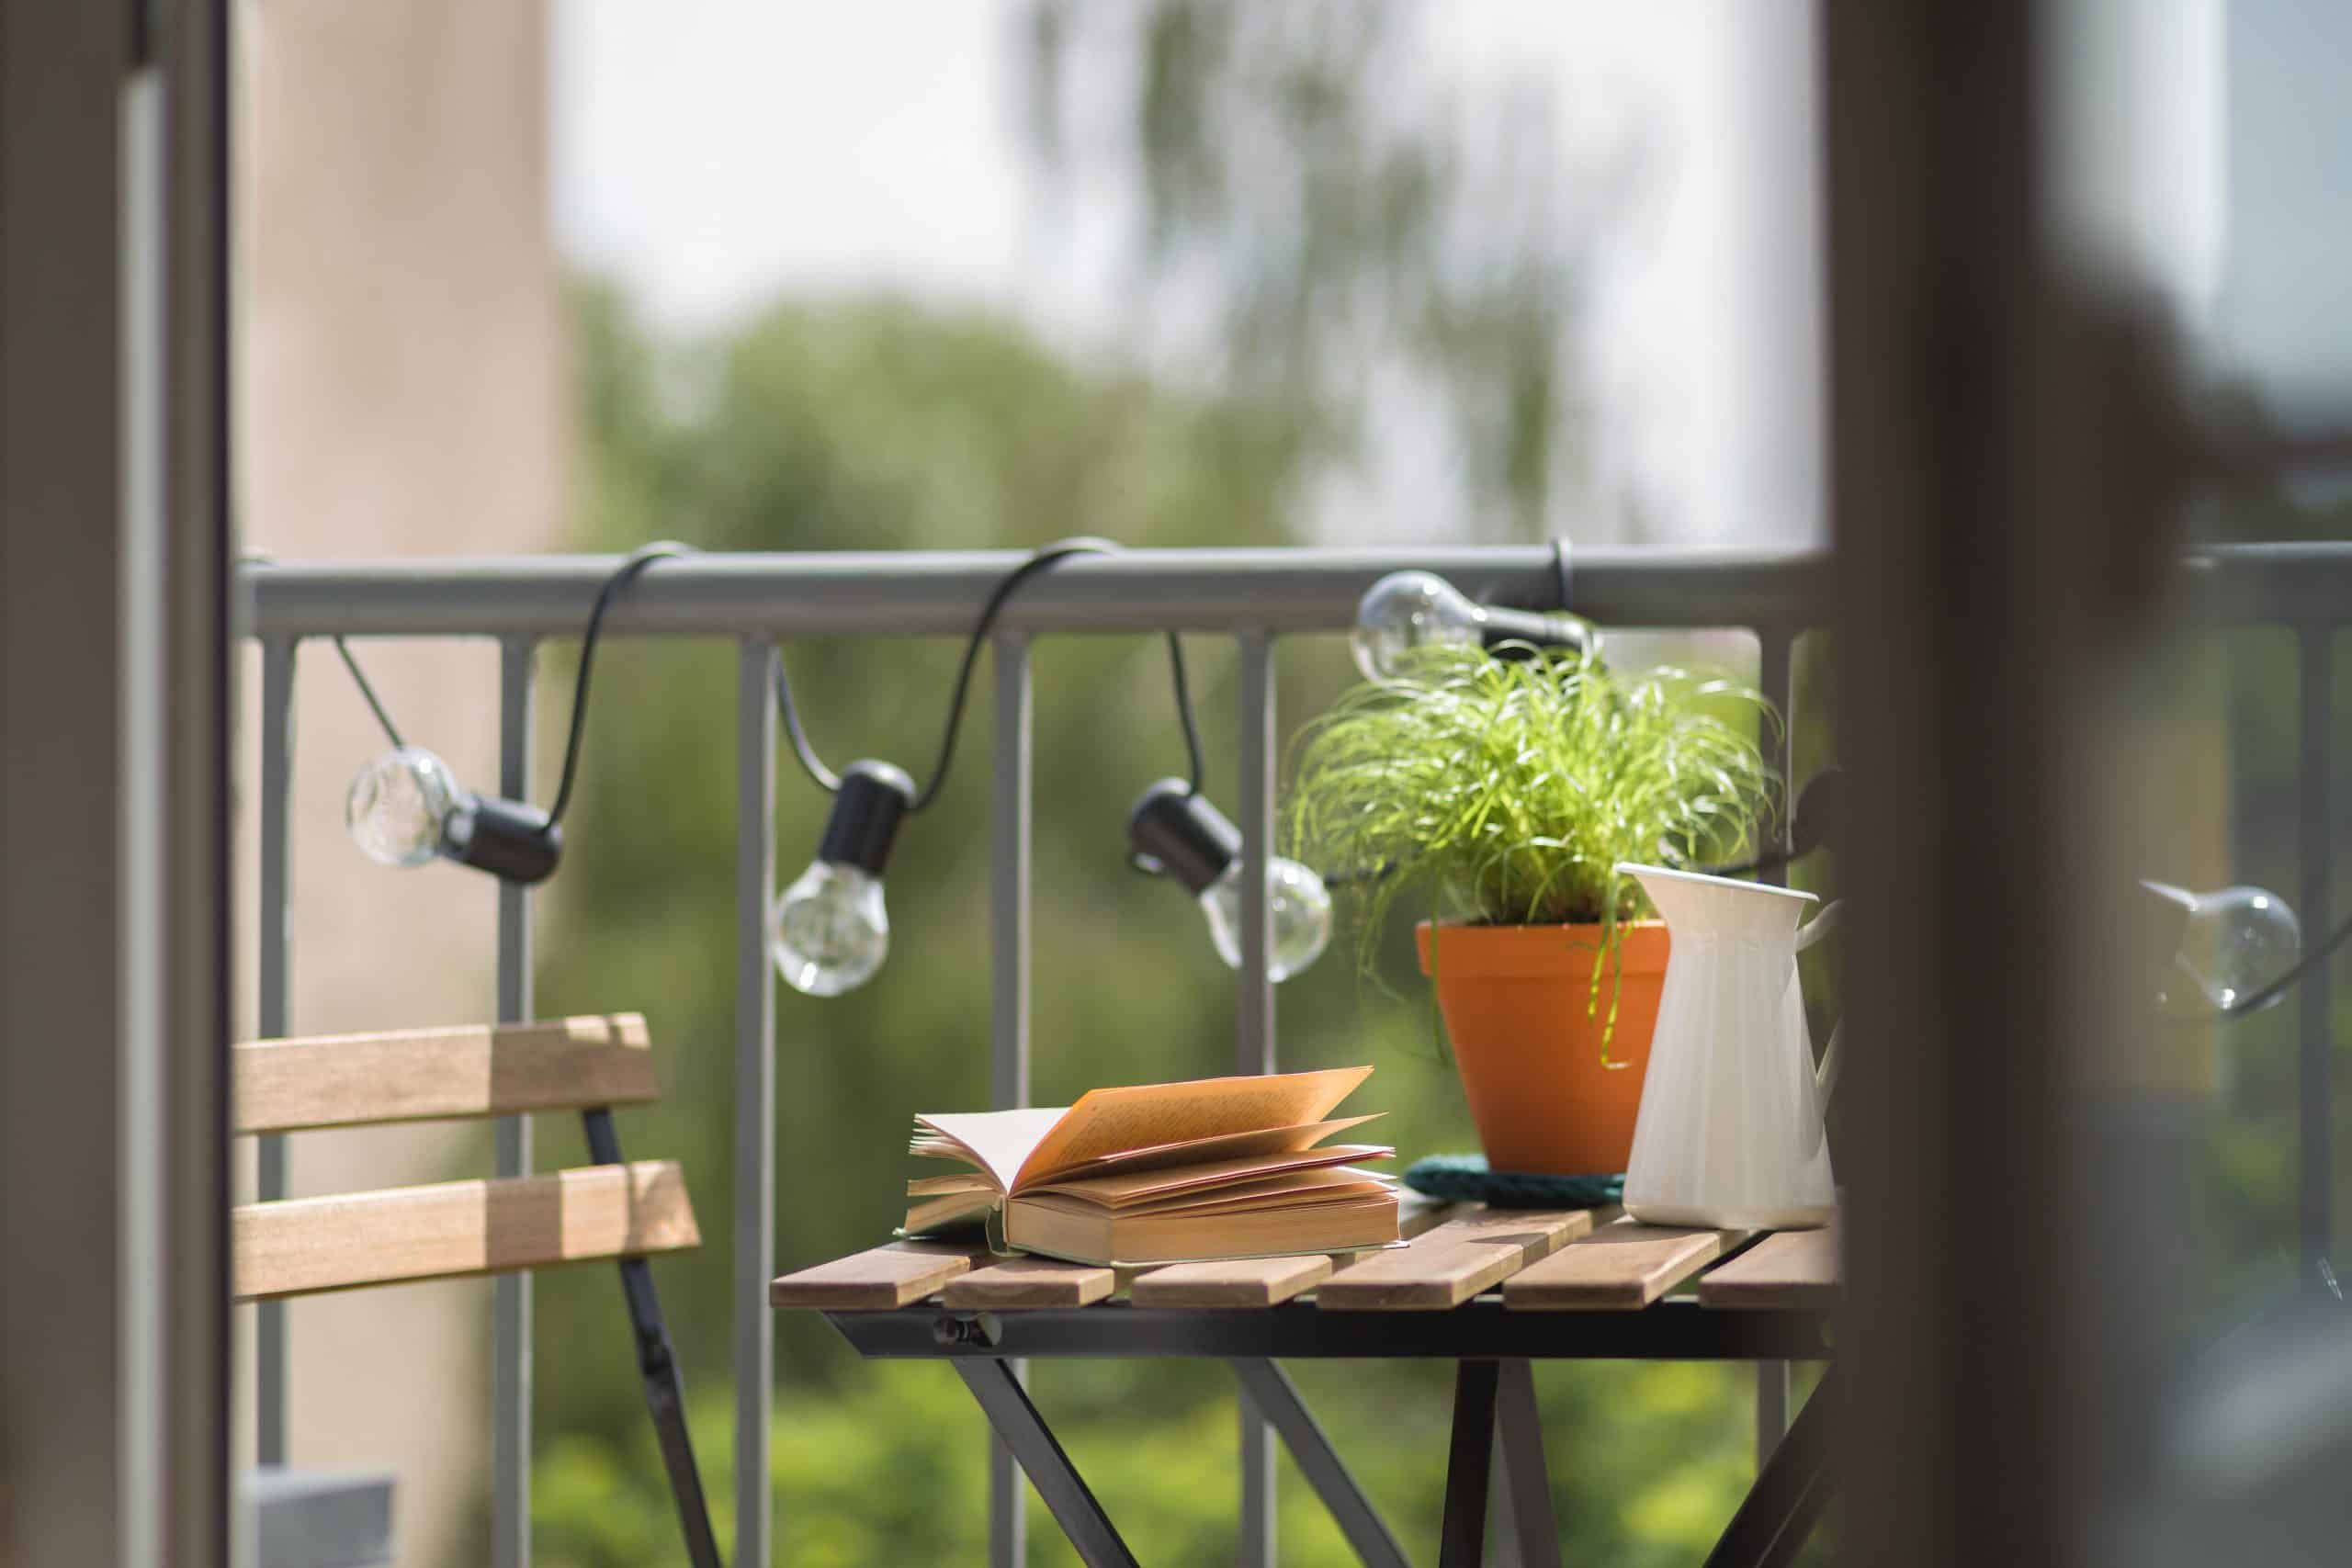
- Create a cozy seating area: Arrange some comfortable outdoor furniture near your lit fence, such as chairs, a table, or a cozy outdoor sofa. This will create a warm and inviting space for you and your guests to relax and enjoy the magical atmosphere.
- Add additional decor: Enhance the visual appeal of your lit fence by adding some additional outdoor decor. Hang some potted plants, lanterns, or decorative wall art to complement the string lights and create a charming outdoor oasis.
- Host outdoor gatherings: Your beautifully lit fence is the perfect backdrop for hosting outdoor gatherings. Whether it’s a dinner party, a celebration, or a casual gathering with friends, the cozy and inviting ambiance created by the string lights will make any event memorable.
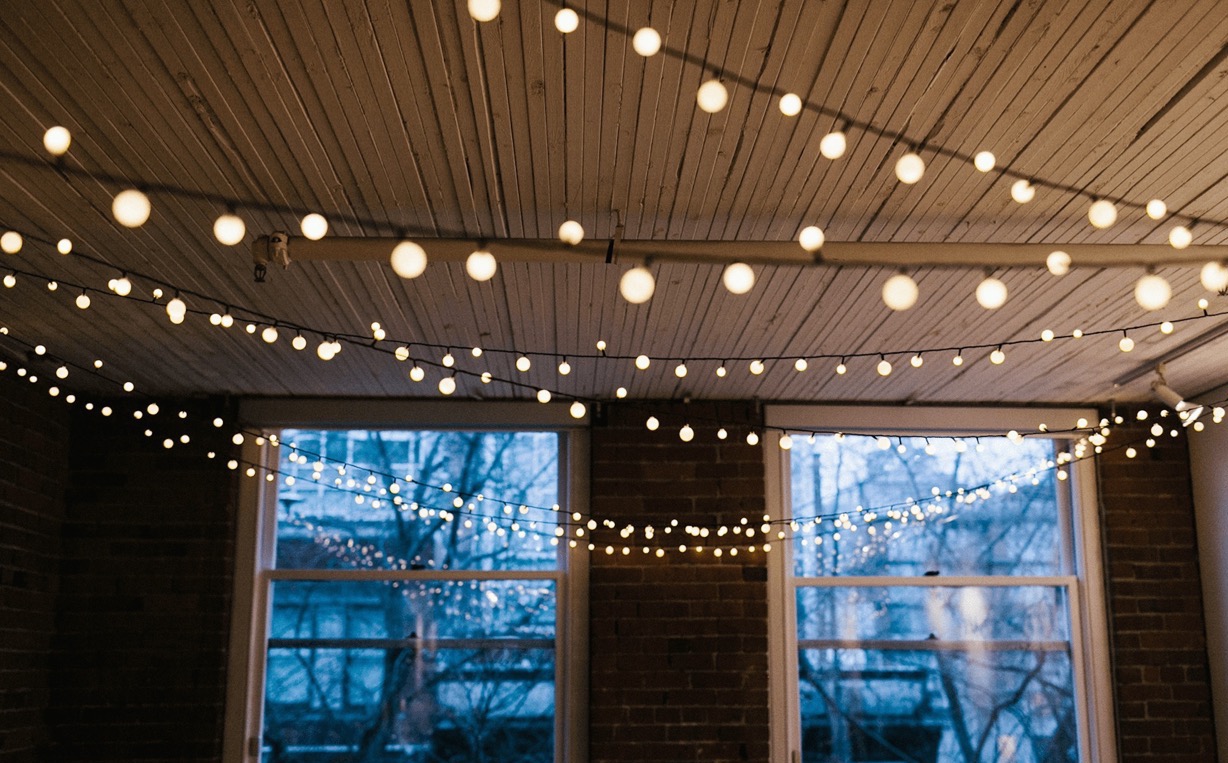
- Extend the usage: String lights on your fence don’t have to be limited to special occasions. Keep them up year-round and enjoy the enchanting glow every evening. They can add a touch of magic to everyday moments spent in your outdoor space.
- Maintain the lights: To ensure that your beautifully lit fence continues to shine brightly, make sure to regularly inspect and maintain the string lights. Replace any burnt-out bulbs or damaged wiring and clean the lights as needed to keep them looking their best.
Remember, your beautifully lit fence is not only a stunning visual feature but also a reflection of your personal style and creativity. Take pride in your accomplishment and enjoy the magical ambiance it brings to your outdoor space.
So, grab a book, invite some friends, or simply sit under the stars and bask in the warm glow of your beautifully lit fence. It’s time to create lasting memories and enjoy the serene beauty of your outdoor oasis!
Now that you've mastered hanging string lights on your fence, why not brighten up your patio too? Check out our guide on outdoor lighting, filled with creative ideas that'll make your evenings magical. For those looking to upgrade their fixtures, our review on patio lights offers the top picks that promise to spruce up any outdoor setting. And if that's not enough, dive into our extensive list of garden lighting strategies to transform your green space into a nocturnal paradise. Light up your nights and extend the joy of your beautifully illuminated outdoor areas!
Frequently Asked Questions about How To Hang String Lights On Fence
Was this page helpful?
At Storables.com, we guarantee accurate and reliable information. Our content, validated by Expert Board Contributors, is crafted following stringent Editorial Policies. We're committed to providing you with well-researched, expert-backed insights for all your informational needs.


0 thoughts on “How To Hang String Lights On Fence”