Articles
How To Hang Christmas Lights On Siding
Modified: December 7, 2023
Discover helpful articles on how to safely hang Christmas lights on siding. Get step-by-step instructions and expert tips to create a beautiful festive display.
(Many of the links in this article redirect to a specific reviewed product. Your purchase of these products through affiliate links helps to generate commission for Storables.com, at no extra cost. Learn more)
Introduction
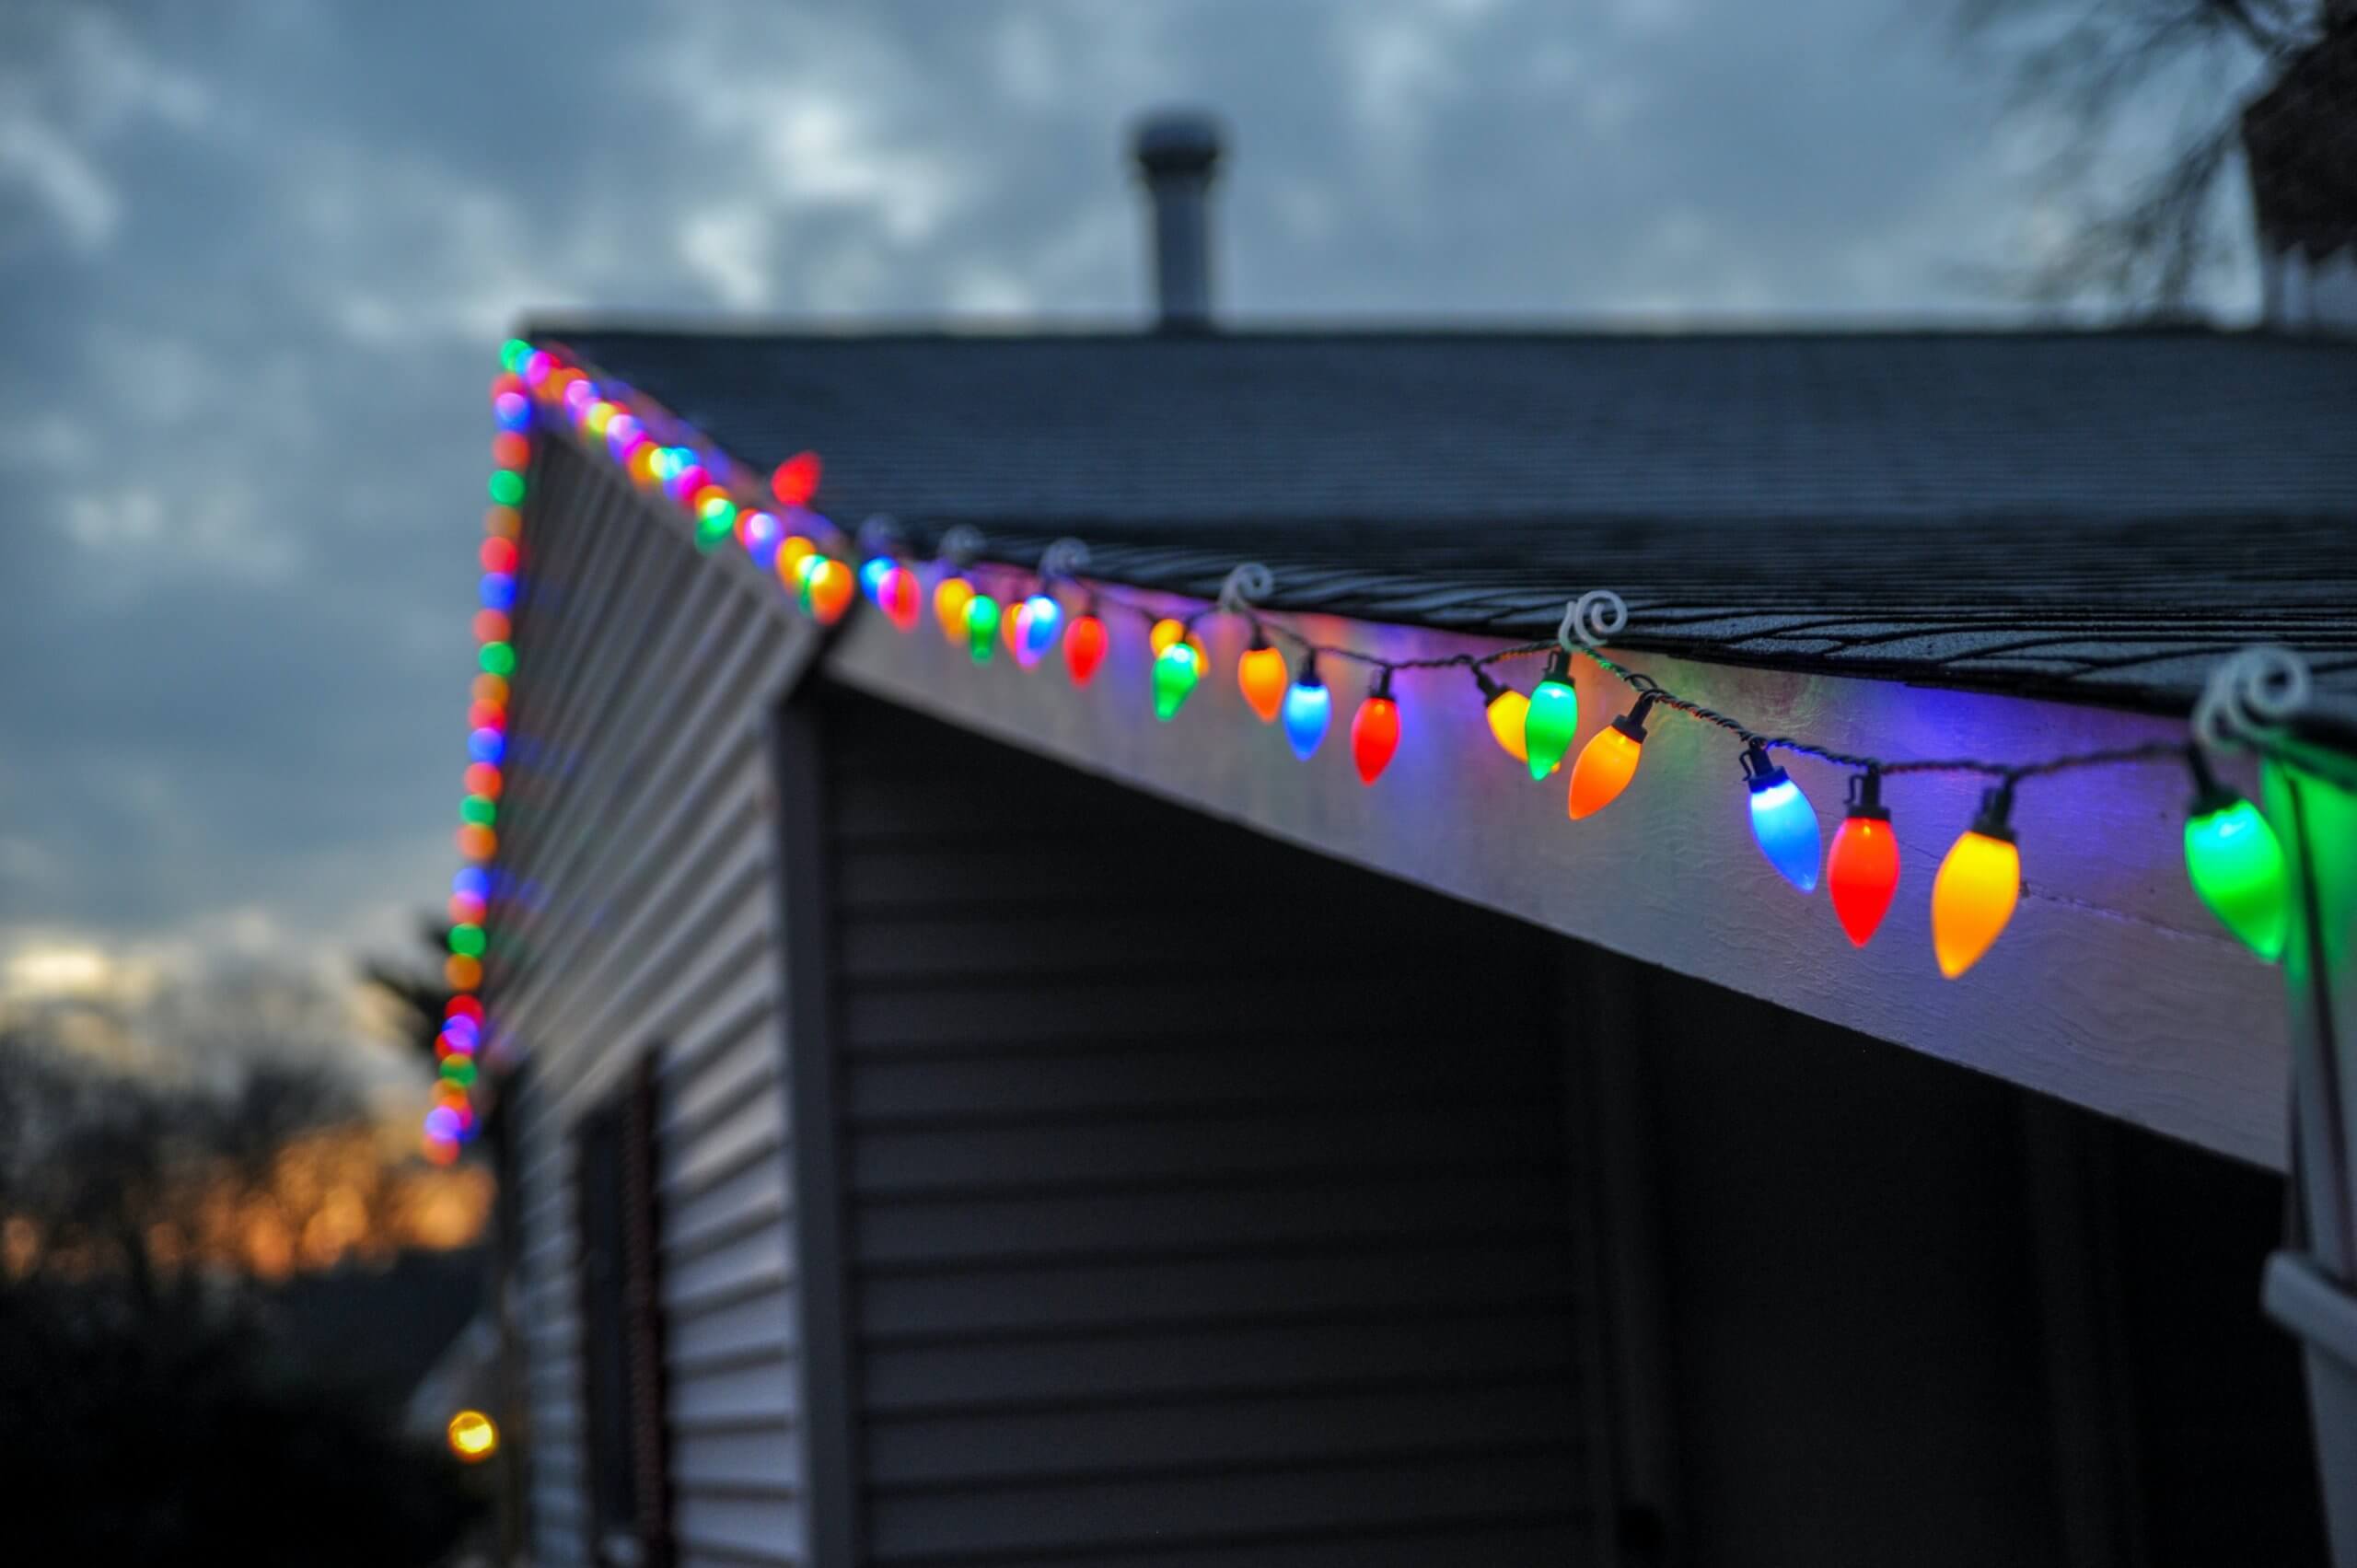
As the holiday season approaches, many of us start thinking about decorating our homes with beautiful Christmas lights. Hanging Christmas lights on siding can be a bit tricky, but with the right techniques and tools, you can create a stunning display that will brighten up your home and bring joy to your neighbors and passersby.
In this guide, we will walk you through the step-by-step process of hanging Christmas lights on different types of siding, including vinyl, wood, and aluminum. We will also cover the safety precautions you need to take to ensure a safe and accident-free installation.
Before we dive into the details, it is important to note that the methods we describe are general guidelines, and it is always recommended to consult the manufacturer’s instructions for your specific type of siding. Additionally, if you are not comfortable working at heights or handling electrical connections, it is best to hire a professional to do the job for you.
Now, let’s get started with the safety precautions you need to keep in mind before hanging your Christmas lights on siding.
Key Takeaways:
- Create a stunning and safe Christmas light display on your siding by following step-by-step installation and removal tips, choosing the right lights, and prioritizing safety precautions.
- Transform your home into a magical wonderland during the holiday season with the right attachment methods, proper planning, and careful testing and adjusting of your Christmas lights.
Read more: How To Hang Christmas Lights On Brick
Safety Precautions
Before you start hanging Christmas lights on your siding, it is important to prioritize safety to avoid any accidents or damage. Here are some key safety precautions you should follow:
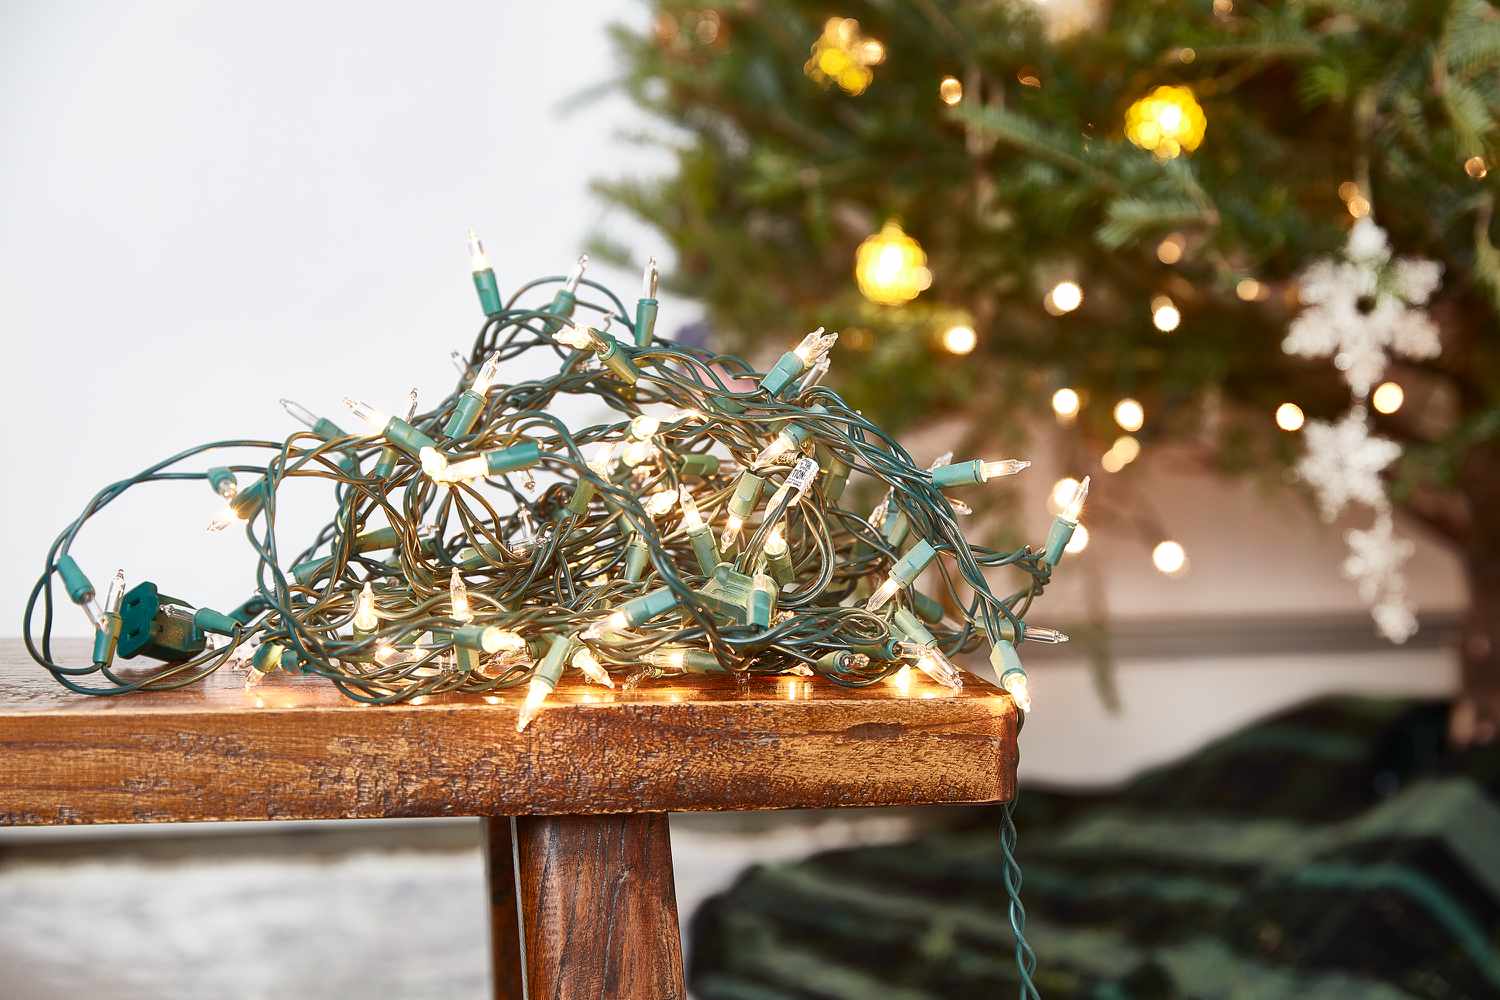
- Inspect the lights: Before using your Christmas lights, inspect them carefully for any frayed wires, broken bulbs, or signs of damage. If you notice any issues, replace the lights to ensure safe operation.
- Turn off the power: Before handling the lights, make sure to turn off the power at the circuit breaker to prevent any risk of electrical shocks.
- Use a stable ladder: When working at heights, always use a sturdy and stable ladder. Make sure it is placed on a flat surface and have someone to hold the base for added stability.
- Protect against the weather: Avoid hanging lights during wet or stormy conditions. If you must work in these conditions, use outdoor-rated extension cords and waterproof connectors to keep the electrical connections safe.
- Avoid overloading circuits: Be mindful of the number of lights you are connecting to a single circuit. Overloading can lead to tripped breakers, potential fire hazards, or other electrical issues. Make sure to distribute the load evenly across multiple circuits if needed.
- Secure the cords properly: Ensure that the cords are securely fastened to the siding or other supporting structures. Use clips or hooks designed for outdoor use, and avoid using nails or staples that can damage the siding.
- Protect against moisture: Seal any gaps or openings in your siding to prevent moisture from seeping in and potentially causing damage. This will also help maintain the integrity of the siding and extend its lifespan.
- Follow the manufacturer’s instructions: Always follow the manufacturer’s instructions when installing and using Christmas lights. They will provide specific guidelines for your particular lights and help ensure safety.
By following these safety precautions, you can create a secure and hazard-free environment while installing your Christmas lights. Now that you are aware of the safety measures, let’s move on to the materials you will need for the installation process.
Materials Needed
Before you start hanging Christmas lights on your siding, gather the following materials to ensure a smooth and successful installation:
- Christmas lights: Choose lights that are specifically designed for outdoor use. LED lights are energy-efficient and have a longer lifespan compared to traditional incandescent lights.
- Extension cords: Outdoor-rated extension cords are essential to connect your lights to a power source. Make sure the cords are long enough to reach from the outlet to the desired location.
- Power timer: Consider using a power timer to automatically turn on and off your lights. This not only saves energy but also ensures that your lights will be illuminated during the desired hours.
- Hooks or clips: Depending on your siding material, you will need hooks or clips to attach the lights securely. Look for hooks or clips specifically designed for outdoor use and compatible with your siding type.
- Adhesive hooks: If your siding does not allow for hooks or clips, consider using adhesive hooks. These are typically made for outdoor use and provide a strong hold without causing damage to the siding.
- Light clips or track: Light clips or track systems can be used to easily attach the lights to your siding. These are particularly useful for vinyl and aluminum siding, as they provide a secure and non-invasive attachment method.
- Ladder: Ensure you have a stable and sturdy ladder that reaches the height needed for hanging the lights. Choose a ladder that can safely support your weight and allow you to reach the desired areas.
- Zip ties or twist ties: These can be handy for securing loose cords or arranging them neatly along the siding.
- Optional: Wire cutters, a drill, or other tools may be useful depending on your specific installation needs. Make sure to have any necessary tools on hand before starting the installation process.
Having these materials ready will save you time and effort during the installation, ensuring that you have everything you need to hang your Christmas lights on siding. Now, let’s move on to the step-by-step process of planning and measuring for a successful installation.
Step 1: Planning and Measuring
Before you start hanging Christmas lights on your siding, it is important to plan and measure the area to ensure an even and aesthetically pleasing display. Here’s how to do it:
- Choose your desired display area: Determine which areas of your siding you want to decorate with Christmas lights. It could be the front of your house, the entire perimeter, or specific architectural features.
- Measure the length of the siding: Use a measuring tape to measure the length of the areas where you want to hang the lights. This will help you determine the amount of lights you need to cover the desired area.
- Consider the power source: Identify the nearest outdoor power source, such as an outdoor outlet or an extension cord connected to an indoor outlet. Ensure that it is accessible and can provide enough power for your lights.
- Plan the layout: Visualize how you want your lights to be arranged on the siding. Consider whether you want a straight line, a zigzag pattern, or a specific shape. Take into account any architectural features or obstacles that may affect the layout.
- Calculate the number of lights: Depending on the length of your siding and the desired density of lights, calculate the number of lights you will need. Generally, it is recommended to have around 100 lights per linear foot for a well-spaced display.
- Consider color and style: Choose the color and style of lights that best fit your personal preference or the overall theme of your holiday decorations. You can opt for traditional white lights, multicolored lights, or even themed lights.
Taking the time to plan and measure will help you determine the appropriate amount of lights and ensure a visually pleasing arrangement on your siding. Once you have planned and measured, you can proceed to the next step of choosing the right lights for your display.
Step 2: Choosing the Right Lights
When it comes to decorating your siding with Christmas lights, choosing the right lights is crucial. Consider the following factors when selecting your lights:
- Light type: Decide between LED lights and incandescent lights. LED lights are more energy-efficient, long-lasting, and emit less heat compared to incandescent lights. They are a popular choice for outdoor decorations.
- Color and style: Choose the color that matches your desired aesthetic. Traditional warm white lights provide a classic look, while multicolored lights add a festive and playful touch. You can also find lights in various shapes and sizes to suit your style.
- Lighting effects: Some lights offer different lighting effects, such as flashing, fading, or chasing lights. Determine if you want a static or dynamic display and select lights with the desired effects.
- Length and coverage: Calculate the length of lights you need based on the measurements you took during the planning stage. Ensure that you have enough lights to cover the desired area and create an evenly distributed display.
- Waterproof rating: Look for lights with a waterproof or weather-resistant rating to ensure they can withstand outdoor conditions. This is especially important if you live in an area with frequent rain or snow.
- Quality and durability: Invest in lights of good quality that will last for multiple holiday seasons. Read reviews, check the warranty information, and opt for reputable brands to ensure durability and reliability.
When purchasing your lights, consider buying an extra strand or two as backups in case of any issues or to replace any faulty bulbs. Once you have chosen the right lights for your display, you can move on to the next step of choosing the appropriate attachment method for your siding.
Read more: How To Hang Christmas Lights To Stucco
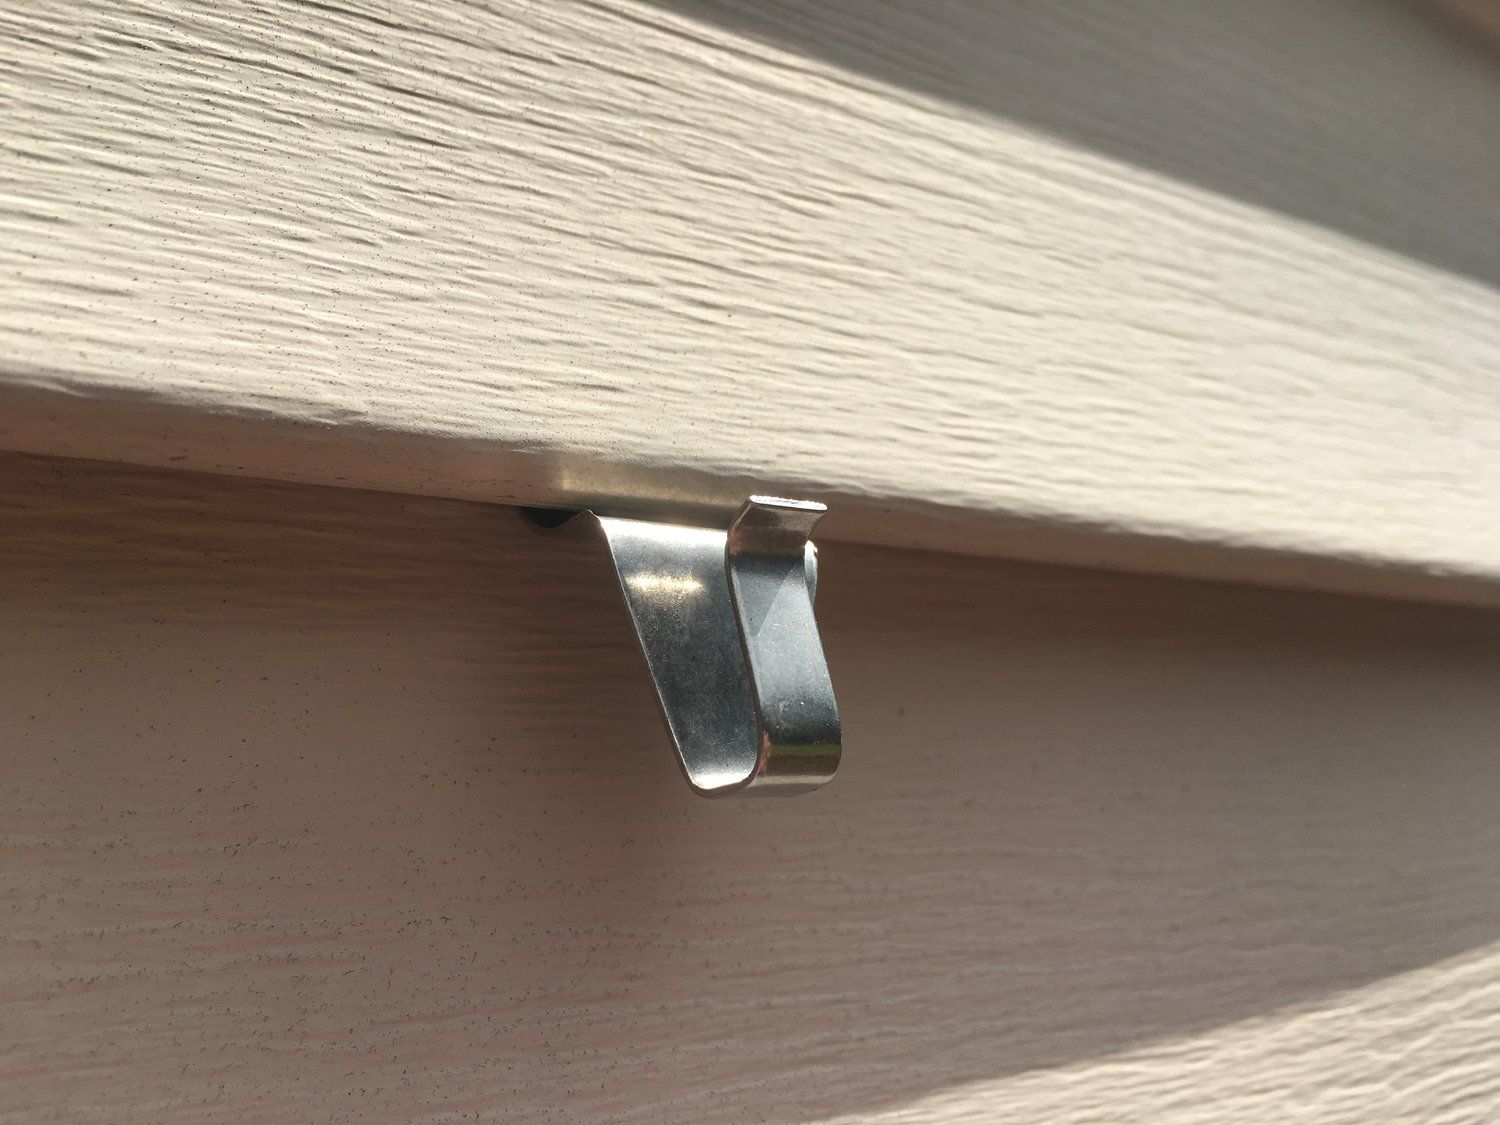
Step 3: Attachment Method 1 – Hooks or Clips
One of the most common and effective ways to hang Christmas lights on siding is by using hooks or clips. Here’s how you can use this attachment method:
- Choose the right hooks or clips: Look for hooks or clips specifically designed for outdoor use and compatible with your siding material. They should provide a secure hold without causing any damage.
- Start at one end: Begin by attaching the hooks or clips at one end of the siding. Space them evenly along the length, depending on the desired density of lights and the design you want to achieve.
- Insert the lights: Once the hooks or clips are in place, carefully insert the Christmas lights into them. Follow the manufacturer’s instructions for properly securing the lights in the chosen hooks or clips.
- Continue attaching: Move along the siding, adding more hooks or clips as needed to support the lights. Make sure to maintain an even spacing and straight line, or follow the desired pattern you planned in advance.
- Avoid overstretching: Don’t stretch the lights too tightly or pull them too hard, as this can cause strain on the hooks or clips. Allow some slack to prevent the lights from popping out and to ensure a secure attachment.
Using hooks or clips is a versatile method that works well with various siding materials. It allows for easy installation and removal without leaving any permanent damage. However, if your siding does not facilitate the use of hooks or clips, you can consider the alternative method of using adhesive hooks.
In the next step, we will explore how to utilize adhesive hooks to hang your Christmas lights on siding that is not compatible with traditional hooks or clips.
Use plastic clips designed for outdoor use to attach the lights to the siding. These clips will securely hold the lights in place without damaging the siding.
Step 4: Attachment Method 2 – Adhesive Hooks
If your siding does not allow for the use of hooks or clips, another option is to use adhesive hooks to hang your Christmas lights. Here’s how you can utilize this attachment method:
- Select the right adhesive hooks: Look for adhesive hooks that are designed for outdoor use and can withstand various weather conditions. Choose hooks with a weight capacity that can support the weight of your lights.
- Clean the surface: Before applying the adhesive hooks, clean the area of the siding where you intend to attach them. Use soap and water to remove any dirt, dust, or debris that may interfere with the adhesive’s effectiveness.
- Position the hooks: Decide on the desired placement of your lights and carefully position the adhesive hooks accordingly. Ensure that they are evenly spaced and aligned for a straight and visually appealing display.
- Apply the hooks: Peel off the backing from the adhesive side of the hooks and press them firmly onto the cleaned surface of the siding. Hold each hook in place for a few seconds to ensure a strong bond.
- Allow time to set: After applying the adhesive hooks, allow them to set and adhere to the siding for the recommended duration mentioned on the packaging. This will ensure a secure attachment before you hang the lights.
- Hang the lights: Once the adhesive hooks are securely in place, carefully hang the Christmas lights by inserting them into the hooks. Take care not to overload each hook and ensure the lights are firmly attached.
Using adhesive hooks is a great alternative for sidings that cannot accommodate traditional hooks or clips. It provides a secure attachment without causing any damage or leaving marks on the siding. However, if your siding does not work well with adhesive hooks either, there is another option to consider – light clips or track systems.
In the next step, we will explore how to use light clips or track systems to hang your Christmas lights on siding that is made of vinyl or aluminum.
Step 5: Attachment Method 3 – Light Clips or Track
If you have vinyl or aluminum siding, using light clips or track systems can be an excellent option for hanging your Christmas lights. Here’s how you can utilize this attachment method:
- Select the right light clips or track: Look for light clips or track systems that are specifically designed for vinyl or aluminum siding. These attachments are typically easy to install and provide a secure and non-invasive way to hang your lights.
- Position the track or clip: Begin by positioning the track or clip along the length of the siding where you want to hang the lights. Make sure it is properly aligned and evenly spaced for a tidy and straight display.
- Secure the track or clip: Use screws or other provided fasteners to secure the track or clip in place. Ensure that it is tightly secured to prevent any movement or sagging of the lights once they are attached.
- Insert the lights: Once the track or clip is securely installed, carefully insert your Christmas lights into the track or clip. Follow the manufacturer’s instructions for properly securing the lights in the chosen attachment system.
- Continue attaching: Move along the track or clip, inserting more lights as needed to cover the desired area. Maintain an even spacing and follow any specific pattern or design you planned in advance.
- Check for proper alignment: As you install the lights, periodically step back and check for proper alignment and straightness. Make any necessary adjustments to ensure a visually appealing and evenly illuminated display.
Using light clips or track systems is a convenient and effective solution for vinyl or aluminum siding. It allows for easy installation and removal without causing any damage to the siding. However, regardless of the attachment method, always ensure that you follow the manufacturer’s instructions and guidelines for a safe and secure installation.
Now that you have successfully attached the Christmas lights to your siding, it’s time to move on to the next step – hanging the lights themselves.
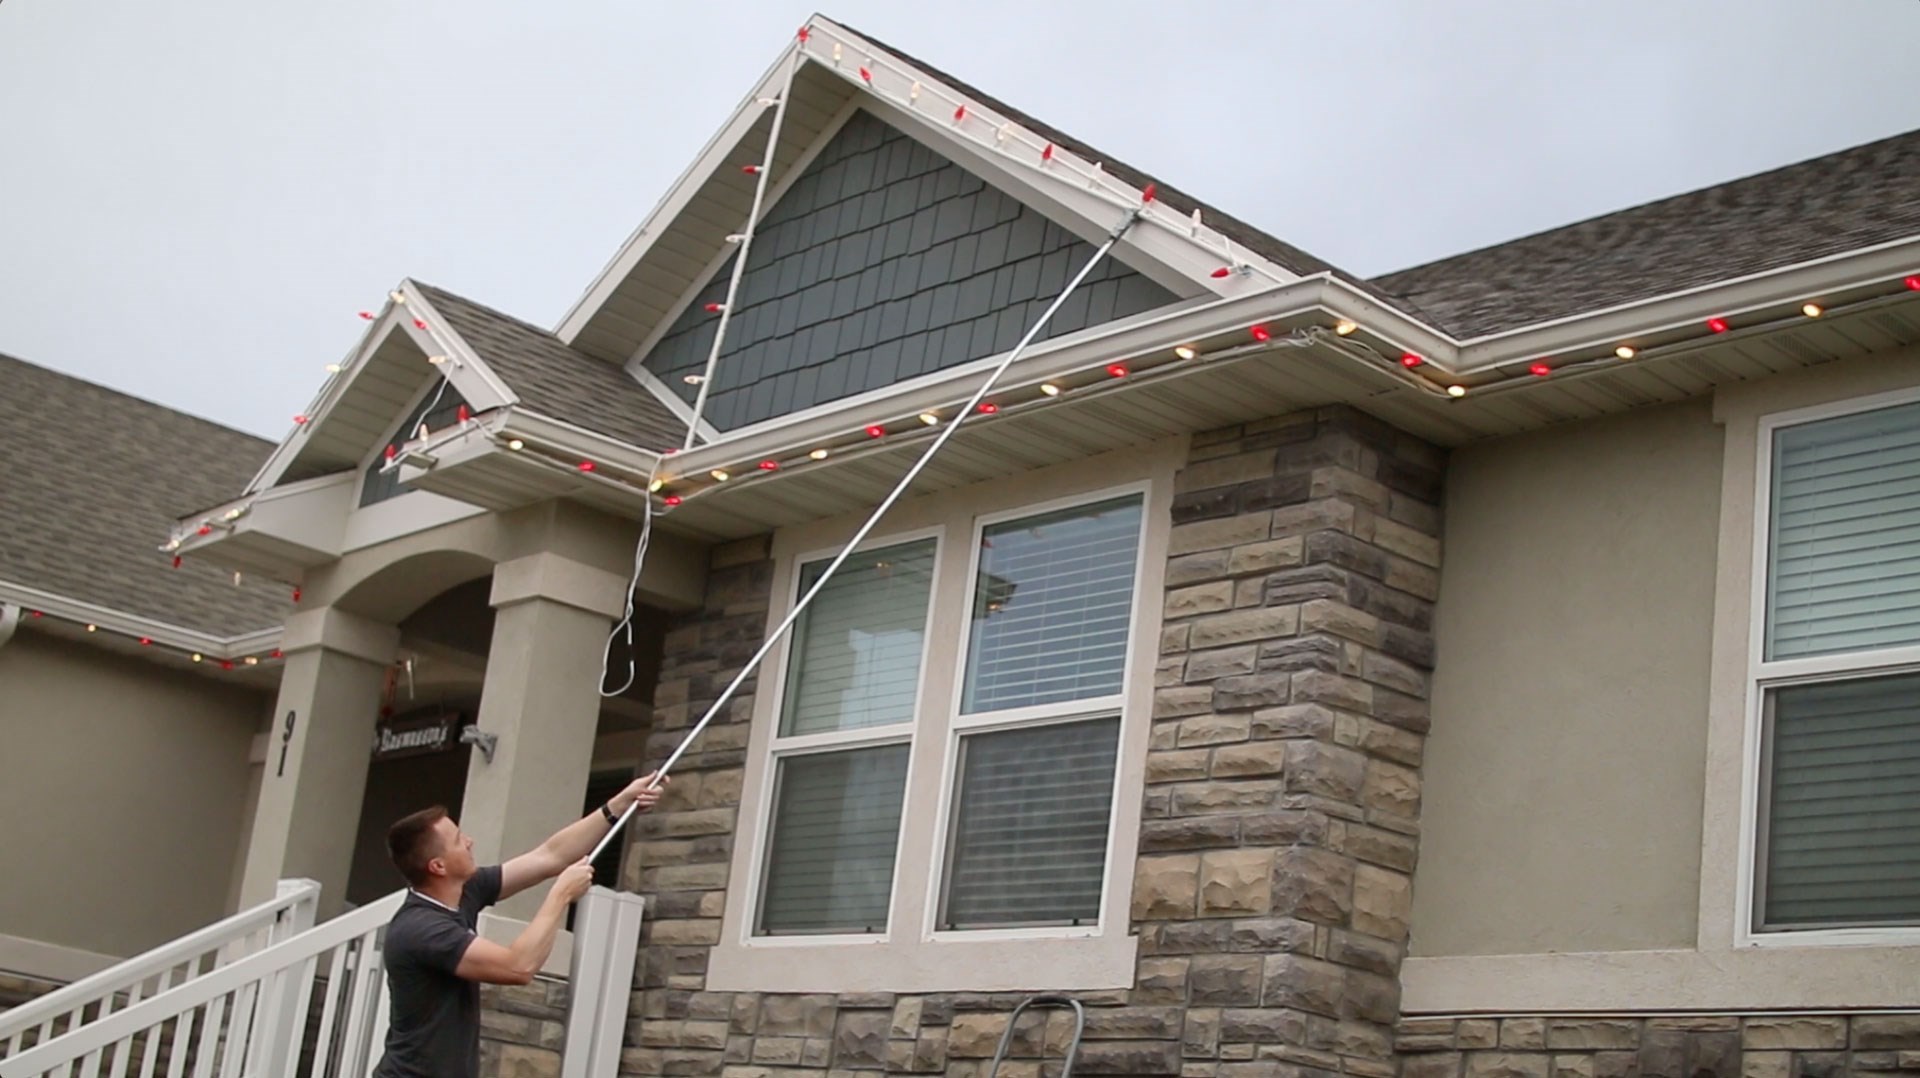
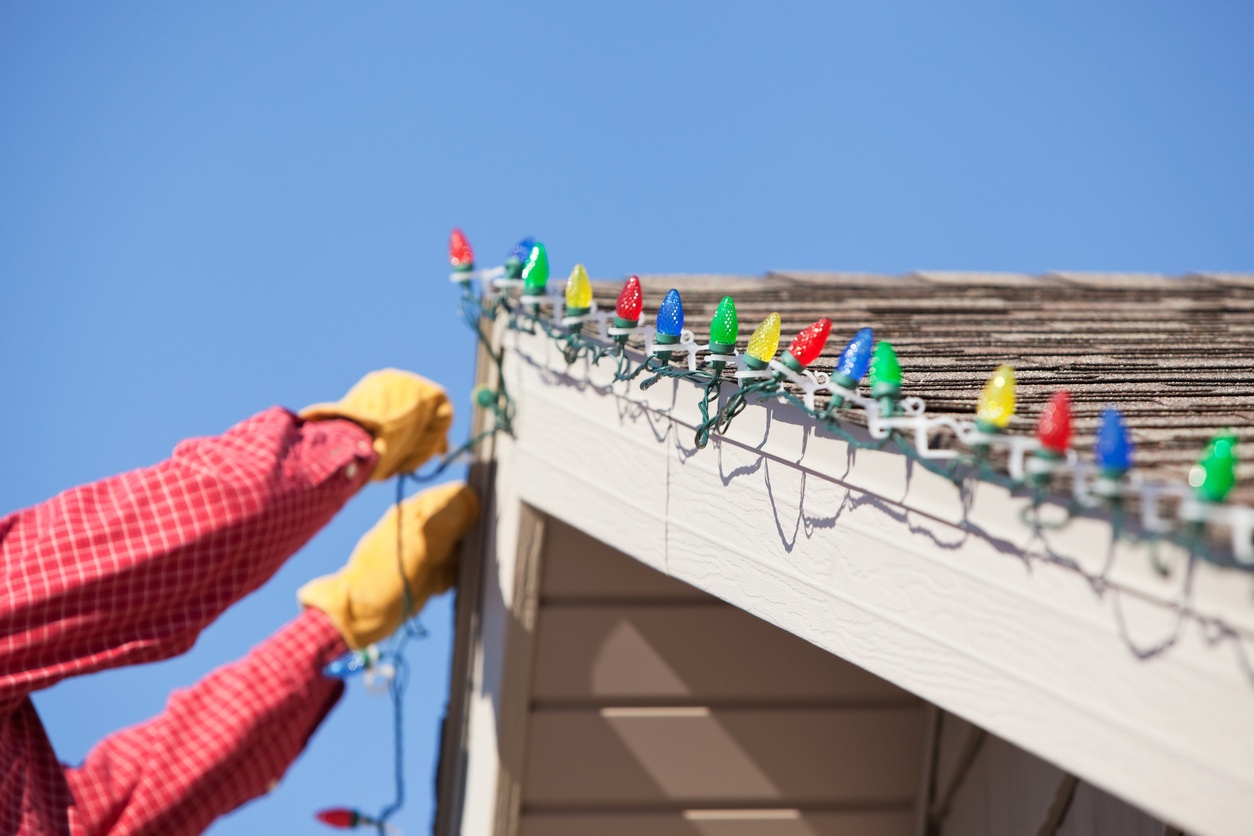
Step 6: Hanging the Lights
Now that your chosen attachment method is in place, it’s time to hang the Christmas lights on your siding. Follow these steps to ensure a neat and visually appealing display:
- Start at the power source: Begin at the power source, whether it’s an outdoor outlet or an extension cord connected to an indoor outlet. Plug in the lights, but keep them switched off for now.
- Untangle and straighten the lights: Before hanging the lights, carefully untangle any knots or twists in the strands. Straighten the lights to ensure a smooth and even distribution when they are hung.
- Begin at one end: Choose an end of the siding and start hanging the lights from there. If using hooks or clips, insert the lights into the hooks or clips. If using adhesive hooks, make sure the lights are securely attached to them.
- Follow your planned layout: As you move along the siding, follow the layout you planned during the earlier steps. Maintain an even spacing between lights and ensure they are aligned according to your desired pattern.
- Secure loose cords: Use zip ties or twist ties to secure any loose cords and keep them neatly arranged along the siding. This will prevent tangling and maintain a clean look.
- Make necessary adjustments: Step back occasionally and check for any gaps, sagging lights, or uneven spacing. Make any necessary adjustments to ensure a visually balanced and appealing display.
Take your time while hanging the lights and pay attention to detail. Remember to work safely, especially when working at heights or handling electrical connections. Consider enlisting the help of a friend or family member to make the process smoother and more efficient.
Once the lights are hung, it’s time to move on to the next step – testing and adjusting.
Read more: How To Hang Lights From Siding
Step 7: Testing and Adjusting
After hanging the Christmas lights on your siding, it’s important to test and adjust them to ensure a perfect display. Follow these steps to make any necessary tweaks:
- Turn on the lights: Once all the lights are hung, it’s time to turn them on. Switch on the power and check if all the lights are working properly. Replace any burnt-out bulbs or faulty strands.
- Check for proper illumination: Step back and observe the overall illumination of the lights. Ensure that there are no dark spots or areas with too many lights clustered together. Make any adjustments as needed.
- Address any sagging lights: If you notice any lights sagging or drooping, readjust the hooks, clips, or adhesive attachments to secure them in place. This will create a more polished and professional look.
- Reposition any misaligned lights: If any lights are not aligned properly or deviate from your planned layout, gently reposition them to achieve the desired arrangement. This will create a visually pleasing display.
- Make final adjustments: Take a final look at the entire display and make any final adjustments to ensure that the lights are evenly spaced, straight, and aligned according to your vision.
Testing and adjusting the lights will ensure that your display looks its best. It’s important to take your time and make any necessary modifications to achieve the desired effect. Once you are satisfied, it’s time to move on to the next step – removing and storing the lights.
Step 8: Removal and Storage Tips
When the holiday season is over and it’s time to take down the Christmas lights from your siding, it’s important to do so carefully to avoid any damage. Here are some tips for removing and storing your lights:
- Turn off the power: Before removing the lights, make sure to turn off the power at the circuit breaker or unplug them from the power source. This will prevent any potential electrical hazards.
- Remove the lights gently: Starting from one end, carefully remove the lights from the hooks, clips, or adhesive attachments. Avoid pulling or yanking the lights, as this can damage the siding or the lights themselves.
- Untangle and coil the lights: Take the time to untangle any tangled strands and neatly coil them for storage. This will make it easier to set them up again next year without any frustration.
- Label the strands: If you have multiple strands of lights, consider labeling them for easy identification next year. This can save you time and effort when setting up your display again.
- Store in a dry and safe location: Store the lights in a dry and safe place, such as a plastic storage bin or a dedicated holiday storage container. Avoid exposing the lights to extreme temperatures or moisture, as this can damage them.
- Avoid tight winding: When storing the lights, avoid tightly winding them. This can cause excessive strain on the wires and increase the chances of tangling. Instead, loosely coil them or use wrapping paper/cardboard to keep them separated.
- Consider using storage organizers: Use specific storage organizers or accessories, such as light reels or storage bags designed for Christmas lights. These will help keep your lights organized and protected during the off-season.
- Inspect before reuse: Before using the lights again next year, inspect them thoroughly for any damage or signs of wear. Replace any faulty bulbs or strands to ensure a safe and visually appealing display.
By following these removal and storage tips, you can keep your Christmas lights in good condition and ready for the next holiday season. Proper storage will also make the setup process easier and more efficient.
With the lights removed and properly stored, you have successfully completed the process of hanging, illuminating, and removing Christmas lights from your siding. Congratulations on creating a beautiful and festive display!
Remember to always prioritize safety when working with electricity and heights. If you are not comfortable or confident in your abilities, consider hiring a professional to handle the installation and removal of your Christmas lights.
Happy holidays and enjoy the festive glow of your decorated home!
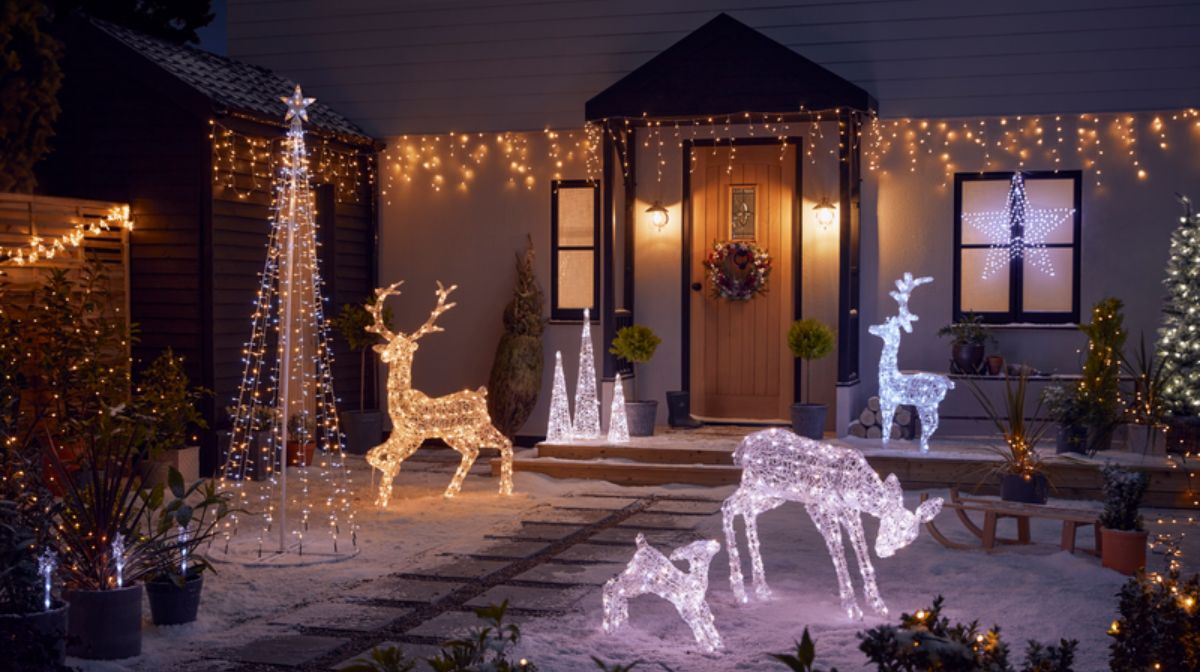
Conclusion
Hanging Christmas lights on siding can transform your home into a magical wonderland during the holiday season. By following the step-by-step guide and implementing the suggested safety precautions, you can achieve a stunning and safe display that will bring joy to your family and passersby.
Throughout this guide, we have covered various attachment methods, including hooks or clips, adhesive hooks, and light clips or track systems. Each method offers its own advantages and can be adapted to different types of siding materials, such as vinyl, wood, and aluminum.
Proper planning, measuring, and choosing the right lights are essential for a successful installation. It is important to consider factors such as light type, color, style, and waterproof rating to create the desired ambiance while ensuring durability and safety.
During the hanging process, make sure to test and adjust the lights to achieve an evenly illuminated and visually pleasing display. Taking your time and following the recommended steps will result in a professional and polished look.
Lastly, the removal and storage of the lights are just as important as the installation. By gently removing the lights, carefully storing them in a dry and safe place, and inspecting them before reuse, you can prolong their lifespan and prevent any damage that might occur during storage.
Remember, safety should always be a priority when working with electricity and heights. If you are unsure or uncomfortable with any aspect of the installation or removal process, it’s best to consult a professional to ensure a safe and seamless experience.
Now it’s time to enjoy the magical glow of your beautifully decorated home. Get ready to create wonderful memories and spread holiday cheer with your stunning Christmas light display!
Frequently Asked Questions about How To Hang Christmas Lights On Siding
Was this page helpful?
At Storables.com, we guarantee accurate and reliable information. Our content, validated by Expert Board Contributors, is crafted following stringent Editorial Policies. We're committed to providing you with well-researched, expert-backed insights for all your informational needs.


0 thoughts on “How To Hang Christmas Lights On Siding”