Home>Furniture>Outdoor Furniture>How To Hang Outdoor Lights On A Patio
Outdoor Furniture
How To Hang Outdoor Lights On A Patio
Modified: March 7, 2024
Learn how to hang outdoor lights on your patio and transform it into a cozy and inviting space. Enhance your outdoor furniture with beautiful lighting.
(Many of the links in this article redirect to a specific reviewed product. Your purchase of these products through affiliate links helps to generate commission for Storables.com, at no extra cost. Learn more)
Introduction
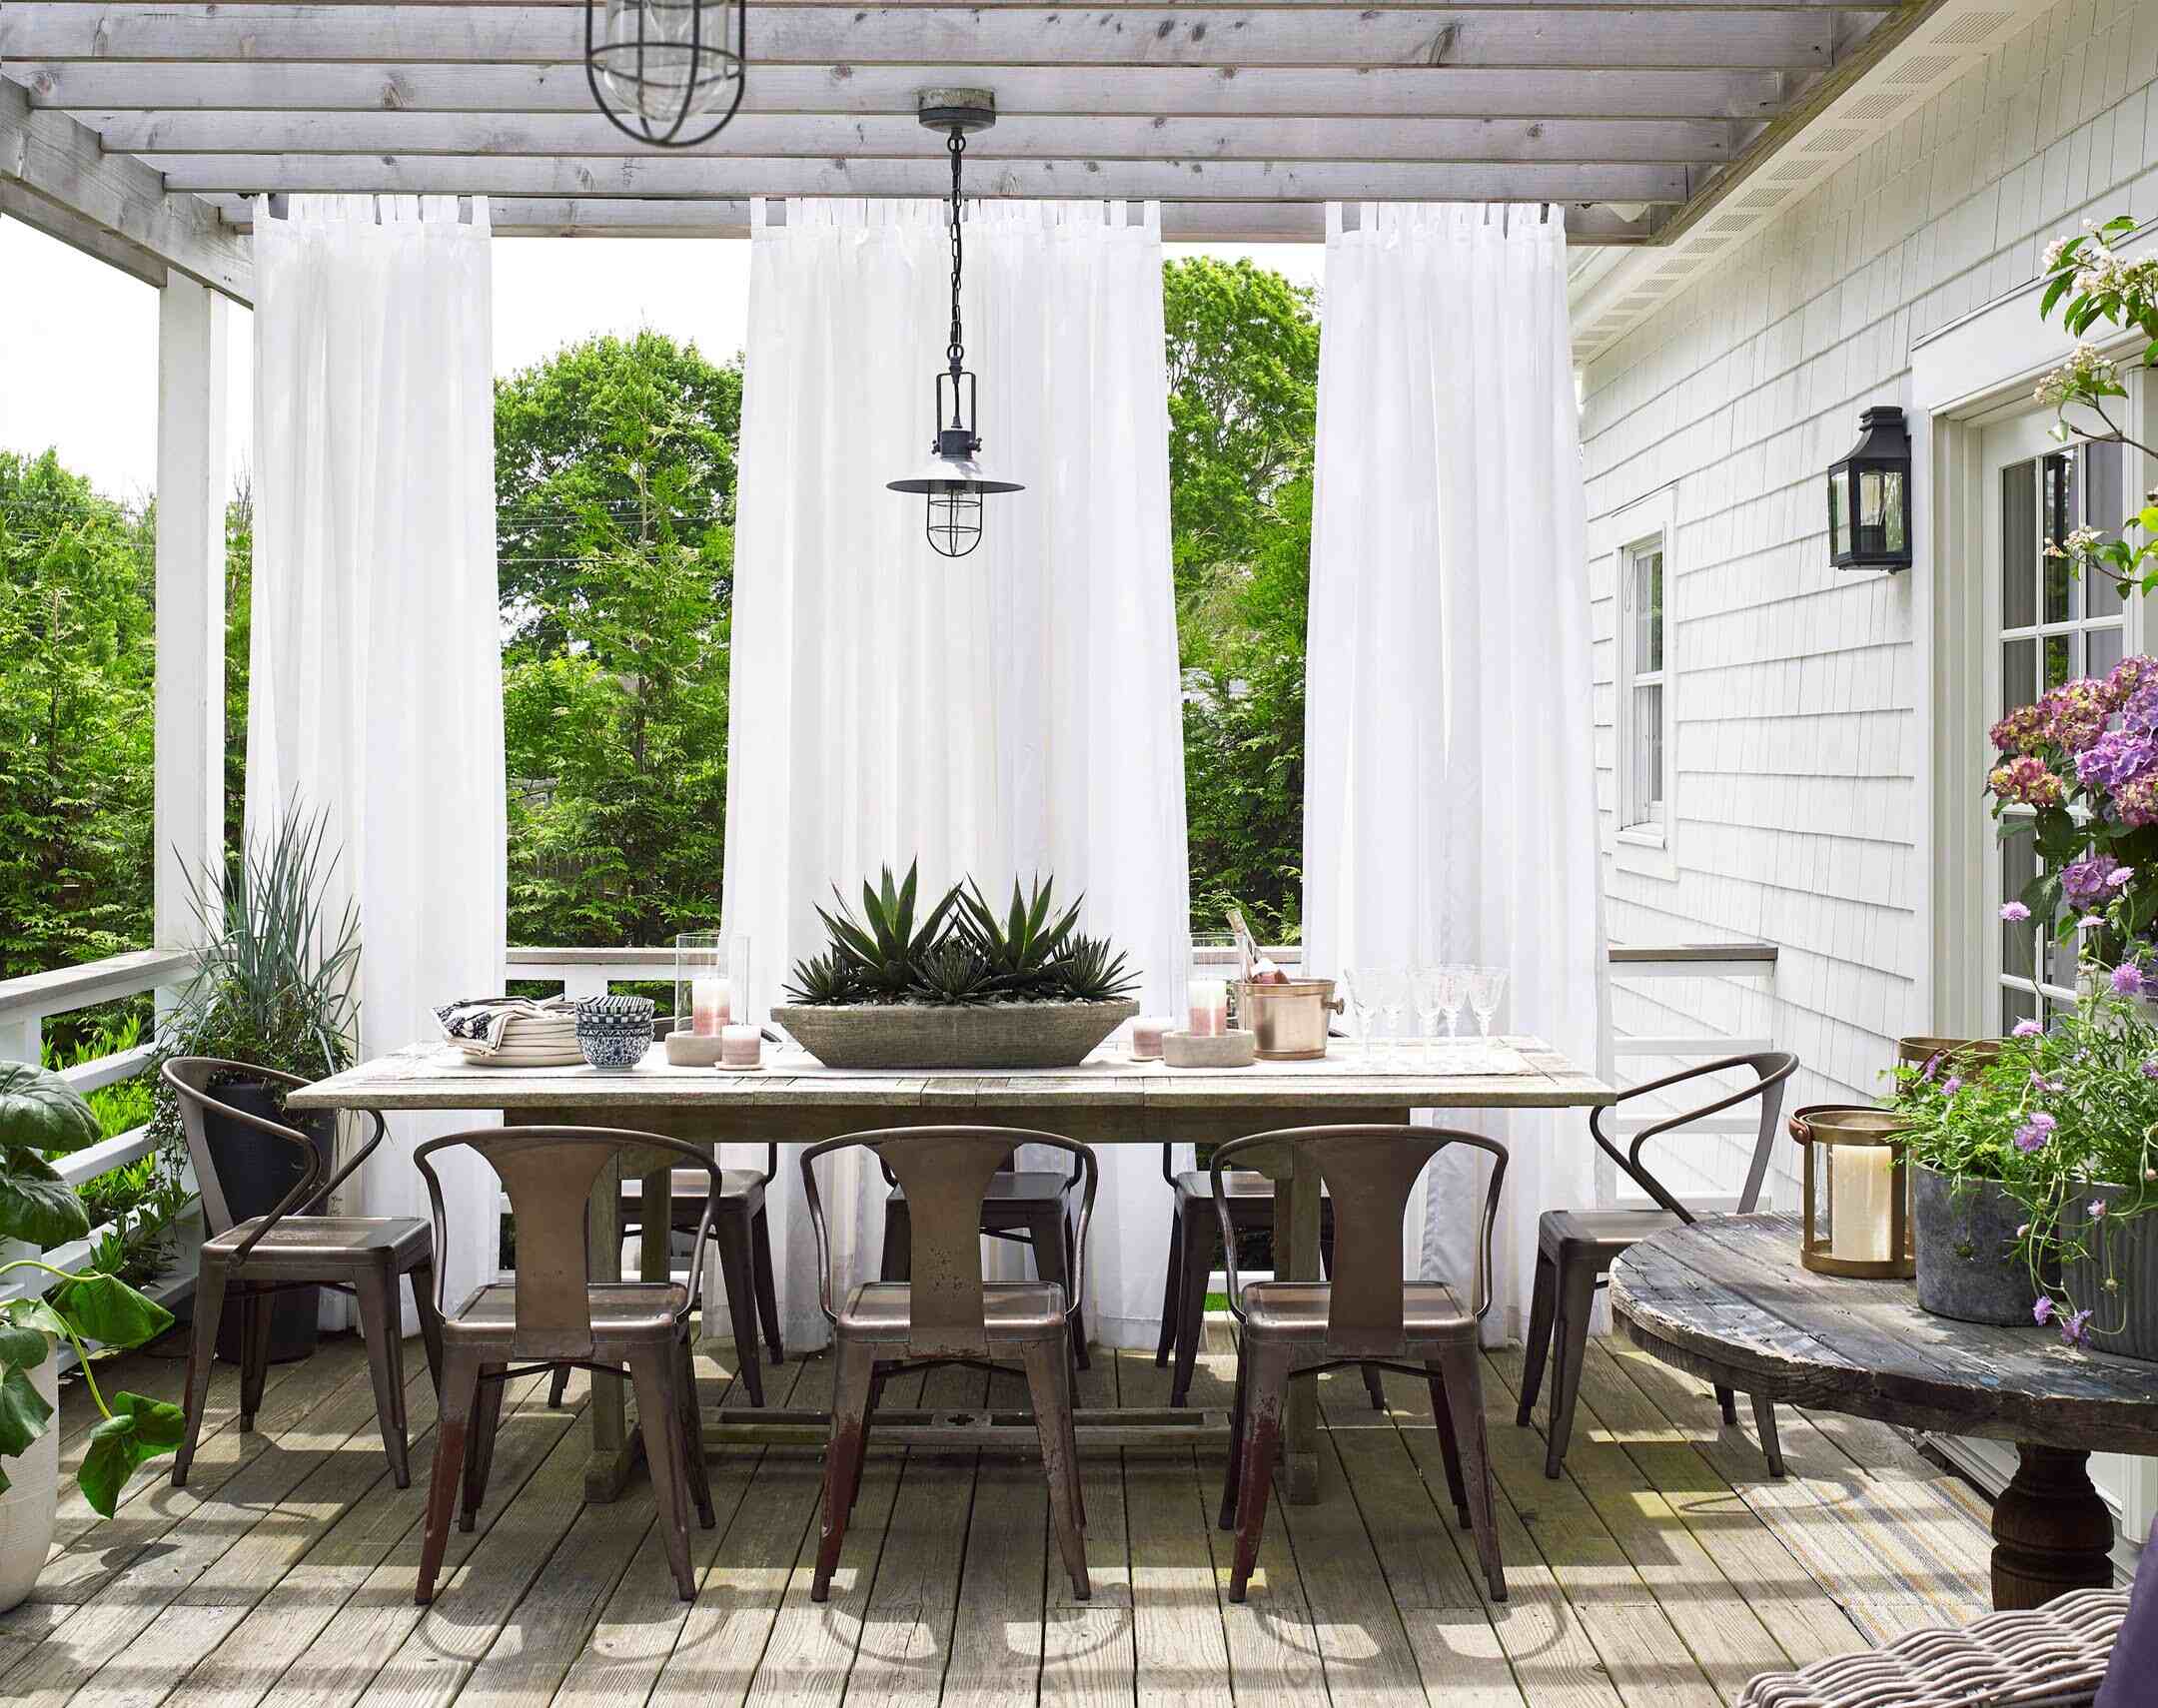
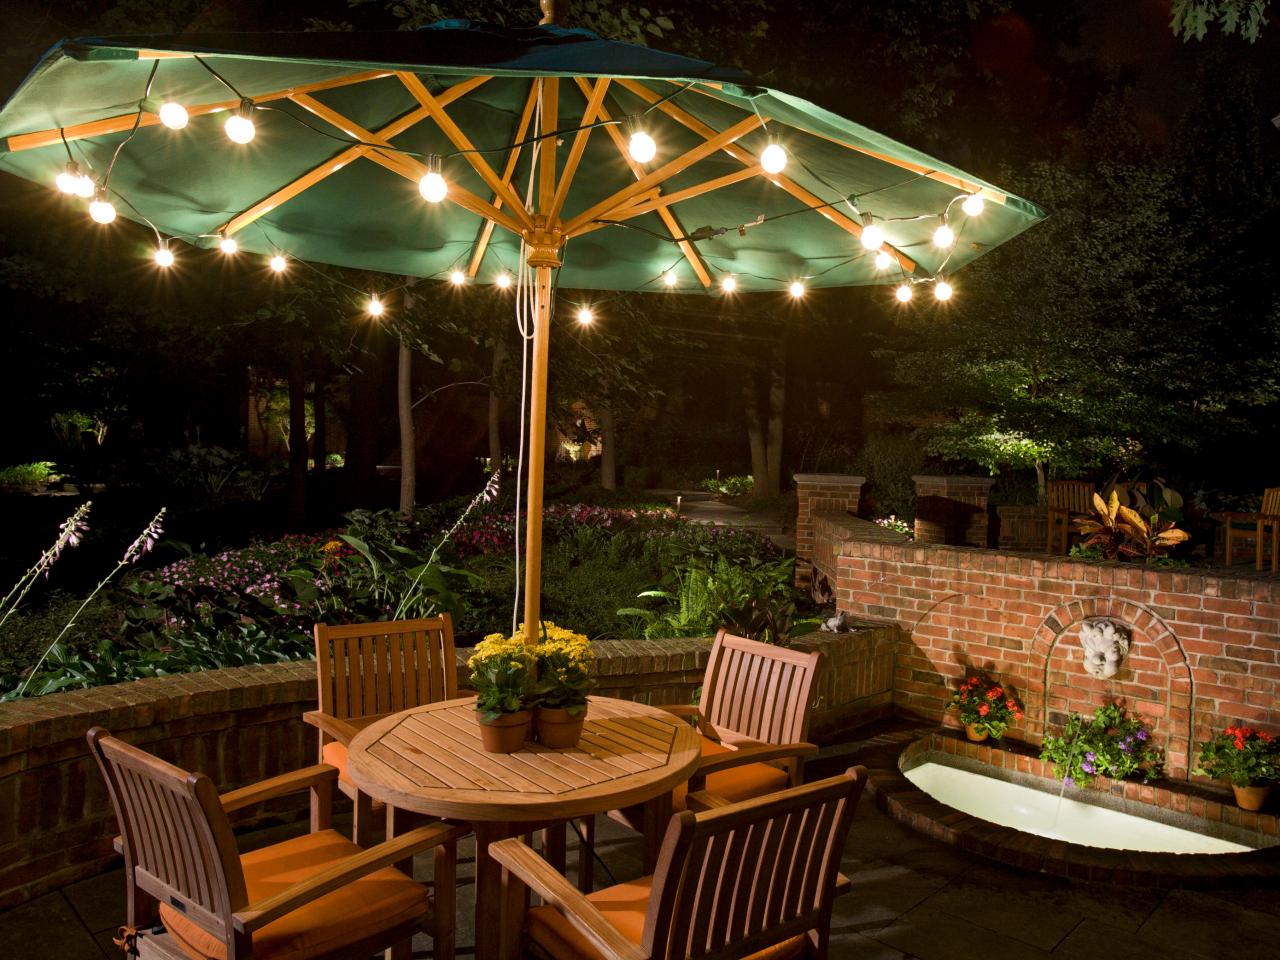
Welcome to our guide on how to hang outdoor lights on a patio! Having outdoor lights on your patio not only adds a touch of ambiance to your space, but it also makes evenings more enjoyable and functional. Whether you want to create a cozy atmosphere for outdoor dinners or brighten up the patio for a festive gathering, hanging outdoor lights can transform your patio into a beautiful and inviting space.
However, before you grab a ladder and start stringing lights, it’s important to plan and prepare for the installation. This guide will take you through the step-by-step process of hanging outdoor lights on a patio, ensuring a safe and visually pleasing result. We’ll cover everything from choosing the right light fixtures and measuring your patio to selecting the hanging method and installing the necessary hooks or anchors.
But first, let’s briefly touch on the importance of outdoor lighting. Aside from adding aesthetic appeal to your patio, well-placed lights can also improve the functionality and safety of your outdoor space. Outdoor lights can help illuminate pathways, steps, and potential hazards, making it easier for you and your guests to navigate the patio after dark. Furthermore, soft and warm lighting can create a cozy and inviting atmosphere, allowing you to enjoy your outdoor space even in the evening hours.
Whether you have a small patio or a spacious deck, the right choice of outdoor lighting can enhance the overall look and feel of your outdoor area. So, let’s dive into the planning and preparation phase to ensure a successful installation of your outdoor lights!
Key Takeaways:
- Create a cozy and inviting patio by carefully planning and choosing the right outdoor light fixtures. Consider your lighting goals, patio layout, and available power sources to achieve the perfect ambiance for your outdoor space.
- Ensure a safe and visually appealing installation of outdoor lights by measuring, marking, and selecting the appropriate hanging method. Gather the necessary tools and materials, and test and adjust the lights to achieve the desired effect for your patio.
Read more: How To Hang Patio Lights On A Covered Patio
Planning and Preparation
Before you start hanging outdoor lights on your patio, it’s crucial to do some planning and preparation. Taking the time to properly plan will ensure that your lighting installation is safe, efficient, and visually appealing. Here are some key steps to consider:
- Determine your lighting goals: Think about what you want to achieve with your outdoor lighting. Are you looking to create a soft and romantic atmosphere, or do you need bright and functional lighting for entertaining? Knowing your lighting goals will help you make appropriate choices in terms of fixture types and placement.
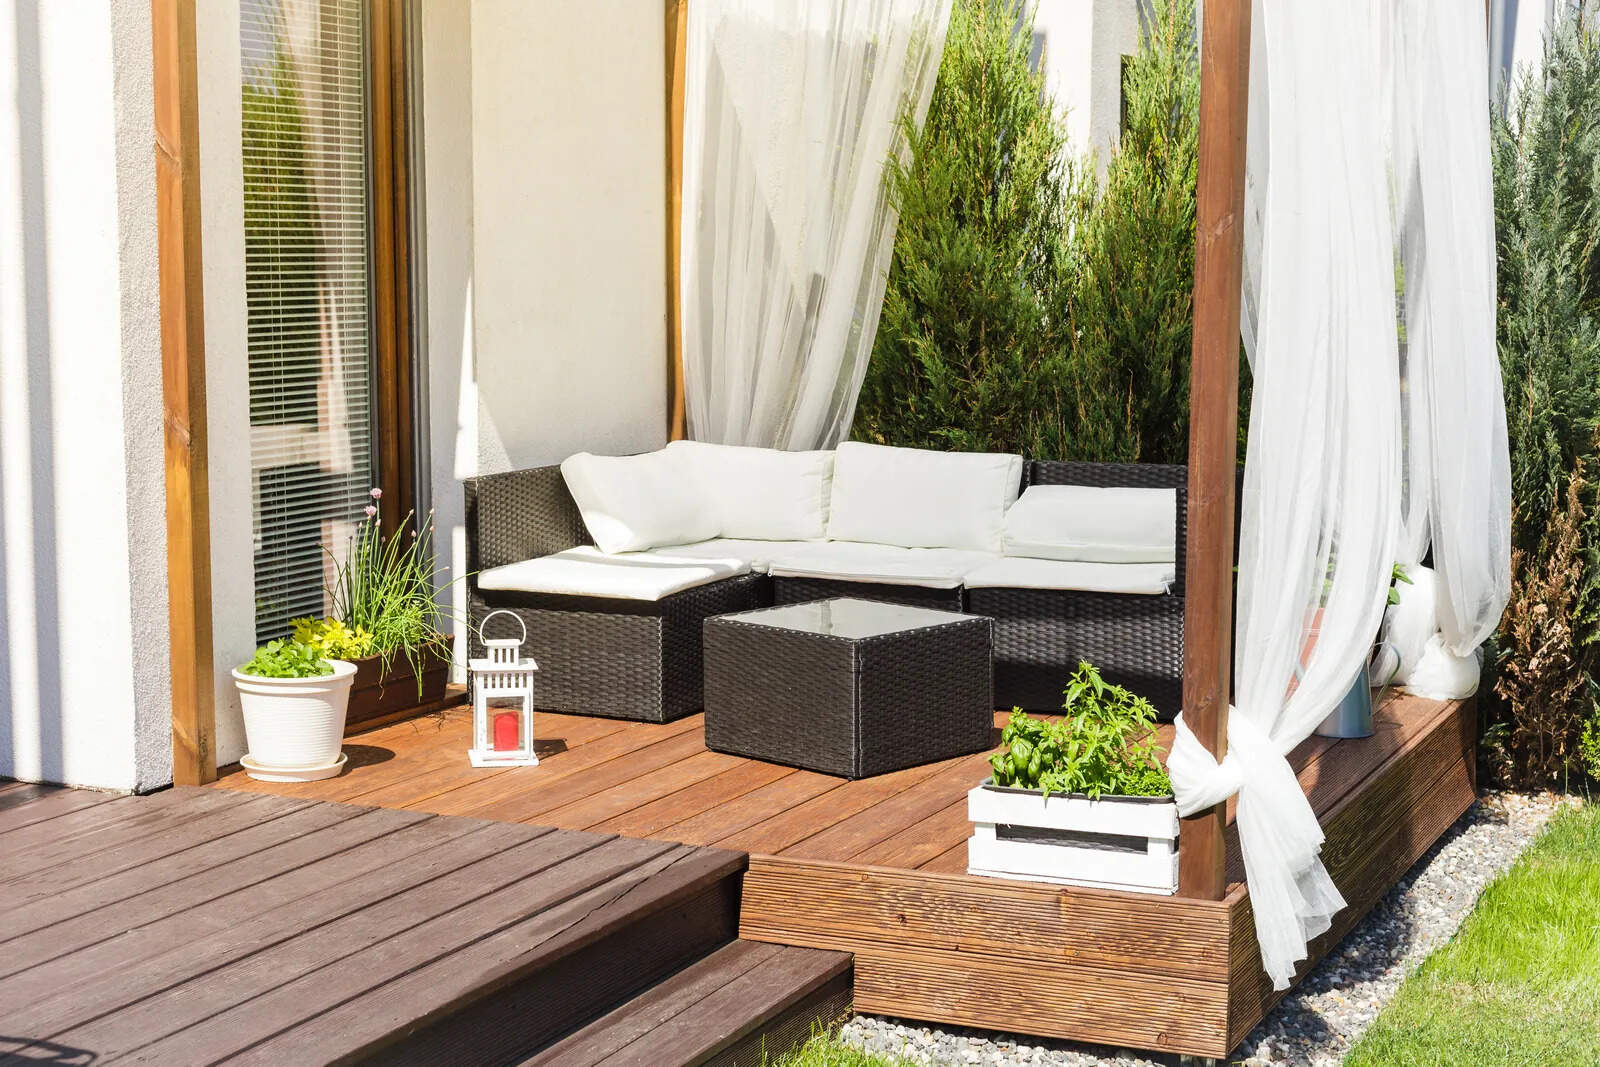
- Consider your patio layout: Take a good look at your patio and identify where you want to hang the lights. Consider the size and shape of your space, as well as any architectural features or structural elements that can serve as anchor points for your lights.
- Check your power sources: Determine the availability of power sources on your patio. Identify if you have easy access to an outdoor electrical outlet or if you’ll need to rely on battery-operated lights. This will impact your choice of light fixtures.
- Set a budget: Determine how much you’re willing to invest in your outdoor lighting project. This will help guide your choices when it comes to light fixtures and materials.
- Research lighting options: Start exploring different types of outdoor light fixtures. There are various options available, such as string lights, lanterns, sconces, and spotlights. Consider the style, brightness, and energy efficiency of each option.
Once you have a clear vision and plan in place, you can proceed to the next steps of the installation process. Remember, proper planning is essential for a successful outcome and will save you time and frustration down the line.
Choose the Light Fixtures
Now that you have a solid plan in place, it’s time to choose the right light fixtures for your outdoor patio. The type of light fixture you choose will greatly impact the overall look and feel of your patio. Here are some factors to consider when selecting your light fixtures:
- Style: Consider the style and aesthetic of your patio. Do you have a modern or contemporary design, or is it more rustic and traditional? Choose light fixtures that complement the existing decor and architectural elements of your outdoor space.
- Brightness: Think about the level of brightness you want for your patio. If you’re creating a cozy and romantic atmosphere, softer and dimmer lights may be more suitable. However, if you need functional lighting for entertaining or cooking, brighter lights may be necessary.
- Power source: Take into account the availability of power sources on your patio. If you have easy access to an outdoor electrical outlet, you can opt for electric-powered light fixtures. If not, consider battery-operated or solar-powered options.
- Weather resistance: Since your light fixtures will be exposed to outdoor elements, choose fixtures that are weather-resistant and suitable for outdoor use. Look for materials such as aluminum, stainless steel, or UV-resistant plastic.
- Installation: Consider the installation requirements of the light fixtures. Some fixtures may need to be mounted on walls or ceilings, while others can be hung from hooks or suspended from wires.
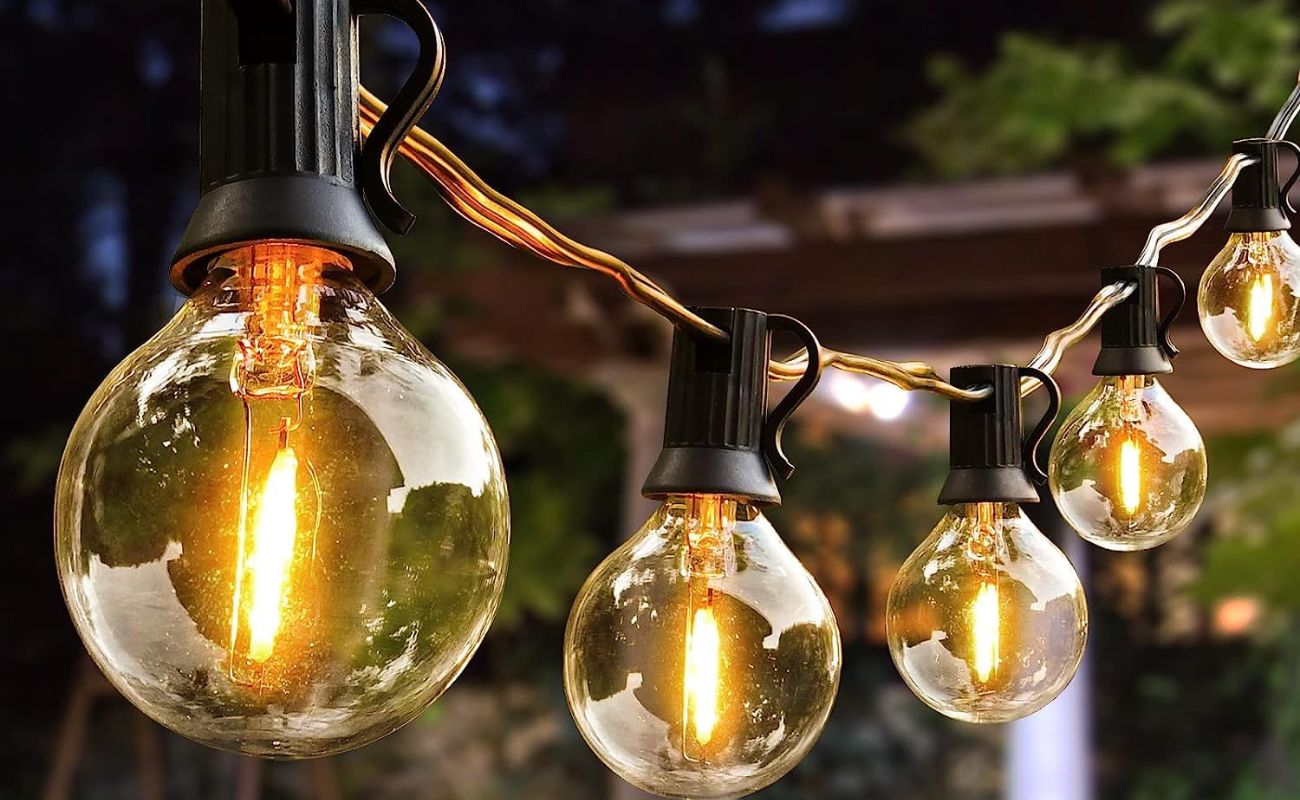
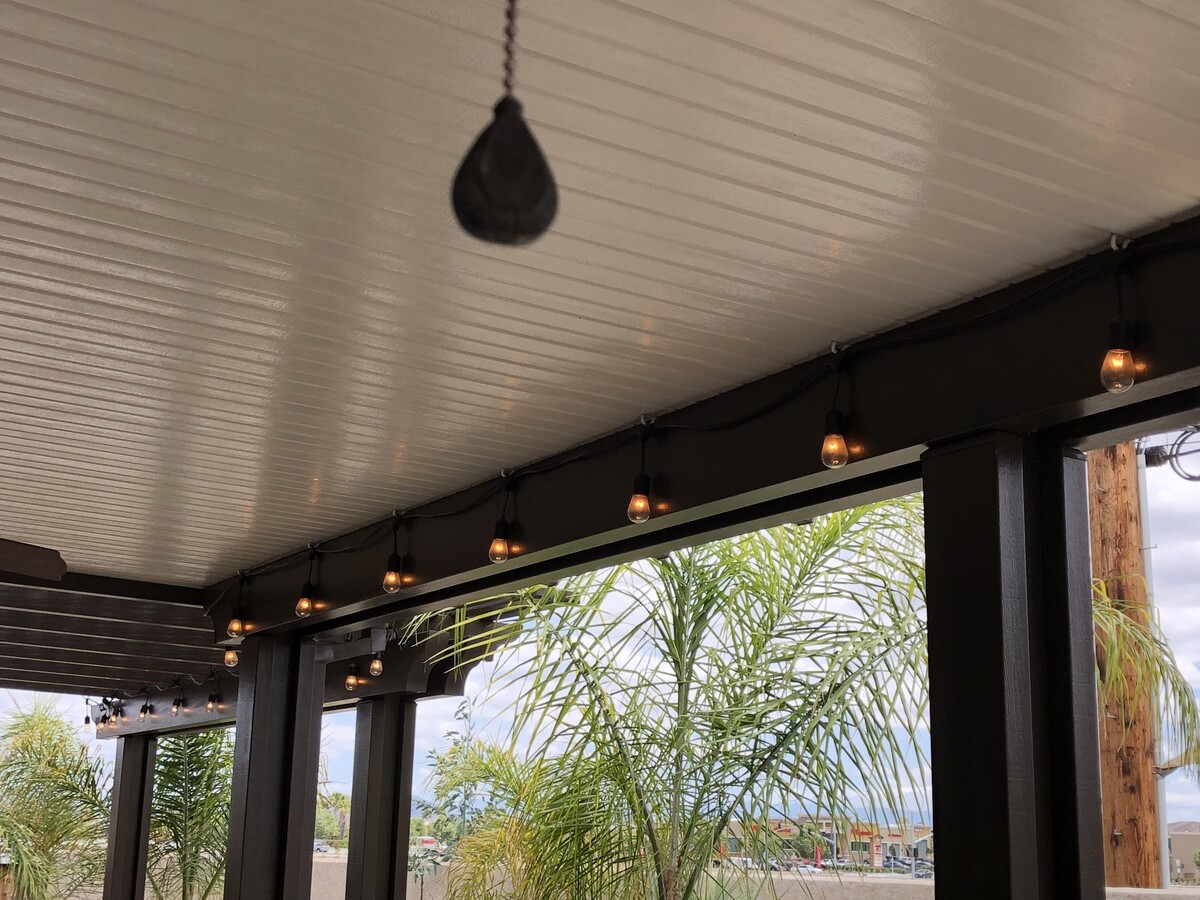
Common types of light fixtures for outdoor patios include string lights, which can be draped across the patio, creating a festive and charming ambiance. Lanterns are another popular choice, as they can be placed on tables, hung from hooks, or mounted on walls. Sconces and spotlights can provide more focused lighting and are ideal for highlighting specific areas or features of your patio.
Once you’ve chosen your light fixtures, make sure to purchase the necessary mounting hardware, extension cords, and any other accessories required for installation. It’s always a good idea to read the manufacturer’s instructions for the fixtures to ensure proper installation and use.
Remember, the choice of light fixtures will greatly contribute to the overall aesthetics and functionality of your patio. Take your time to explore different options and select fixtures that align with your style and lighting goals.
Measure and Mark the Patio
Now that you have your light fixtures selected, it’s time to measure and mark the areas where you’ll be hanging the lights on your patio. Proper measurements and markings will ensure that your lights are evenly spaced and visually appealing. Here’s how to do it:
- Gather your tools: Before you begin, make sure you have a measuring tape, a pencil, and some masking tape or painter’s tape.
- Decide on the spacing: Determine the desired spacing between your light fixtures. This will depend on the length and style of the light strings or the desired arrangement of other types of fixtures.
- Measure the patio: Starting at one end of the patio, use the measuring tape to mark the desired spacing intervals along the edge of the patio. Repeat this process for all sides of the patio if your lights will be hung around the perimeter.
- Transfer the measurements: Use the measuring tape to transfer the measurement markings onto the patio itself. Place the pencil at each measured point along the edge of the patio and lightly mark the surface.
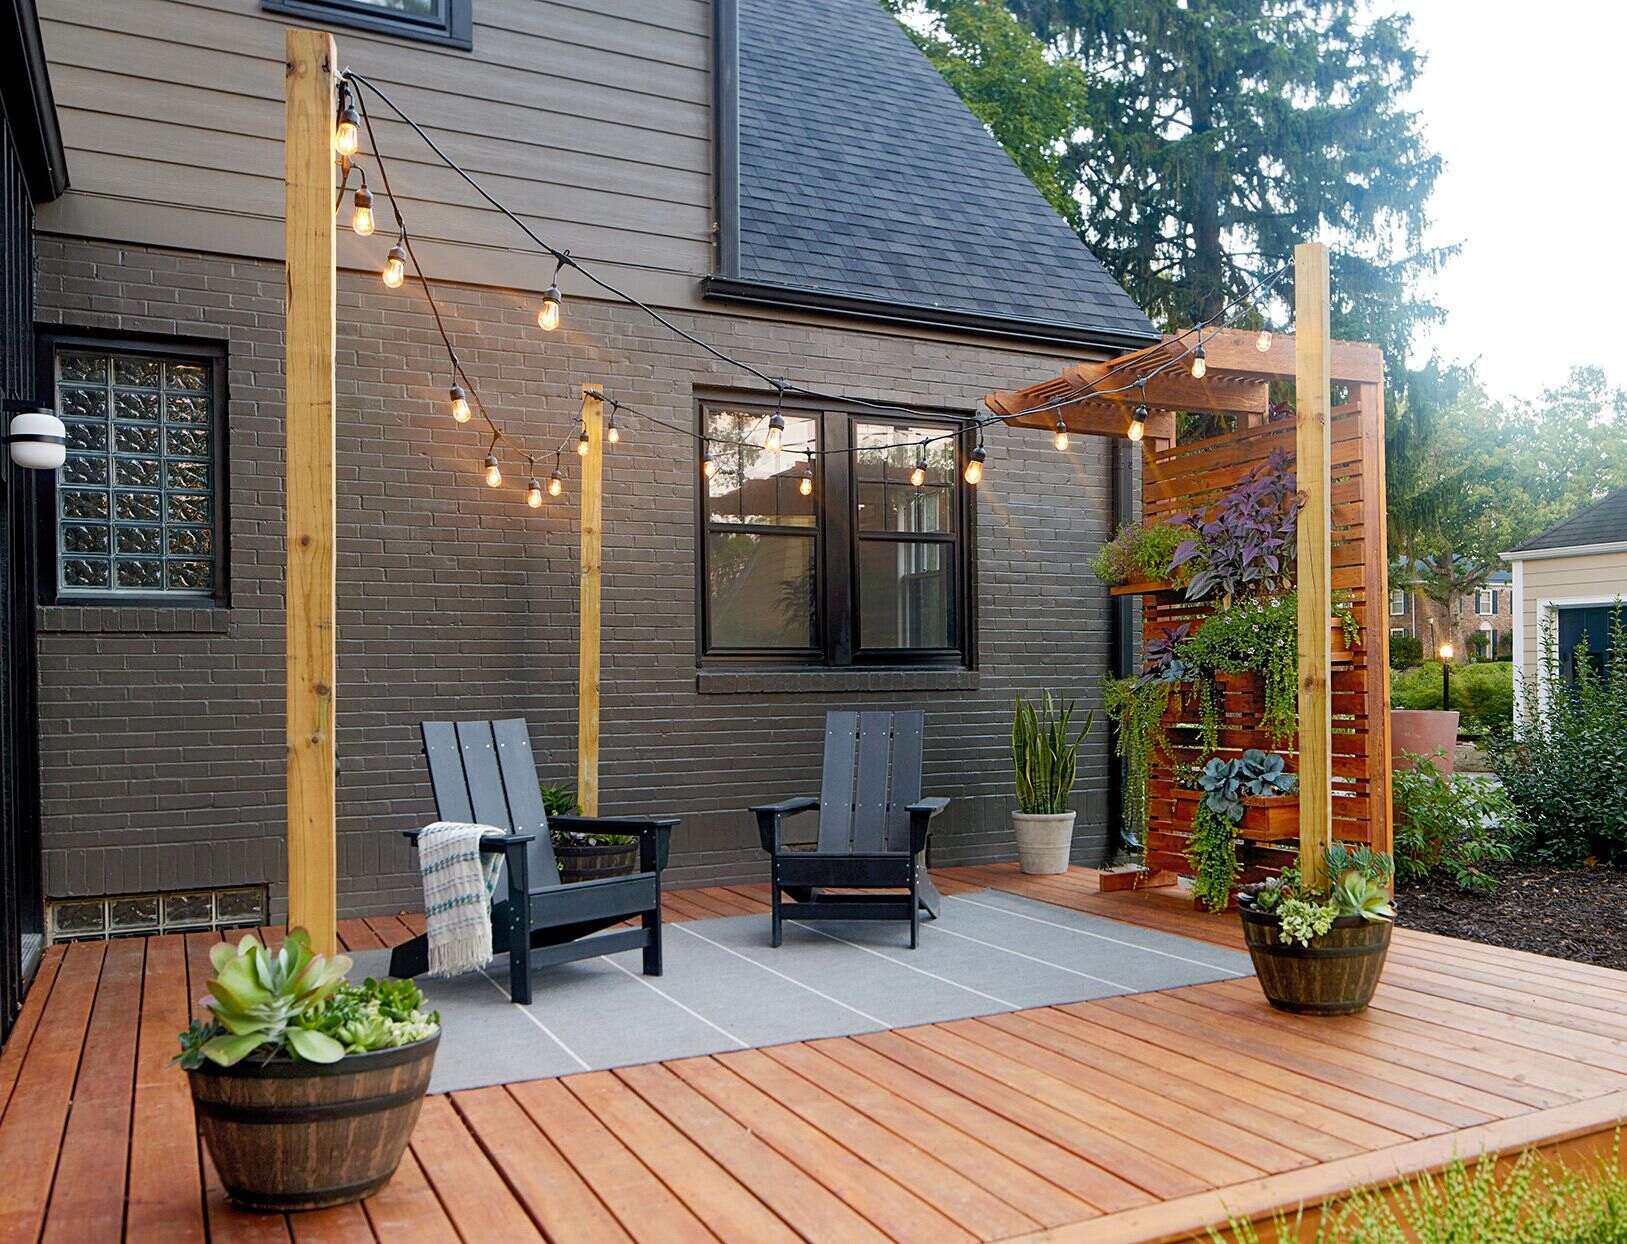
- Add a vertical guide: If you’re hanging string lights vertically down from a wall or overhead structure, determine the starting point and mark it with tape. Then, measure and mark the desired spacing intervals along the vertical surface using a tape measure and pencil.
- Connect the marks: Use the pencil and measuring tape to connect the markings with straight lines or arcs, depending on the placement of the lights. This will provide a clear visual guide for where the lights will be hung.
By measuring and marking the patio, you’ll have a precise reference for hanging your outdoor lights. This step ensures that your lights are evenly spaced and aligned, resulting in a visually pleasing display. It’s important to take your time during this process to achieve the desired outcome.
Once you’ve completed measuring and marking the patio, you’re ready to move on to the next step, where you’ll select the hanging method for your lights.
Select the Hanging Method
Choosing the right hanging method for your outdoor lights is essential for a secure and appealing installation. The method you select will depend on the type of light fixtures you have chosen and the layout of your patio. Here are a few popular hanging methods to consider:
- Wall mounting: If you have sconces or spotlights that need to be attached to walls or vertical surfaces, you’ll need mounting hardware such as screws or brackets. Make sure to choose the appropriate hardware for your specific fixtures and follow the manufacturer’s instructions for installation.
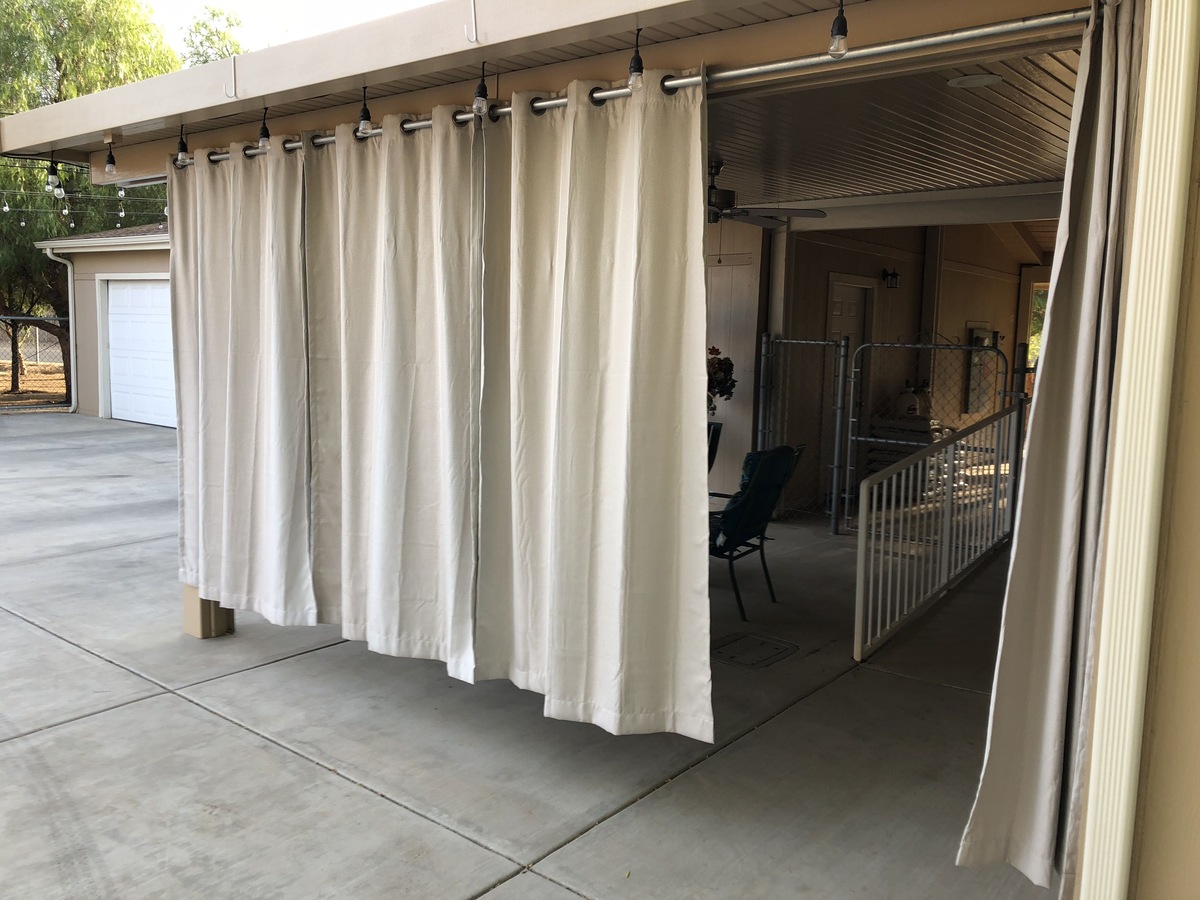
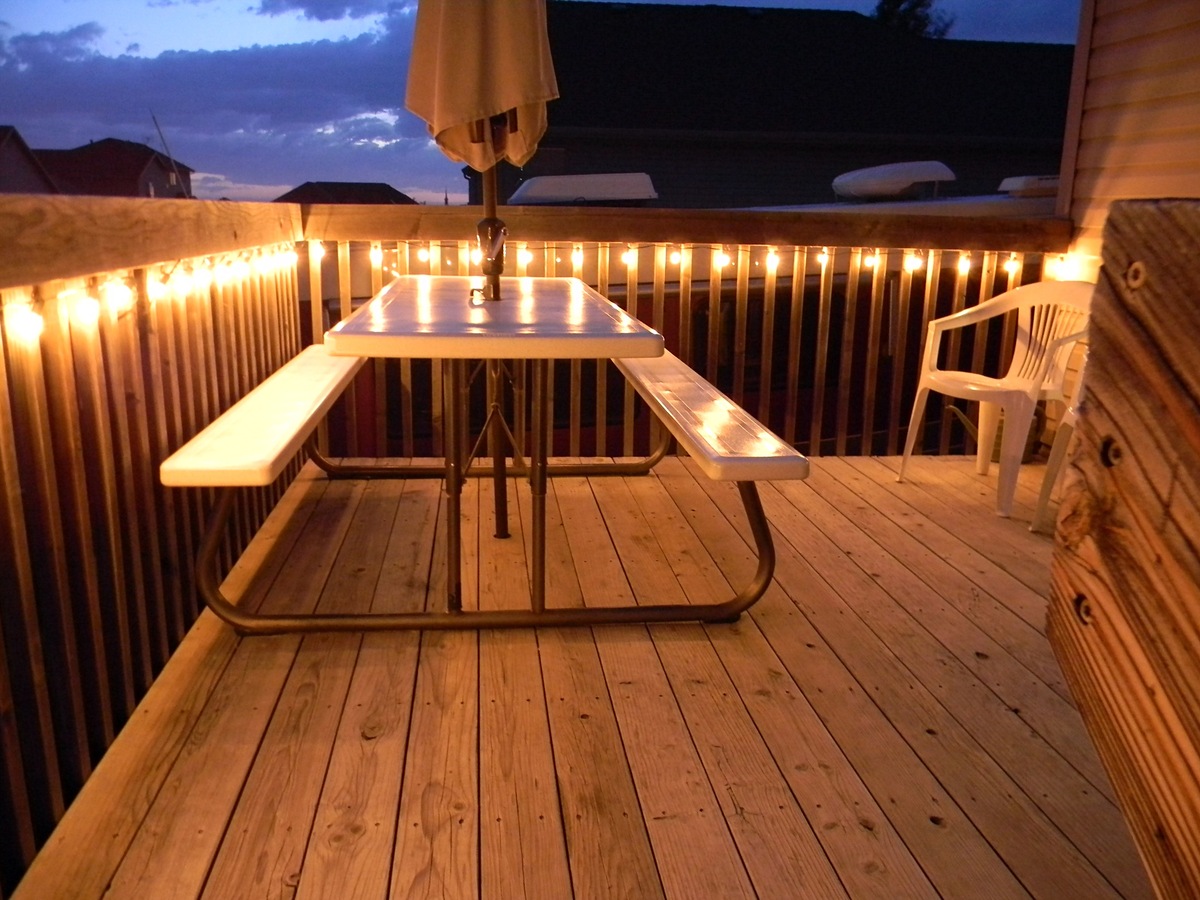
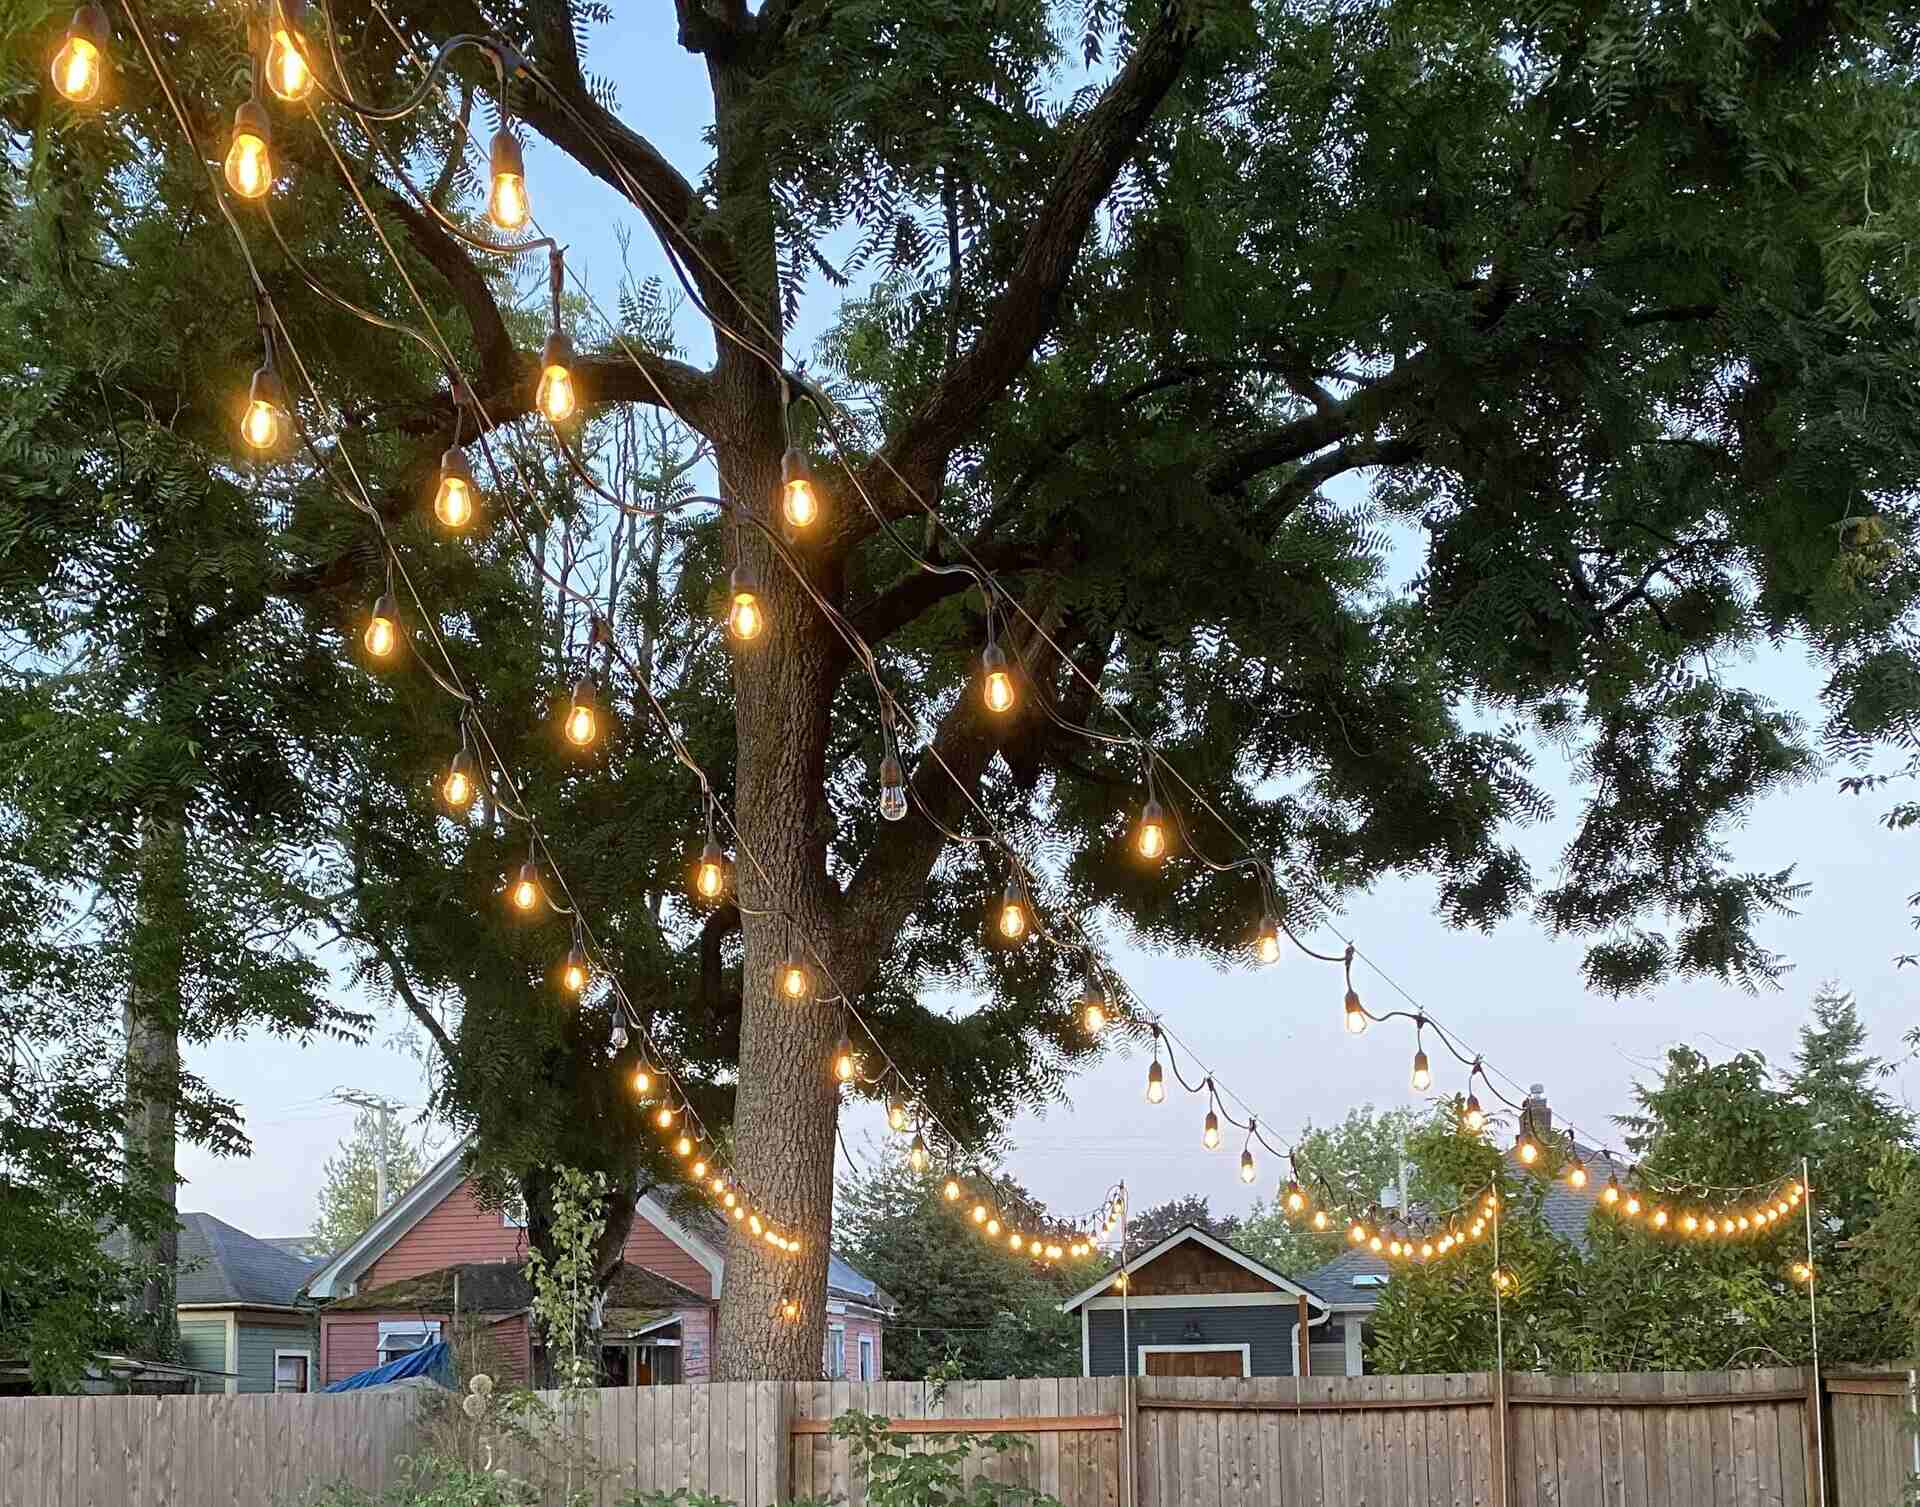
- Hanging from hooks or nails: For string lights or lanterns, you can use hooks or nails to hang them from various points around your patio. These can be attached to walls, pergolas, trees, or other structures. Make sure the hooks or nails are sturdy enough to support the weight of the light fixtures.
- Suspension using wires or cables: If you have larger or heavier light fixtures, such as pendant lights or chandeliers, you may need to use wires or cables for suspension. This method provides stability and flexibility when positioning the lights. Consult a professional if you are unsure about using this method.
- Clipping or attaching to structures: Some light fixtures come with built-in clips that allow you to attach them directly to structures, such as railings or awnings. This method is convenient and ensures a secure attachment.
Consider the layout of your patio, the availability of attachment points, and the type of light fixtures you have when selecting the hanging method. It’s important to choose a method that provides stability and is appropriate for the weight and design of your fixtures.
Remember to always follow safety guidelines and consult with professionals if needed, especially when dealing with electrical components or if you’re unsure about the structural integrity of your patio. Safety should be a top priority during the installation process.
Once you have chosen the hanging method, gather the necessary tools and materials to proceed with installing hooks, anchors, or any other hardware required for your specific method. This will ensure a smooth and secure installation of your outdoor lights.
Now that you’ve selected your hanging method, it’s time to gather the necessary tools and materials for the installation process. In the next section, we’ll outline the items you’ll need to ensure a successful hanging of your outdoor lights.
When hanging outdoor lights on a patio, make sure to use weatherproof and outdoor-rated lights. Plan the layout before hanging and use hooks or clips to secure the lights to the patio cover or nearby structures. Be sure to use outdoor extension cords and always follow the manufacturer’s instructions for installation.
Gather the Necessary Tools and Materials
Before you begin the installation of your outdoor lights, it’s important to gather all the necessary tools and materials. Having everything on hand will ensure a smooth and efficient process. Here are the essential items you’ll need:
- Light fixtures: Make sure you have all the light fixtures you previously selected, including any additional accessories, such as bulbs or shades.
- Mounting hardware: Depending on the hanging method you chose, you may need various types of mounting hardware, including screws, brackets, hooks, or nails.
- Hanging materials: If you’re using wires or cables for suspension, make sure you have the appropriate length and thickness for your specific installation. Additionally, if you plan to attach lights to structures, consider using clips or clamps designed for that purpose.
- Power source: If your light fixtures require electricity, ensure you have a safe and accessible power source nearby. You may need an extension cord or outdoor-rated power strip if the outlet is far from the desired installation areas.
- Measuring tools: A measuring tape and a pencil are essential for marking the patio and ensuring accurate placement of light fixtures.
- Installation tools: Depending on the specific requirements of your light fixtures, you may need a screwdriver, a drill with appropriate bits, a level for ensuring straight installation, and pliers for any wire or cable adjustments.
- Safety equipment: Always prioritize safety. Consider wearing gloves, safety glasses, and, if necessary, a ladder or step stool to safely reach higher installation points.
Having all these tools and materials readily available before starting the installation process will help streamline your project and prevent unnecessary delays. It’s always a good idea to double-check that you have everything you need before getting started.
Remember to refer to the manufacturer’s instructions for your specific light fixtures to ensure proper installation and usage. If you’re unsure about any aspect of the installation process, don’t hesitate to seek guidance from professionals or consult with an electrician.
With your tools and materials gathered, you’re now ready to move on to the next step — installing hooks or anchors for your outdoor lights. This will provide the necessary support for your light fixtures and ensure a secure and sturdy installation.
Installing Hooks or Anchors
Installing hooks or anchors is a crucial step in the process of hanging outdoor lights on your patio. These provide the secure attachment points needed to support your light fixtures. Follow these steps to properly install hooks or anchors:
- Choose the type of hooks or anchors: Consider the weight and design of your light fixtures before selecting the appropriate hooks or anchors. There are various options available, such as screw-in hooks, adhesive hooks, or wall anchors with screws.
- Locate the installation points: Refer to the measurements and markings you made earlier to determine where the hooks or anchors should be placed. Ensure they are evenly spaced and aligned according to your desired lighting layout.
- Prepare the installation areas: Clean and dry the surfaces where the hooks or anchors will be installed. This will ensure better adhesion or screw grip.
- Install screw-in hooks: If you’re using screw-in hooks, mark the installation points and then screw them into the desired locations on walls, beams, or any other suitable structures. Use a level to ensure they are straight. If necessary, pre-drill pilot holes to make the installation process easier.
- Apply adhesive hooks: If you’re using adhesive hooks, remove the protective backing and firmly press the hooks onto the cleaned surfaces. Hold them in place for a few moments to ensure proper adhesion.
- Install wall anchors with screws: If you’re using wall anchors, drill pilot holes at the marked locations. Insert the anchors into the holes and then screw in the provided screws until they are securely attached to the anchors.
It’s important to ensure that the hooks or anchors are firmly attached and able to support the weight of your light fixtures. Test their stability before hanging the lights to avoid any accidents or damage.
Be mindful of any specific instructions provided by the manufacturer for your chosen hooks or anchors. Different types may have unique installation requirements and weight limits. Following these guidelines will help ensure a safe and reliable installation.
Once the hooks or anchors are securely in place, you can proceed to the next step – hanging the lights on your patio! This is where you’ll see your vision come to life as you bring illumination and ambiance to your outdoor space.
Hang the Lights
Now comes the exciting part – it’s time to hang the lights on your patio and bring your outdoor space to life! Follow these steps to ensure a successful installation:
- Start at one end: Begin hanging the lights at one end of your patio, whether it’s the edge, a wall, or a designated starting point. This will serve as your reference point.
- Attach the lights: Depending on the type of light fixtures you have chosen, you’ll need to attach or connect them to the hooks, nails, wires, or other hanging points you have installed. Carefully follow the instructions provided by the manufacturer for each specific type of light fixture.
- Ensure even spacing: As you hang the lights, ensure that there is an even spacing between each fixture. This will help create a visually pleasing and balanced look. Use the markings on the patio or the measuring tape as a guide to maintain consistent spacing.
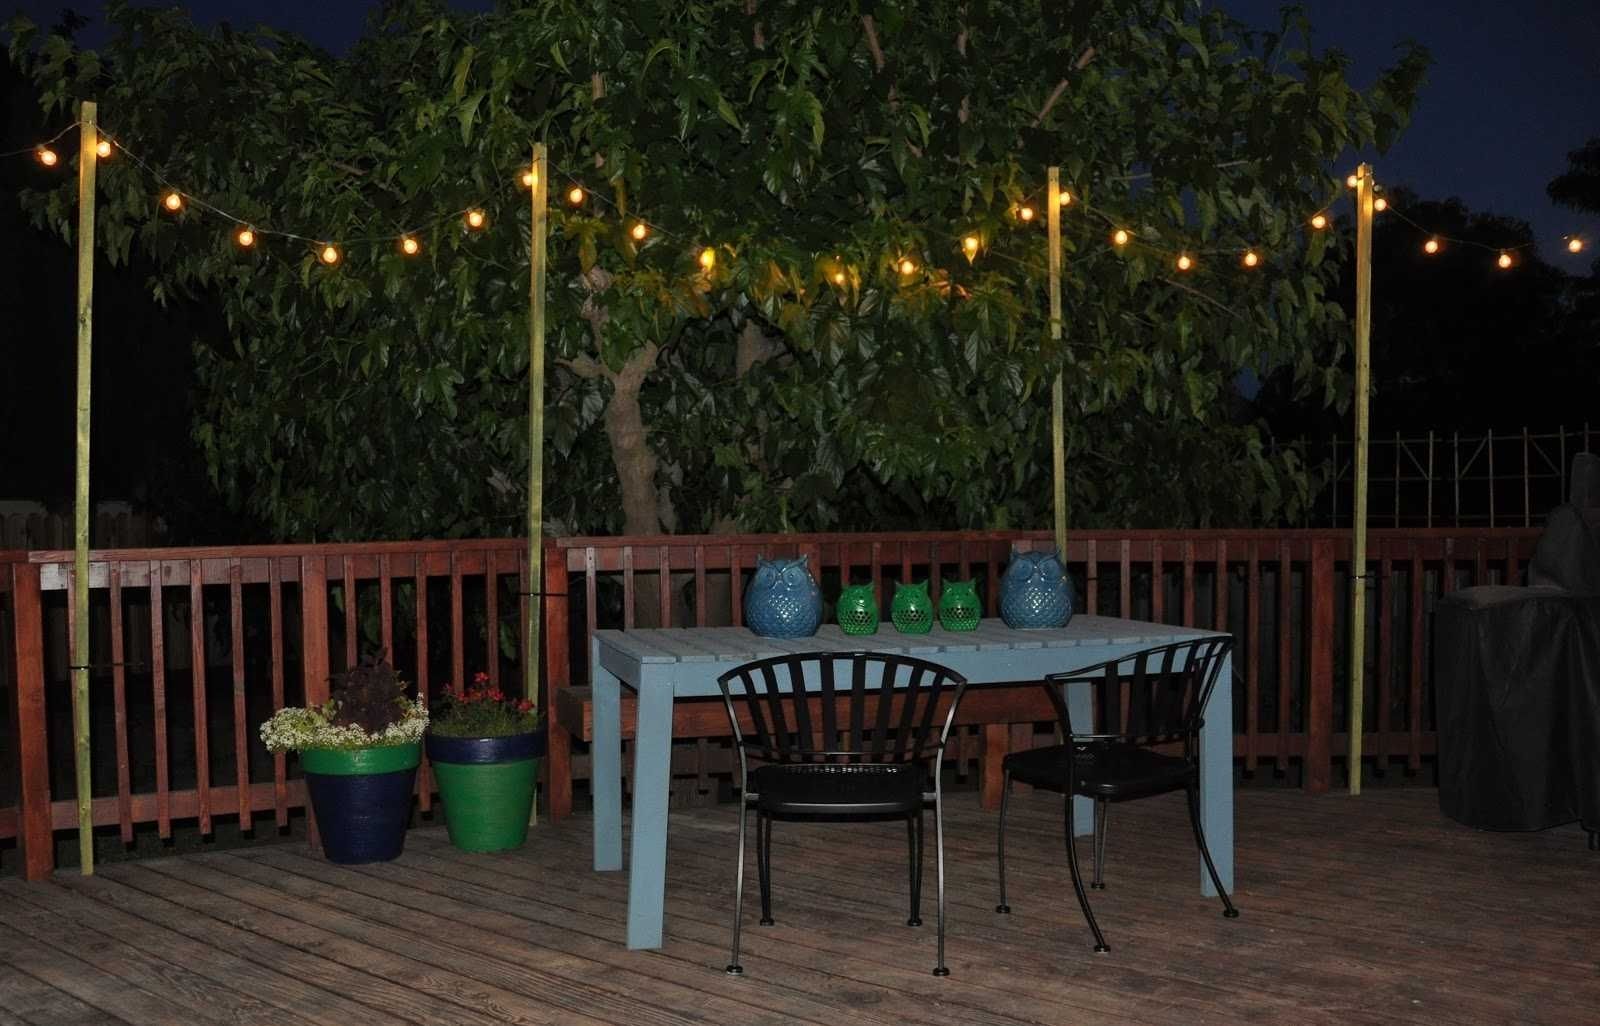
- Consider the layout: Be mindful of the layout you planned earlier. If you planned specific patterns or arrangements, make sure to execute them as you hang the lights. For example, if you’re using string lights, you might want to create a zigzag or crisscross pattern across the patio.
- Securely attach the lights: Ensure that each light fixture is securely attached to its hanging point. Double-check that hooks or nails are firmly in place, and wires or cables are taut and properly fastened.
- Adjust as needed: Step back and assess how the lights are hanging once you’ve completed the installation. Make any necessary adjustments to ensure that the lights are straight, evenly spaced, and creating the desired effect.
Take your time as you hang the lights, ensuring that each fixture is properly attached and positioned. It’s important to be patient and meticulous during this step to achieve the desired outcome.
Remember to consider the power source for your lights. If you are using electric-powered fixtures, make sure the cords are safely routed and connected to the power source. If you are using battery-operated or solar-powered lights, check that they are functioning properly and providing the desired amount of illumination.
With the lights safely and beautifully hung on your patio, it’s time to move on to the next step and test and adjust the lights to ensure they are providing the desired effect.
Test and Adjust the Lights
After hanging the lights on your patio, it’s important to test and adjust them to ensure they are working properly and creating the desired ambiance. Follow these steps to test and make any necessary adjustments:
- Turn on the lights: Switch on the power to your lights or activate them if they are battery-operated or solar-powered. Check that all the lights are functioning as expected and illuminating the area as desired.
- Assess the lighting: Take a step back and evaluate the overall lighting effect. Determine if the brightness and color temperature match your intended mood and atmosphere. If necessary, you can adjust the positioning or intensity of the lights to achieve the desired outcome.
- Make any necessary adjustments: If you notice any lights that are not positioned correctly or are not providing the desired effect, take the time to make adjustments. This could involve repositioning fixtures, tightening connections, or adjusting the direction of spotlights or lanterns.
- Ensure safety: As you make adjustments, prioritize safety. Inspect all connections and ensure that cords are not becoming trip hazards. If needed, use cable clips or ties to keep cords neatly secured and out of the way.
- Test during different lighting conditions: To fully assess the impact of your lights, test them at different times of day and under different lighting conditions. This will give you a better sense of how they will look during evenings, dusk, and dawn.
Take your time during the testing and adjustment process, as it allows you to fine-tune the lighting to achieve the desired effect. Remember that lighting preferences can vary, so trust your own judgment and create a space that suits your personal style and needs.
Once you are satisfied with the placement and overall effect of your outdoor lights, you can sit back, relax, and enjoy your beautifully illuminated patio. Outdoor lights not only provide functionality but also enhance the ambiance, making it a more enjoyable space for you and your guests.
With the lights tested, adjusted, and creating the perfect atmosphere, you have successfully completed the installation process. Now it’s time to sit back, relax, and bask in the delightful glow of your well-appointed outdoor space!
Read more: How To Hang Outdoor Lights
Conclusion
Congratulations! You have successfully learned how to hang outdoor lights on your patio. By following the steps outlined in this guide, you’ve transformed your outdoor space into a captivating and inviting area for relaxation and entertainment. Here’s a quick recap of the process:
1. Plan and prepare: Consider your lighting goals, patio layout, and available power sources. Set a budget and research different light fixture options.
2. Choose the right light fixtures: Consider the style, brightness, power source, and weather resistance of the fixtures. Take into account the installation requirements and any additional accessories needed.
3. Measure and mark the patio: Use a measuring tape and pencil to mark the desired spacing intervals along the edge of the patio. Transfer the measurements onto the patio itself and connect the marks to create a visual guide.
4. Select the hanging method: Choose the appropriate hanging method for your light fixtures, considering stability, weight, and aesthetics. Options include wall mounting, using hooks or nails, suspension with wires or cables, or clipping to structures.
5. Gather the necessary tools and materials: Ensure you have all the required items, such as light fixtures, mounting hardware, power sources, measuring tools, installation tools, and safety equipment.
6. Install hooks or anchors: Install the hooks or anchors at the marked locations, ensuring they are securely attached and able to support the weight of the light fixtures.
7. Hang the lights: Attach the light fixtures to the hooks, nails, wires, or other hanging points. Ensure even spacing, consider the layout, and securely attach each fixture.
8. Test and adjust the lights: Turn on the lights, assess the lighting effect, and make any necessary adjustments to positioning, intensity, or direction. Test the lights under different lighting conditions to fully evaluate their impact.
By following these steps, you’ve created a beautiful and functional outdoor space that can be enjoyed throughout the day and into the evening. Your patio now exudes a warm and welcoming ambiance, enhanced by the carefully placed lights.
Remember, safety should always be a priority during installation. If you’re unsure about any aspect of the process, consult with professionals or seek guidance from an electrician.
Now it’s time to relax and enjoy your illuminated patio. Whether you’re hosting a gathering, enjoying a quiet night alone, or simply taking in the beauty of your outdoor space, your carefully hung outdoor lights will provide a special touch that adds charm and elegance to your patio.
Frequently Asked Questions about How To Hang Outdoor Lights On A Patio
Was this page helpful?
At Storables.com, we guarantee accurate and reliable information. Our content, validated by Expert Board Contributors, is crafted following stringent Editorial Policies. We're committed to providing you with well-researched, expert-backed insights for all your informational needs.


0 thoughts on “How To Hang Outdoor Lights On A Patio”