Home>Furniture & Design>Outdoor Furniture>How To Light Outdoor Patio Heater

Outdoor Furniture
How To Light Outdoor Patio Heater
Modified: January 24, 2024
Learn how to properly light your outdoor patio heater with our expert tips and guidance. Create a cozy and inviting atmosphere with our outdoor furniture and design ideas.
(Many of the links in this article redirect to a specific reviewed product. Your purchase of these products through affiliate links helps to generate commission for Storables.com, at no extra cost. Learn more)
Introduction
Welcome to the world of outdoor living, where the gentle warmth of an outdoor patio heater can transform chilly evenings into cozy gatherings under the stars. Whether you're hosting a dinner party, enjoying a quiet evening with loved ones, or simply seeking solace in the beauty of your outdoor space, a patio heater can be a game-changer. In this comprehensive guide, we will walk you through the essential steps of lighting an outdoor patio heater, ensuring that you can maximize its functionality and enjoy its warmth to the fullest.
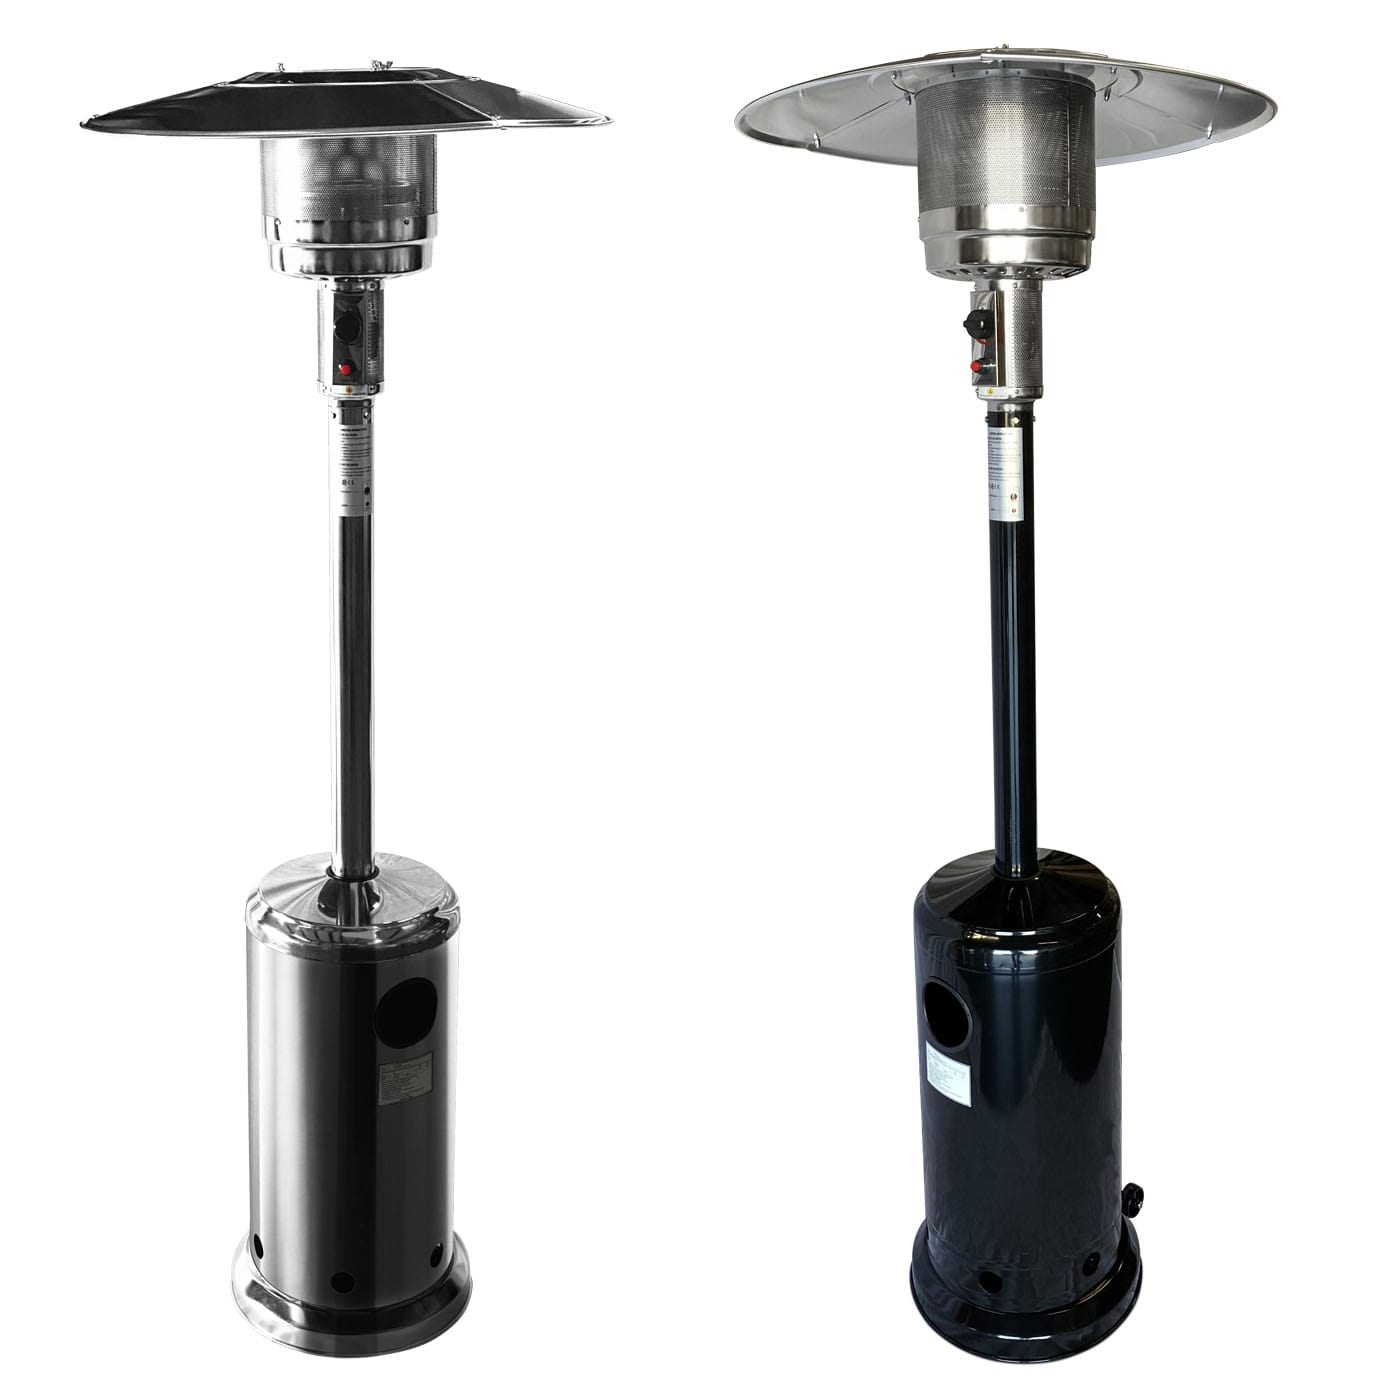
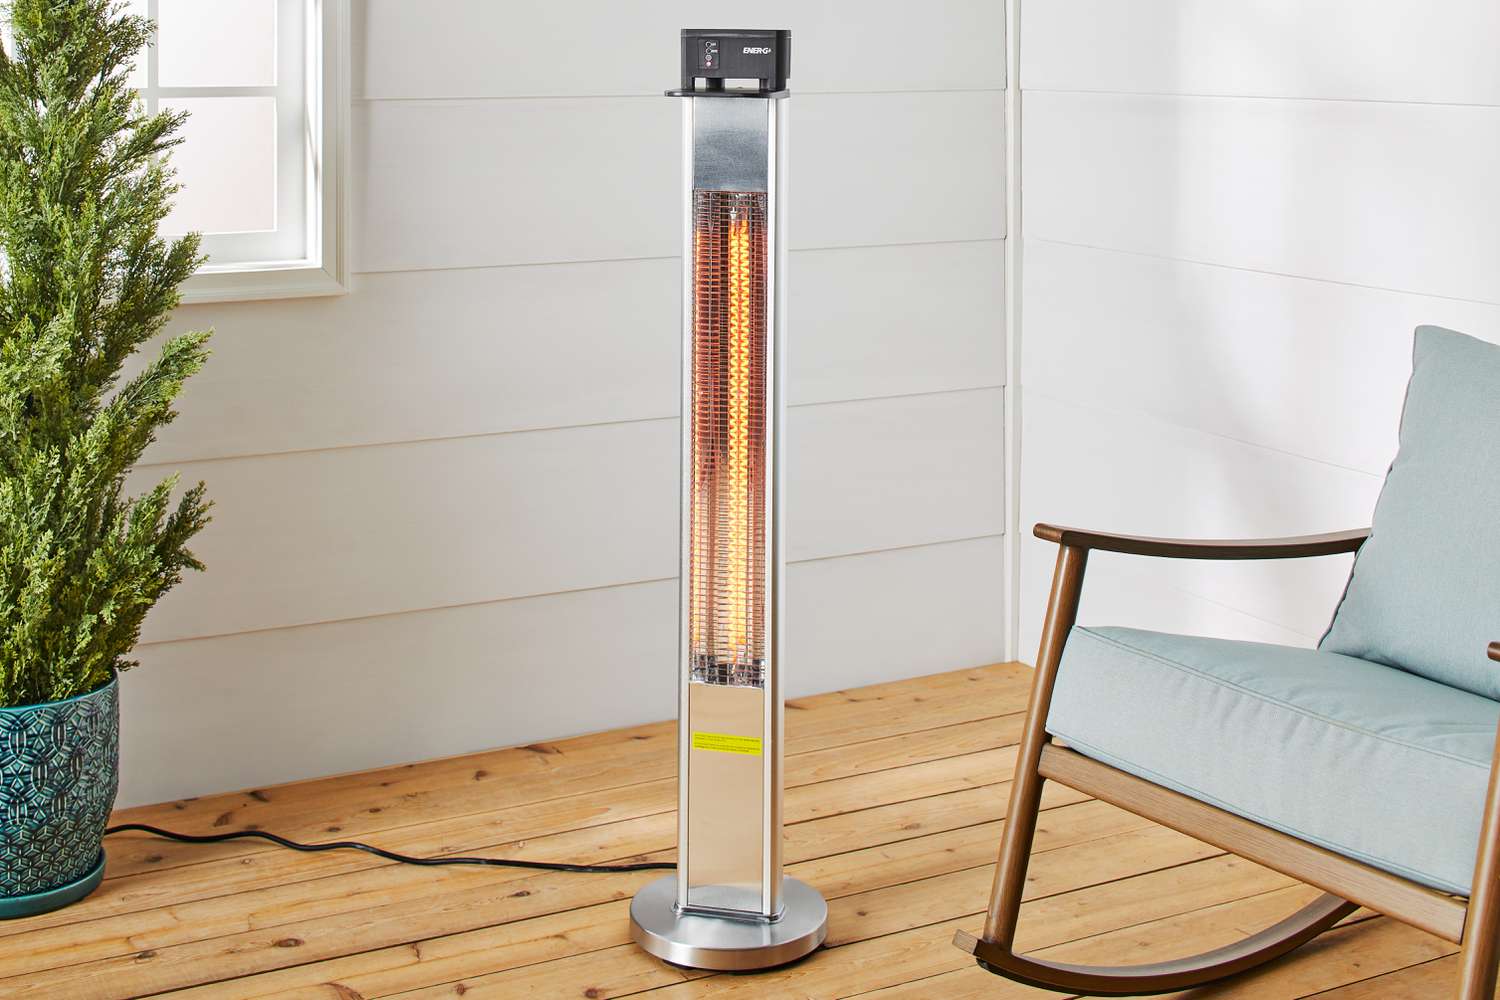
A well-lit patio heater not only provides warmth but also adds a touch of ambiance to your outdoor setting, making it an indispensable addition to your outdoor furniture collection. Whether you have a freestanding propane heater, a tabletop heater, or a mounted natural gas heater, the process of lighting and maintaining it remains crucial for safe and efficient operation.
As we embark on this journey, it's important to emphasize the significance of safety when dealing with any outdoor heating appliance. By following the manufacturer's instructions and taking necessary precautions, you can ensure that your outdoor patio heater becomes a source of comfort and enjoyment, rather than a cause for concern.
So, grab your favorite beverage, settle into your outdoor oasis, and let's delve into the art of lighting and maintaining an outdoor patio heater. It's time to elevate your outdoor experience and bask in the warmth of your carefully curated outdoor space.
Key Takeaways:
- Embrace the warmth and ambiance of your outdoor patio heater by prioritizing safety, choosing the right location, and mastering the art of assembly, ignition, and maintenance for a cozy and inviting outdoor experience.
- Elevate your outdoor gatherings and relaxation with a well-lit patio heater, ensuring safe and efficient operation while adjusting the heat output to create a comfortable and inviting outdoor sanctuary.
Read more: How To Light A Propane Patio Heater
Safety Precautions
Before embarking on the process of lighting your outdoor patio heater, it is crucial to prioritize safety. By adhering to the following safety precautions, you can ensure a secure and enjoyable experience:
- Read the Manual: Familiarize yourself with the manufacturer’s instructions and safety guidelines provided in the manual. Each type of patio heater may have specific requirements and precautions, so it’s essential to understand the nuances of your particular model.
- Clear Surroundings: Ensure that the area around the patio heater is free from any obstructions, including furniture, curtains, or combustible materials. This precaution minimizes the risk of accidental fires and ensures proper air circulation around the heater.
- Stable Placement: If you have a freestanding patio heater, ensure that it is placed on a stable and level surface to prevent tipping over. This is especially important in outdoor settings where uneven ground or gusty winds may pose stability challenges.
- Keep Flammable Materials Away: Position the heater away from flammable materials such as plants, paper, or fabric. Maintaining a safe distance between the heater and combustible items mitigates the risk of fire hazards.
- Proper Ventilation: When using a gas-powered patio heater, ensure that the area is well-ventilated to prevent the accumulation of gas. Adequate ventilation is essential for the safe operation of gas heaters, minimizing the risk of carbon monoxide buildup.
- Secure Gas Connections: If your patio heater is fueled by propane or natural gas, carefully inspect the gas connections for any leaks or damage. Always follow the manufacturer’s guidelines for connecting and disconnecting gas tanks to maintain the integrity of the system.
- Keep Children and Pets at a Distance: Create a safety zone around the patio heater to prevent accidental contact by children or pets. Educate family members and guests about the importance of maintaining a safe distance from the heater during operation.
- Use a Stable Fuel Source: If you have a fuel-powered patio heater, ensure that the fuel source is stable and securely positioned. Whether it’s a propane tank or a natural gas line, the stability of the fuel source is essential for safe and uninterrupted operation.
By adhering to these safety precautions, you can create a secure environment for lighting and enjoying your outdoor patio heater. Prioritizing safety not only safeguards your well-being but also enhances the overall experience of outdoor relaxation and entertainment.
Choosing the Right Location
One of the fundamental aspects of optimizing your outdoor patio heater’s performance is selecting the right location for its placement. The strategic positioning of the heater not only enhances its functionality but also contributes to the overall ambiance of your outdoor space. Here are essential considerations for choosing the ideal location:
- Even Ground: Ensure that the chosen location provides a stable and level surface for the patio heater. This minimizes the risk of instability and tipping, especially for freestanding models, and ensures safe and efficient operation.
- Wind Protection: Position the heater in an area that offers some degree of wind protection. Shielding the heater from strong gusts helps maintain a consistent and comfortable heat output, allowing you to fully enjoy its warmth even on breezy evenings.
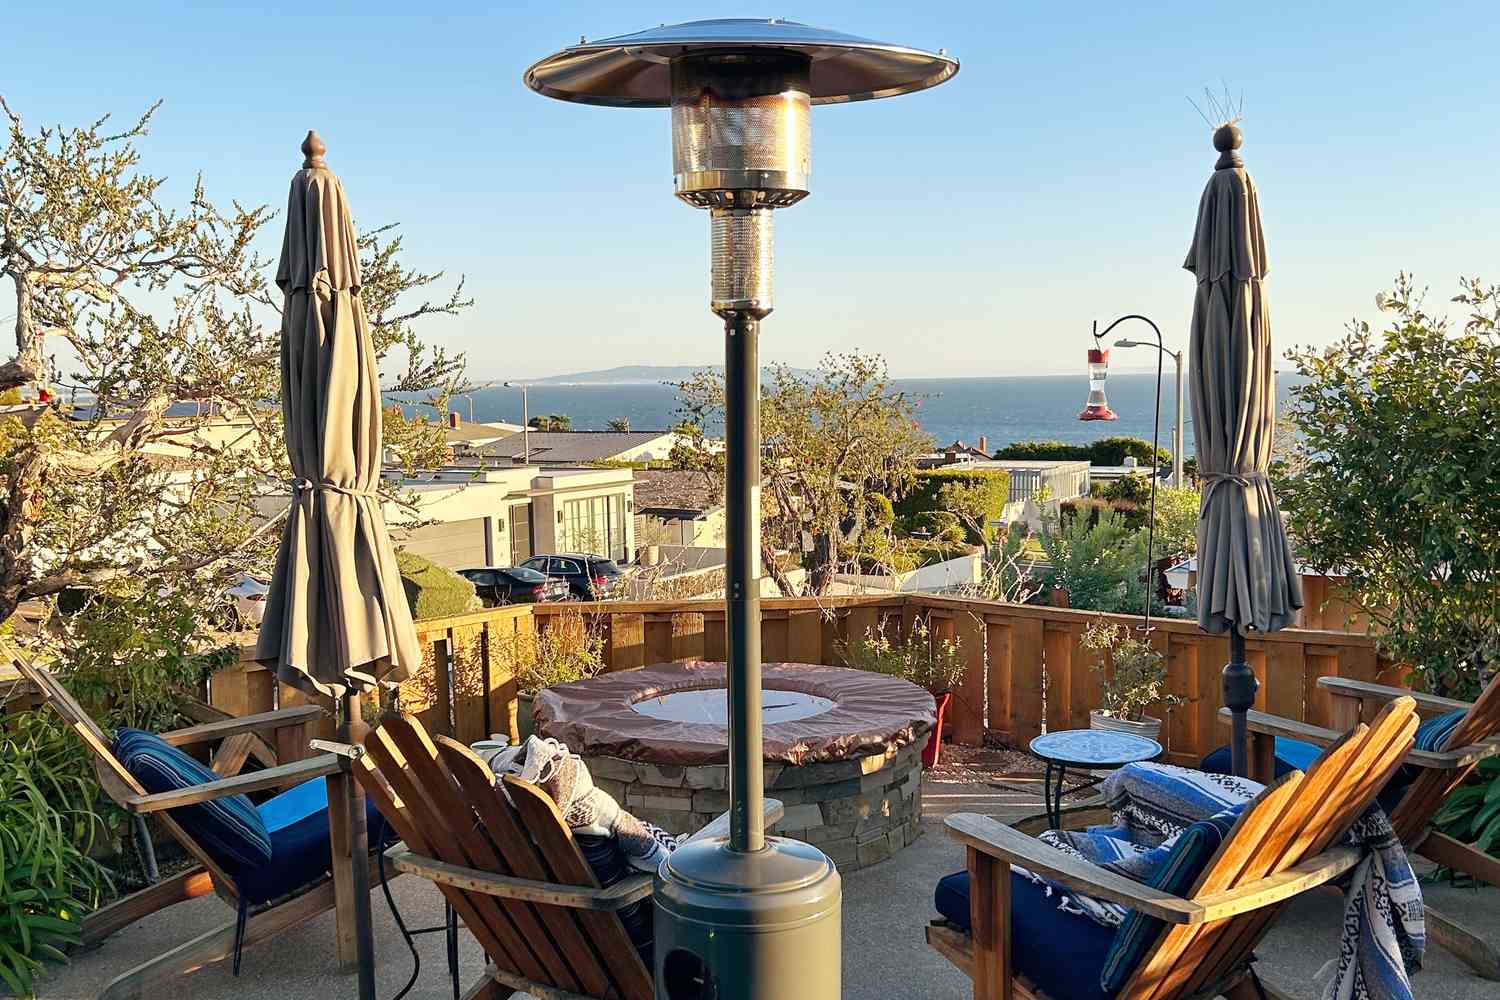
- Proximity to Seating Areas: Place the patio heater in close proximity to your outdoor seating areas to maximize its impact. Whether it’s a dining set, lounge chairs, or a cozy nook, positioning the heater strategically ensures that the warmth reaches you and your guests effortlessly.
- Adequate Clearance: Maintain sufficient clearance around the heater to prevent any obstructions. This includes keeping a safe distance from walls, overhanging structures, and other furniture to allow for proper heat dispersion and ventilation.
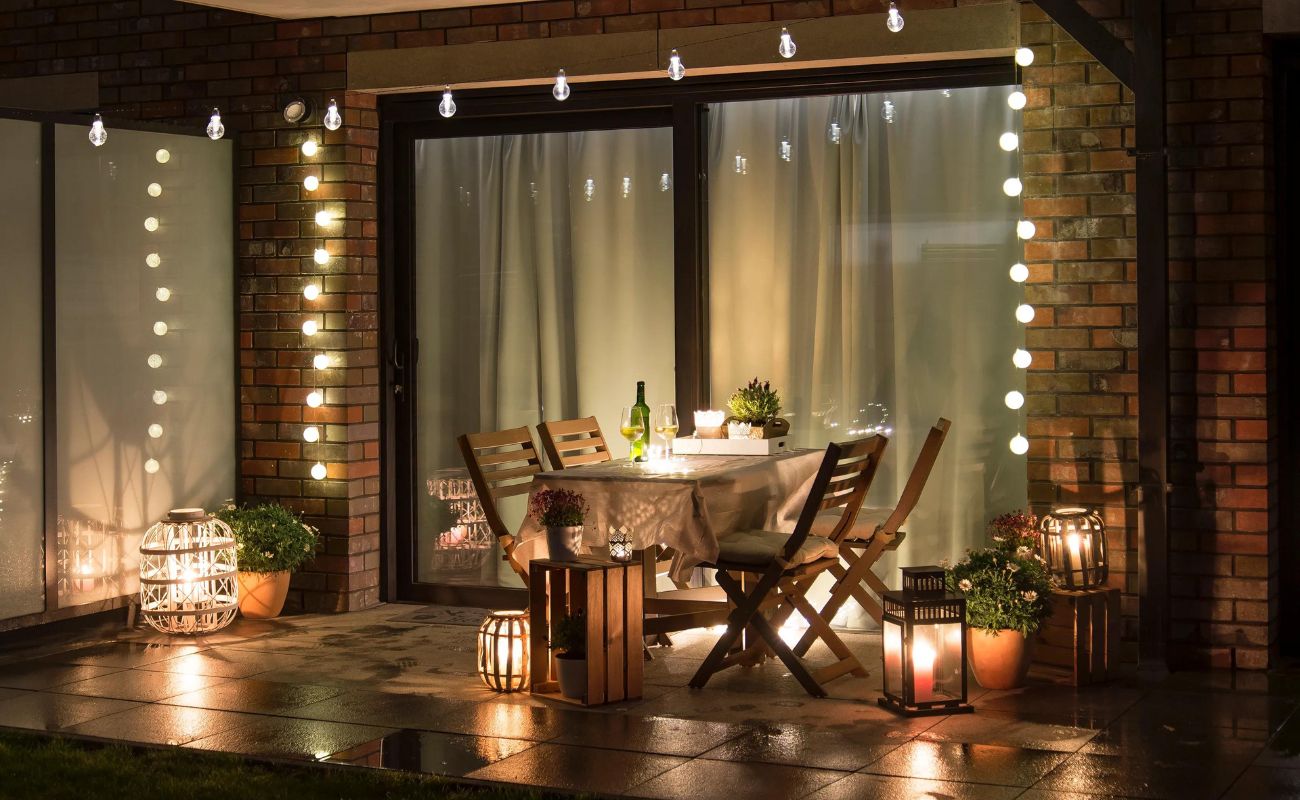
- Ambiance Enhancement: Consider how the placement of the patio heater contributes to the overall ambiance of your outdoor space. Whether you’re aiming to create a focal point, accentuate specific features, or facilitate a cozy atmosphere, the location of the heater plays a pivotal role in achieving your desired ambiance.
- Accessibility to Fuel Source: If your patio heater is fueled by propane or natural gas, ensure that the chosen location allows convenient access to the fuel source. This facilitates easy maintenance and refueling, ensuring uninterrupted warmth during your outdoor gatherings.
- Visual Appeal: Embrace the opportunity to integrate the patio heater seamlessly into your outdoor decor. Whether it complements your existing furniture or serves as a stylish statement piece, the visual appeal of the heater can enhance the overall aesthetics of your outdoor setting.
By carefully considering these factors, you can identify the perfect spot for your outdoor patio heater, optimizing its functionality and visual impact. The right location not only elevates the practical aspects of heating but also contributes to the inviting charm of your outdoor sanctuary.
Assembling the Patio Heater
Assembling your outdoor patio heater is a crucial step that sets the stage for its efficient and safe operation. Whether you’ve just unboxed a new heater or are reassembling it for the season, following the manufacturer’s instructions is paramount. Here’s a general overview of the assembly process, though it’s essential to refer to the specific guidelines provided with your heater:
- Unpack and Organize: Carefully unpack all the components of the patio heater and organize them in a clear workspace. Check for any shipping damage and ensure that all parts are accounted for before proceeding with the assembly.
- Read the Instructions: Thoroughly review the assembly instructions provided by the manufacturer. Familiarize yourself with the components, hardware, and any special tools required for the assembly process.
- Secure the Base: If your patio heater has a freestanding base, follow the instructions to securely assemble and stabilize the base. This may involve attaching support arms, securing the main pole, and ensuring a level foundation for the heater.
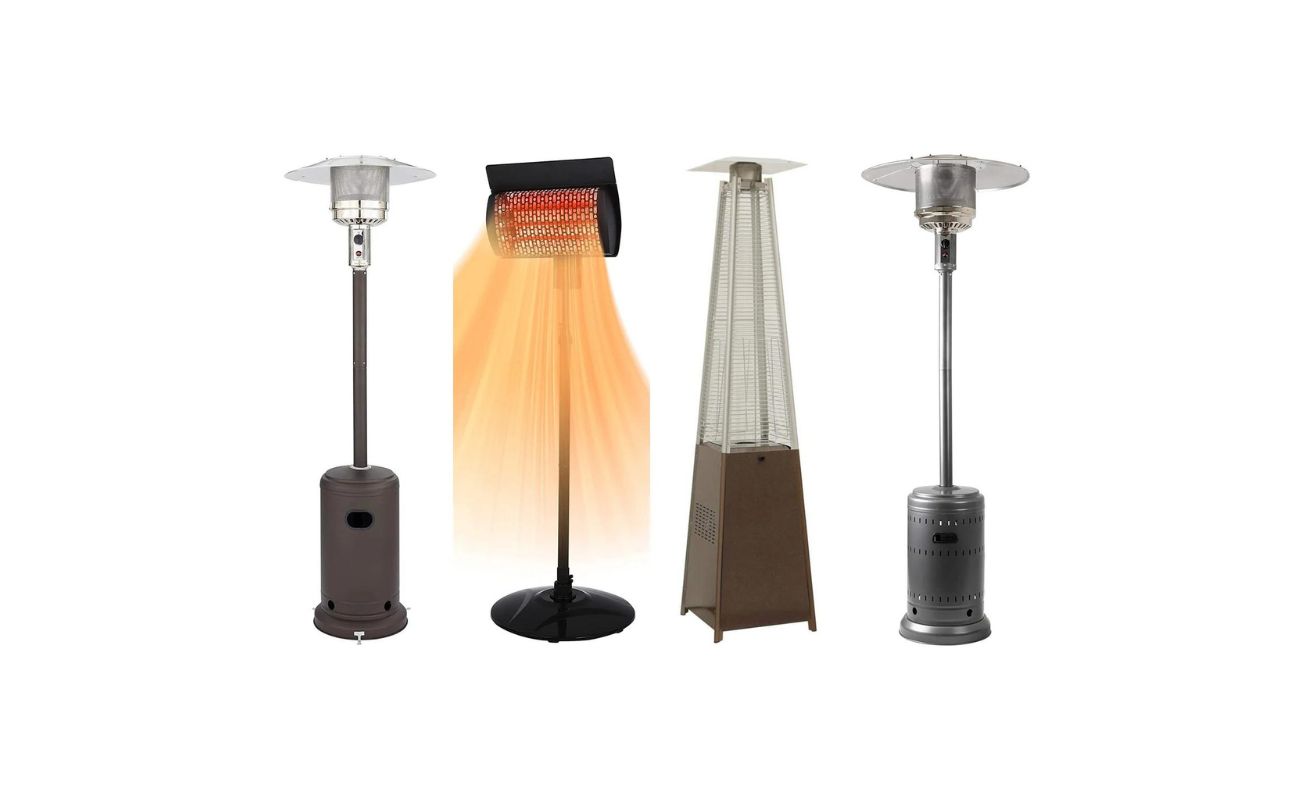
- Attach Heating Element: Depending on the type of patio heater, whether it’s a radiant heater, a flame heater, or an electric heater, carefully attach the heating element according to the provided instructions. This step may involve mounting reflectors, securing heating grids, or connecting electrical components.
- Connect Fuel Source (If Applicable): For gas-powered patio heaters, carefully connect the propane tank or natural gas line according to the manufacturer’s guidelines. Ensure that all connections are secure and leak-free before proceeding.
- Secure Additional Components: If your patio heater includes additional components such as a table attachment, safety guard, or wheels for mobility, ensure that these are securely attached according to the provided instructions.
- Perform a Visual Inspection: Once the assembly is complete, perform a visual inspection of the entire patio heater. Check for any loose fittings, unstable components, or potential hazards. Address any issues before proceeding to the next steps.
By meticulously following the assembly instructions and taking the time to ensure a secure and stable setup, you can lay the foundation for safe and effective operation of your outdoor patio heater. Proper assembly not only maximizes the heater’s performance but also contributes to a worry-free outdoor heating experience.
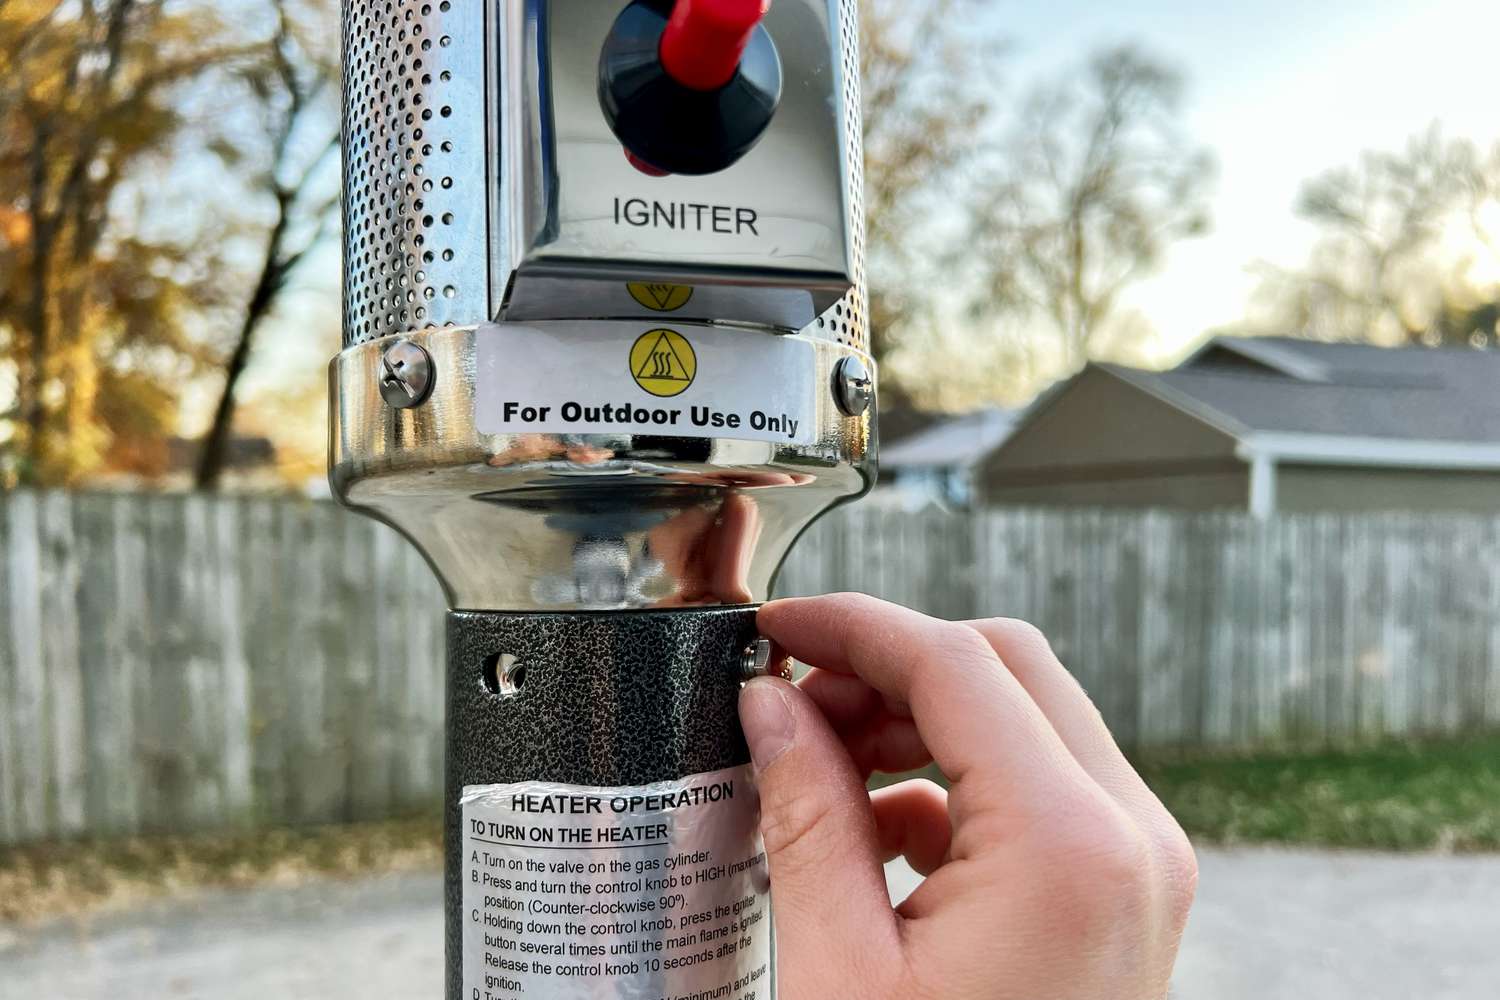
Make sure the patio heater is on a flat, stable surface. Turn the gas valve to the “on” position and press the ignition button. Adjust the heat settings as needed. Always follow the manufacturer’s instructions for safe use.
Lighting the Pilot Light
Once your outdoor patio heater is assembled and in its designated location, the next crucial step is lighting the pilot light. The pilot light serves as the ignition source for the main burner and is essential for initiating the heating process. Whether you have a propane or natural gas patio heater, the process of lighting the pilot light requires precision and attention to safety. Here’s a general guide to lighting the pilot light, though it’s imperative to consult your specific heater’s manual for detailed instructions:
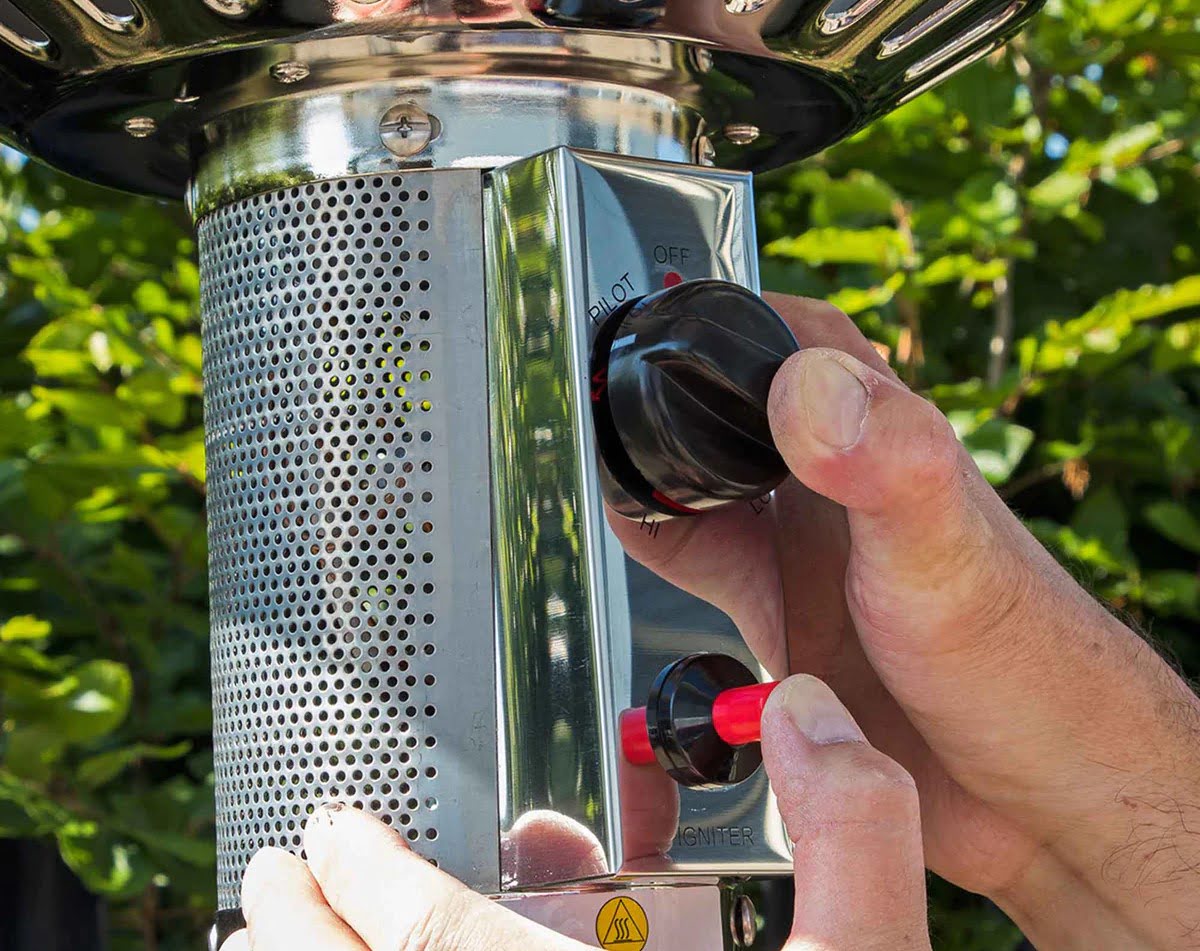
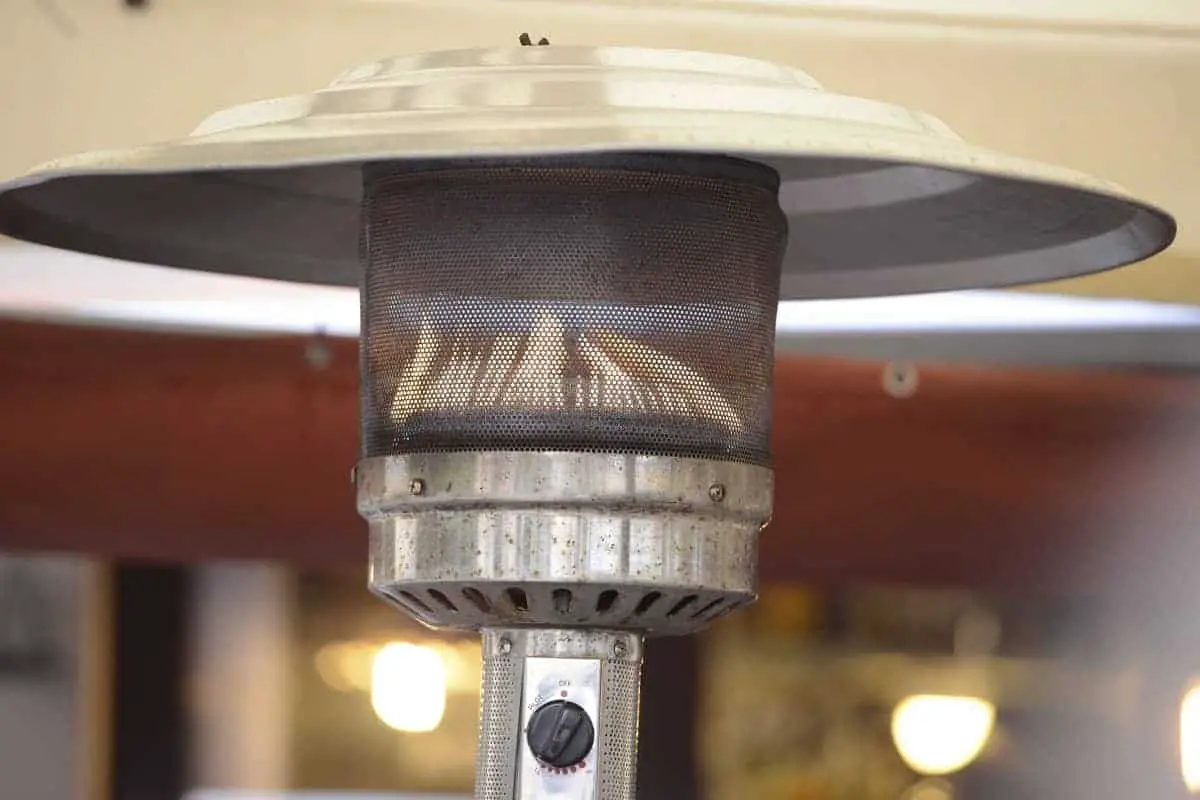
- Locate the Control Knob: Identify the control knob on the heater, typically marked with settings such as “Off,” “Pilot,” and “On.” Familiarize yourself with the knob’s operation and positioning before proceeding.
- Turn the Control Knob to Pilot: Rotate the control knob to the “Pilot” position. This primes the pilot light for ignition and allows gas to flow to the pilot assembly.
- Depress the Control Knob: While holding down the control knob in the “Pilot” position, begin the process of igniting the pilot light. Depending on your heater, this may involve a separate ignition button or a manual ignition process using a long-reach lighter.
- Ignite the Pilot Light: With the control knob depressed, use the designated ignition method to spark the pilot light. Observe the pilot assembly carefully to ensure that the flame ignites and remains steady. This step may require a few attempts, especially when lighting the pilot for the first time or after an extended period of inactivity.
- Hold for Stabilization: Once the pilot light ignites, continue holding the control knob in the “Pilot” position for a brief period to allow the flame to stabilize. This ensures that the pilot light remains lit and ready to ignite the main burner.
- Release and Test: After a few moments, release the control knob and observe the pilot light. It should remain lit steadily, indicating successful ignition. If the pilot light fails to remain lit, repeat the process and check for any obstructions or gas flow issues.
By carefully following these steps and exercising caution during the pilot light ignition process, you can ensure the safe and reliable operation of your outdoor patio heater. A successfully lit pilot light sets the stage for enjoying the comforting warmth of your outdoor space, creating an inviting environment for relaxation and social gatherings.
Read more: What Is The Best Outdoor Heater For A Patio
Adjusting the Heat Output
Once the pilot light of your outdoor patio heater is successfully ignited, you gain the ability to adjust the heat output according to your comfort preferences and the prevailing outdoor conditions. Whether you’re aiming to create a gentle warmth for intimate conversations or seeking to combat chilly evenings with a higher heat setting, understanding how to adjust the heat output is essential. Here’s a guide to effectively managing the heat output of your patio heater:
- Refer to the Control Knob: Locate the control knob on your patio heater, typically positioned near the pilot light control. The knob may feature markings indicating low to high heat settings or specific temperature adjustments, depending on the type of heater.
- Gradual Adjustment: Begin by making gradual adjustments to the heat output, especially if you’re unfamiliar with the heater’s performance. Incrementally increase or decrease the heat setting to gauge its impact on the surrounding area and your comfort level.
- Observe the Flame: As you adjust the heat output, observe the flame pattern and color to gauge the intensity of the heat. A well-adjusted flame should burn steadily and evenly, indicating optimal heat output without excessive fuel consumption or safety risks.
- Consider External Factors: Take into account external factors such as wind speed, ambient temperature, and the proximity of seating areas when adjusting the heat output. Windy conditions may necessitate a higher heat setting to compensate for heat dissipation, while milder evenings may require a lower setting for subtle warmth.
- Test and Fine-Tune: After making initial adjustments, test the heat output by moving around the area and assessing the comfort level. Fine-tune the heat setting as needed to create a consistent and comfortable environment for yourself and your guests.
- Monitor Fuel Consumption: While adjusting the heat output, be mindful of the impact on fuel consumption, especially for gas-powered patio heaters. Balancing the desired heat level with efficient fuel usage ensures a sustainable and cost-effective heating experience.
- Optimize for Comfort: Ultimately, aim to optimize the heat output for maximum comfort and enjoyment. Whether it’s providing a gentle warmth for extended conversations or generating a cozy atmosphere for al fresco dining, the ability to adjust the heat output empowers you to tailor the outdoor experience to your preferences.
By mastering the art of adjusting the heat output, you can harness the full potential of your outdoor patio heater, creating a welcoming and comfortable outdoor environment regardless of the prevailing weather conditions. This flexibility enhances the allure of outdoor living, allowing you to savor the beauty of your outdoor space throughout the seasons.
Maintaining the Patio Heater
Proper maintenance is key to ensuring the longevity, performance, and safety of your outdoor patio heater. By incorporating routine maintenance into your outdoor living regimen, you can preserve the efficiency of the heater and mitigate potential issues that may arise over time. Here are essential maintenance practices to uphold the functionality and safety of your patio heater:
- Clean Regularly: Keep the exterior and components of the patio heater clean and free from debris, dust, and cobwebs. Regular cleaning prevents blockages and ensures optimal heat dispersion.
- Inspect for Wear and Tear: Periodically inspect the heater for any signs of wear, corrosion, or damage. Check for loose fittings, worn components, and signs of rust, addressing any issues promptly to prevent further deterioration.
- Verify Gas Connections: If your patio heater is gas-powered, regularly inspect the gas connections for leaks, wear, or damage. Ensure that the connections are secure and that the fuel source is free from any potential hazards.
- Check Ignition System: Test the ignition system, including the pilot light and main burner ignition, to ensure consistent and reliable operation. Address any issues with ignition promptly to prevent interruptions in heating.
- Secure Moving Parts: If your patio heater features movable components such as adjustable heat reflectors or swivel bases, ensure that these parts are secure and function smoothly. Lubricate moving parts as recommended by the manufacturer.
- Refuel Safely: When refueling a propane-powered heater, follow safe refueling practices, including turning off the gas supply, disconnecting the tank carefully, and inspecting the tank for any signs of damage or wear.
- Store Appropriately: If your patio heater will be stored during inclement weather or off-season periods, ensure that it is stored in a dry, sheltered location to prevent exposure to the elements and potential damage.
- Professional Inspection: Consider scheduling periodic professional inspections of your patio heater, especially for gas-powered models. Professional technicians can conduct thorough assessments and maintenance to ensure the heater’s optimal performance and safety.
By integrating these maintenance practices into your outdoor maintenance routine, you can uphold the reliability and safety of your patio heater, prolonging its lifespan and enhancing your outdoor living experience. Regular maintenance not only safeguards the functionality of the heater but also contributes to the overall appeal and comfort of your outdoor sanctuary.
Conclusion
Congratulations on mastering the art of lighting and maintaining your outdoor patio heater! By delving into the intricacies of assembly, ignition, and maintenance, you’ve unlocked the potential of this essential outdoor amenity, elevating the comfort and allure of your outdoor space. As you bask in the warmth of your carefully lit patio heater, it’s important to reflect on the transformative impact it has on your outdoor lifestyle.
From the initial selection of the perfect location to the meticulous assembly process, you’ve embraced the role of a curator, sculpting an inviting and functional outdoor environment. The careful consideration of safety precautions and maintenance practices underscores your commitment to creating a secure and enduring outdoor oasis.
As you gather around the radiant glow of your patio heater, whether for intimate conversations, festive gatherings, or solitary moments of relaxation, its warmth becomes a catalyst for cherished memories and meaningful connections. The versatility of adjusting the heat output empowers you to tailor the outdoor experience to your preferences, ensuring comfort and enjoyment in any season.
By embracing the responsibilities of maintenance and care, you’ve positioned yourself as a steward of outdoor comfort, preserving the functionality and allure of your patio heater for years to come. Your dedication to routine maintenance not only safeguards the heater’s performance but also contributes to the sustainable enjoyment of your outdoor sanctuary.
As you continue to savor the enchanting ambiance and enveloping warmth of your outdoor space, remember the pivotal role your patio heater plays in extending the boundaries of outdoor living. It’s not merely a source of heat; it’s a conduit for creating unforgettable moments, fostering a sense of well-being, and nurturing a deep appreciation for the beauty of outdoor living.
So, as the stars emerge in the evening sky and the crisp air envelops your outdoor haven, take pride in the expertise you’ve gained in lighting and maintaining your patio heater. Embrace the warmth, cherish the company, and savor the magic of outdoor living, knowing that your patio heater stands as a beacon of comfort and conviviality in your cherished outdoor retreat.
Frequently Asked Questions about How To Light Outdoor Patio Heater
Was this page helpful?
At Storables.com, we guarantee accurate and reliable information. Our content, validated by Expert Board Contributors, is crafted following stringent Editorial Policies. We're committed to providing you with well-researched, expert-backed insights for all your informational needs.





0 thoughts on “How To Light Outdoor Patio Heater”