Home>Furniture>Outdoor Furniture>How To Light A Propane Patio Heater
Outdoor Furniture
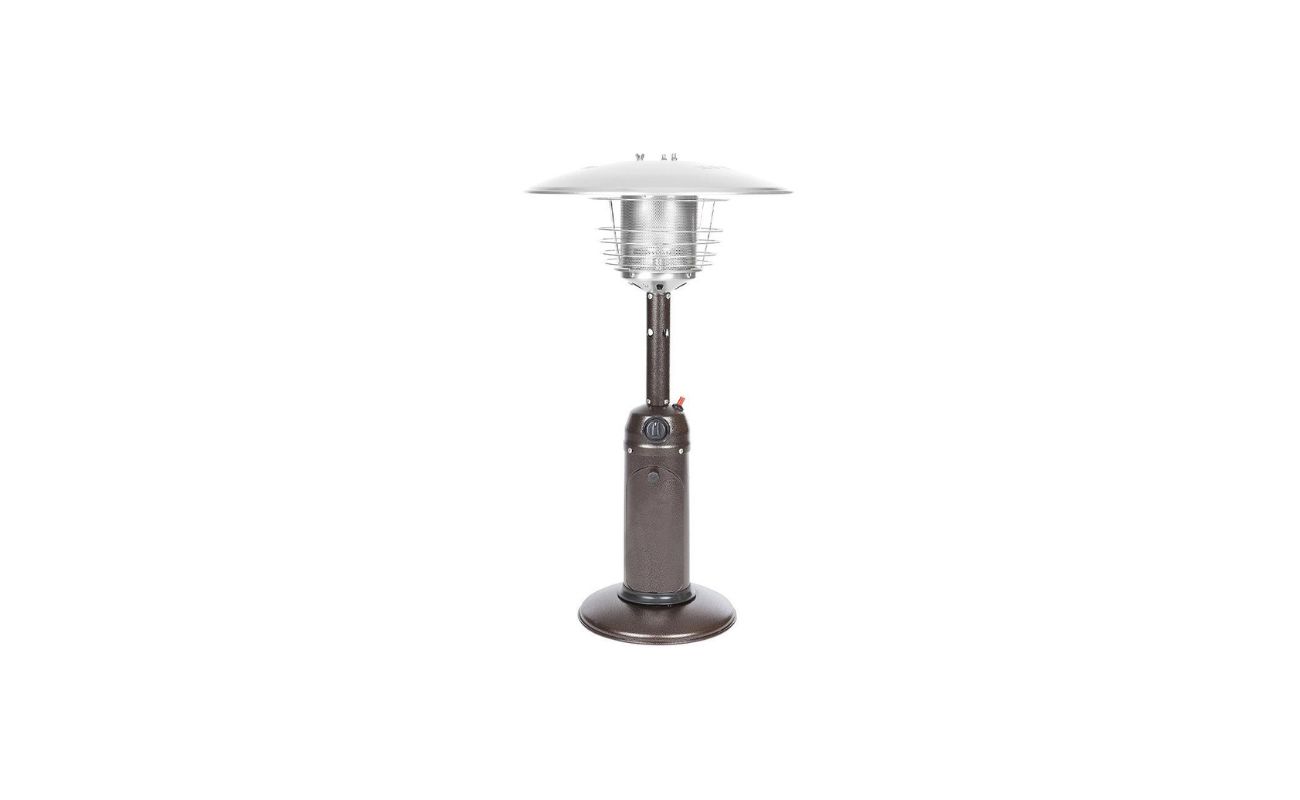
How To Light A Propane Patio Heater
Modified: March 7, 2024
Learn how to properly light a propane patio heater for optimum outdoor comfort and warmth. Increase the lifespan of your outdoor furniture with these essential tips.
(Many of the links in this article redirect to a specific reviewed product. Your purchase of these products through affiliate links helps to generate commission for Storables.com, at no extra cost. Learn more)
Introduction
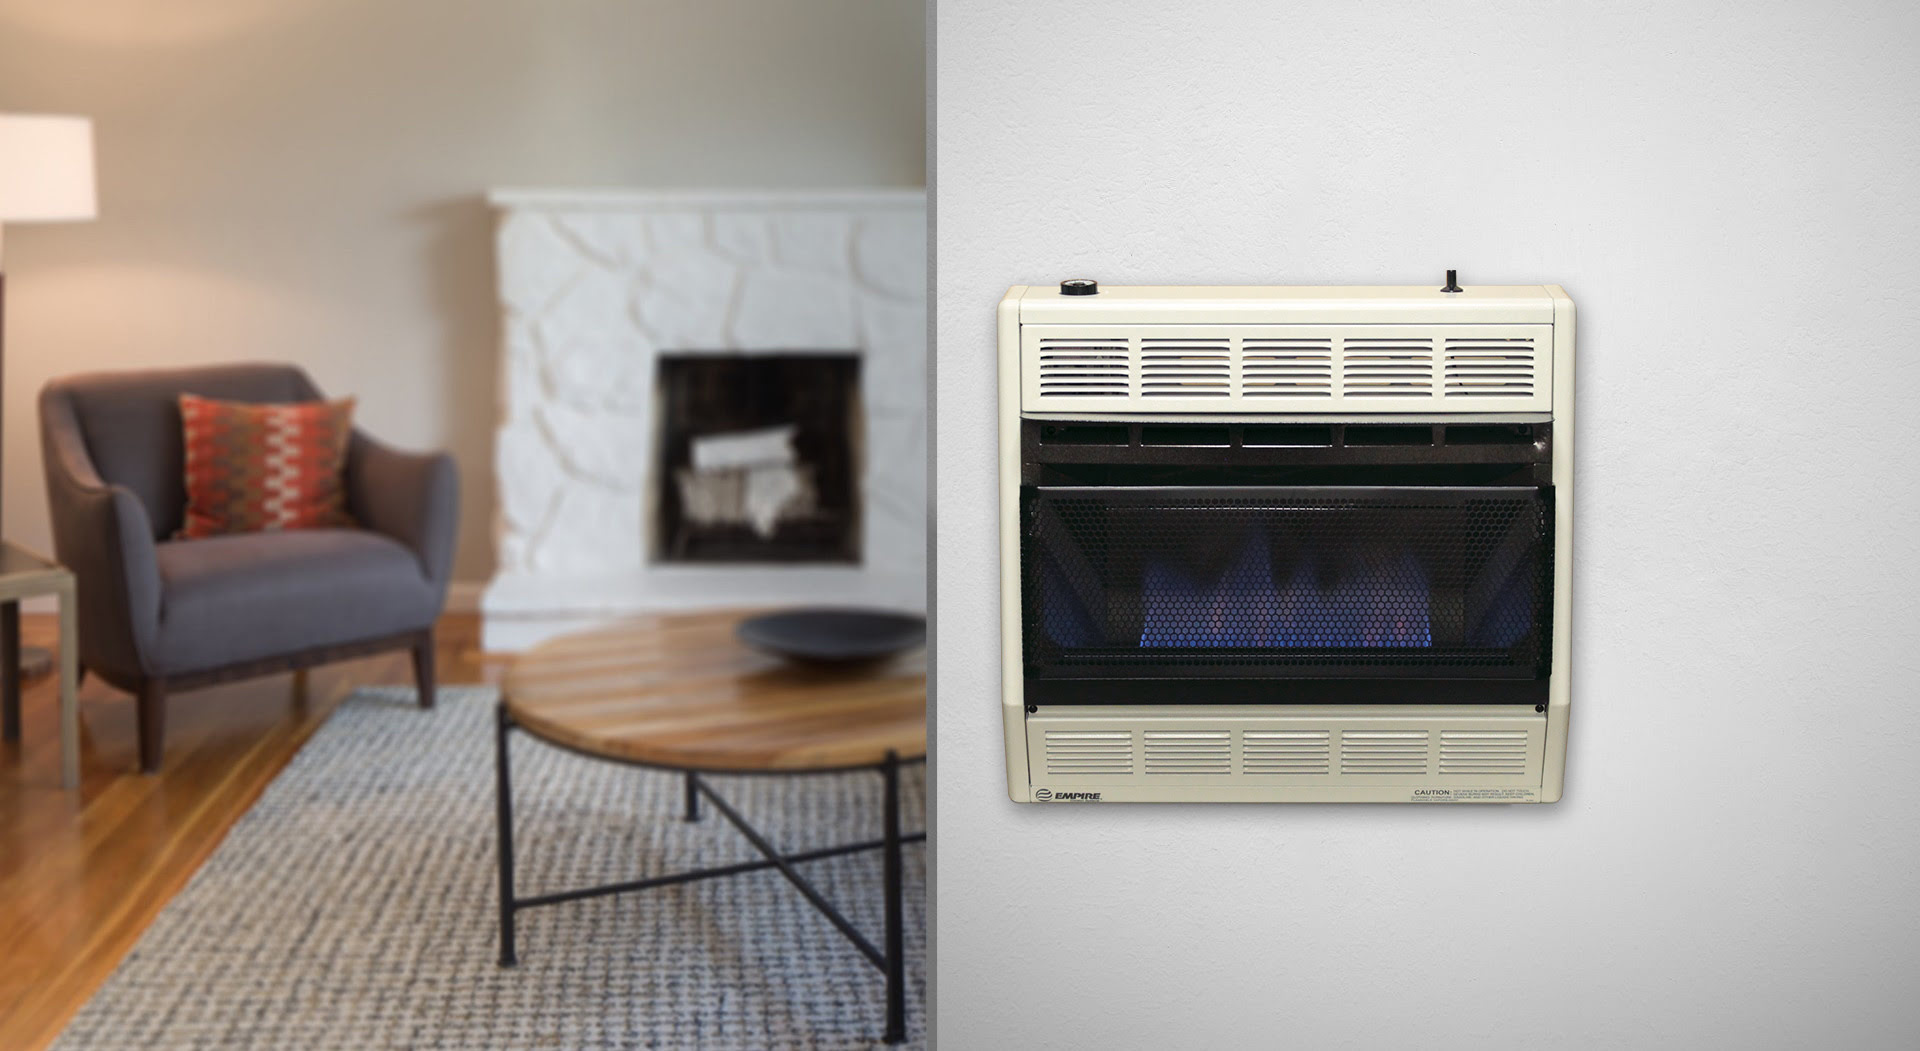
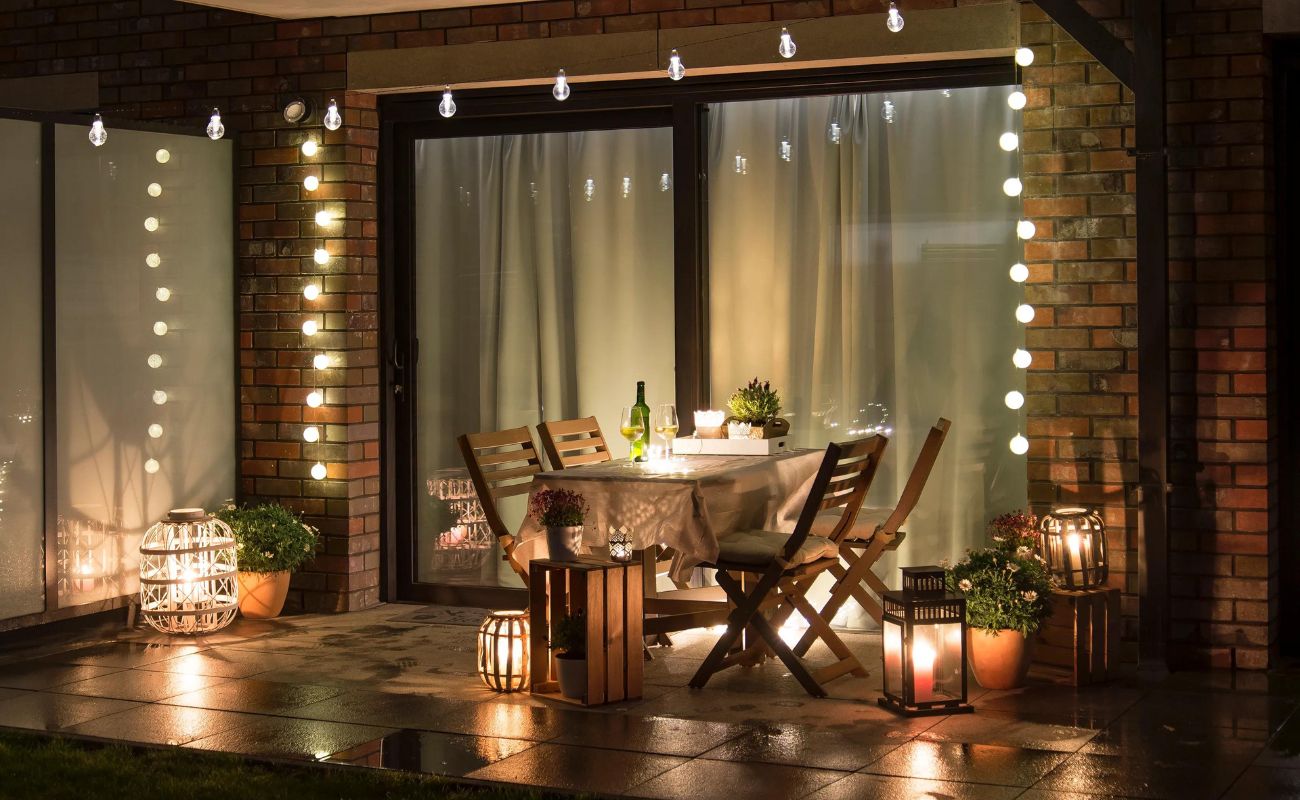
Welcome to the wonderful world of outdoor living! There’s nothing quite like enjoying the fresh air and beauty of nature from the comfort of your own patio. And when it comes to creating a warm and inviting atmosphere for outdoor gatherings, a propane patio heater is a must-have addition to your outdoor furniture collection.
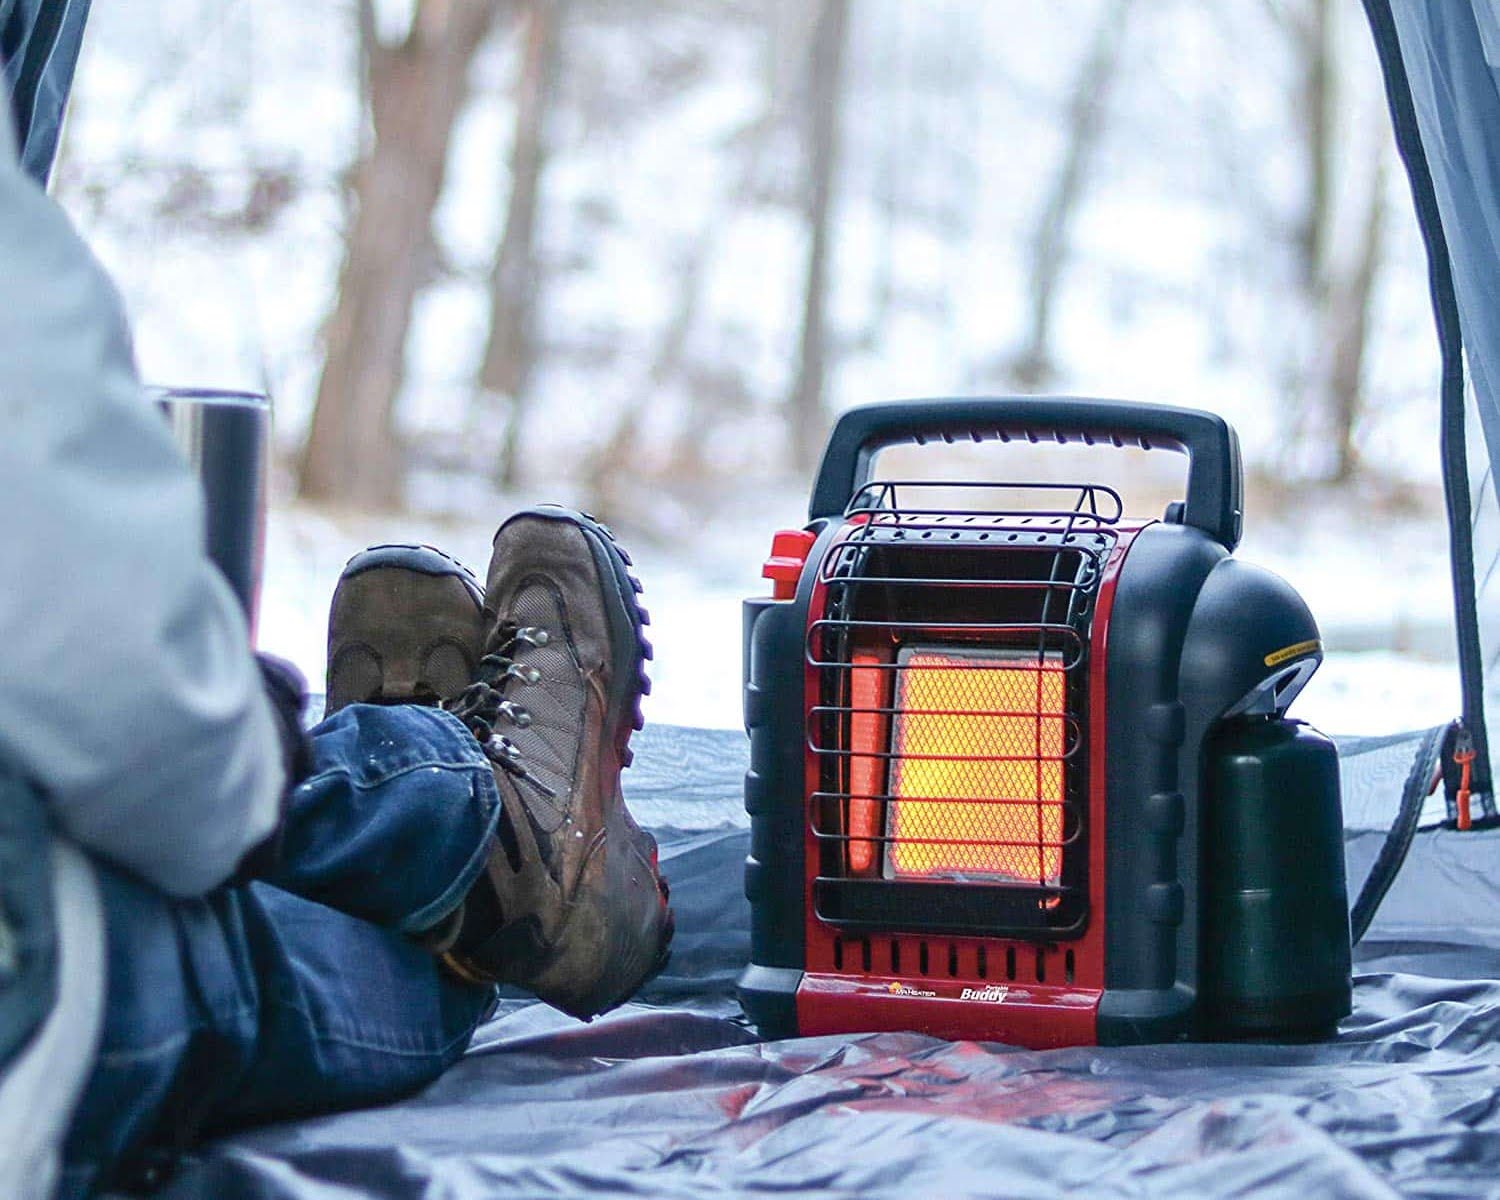
Propane patio heaters provide a convenient and efficient way to heat your outdoor space, allowing you to extend your outdoor season well into the cooler months. Whether you’re hosting a backyard BBQ, enjoying a cozy evening with friends and family, or simply unwinding with a book on your patio, a propane patio heater ensures that you stay comfortable and warm.
While lighting a propane patio heater may seem like a simple task, it’s important to follow the correct steps to ensure your safety and the proper operation of the heater. In this article, we’ll guide you through the process of lighting a propane patio heater, from checking the propane tank to adjusting the heat output.
But before we dive into the details, let’s talk about safety. As with any gas-powered appliance, it’s crucial to take proper precautions when handling and operating a propane patio heater. Always read and follow the manufacturer’s instructions and guidelines to ensure safe usage. Additionally, make sure to position your patio heater in a well-ventilated area to prevent the buildup of carbon monoxide gas.
Now that we have the safety talk out of the way, let’s get started on how to light a propane patio heater and create a cozy and inviting outdoor space for all your outdoor gatherings.
Key Takeaways:
- Stay safe and cozy with your propane patio heater by following safety precautions, checking for leaks, and properly igniting and adjusting the heat. Enjoy outdoor gatherings with warmth and comfort!
- Ensure a safe and enjoyable outdoor experience by checking the propane tank, securely attaching it to the patio heater, and following the manufacturer’s instructions for proper operation. Stay warm and make unforgettable memories in your outdoor space!
Read also: 14 Best Patio Heater Propane For 2025
Safety Precautions
Before lighting a propane patio heater, it’s essential to take the necessary safety precautions to ensure a safe and enjoyable outdoor experience. Here are some important safety guidelines to keep in mind:
- Read the manufacturer’s instructions: Familiarize yourself with the manufacturer’s instructions and guidelines for your specific model of propane patio heater. This will help you understand its features, operation, and safety requirements.
- Position the patio heater in a well-ventilated area: Ensure that your patio heater is placed in an outdoor area with proper ventilation to prevent the buildup of carbon monoxide gas. Never use it indoors or in an enclosed space.
- Keep flammable objects away: Maintain a safe distance between the patio heater and any flammable materials, such as curtains, furniture, or plants, to reduce the risk of fire hazards.
- Check for leaks: Before lighting the patio heater, always inspect the propane tank and connections for any signs of leaks. Apply a solution of soapy water to the connections and look for any bubbling, which indicates a leak. If a leak is detected, turn off the gas supply and fix the issue before proceeding.
- Use a stable and level surface: Ensure that the patio heater is placed on a stable and level surface to prevent it from tipping over during operation. This will help to avoid accidents and injuries.
- Keep children and pets at a safe distance: Make sure that children and pets are kept away from the patio heater while it’s in use. The surface of the heater can become extremely hot and cause burns if touched.
- Never leave the patio heater unattended: Always supervise the patio heater while it’s in operation. Never leave it unattended, especially when there are children or pets around.
- Keep a fire extinguisher nearby: It’s a good practice to have a fire extinguisher within easy reach in case of emergencies. Familiarize yourself with how to use it properly.
By following these safety precautions, you can enjoy the warmth and comfort of your propane patio heater with peace of mind, knowing that you’re taking the necessary steps to ensure a safe outdoor experience for yourself and your loved ones.
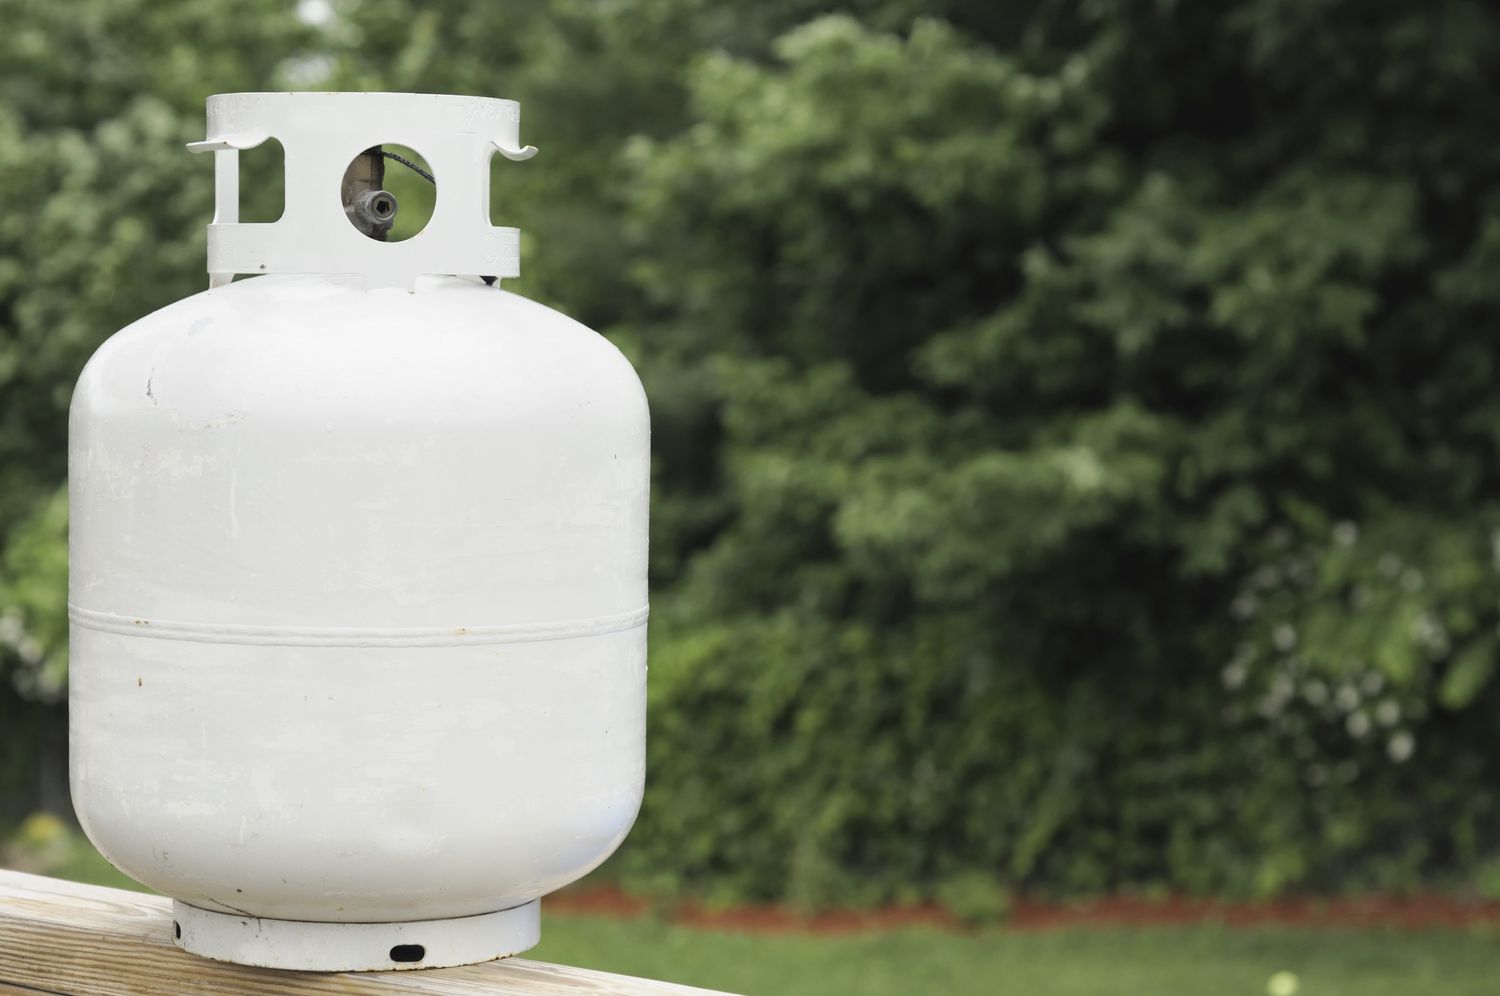
Step 1: Checking the Propane Tank
The first step in lighting a propane patio heater is to ensure that the propane tank is in good condition and has enough fuel. Follow these simple steps to check your propane tank before proceeding:
- Inspect the propane tank: Look for any signs of damage, such as dents, rust, or leaks. If you notice any damage, do not attempt to use the tank and replace it with a new one.
- Verify the propane level: Check the gauge on the propane tank to determine how much fuel is remaining. If the tank is empty or running low, it’s important to refill or replace it before using the patio heater.
- Tighten the propane tank valve: Make sure that the valve on the propane tank is tightly closed. This will prevent any gas from escaping during the lighting process.
Checking the propane tank is a crucial step to ensure that you have a safe and uninterrupted supply of fuel for your patio heater. By taking the time to inspect and verify the tank’s condition, you can proceed with confidence to the next steps and enjoy the warmth and ambiance of your outdoor space.
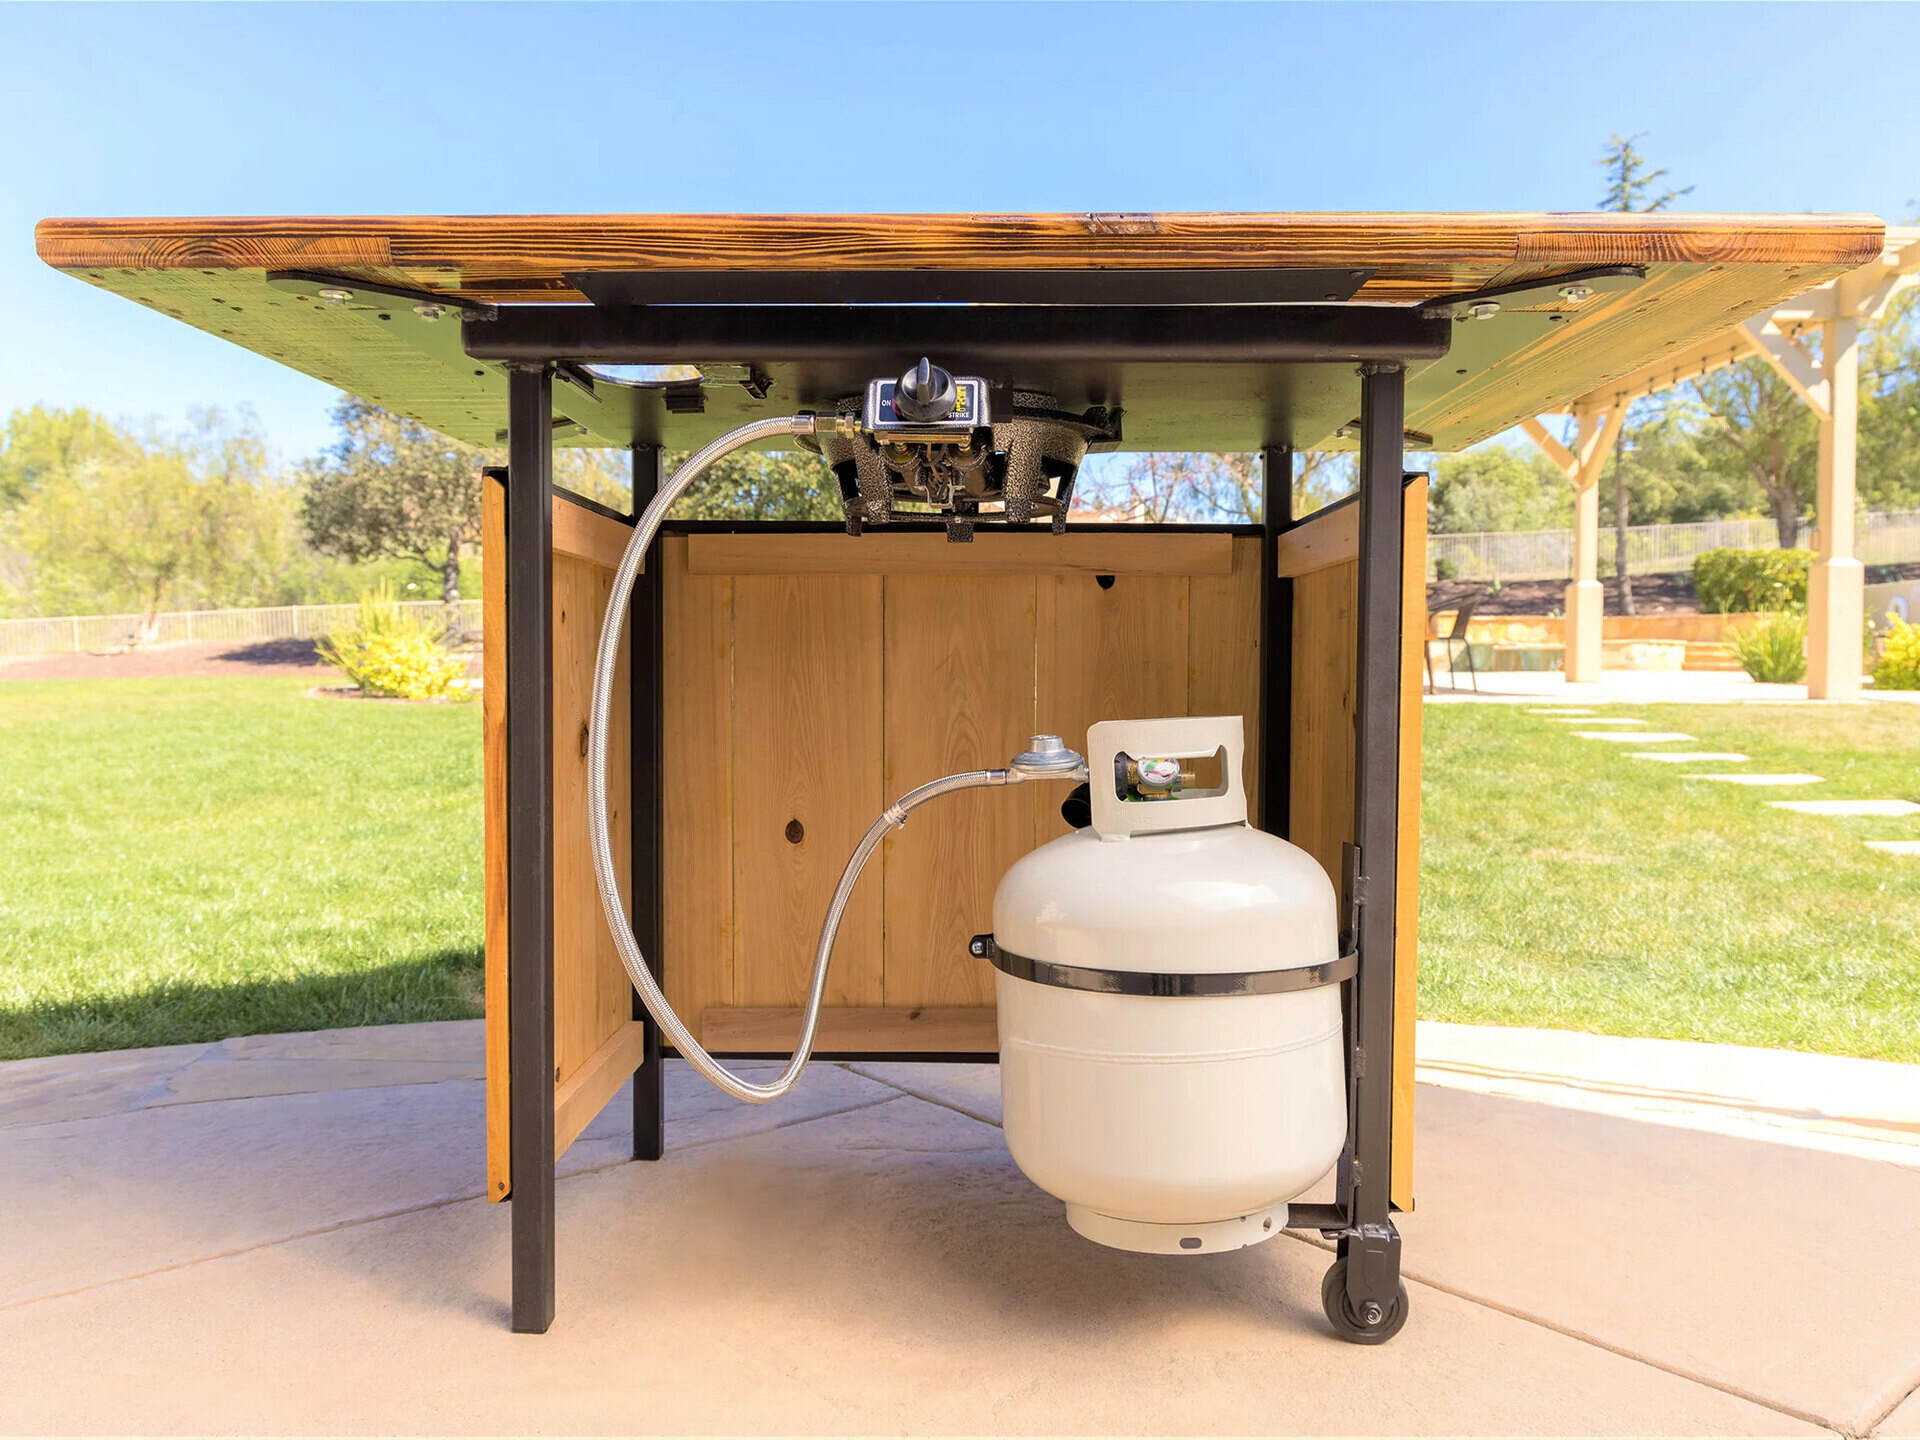
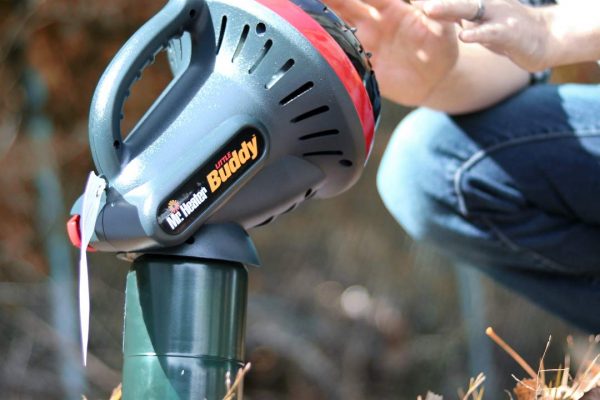
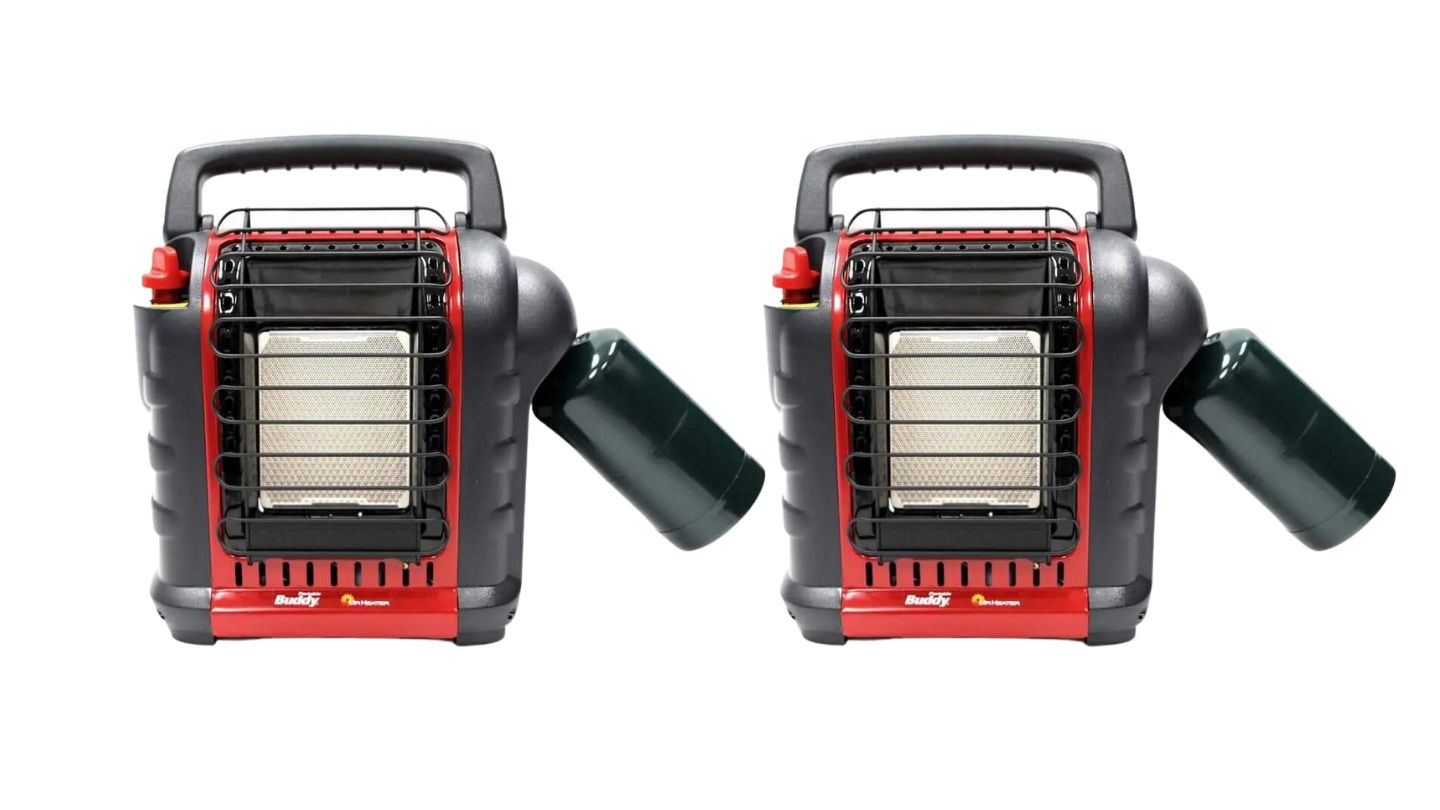
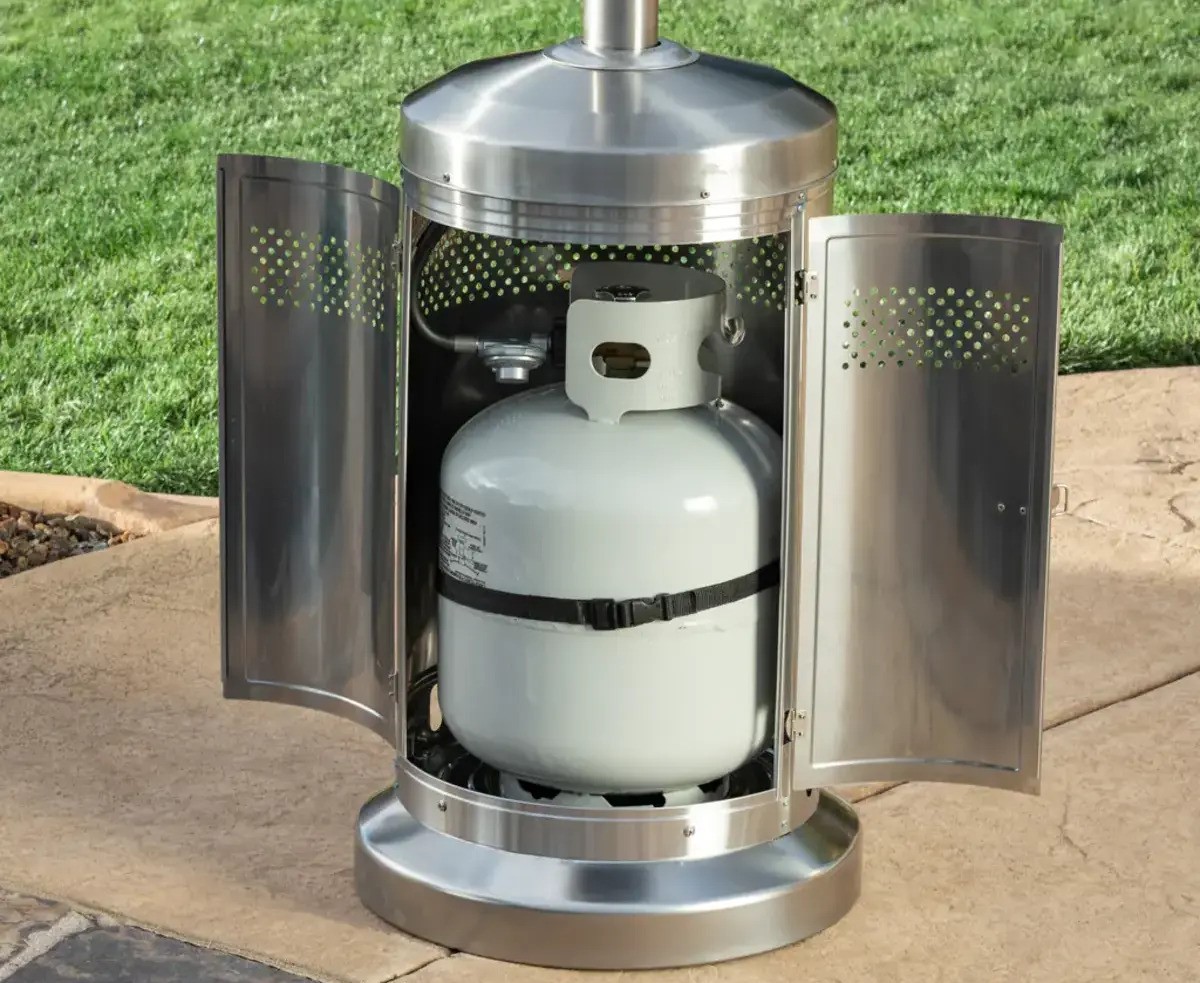
Step 2: Attaching the Propane Tank to the Patio Heater
Once you’ve checked the condition and fuel level of the propane tank, it’s time to attach it to your patio heater. Follow these steps to securely connect the tank:
- Locate the propane tank connection: Look for the propane tank connection point on your patio heater. It is usually located at the base or back of the unit.
- Remove the protective cap: If there is a protective cap covering the propane tank connection, unscrew and remove it.
- Position the tank: Place the propane tank in an upright position next to the patio heater.
- Screw on the hose: Take the hose from the patio heater and align it with the propane tank connection. Insert the end of the hose onto the tank’s valve and twist it clockwise until it is securely attached.
- Tighten with a wrench: To ensure a snug and leak-free connection, use an adjustable wrench to tighten the connection between the hose and the tank. Be careful not to overtighten.
It’s important to ensure that the propane tank is securely and properly attached to the patio heater. A tight connection will prevent any gas leaks and ensure that the heater functions efficiently.
Once you’ve successfully attached the propane tank to the patio heater, you’re one step closer to enjoying the warmth and comfort of your outdoor space. Now, let’s move on to the next step: checking for leaks to ensure a safe and hassle-free operation.
Step 3: Checking for Leaks
Before you proceed with igniting your propane patio heater, it’s essential to check for any leaks to ensure your safety. Here’s how to perform a leak check:
- Prepare a soapy water solution: In a spray bottle or container, mix a solution of water and liquid dish soap. Shake or stir well to create a soapy mixture.
- Turn on the gas supply: Slowly open the propane tank valve to allow gas to flow to the patio heater. Use caution and avoid sudden movements.
- Apply the soapy water solution: Spray or apply the soapy water solution around all connections, including the regulator, hose, and valve. Ensure that the entire connection area is covered with the solution.
- Observe for bubbles: Carefully watch the connections for any signs of bubbles forming. If you see bubbles or notice a distinct smell of gas, it indicates a leak.
- If a leak is detected: If you detect a leak, immediately turn off the gas supply by closing the propane tank valve. Disconnect the tank from the patio heater and address the issue before proceeding. Consult the manufacturer’s instructions or a professional for proper repair or replacement of the faulty component.
- If no leaks are detected: If no bubbles form and you do not detect any signs of a leak, you can proceed to ignite the patio heater.
Checking for leaks is a critical step in ensuring the safe and efficient operation of your propane patio heater. Taking the time to perform this check will give you peace of mind and help prevent any potential hazards.
With the assurance that there are no leaks, you’re now ready to move on to the next step: igniting the patio heater and basking in the cozy warmth it provides.
Before lighting a propane patio heater, make sure the gas tank is securely connected and the control knob is turned off. Then, follow the manufacturer’s instructions for igniting the heater and adjusting the flame.
Step 4: Turning on the Gas Flow
With the propane tank securely attached and no leaks detected, it’s time to turn on the gas flow to your patio heater. Follow these steps to ensure a smooth and proper operation:
- Locate the gas control knob: Identify the gas control knob on your propane patio heater. It is usually located near the base or on the control panel.
- Turn off all ignition sources: Before turning on the gas flow, make sure that any ignition sources, such as matches or lighters, are safely kept away from the patio heater.
- Slightly open the propane tank valve: Slowly and gently open the propane tank valve by turning it counterclockwise. This will allow gas to flow through the hose and into the patio heater.
- Wait for a minute or two: Give the gas a moment to flow through the system and reach the patio heater. This helps to ensure a steady and consistent flow of fuel.
- Turn on the gas control knob: Turn the gas control knob on the patio heater to the “ON” or “Start” position. This will allow the gas to flow to the burner assembly.
After turning on the gas flow and adjusting the gas control knob, you’re now ready to ignite the patio heater and enjoy the warmth it provides. However, remember to proceed with caution and always follow the manufacturer’s instructions to ensure proper operation.
Before we move on to the next step, it’s important to mention that if you smell gas at any point during this process, immediately turn off the propane tank valve, extinguish any open flames, and ventilate the area. Contact a professional to inspect the patio heater and address any issues.
Now, let’s move on to step 5, where we ignite the patio heater and embrace the cozy warmth it brings to your outdoor space.
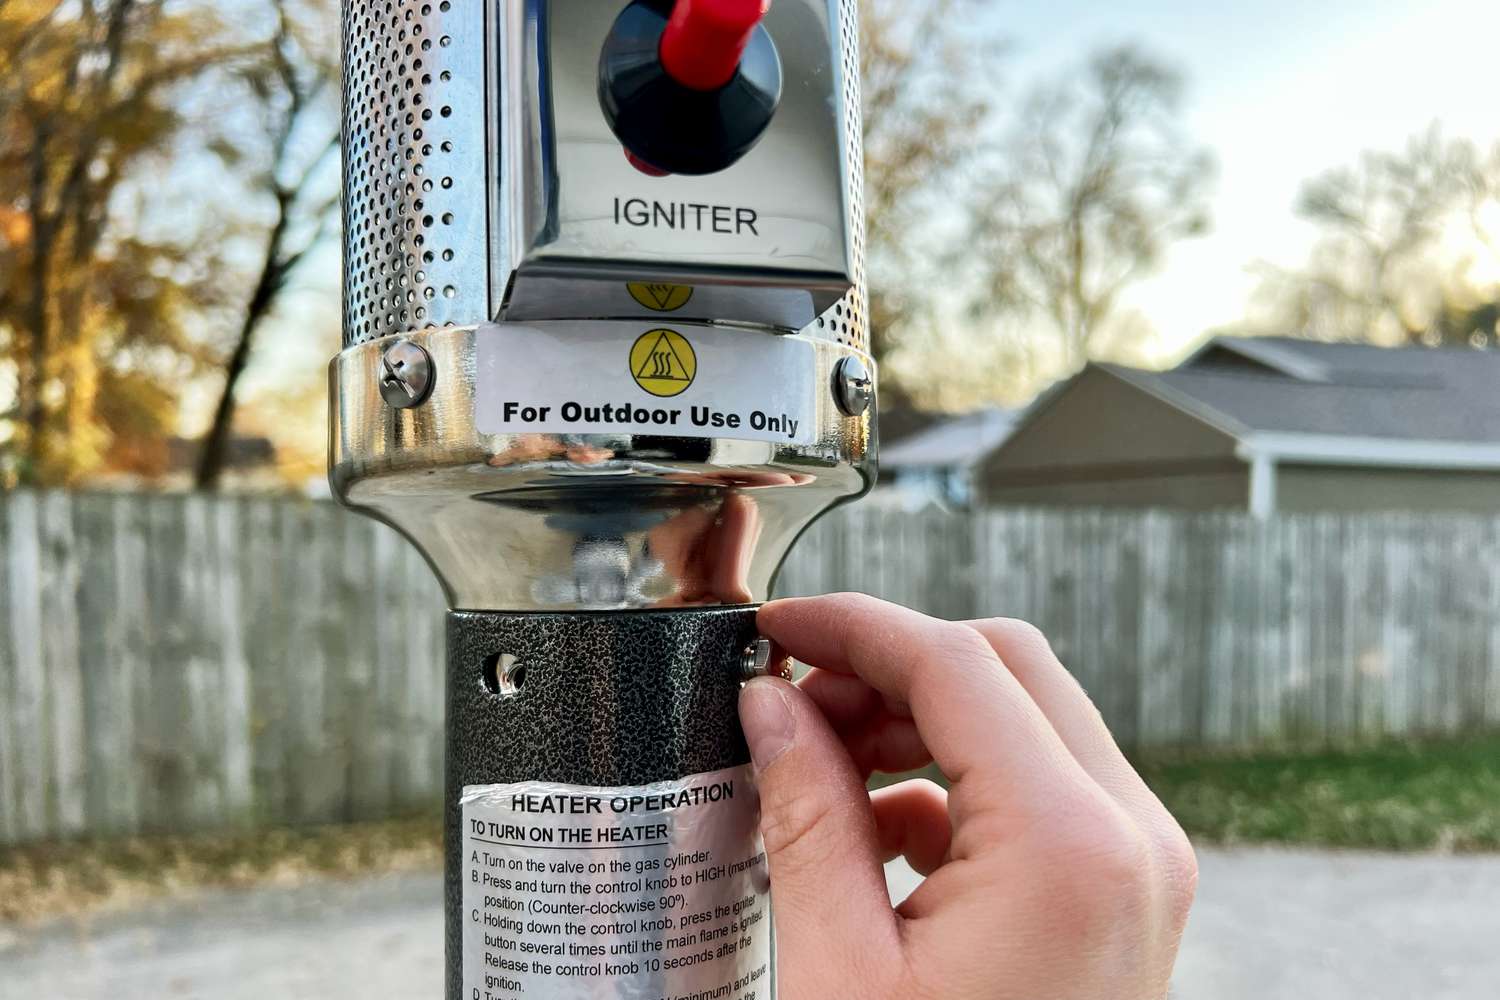
Step 5: Igniting the Patio Heater
Now that the gas flow is turned on and the necessary precautions have been taken, it’s time to ignite your propane patio heater. Follow these steps to safely and effectively light your patio heater:
- Locate the ignition switch or button: Identify the ignition switch or button on your patio heater. This is typically located near the gas control knob or on the control panel.
- Ensure the gas control knob is in the “ON” position: Before attempting to ignite the patio heater, double-check that the gas control knob is set to the “ON” position.
- Press or turn the ignition switch/button: Follow the manufacturer’s instructions to activate the ignition switch or button. This will create a spark or flame to ignite the gas and start the heating process.
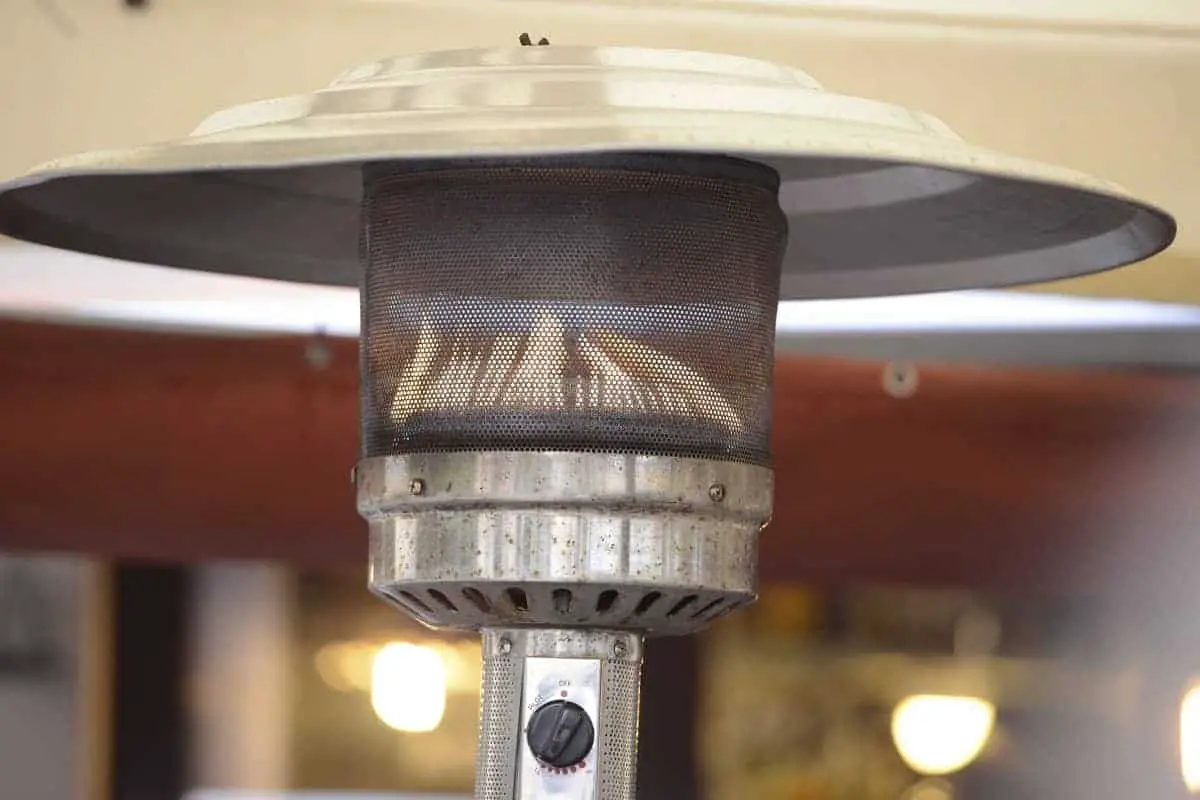
- Observe the burner: Watch the burner assembly closely to ensure that the flame ignites and extends across the burner evenly. A steady and consistent flame indicates successful ignition.
- Hold down the switch/button for a few seconds: After igniting the patio heater, continue to hold down the ignition switch or button for a few seconds to allow the flame to stabilize. This helps ensure proper functioning.
- Release the ignition switch/button: Once the flame is stable and burning evenly, release the ignition switch or button. The patio heater should now be fully operational.
Congratulations! You have successfully ignited your propane patio heater. Take a step back, bask in the warmth, and enjoy the cozy ambiance it creates in your outdoor space.
Keep in mind that the ignition process may vary slightly depending on the model of your patio heater. Always refer to the manufacturer’s instructions for specific details on how to ignite your particular unit.
Now that you have your patio heater up and running, let’s move on to the next step: adjusting the heat output to your desired level.
Step 6: Adjusting the Heat Output
Now that your propane patio heater is lit and providing a warm and inviting atmosphere, it’s time to adjust the heat output to your desired level of comfort. Follow these steps to easily adjust the heat output:
- Locate the heat control knob: Identify the heat control knob on your patio heater. This is typically located near the gas control knob or on the control panel.
- Turn the heat control knob: Gradually turn the heat control knob clockwise to increase the heat output. The knob may have numerical markings or symbols to indicate the different heat levels.
- Observe the flame and heat distribution: As you adjust the heat control knob, observe the size and intensity of the flame. A higher heat setting will produce a larger and more intense flame, while a lower heat setting will result in a smaller, more subdued flame.
- Monitor the heat dispersion: Pay attention to how the heat is being distributed. Patio heaters typically emit heat in a 360-degree radius, so ensure that the heat is evenly dispersed throughout your outdoor space.
- Make gradual adjustments: When changing the heat output, make small adjustments and allow the patio heater to reach the desired temperature before making additional changes. This will help you find the perfect balance and prevent sudden temperature fluctuations.
By adjusting the heat output, you can create a comfortable and cozy environment that suits your preferences and the weather conditions. Whether you’re looking for a gentle warmth on a mild evening or a higher heat setting during colder nights, the ability to adjust the heat output allows you to customize your outdoor experience.
Remember to exercise caution when handling the heat control knob, as it may become hot during operation. Use a heat-resistant glove or a cloth to protect your hand while making adjustments.
With the ability to adjust the heat output, you can now enjoy your propane patio heater at the perfect temperature. Let’s move on to the final step: shutting off the patio heater when you’re done using it.
Step 7: Shutting Off the Patio Heater
When you’re finished enjoying the warmth and ambiance of your propane patio heater, it’s important to properly shut it off. Follow these steps to safely turn off your patio heater:
- Turn off the heat control knob: Rotate the heat control knob counterclockwise to the lowest heat setting or the “Off” position. This will stop the flow of gas to the burner assembly and extinguish the flame.
- Observe the burner assembly: Take a moment to ensure that the flame has completely extinguished and that no residual heat remains. It’s important to let the patio heater cool down before proceeding.
- Turn off the propane tank valve: Slowly close the propane tank valve by turning it clockwise until it is tightly closed. This will stop the flow of gas from the tank to the patio heater.
- Disconnect the propane tank: If you won’t be using the patio heater for an extended period, or if you need to transport it, it’s advisable to disconnect the propane tank from the patio heater. This ensures safety and prevents any accidental gas leaks.
- Store the patio heater properly: Once the patio heater has cooled down completely, store it in a clean and dry area, protected from the elements. This will help prolong its lifespan and ensure it’s ready for use the next time you need it.
By following these steps, you will properly shut off your propane patio heater and ensure its safe and efficient operation in the future. Remember to consult the manufacturer’s instructions for any specific guidance on shutting off your particular model.
Now you’re fully equipped with the knowledge of how to safely and effectively use a propane patio heater. Enjoy the warmth and comfort it provides for your outdoor gatherings, creating unforgettable memories with friends and family.
As always, prioritize safety and refer to the manufacturer’s instructions for any additional information or guidelines specific to your propane patio heater. Stay cozy and make the most of your outdoor living space!
Read more: How To Turn On An Outdoor Propane Heater
Conclusion
Propane patio heaters are a fantastic addition to any outdoor space, providing warmth and ambiance for year-round enjoyment. By following the proper steps outlined in this guide, you can safely and effectively light and operate your propane patio heater.
Remember, safety should always be the top priority when using any gas-powered appliance. Take the time to thoroughly read and understand the manufacturer’s instructions, and follow the recommended safety precautions. This includes checking the propane tank for any damage or leaks, positioning the patio heater in a well-ventilated area, and keeping flammable objects at a safe distance.
The steps to light a propane patio heater include checking the propane tank, attaching it to the patio heater, checking for leaks, turning on the gas flow, igniting the patio heater, adjusting the heat output, and finally, shutting off the patio heater when finished.
By taking these precautions and following these steps, you can create a warm and inviting atmosphere in your outdoor living space. Enjoy cozy evenings with family and friends, extend your outdoor season, and make the most of your patio or deck area.
Always ensure that you operate your propane patio heater in a responsible manner and comply with any local regulations or guidelines. Regularly inspect and maintain your patio heater to keep it in optimal condition for years of reliable performance.
So go ahead, embrace the joy of outdoor living and experience the comfort of a propane patio heater. Create memorable moments, enjoy the beauty of nature, and make your outdoor space a true oasis for relaxation and entertainment.
Stay warm, stay safe, and enjoy the great outdoors!
Frequently Asked Questions about How To Light A Propane Patio Heater
Was this page helpful?
At Storables.com, we guarantee accurate and reliable information. Our content, validated by Expert Board Contributors, is crafted following stringent Editorial Policies. We're committed to providing you with well-researched, expert-backed insights for all your informational needs.


0 thoughts on “How To Light A Propane Patio Heater”