Home>Furniture & Design>Outdoor Furniture>How To Paint Pallets For Outdoor Use
Outdoor Furniture
How To Paint Pallets For Outdoor Use
Modified: January 20, 2024
Learn how to paint pallets for outdoor use and transform them into stylish and durable outdoor furniture. Discover expert tips and techniques for enhancing your outdoor space with painted pallets. Outdoor furniture, furniture and design.
(Many of the links in this article redirect to a specific reviewed product. Your purchase of these products through affiliate links helps to generate commission for Storables.com, at no extra cost. Learn more)
Introduction
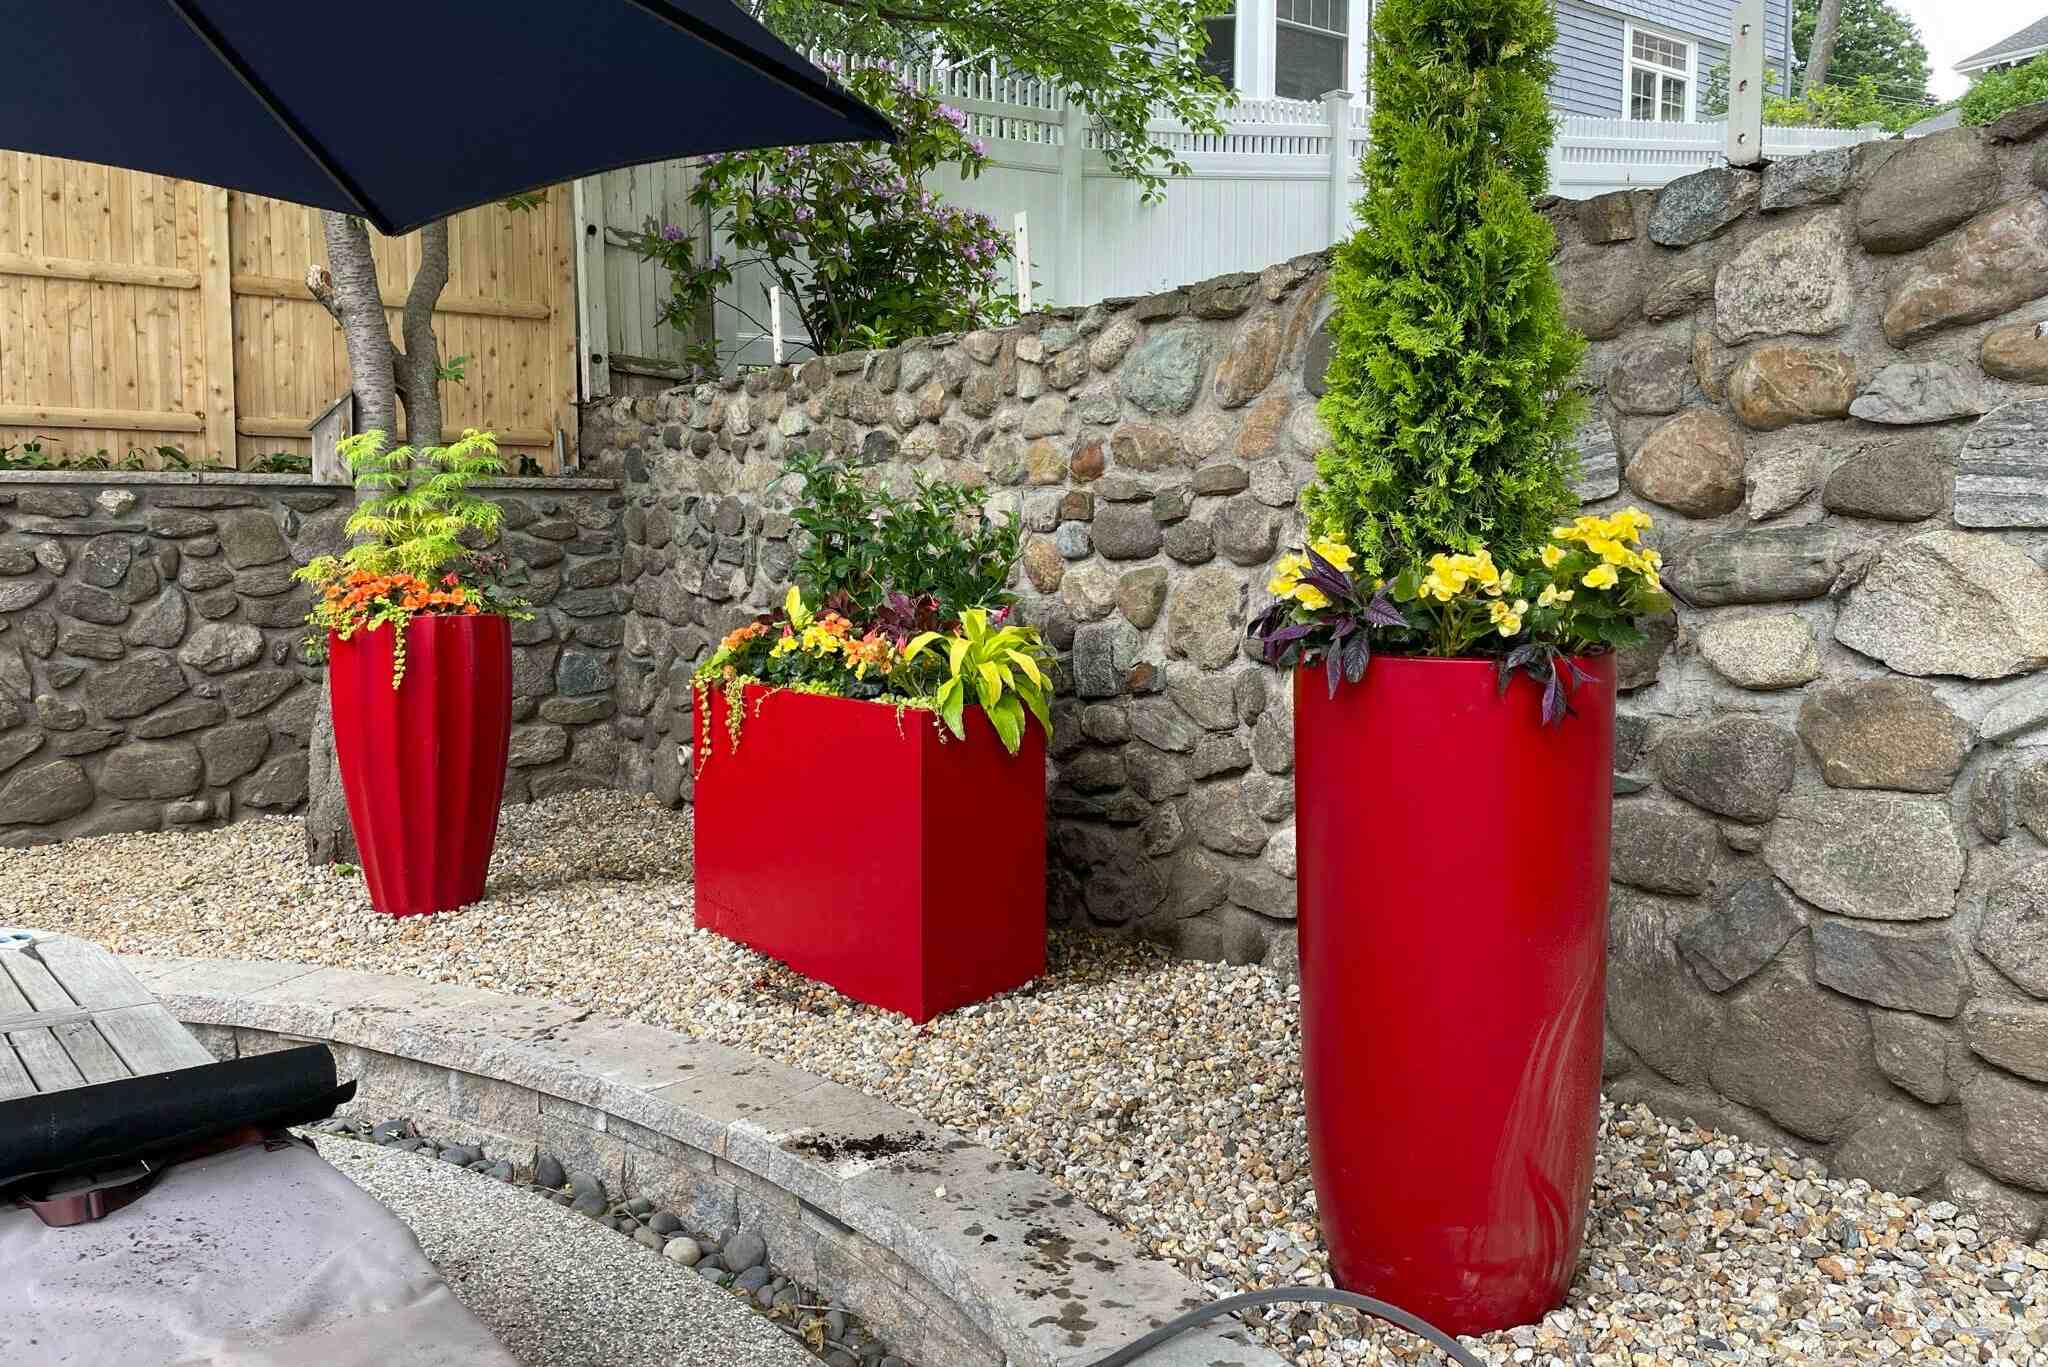
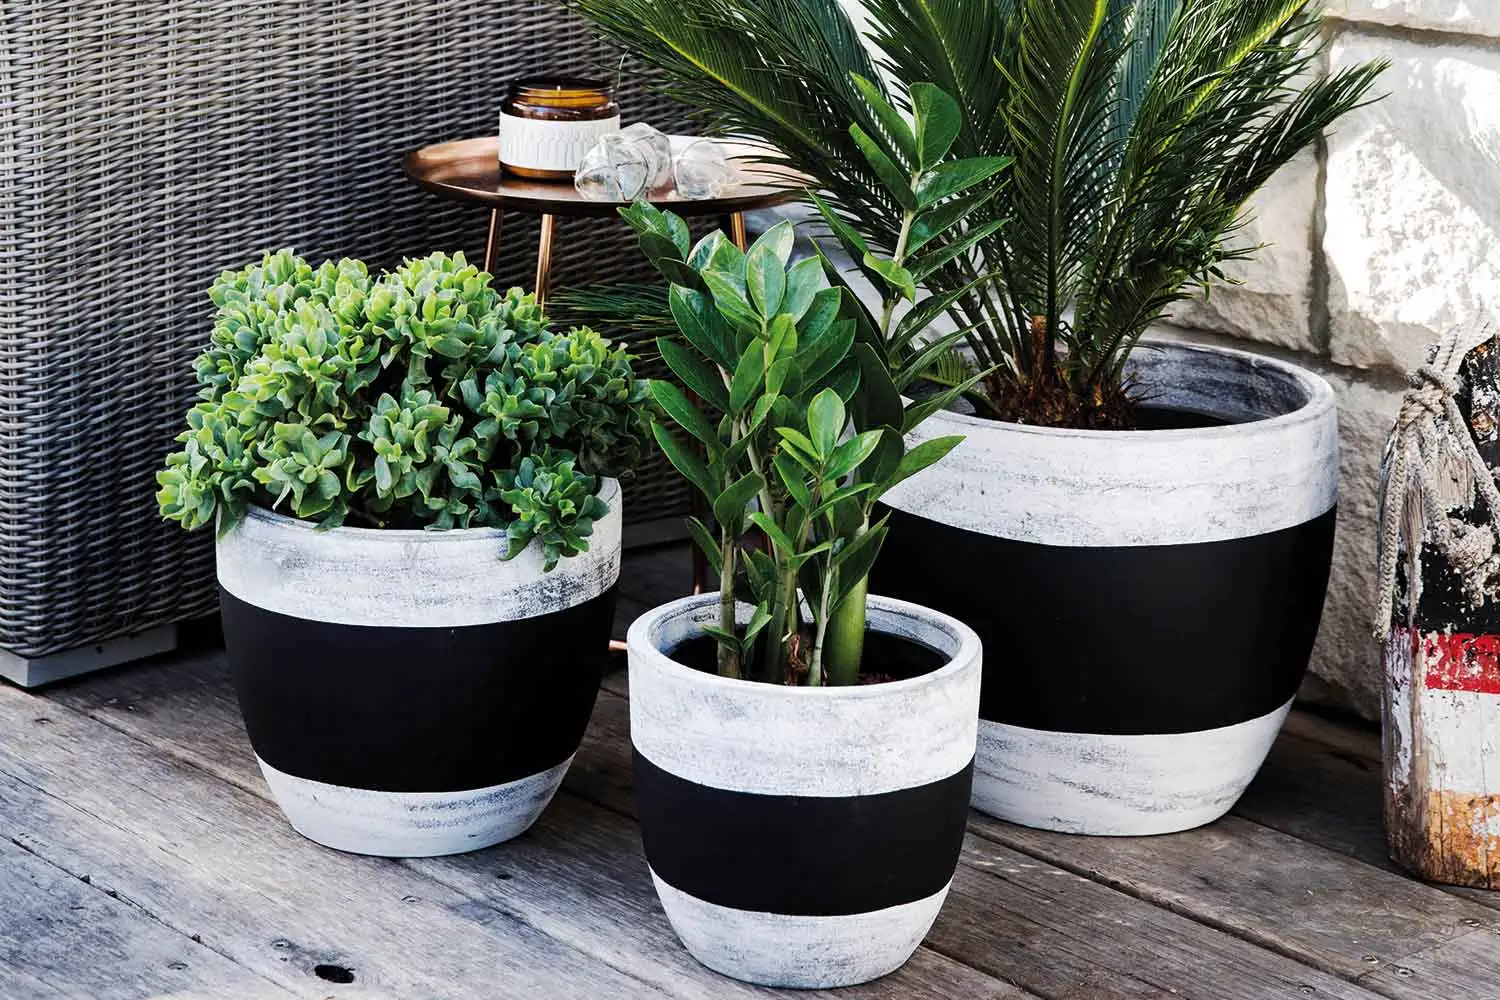
When it comes to outdoor furniture and design, pallets have become a popular choice for DIY enthusiasts and design aficionados alike. Their versatility, affordability, and rustic charm make them an excellent option for creating unique and functional pieces for outdoor spaces. Whether you're envisioning a cozy pallet sofa, a stylish coffee table, or a vibrant planter box, painting pallets can elevate their aesthetic appeal while providing protection against the elements.
In this comprehensive guide, we will delve into the art of painting pallets for outdoor use. From selecting the right pallets to applying the finishing touches, we'll explore each step in detail, equipping you with the knowledge and confidence to transform raw pallets into stunning outdoor furniture and decor. So, roll up your sleeves, gather your supplies, and let's embark on this creative and rewarding journey of pallet painting!
Key Takeaways:
- Transform raw pallets into stunning outdoor furniture and decor by selecting the right pallets, diligently cleaning, sanding, applying primer, infusing color, and sealing the painted surfaces for lasting beauty and functionality.
- Embrace sustainability and creativity by upcycling pallets, infusing them with color and character, and crafting unique and personalized pieces that reflect your individual style and vision.
Read more: How To Treat Pallet Wood For Outdoor Use
Choosing the Right Pallets
Before diving into the painting process, it’s crucial to select the appropriate pallets for your outdoor project. Not all pallets are created equal, and choosing the right ones can significantly impact the longevity and overall quality of your finished piece.
When sourcing pallets, opt for those stamped with the HT (heat treated) mark, indicating that they have been treated to withstand pests and moisture. Avoid pallets marked with MB (methyl bromide), as this signifies the use of a toxic chemical for treatment, posing potential health risks.
Additionally, inspect the pallets for any signs of damage, such as cracks, splinters, or rot. Solid, structurally sound pallets will provide a sturdy foundation for your outdoor furniture, ensuring durability and safety. Keep an eye out for pallets with uniform and straight boards, as these will facilitate a smoother painting process and contribute to a polished final appearance.
For a touch of eco-friendliness, consider upcycling pallets that have served their original shipping purpose. Not only does this contribute to sustainable practices, but it also adds character and history to your outdoor creations.
By carefully selecting the right pallets, you set the stage for a successful painting endeavor, laying the groundwork for beautiful, functional, and long-lasting outdoor furniture and decor.
Cleaning and Preparing the Pallets
Once you’ve secured the perfect pallets for your outdoor project, the next crucial step is to thoroughly clean and prepare them for the painting process. Pallets, often used in the shipping and transportation of goods, can accumulate dirt, grime, and other residues that hinder paint adhesion and compromise the final finish.
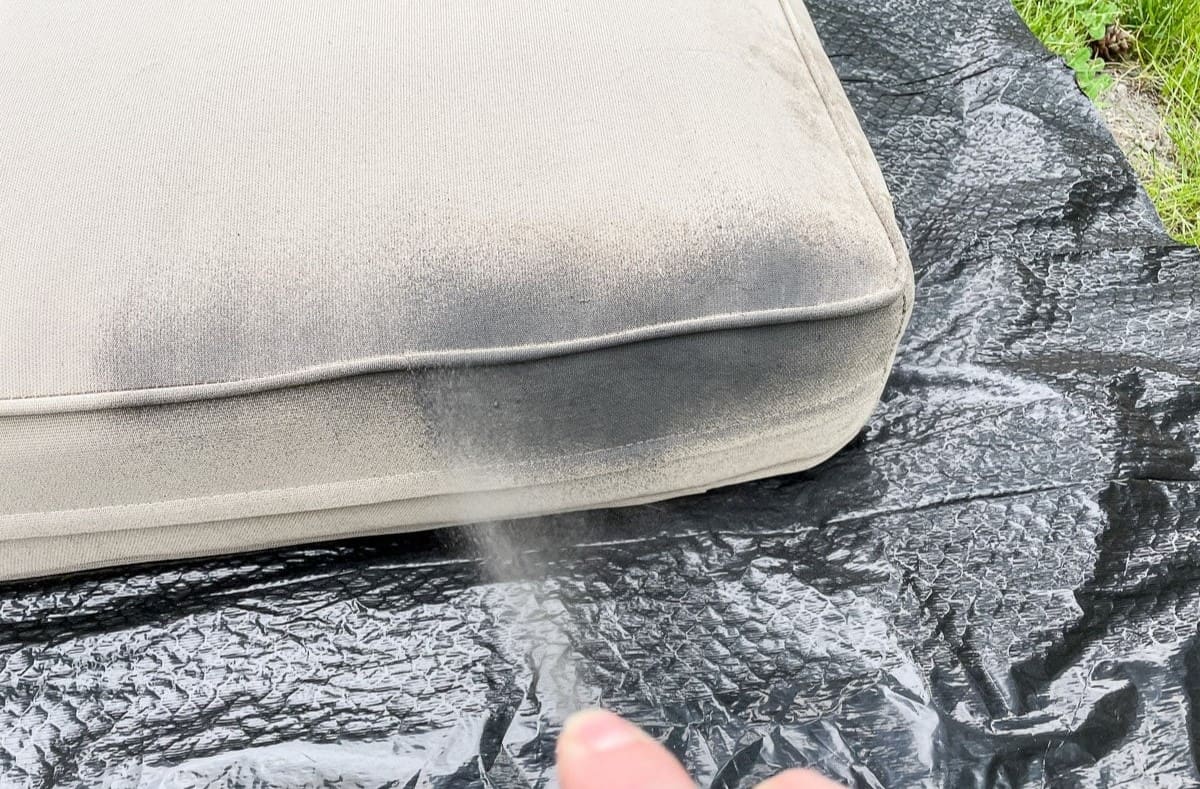
Begin by clearing a well-ventilated workspace and laying down a tarp or drop cloth to protect the surface underneath. With a stiff-bristled brush or a pressure washer, remove any dirt, debris, and loose particles from the pallets. Pay special attention to the crevices and corners, ensuring that all surfaces are free from contaminants that could interfere with the paint application.
After the initial cleaning, mix a solution of mild detergent or dish soap with water and scrub the pallets using a sponge or brush. This step helps eliminate stubborn stains, grease, and any remaining traces of dirt. Rinse the pallets thoroughly with clean water and allow them to dry completely in the open air or sunlight.
Once dry, inspect the pallets for any protruding nails, splinters, or rough edges. Use a hammer to carefully reposition or remove any nails that may pose a hazard, and sand down rough areas to create a smooth and safe surface for handling and painting.
By diligently cleaning and preparing the pallets, you establish a clean canvas for the upcoming painting process, ensuring optimal paint adhesion and a professional, polished outcome for your outdoor furniture and decor.
Sanding the Pallets
After the cleaning and preparation phase, the next vital step in painting pallets for outdoor use is sanding. Sanding not only smoothens the surface of the pallets but also promotes better paint adhesion, resulting in a more refined and durable finish.
Begin by equipping yourself with medium-grit sandpaper (around 80-100 grit) to address any rough spots, splinters, or uneven surfaces on the pallets. It’s essential to pay attention to the edges, corners, and any protruding nails, ensuring that the entire pallet is smooth and safe to handle.
For a more efficient sanding process, consider using a palm sander or an orbital sander, especially when working on larger projects or multiple pallets. These power tools can expedite the sanding process while maintaining consistency across the pallet’s surface.
Once the initial sanding is complete, switch to a finer grit sandpaper (around 120-150 grit) to further refine the surface and achieve a silky-smooth texture. This step is particularly crucial if you aim to create a sleek, professional look for your outdoor furniture and decor.
After sanding, use a clean, dry cloth to remove any dust or debris from the pallets. It’s essential to ensure that the surface is entirely clean before proceeding to the next phase of the painting process, as any residual particles can compromise the paint’s finish.
By diligently sanding the pallets, you not only enhance their visual appeal but also lay the groundwork for a successful and long-lasting paint application. This meticulous step contributes to the overall quality and durability of your painted pallets, ensuring that they withstand the outdoor elements while exuding a polished and refined aesthetic.
Before painting pallets for outdoor use, make sure to clean them thoroughly and sand down any rough areas. Use outdoor paint or a weatherproof sealant to protect the wood from the elements.
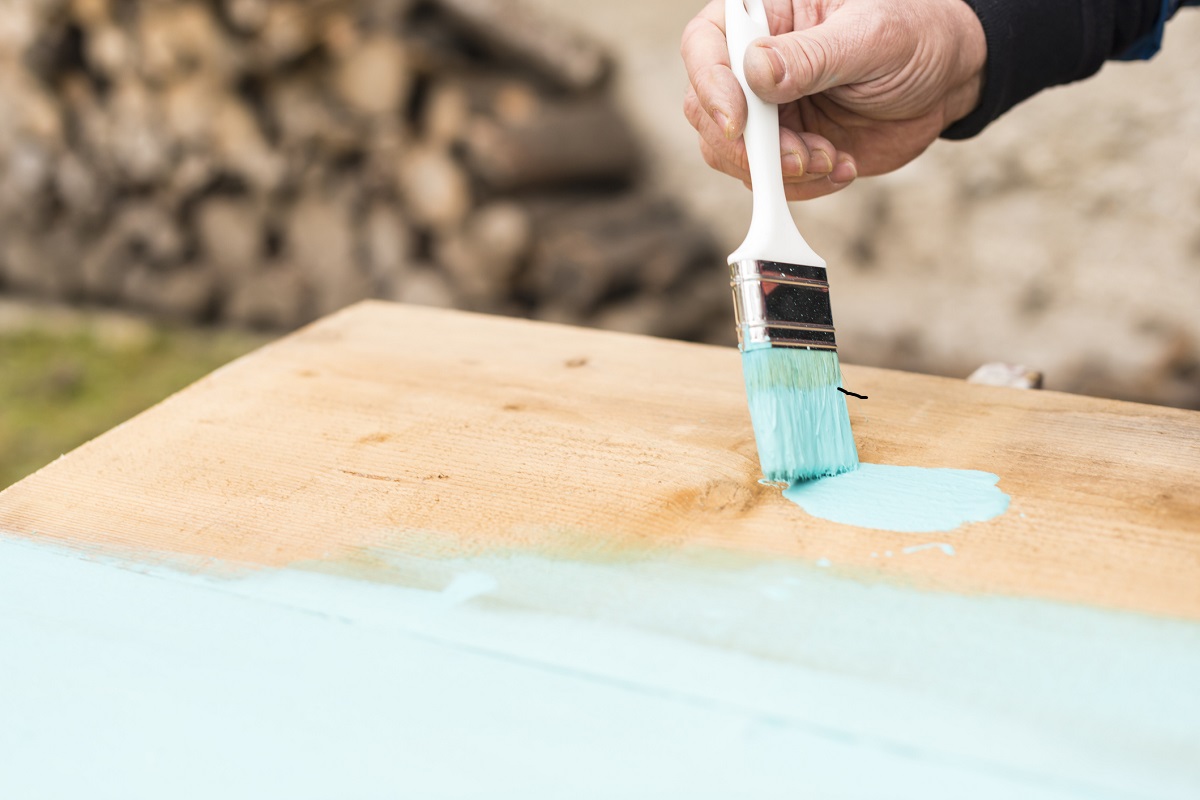
Applying Primer
Before delving into the exciting realm of color and creativity, it’s essential to lay a solid foundation for your outdoor pallet painting project by applying primer. Primer serves as a crucial preparatory layer that enhances paint adhesion, promotes color vibrancy, and provides an added layer of protection for the wood against moisture and environmental stressors.
Opt for a high-quality, outdoor-specific primer designed to adhere to wood surfaces and withstand outdoor conditions. This ensures that your painted pallets maintain their allure and resilience over time, even when exposed to the elements.
Begin by stirring the primer thoroughly to achieve a consistent texture and composition. Using a paintbrush or a paint sprayer, apply a smooth and even coat of primer to the entire surface of the pallets. Pay attention to the gaps between the boards and the areas around the nails, ensuring comprehensive coverage for optimal protection and a flawless finish.
Allow the primer to dry completely according to the manufacturer’s instructions. This drying period is crucial, as it sets the stage for the subsequent paint application and contributes to the overall durability and longevity of your outdoor pallet furniture and decor.
If necessary, lightly sand the primed surface with fine-grit sandpaper to achieve a silky-smooth texture, preparing it for the final painting process. Once again, remove any dust or debris resulting from sanding to ensure a pristine canvas for the upcoming paint application.
By applying primer to your pallets, you establish a resilient and vibrant base for the subsequent layers of paint, setting the stage for a visually stunning and long-lasting outdoor furniture and decor transformation. This foundational step enhances the overall quality and endurance of your painted pallets, ensuring that they stand the test of time in your outdoor oasis.
Read more: How To Seal Paint For Outdoor Use
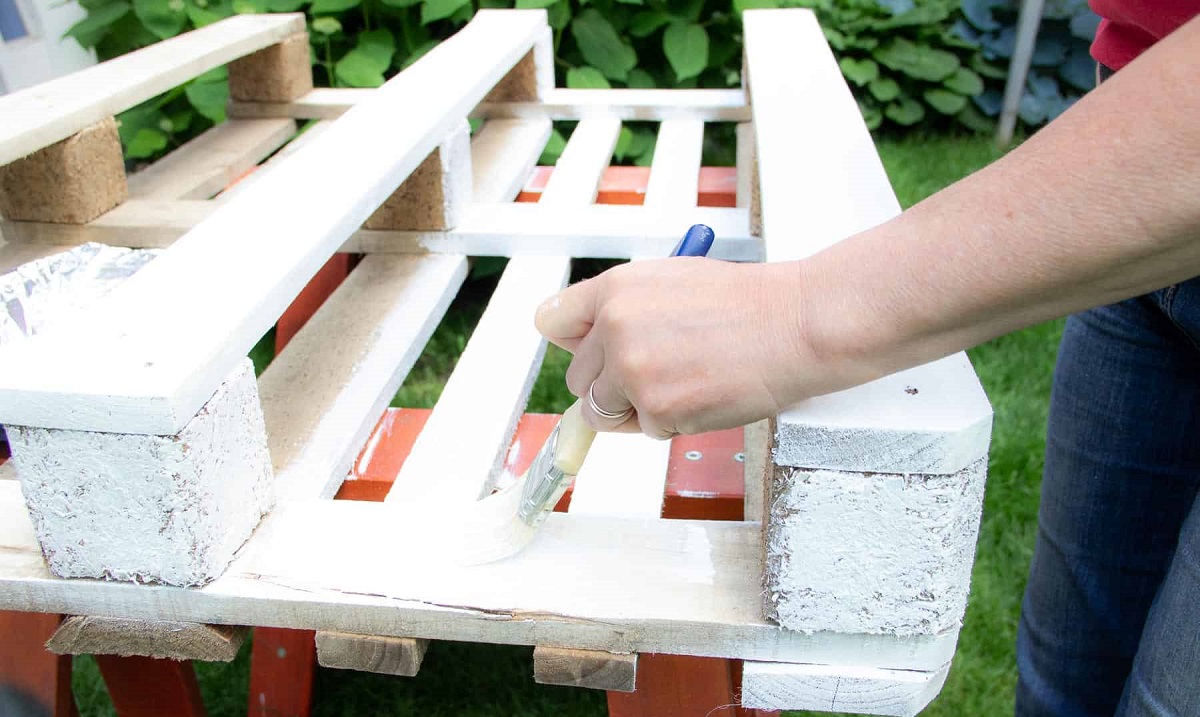
Painting the Pallets
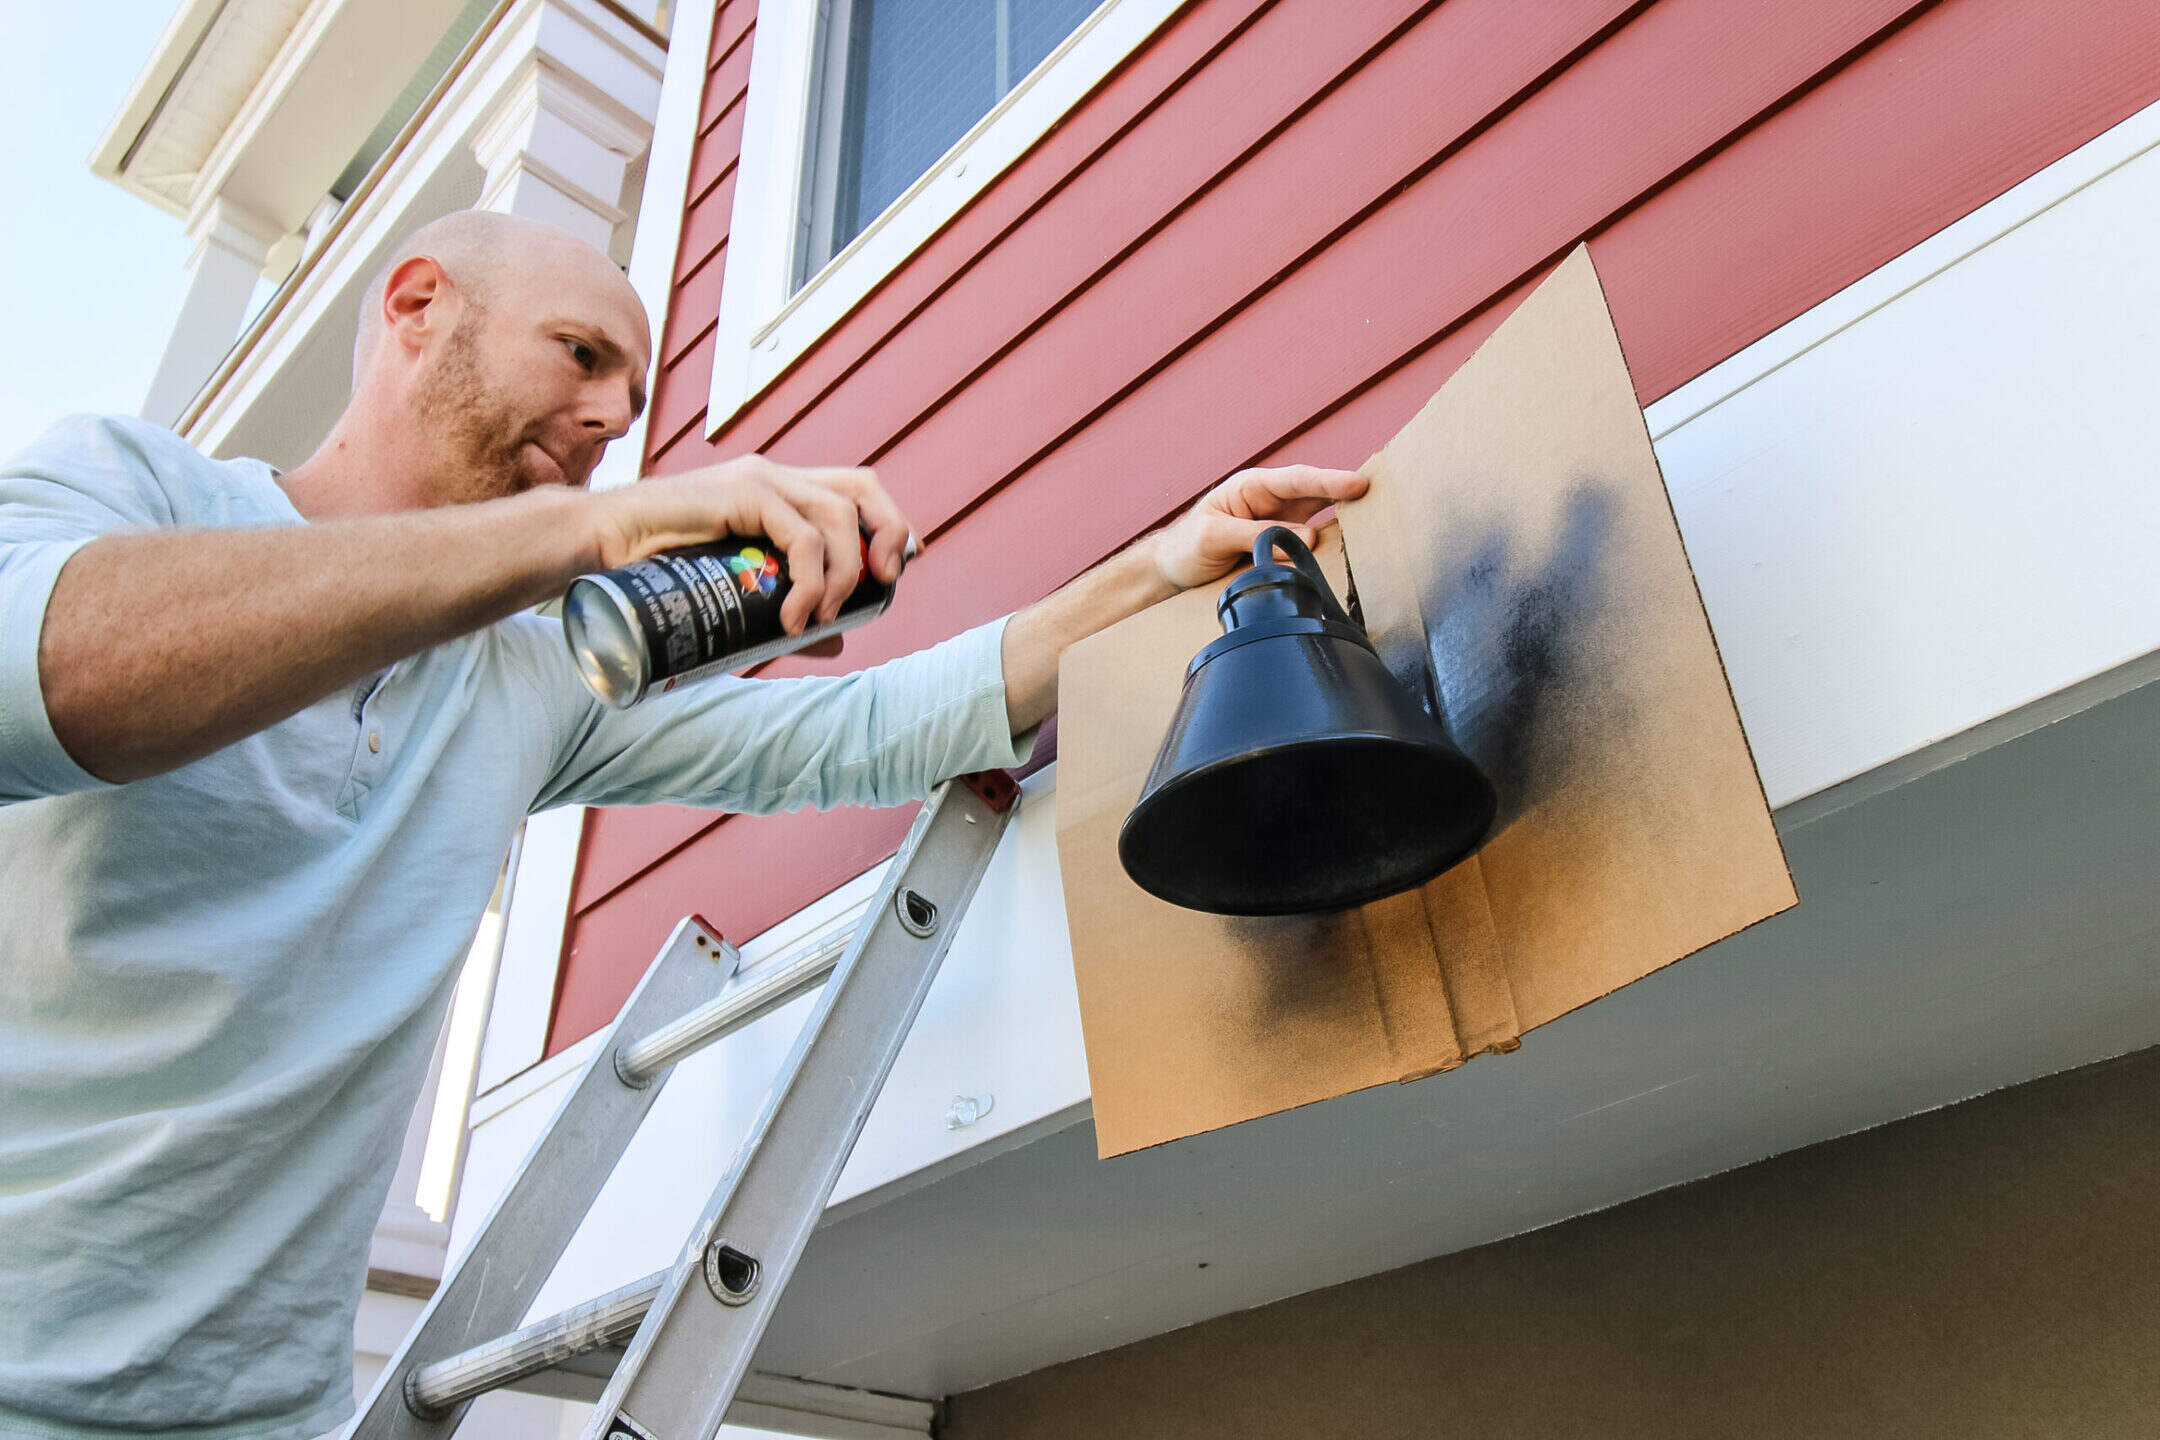
With the preparatory stages complete, it’s time to infuse your outdoor pallet project with color, personality, and visual allure through the painting process. Whether you envision a vibrant statement piece or a more subdued, natural aesthetic, the painting phase is where your creative vision comes to life, transforming raw pallets into captivating outdoor furniture and decor.
Before diving into the paint selection, consider the ambiance and theme of your outdoor space. Are you aiming for a modern, minimalist look, or do you prefer a bohemian, eclectic vibe? The choice of paint colors and finishes plays a pivotal role in realizing your design aspirations.
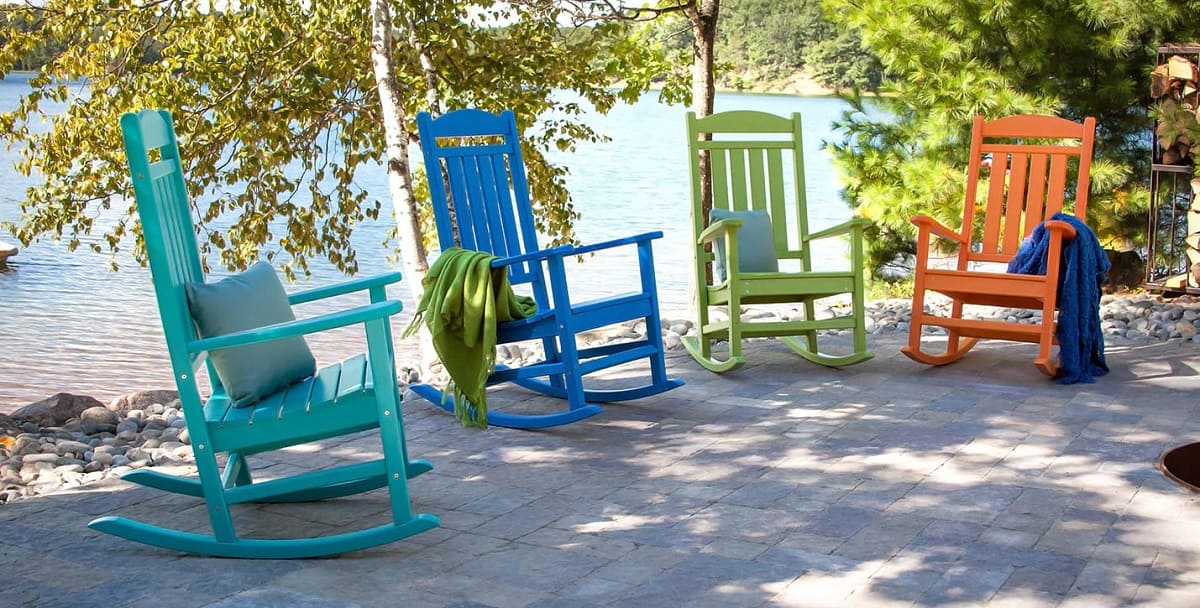
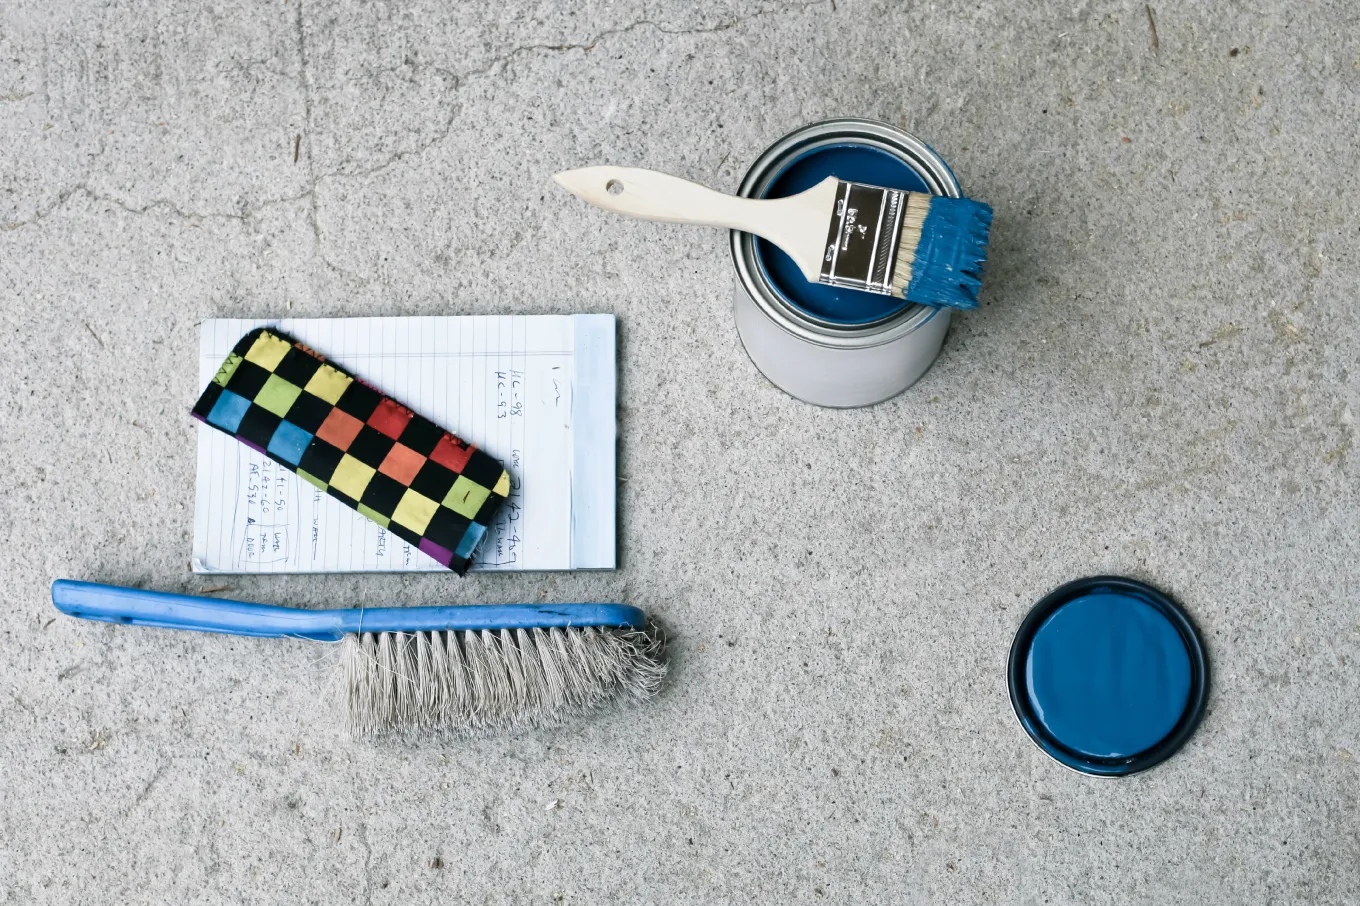
Opt for high-quality, outdoor-grade paint that is formulated to withstand the rigors of outdoor exposure, including UV rays, moisture, and temperature variations. Acrylic or latex-based paints are excellent choices for wooden surfaces, offering durability, flexibility, and ease of application.
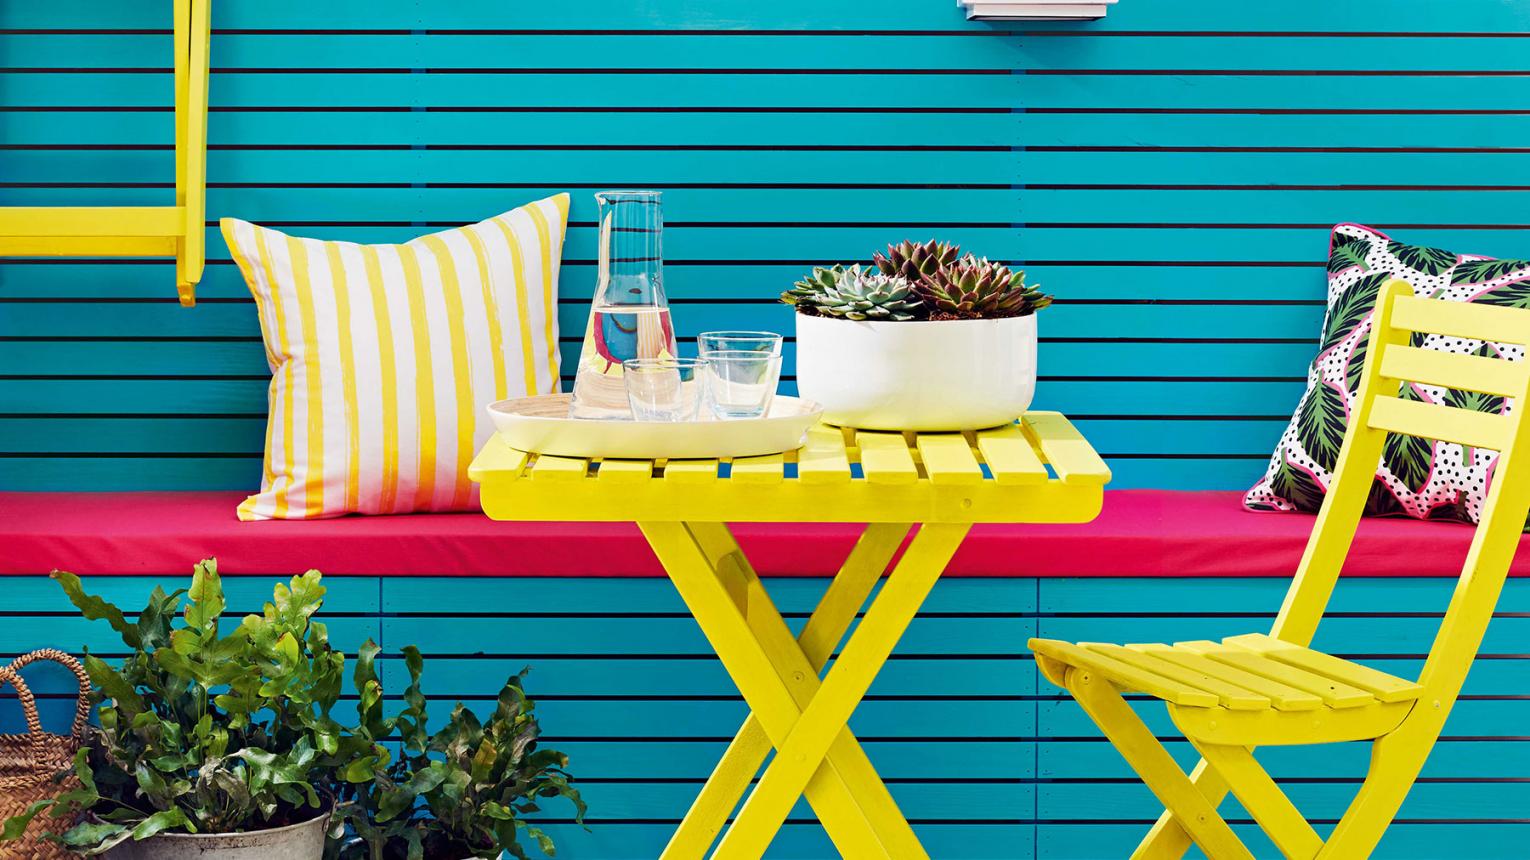
When it comes to color selection, the possibilities are endless. From soothing neutrals and earthy tones to bold, eye-catching hues, the color palette you choose can dramatically impact the ambiance and visual appeal of your outdoor space. Consider incorporating multiple colors or creating captivating patterns to add depth and character to your painted pallets.
Using a paintbrush, roller, or paint sprayer, apply the chosen paint evenly and generously to the pallets, ensuring comprehensive coverage and vibrant color saturation. Take your time to reach into the nooks and crannies, covering all surfaces for a polished and professional finish.
Allow the first coat of paint to dry thoroughly before applying subsequent coats, if necessary, to achieve the desired depth of color and coverage. Take this opportunity to unleash your creativity, experimenting with different techniques and color combinations to bring your outdoor pallet creations to life.
By painting the pallets with precision and creativity, you breathe new life into these humble wooden structures, elevating them into captivating and functional pieces that enrich your outdoor living space. The painting phase is where your design vision takes center stage, infusing your outdoor oasis with charm, personality, and visual allure.
Sealing the Painted Pallets
As you near the completion of your outdoor pallet painting journey, it’s essential to safeguard the vibrant colors and hard work invested in transforming raw pallets into stunning outdoor furniture and decor. Sealing the painted pallets not only enhances their visual appeal but also fortifies them against the elements, ensuring lasting beauty and resilience in your outdoor space.
Opt for a high-quality, outdoor-specific sealant or varnish designed to protect painted wood surfaces from UV exposure, moisture, and general wear and tear. The sealant acts as a shield, preserving the integrity of the paint and wood while prolonging the lifespan of your outdoor pallet creations.
Prior to applying the sealant, ensure that the painted pallets are completely dry and free from any dust or debris resulting from the painting process. This sets the stage for a smooth and effective application of the sealant, allowing it to adhere optimally and provide comprehensive protection.
Using a paintbrush or a paint sprayer, apply a generous and even coat of the sealant to the painted pallets, ensuring thorough coverage across all surfaces. Pay special attention to the areas that are most exposed to the elements, such as the top and sides of furniture pieces, as these are particularly susceptible to environmental stressors.
Allow the first coat of sealant to dry according to the manufacturer’s instructions. Depending on the specific product and environmental conditions, you may opt to apply multiple coats for enhanced protection and longevity. Be sure to sand lightly between coats to promote adhesion and achieve a smooth, lustrous finish.
Once the sealant has dried completely, admire the lustrous sheen and enhanced vibrancy it imparts to your painted pallets. The sealant not only elevates the visual allure of your outdoor furniture and decor but also serves as a protective barrier, ensuring that your creations maintain their beauty and resilience amidst the outdoor elements.
By sealing the painted pallets, you fortify your outdoor creations against the trials of nature while preserving their captivating colors and design. This final step completes the transformation of raw pallets into enduring and enchanting pieces that enrich your outdoor living space with style and durability.
Conclusion
Congratulations on embarking on the creative and fulfilling journey of painting pallets for outdoor use! As you reflect on the transformative process that has unfolded, it’s evident that each step, from selecting the right pallets to sealing the painted surfaces, has contributed to the evolution of raw wooden structures into captivating and resilient outdoor furniture and decor.
Throughout this guide, you’ve learned that the art of pallet painting extends beyond mere aesthetics; it encompasses thoughtful preparation, creative expression, and a commitment to durability. By choosing the right pallets, diligently cleaning and preparing them, sanding with precision, applying primer, infusing color and personality through painting, and finally sealing the painted surfaces, you’ve not only elevated the visual appeal of the pallets but also fortified them against the elements, ensuring lasting beauty and functionality in your outdoor space.
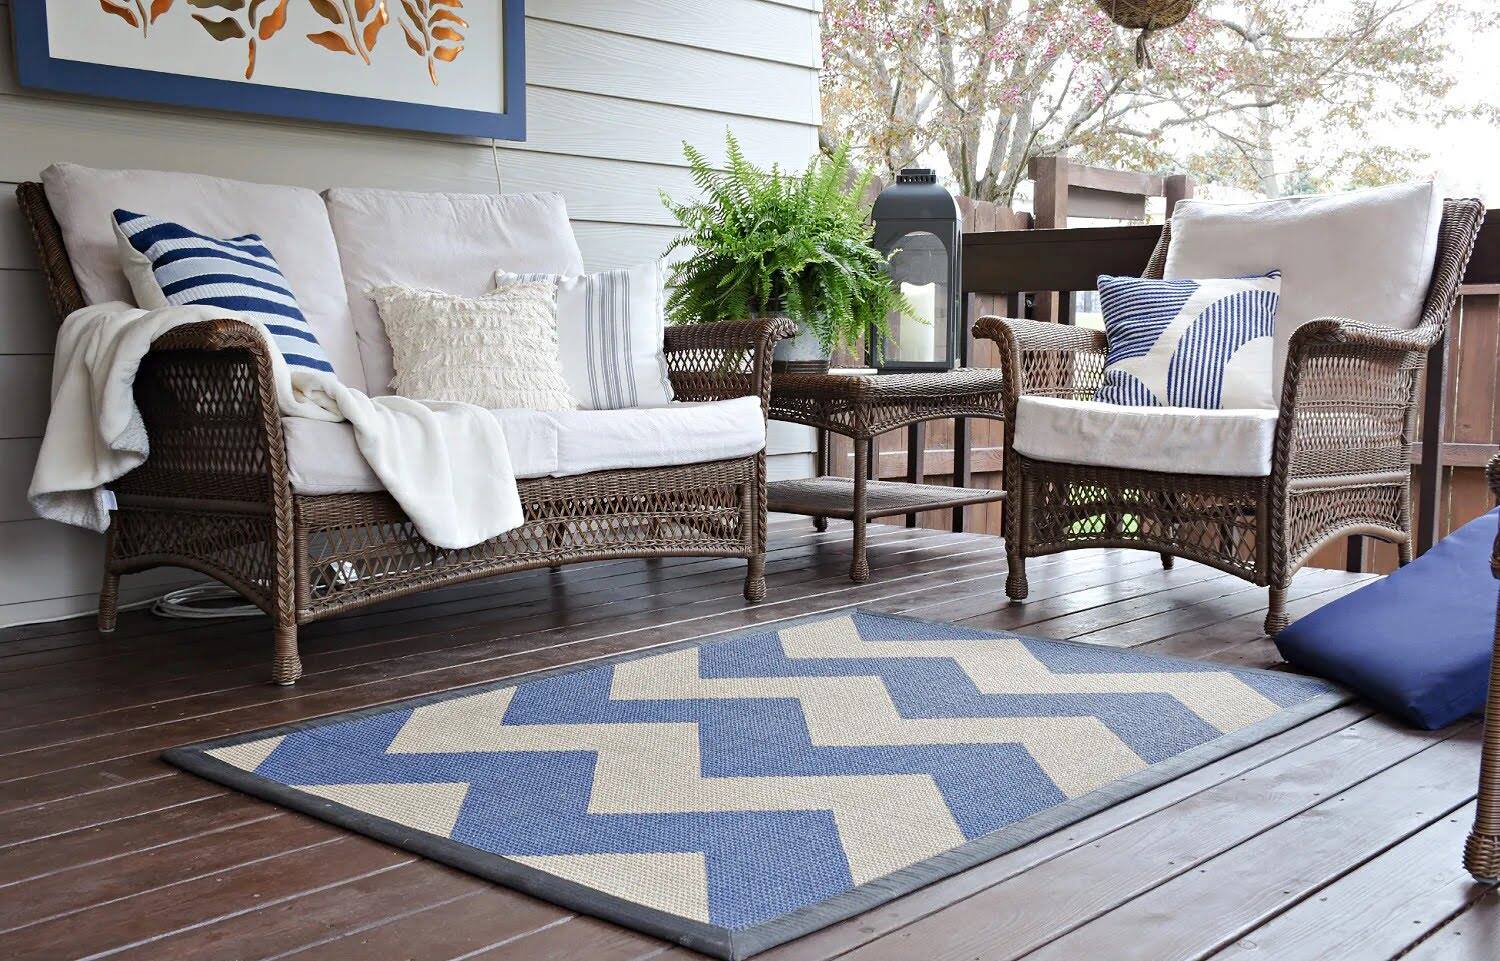
As you bask in the satisfaction of your completed outdoor pallet creations, envision the impact they will have on your outdoor oasis. From a vibrant pallet sofa that beckons relaxation to a charming planter box that adds a touch of nature, each piece embodies your creativity and craftsmanship, enriching your outdoor living space with character and charm.
Moreover, the process of painting pallets for outdoor use has empowered you to embrace sustainability, creativity, and personalization in your outdoor design endeavors. By upcycling pallets and infusing them with color and character, you’ve not only contributed to environmental consciousness but also crafted unique and personalized pieces that reflect your individual style and vision.
As you enjoy the fruits of your labor, surrounded by the allure of your painted pallet creations, take pride in the transformative journey you’ve undertaken. The rustic wooden structures have been reborn into vibrant and enduring elements that enrich your outdoor sanctuary, embodying the fusion of creativity, craftsmanship, and resilience.
May your painted pallets stand as a testament to your ingenuity and passion, inviting moments of relaxation, inspiration, and connection in your outdoor space. Embrace the beauty and functionality of your handcrafted creations, and let them serve as a reminder of the artistry and joy inherent in transforming humble pallets into cherished outdoor furniture and decor.
Now, as you envision new possibilities and projects, may the knowledge and creativity gained from this endeavor continue to inspire and guide you in your future outdoor design pursuits. Embrace the potential of each pallet, and let your imagination and skill breathe new life into these humble wooden structures, shaping them into captivating and enduring elements that enrich your outdoor living experience.
Frequently Asked Questions about How To Paint Pallets For Outdoor Use
Was this page helpful?
At Storables.com, we guarantee accurate and reliable information. Our content, validated by Expert Board Contributors, is crafted following stringent Editorial Policies. We're committed to providing you with well-researched, expert-backed insights for all your informational needs.


0 thoughts on “How To Paint Pallets For Outdoor Use”