Home>Furniture & Design>Outdoor Furniture>How To Paint An Outdoor Mural
Outdoor Furniture
How To Paint An Outdoor Mural
Modified: August 27, 2024
Learn how to paint a stunning outdoor mural to enhance your outdoor furniture and design. Discover expert tips and techniques for creating a beautiful outdoor art piece.
(Many of the links in this article redirect to a specific reviewed product. Your purchase of these products through affiliate links helps to generate commission for Storables.com, at no extra cost. Learn more)
Introduction
Creating an outdoor mural can transform a plain, uninspiring space into a vibrant and captivating work of art. Whether you're an experienced artist or a novice looking to unleash your creativity, painting an outdoor mural can be a rewarding and impactful endeavor. From selecting the perfect location to choosing the right materials and bringing your vision to life, this guide will walk you through the essential steps to help you paint an outdoor mural that will stand the test of time.
An outdoor mural has the power to breathe new life into a community, spark conversations, and inspire a sense of wonder and beauty. It can serve as a powerful form of self-expression, convey a meaningful message, or simply add a touch of whimsy and charm to a dull exterior. With the right approach and attention to detail, you can create a stunning mural that enhances its surroundings and leaves a lasting impression on all who encounter it.
In this comprehensive guide, we will explore the key considerations and techniques involved in painting an outdoor mural. From choosing the perfect location and preparing the surface to selecting the right materials and bringing your design to life, each step plays a crucial role in the success of your mural project. Whether you're aiming to brighten up a community space, add a personal touch to your outdoor area, or showcase your artistic talent, this guide will equip you with the knowledge and confidence to embark on your mural-painting journey.
So, roll up your sleeves, unleash your creativity, and let's dive into the fascinating world of outdoor mural painting. Whether you're a seasoned artist or a first-time muralist, this guide will provide you with the insights and techniques needed to bring your vision to life on a grand scale. Let's embark on this artistic adventure together and discover the transformative power of outdoor mural painting.
Key Takeaways:
- Unleash Your Creativity: Painting an outdoor mural is a rewarding way to transform dull spaces into vibrant works of art. Choose the right location, materials, and design to leave a lasting impression.
- Preserve Your Masterpiece: Sealing and protecting your outdoor mural ensures its longevity and visual appeal. Embrace the transformative power of public art and leave a colorful mark on the outdoor canvas.
Read more: How To Paint A Mural With A Projector
Choosing the Right Location
When it comes to painting an outdoor mural, the location you choose can significantly impact the visibility, longevity, and overall impact of your artwork. Selecting the right location is a crucial first step that requires careful consideration and thoughtful evaluation.
Consider the following factors when choosing the perfect location for your outdoor mural:
- Visibility: Look for a high-traffic area where your mural will receive maximum exposure. A location that is easily visible to pedestrians, cyclists, and motorists will ensure that your artwork reaches a wide audience and becomes a prominent feature of the community.
- Community Relevance: Consider the context of the surrounding environment and the interests of the local community. Your mural should resonate with the cultural, historical, or social aspects of the area, creating a sense of connection and relevance for those who encounter it.
- Permission and Regulations: Ensure that you have the necessary permissions and approvals to paint a mural in your chosen location. Familiarize yourself with any local regulations or guidelines related to outdoor artwork to avoid potential issues or obstacles along the way.
- Surface Suitability: Assess the surface characteristics of the potential location. Look for a smooth, clean, and well-prepared wall or facade that provides an ideal canvas for your mural. Consider factors such as sunlight exposure, weather protection, and structural integrity to ensure the longevity of your artwork.
By carefully evaluating these factors, you can identify a location that not only showcases your artistic vision but also enriches the surrounding environment and engages the community. Whether it’s a bustling urban street, a community park, or a quiet alleyway, the right location will serve as the perfect backdrop for your outdoor mural, amplifying its impact and significance.
Selecting the Right Materials
Choosing the appropriate materials for your outdoor mural is essential to ensure its longevity, resilience, and visual appeal. From durable paints that withstand the elements to quality brushes and primers, each component plays a vital role in bringing your artistic vision to life and preserving it for years to come.
Consider the following key materials when preparing to paint an outdoor mural:
- Weather-Resistant Paints: Opt for high-quality, weather-resistant paints specifically designed for outdoor use. Acrylic and latex paints are popular choices for outdoor murals due to their durability, color retention, and resistance to fading caused by sunlight and harsh weather conditions.
- Primer and Sealant: Use a high-performance primer to prepare the mural surface and ensure proper adhesion of the paint. Additionally, apply a clear, UV-resistant sealant once the mural is complete to protect it from UV rays, moisture, and environmental damage.
- Quality Brushes and Rollers: Invest in high-quality brushes and rollers designed for use with acrylic or latex paints. Durable brushes with varying bristle sizes and shapes will enable you to achieve precise details, smooth blends, and consistent coverage.
- Safety Equipment: Prioritize safety by using protective gear such as gloves, goggles, and a respirator mask when working with paints, primers, and sealants. Adequate ventilation in the painting area is also crucial to minimize exposure to fumes.
- Surface Preparation Tools: Depending on the mural surface, gather the necessary tools for preparation, such as sandpaper, a power washer for cleaning, and patching materials for addressing any surface imperfections.
- Color Palette Selection: Choose a vibrant and cohesive color palette that complements the surrounding environment and aligns with your artistic concept. Consider the visual impact of your color choices and how they interact with natural light throughout the day.
By selecting the right materials and equipment, you can set the stage for a successful mural painting experience and ensure that your artwork remains visually striking and resilient over time. Investing in quality materials not only enhances the aesthetic appeal of your mural but also contributes to its long-term preservation, allowing it to withstand the elements and captivate viewers for years to come.
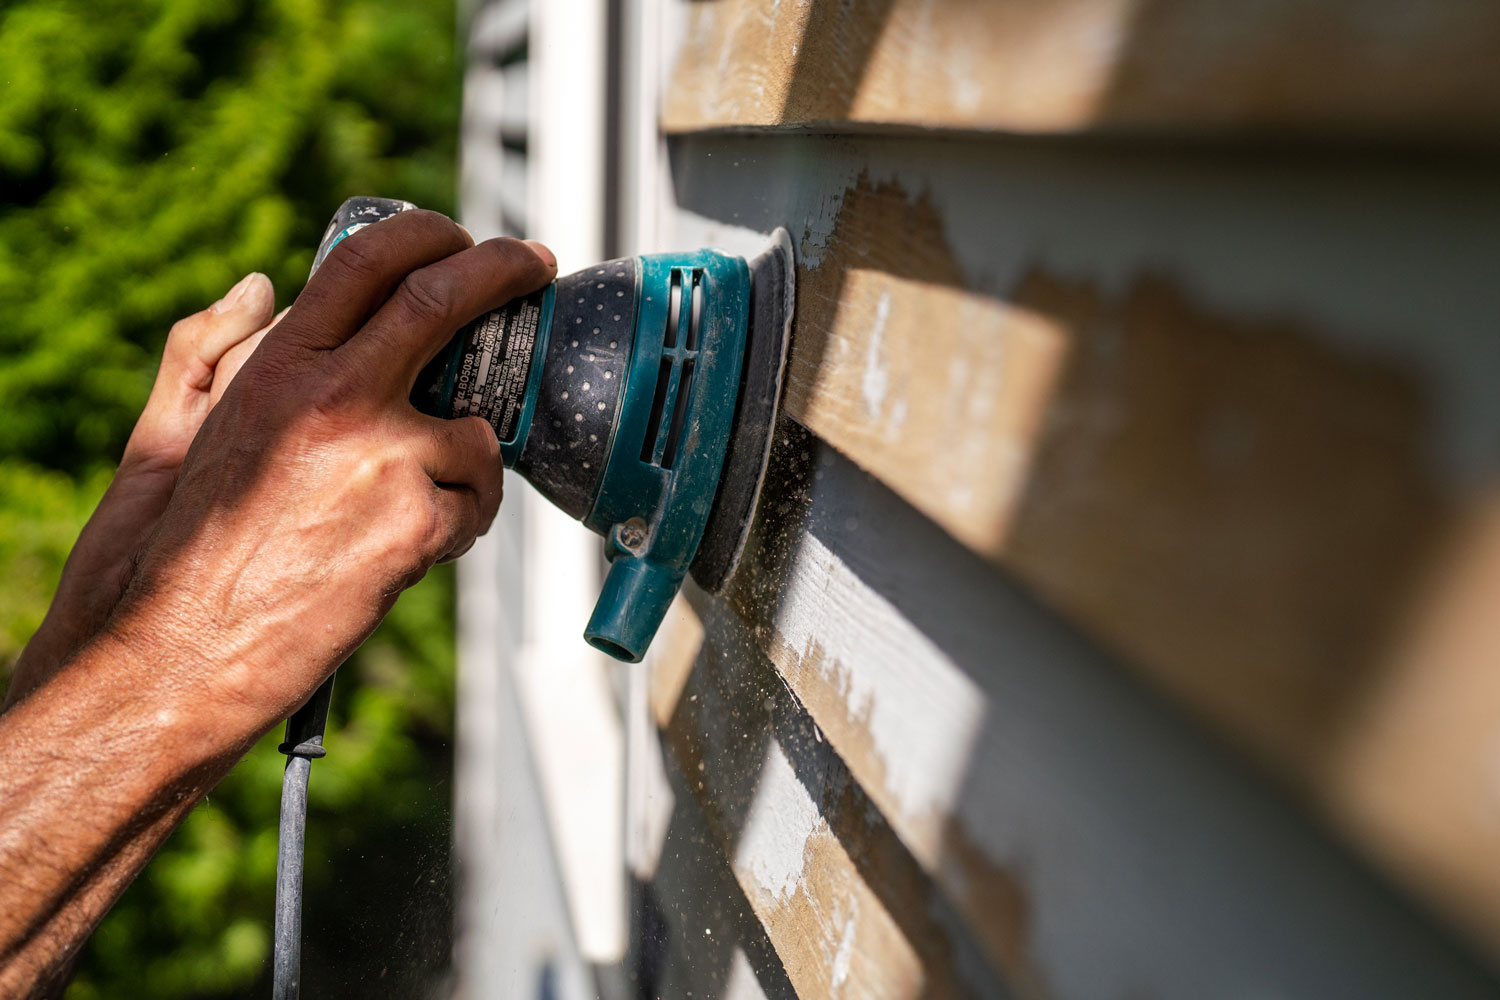
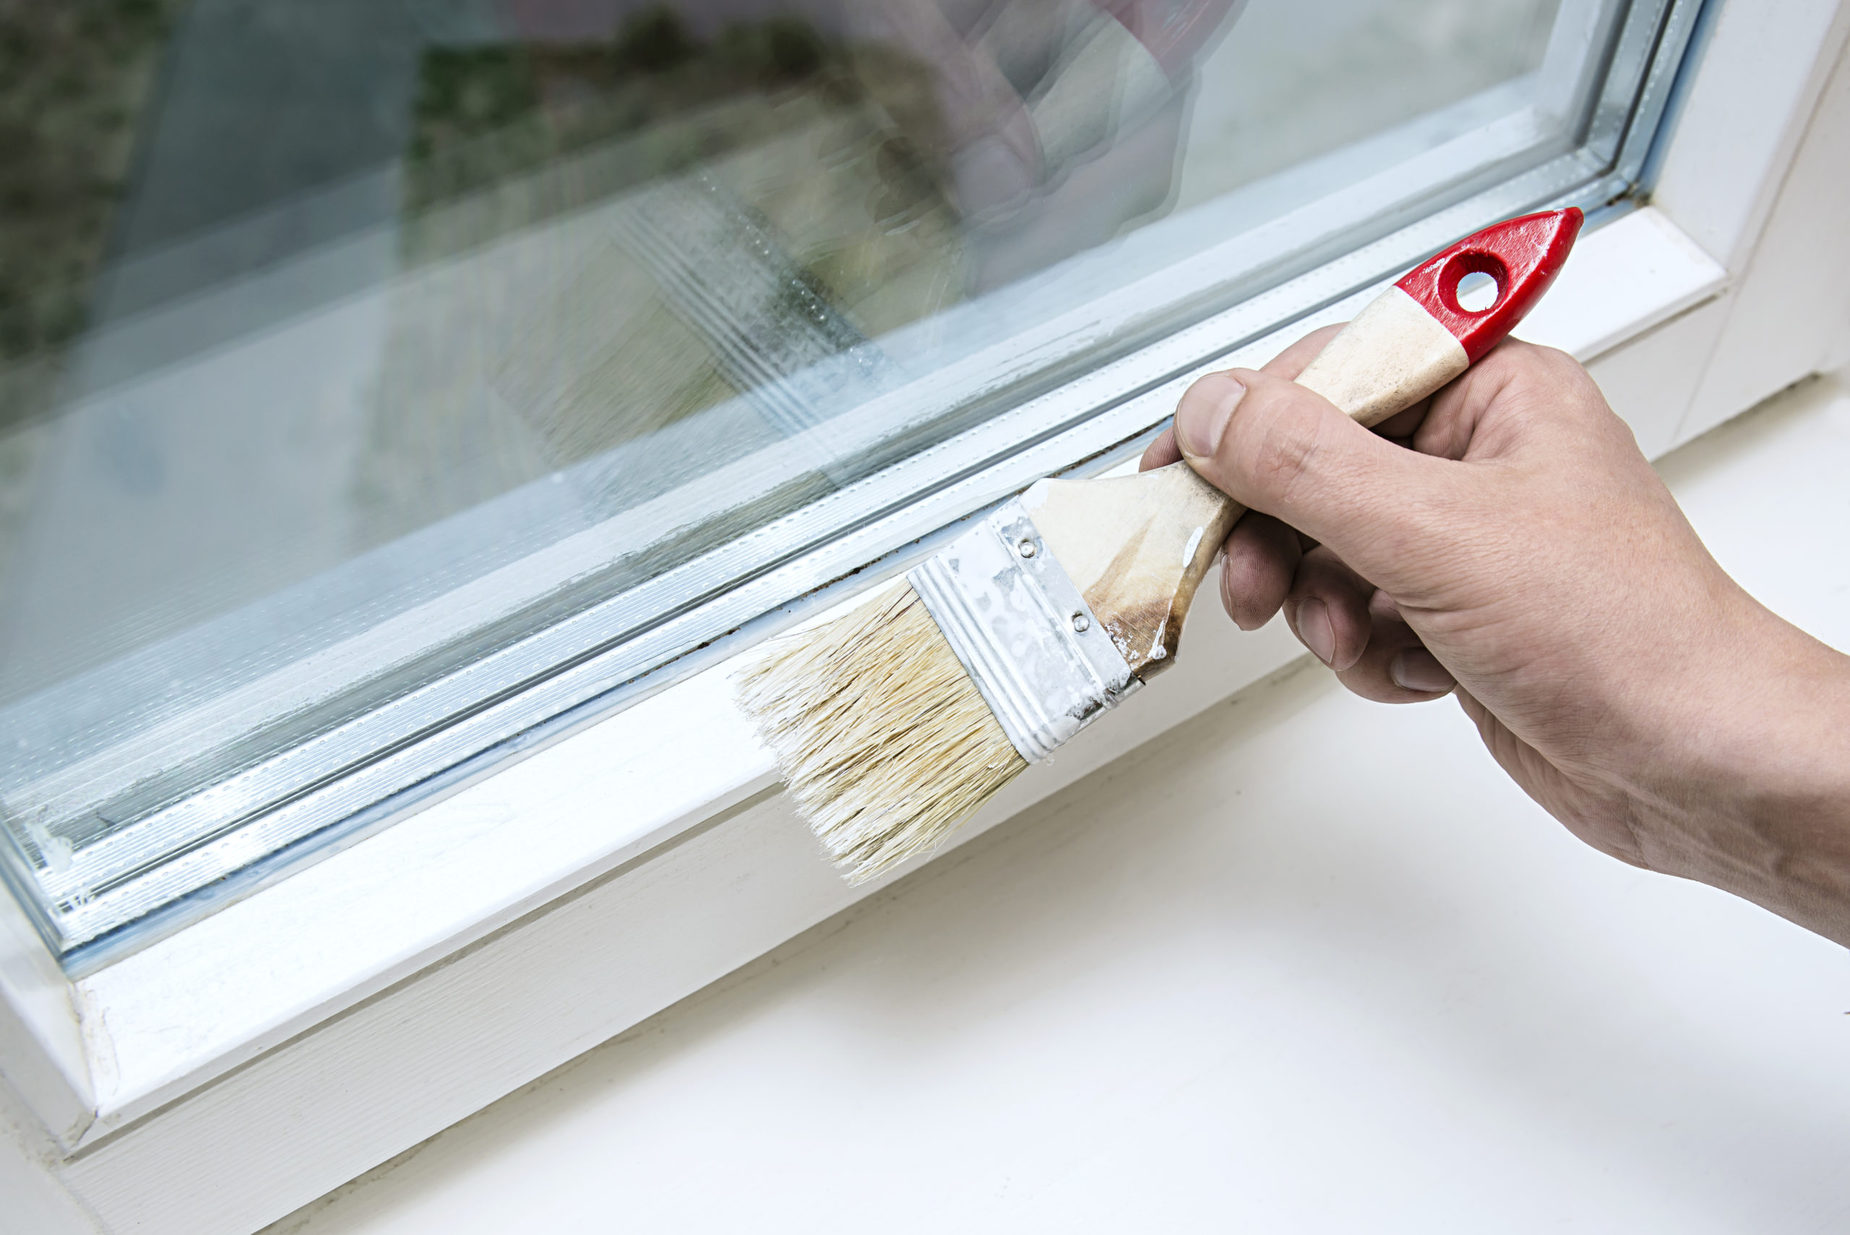
Preparing the Surface
Properly preparing the surface before painting is a critical step that directly impacts the adhesion, durability, and overall quality of your outdoor mural. Whether you’re working on a brick wall, concrete facade, or any other outdoor surface, thorough preparation is essential to ensure the longevity and visual impact of your artwork.
Follow these essential steps to prepare the surface for your outdoor mural:
- Clean the Surface: Begin by thoroughly cleaning the mural surface to remove dirt, dust, mold, and any other contaminants that could interfere with paint adhesion. Use a mild detergent, water, and a stiff brush or power washer to achieve a clean and debris-free surface.
- Repair Imperfections: Inspect the surface for any cracks, holes, or uneven areas that require repair. Use suitable patching materials to fill in imperfections and create a smooth, uniform canvas for your mural. Allow ample time for the patches to dry and cure before proceeding.
- Smooth and Prime: If the surface exhibits rough or uneven textures, consider sanding or smoothing it to create a uniform base for painting. Apply a high-quality primer that is compatible with the surface material to enhance paint adhesion and promote long-term durability.
- Consider Environmental Factors: Take into account the environmental conditions surrounding the mural location. If the surface is prone to moisture, direct sunlight, or extreme temperature fluctuations, select a primer and sealer that offer reliable protection against these elements.
- Test for Compatibility: Before applying the primer and paint, perform a small-scale adhesion test to ensure that the chosen materials adhere well to the surface and exhibit the desired durability. This step is particularly important for surfaces with unknown or challenging characteristics.
By meticulously preparing the surface, you create a stable and receptive foundation for your mural, allowing the paints to adhere effectively and maintain their visual appeal over time. Proper surface preparation not only enhances the aesthetic quality of your artwork but also contributes to its resilience, ensuring that your outdoor mural remains a captivating and enduring feature of its surroundings.
Planning Your Design
Before diving into the painting process, thoughtful planning and design conceptualization are crucial to the success of your outdoor mural. The design phase allows you to refine your artistic vision, align it with the surrounding environment, and ensure that your mural effectively communicates its intended message or aesthetic impact.
Consider the following steps when planning the design for your outdoor mural:
- Understand the Space: Take time to observe and understand the physical characteristics of the mural location. Consider factors such as architectural features, lighting conditions, and the overall ambiance of the surroundings. This understanding will guide the design process and help you create a mural that harmonizes with its environment.
- Engage with the Community: If your mural is intended for a public space, seek input from the local community to understand their preferences, cultural significance, and the themes that resonate with them. Engaging with the community fosters a sense of ownership and connection to the mural, making it a meaningful addition to the neighborhood.
- Conceptualize the Narrative: Determine the story, message, or visual concept you want to convey through your mural. Whether it’s a celebration of nature, a reflection of local history, or an abstract expression of emotion, a clear narrative will guide your design choices and captivate the audience.
- Scale and Composition: Consider the scale and composition of your mural in relation to the architectural elements and available space. Explore how the design elements will interact with the surface, creating a visually engaging composition that captures attention and evokes a sense of wonder.
- Sketch and Refine: Begin by sketching preliminary designs and compositions, allowing for experimentation and refinement. Consider the placement of focal points, the flow of visual elements, and the overall balance of the design. Iterate on your sketches to achieve a cohesive and impactful composition.
By carefully planning your mural design, you lay the foundation for a visually compelling and thematically resonant artwork that enriches its surroundings and captivates viewers. Thoughtful consideration of the space, community engagement, narrative, and composition ensures that your outdoor mural becomes a meaningful and enduring addition to the outdoor landscape.
Read more: How To Seal Outdoor Mural
Sketching the Mural
Once you have finalized the design concept for your outdoor mural, the next step involves translating your vision onto the mural surface through the process of sketching. This pivotal phase allows you to outline the composition, refine the details, and establish a visual roadmap for the painting process.
Follow these essential steps when sketching your outdoor mural:
- Surface Preparation: Ensure that the mural surface is clean, primed, and ready to receive the initial sketches. Use chalk, charcoal, or water-soluble pencils for the preliminary sketches, as they allow for easy adjustments and can be removed or blended into the paint layers.
- Establish the Framework: Begin by outlining the major elements and structural framework of your mural design. Define the placement of key focal points, the flow of visual elements, and the overall composition to create a solid foundation for the subsequent painting stages.
- Refine Details and Proportions: Gradually refine the details of your sketch, paying attention to proportions, perspective, and the accurate representation of visual elements. Take the time to ensure that the sketch effectively captures the intricacies of your design concept.
- Consider Light and Shadow: Use the sketching phase to plan the distribution of light and shadow within your mural. Explore how light will interact with the design elements and create depth, dimension, and visual interest in the final artwork.
- Seek Feedback and Iteration: Share your initial sketches with peers, fellow artists, or community members to gather feedback and insights. Embrace constructive criticism and use it to refine and enhance your sketch before proceeding to the painting stage.
Through the process of sketching, you bring your mural design to life on the actual surface, allowing for adjustments and refinements that set the stage for the painting process. The sketch serves as a visual guide, ensuring that the subsequent layers of paint align with your artistic vision and result in a cohesive and impactful outdoor mural.
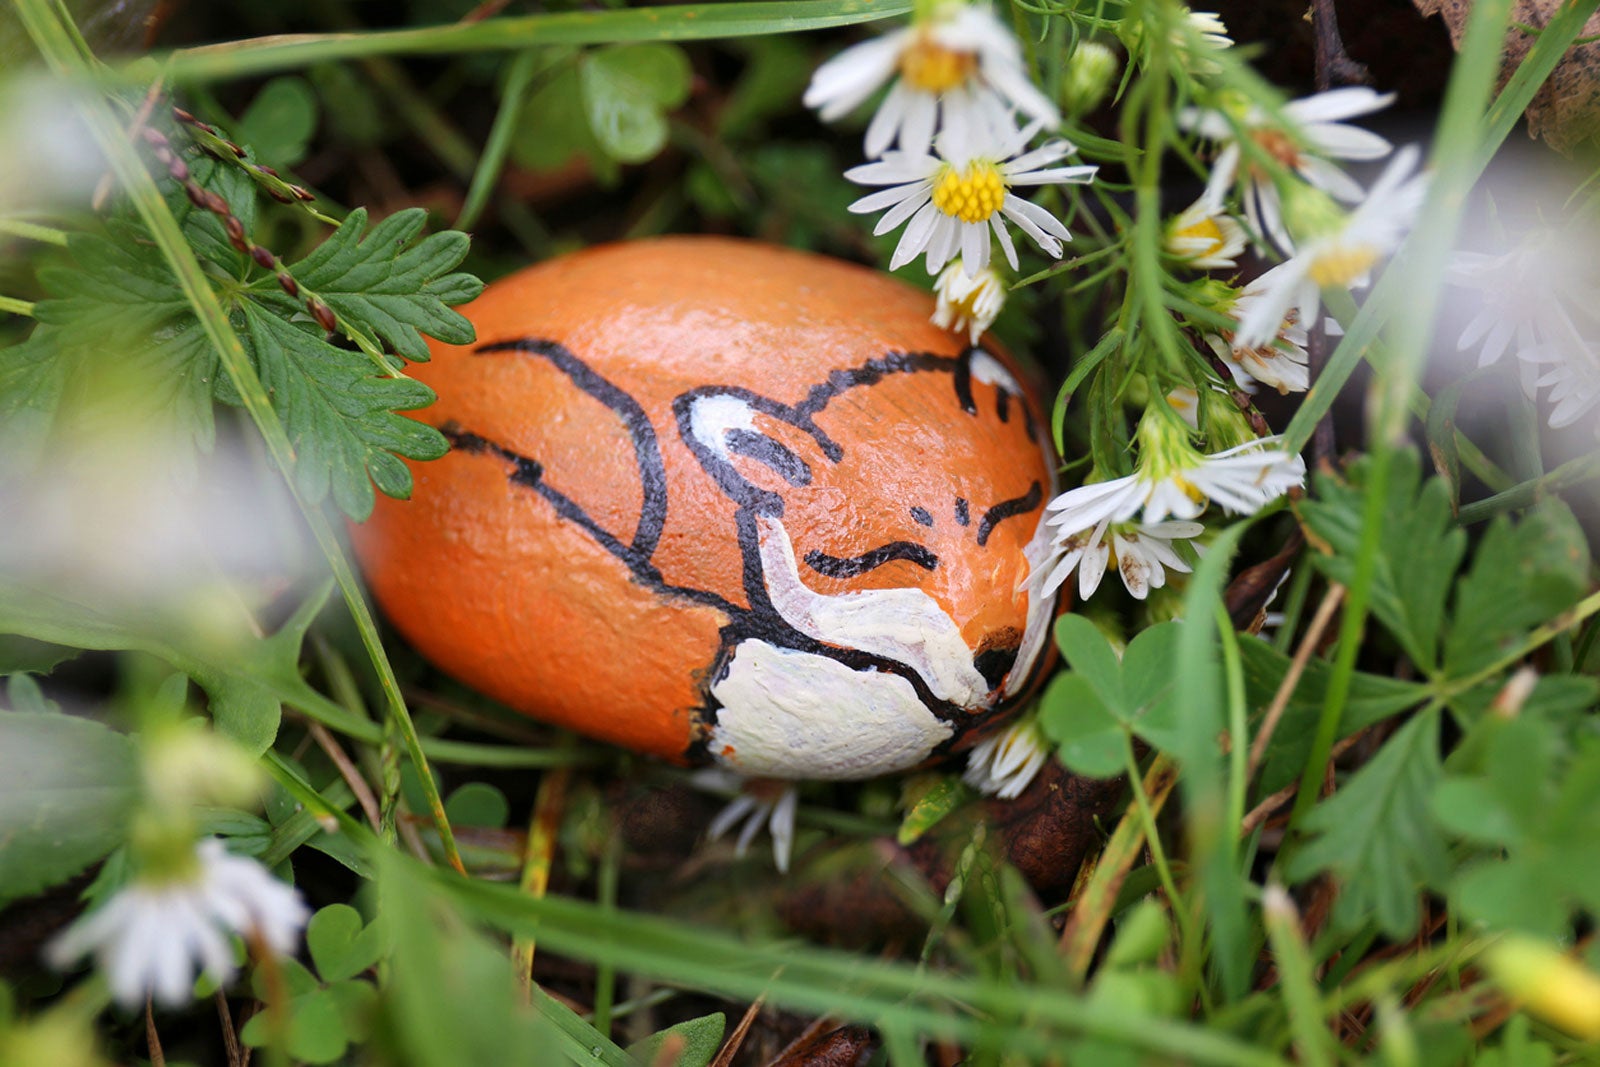
Before starting an outdoor mural, make sure to properly prepare the surface by cleaning and priming it. Use outdoor paint and seal the finished mural with a clear, weather-resistant sealant to protect it from the elements.
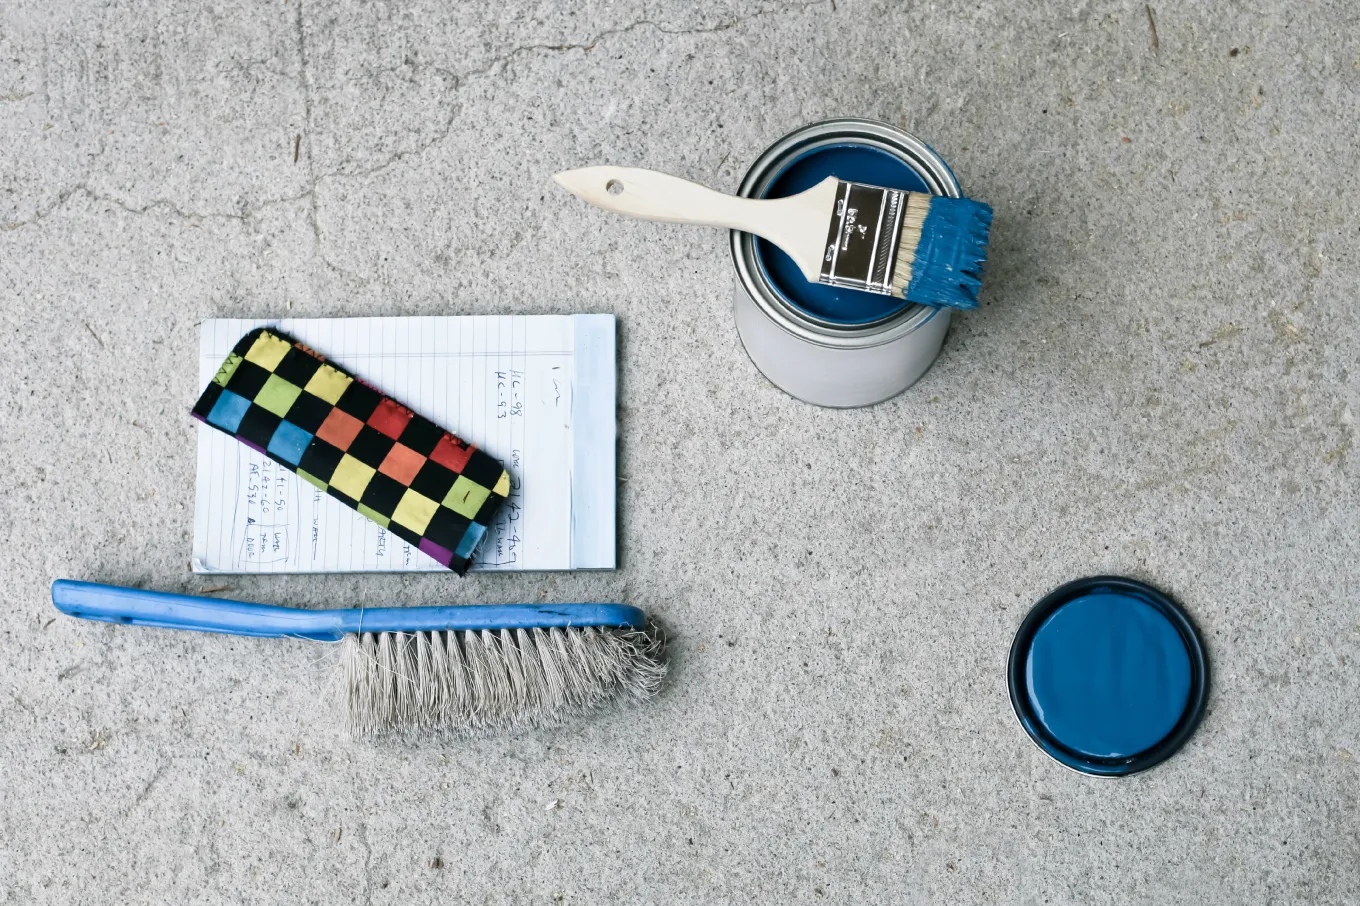
Mixing Paints
As you prepare to bring your outdoor mural to life, the process of mixing paints plays a crucial role in achieving the desired color palette, tonal variations, and visual impact of your artwork. Whether you aim to create vibrant hues, subtle gradients, or captivating contrasts, mastering the art of paint mixing is essential for realizing your artistic vision.
Consider the following steps and considerations when mixing paints for your outdoor mural:
- Color Consistency: Begin by ensuring that you have a consistent color palette that aligns with your mural design. If using multiple paint containers, mix sufficient quantities of each color to maintain uniformity and avoid inconsistencies across different sections of the mural.
- Experiment with Pigments: Explore the interplay of pigments to achieve the desired color variations and tonal richness. Experiment with mixing primary colors, complementary shades, and tints to expand your color palette and create captivating visual effects.
- Test on Sample Surfaces: Before applying mixed paints directly to the mural surface, test the color combinations on a sample surface or canvas. Assess how the colors interact under natural light and ensure that they align with your original vision for the mural.
- Consider Environmental Factors: Take into account the environmental conditions surrounding the mural location, such as sunlight exposure and the impact of weather. Select paints and pigments that offer UV resistance and colorfastness to maintain the vibrancy and longevity of your mural.
- Document Your Mixtures: Keep a record of the paint mixtures and color ratios used for different sections of the mural. This documentation serves as a valuable reference for potential touch-ups, future maintenance, or the creation of additional artworks with consistent color schemes.
By mastering the art of paint mixing, you infuse your outdoor mural with a dynamic and harmonious color palette that resonates with its surroundings and captivates viewers. Thoughtful experimentation, attention to color consistency, and an understanding of environmental factors contribute to the visual allure and enduring quality of your painted masterpiece.
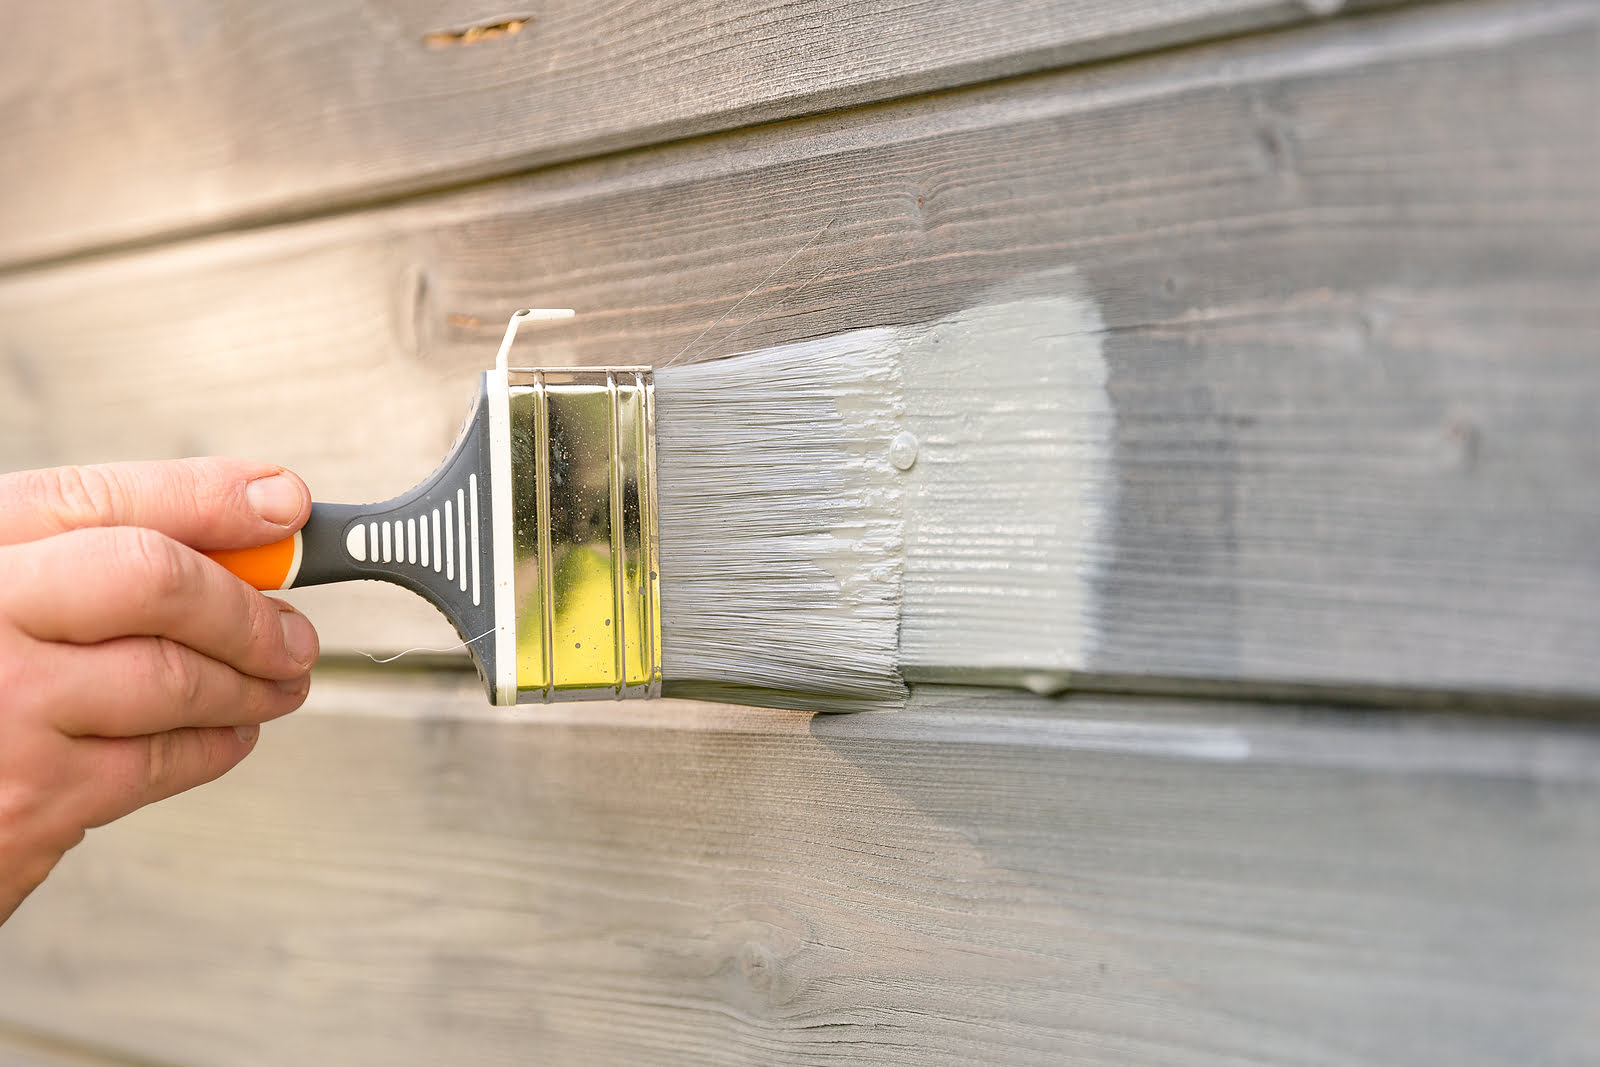
Applying the Base Coat
The application of the base coat serves as the foundational layer that sets the stage for the vibrant colors and intricate details of your outdoor mural. This essential step involves priming the mural surface and laying down a solid base color that provides a cohesive backdrop for the subsequent layers of paint.
Follow these key guidelines when applying the base coat for your outdoor mural:
- Surface Preparation: Ensure that the mural surface is clean, dry, and free of any debris or contaminants. Use a high-quality primer that is suitable for outdoor use and compatible with the surface material. Apply the primer evenly to create a smooth and receptive base for the paint layers.
- Color Selection: Choose a base coat color that complements your overall mural design and enhances the visual impact of the artwork. Consider the interplay of light and shadow, as well as the intended mood or atmosphere of the mural, when selecting the base coat color.
- Even Application: Use brushes, rollers, or spray equipment to apply the base coat evenly across the mural surface. Ensure consistent coverage and avoid visible brush strokes or uneven patches that could affect the final appearance of the mural.
- Allow for Drying Time: After applying the base coat, allow ample time for it to dry completely before proceeding to the subsequent painting stages. Adequate drying time is essential to ensure the adhesion and durability of the base coat and the layers applied on top of it.
- Assess Surface Uniformity: Inspect the mural surface after the base coat has dried to confirm that it exhibits a uniform and smooth appearance. Address any imperfections or irregularities before moving on to the next phase of the painting process.
By meticulously applying the base coat, you establish a stable and visually appealing foundation for your outdoor mural, allowing the subsequent layers of paint to adhere effectively and showcase the intended colors and details. The base coat serves as a canvas for your artistic expression, setting the stage for the transformative impact of your mural on its outdoor environment.
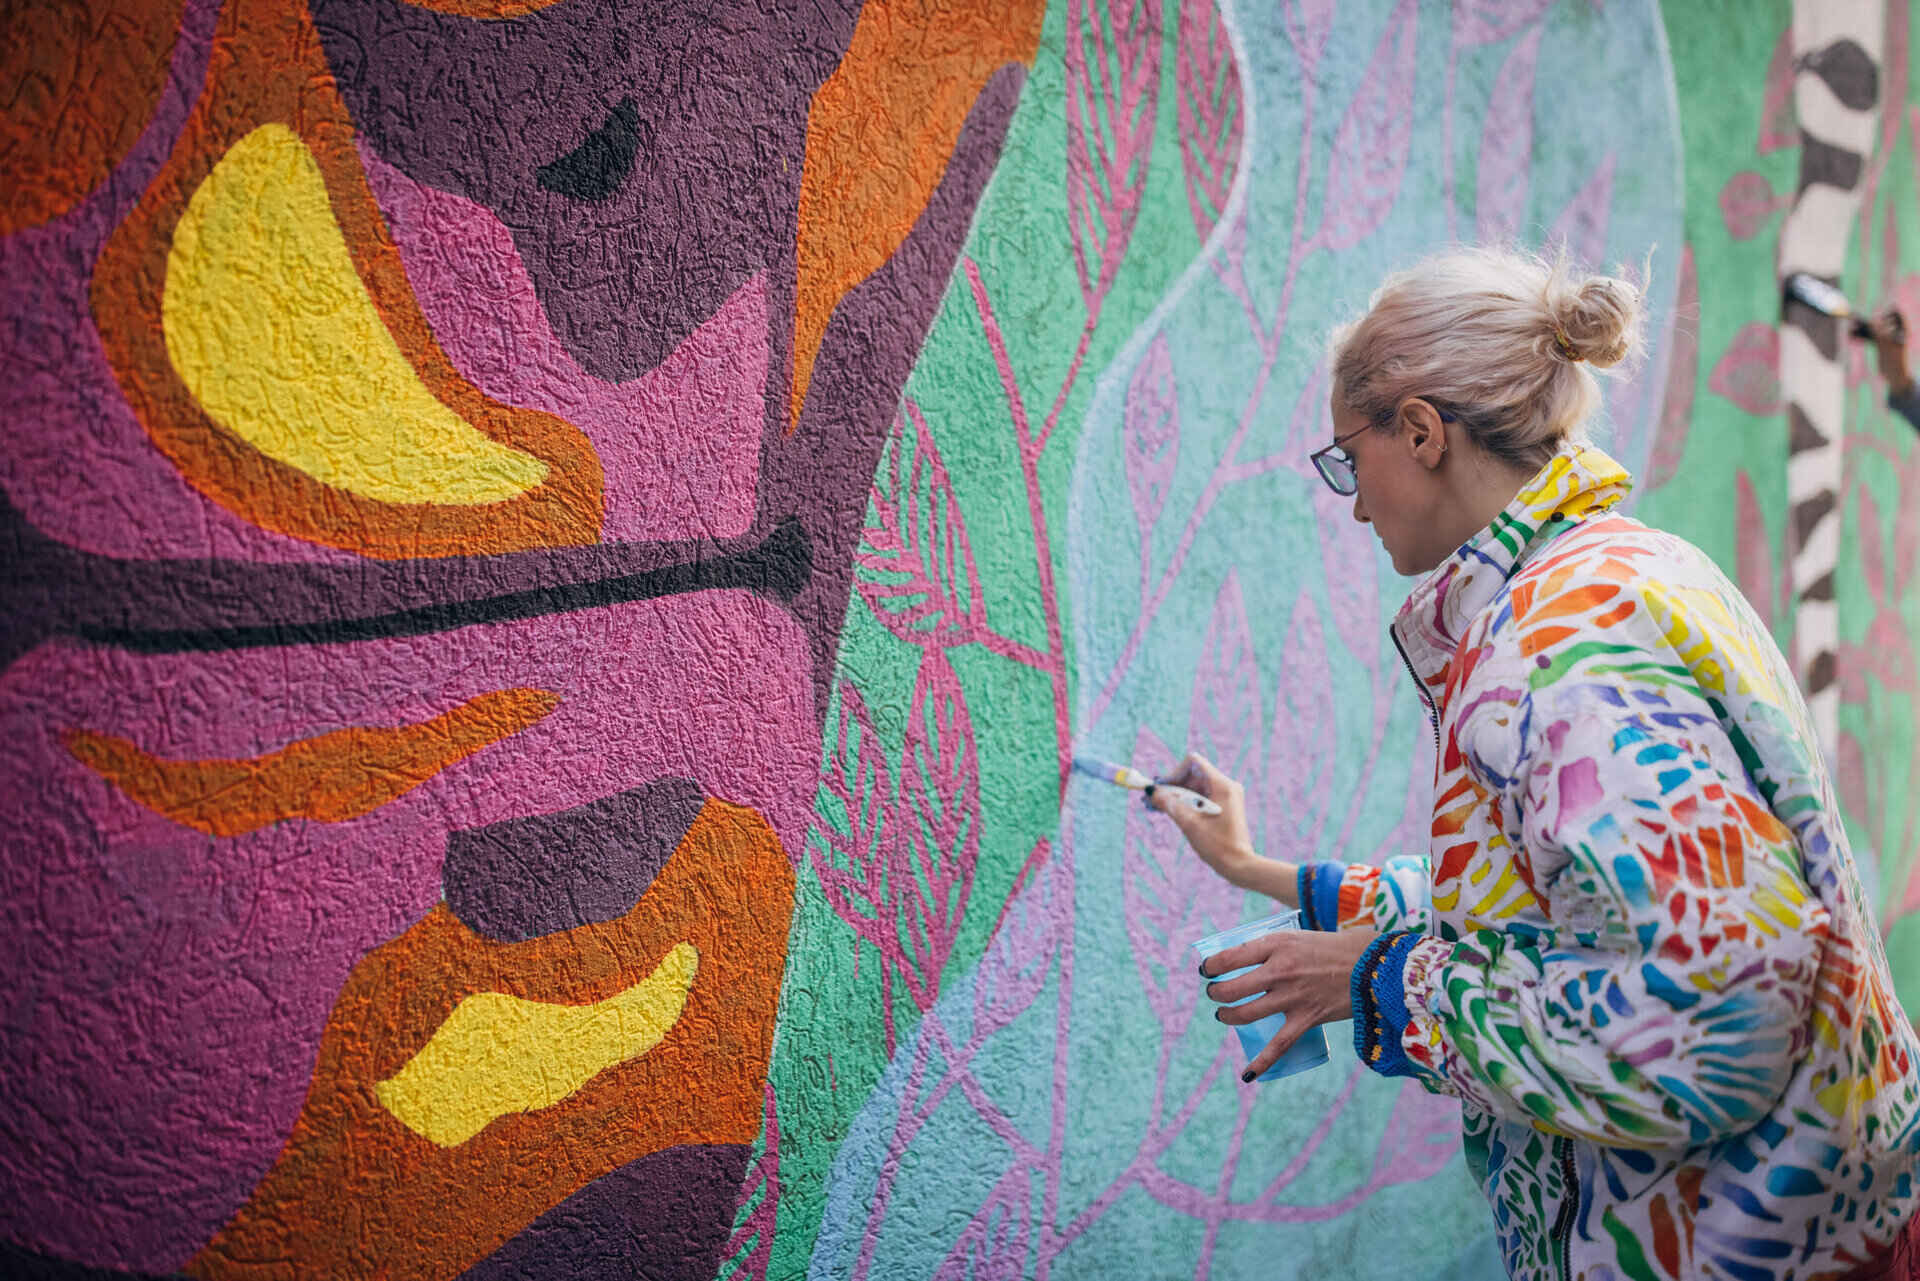
Adding Details and Highlights
As your outdoor mural begins to take shape, the process of adding details and highlights brings depth, dimension, and visual interest to your artwork. This phase allows you to infuse intricate elements, nuanced textures, and captivating highlights that elevate the overall impact of the mural and engage viewers on a deeper level.
Consider the following steps and techniques when adding details and highlights to your outdoor mural:
- Refine Visual Elements: Focus on refining the visual elements of your mural, such as intricate patterns, fine lines, and subtle textures. Use precision brushes and techniques to bring clarity and definition to these details, ensuring that they contribute to the overall composition.
- Explore Tonal Variations: Experiment with tonal variations and shading to create depth and three-dimensional effects within your mural. Consider how light interacts with the surface and use highlights and shadows to convey form, volume, and visual interest.
- Accentuate Focal Points: Identify key focal points within your mural and accentuate them with strategic highlights and detailed embellishments. These focal points serve as visual anchors that draw the viewer’s attention and convey the central themes or narrative of the artwork.
- Embrace Textural Techniques: Incorporate textural techniques such as stippling, cross-hatching, or dry brushing to add tactile richness and visual complexity to specific areas of the mural. These techniques create engaging surfaces and tactile qualities that invite closer inspection.
- Consider Environmental Interaction: Take into account how natural light and environmental factors interact with the details and highlights of your mural. Ensure that the chosen techniques enhance the mural’s visual impact under varying lighting conditions and create captivating visual effects.
By skillfully adding details and highlights, you infuse your outdoor mural with a sense of depth, intricacy, and visual allure that captivates viewers and enriches the surrounding environment. Each carefully crafted detail contributes to the overall narrative and aesthetic impact of the mural, inviting onlookers to immerse themselves in its captivating intricacies.
Read more: Where Is The World’s Largest Outdoor Mural?
Sealing and Protecting Your Mural
After investing time and creativity in painting an outdoor mural, it’s essential to safeguard your masterpiece against environmental elements and preserve its visual appeal for years to come. The process of sealing and protecting your mural not only enhances its longevity but also ensures that the vibrant colors and intricate details remain vivid and captivating over time.
Follow these essential steps to effectively seal and protect your outdoor mural:
- Choose a UV-Resistant Sealer: Select a high-quality, UV-resistant clear sealer designed for outdoor murals. The sealer should offer protection against UV rays, moisture, and environmental pollutants while enhancing the color vibrancy and durability of the mural.
- Even Application: Apply the sealer evenly across the entire mural surface using a brush, roller, or spray equipment. Ensure consistent coverage and avoid pooling or uneven distribution of the sealer to maintain the integrity of the artwork.
- Follow Manufacturer’s Guidelines: Adhere to the manufacturer’s guidelines regarding the application, drying time, and recommended number of sealer coats. Consider environmental factors such as temperature and humidity to optimize the sealing process.
- Regular Maintenance: Establish a regular maintenance schedule to inspect the mural for any signs of wear, fading, or damage. Address any issues promptly by performing touch-ups and resealing as needed to preserve the mural’s visual impact.
- Consider Anti-Graffiti Protection: In areas prone to graffiti or vandalism, consider using an anti-graffiti coating as an additional protective measure. Anti-graffiti coatings facilitate the removal of unwanted markings without compromising the integrity of the mural’s surface.
By diligently sealing and protecting your mural, you ensure that your artistic creation remains a vibrant and enduring feature of its outdoor environment. The protective measures not only safeguard the visual integrity of the artwork but also communicate a commitment to preserving the cultural and artistic significance of outdoor murals within the community.
Conclusion
Embarking on the journey of painting an outdoor mural is a transformative and enriching experience that allows artists to leave a lasting imprint on the outdoor landscape. From selecting the perfect location and choosing the right materials to infusing intricate details and protecting the artwork, every step in the process contributes to the creation of a vibrant and enduring masterpiece.
Outdoor murals possess the remarkable ability to transcend physical boundaries, spark meaningful conversations, and inspire a sense of wonder and connection within communities. Whether adorning urban streets, community spaces, or architectural facades, these murals serve as powerful conduits for artistic expression, cultural representation, and visual storytelling.
As artists, muralists, and community members, we are entrusted with the responsibility of preserving and celebrating the beauty and significance of outdoor murals. Through thoughtful planning, meticulous execution, and ongoing maintenance, we can ensure that these artistic treasures continue to captivate and inspire future generations.
Furthermore, the creation of outdoor murals fosters a sense of community pride, encourages public engagement with the arts, and transforms ordinary spaces into vibrant cultural destinations. The process of painting an outdoor mural transcends individual creativity, becoming a collaborative and inclusive endeavor that unites artists, community members, and cultural advocates in a shared celebration of creativity and expression.
As we conclude this exploration of painting an outdoor mural, let us embrace the transformative power of public art and the enduring impact of creative expression in outdoor spaces. Whether you’re a seasoned muralist, an aspiring artist, or a passionate advocate for community beautification, the world of outdoor mural painting offers boundless opportunities to leave a colorful and indelible mark on the outdoor canvas of our shared environment.
So, let your imagination soar, your brushes dance, and your colors ignite the world with the beauty and vibrancy of outdoor murals. Together, let us continue to paint stories, evoke emotions, and create enduring masterpieces that enrich the visual tapestry of our outdoor surroundings.
Frequently Asked Questions about How To Paint An Outdoor Mural
Was this page helpful?
At Storables.com, we guarantee accurate and reliable information. Our content, validated by Expert Board Contributors, is crafted following stringent Editorial Policies. We're committed to providing you with well-researched, expert-backed insights for all your informational needs.
0 thoughts on “How To Paint An Outdoor Mural”