Home>Furniture & Design>Outdoor Furniture>How To Paint An Outdoor Table
Outdoor Furniture
How To Paint An Outdoor Table
Published: January 14, 2024
Learn how to paint your outdoor furniture with our step-by-step guide. Transform your outdoor space with our expert tips and techniques for outdoor furniture design.
(Many of the links in this article redirect to a specific reviewed product. Your purchase of these products through affiliate links helps to generate commission for Storables.com, at no extra cost. Learn more)
Introduction
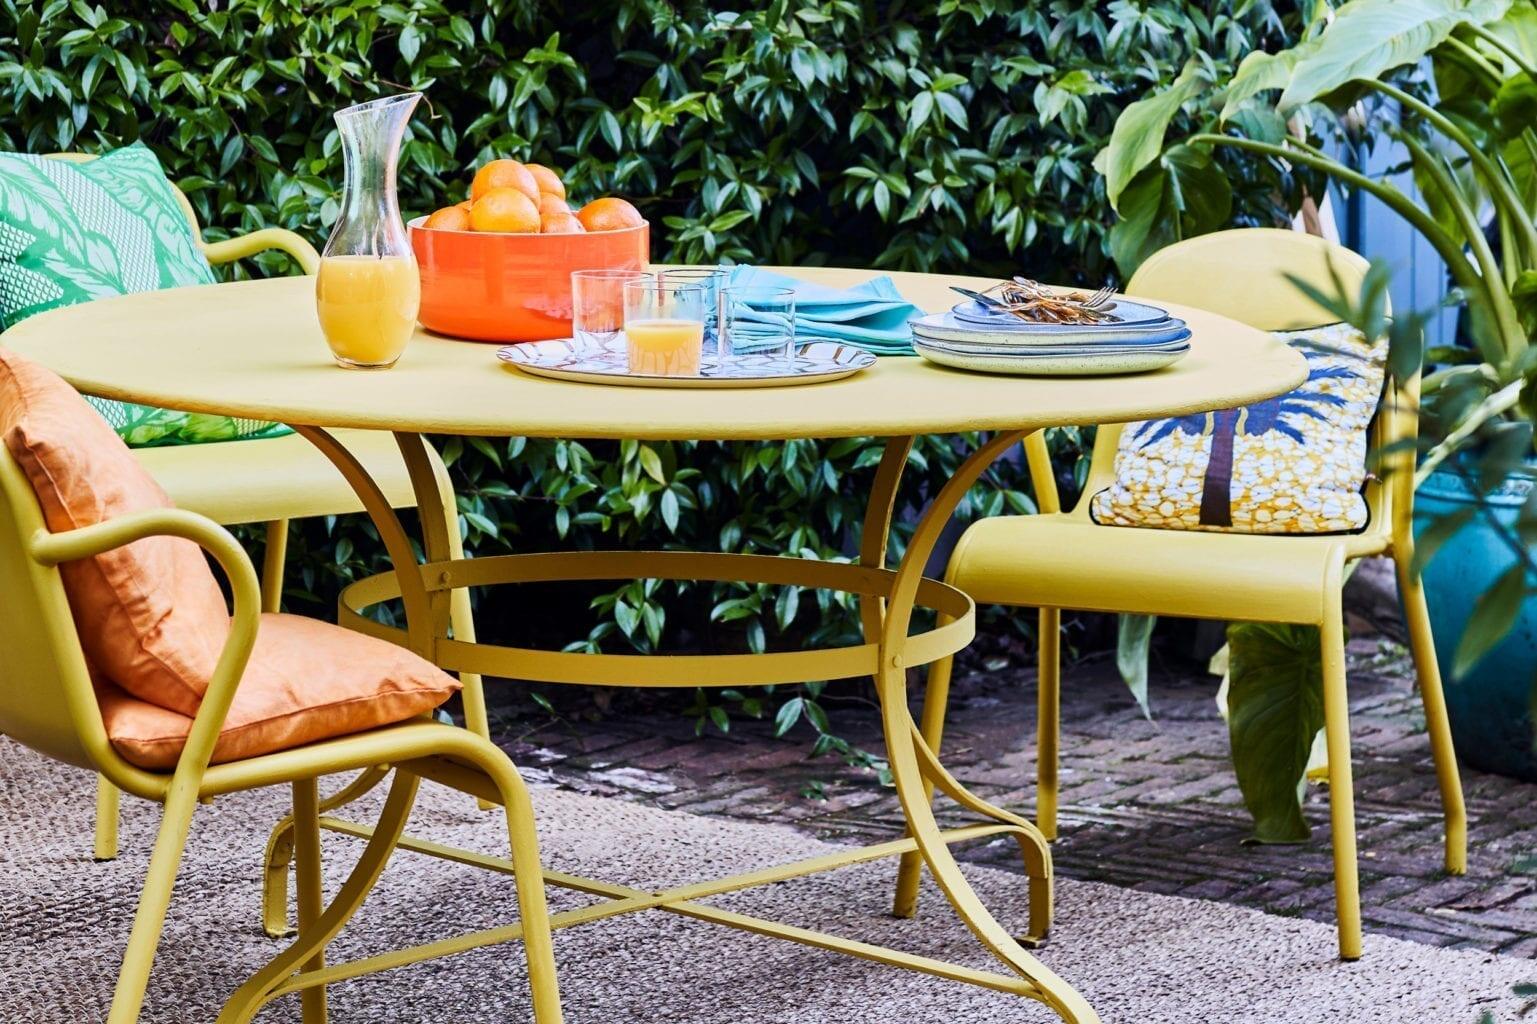
Welcome to the world of outdoor furniture transformation! Whether you have a weathered table in need of a refresh or you simply want to add a pop of color to your outdoor space, painting an outdoor table is a fantastic way to revitalize your patio or deck. With a bit of creativity and the right tools, you can breathe new life into an old, worn-out table, making it a standout piece in your outdoor decor.
In this comprehensive guide, we will walk you through the step-by-step process of painting an outdoor table, from gathering the necessary materials to applying the finishing touches. By the end of this journey, you will have the knowledge and confidence to undertake this rewarding project and achieve stunning results.
So, roll up your sleeves, unleash your inner artist, and let's dive into the wonderful world of outdoor table painting!
Key Takeaways:
- Transform your outdoor table with a burst of color and personality by following the step-by-step guide to painting. Infuse new life into your patio or deck with creativity and the right tools.
- Achieve a visually striking and durable outdoor table transformation through meticulous preparation, skilled application, and a touch of creativity. Enjoy the fruits of your DIY labor and enhance the ambiance of your outdoor haven.
Read more: How To Paint A Dining Table
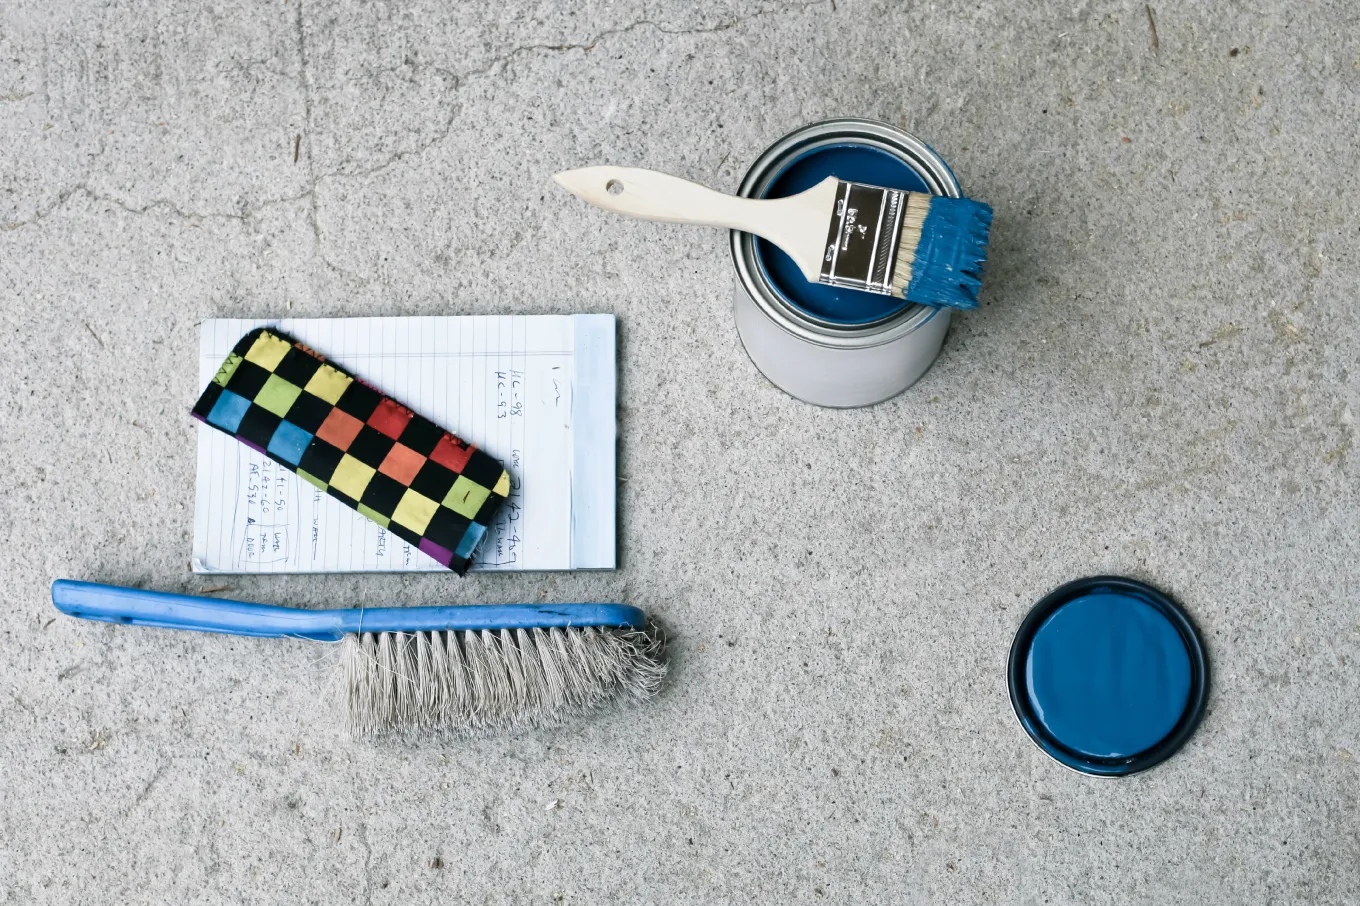
Step 1: Gather Materials and Prepare Workspace
Before embarking on your outdoor table painting adventure, it’s essential to gather all the necessary materials and set up a well-prepared workspace. Here’s what you’ll need:
- Materials:
- Outdoor table
- Drop cloths or plastic sheeting
- Painter’s tape
- Sandpaper (medium and fine grit)
- Primer suitable for outdoor use
- Outdoor paint in your desired color
- Paintbrushes or paint sprayer
- Sealant or clear outdoor varnish
- Protective gear (gloves, mask, safety glasses)
- Workspace Preparation:
Choose a well-ventilated outdoor area for your painting project. Lay down drop cloths or plastic sheeting to protect the ground from paint and primer. If possible, work on a flat surface to ensure stability and ease of application. Use painter’s tape to cover any areas of the table that you do not wish to paint, such as metal fittings or glass inserts.
By gathering your materials and setting up a suitable workspace, you’re laying the foundation for a successful outdoor table painting experience. With everything in place, you’re ready to move on to the next step: sanding the table to create a smooth surface for the paint to adhere to.
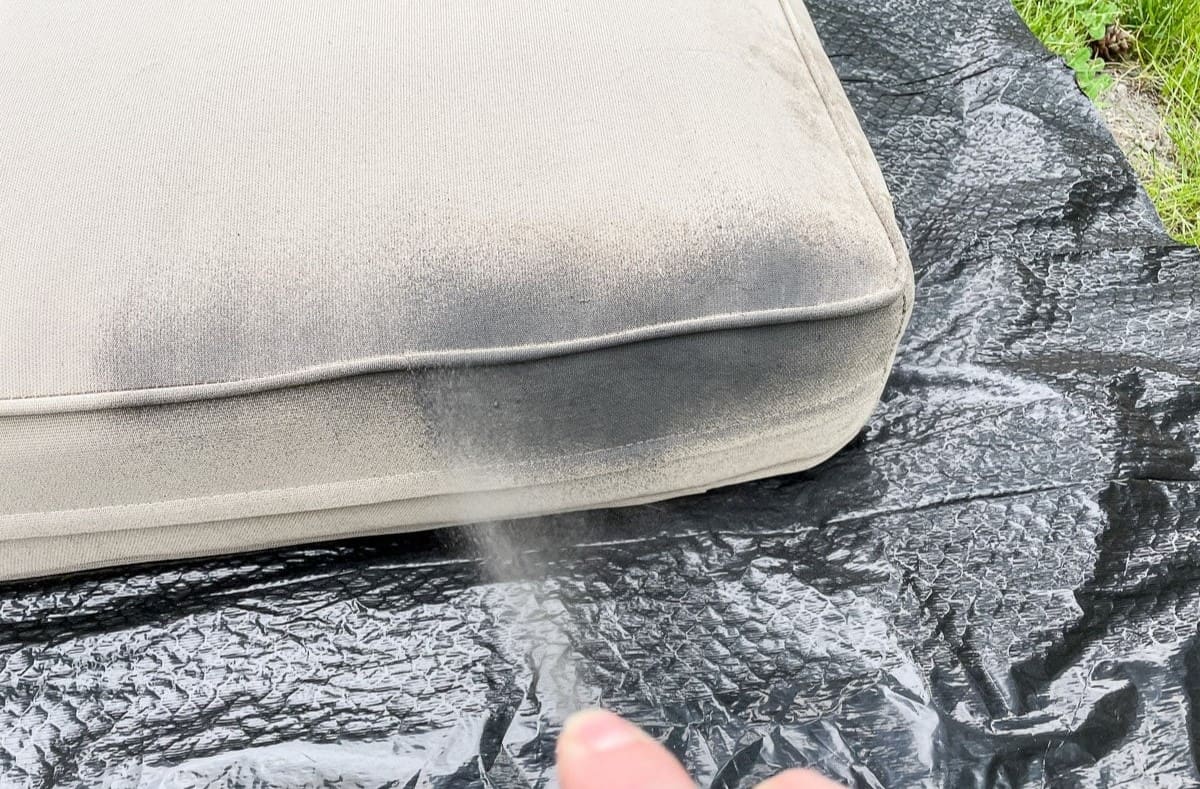
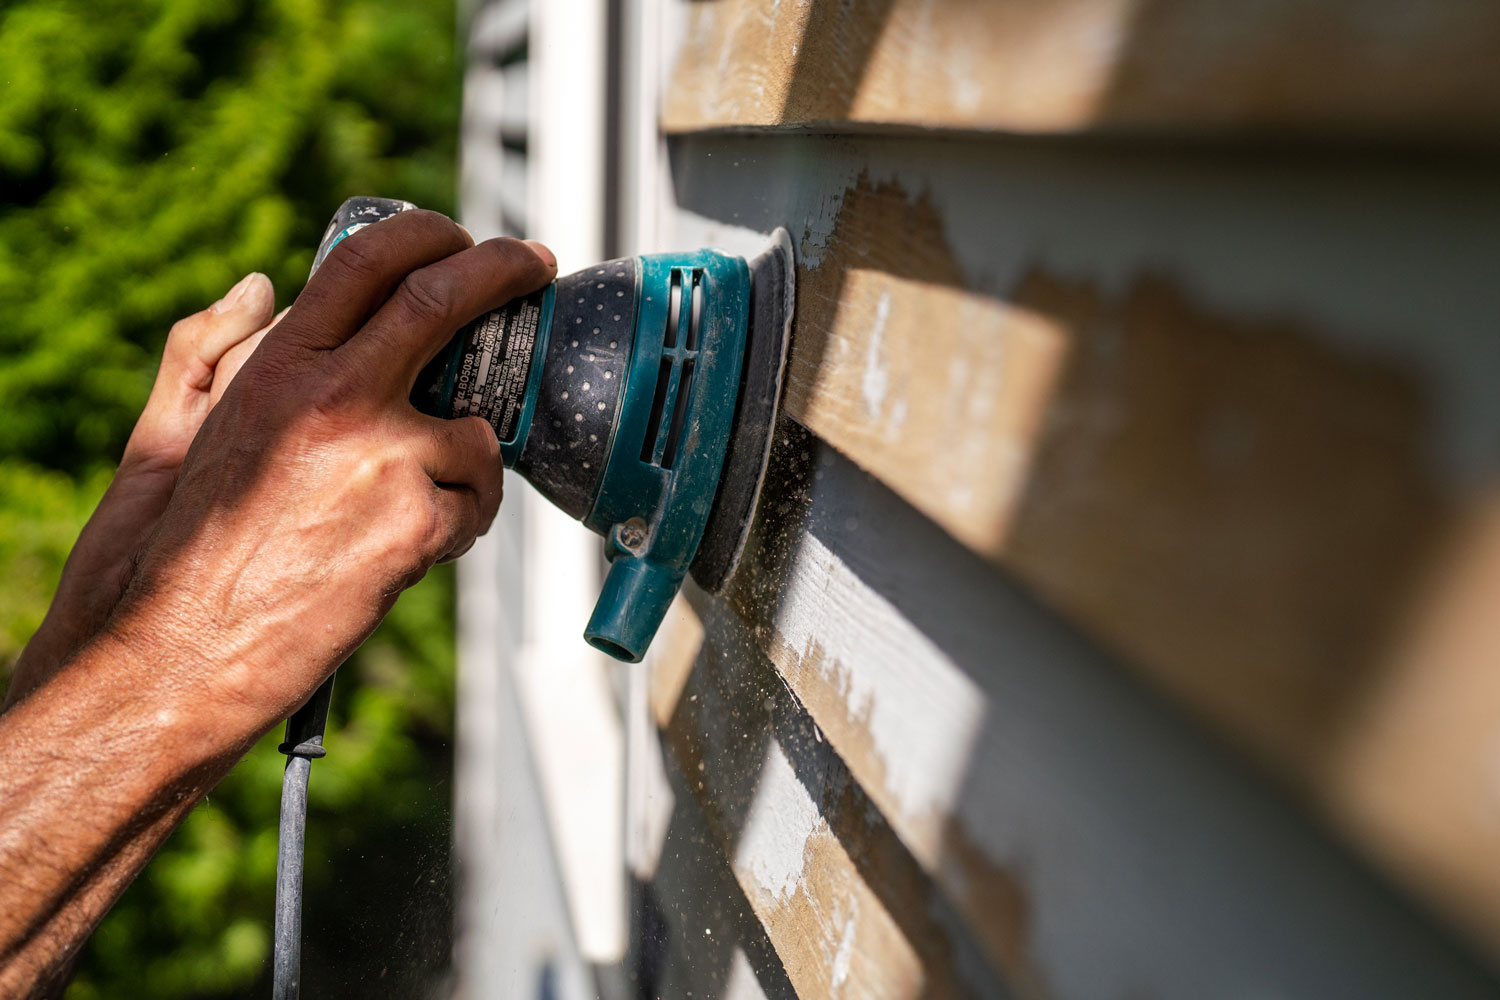
Step 2: Sand the Table
Now that you have your workspace prepared and your materials at the ready, it’s time to roll up your sleeves and start sanding the table. This crucial step sets the stage for a flawless paint application and ensures the longevity of your outdoor table’s new finish.
Here’s how to effectively sand your table:
- Choose the Right Sandpaper: Begin by selecting medium-grit sandpaper to remove any existing finish, rough spots, or imperfections on the table’s surface. Once the initial sanding is complete, switch to fine-grit sandpaper to create a smooth and even texture.
- Sand in the Direction of the Grain: Work systematically, following the natural grain of the wood or the existing pattern of the table’s surface. This approach helps prevent scratches and ensures a uniform finish.
- Remove Dust and Debris: After sanding, use a clean, dry cloth or a tack cloth to wipe away the dust and debris. It’s crucial to start with a clean surface before moving on to the next steps.
By investing time and effort into thorough sanding, you’re creating an ideal canvas for the primer and paint, promoting adhesion and a professional-looking result. Once the table is smooth and free of imperfections, you’re ready to move on to the next step: priming the table to enhance paint adhesion and durability.
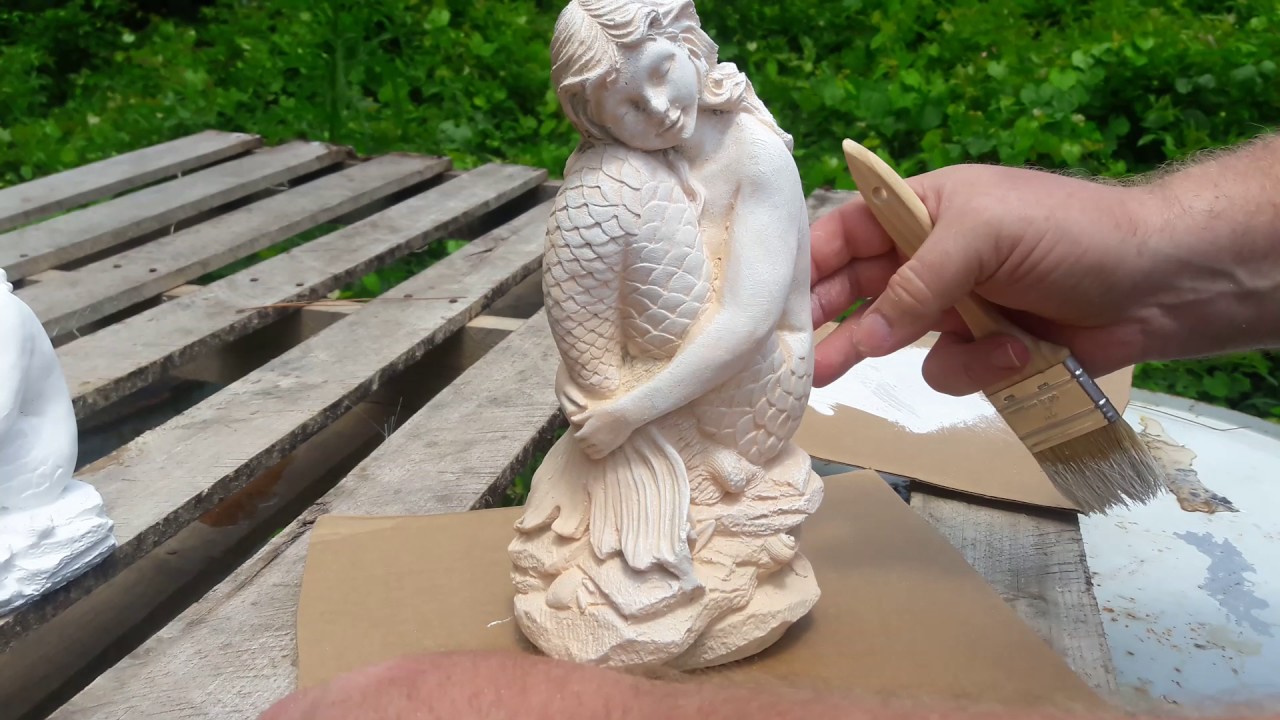
Step 3: Prime the Table
With the table sanded to perfection, it’s time to apply the primer, a crucial preparatory step that sets the stage for a flawless and long-lasting paint finish. Primer not only enhances adhesion but also provides an additional layer of protection for your outdoor table, particularly in harsh weather conditions.
Here’s how to effectively prime the table:
- Choose the Right Primer: Select a high-quality primer specifically formulated for outdoor use. Look for a product that offers excellent adhesion and is suitable for the material of your table, whether it’s wood, metal, or another material.
- Apply the Primer Evenly: Using a paintbrush or a paint sprayer, apply the primer evenly across the entire surface of the table. Ensure that you cover all areas, including edges and corners, for uniform protection and adhesion.
- Allow Sufficient Drying Time: Follow the manufacturer’s instructions regarding drying times. It’s crucial to allow the primer to dry completely before moving on to the next step, ensuring optimal bonding with the paint.
By priming the table, you’re not only creating a strong foundation for the paint but also enhancing the overall durability and weather resistance of your outdoor table. Once the primer has dried thoroughly, you’re ready to embark on the exciting next step: painting the table in the color of your choice.
Before painting an outdoor table, make sure to clean and sand the surface to remove any dirt or old paint. Use a high-quality outdoor paint and apply thin, even coats for best results. Don’t forget to seal the paint with a clear outdoor sealant for added protection.
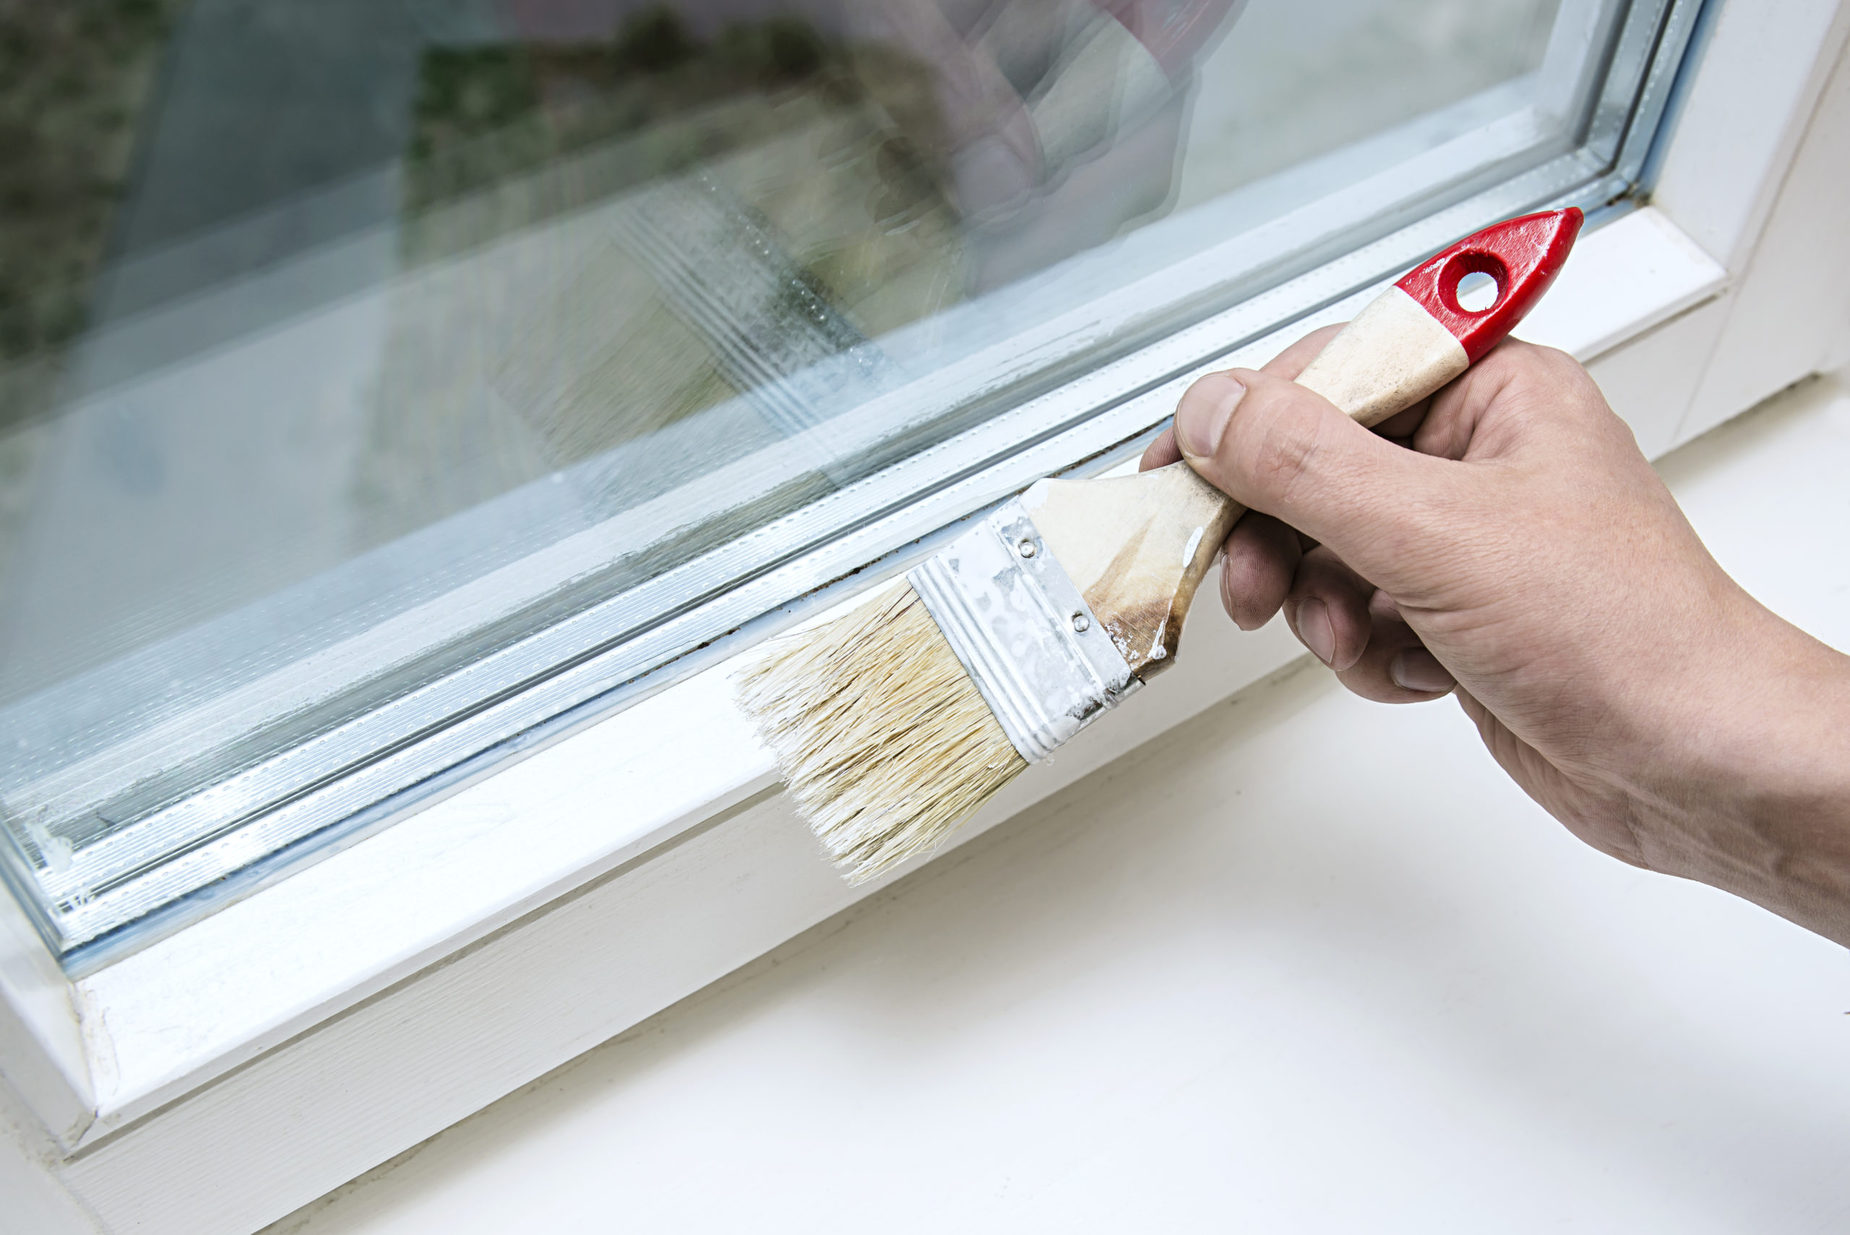
Step 4: Paint the Table
Now comes the exciting part: infusing your outdoor table with a burst of color and personality through the application of paint. Whether you opt for a classic neutral tone, a vibrant hue, or a trendy color that complements your outdoor decor, painting the table is where your creativity takes center stage.
Here’s how to achieve a stunning painted finish:
- Choose High-Quality Outdoor Paint: Select a premium outdoor paint designed to withstand the elements, resist fading, and maintain its luster over time. Consider the material of your table and opt for a paint suitable for that specific surface, whether it’s wood, metal, or another material.
- Apply Thin, Even Coats: Using a paintbrush or a paint sprayer, apply the paint in thin, even coats, working in the direction of the grain or the natural pattern of the table’s surface. Multiple thin coats are preferable to a single thick coat, as they promote better adhesion and a smoother finish.
- Allow for Adequate Drying Time: Follow the manufacturer’s recommendations for drying times between coats. Patience is key to achieving a flawless, professional-looking result.
- Consider Decorative Techniques: If you’re feeling adventurous, consider incorporating decorative techniques such as stenciling, distressing, or creating a two-tone effect to add visual interest and personality to your table.
By painting the table with precision and care, you’re not only adding a fresh new look to your outdoor space but also providing essential protection against the elements. Once the final coat of paint has dried to perfection, it’s time to move on to the next step: applying a sealant to safeguard the painted finish and prolong its beauty.
Read more: How To Paint Outdoor Pots
Step 5: Apply a Sealant
As the finishing touch to your outdoor table painting project, applying a sealant is essential for preserving the beauty and integrity of the painted finish. A high-quality sealant provides an extra layer of protection, shielding the table from moisture, UV rays, and general wear and tear, thus prolonging the life of your stunning new paint job.
Here’s how to effectively apply a sealant:
- Choose a Durable Outdoor Sealant: Select a clear outdoor varnish or sealant specifically formulated to withstand outdoor conditions. Look for a product that offers UV protection and is suitable for the type of paint you’ve used on your table.
- Apply the Sealant Evenly: Using a clean paintbrush or a paint sprayer, apply the sealant evenly across the entire surface of the table, ensuring comprehensive coverage. Pay special attention to areas that are exposed to the elements, such as the table’s top and edges.
- Follow the Manufacturer’s Recommendations: Adhere to the recommended drying times and application instructions provided by the sealant manufacturer to achieve optimal results. This may involve applying multiple coats for enhanced protection and longevity.
By sealing the painted surface, you’re fortifying your outdoor table against the elements and safeguarding the vibrancy and durability of the paint. With the sealant in place, your table is ready to shine as a focal point in your outdoor oasis, adding both style and functionality to your exterior living space.
With the completion of this final step, your outdoor table painting journey draws to a satisfying close. Your dedication and creativity have transformed a weathered or lackluster table into a captivating masterpiece that will bring joy and functionality to your outdoor gatherings for years to come.
Conclusion
Congratulations on successfully completing the transformation of your outdoor table! Through meticulous preparation, skilled application, and a touch of creativity, you’ve revitalized a tired piece of furniture, infusing it with new life and personality. As you admire your handiwork, take pride in knowing that your painted outdoor table is not only a stunning addition to your outdoor space but also a testament to your DIY prowess.
By following the step-by-step process outlined in this guide, you’ve not only achieved a visually striking result but also ensured the longevity and resilience of your outdoor table’s new finish. The careful sanding, thorough priming, precise painting, and diligent sealing have collectively contributed to a durable and weather-resistant transformation that will withstand the elements and the test of time.
As you enjoy the fruits of your labor, savor the moments spent in your outdoor sanctuary, whether it’s hosting lively gatherings, savoring quiet meals, or simply unwinding in the fresh air. Your newly painted outdoor table stands as a symbol of your creativity and dedication, enhancing the ambiance of your outdoor haven and serving as a focal point for relaxation and enjoyment.
With your outdoor table painting project now complete, take a moment to bask in the satisfaction of a job well done. Embrace the beauty and functionality of your revitalized table, and let it inspire future DIY endeavors as you continue to infuse your outdoor space with your unique style and vision.
Now, as you sit back and admire your transformed outdoor table, know that you’ve not only painted a piece of furniture but also woven a story of creativity, craftsmanship, and the joy of outdoor living.
Frequently Asked Questions about How To Paint An Outdoor Table
Was this page helpful?
At Storables.com, we guarantee accurate and reliable information. Our content, validated by Expert Board Contributors, is crafted following stringent Editorial Policies. We're committed to providing you with well-researched, expert-backed insights for all your informational needs.

0 thoughts on “How To Paint An Outdoor Table”