Home>Furniture & Design>Outdoor Furniture>How To Paint Outdoor Pots
Outdoor Furniture
How To Paint Outdoor Pots
Modified: August 28, 2024
Learn how to paint outdoor pots to match your outdoor furniture and design. Transform your outdoor space with our step-by-step guide.
(Many of the links in this article redirect to a specific reviewed product. Your purchase of these products through affiliate links helps to generate commission for Storables.com, at no extra cost. Learn more)
Introduction
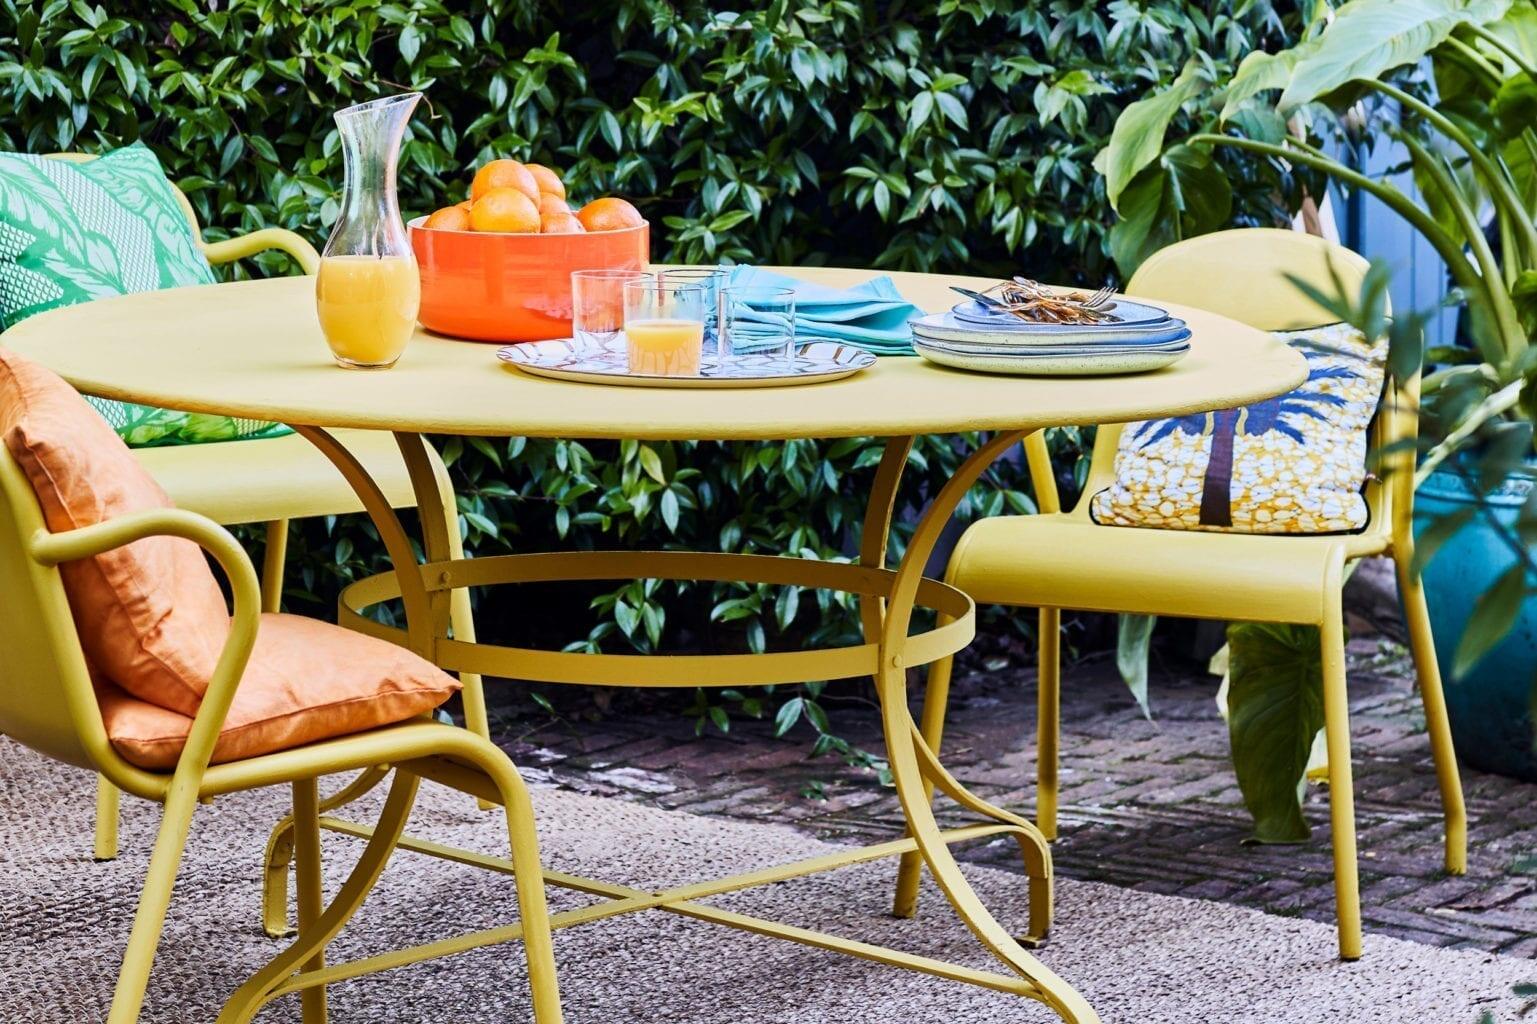
When it comes to enhancing the aesthetic appeal of your outdoor space, painting your outdoor pots can be a delightful and rewarding endeavor. Whether you're aiming to breathe new life into weathered pots or seeking to add a personal touch to your garden decor, a fresh coat of paint can work wonders. The process of painting outdoor pots not only allows for creative expression but also provides an opportunity to protect and prolong the life of your beloved planters.
By embarking on this creative journey, you can infuse your outdoor sanctuary with vibrant colors, unique patterns, and a touch of your own personality. From selecting the right pots and preparing them for painting to choosing the perfect paint and mastering the application techniques, this article will guide you through the entire process, ensuring that your painted outdoor pots become stunning focal points in your garden or patio.
So, roll up your sleeves, unleash your creativity, and let's delve into the art of painting outdoor pots to transform them into eye-catching masterpieces that will breathe new life into your outdoor oasis.
Key Takeaways:
- Transform plain outdoor pots into stunning masterpieces by choosing durable materials, preparing surfaces meticulously, and using high-quality, outdoor-specific paint for long-lasting, eye-catching results.
- Infuse your outdoor space with creativity and personality by mastering painting techniques, incorporating custom designs, and implementing proper care practices to preserve the beauty and integrity of your painted outdoor pots.
Read more: How To Pot Artificial Plants Outdoor
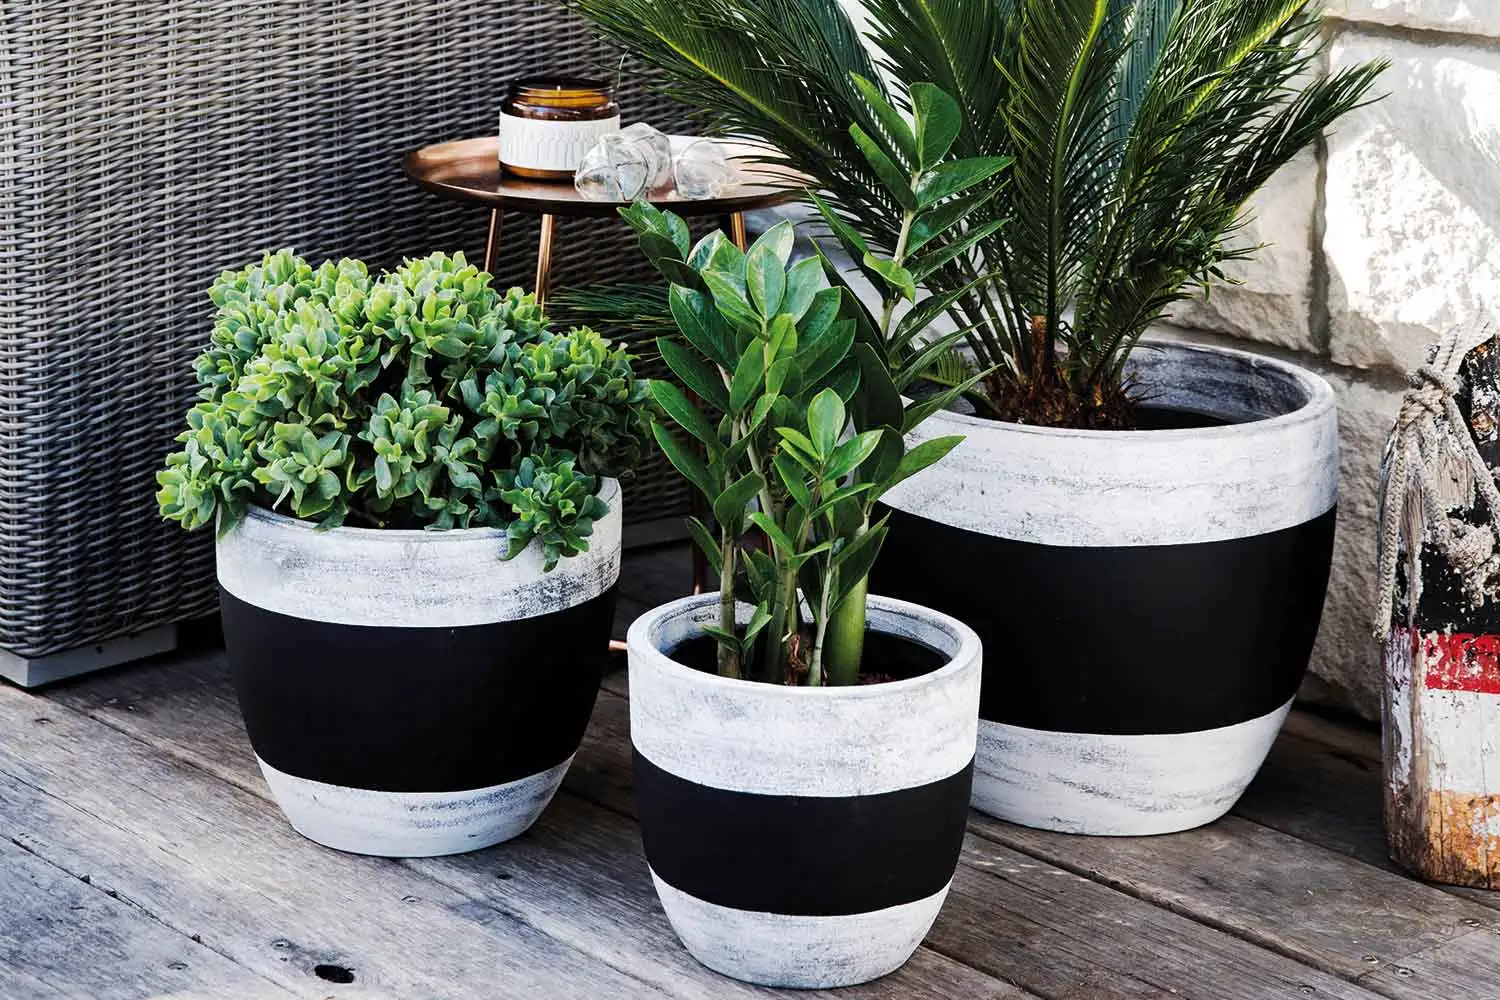
Choosing the Right Outdoor Pots
Before you embark on the exciting journey of painting outdoor pots, it’s essential to select the right pots that will serve as the canvas for your creative vision. When choosing outdoor pots for painting, consider the following factors:
- Material: Opt for pots made from durable materials such as terracotta, concrete, or metal, as they provide a suitable surface for painting and can withstand outdoor conditions.
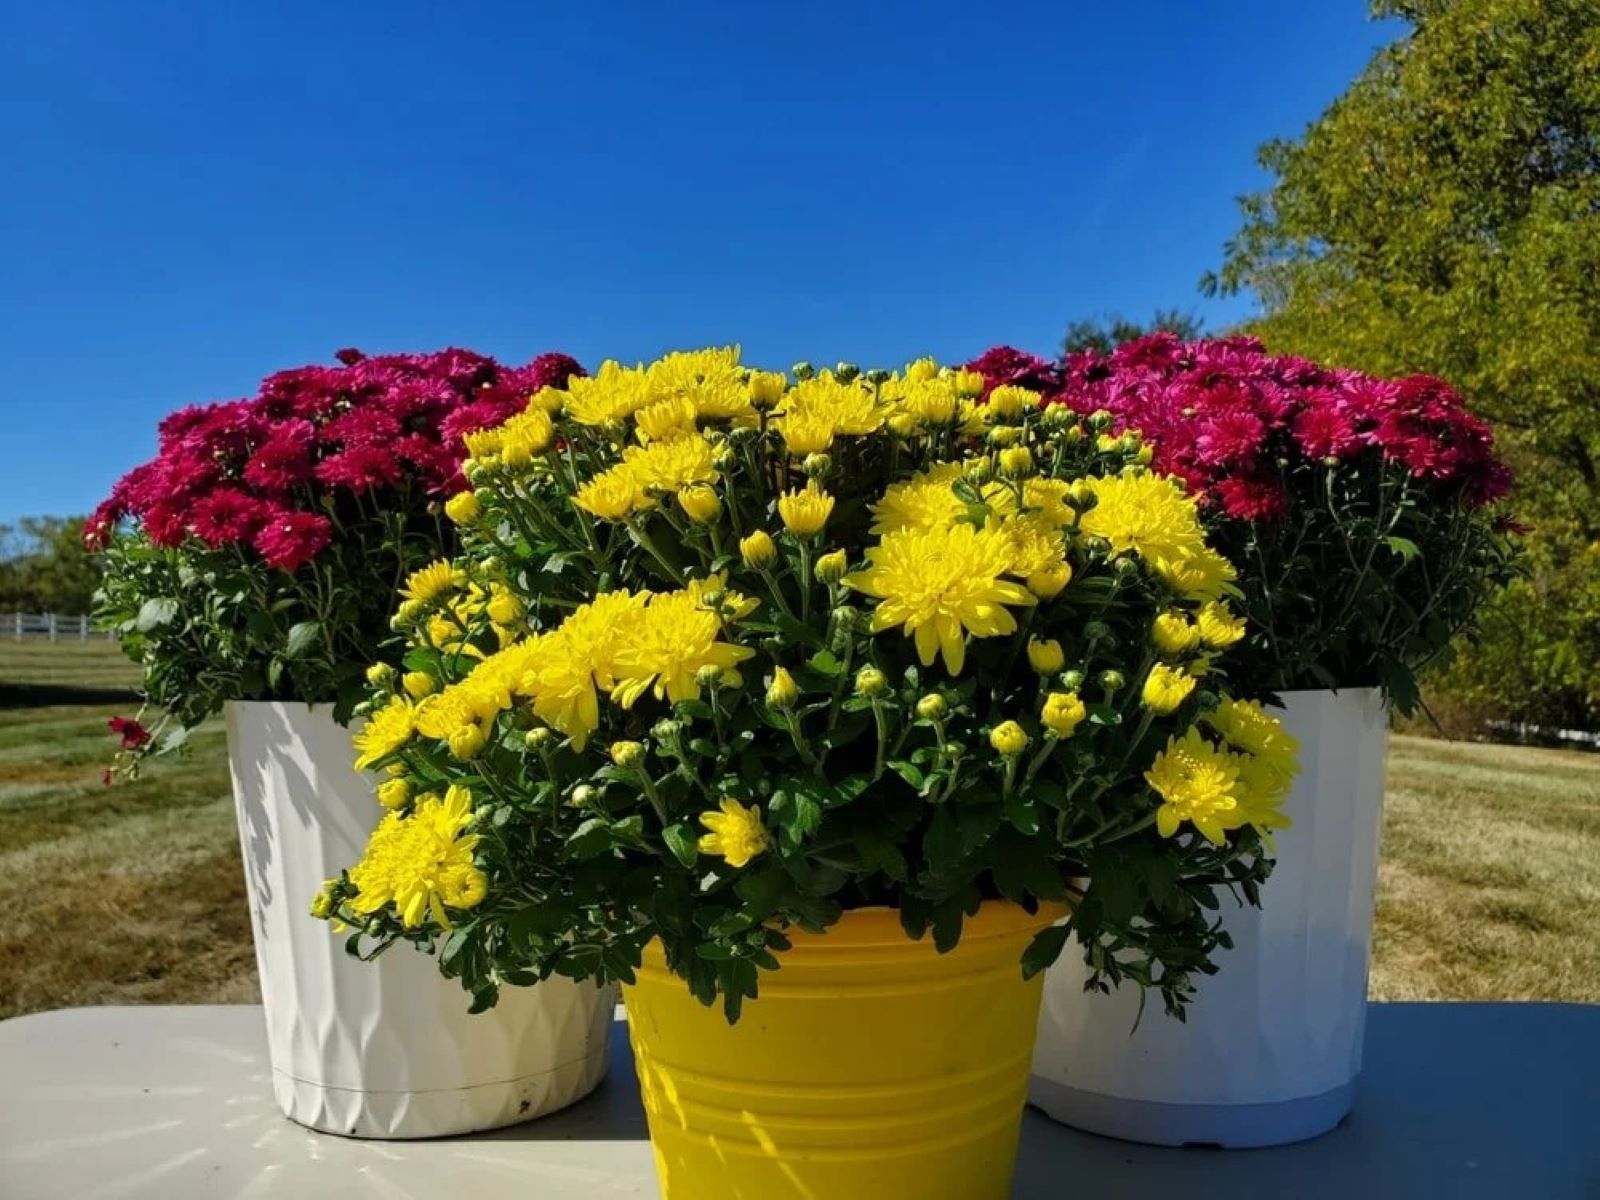
- Size and Shape: Select pots that complement the size and style of the plants you intend to place in them. Additionally, consider the overall aesthetics of your outdoor space to ensure that the pots harmonize with the existing decor.
- Drainage: Ensure that the pots have adequate drainage holes to prevent waterlogging, which can affect the longevity of the paint and the health of your plants.
- Texture: Smooth surfaces are ideal for painting, as they allow the paint to adhere evenly. However, if you prefer a textured look, consider pots with subtle ridges or patterns that can add dimension to your painted designs.
- Climate Compatibility: If you live in an area with extreme weather conditions, choose pots that are suitable for outdoor use and can withstand exposure to sunlight, rain, and frost without compromising the painted finish.
By carefully considering these aspects, you can select outdoor pots that provide a solid foundation for your painting project, ensuring that your artistic endeavors yield stunning and long-lasting results.
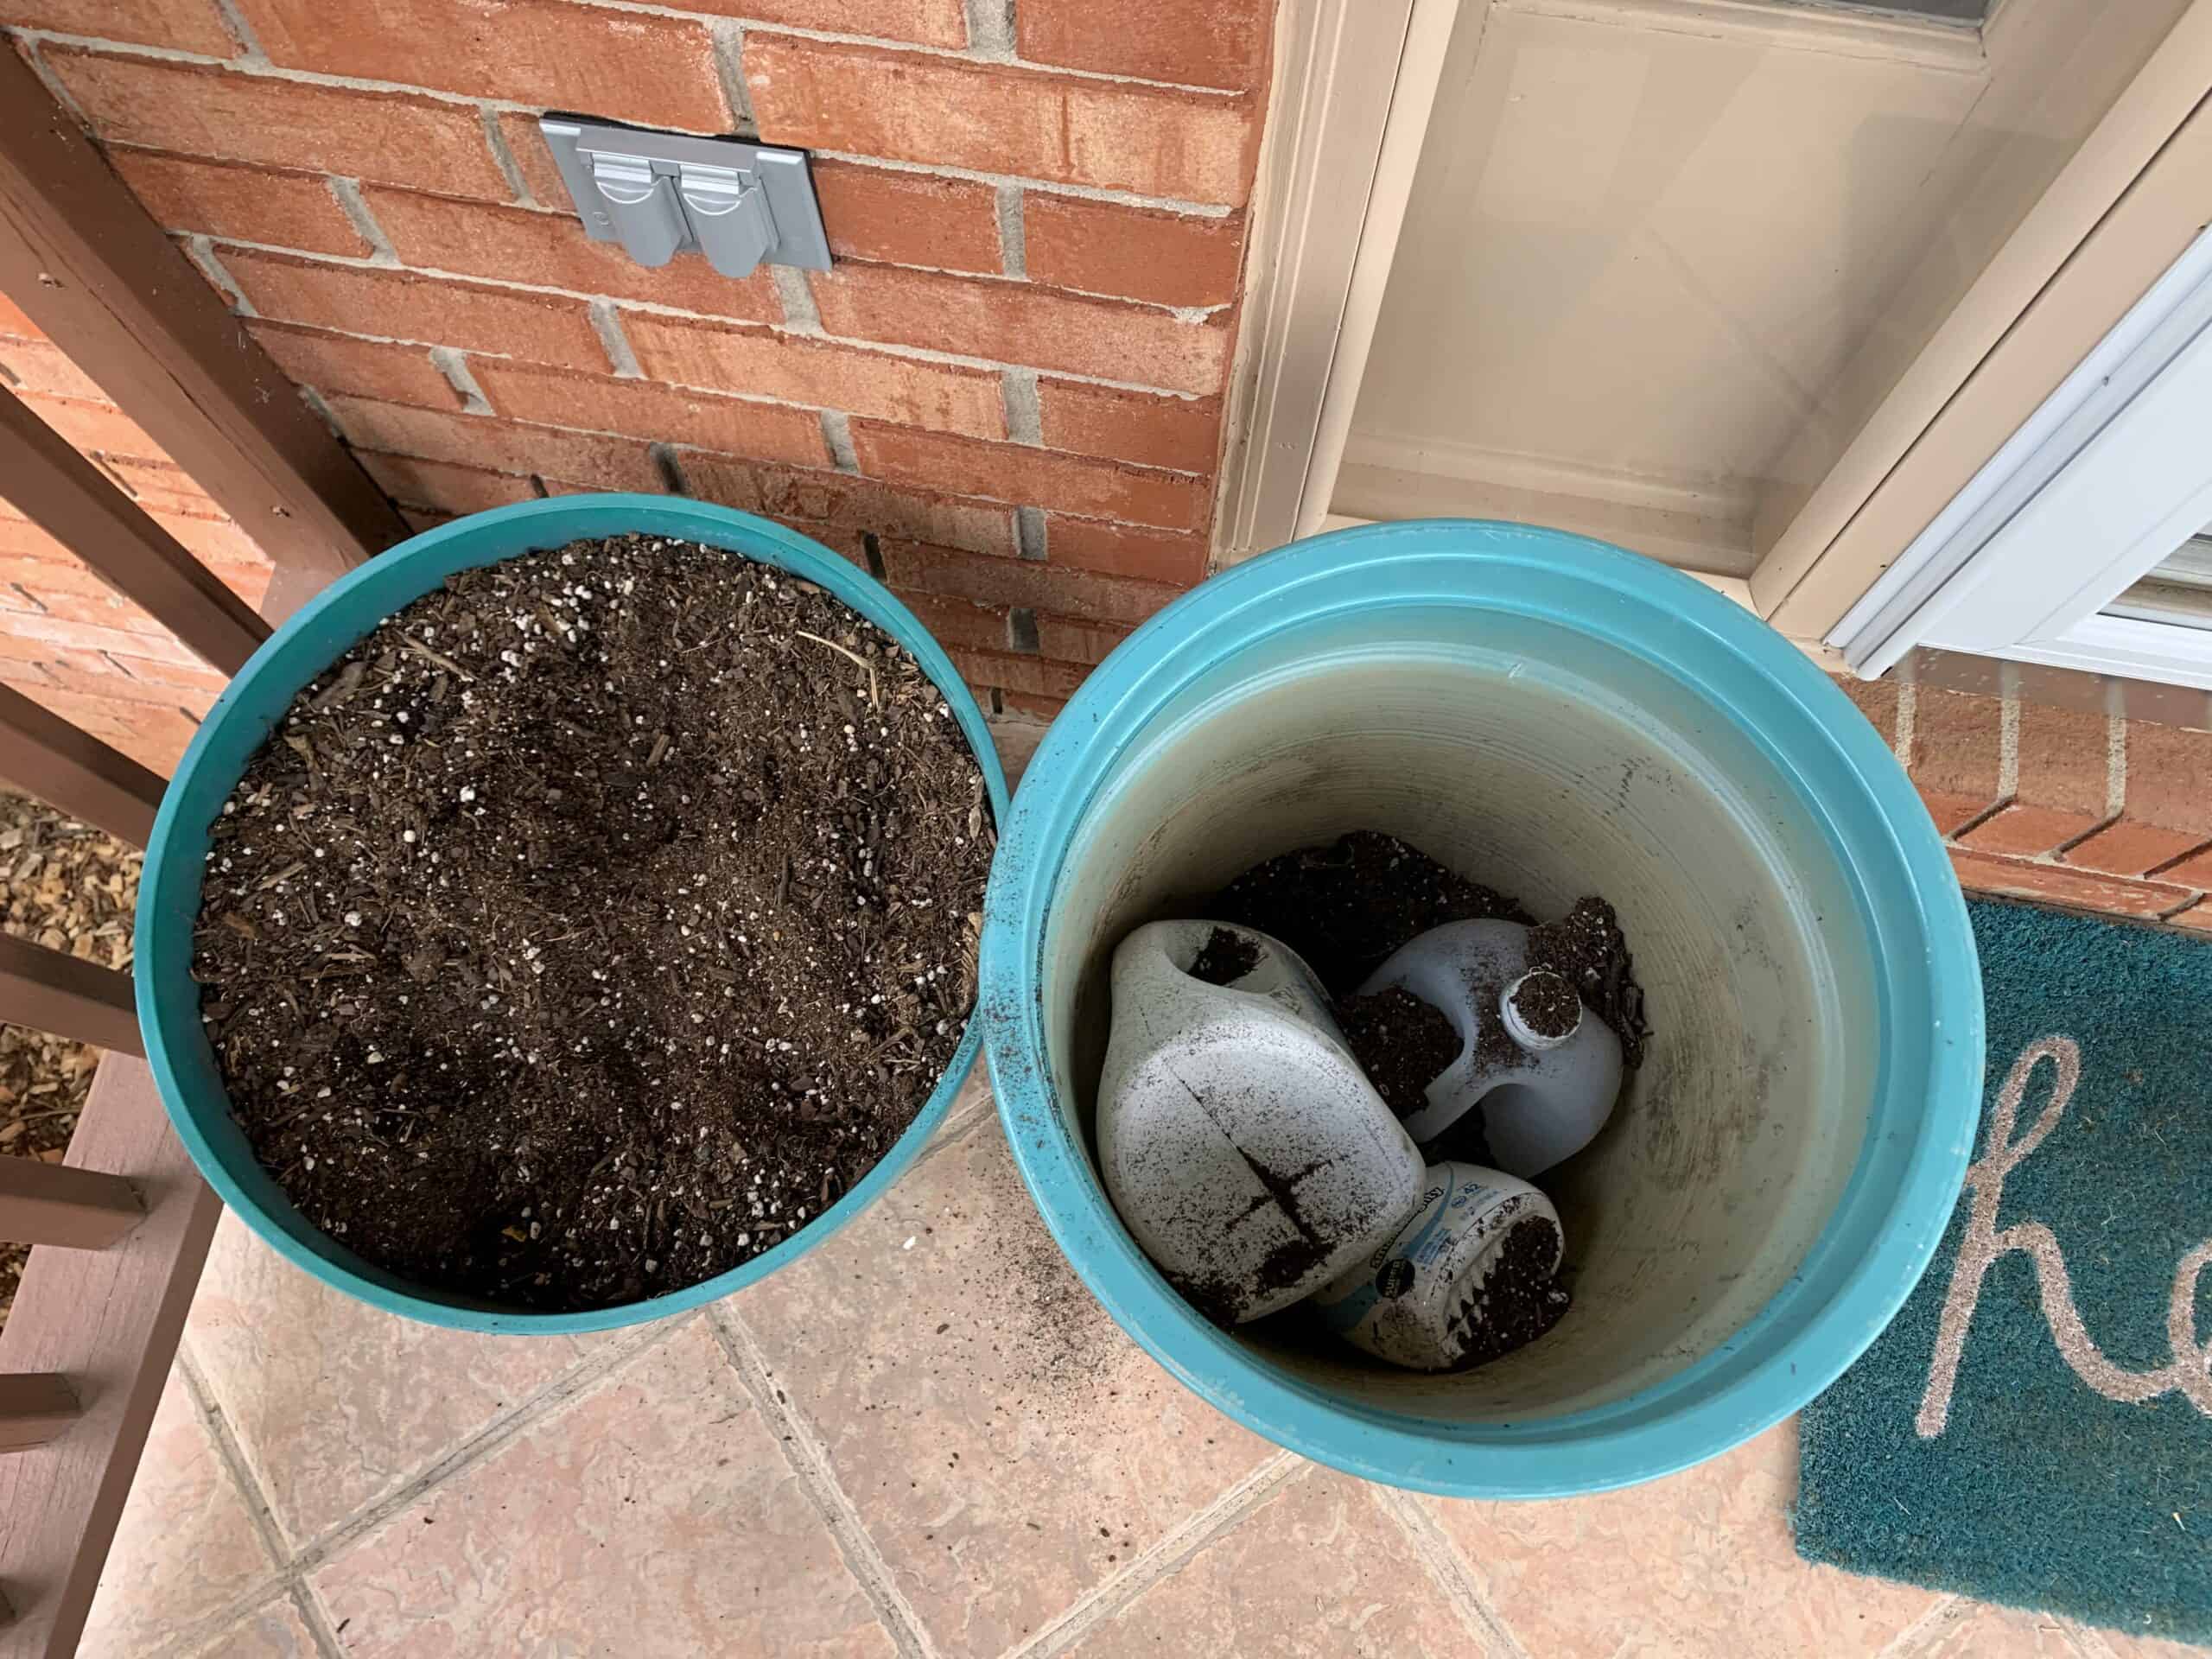
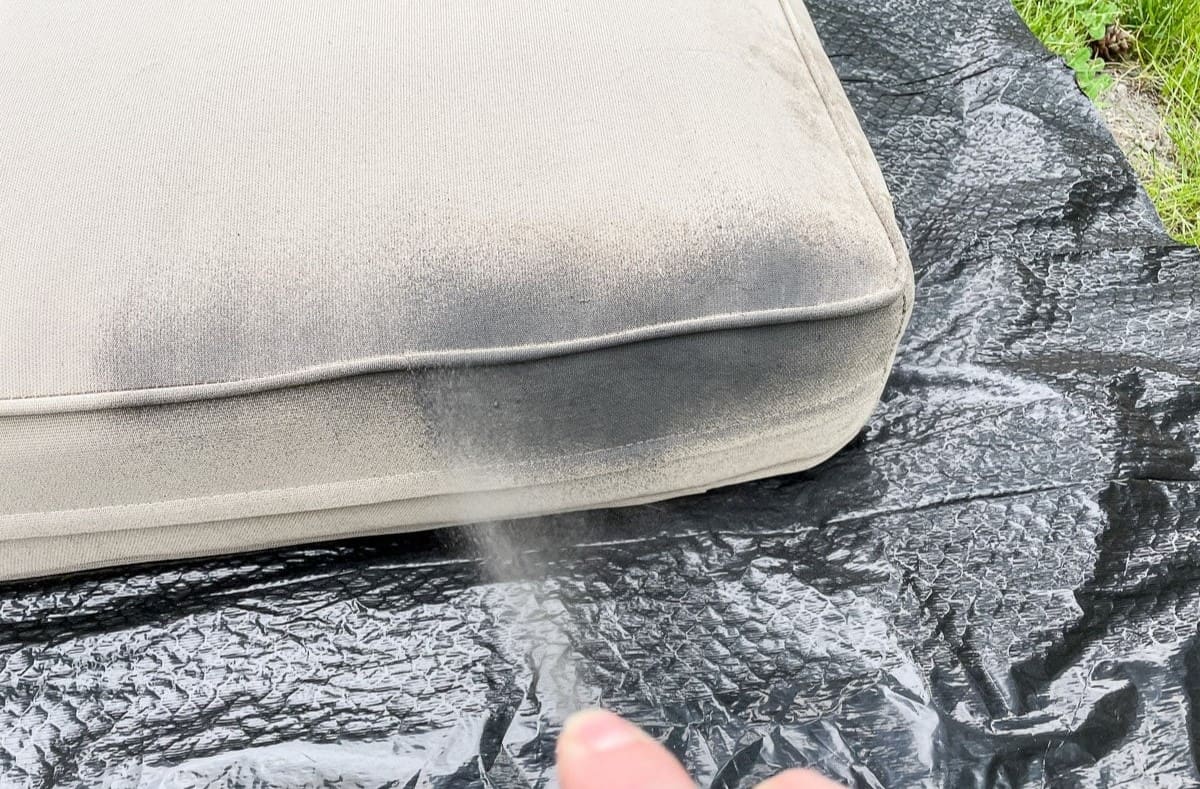
Preparing the Pots for Painting
Properly preparing the outdoor pots before applying paint is crucial to ensure a smooth and durable finish that withstands the elements. Follow these steps to prepare your pots for painting:
- Clean the Surface: Thoroughly clean the pots to remove any dirt, dust, or residue. Use a mild detergent and water to wash the pots, and allow them to dry completely before proceeding.
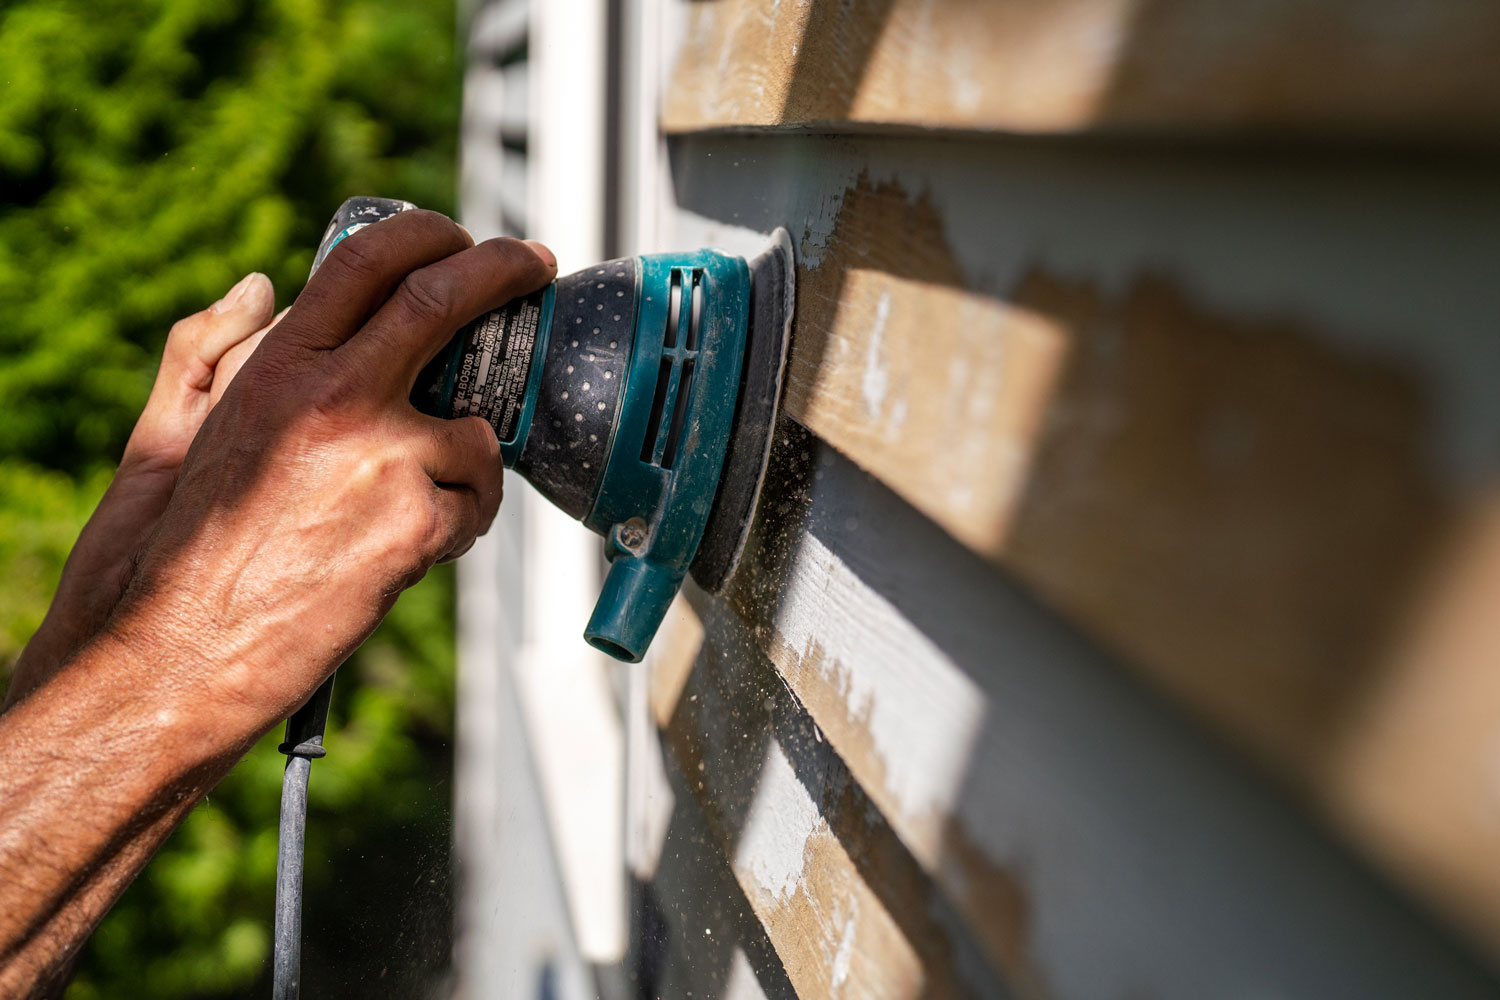
- Remove Old Paint or Sealant: If the pots have existing paint or sealant that is chipping or flaking, use sandpaper or a paint scraper to remove the old finish. This step is essential for promoting better adhesion of the new paint.
- Smooth Imperfections: Inspect the surface of the pots for any rough spots, cracks, or imperfections. Use sandpaper to smooth out any irregularities, ensuring a uniform and flawless base for the paint.
- Protect Unwanted Areas: If there are any areas of the pots that you do not wish to paint, such as the inside or the rims, use painter’s tape to mask off these sections and create clean, defined edges for your paint job.
- Prime the Surface (Optional): Depending on the material of the pots and the type of paint you plan to use, applying a primer may be beneficial. A primer can improve paint adhesion and enhance the durability of the finish, especially for porous materials like terracotta.
By meticulously preparing the pots for painting, you can create an optimal surface that allows the paint to adhere effectively and ensures that your artistic efforts result in beautifully transformed outdoor pots that stand the test of time.
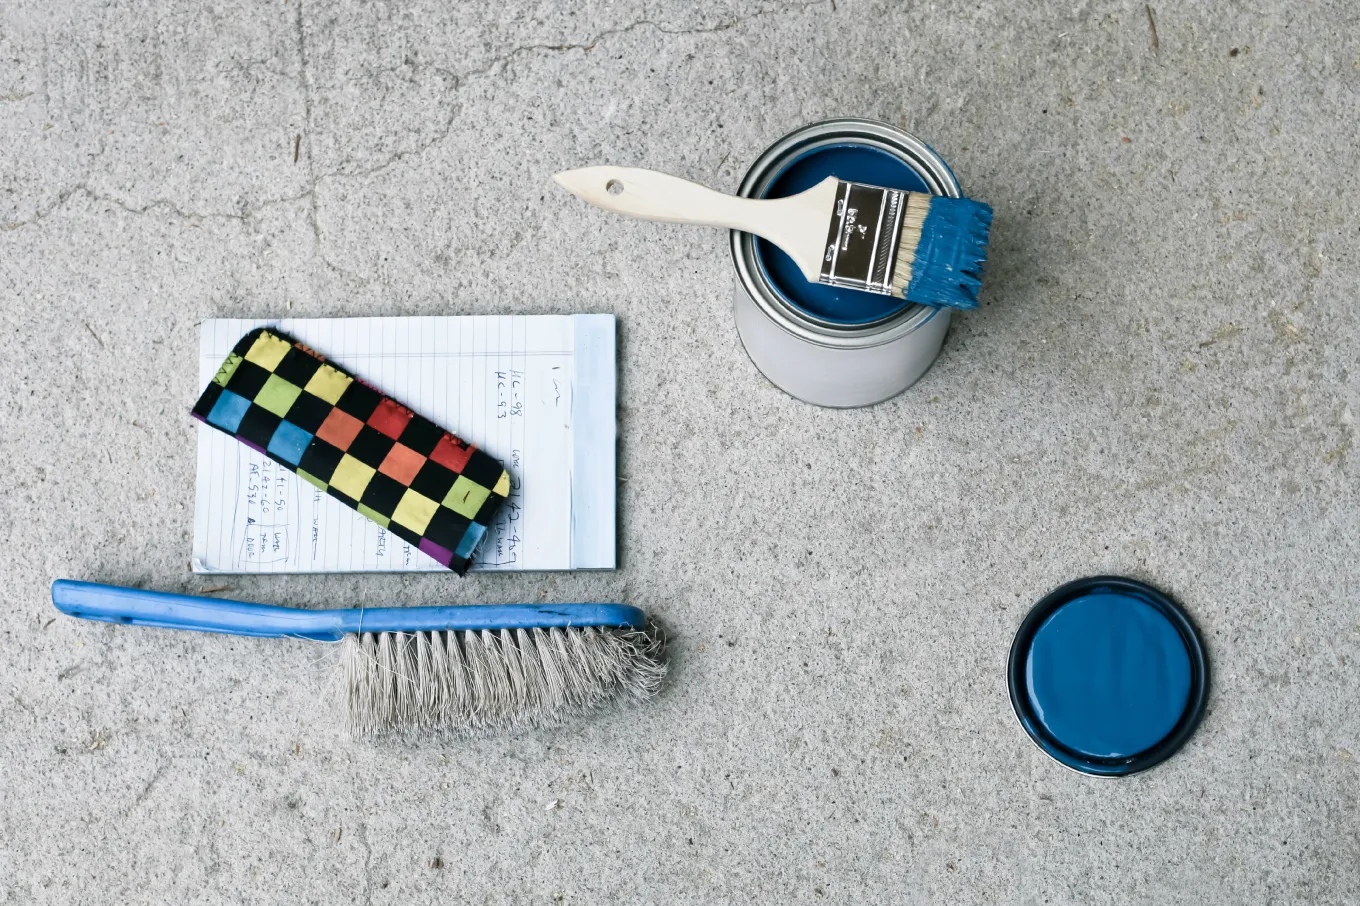
Selecting the Right Paint
Choosing the appropriate paint for your outdoor pots is crucial for achieving a stunning and long-lasting finish that can withstand outdoor conditions. Consider the following factors when selecting the right paint:
- Outdoor-Specific Paint: Opt for high-quality, outdoor-specific paint that is formulated to resist fading, chipping, and peeling when exposed to sunlight, moisture, and temperature fluctuations. Look for paints labeled as suitable for exterior use and designed for the specific material of your pots.
- Material Compatibility: Ensure that the chosen paint is compatible with the material of your pots. Different materials, such as terracotta, concrete, metal, or plastic, may require specific types of paint to adhere effectively and provide durable coverage.
- Color and Finish: Select colors and finishes that complement your outdoor decor and personal style. Whether you prefer bold and vibrant hues, earthy tones, or subtle pastels, choose paint colors that harmonize with the overall aesthetic of your garden or patio.
- UV Protection: Look for paints that offer UV protection to prevent color fading and maintain the vibrancy of your painted pots, especially if they will be exposed to direct sunlight for extended periods.
- Water Resistance: Prioritize paints that provide water resistance to safeguard the pots against rain, sprinkler systems, and watering activities, ensuring that the painted finish remains intact and vibrant despite regular exposure to moisture.
- Eco-Friendly Options: For environmentally conscious individuals, consider eco-friendly and low-VOC (volatile organic compound) paints that minimize harmful emissions and contribute to a healthier outdoor environment.
By carefully evaluating these factors and choosing high-quality paint that aligns with your aesthetic preferences and the specific requirements of your outdoor pots, you can ensure a successful painting project that yields visually captivating and enduring results.
Before painting outdoor pots, make sure to clean them thoroughly with soap and water to remove any dirt or debris. This will help the paint adhere better and last longer.
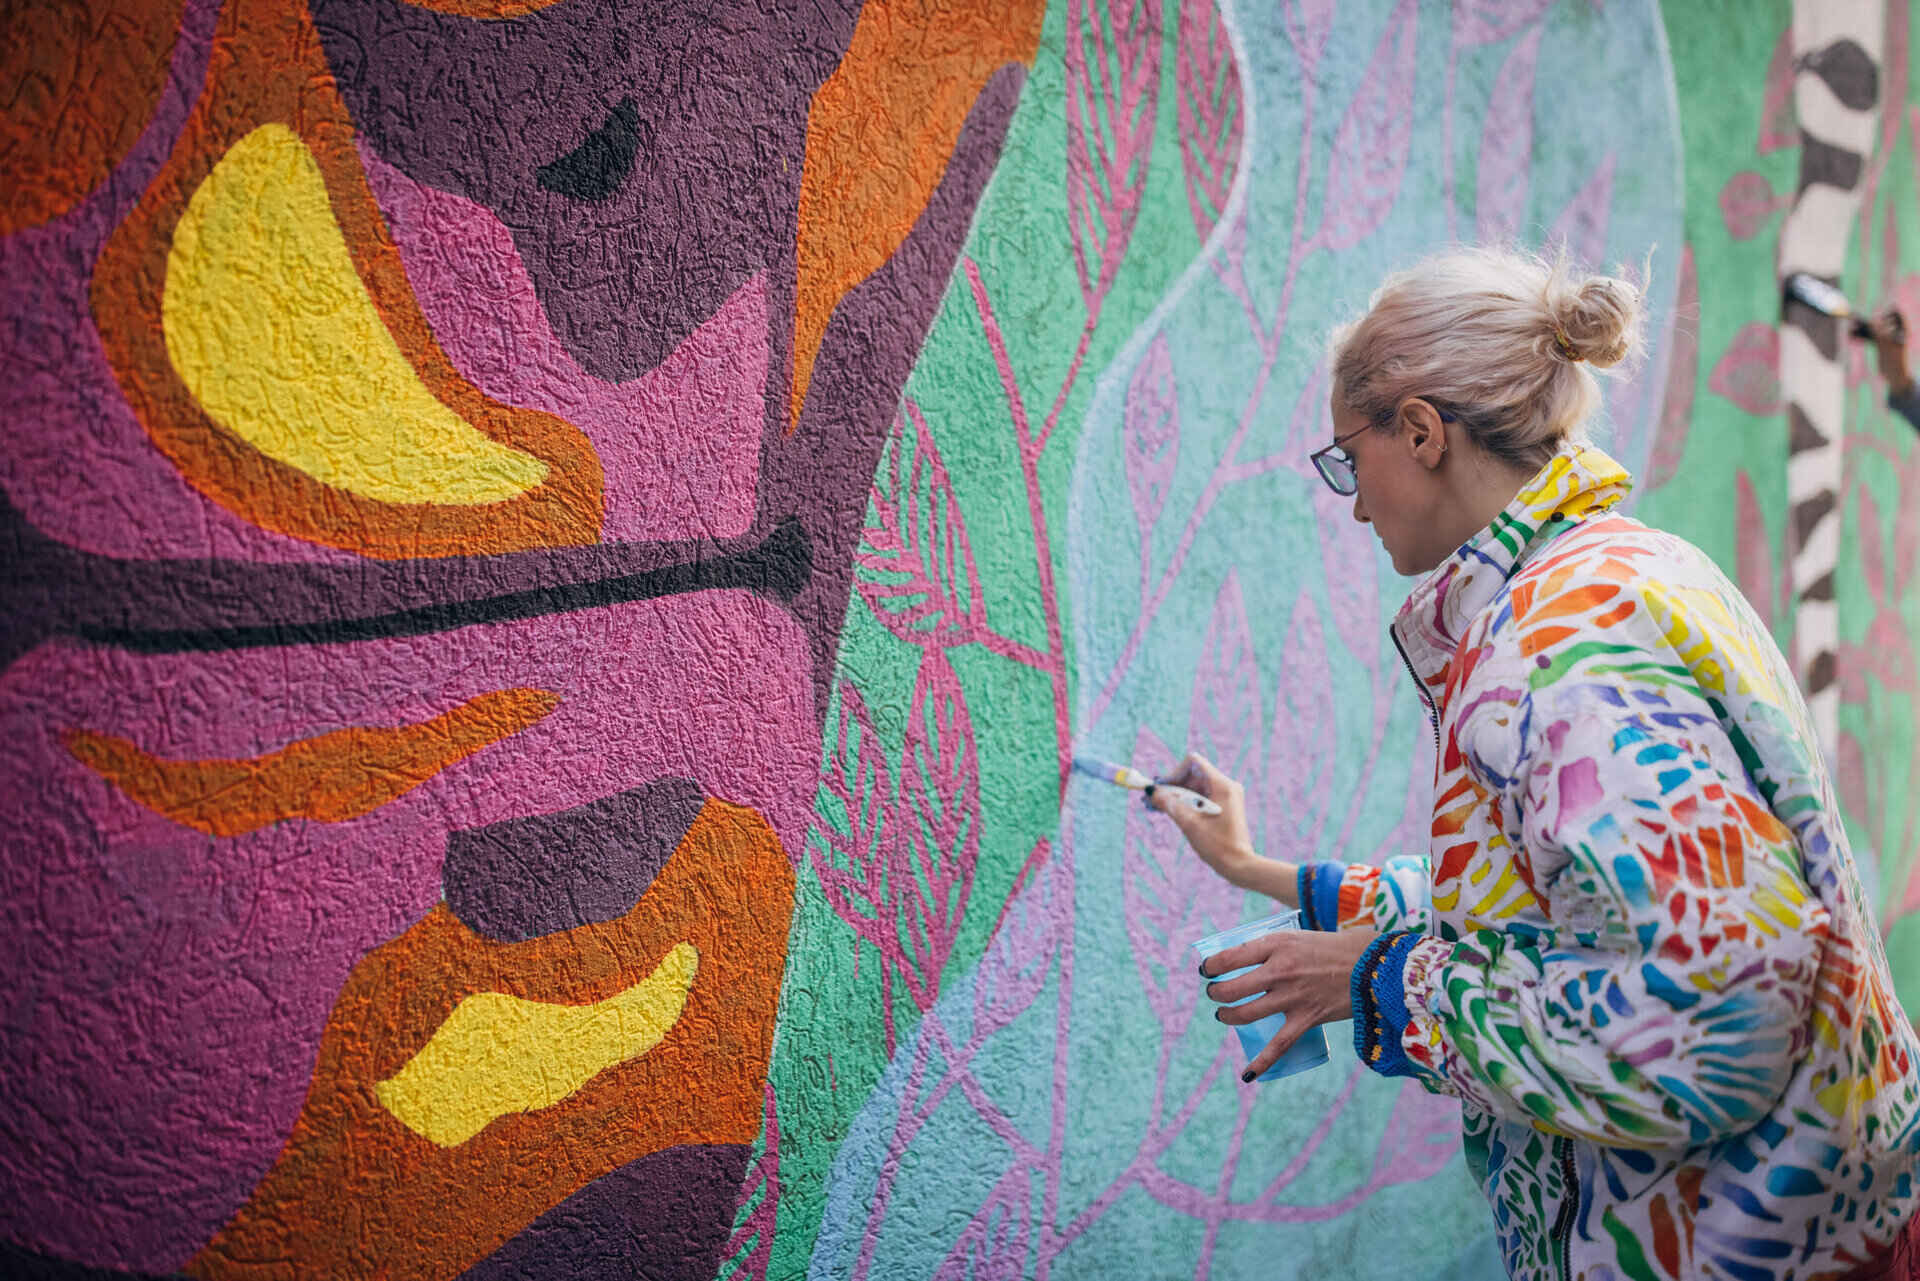
Painting Techniques
Mastering the art of painting outdoor pots involves employing the right techniques to achieve a flawless and professional finish. Follow these expert tips to elevate your painting skills and bring your creative vision to life:
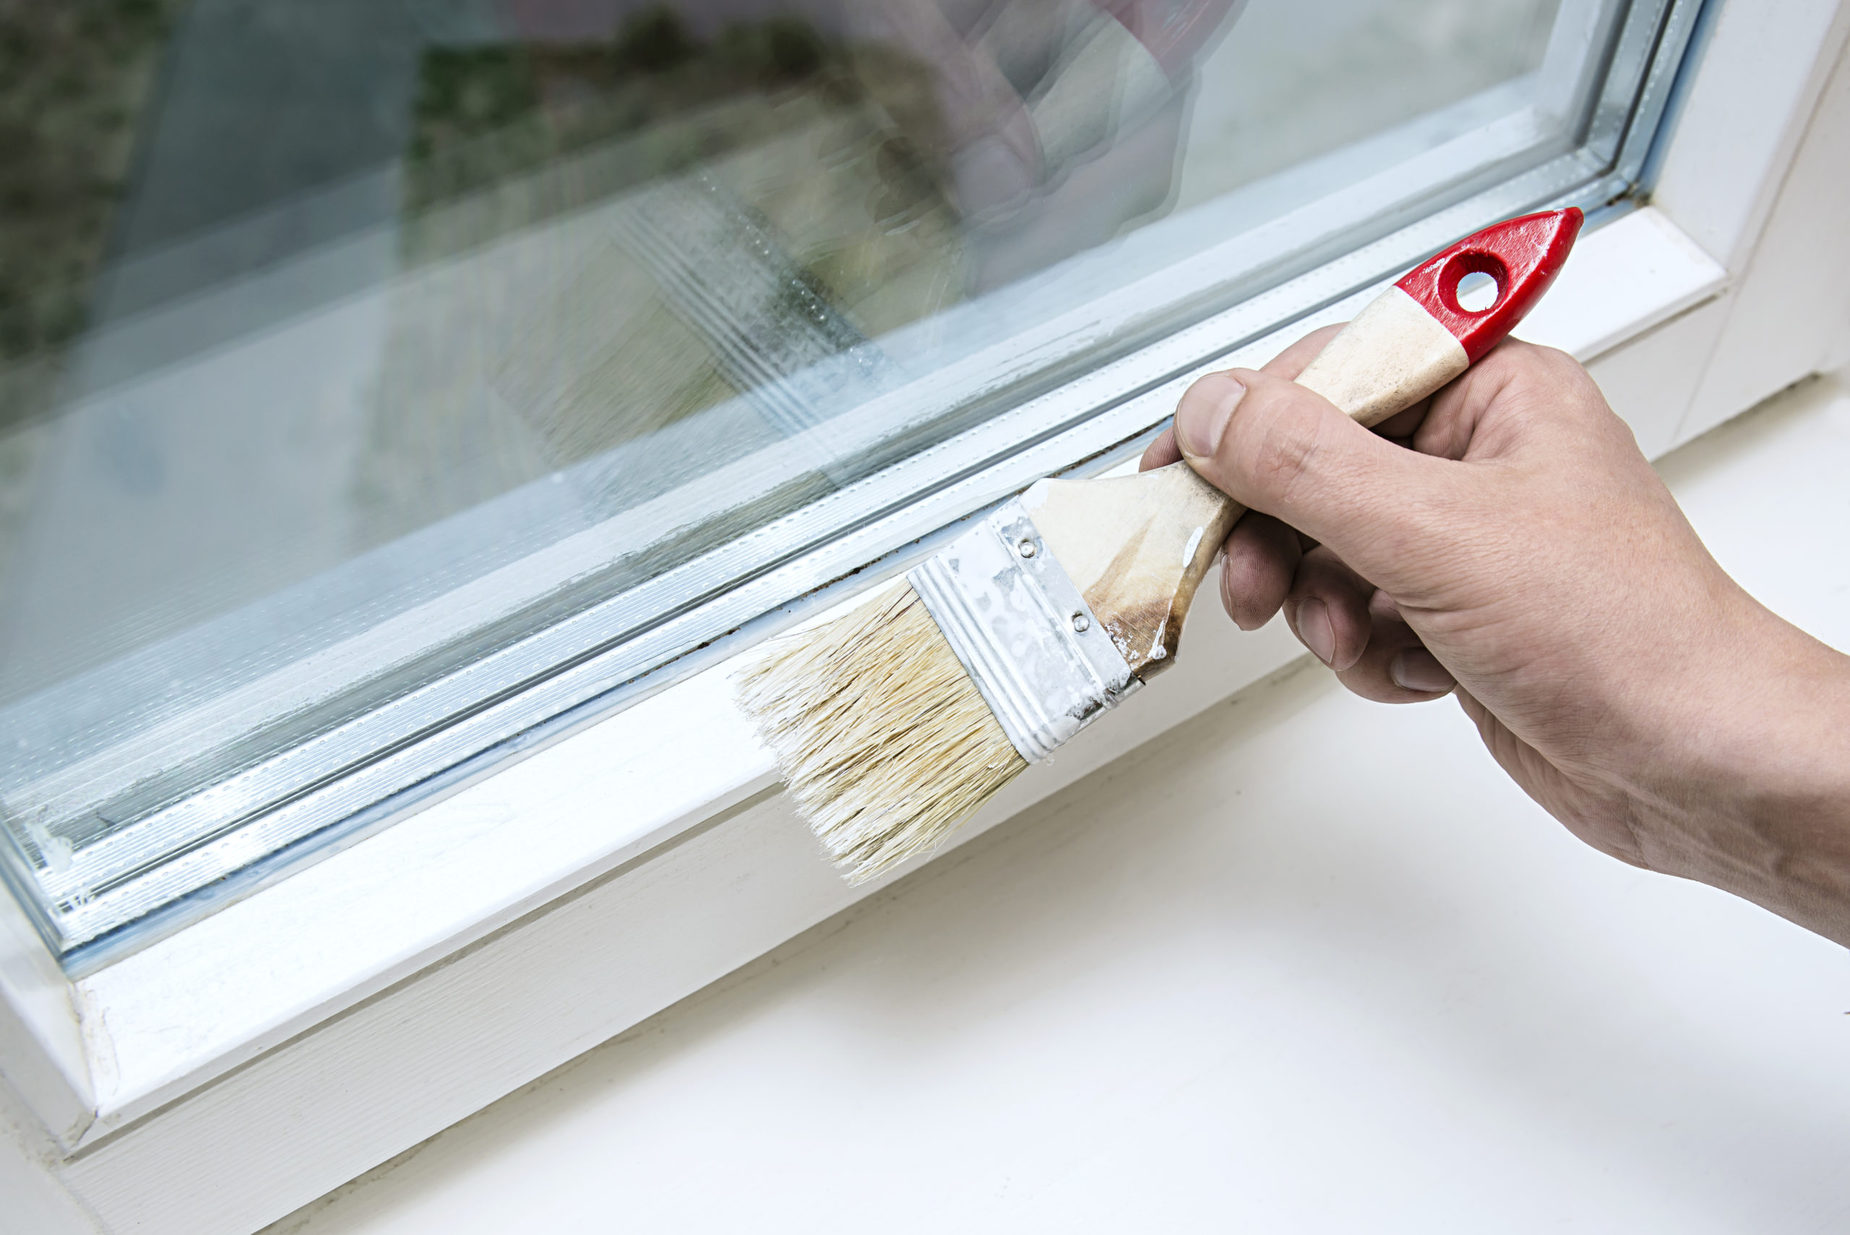
- Even Coating: Apply the paint in thin, even layers to prevent drips, streaks, or clumping. Multiple thin coats are preferable to one thick coat, as they ensure better adhesion and a smoother finish.
- Uniform Coverage: Use smooth and consistent brush strokes or spray evenly to achieve uniform coverage across the entire surface of the pots. Pay attention to detail, especially around intricate designs or textured areas.
- Drying Time: Allow each coat of paint to dry completely according to the manufacturer’s instructions before applying the next coat. Adequate drying time is essential for preventing smudges, smears, or uneven patches in the finish.
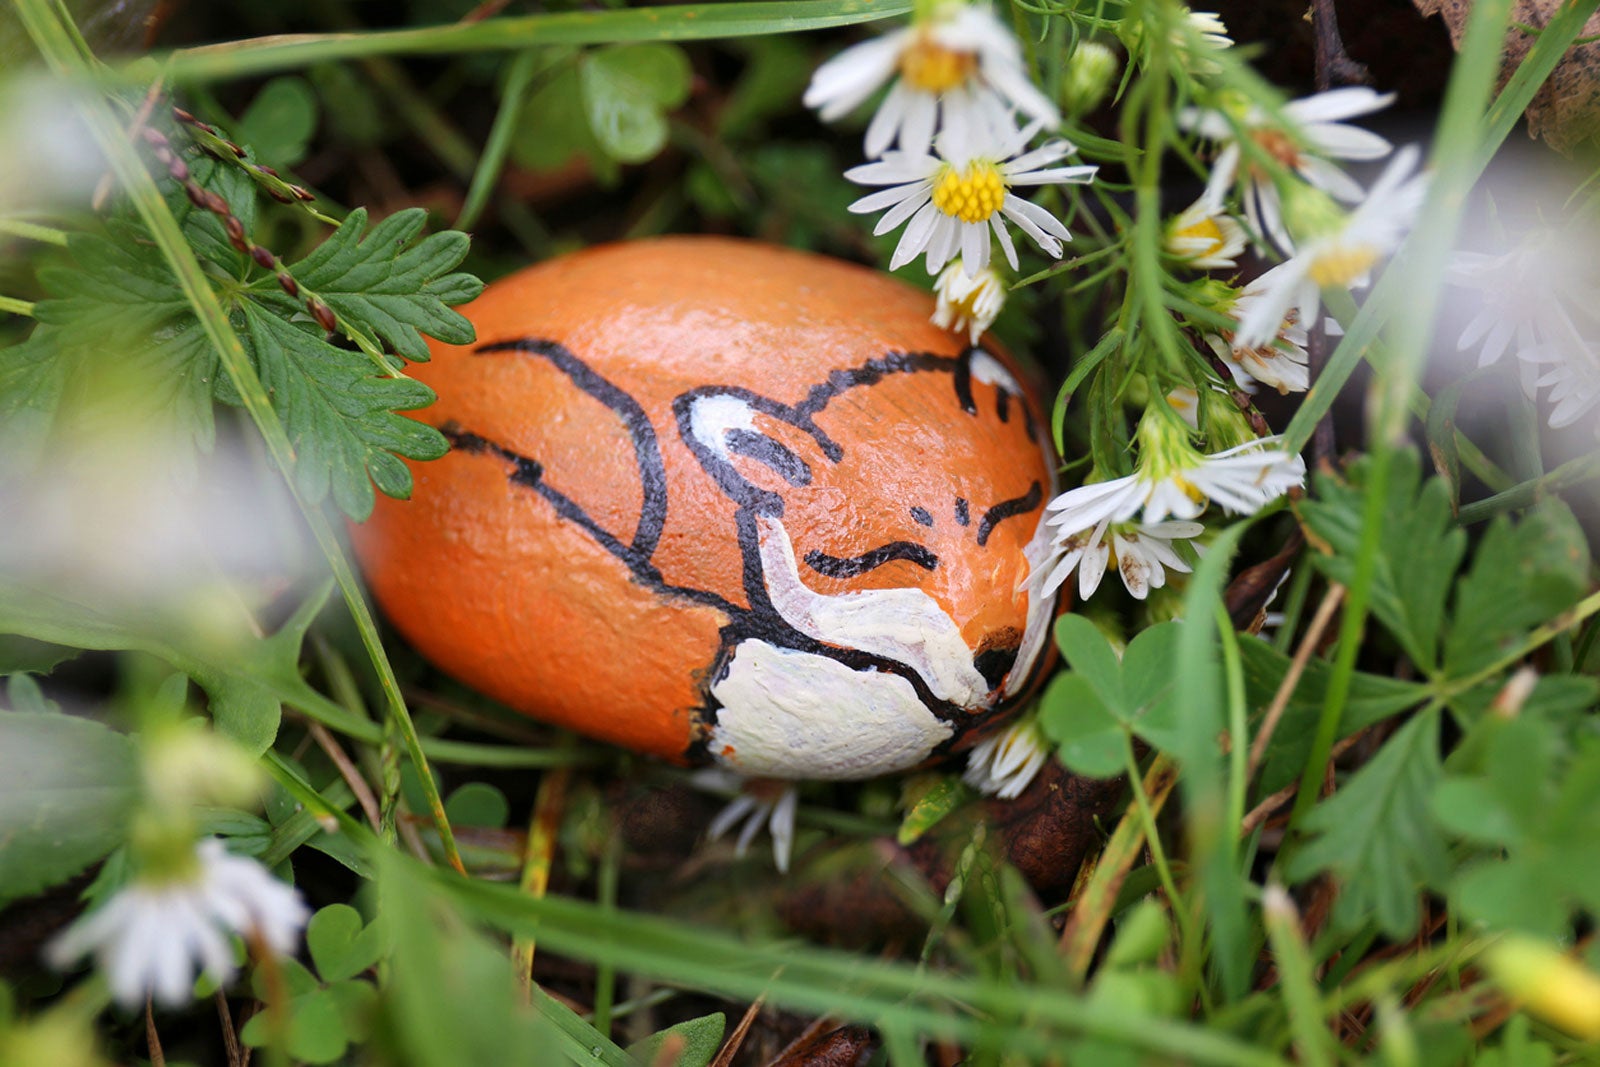
- Layering and Blending: Experiment with layering different colors or blending shades to create captivating patterns, gradients, or artistic effects. This approach can add depth and visual interest to your painted pots, making them truly unique and eye-catching.
- Custom Designs: Unleash your creativity by incorporating custom designs, stencils, or patterns into your paint job. Whether you opt for geometric shapes, floral motifs, or abstract art, personalized designs can infuse your outdoor pots with character and charm.
- Sealing the Finish: Once the paint has dried completely, consider applying a clear, weather-resistant sealant to protect the painted surface from environmental elements and prolong the vibrancy of the colors. The sealant can enhance durability and safeguard your artistic efforts for an extended period.
By embracing these painting techniques and allowing your creativity to flourish, you can transform ordinary outdoor pots into captivating works of art that enhance the visual allure of your outdoor space and reflect your unique style and personality.
Read more: How To Plant Outdoor Plants In Pots
Caring for Painted Outdoor Pots
After investing time and creativity in painting your outdoor pots, it’s essential to implement proper care and maintenance practices to preserve the beauty and integrity of the painted finish. Follow these guidelines to ensure the longevity of your painted outdoor pots:
- Regular Cleaning: Periodically clean the painted pots with a gentle detergent and water to remove dirt, dust, and grime that may accumulate over time. Avoid abrasive cleaning tools or harsh chemicals that could damage the painted surface.
- Protect from Impact: Handle the painted pots with care to prevent chipping, scratching, or other forms of physical damage. When moving or rearranging the pots, lift them carefully and avoid dragging them across rough surfaces.
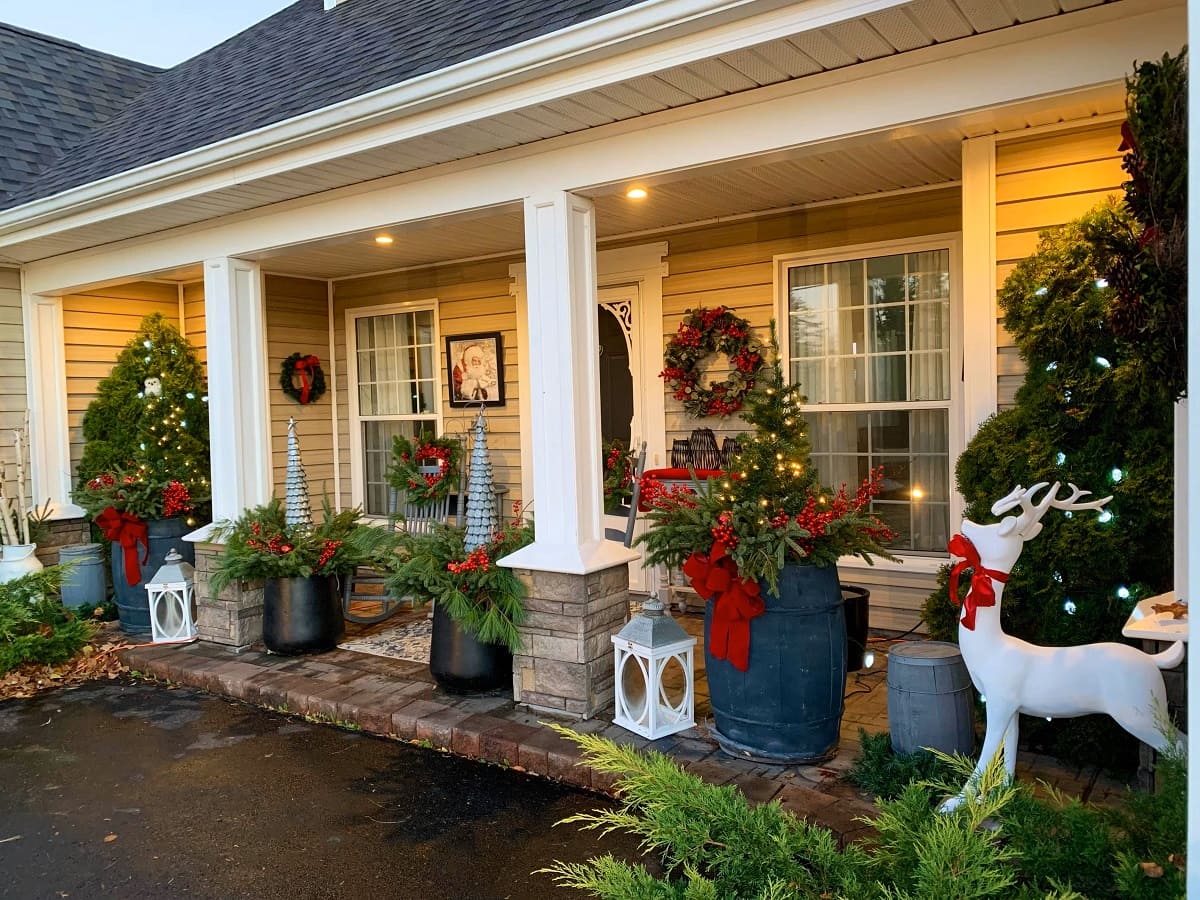
- Avoid Extreme Temperatures: Minimize exposure to extreme temperatures and fluctuations, as rapid changes in temperature can affect the durability of the paint. Consider bringing delicate painted pots indoors during harsh weather conditions.
- Reapply Sealant (If Applicable): If the painted pots are subjected to continuous exposure to sunlight, rain, or moisture, periodically reapply a clear, weather-resistant sealant to maintain the protective barrier and prolong the vibrancy of the paint.
- Inspect for Wear: Routinely inspect the painted pots for signs of wear, such as fading, peeling, or discoloration. Promptly address any areas that require touch-ups or maintenance to prevent further deterioration of the painted finish.
- Seasonal Touch-Ups: Consider performing seasonal touch-ups by applying additional coats of paint or addressing minor imperfections that may arise due to environmental factors or normal wear and tear. This proactive approach can preserve the visual appeal of the pots throughout the year.
By implementing attentive care practices and incorporating preventive measures, you can safeguard the beauty and longevity of your painted outdoor pots, ensuring that they remain stunning focal points in your outdoor oasis for years to come.
Conclusion
Embarking on the journey of painting outdoor pots is a delightful way to infuse your outdoor space with creativity, personality, and visual allure. By carefully selecting the right pots, preparing them meticulously, choosing high-quality paint, mastering painting techniques, and implementing proper care practices, you can transform ordinary planters into captivating works of art that elevate the ambiance of your garden, patio, or balcony.
Through the process of painting outdoor pots, you have the opportunity to express your individuality, experiment with colors and designs, and create a personalized outdoor oasis that reflects your unique style and aesthetic preferences. Whether you opt for vibrant hues that enliven the surroundings or subtle tones that exude tranquility, the painted pots serve as charming focal points that draw attention and admiration.
Furthermore, the act of painting outdoor pots transcends mere decoration; it is a form of self-expression and a means of nurturing your connection to nature. The painted pots not only enhance the visual appeal of your outdoor sanctuary but also contribute to the overall ambiance, creating a welcoming and enchanting environment for you, your family, and your guests to enjoy.
As you witness the transformation of plain pots into stunning masterpieces, remember that the process is not just about embellishing outdoor decor; it is about infusing your outdoor space with joy, creativity, and a touch of artistry. The painted pots become more than just containers for plants; they become symbols of your passion for design, your appreciation of nature, and your ability to turn everyday objects into extraordinary expressions of beauty.
So, as you venture into the realm of painting outdoor pots, embrace the journey with enthusiasm, creativity, and a spirit of artistic adventure. Let your imagination soar, your brushes dance, and your outdoor pots become captivating canvases that reflect the essence of your outdoor haven.
Frequently Asked Questions about How To Paint Outdoor Pots
Was this page helpful?
At Storables.com, we guarantee accurate and reliable information. Our content, validated by Expert Board Contributors, is crafted following stringent Editorial Policies. We're committed to providing you with well-researched, expert-backed insights for all your informational needs.

0 thoughts on “How To Paint Outdoor Pots”