Home>Furniture & Design>Outdoor Furniture>How To Paint Plywood For Outdoor Use
Outdoor Furniture
How To Paint Plywood For Outdoor Use
Modified: October 20, 2024
Learn how to properly paint plywood for outdoor use to protect your outdoor furniture from the elements. Follow our expert tips for a long-lasting finish. Outdoor-furniture-furniture-and-design.
(Many of the links in this article redirect to a specific reviewed product. Your purchase of these products through affiliate links helps to generate commission for Storables.com, at no extra cost. Learn more)
Introduction
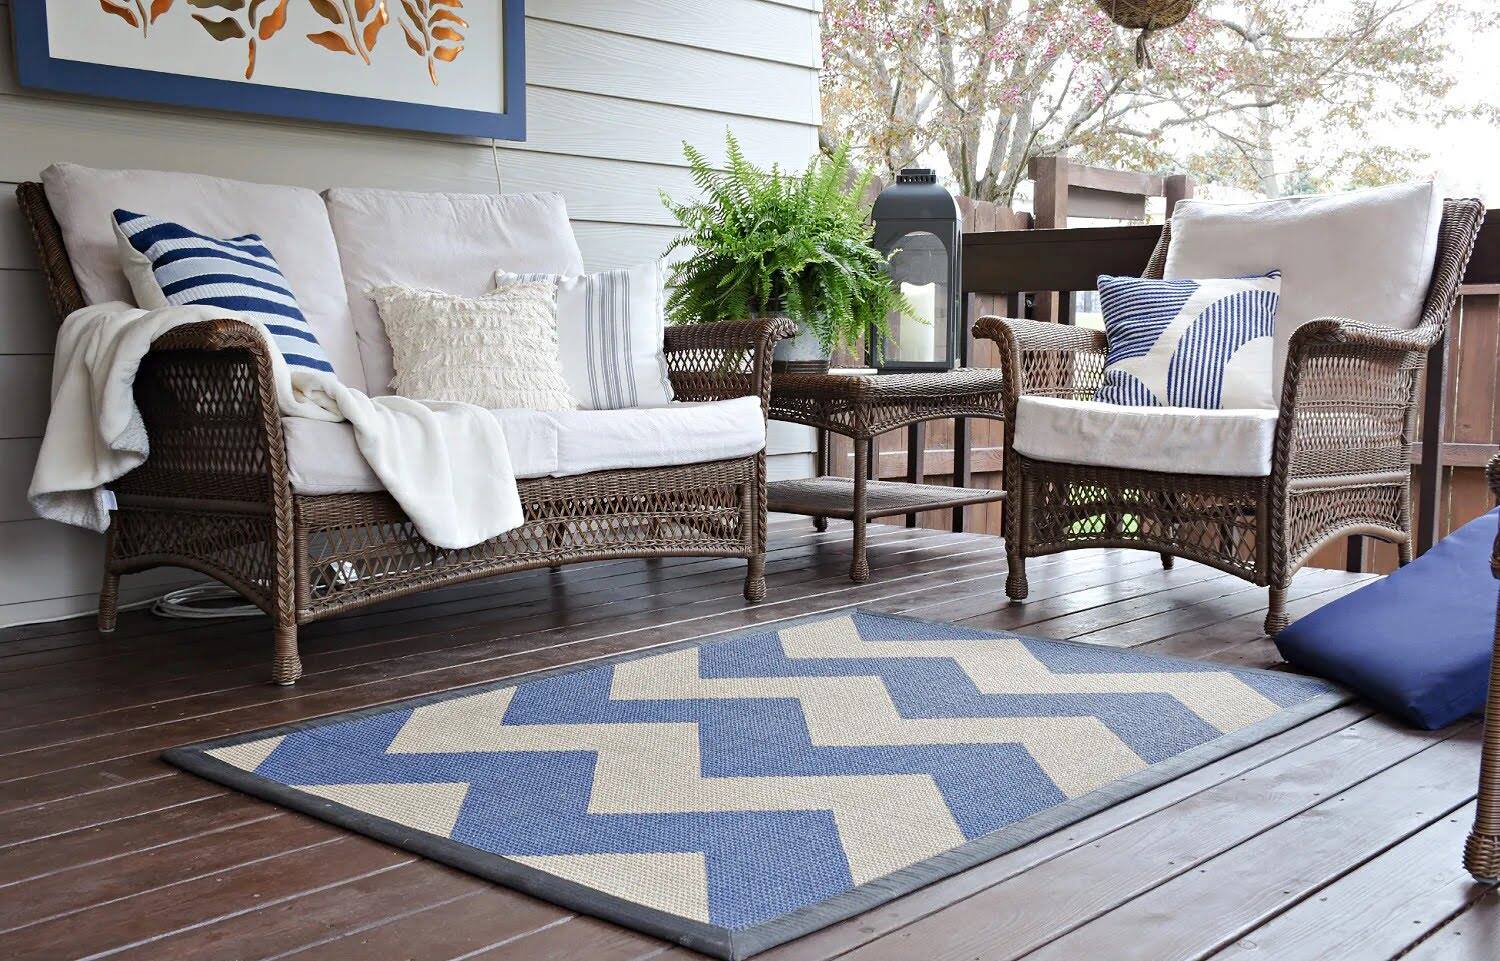
When it comes to outdoor furniture and design, plywood is a versatile and cost-effective material that can be used to create stunning pieces for your outdoor living spaces. Whether you're building a new deck, crafting a stylish outdoor table, or designing custom seating, plywood offers a sturdy and adaptable foundation for your outdoor furniture projects.
However, to ensure the longevity and visual appeal of your plywood outdoor furniture, it's crucial to apply the right painting techniques. Painting plywood for outdoor use requires careful preparation, the selection of appropriate materials, and the application of protective coatings to withstand the elements.
In this comprehensive guide, we will walk you through the step-by-step process of painting plywood for outdoor use, from preparing the surface to choosing the right paint and applying a durable finish. By following these expert tips and techniques, you can elevate the aesthetic appeal of your outdoor furniture while safeguarding it against the rigors of outdoor conditions.
Let's dive into the world of outdoor furniture design and learn how to transform plain plywood into stunning, weather-resistant pieces that will enhance your outdoor living experience.
Key Takeaways:
- Transform plywood into durable outdoor furniture by following expert painting techniques, ensuring longevity and visual appeal for your outdoor living space.
- Preserve the beauty of painted plywood furniture with regular maintenance, including cleaning, touch-ups, and protective measures, to enjoy its allure for years to come.
Read more: How To Seal Plywood For Outdoor Use
Materials Needed
Before embarking on the journey of painting plywood for outdoor use, it’s essential to gather the necessary materials to ensure a successful and long-lasting finish. Here’s a list of the materials you’ll need:
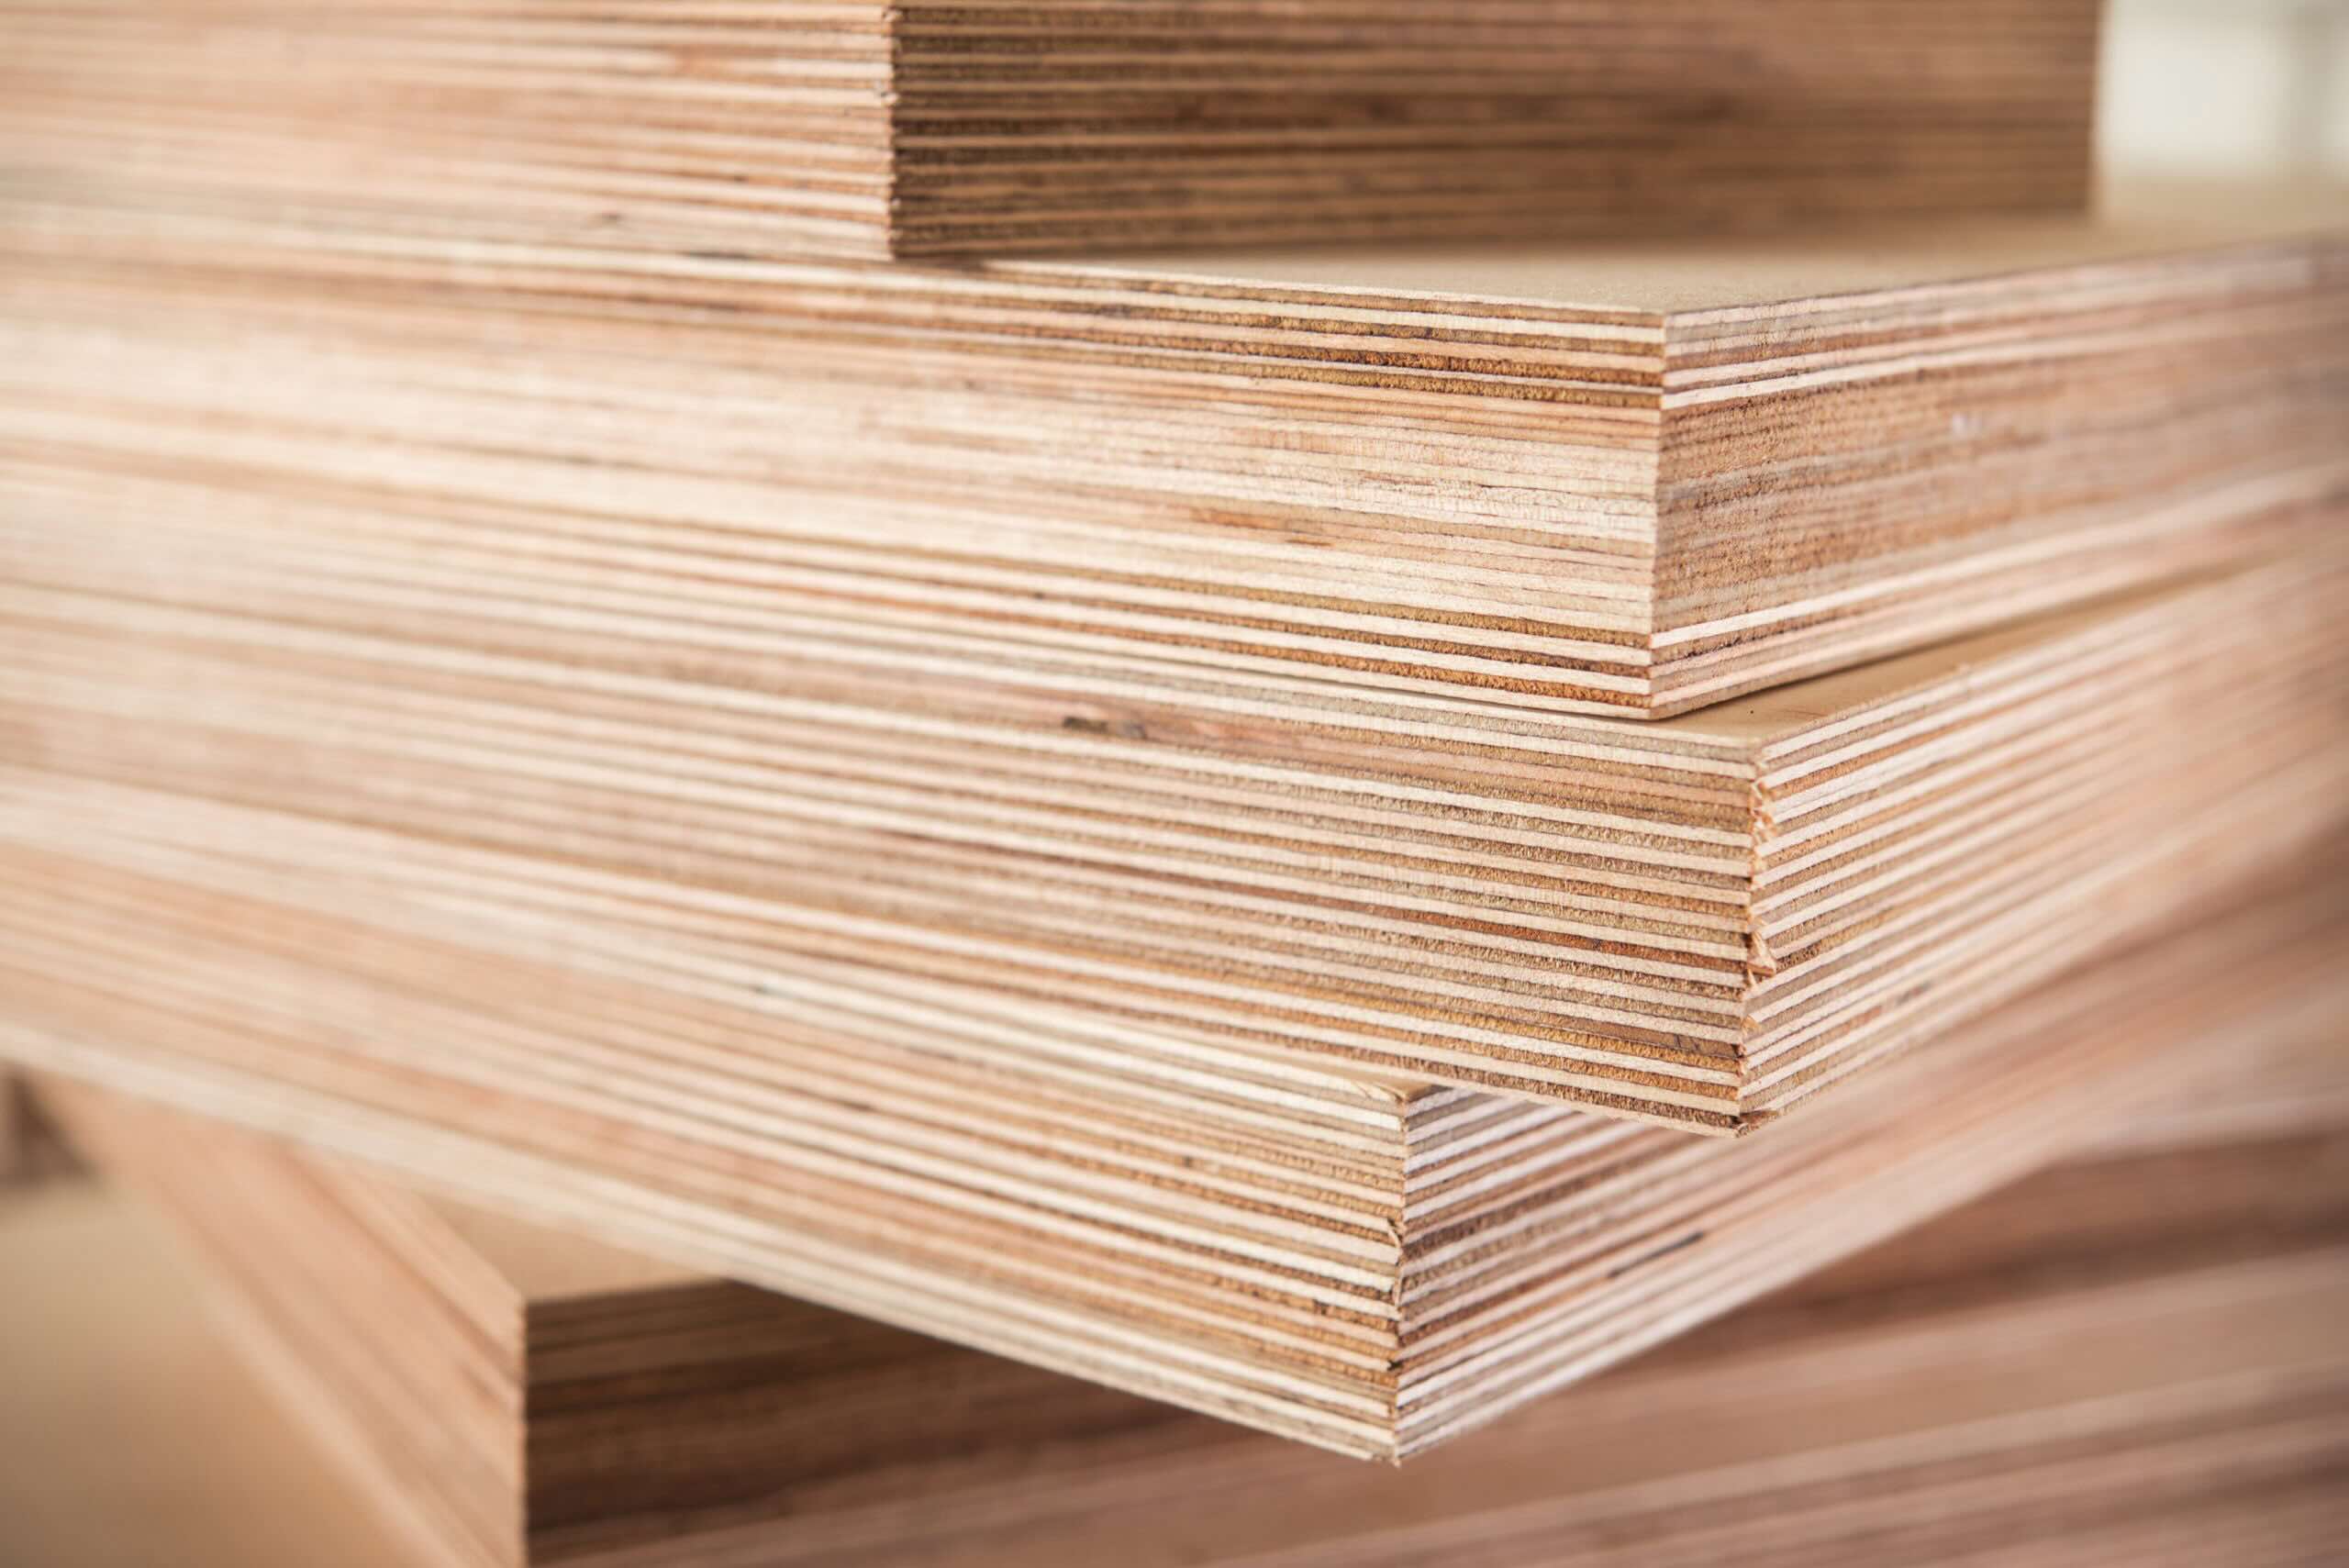
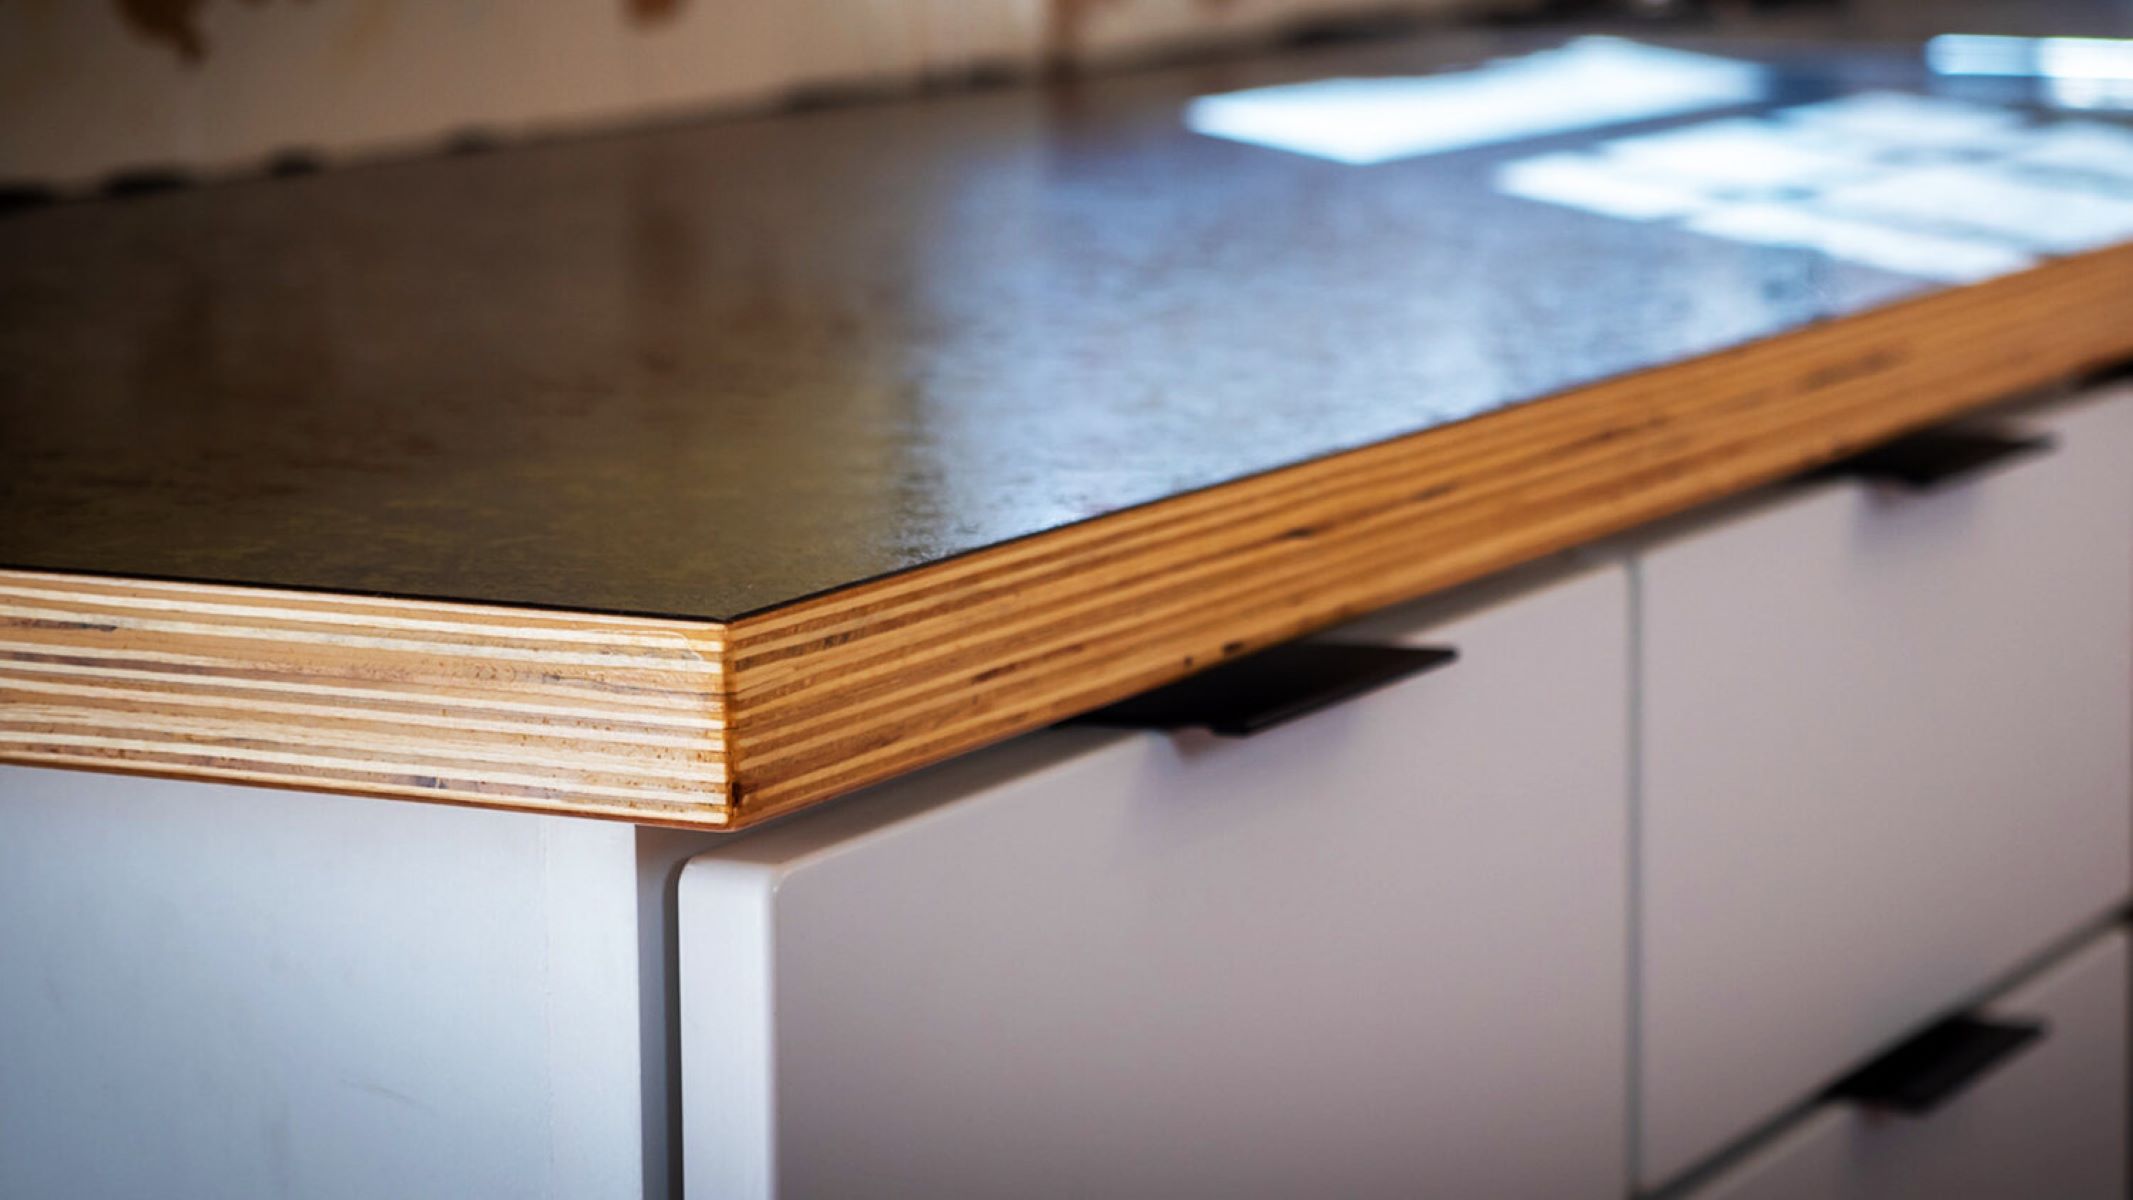
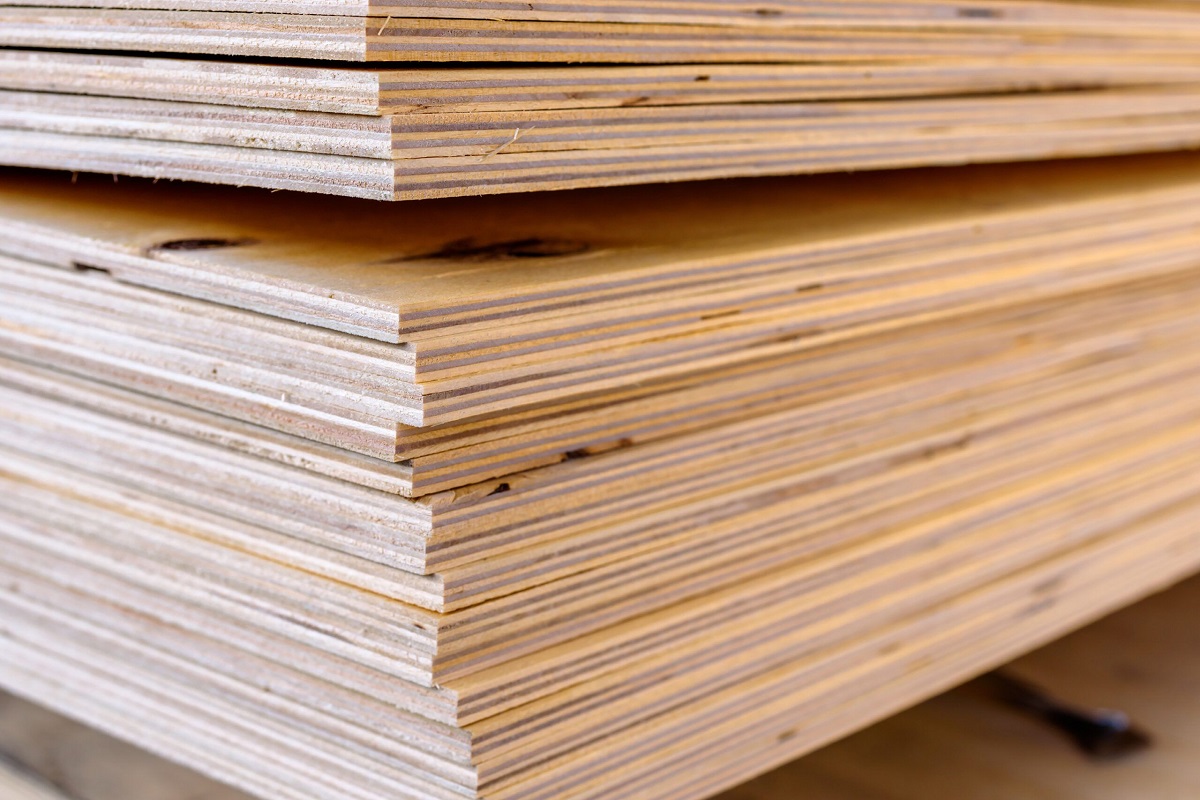
- Plywood: Select exterior-grade plywood that is specifically designed for outdoor use. This type of plywood is engineered to withstand moisture, rot, and other outdoor elements, making it an ideal choice for outdoor furniture projects.
- Sandpaper: Choose high-quality sandpaper with varying grits, such as coarse, medium, and fine, to smoothen the plywood surface and create a suitable texture for paint adhesion.
- Clean Cloth or Tack Cloth: Use a clean, lint-free cloth or tack cloth to remove dust, debris, and any residual sanding particles from the plywood surface before painting.
- Primer: Invest in a high-quality exterior primer that is specifically formulated for use on plywood and provides excellent adhesion and durability. The primer will create a strong foundation for the paint and enhance its weather resistance.
- Exterior Paint: Choose a premium exterior paint designed for outdoor use. Look for paint that offers UV protection, mildew resistance, and long-lasting color retention to ensure the longevity of your outdoor furniture.
- Paintbrushes or Rollers: Select high-quality paintbrushes or rollers suitable for the type of paint you’re using. Consider the size and type of surface to be painted to determine the appropriate tools for the job.
- Sealant or Topcoat: Opt for a durable exterior-grade sealant or topcoat to protect the painted plywood from moisture, UV rays, and general wear and tear. The sealant will provide an additional layer of defense against outdoor elements, extending the life of the paint finish.
- Protective Gear: Ensure you have protective gear, including gloves, safety goggles, and a mask, to safeguard yourself during the sanding, painting, and sealing processes.
- Drop Cloth or Tarp: Use a drop cloth or tarp to protect the surrounding area from paint drips and spills, especially if you’re working on your outdoor furniture in a designated space.
By gathering these essential materials, you’ll be well-equipped to prepare, paint, and protect your plywood outdoor furniture, ensuring a professional and enduring finish that enhances the beauty of your outdoor living space.
Preparing the Plywood Surface
Before diving into the painting process, it’s crucial to properly prepare the plywood surface to ensure optimal paint adhesion and a smooth, professional finish. Follow these steps to prepare the plywood for painting:
- Inspect the Plywood: Begin by thoroughly examining the plywood for any imperfections, such as rough areas, knots, or blemishes. Sand down any rough spots and fill in any visible gaps or holes with wood filler, allowing it to dry completely before proceeding.
- Sand the Surface: Using coarse-grit sandpaper, gently sand the entire surface of the plywood to remove any existing finish, roughen the surface, and create a suitable texture for paint adhesion. Progress to medium-grit sandpaper and then fine-grit sandpaper to achieve a smooth and even surface.
- Clean the Surface: After sanding, use a clean cloth or tack cloth to thoroughly wipe down the plywood surface, removing all dust, debris, and sanding particles. It’s essential to start with a clean and dust-free surface to ensure the primer and paint adhere properly.
- Apply Wood Primer: Once the surface is clean and dry, apply a high-quality exterior wood primer using a paintbrush or roller. The primer will enhance adhesion, promote an even paint finish, and provide essential protection for the plywood against outdoor elements. Allow the primer to dry completely according to the manufacturer’s instructions.
By meticulously preparing the plywood surface, you’ll create an ideal foundation for the paint, ensuring a durable and visually appealing finish that can withstand the demands of outdoor use. This preparatory phase sets the stage for the subsequent painting and sealing steps, ultimately contributing to the longevity and resilience of your plywood outdoor furniture.
Choosing the Right Paint
When it comes to painting plywood for outdoor use, selecting the right paint is crucial to achieving a durable, weather-resistant finish that maintains its visual appeal over time. Consider the following factors when choosing the paint for your outdoor plywood furniture:
- Exterior Grade: Opt for paint specifically formulated for exterior use. Exterior-grade paint is designed to withstand the elements, including UV exposure, moisture, and temperature fluctuations, ensuring long-lasting protection for your outdoor furniture.
- UV Protection: Look for paint that offers UV protection to prevent fading and color degradation caused by prolonged sun exposure. UV-resistant paint helps maintain the vibrancy and integrity of the color, preserving the aesthetic appeal of your outdoor furniture.
- Mildew Resistance: Choose paint that provides mildew resistance to combat the growth of mold and mildew in damp or humid outdoor environments. This feature helps keep your plywood furniture looking clean and well-maintained, even in areas prone to moisture buildup.
- Durable Finish: Consider paints with a durable finish that can withstand regular use, cleaning, and exposure to the elements. A tough and resilient paint finish will contribute to the longevity and overall performance of your outdoor plywood furniture.
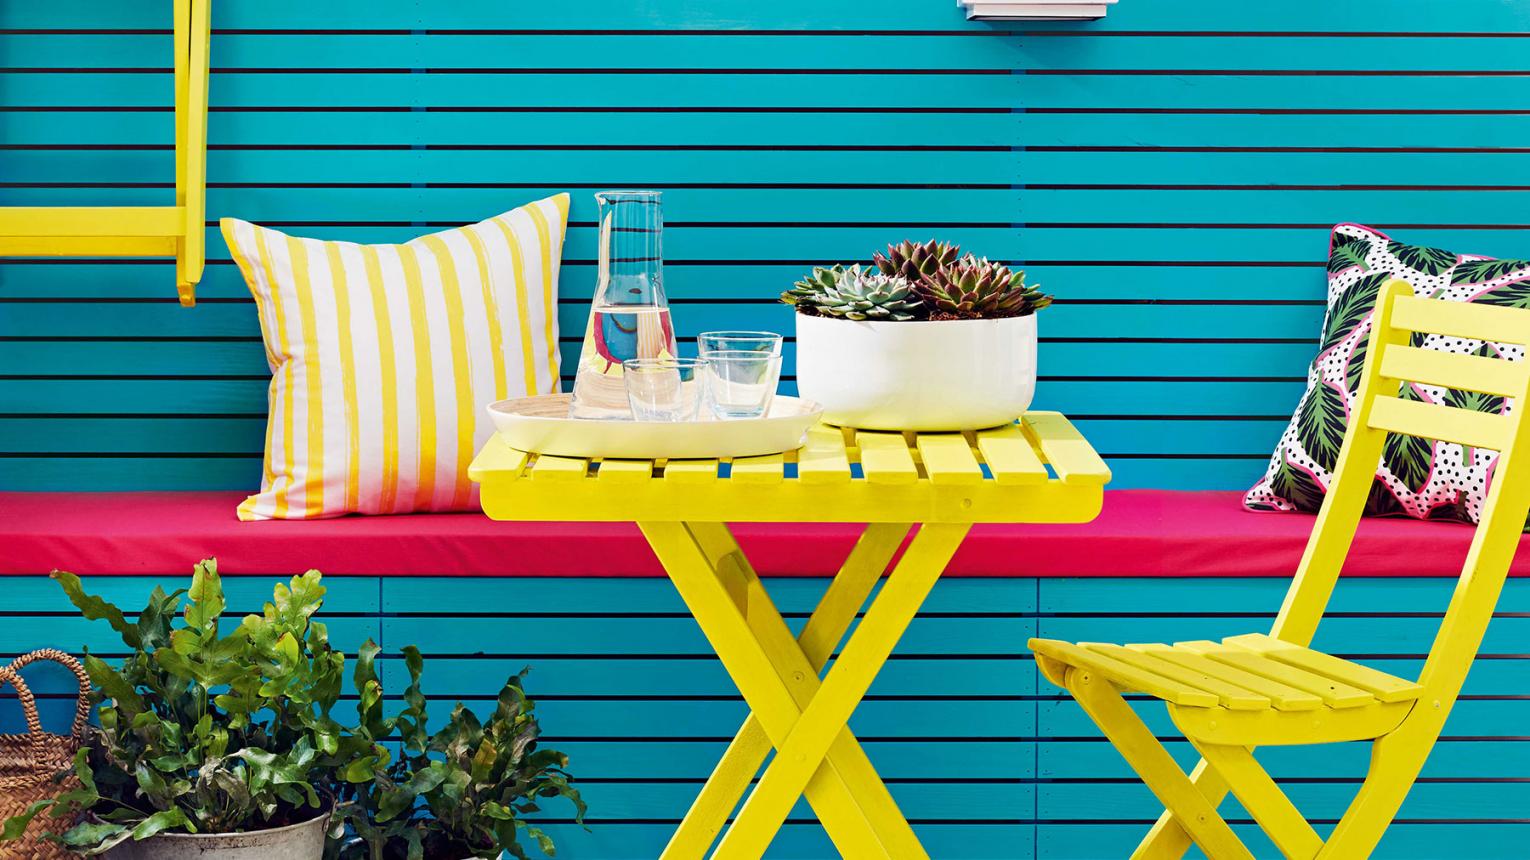
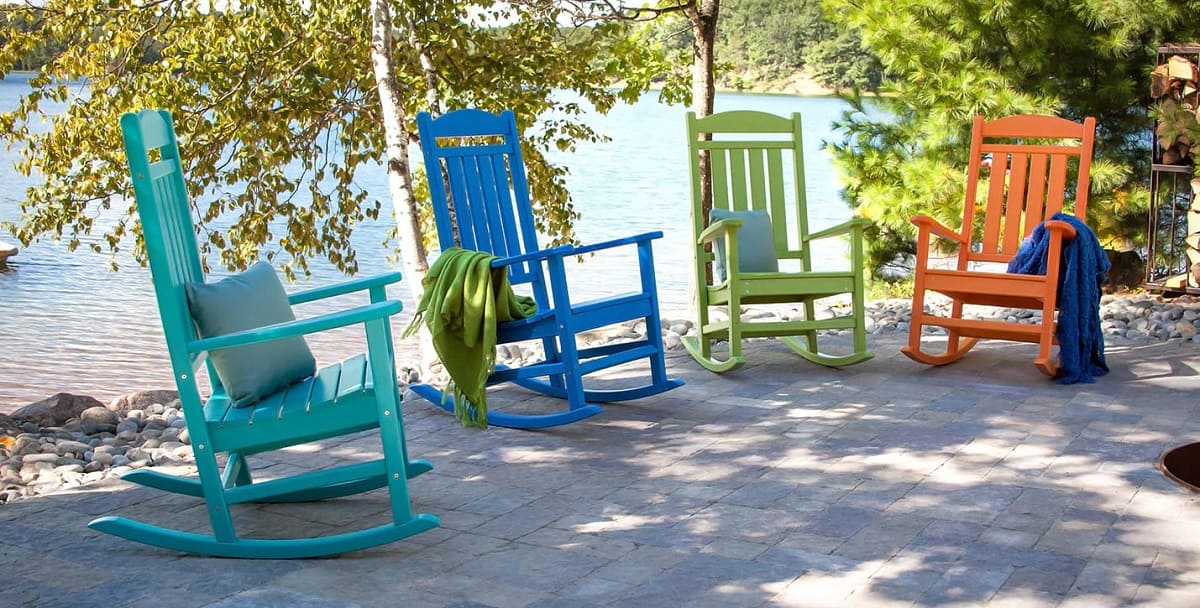
- Color Options: Explore a wide range of color options to complement your outdoor design aesthetic. Whether you prefer vibrant hues, natural tones, or classic neutrals, choose a paint color that aligns with your outdoor decor vision and personal style.
By carefully considering these factors, you can select a high-quality exterior paint that not only enhances the visual appeal of your plywood outdoor furniture but also provides essential protection against outdoor elements, ensuring a lasting and professional finish.
Applying the Primer
Once the plywood surface is meticulously prepared, the next crucial step in the painting process is applying the primer. The primer serves as a foundation for the paint, enhancing adhesion and providing essential protection for the plywood against outdoor elements. Follow these steps to ensure proper application of the primer:
- Choose the Right Primer: Select a high-quality exterior wood primer that is specifically formulated for plywood and outdoor use. Consider the primer’s adhesion properties, durability, and compatibility with the type of paint you’ll be using for your outdoor furniture.
- Prepare the Workspace: Set up a well-ventilated workspace and lay down a drop cloth or tarp to protect the surrounding area from primer drips and spills. Ensure that the workspace is free from dust and debris to prevent contamination of the primer.
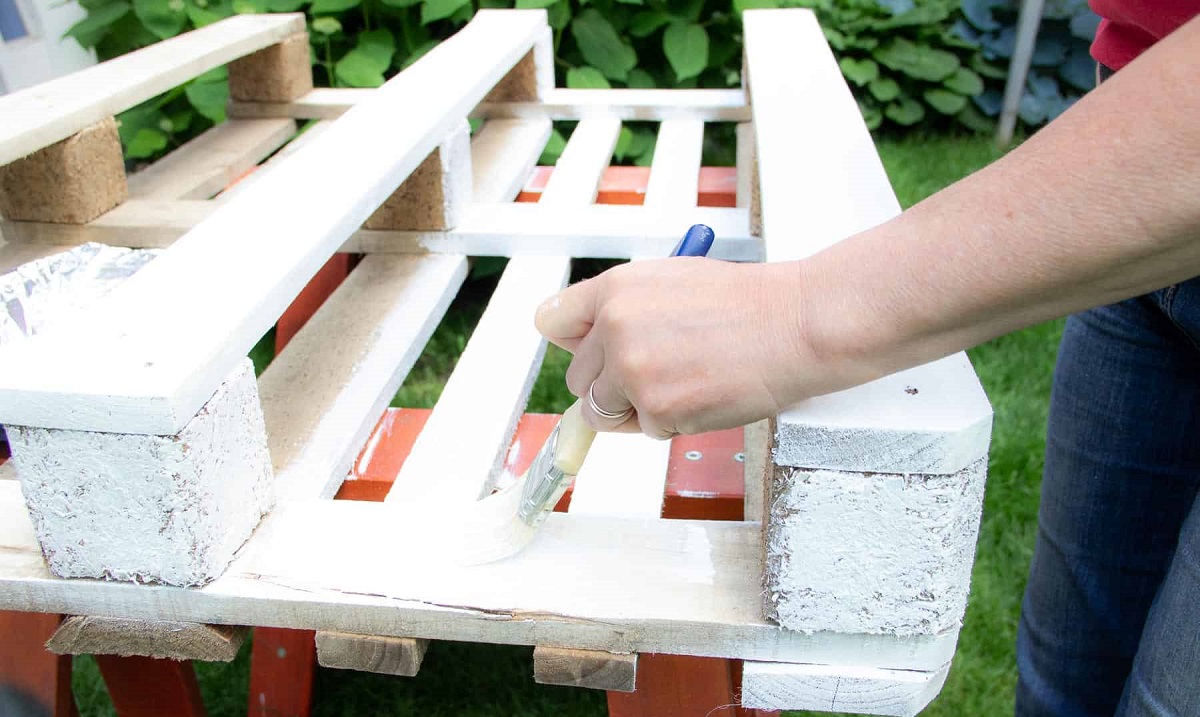
- Apply the Primer: Using a high-quality paintbrush or roller, apply an even coat of primer to the plywood surface. Work in smooth, overlapping strokes to ensure thorough coverage and uniform adhesion. Pay attention to any intricate details or recessed areas, ensuring that the primer reaches all surfaces of the plywood.
- Allow for Drying Time: Follow the manufacturer’s instructions regarding drying times for the primer. Ensure that the primer is completely dry before proceeding to the painting phase. Adequate drying time is essential for the primer to establish a strong bond with the plywood surface.
- Inspect for Uniform Coverage: Once the primer is dry, inspect the plywood surface to ensure that the primer has been applied uniformly and thoroughly. Look for any missed spots or uneven areas, and touch up as needed to achieve a consistent and well-prepared surface for painting.
By diligently applying the primer, you’ll create a solid foundation for the paint, enhancing its adhesion and overall performance. The primer acts as a protective barrier, contributing to the longevity and resilience of the paint finish on your outdoor plywood furniture.
To paint plywood for outdoor use, make sure to use an exterior-grade primer and paint to protect it from the elements. Apply multiple thin coats for better coverage and durability.
Read more: How To Seal Paint For Outdoor Use
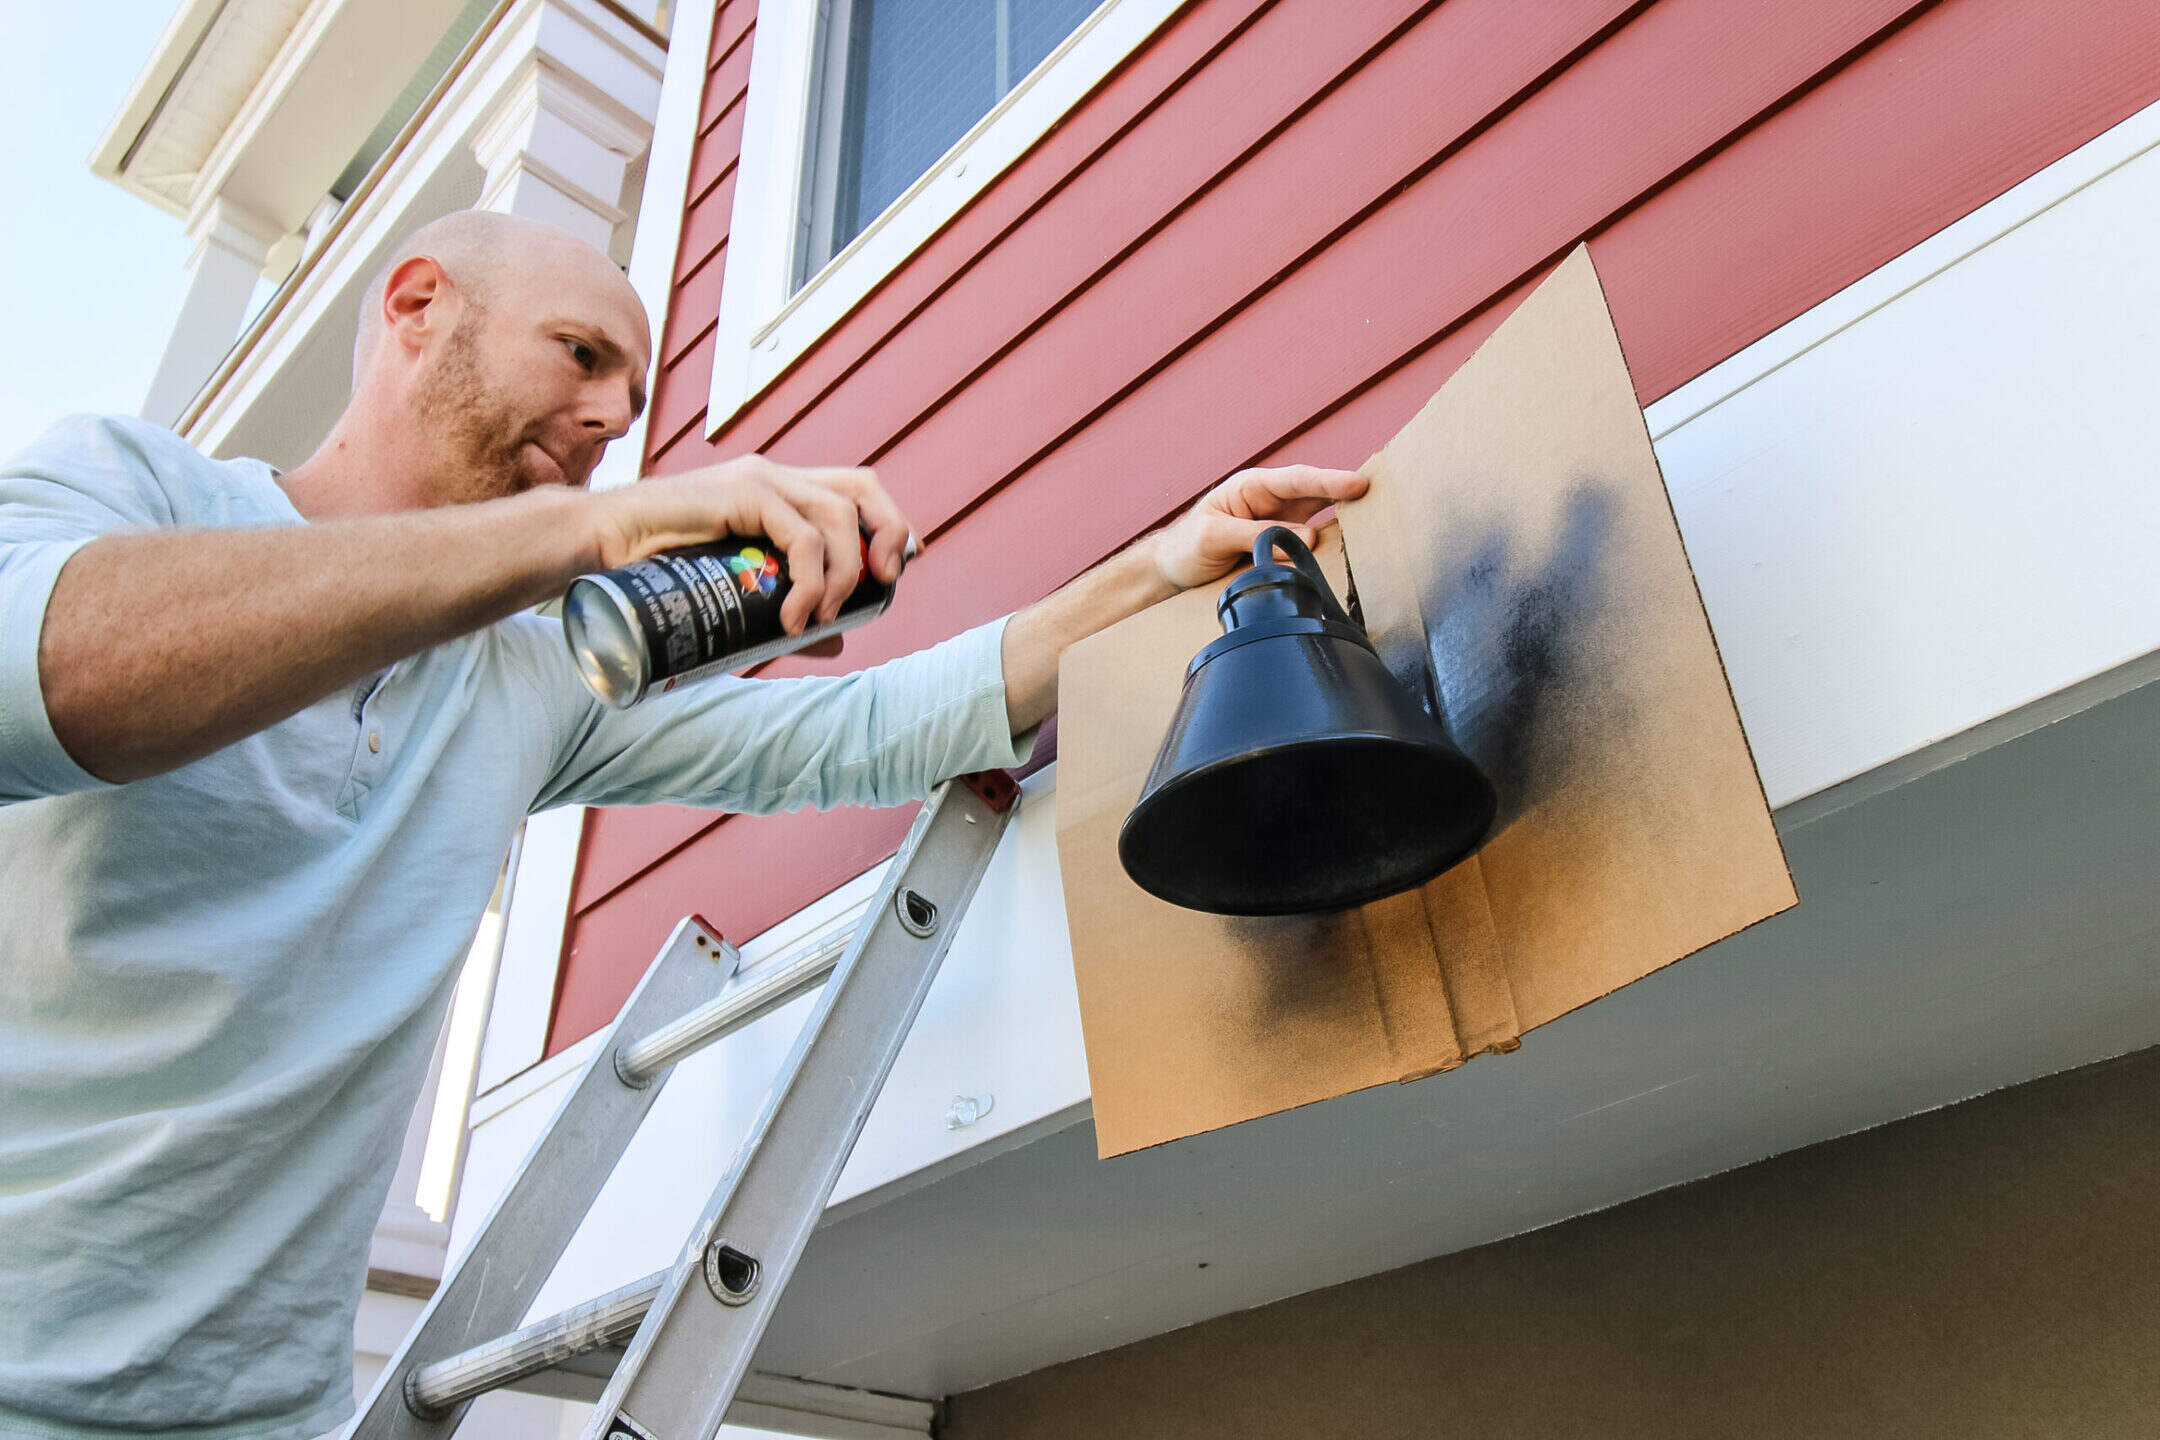
Painting the Plywood
With the surface primed and prepared, it’s time to embark on the exciting phase of painting the plywood for outdoor use. Follow these expert tips to ensure a seamless and professional painting process:
- Select High-Quality Paint: Choose a premium exterior paint that offers durability, UV protection, and long-lasting color retention. Consider the paint’s compatibility with the primer and its ability to withstand outdoor elements for optimal performance.
- Prepare the Workspace: Set up a well-ventilated and dust-free workspace, ideally outdoors or in a well-lit area with adequate ventilation. Lay down a drop cloth or tarp to protect the surrounding area from paint drips and spills.
- Use the Right Tools: Select high-quality paintbrushes or rollers suitable for the type of paint you’re using. Consider the size and intricacy of the plywood surfaces to ensure that you have the appropriate tools for efficient and precise application.
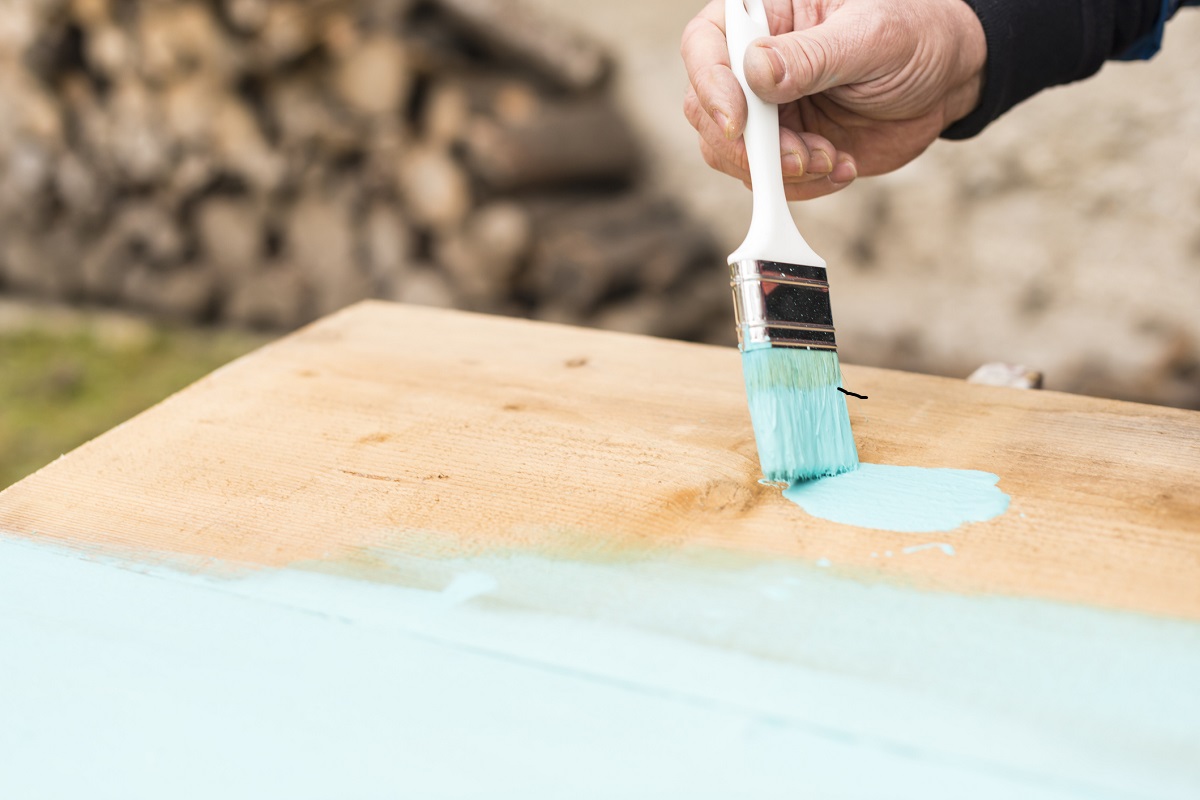
- Apply the Paint: Begin by stirring the paint thoroughly to achieve a consistent color and texture. Using smooth and even strokes, apply the paint to the plywood surface, starting from one end and working your way across. Ensure thorough coverage and uniform application for a professional finish.
- Allow for Drying Time: Follow the manufacturer’s instructions regarding drying times for the paint. Ensure that the first coat is completely dry before applying additional coats, if necessary. Adequate drying time is essential to achieve a durable and resilient paint finish.
- Apply Additional Coats (if needed): Depending on the desired color intensity and coverage, you may need to apply multiple coats of paint. Allow each coat to dry completely before applying the next, and inspect the plywood surface between coats to ensure uniform coverage.
By following these steps and paying attention to detail, you can achieve a flawless and enduring paint finish on your outdoor plywood furniture. The right painting techniques, coupled with high-quality materials, will elevate the visual appeal and weather resistance of your plywood creations, enhancing the charm of your outdoor living space.
Sealing the Paint
After meticulously painting the plywood for outdoor use, the final step in the process involves sealing the paint to enhance its durability and resistance to outdoor elements. Follow these essential guidelines to ensure effective sealing of the paint on your plywood outdoor furniture:
- Choose a Durable Sealant: Select a high-quality exterior-grade sealant or topcoat designed to provide long-lasting protection for painted surfaces exposed to outdoor conditions. Look for a sealant that offers UV resistance, moisture protection, and enhanced durability.
- Prepare the Workspace: Set up a clean and well-ventilated workspace for the sealing process. Ensure that the plywood surfaces are free from dust, debris, and any potential contaminants that could affect the adhesion and performance of the sealant.
- Apply the Sealant: Using a paintbrush or roller, apply a uniform coat of sealant to the painted plywood surface. Work methodically to ensure consistent coverage and pay attention to any intricate details or recessed areas that require sealing.
- Allow for Proper Curing: Follow the manufacturer’s instructions regarding the curing time for the sealant. Allow the sealant to dry and cure completely before subjecting the plywood furniture to outdoor conditions or regular use.
- Inspect and Touch-Up: Once the sealant has cured, inspect the plywood surfaces for uniform coverage and any areas that may require touch-up. Address any inconsistencies or missed spots to ensure comprehensive protection for the painted plywood.
By effectively sealing the paint on your plywood outdoor furniture, you’ll fortify the finish against moisture, UV exposure, and general wear and tear, extending the life of the paint and preserving the aesthetic appeal of your outdoor creations. The sealant serves as a protective shield, safeguarding the painted plywood and enhancing its resilience in outdoor environments.
Maintenance Tips
Proper maintenance is essential for preserving the beauty and functionality of your painted plywood outdoor furniture. By following these maintenance tips, you can ensure that your outdoor pieces retain their allure and resilience over time:
- Regular Cleaning: Periodically clean your painted plywood furniture with a mild detergent and water to remove dirt, dust, and environmental residue. Gently scrub the surface and rinse thoroughly, allowing it to dry completely.
- Inspect for Wear: Routinely inspect the painted surfaces for signs of wear, chipping, or damage. Address any areas of concern promptly by touching up the paint and reapplying sealant as needed to maintain the furniture’s protective finish.
- Protect from Harsh Elements: During inclement weather or extended periods of non-use, protect your outdoor furniture from harsh elements by covering it with a waterproof tarp or storing it in a sheltered area to prevent unnecessary exposure.
- Reapply Sealant as Needed: Monitor the condition of the sealant on your painted plywood furniture and reapply as necessary to reinforce its protective properties and prolong the life of the paint finish.
- Address Stains Promptly: If your outdoor furniture experiences spills or stains, address them promptly to prevent long-term discoloration. Use appropriate cleaning methods recommended for the specific type of stain to maintain the furniture’s appearance.
- Seasonal Touch-Ups: Consider performing seasonal touch-ups to address any minor imperfections or wear on the painted surfaces. This proactive approach can help maintain the furniture’s visual appeal and protective qualities.
By incorporating these maintenance practices into your routine, you can safeguard the integrity of your painted plywood outdoor furniture, ensuring that it remains a focal point of your outdoor living space for years to come. Consistent care and attention will preserve the vibrancy and longevity of your outdoor furniture, allowing you to enjoy its beauty and functionality throughout the seasons.
Conclusion
Transforming plywood into stunning, weather-resistant outdoor furniture is an artful endeavor that requires meticulous preparation, the right materials, and a touch of creativity. By following the expert techniques outlined in this guide, you can elevate the visual appeal and durability of your plywood creations, enhancing the ambiance of your outdoor living space.
From the careful preparation of the plywood surface to the selection of high-quality paint and the application of protective sealants, each step plays a vital role in ensuring the longevity and resilience of your outdoor furniture. By investing time and attention into the painting process, you can create enduring pieces that withstand the rigors of outdoor use while exuding charm and style.
Remember, proper maintenance is key to preserving the beauty and functionality of your painted plywood outdoor furniture. By incorporating regular cleaning, proactive touch-ups, and protective measures, you can extend the life of your outdoor creations and continue to enjoy their allure for years to come.
Embrace the versatility and potential of plywood as you embark on your outdoor furniture projects, and let your creativity flourish as you paint, seal, and maintain your unique pieces. With the right techniques and a passion for outdoor design, you can craft inviting and resilient furniture that enhances the outdoor experience for you and your guests.
So, gather your materials, unleash your imagination, and embark on the journey of transforming plain plywood into captivating outdoor furniture that reflects your personal style and withstands the test of time.
Frequently Asked Questions about How To Paint Plywood For Outdoor Use
Was this page helpful?
At Storables.com, we guarantee accurate and reliable information. Our content, validated by Expert Board Contributors, is crafted following stringent Editorial Policies. We're committed to providing you with well-researched, expert-backed insights for all your informational needs.

0 thoughts on “How To Paint Plywood For Outdoor Use”