Home>Furniture & Design>Outdoor Furniture>How To Paint Outdoor Rocks
Outdoor Furniture
How To Paint Outdoor Rocks
Modified: August 28, 2024
Learn how to paint outdoor rocks to create unique and colorful outdoor furniture. Get creative with outdoor furniture, furniture, and design ideas. Discover the best techniques for painting outdoor rocks.
(Many of the links in this article redirect to a specific reviewed product. Your purchase of these products through affiliate links helps to generate commission for Storables.com, at no extra cost. Learn more)
Introduction
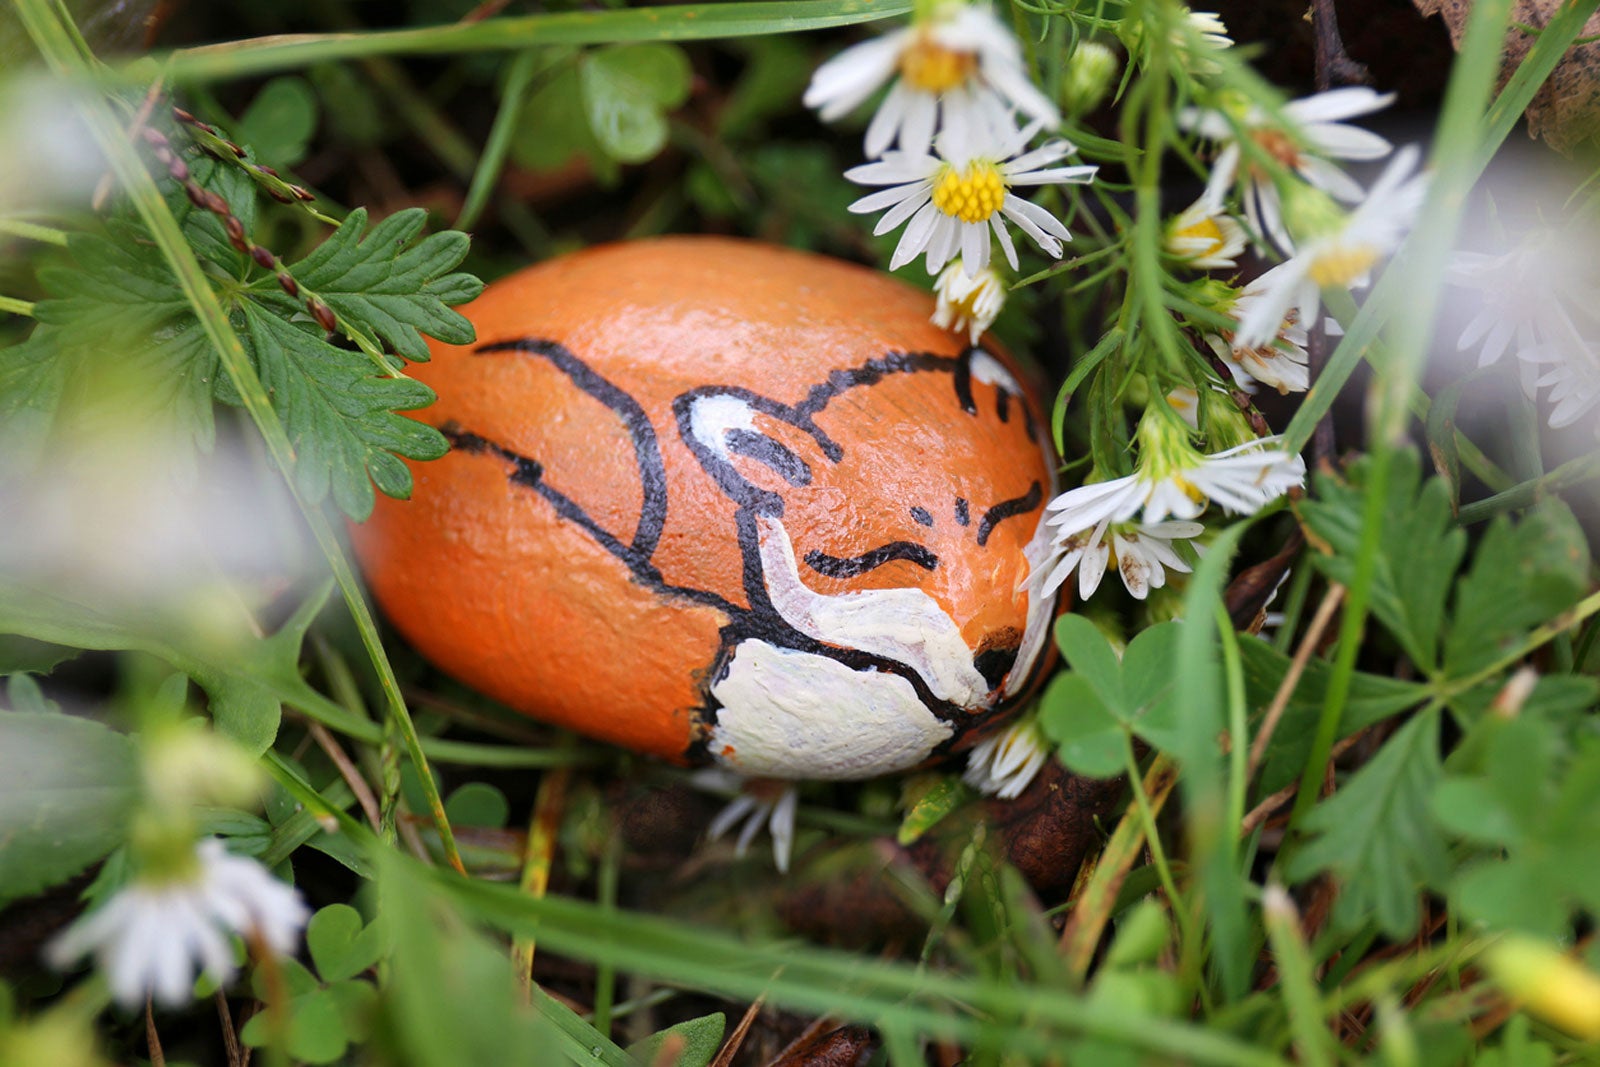
Welcome to the wonderful world of outdoor rock painting! Whether you're a seasoned artist or just looking for a fun and creative way to spruce up your outdoor space, painting rocks can be a delightful and rewarding experience. This simple yet engaging activity allows you to unleash your creativity while adding a personal touch to your garden, patio, or yard.
Painted rocks can serve as charming decorative elements, unique garden markers, or thoughtful gifts for friends and family. From vibrant floral designs to adorable animal motifs, the possibilities are endless when it comes to transforming ordinary rocks into eye-catching works of art.
In this guide, we'll explore the step-by-step process of painting outdoor rocks, covering everything from selecting the right rocks and preparing them for painting to choosing the perfect paint and applying various techniques to achieve stunning results. Additionally, we'll delve into the crucial aspects of adding finishing touches, sealing the paint, and displaying your painted rocks to ensure that your creations maintain their beauty for years to come.
So, grab your paintbrushes, gather some rocks, and let's embark on a delightful journey of creativity and self-expression as we delve into the art of painting outdoor rocks!
Key Takeaways:
- Unleash Your Creativity: Painting outdoor rocks is a fun and rewarding way to add a personal touch to your outdoor space. From choosing the right rocks to adding finishing touches, let your imagination run wild and create stunning works of art.
- Preserve Your Masterpieces: Sealing your painted rocks is essential for protecting them from the elements and ensuring their longevity. Display your creations in your outdoor space to add charm and personality, and share the joy of rock painting with others.
Read more: How To Paint A Rock Fireplace
Choosing the Right Rocks
When it comes to painting outdoor rocks, selecting the right rocks is the first and essential step in ensuring a successful and visually appealing outcome. Whether you’re scavenging for rocks in your backyard, visiting a local park, or purchasing them from a garden supply store, there are several key factors to consider when choosing the perfect rocks for your painting project.
Size and Shape: Opt for rocks that are smooth, flat, and free of significant blemishes or cracks. While the size and shape of the rocks can vary based on your preferences and the intended design, it’s generally advisable to pick rocks that are large enough to showcase intricate details but not overly cumbersome to handle.
Texture: Smooth, non-porous rocks are ideal for painting, as they provide a suitable surface for the paint to adhere to. Avoid rocks with rough textures or porous surfaces, as they may make the painting process more challenging and result in a less polished finish.
Color: Consider the natural color of the rocks and how it may complement or contrast with the intended paint colors. Light-colored rocks can enhance the vibrancy of the paint, while darker rocks can create a striking backdrop for certain designs. Keep in mind that you can also use a base coat of white or light-colored paint to prime the rocks before applying your desired colors.
Quantity: Depending on the scale of your project and the variety of designs you plan to paint, it’s advisable to gather an assortment of rocks in different sizes and shapes. This will provide flexibility and diversity in your creative endeavors, allowing you to experiment with various motifs and styles.
By carefully considering these factors and handpicking rocks that align with your artistic vision, you’ll set the stage for an enjoyable and successful rock painting experience. With the right rocks in hand, you can proceed to the next steps of preparing and transforming them into stunning pieces of outdoor art.
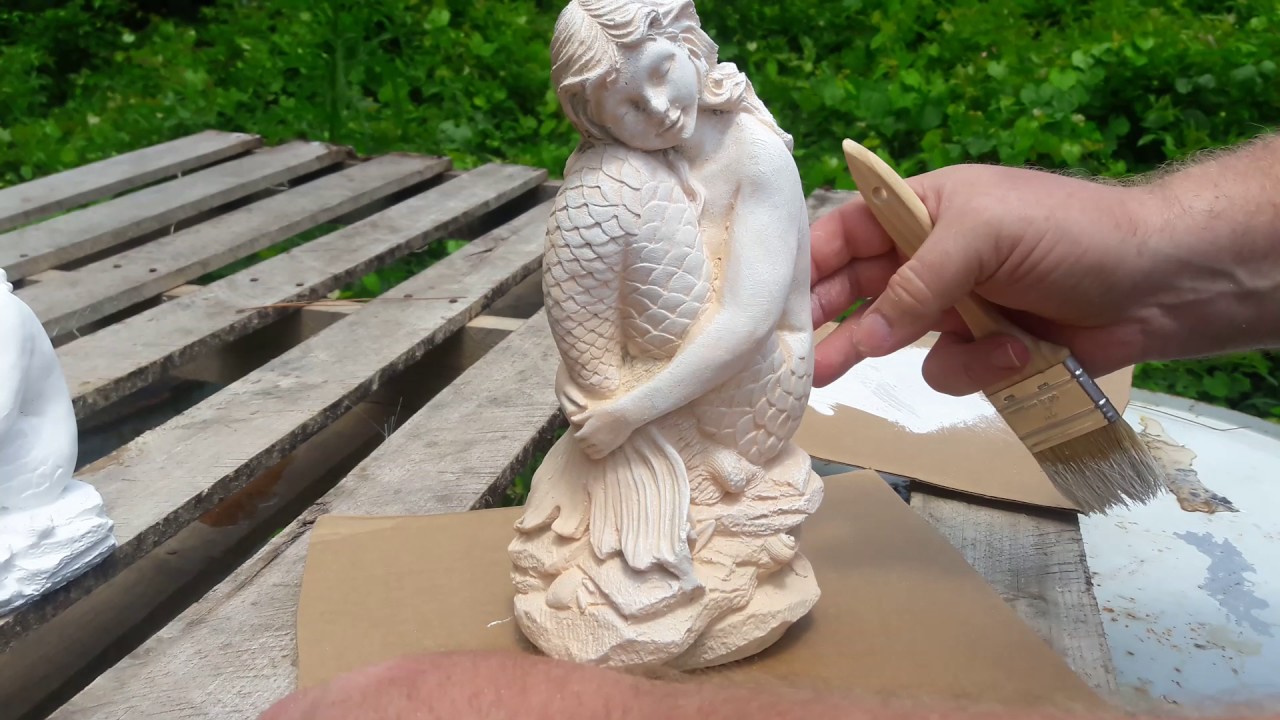
Preparing the Rocks
Before diving into the delightful process of painting outdoor rocks, it’s crucial to ensure that your chosen rocks are properly prepared to serve as optimal canvases for your artistic endeavors. Preparing the rocks involves a few simple yet essential steps that can significantly impact the quality and longevity of your painted designs.
Cleaning: Start by thoroughly cleaning the rocks to remove any dirt, debris, or residual substances. A gentle scrub with warm, soapy water and a soft brush can effectively eliminate dirt and grime, ensuring a clean and smooth surface for painting. Rinse the rocks thoroughly and allow them to dry completely before proceeding.
Smoothing: If you encounter rocks with rough or uneven surfaces, consider using sandpaper to gently smooth out any imperfections. This step is particularly beneficial for ensuring that the paint adheres evenly and that your designs appear polished and professional. Be mindful not to over-sand the rocks, as maintaining some natural texture can add character to your finished creations.
Priming: While not always necessary, applying a coat of primer to the rocks can enhance the adherence and vibrancy of the paint. A white or light-colored acrylic primer serves as an excellent base, especially if you plan to paint intricate designs or use light-colored paints. Allow the primer to dry completely before moving on to the painting phase.
Surface Inspection: Once the rocks are cleaned, smoothed, and primed if desired, take a moment to inspect their surfaces for any remaining imperfections or areas that may require additional attention. Address any rough patches or lingering debris to ensure that your painting experience proceeds smoothly and that the final results meet your creative expectations.
By dedicating time to properly prepare the rocks before painting, you’ll create an optimal foundation for your artistic expressions, allowing the colors to pop and the designs to shine. With the rocks primed and ready, you can eagerly transition to the next phase of selecting the perfect paint to bring your visions to life.
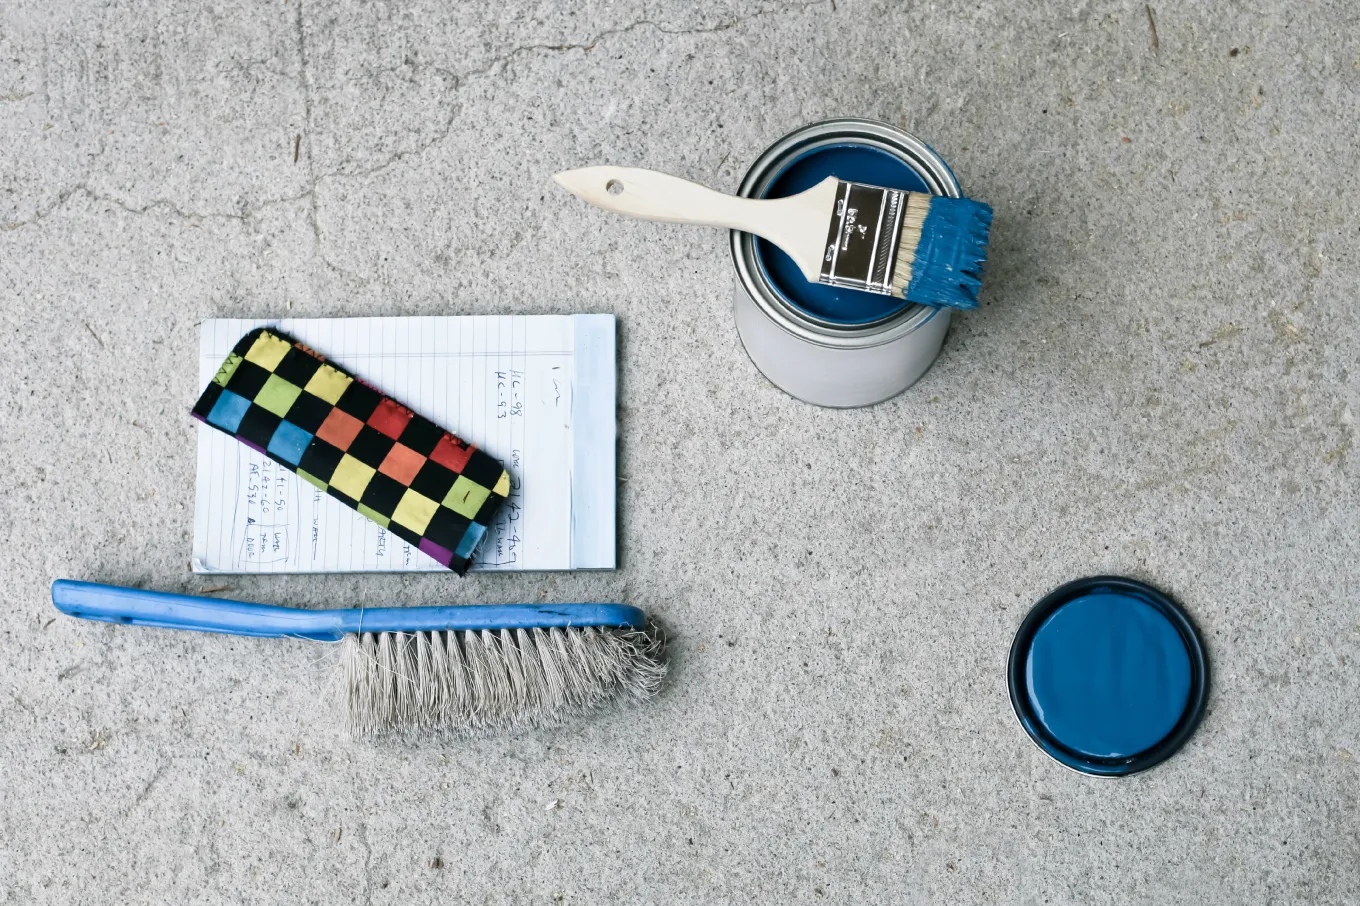
Selecting the Right Paint
Choosing the appropriate paint for your outdoor rock painting project is a pivotal decision that significantly influences the visual impact and durability of your creations. With a myriad of paint options available, it’s important to consider factors such as weather resistance, color vibrancy, and ease of application to ensure that your painted rocks maintain their beauty in outdoor settings.
Acrylic Paint: Acrylic paint is a popular choice for rock painting due to its versatility, vibrant color range, and ability to adhere well to rock surfaces. Look for high-quality outdoor acrylic paints that are labeled as weather-resistant or suitable for exterior use. These paints are designed to withstand exposure to the elements, ensuring that your painted rocks retain their brilliance over time.
Outdoor Craft Paint: Specifically formulated for outdoor applications, outdoor craft paint offers excellent durability and weather resistance. Available in a wide array of hues, including metallic and specialty finishes, outdoor craft paint provides a diverse palette to bring your rock designs to life. When selecting outdoor craft paint, opt for products that are labeled as fade-resistant and waterproof for long-lasting results.
Spray Paint: For achieving smooth and uniform coverage on rocks, spray paint can be a convenient option. Choose outdoor-specific spray paint designed to withstand outdoor conditions, and consider utilizing stencils or masks to create precise patterns and designs. Keep in mind that spray painting rocks may require adequate ventilation and protective measures to ensure safe and controlled application.
Sealant: In addition to selecting the right paint, incorporating a protective sealant is essential for preserving the longevity and vibrancy of your painted rocks. Look for a clear, outdoor-grade sealant designed to safeguard painted surfaces from UV exposure, moisture, and general wear. Applying a sealant over the painted rocks after they have fully dried will enhance their resilience and maintain the integrity of your artistic efforts.
By carefully considering the characteristics and suitability of various paint options, you can confidently choose the ideal materials to bring your outdoor rock painting visions to fruition. With the right paint in hand, you’re poised to embark on the exciting phase of applying captivating designs and colors to your prepared rocks.
Painting Techniques
Embarking on the painting phase of your outdoor rock art project opens up a world of creative possibilities, allowing you to experiment with various techniques to achieve stunning and expressive designs. Whether you’re aiming for intricate patterns, lifelike motifs, or abstract compositions, employing the right painting techniques can elevate your rock art to captivating heights.
Brush Painting: Using fine-tip brushes, detail brushes, and various brush sizes, brush painting enables you to meticulously apply detailed designs, intricate patterns, and delicate strokes to your rocks. This technique is ideal for creating precise lines, intricate floral motifs, and miniature landscapes, offering a high level of control and precision in your artwork.
Dotting: Dot painting, also known as pointillism, involves using the tip of a brush or specialized dotting tools to create patterns and images through carefully placed dots of paint. This technique lends itself well to creating mesmerizing mandalas, geometric designs, and stylized motifs, allowing for a meditative and visually striking approach to rock painting.
Stenciling: Incorporating stencils can streamline the process of achieving uniform shapes, letters, and intricate designs on your rocks. Select or create stencils that align with your artistic vision, and use them in conjunction with spray paint or a brush to transfer precise patterns onto the rocks. Stenciling offers a methodical and consistent approach to creating professional-looking designs.
Layering and Blending: Experiment with layering and blending different colors to create depth, dimension, and visual interest in your rock art. By strategically layering translucent washes of paint, blending hues, and incorporating shading techniques, you can imbue your designs with a sense of richness and complexity, enhancing their overall impact.
Embrace experimentation and allow your creativity to flourish as you explore these painting techniques and discover the unique effects they can produce on your rocks. Each technique offers its own set of possibilities, empowering you to infuse your rock art with personality, charm, and visual allure.
Before painting outdoor rocks, make sure to clean and dry them thoroughly to ensure the paint adheres properly. Use outdoor acrylic or enamel paint for best results.
Adding Finishing Touches
As you near the completion of your outdoor rock painting endeavor, adding thoughtful finishing touches can elevate the visual appeal and cohesiveness of your painted rocks. These final embellishments and enhancements serve to refine and accentuate your designs, ensuring that your creations exude charm and polished artistry.
Detailing and Accents: Incorporate fine details, accents, and highlights using smaller brushes or specialized tools to add intricacy and visual interest to your painted designs. Whether it’s adding delicate lines, subtle shading, or metallic accents, these refined touches can enhance the overall allure of your rock art.
Embellishments: Explore the possibility of incorporating embellishments such as adhesive gems, small beads, or decorative elements to complement your painted designs. These embellishments can introduce texture, dimension, and a touch of whimsy to your rocks, creating captivating focal points within your compositions.
Personalization: Consider adding personalized elements such as initials, meaningful dates, or uplifting quotes to infuse your painted rocks with sentimental value. Whether you’re creating custom garden markers, inspirational tokens, or personalized gifts, adding a touch of personalization can imbue your rock art with heartfelt significance.
Contrast and Balance: Assess your designs and consider incorporating contrasting elements or balancing the composition to create visual impact. Experiment with juxtaposing bold colors, integrating negative space, or harmonizing diverse patterns to achieve a sense of balance and dynamism in your rock art.
By thoughtfully integrating these finishing touches, you can refine your painted rocks into captivating and cohesive works of art that reflect your creativity and attention to detail. These subtle yet impactful enhancements contribute to the overall visual harmony and allure of your outdoor rock creations, ensuring that they stand out as delightful accents in any outdoor setting.
Sealing the Paint
After investing time and creativity in painting your outdoor rocks, it’s essential to protect and preserve your artistic endeavors by sealing the paint. Sealing serves as a crucial step in safeguarding the vibrancy, durability, and weather resistance of your painted designs, ensuring that they withstand the elements and retain their beauty over time.
Clear Sealants: Select a clear, outdoor-grade sealant specifically formulated for use on painted surfaces. Look for sealants that offer UV protection, weather resistance, and a durable finish. Spray sealants provide a convenient and even application, while brush-on sealants allow for precise coverage and control over intricate designs.
Application: Before applying the sealant, ensure that the painted rocks are thoroughly dry to prevent any moisture from being trapped beneath the sealant. Working in a well-ventilated area, apply the sealant according to the manufacturer’s instructions, ensuring complete coverage of the painted surfaces. Multiple thin coats are often recommended to achieve optimal protection and longevity.
Drying Time: Allow the sealed rocks to dry completely in a dust-free environment, following the recommended drying time specified by the sealant manufacturer. Adequate drying time is essential for the sealant to cure and form a protective barrier over the paint, enhancing its resilience against sun exposure, moisture, and general wear.
Maintenance: While a quality sealant provides durable protection, periodic maintenance may be necessary to uphold the integrity of the sealed paint. Inspect the painted rocks regularly and reapply the sealant as needed to fortify their resistance to outdoor elements and ensure that they continue to exude brilliance and longevity.
By diligently sealing the paint on your outdoor rocks, you fortify them against fading, moisture damage, and environmental factors, allowing your painted designs to shine brightly and endure the test of time in outdoor settings. With the paint sealed and protected, your artistic expressions are primed to enrich and enliven your outdoor spaces for years to come.
Displaying Your Painted Rocks
Once your outdoor rocks are transformed into captivating works of art, the next delightful step is to showcase and display them in your outdoor space. Whether you’re adorning a garden, patio, or yard, the placement and presentation of your painted rocks can enrich the aesthetic appeal of your outdoor environment and infuse it with personality and charm.
Garden Borders and Pathways: Arrange your painted rocks along garden borders or pathways to create a whimsical and eye-catching border. Whether nestled among plants or lining a walkway, the colorful and artfully adorned rocks can add a touch of enchantment and visual interest to your garden landscape.
Rock Gardens: Integrate your painted rocks into rock gardens or designated rock features within your outdoor space. By strategically positioning the rocks amidst natural stones and foliage, you can create dynamic focal points and artful arrangements that harmonize with the surrounding elements.
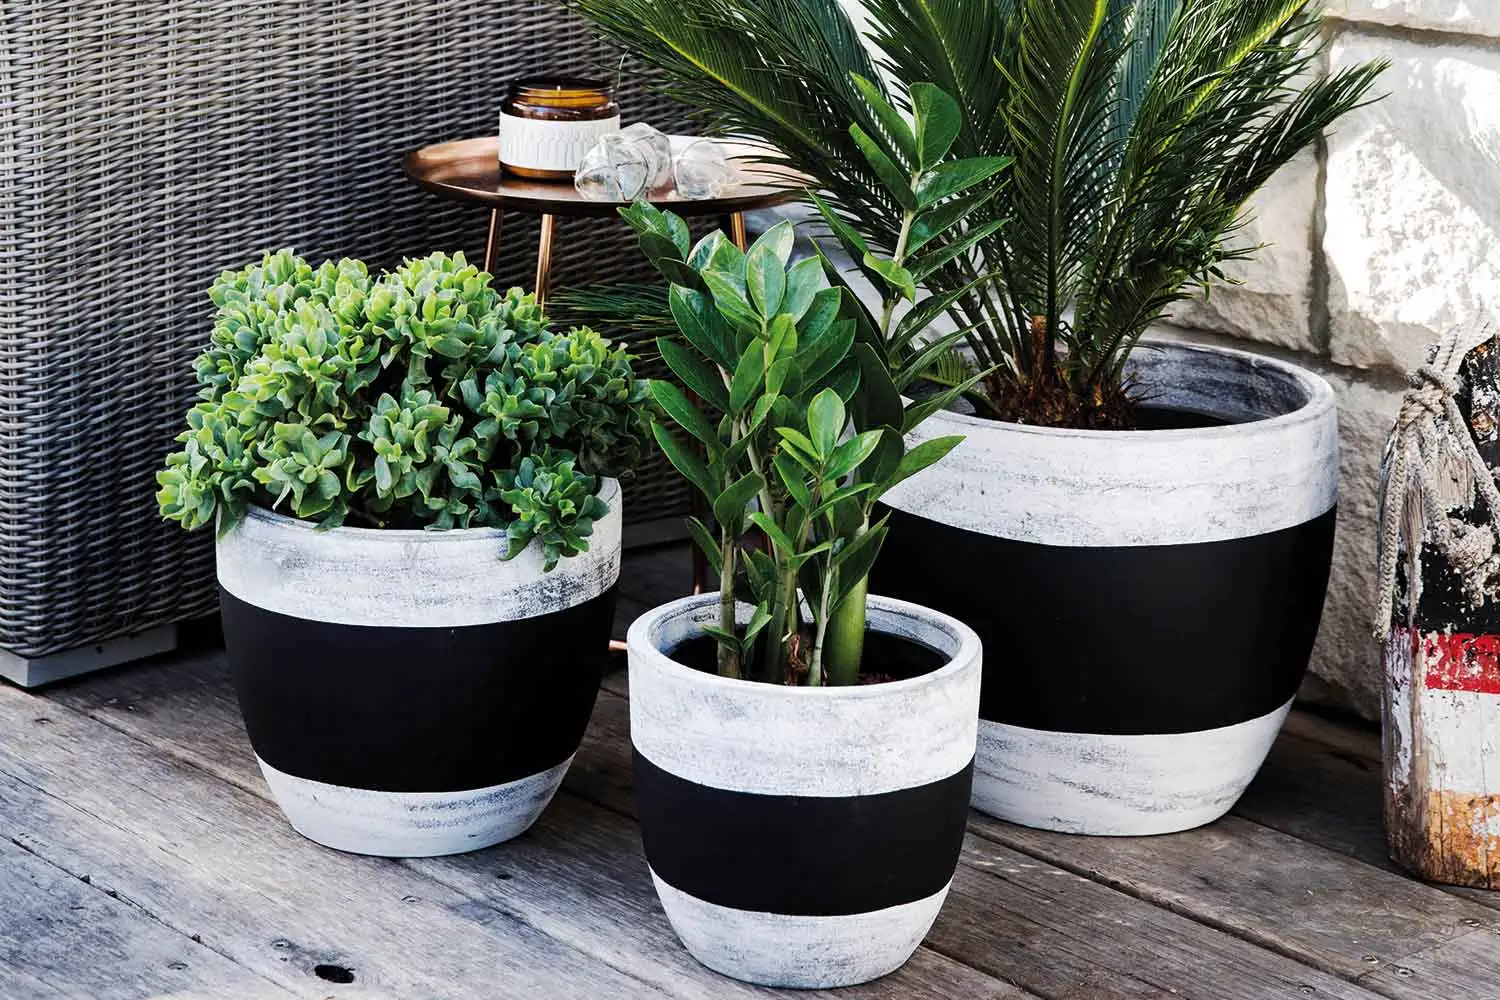
Potted Plant Accents: Nestle painted rocks amidst potted plants and containers to introduce a playful and personalized touch to your outdoor plant displays. The vibrant and embellished rocks can serve as charming accents, infusing a sense of creativity and individuality into your potted arrangements.
Outdoor Art Installations: Consider assembling your painted rocks into captivating outdoor art installations, such as stacked rock sculptures or balanced rock arrangements. These artistic compositions can serve as captivating focal points and conversation starters, adding a touch of whimsy and artistry to your outdoor setting.
Gifting and Sharing: Share the joy of your painted rocks by gifting them to friends, family members, or neighbors. Whether adorned with uplifting messages, personalized designs, or vibrant patterns, these hand-painted treasures make thoughtful and cherished gifts that spread joy and creativity.
By thoughtfully integrating your painted rocks into your outdoor environment, you infuse your surroundings with a personalized and artistic touch that reflects your creativity and passion. The display of your painted rocks not only enlivens your outdoor space but also invites admiration and delight, inspiring others to embark on their own rock painting adventures.
Conclusion
As we conclude our exploration of the art of painting outdoor rocks, we celebrate the boundless creativity and joy that this simple yet enchanting activity brings to outdoor spaces. From selecting the perfect rocks to adding the finishing touches and displaying your painted creations, the journey of rock painting is a delightful and fulfilling endeavor that allows you to infuse your outdoor environment with beauty, personality, and artistic expression.
Through the careful selection of rocks, the application of vibrant paints, and the incorporation of various painting techniques, you’ve embarked on a journey of self-expression and creativity, transforming ordinary rocks into captivating works of art. Each brushstroke, dot, and detail has contributed to the creation of unique and visually stunning designs that reflect your individuality and artistic vision.
As your painted rocks find their place in your outdoor space, whether nestled among garden foliage, adorning pathways, or serving as thoughtful gifts, they become more than mere decorative elements—they become expressions of joy, inspiration, and connection. Your painted rocks have the power to evoke smiles, spark conversations, and infuse your outdoor environment with a sense of wonder and delight.
As you continue to explore the art of outdoor rock painting, may you be inspired to further unleash your creativity, experiment with new techniques, and share the beauty of your painted rocks with others. Whether you’re a seasoned artist or a novice enthusiast, the art of painting outdoor rocks invites you to embrace imagination, celebrate nature’s canvas, and revel in the simple pleasures of creative expression.
So, let your painted rocks tell stories, evoke emotions, and brighten outdoor spaces with their charm. Embrace the artistry, the whimsy, and the endless possibilities that painting outdoor rocks offers, and let your creativity flourish as you embark on this delightful journey of transforming rocks into cherished works of art.
Frequently Asked Questions about How To Paint Outdoor Rocks
Was this page helpful?
At Storables.com, we guarantee accurate and reliable information. Our content, validated by Expert Board Contributors, is crafted following stringent Editorial Policies. We're committed to providing you with well-researched, expert-backed insights for all your informational needs.


0 thoughts on “How To Paint Outdoor Rocks”