Home>Furniture & Design>Outdoor Furniture>How To Paint Plastic Outdoor Furniture
Outdoor Furniture
How To Paint Plastic Outdoor Furniture
Modified: February 18, 2024
Learn how to paint plastic outdoor furniture to give it a fresh new look. Get expert tips and advice on outdoor furniture and design.
(Many of the links in this article redirect to a specific reviewed product. Your purchase of these products through affiliate links helps to generate commission for Storables.com, at no extra cost. Learn more)
Introduction
When it comes to reviving the appearance of your outdoor space, a fresh coat of paint can work wonders, especially for plastic outdoor furniture. Whether you want to update the color of your existing furniture or breathe new life into weathered pieces, painting plastic outdoor furniture can be a rewarding and cost-effective way to enhance your outdoor oasis. With the right tools, techniques, and a splash of creativity, you can transform dull and worn-out plastic furniture into vibrant, eye-catching pieces that complement your outdoor decor.
In this comprehensive guide, we will walk you through the step-by-step process of painting plastic outdoor furniture, from preparation and priming to applying the perfect coat of paint and sealing it for long-lasting beauty. By following these simple yet effective steps, you can unleash your inner DIY enthusiast and give your outdoor furniture a stunning makeover that will withstand the elements and impress your guests.
So, roll up your sleeves, gather your supplies, and let's dive into the exciting world of transforming your plastic outdoor furniture with a fresh and fabulous new look. Whether you're a seasoned DIYer or a novice looking to explore the realm of furniture restoration, this guide will equip you with the knowledge and confidence to elevate your outdoor space with personalized, painted plastic furniture. Let's embark on this creative journey and breathe new life into your outdoor oasis!
Key Takeaways:
- Transform your outdoor space by painting plastic furniture. Clean, sand, prime, paint, and seal for a vibrant, long-lasting finish that reflects your personal style and enhances your outdoor decor.
- With the right tools and techniques, you can revitalize your outdoor furniture, unleash your creativity, and elevate your outdoor space into a welcoming haven for relaxation and gatherings.
Read more: How To Clean Plastic Outdoor Furniture
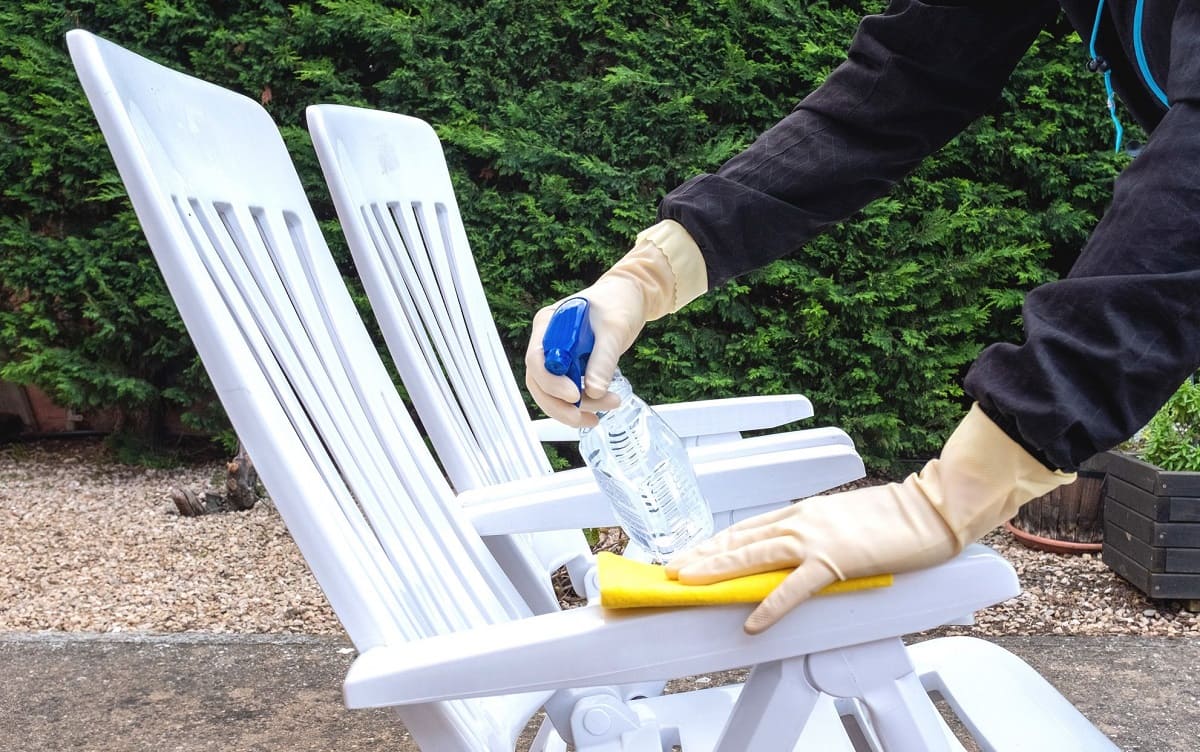
Step 1: Clean the Furniture
Before you embark on the painting process, it’s crucial to ensure that the surface of your plastic outdoor furniture is free from dirt, grime, and any remnants of previous finishes. Cleaning the furniture thoroughly will pave the way for optimal paint adhesion and a smooth, professional-looking finish.
Here’s how to effectively clean your plastic outdoor furniture:
- Gather Your Supplies: Start by assembling the necessary cleaning supplies, including a bucket, mild detergent or dish soap, a sponge or soft-bristled brush, and a garden hose.
- Remove Debris: Begin by removing any loose debris, such as leaves, cobwebs, or dirt, from the furniture’s surface. A gentle sweep or quick once-over with a soft brush can help eliminate surface-level grime.
- Prepare the Cleaning Solution: Fill the bucket with warm water and add a small amount of mild detergent or dish soap. Mix the solution thoroughly to create a gentle yet effective cleaning agent.
- Scrub the Surface: Dip the sponge or brush into the cleaning solution and gently scrub the entire surface of the furniture. Pay special attention to areas with stubborn stains or built-up grime, applying a bit more pressure as needed while avoiding abrasive scrubbing that could damage the plastic.
- Rinse Thoroughly: Once the furniture is scrubbed clean, thoroughly rinse off the cleaning solution with a garden hose. Ensure that all soap residue is completely removed to prevent any interference with the painting process.
- Dry Completely: Allow the furniture to air dry completely before proceeding to the next step. This will ensure that the surface is free from moisture, allowing the primer and paint to adhere properly.
By starting with a clean canvas, you’ll set the stage for a successful painting endeavor, with the assurance that your efforts will result in a beautifully refreshed piece of outdoor furniture. With the furniture now sparkling clean and ready for the next stage, you’re one step closer to achieving stunning, long-lasting results that will breathe new life into your outdoor space.
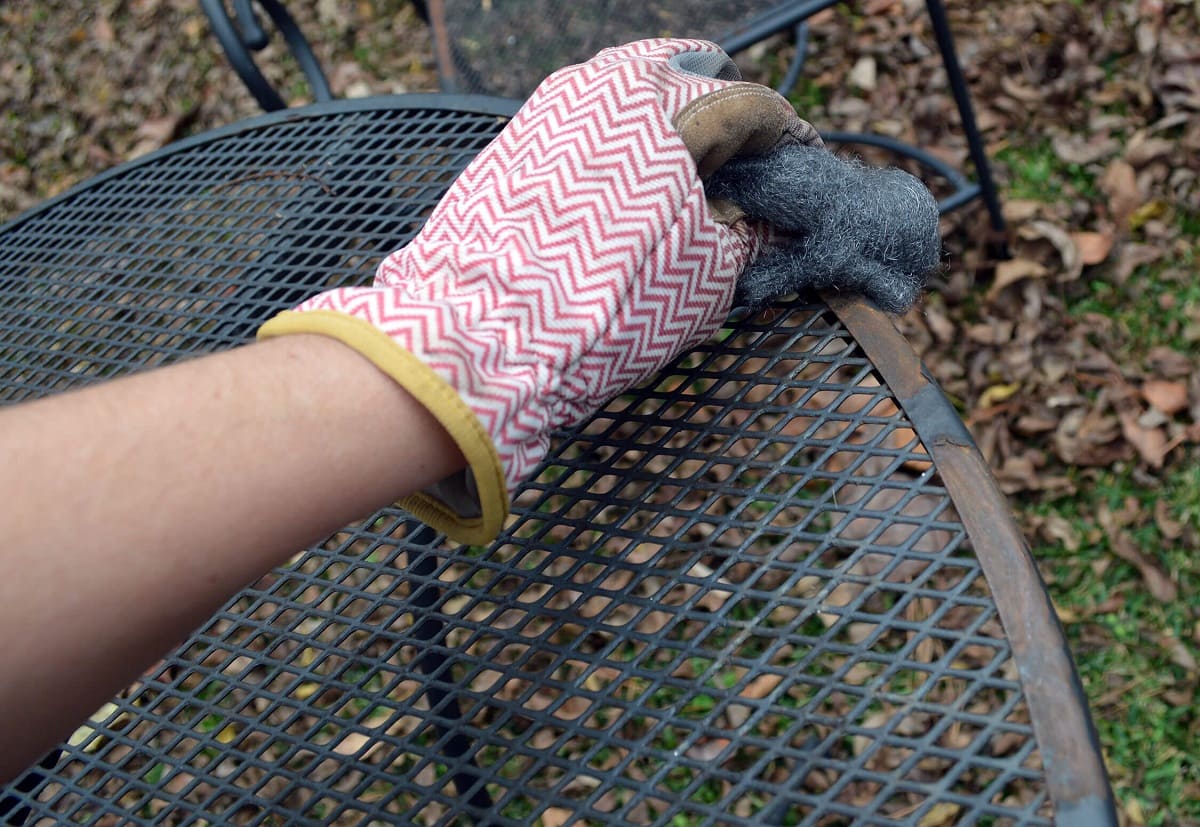
Step 2: Sand the Surface
Once your plastic outdoor furniture is clean and dry, the next crucial step in the painting process is to prepare the surface by sanding. Sanding the furniture will create a slightly rough texture, providing the ideal foundation for the primer and paint to adhere to, ensuring a durable and professional finish.
Follow these steps to effectively sand the surface of your plastic outdoor furniture:
- Choose the Right Sandpaper: Opt for fine-grit sandpaper, such as 220-grit, to gently roughen the surface of the plastic. Avoid using coarse sandpaper, as it may create deep scratches that are difficult to cover with paint.
- Gently Sand the Surface: Using light pressure, sand the entire surface of the furniture in a circular motion. The goal is to create a slightly textured surface without causing damage to the plastic. Be thorough but gentle to achieve an even texture across the entire piece.
- Remove Sanding Residue: After sanding, use a clean, dry cloth to wipe away any sanding residue from the furniture. This will ensure that the surface is free from dust and debris before proceeding to the next step.
By sanding the surface of the furniture, you are creating an optimal environment for the primer and paint to bond effectively, resulting in a finish that is resistant to chipping and peeling. This essential preparation step sets the stage for a professional-looking paint job that will withstand the elements and maintain its beauty over time.
With the surface now properly sanded and prepared, you’re ready to move on to the next exciting phase of the painting process, bringing your vision for your outdoor furniture to colorful fruition.
Step 3: Prime the Furniture
Priming your plastic outdoor furniture is a crucial step that sets the foundation for a flawless and long-lasting paint job. The right primer not only enhances paint adhesion but also provides an added layer of protection, ensuring that your newly painted furniture withstands the rigors of outdoor conditions.
Follow these steps to effectively prime your plastic outdoor furniture:
- Choose a High-Quality Primer: Select a primer specifically designed for use on plastic surfaces. Look for a primer that offers excellent adhesion and is formulated to resist chipping and peeling, especially when exposed to outdoor elements.
- Prepare Your Workspace: Set up a well-ventilated area for priming the furniture, preferably outdoors or in a well-ventilated garage. Lay down a drop cloth or old sheets to protect the surrounding area from overspray.
- Apply the Primer: Shake the primer can thoroughly to ensure proper mixing. Hold the can approximately 8-12 inches away from the furniture and apply a light, even coat of primer. Be sure to cover the entire surface while avoiding heavy application that could lead to drips or uneven coverage.
- Allow for Drying Time: Follow the manufacturer’s instructions regarding the drying time for the primer. Ensure that the primer is completely dry before proceeding to the next step, as this will contribute to the overall durability and quality of the finished paint job.
- Lightly Sand (Optional): Depending on the primer used, you may have the option to lightly sand the primed surface to promote optimal paint adhesion. Check the primer’s instructions to determine if this step is recommended.
- Clean Up: Properly dispose of any used primer cans and ensure that your workspace is clean and free from any potential hazards.
By priming your plastic outdoor furniture, you are creating a strong and resilient base for the paint, ensuring that it adheres securely and maintains its vibrant appearance for an extended period. This essential step enhances the overall longevity and quality of your painted furniture, setting the stage for a stunning transformation that will elevate the aesthetic appeal of your outdoor space.
With the furniture now primed and prepared, you’re poised to embark on the exciting next phase of the painting process, where your creative vision will come to life in vibrant hues and enduring beauty.
Before painting plastic outdoor furniture, make sure to clean the surface thoroughly with soap and water. Then, use a primer specifically designed for plastic to ensure the paint adheres properly and lasts longer.
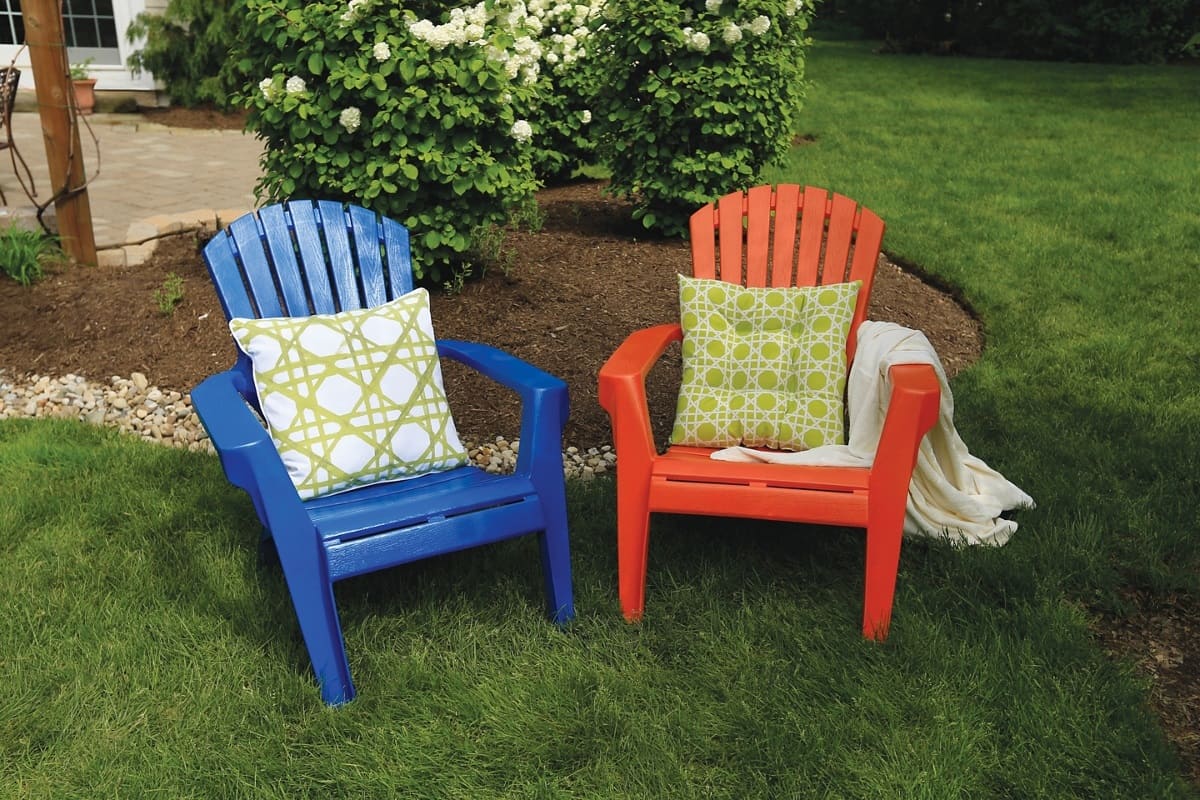
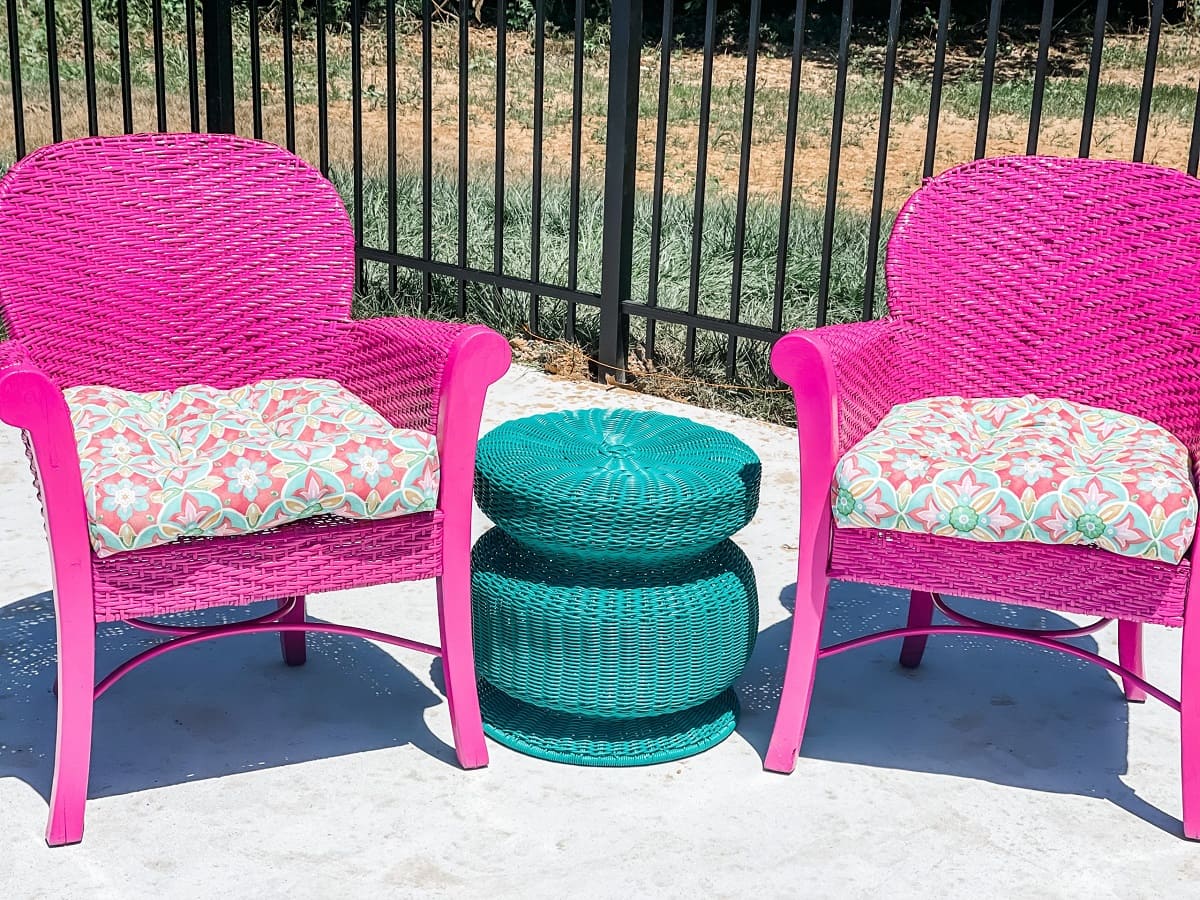
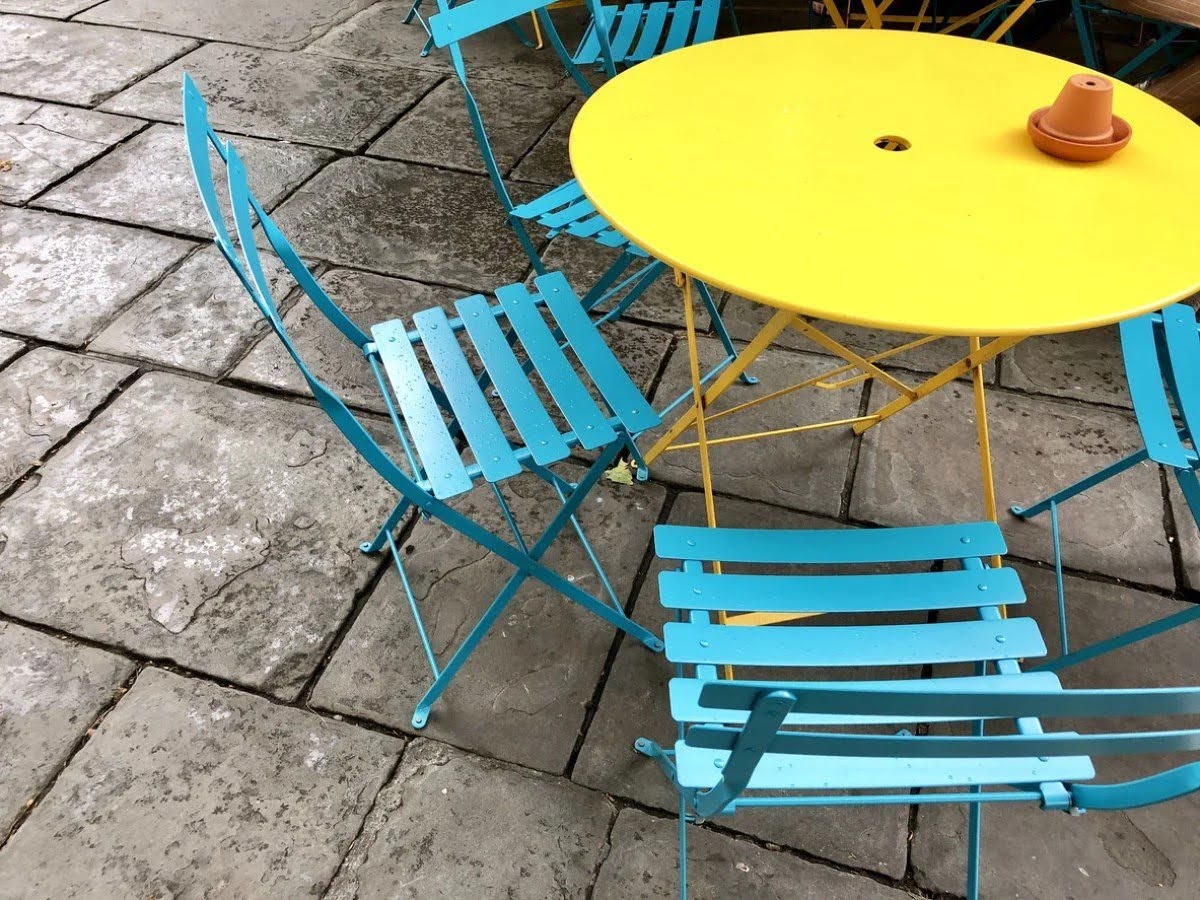
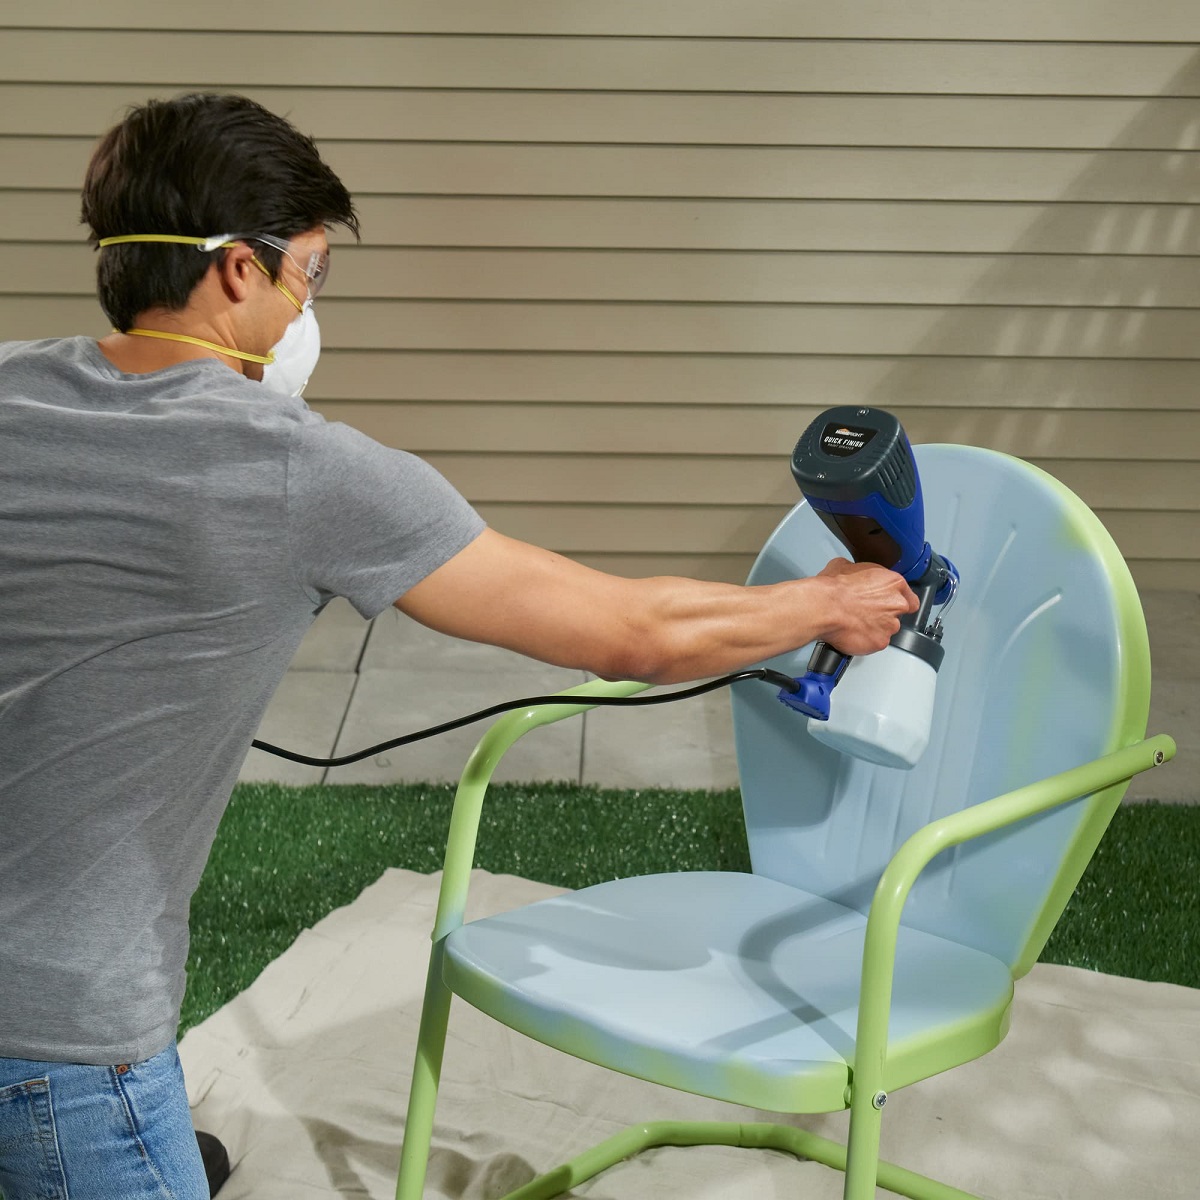
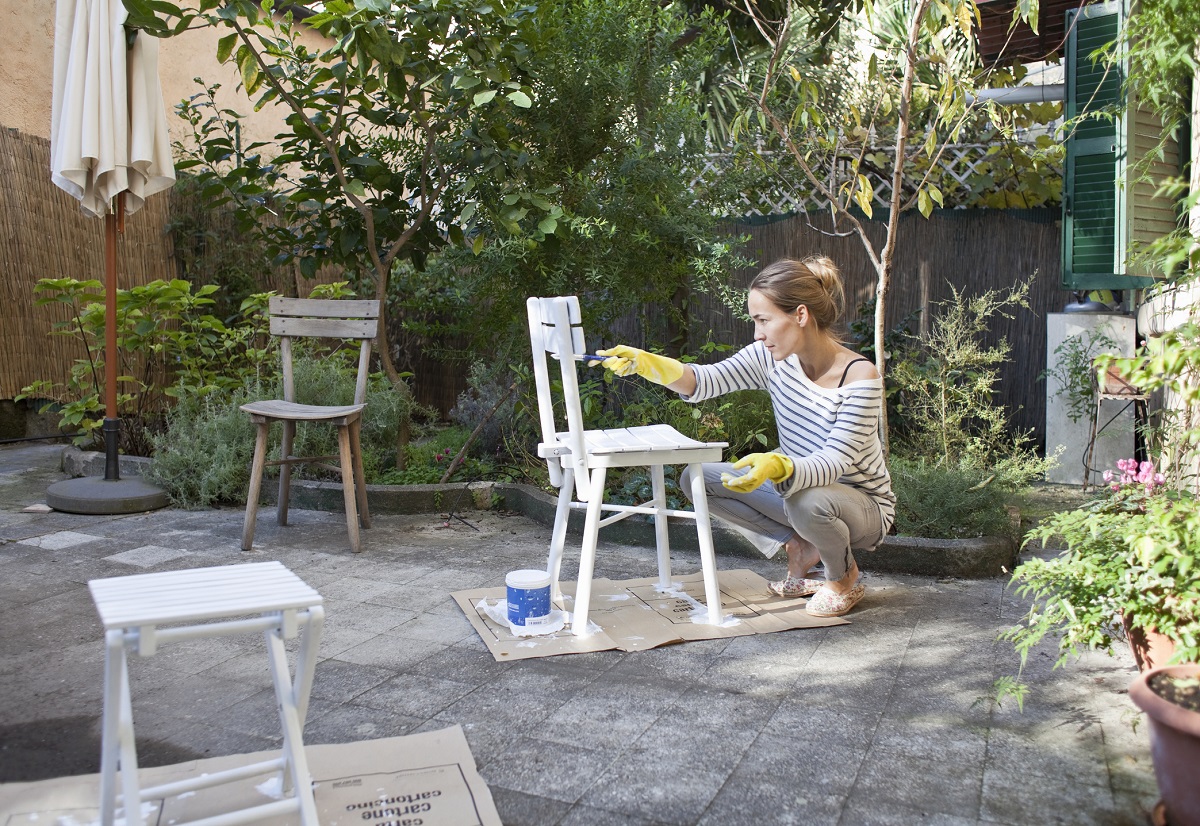
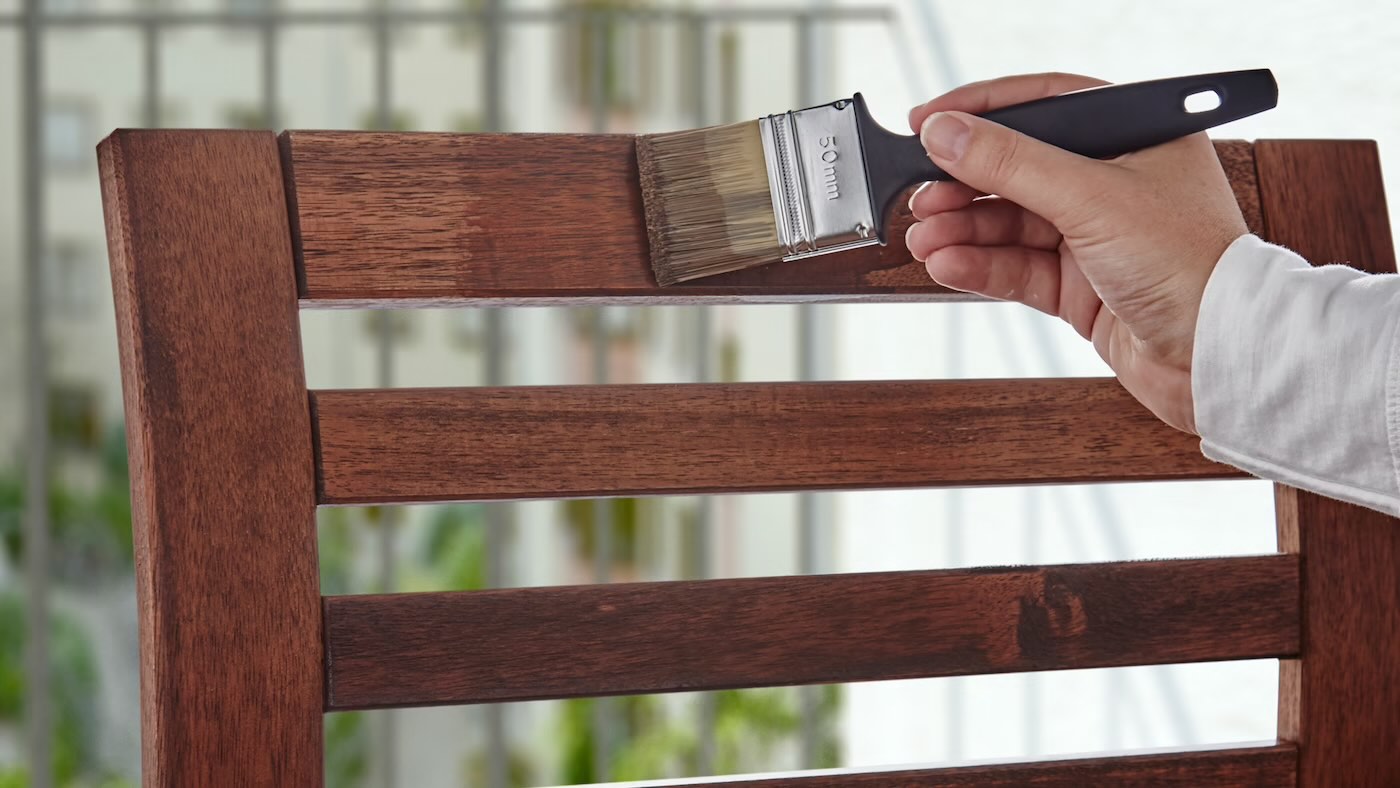
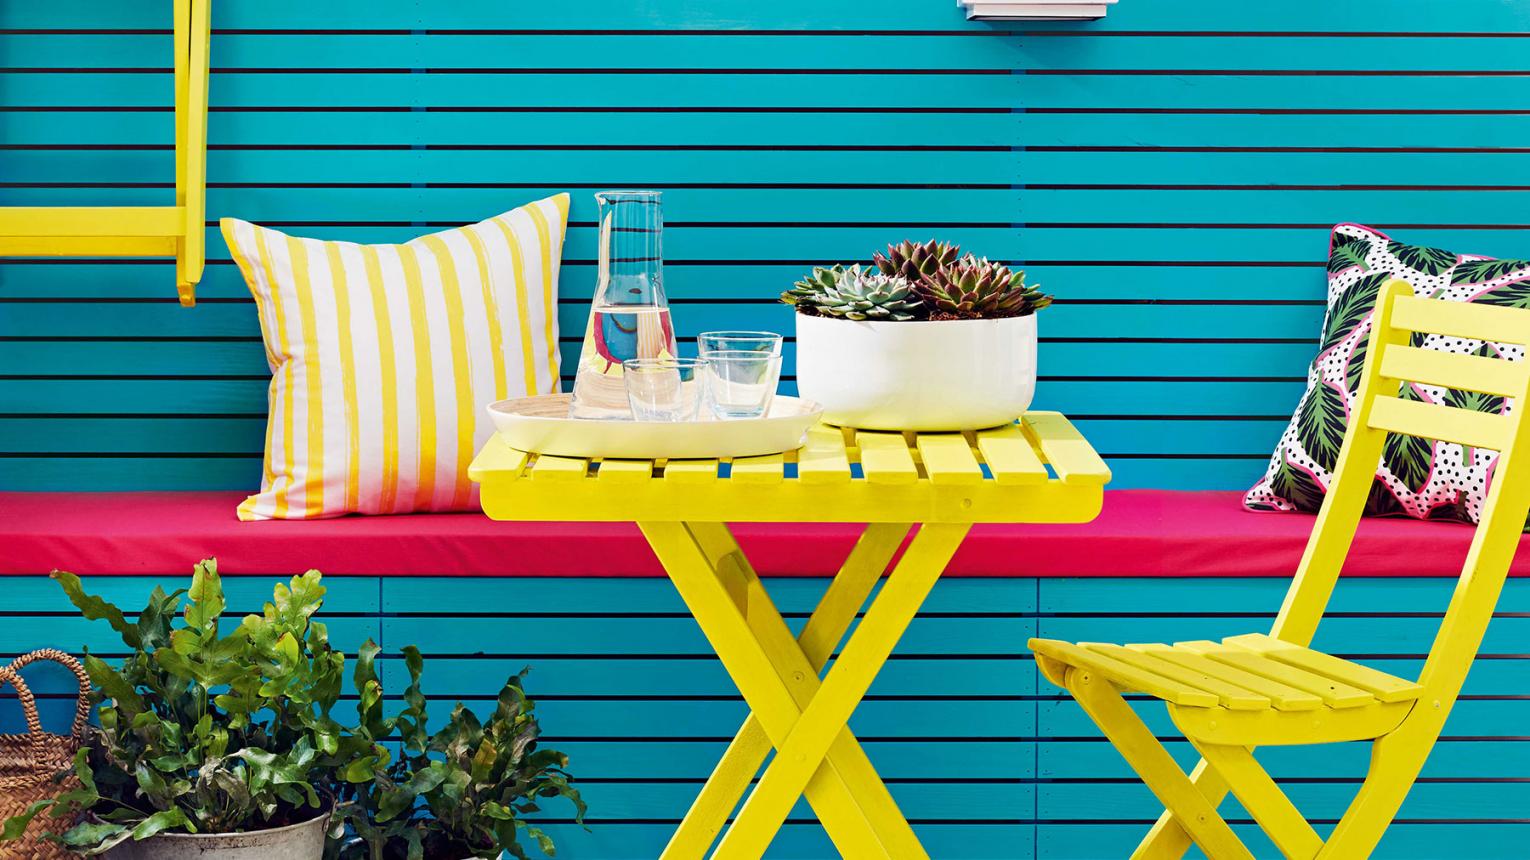
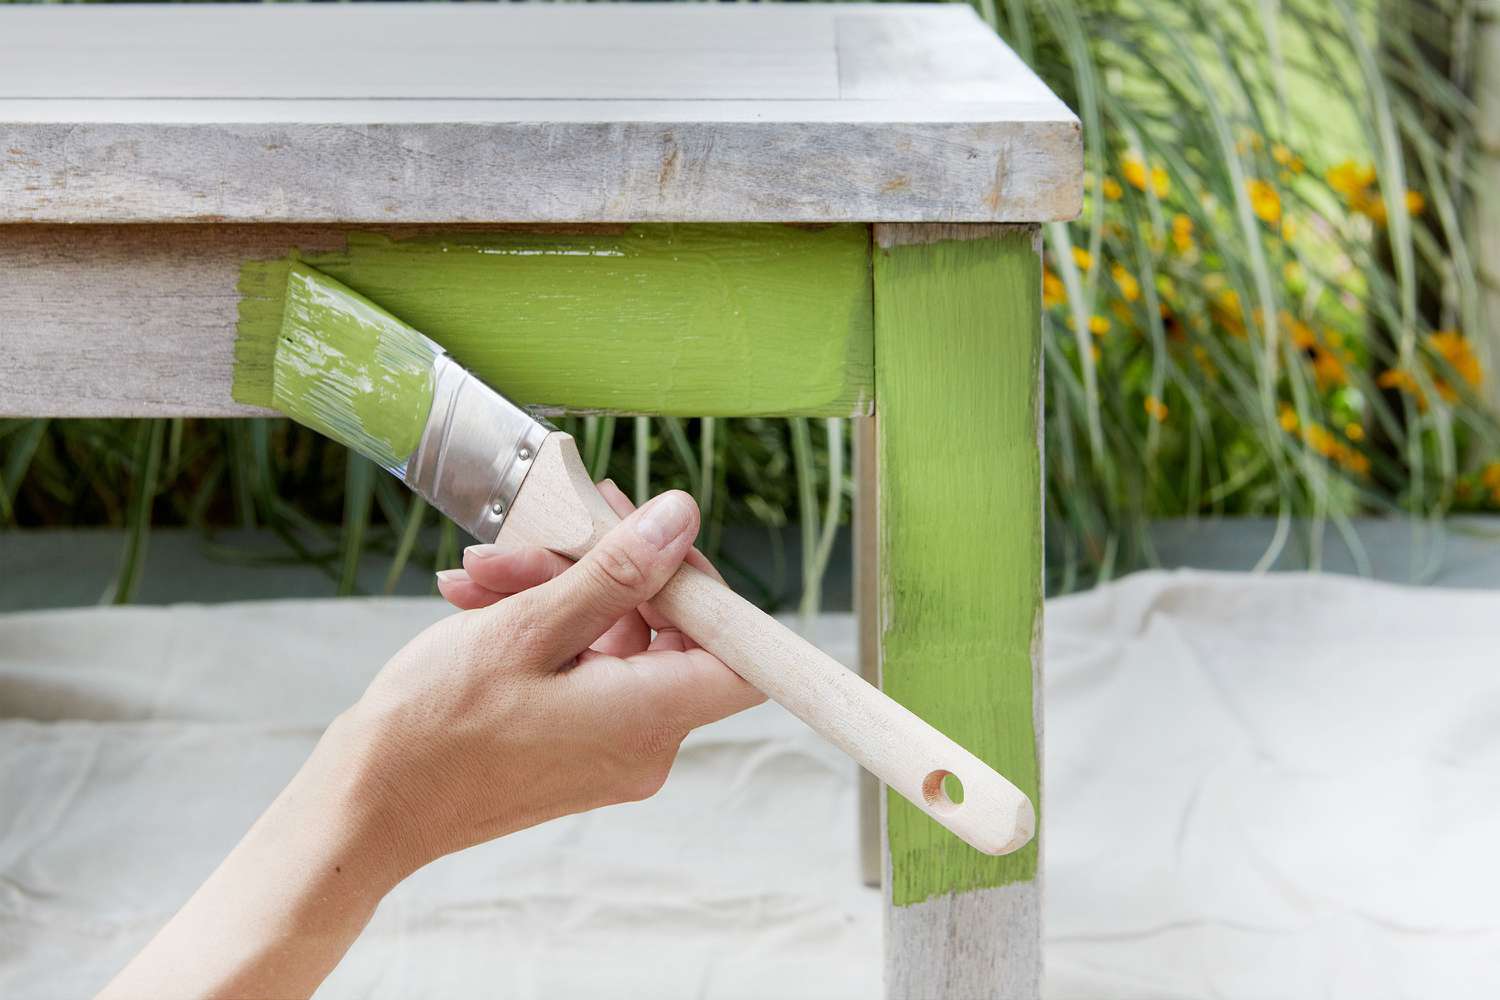
Step 4: Paint the Furniture
Now that your plastic outdoor furniture is clean, sanded, and primed, it’s time to infuse it with a burst of color and personality through the application of high-quality paint. Whether you’re aiming for a bold statement or a subtle, sophisticated look, the painting stage is where your creative vision takes center stage, transforming your furniture into a stunning focal point within your outdoor space.
Follow these steps to effectively paint your plastic outdoor furniture:
- Choose the Right Paint: Select a paint specifically formulated for use on plastic surfaces. Look for a high-quality outdoor spray paint that offers excellent coverage, durability, and UV resistance to prevent fading and discoloration over time.
- Prepare Your Workspace: Set up a well-ventilated area for painting the furniture, ideally outdoors or in a well-ventilated garage. Place a drop cloth or old sheets to protect the surrounding area from overspray.
- Apply the Paint: Shake the paint can vigorously to ensure proper mixing. Hold the can approximately 8-12 inches away from the furniture and apply a light, even coat of paint using smooth, sweeping motions. Ensure complete coverage while avoiding heavy application that could lead to drips or uneven results.
- Allow for Drying Time: Follow the manufacturer’s instructions regarding the drying time for the paint. Ensure that the first coat is completely dry before applying additional coats to achieve the desired depth of color and coverage.
- Apply Additional Coats (If Needed): Depending on the desired color intensity and coverage, you may need to apply multiple coats of paint. Be sure to allow adequate drying time between coats to prevent smudging or uneven results.
- Clean Up: Properly dispose of any used paint cans and ensure that your workspace is clean and free from any potential hazards.
By painting your plastic outdoor furniture with precision and care, you are infusing it with a fresh, vibrant appearance that reflects your personal style and enhances the overall ambiance of your outdoor space. This transformative step allows you to breathe new life into your furniture, creating a captivating focal point that seamlessly integrates with your outdoor decor.
With the furniture now adorned with a fresh coat of paint, you’re ready to witness the captivating results of your efforts, as your outdoor oasis begins to exude renewed charm and personality.
Step 5: Seal the Paint
After meticulously painting your plastic outdoor furniture to perfection, the final step in the rejuvenation process involves sealing the paint to ensure long-lasting beauty and resilience. Applying a protective sealant not only enhances the durability of the painted surface but also safeguards it against environmental elements, ensuring that your furniture remains vibrant and eye-catching for years to come.
Follow these steps to effectively seal the paint on your plastic outdoor furniture:
- Choose a High-Quality Sealant: Select a clear, outdoor-specific sealant designed to protect painted surfaces from UV rays, moisture, and general wear and tear. Look for a product that offers UV resistance to prevent fading and discoloration.
- Prepare Your Workspace: Set up a well-ventilated area for applying the sealant, ideally outdoors or in a well-ventilated garage. Protect the surrounding area with a drop cloth or old sheets to prevent overspray.
- Apply the Sealant: Shake the sealant can thoroughly to ensure proper mixing. Hold the can approximately 8-12 inches away from the furniture and apply a light, even coat of sealant, using smooth, sweeping motions to cover the entire painted surface.
- Allow for Drying Time: Follow the manufacturer’s instructions regarding the drying time for the sealant. Ensure that the first coat is completely dry before considering additional coats for enhanced protection.
- Apply Additional Coats (If Needed): Depending on the level of protection desired, you may opt to apply multiple coats of sealant. Be sure to allow adequate drying time between coats to achieve optimal durability and resilience.
- Final Inspection: Once the sealant is dry, inspect the furniture to ensure that the painted surface is uniformly and effectively protected. Address any areas that may require additional sealing to maintain the integrity of the paint job.
- Clean Up: Properly dispose of any used sealant cans and ensure that your workspace is clean and free from any potential hazards.
By sealing the paint on your plastic outdoor furniture, you are fortifying its visual appeal and safeguarding it against the elements, ensuring that your outdoor oasis remains inviting and captivating for years to come. This essential final step completes the transformation of your furniture, culminating in a stunning and resilient enhancement of your outdoor space.
With the paint now effectively sealed, your outdoor furniture exudes a radiant and enduring allure, ready to infuse your outdoor space with renewed charm and elegance, providing a welcoming and stylish environment for relaxation and entertainment.
Conclusion
Congratulations on successfully navigating the transformative journey of painting your plastic outdoor furniture! Through meticulous preparation, precision, and a touch of creativity, you have revitalized your outdoor oasis, infusing it with personalized style and enduring beauty. As you stand back and admire the stunning results of your efforts, you can take pride in knowing that your outdoor space now boasts a captivating focal point that reflects your unique taste and attention to detail.
By following the step-by-step process outlined in this guide, you have not only breathed new life into your plastic outdoor furniture but also honed your DIY skills, gaining confidence in tackling future projects with enthusiasm and expertise. The sense of accomplishment that accompanies the successful completion of a hands-on endeavor such as this is truly gratifying, empowering you to explore and unleash your creativity in various aspects of home improvement and decor.
With your newly painted and sealed furniture poised to withstand the elements and captivate onlookers, you have elevated your outdoor space into a welcoming haven for relaxation, gatherings, and cherished moments. The vibrant colors and resilient finish of your painted furniture serve as a testament to your dedication to enhancing your surroundings, creating an inviting atmosphere that beckons you and your guests to linger and savor the outdoor experience.
As you revel in the beauty and functionality of your revitalized outdoor furniture, take a moment to bask in the satisfaction of a job well done. Your commitment to preserving and enhancing your outdoor space has not only resulted in a visually stunning transformation but has also contributed to the creation of cherished memories and joyful gatherings in a space that reflects your personal touch and care.
So, as you savor the fruits of your labor and relish the inviting allure of your outdoor sanctuary, remember that the potential for creativity and transformation extends far beyond the boundaries of your furniture. With newfound confidence and expertise, you are poised to embark on further home improvement projects, infusing each space with your unique vision and passion for creating an environment that resonates with warmth, style, and enduring charm.
Embrace the joy of DIY creativity, and let your outdoor space serve as a canvas for your imaginative expression, enriching your life and the lives of those who share in the beauty and comfort of your lovingly curated outdoor oasis.
Frequently Asked Questions about How To Paint Plastic Outdoor Furniture
Was this page helpful?
At Storables.com, we guarantee accurate and reliable information. Our content, validated by Expert Board Contributors, is crafted following stringent Editorial Policies. We're committed to providing you with well-researched, expert-backed insights for all your informational needs.


0 thoughts on “How To Paint Plastic Outdoor Furniture”