Home>Furniture & Design>Outdoor Furniture>How To Prepare Outdoor Metal Furniture For Painting
Outdoor Furniture
How To Prepare Outdoor Metal Furniture For Painting
Modified: August 17, 2024
Learn how to properly prepare your outdoor metal furniture for painting to give it a fresh new look. Follow these steps for a successful furniture restoration. Outdoor furniture design tips included.
(Many of the links in this article redirect to a specific reviewed product. Your purchase of these products through affiliate links helps to generate commission for Storables.com, at no extra cost. Learn more)
Introduction
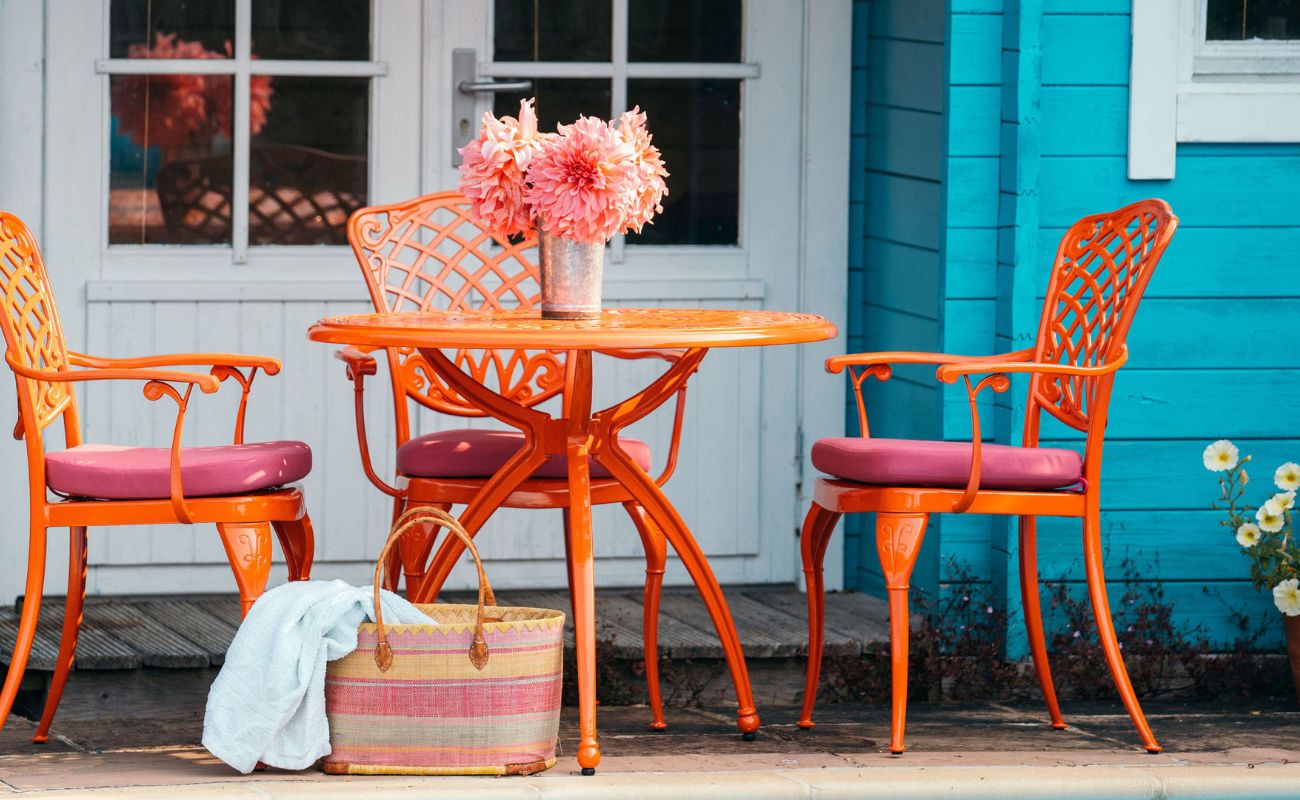
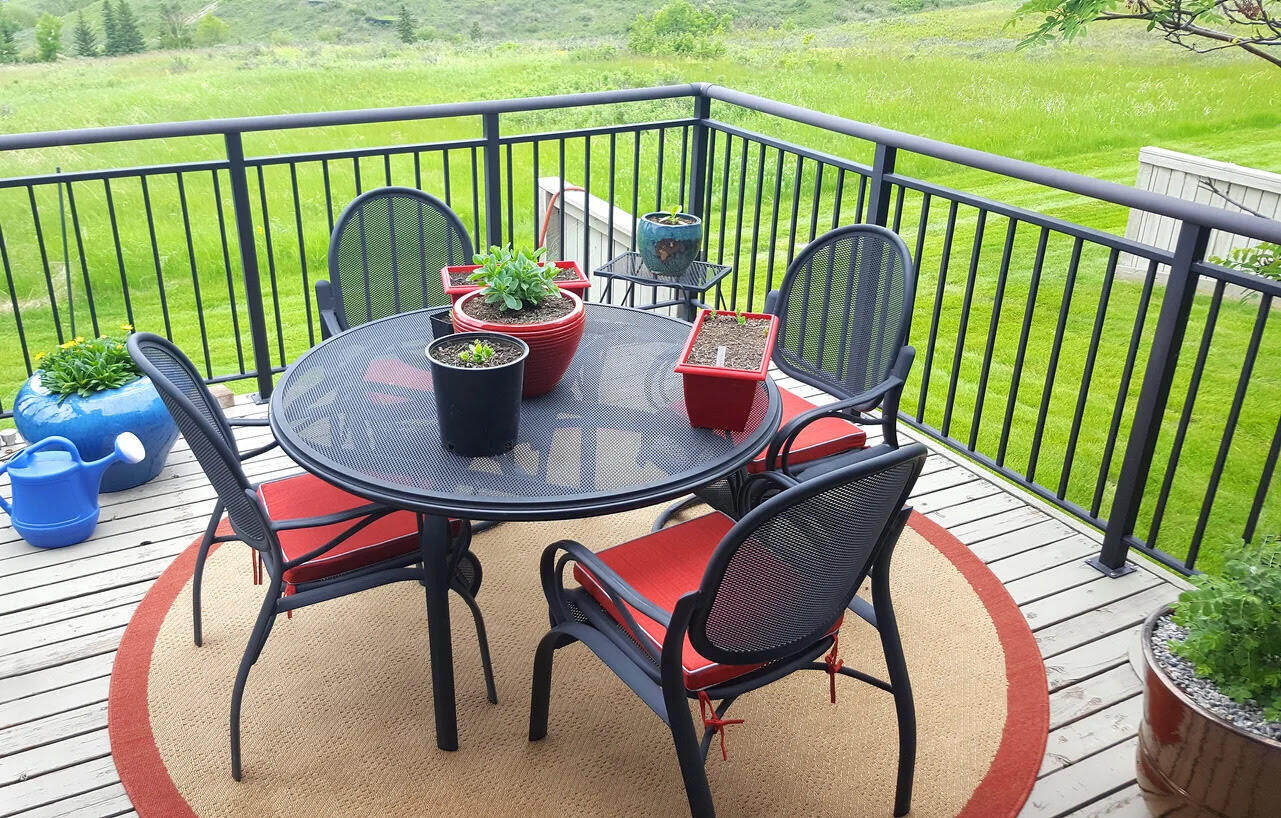
When it comes to outdoor furniture, metal pieces can withstand the elements and offer enduring beauty. However, over time, exposure to the sun, rain, and fluctuating temperatures can cause metal furniture to lose its luster, resulting in rust, corrosion, and chipped paint. Fortunately, with the right approach, you can rejuvenate your outdoor metal furniture and give it a fresh, vibrant look that will stand the test of time.
In this comprehensive guide, we will walk you through the essential steps to prepare your outdoor metal furniture for painting. Whether you have a vintage wrought iron chair, a sleek aluminum table, or a classic steel bench, the techniques outlined here will help you restore and revitalize your beloved outdoor pieces. From assessing the condition of the furniture to selecting the right paint and applying it with finesse, we'll cover every aspect of the process, ensuring that your metal furniture receives the care and attention it deserves.
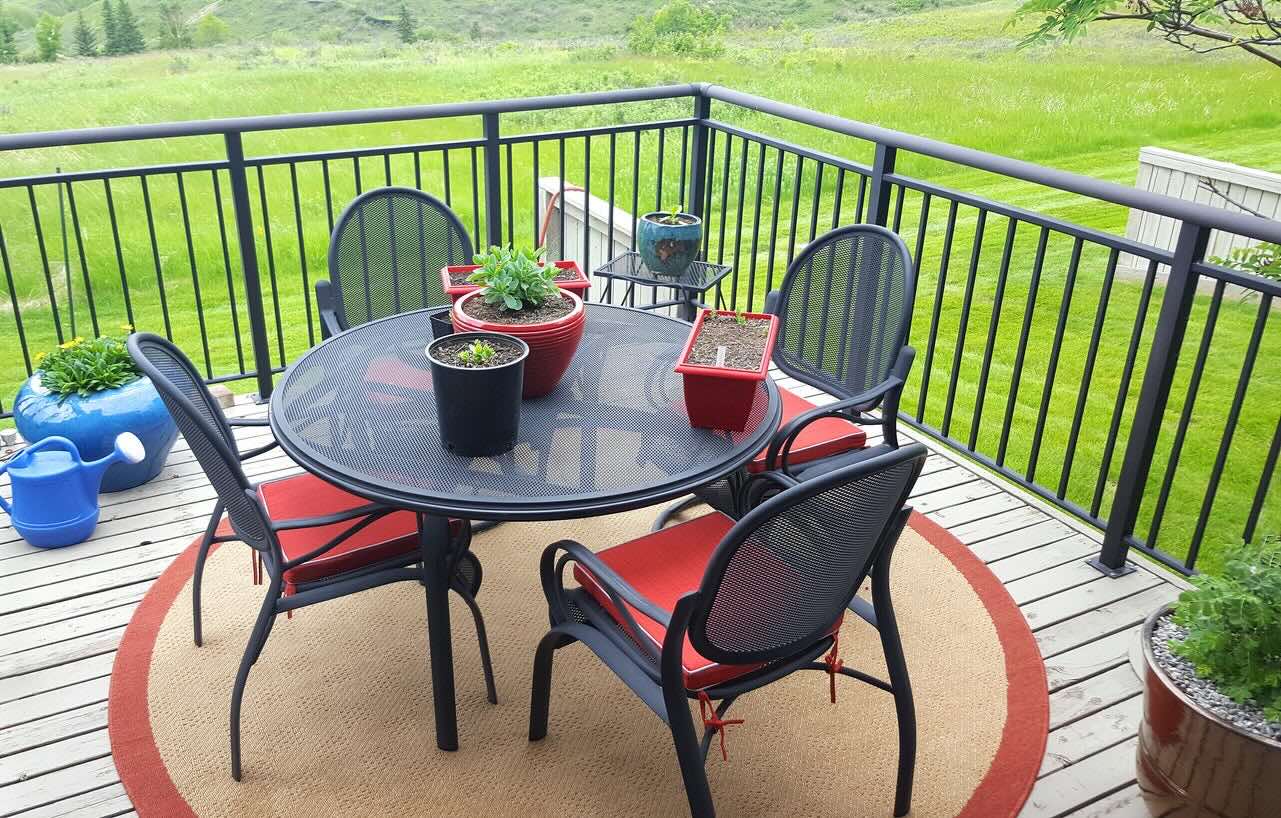
By following these expert tips, you can transform weather-worn and tired-looking metal furniture into stunning focal points for your outdoor space. So, roll up your sleeves, gather your supplies, and let's embark on a journey to breathe new life into your outdoor oasis.
Key Takeaways:
- Revitalize outdoor metal furniture by cleaning, sanding, priming, painting, and sealing for a stunning and enduring finish. Transform tired-looking pieces into beautiful focal points for your outdoor space.
- Choose the right paint and sealant to ensure long-lasting protection against the elements, maintaining the beauty and integrity of your outdoor metal furniture. With expert tips, breathe new life into your outdoor oasis.
Read more: How To Paint Outdoor Metal Furniture
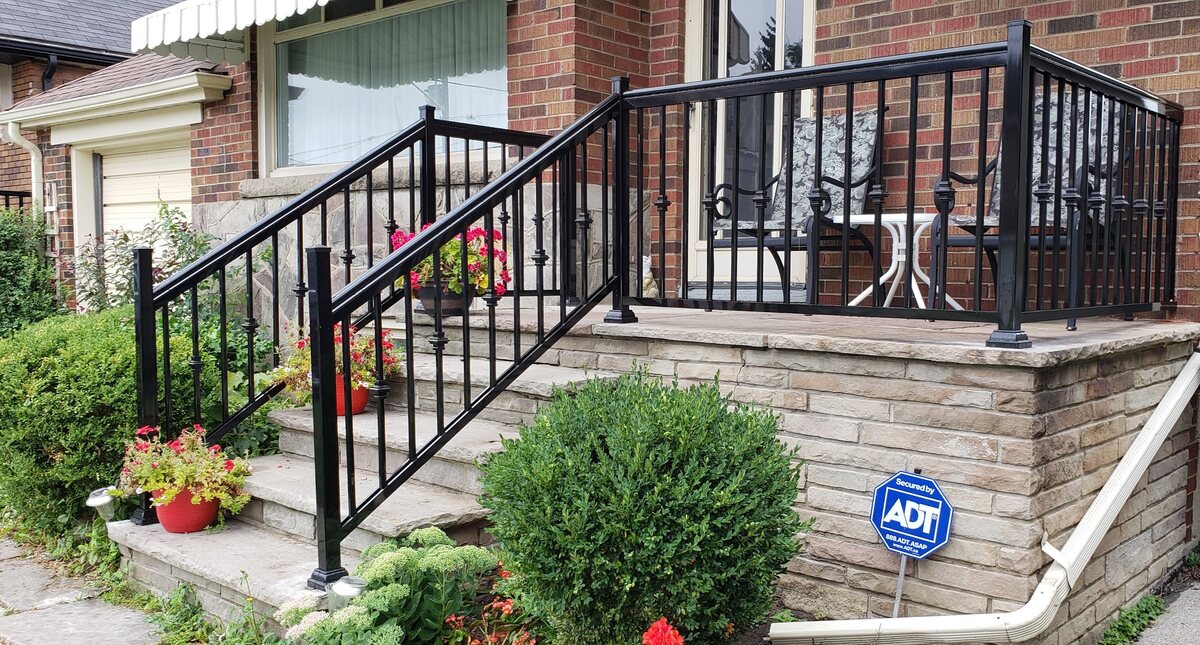
Assessing the Condition of the Furniture
Before diving into the revitalization process, it’s crucial to assess the current state of your outdoor metal furniture. Start by closely examining the surfaces for signs of rust, chipped paint, dents, or any other damage. Take note of areas where the paint has worn away or where rust has begun to form.
Next, check the structural integrity of the furniture. Wiggle the legs, armrests, and backrest to ensure that everything is stable and secure. Look for any signs of corrosion or weakened joints that may compromise the stability of the furniture.
If you notice significant rust or corrosion, it’s essential to address these issues before proceeding with the painting process. Use a wire brush or sandpaper to remove the rust, and consider applying a rust converter to prevent further corrosion. For dents or other structural damage, assess whether they can be repaired or if they require professional attention.
By thoroughly evaluating the condition of your outdoor metal furniture, you can identify the specific areas that need attention and develop a targeted plan for restoration. This initial assessment sets the stage for the subsequent steps in the preparation and painting process, ensuring that your efforts yield a stunning and long-lasting result.
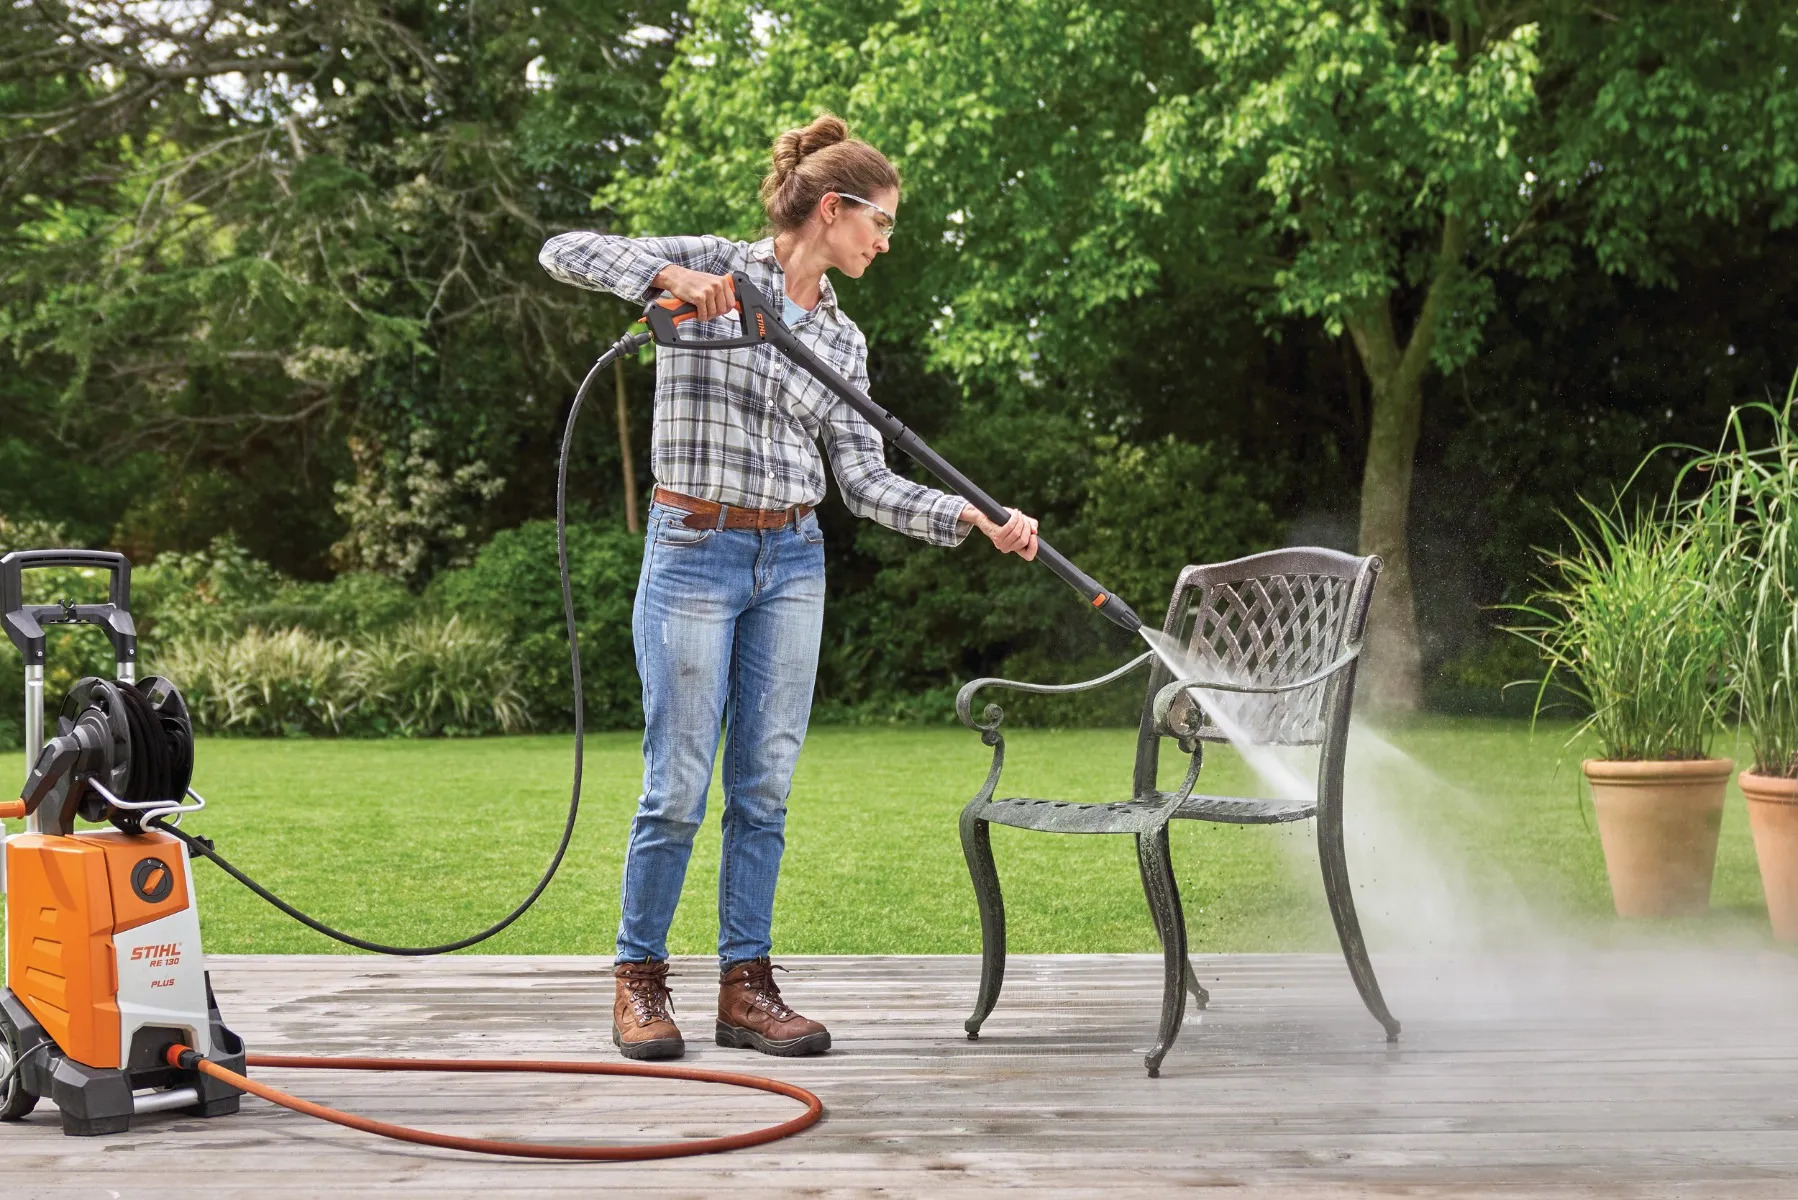
Cleaning the Metal Surface
Once you have assessed the condition of your outdoor metal furniture, the next crucial step is to thoroughly clean the surfaces to remove dirt, grime, and any residual debris. This cleaning process is essential for ensuring proper paint adhesion and a flawless, long-lasting finish.
Begin by preparing a cleaning solution. For most outdoor metal furniture, a mixture of mild dish soap and warm water will suffice. Use a soft-bristled brush or a sponge to apply the soapy solution to the surfaces, working in gentle, circular motions to dislodge dirt and grime. Pay close attention to crevices, intricate designs, and areas where debris may have accumulated.
After scrubbing the surfaces, rinse the furniture thoroughly with clean water to remove all traces of soap and dirt. If your outdoor metal furniture is particularly dirty or has stubborn stains, consider using a pressure washer on a low setting to achieve a deeper clean. Be cautious not to use excessive pressure, as this can damage the metal or force water into areas where it may cause rust or corrosion.
Once the furniture is clean, allow it to dry completely before proceeding to the next step. Depending on the weather and humidity levels, this may take a day or two. Ensure that the metal surfaces are entirely dry to prevent any moisture from becoming trapped under the paint, which could lead to adhesion issues and premature wear.
By meticulously cleaning the metal surfaces of your outdoor furniture, you create an optimal foundation for the subsequent steps in the preparation and painting process. This thorough cleaning not only enhances the aesthetic appeal of the furniture but also ensures that the new paint adheres flawlessly, resulting in a stunning and enduring finish.
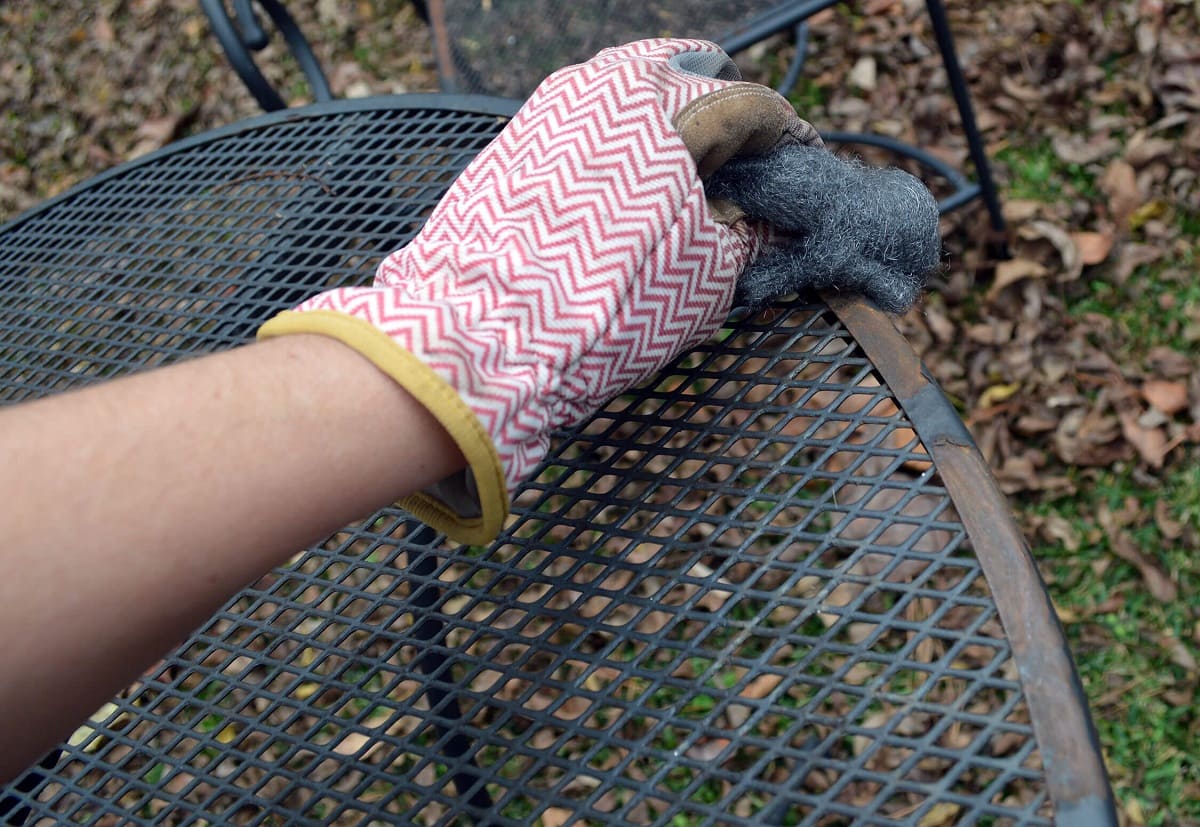
Sanding the Furniture
After cleaning the metal surfaces of your outdoor furniture, the next step in the preparation process involves sanding the furniture to create a smooth and uniform surface. Sanding is essential for removing any remaining traces of old paint, smoothing out imperfections, and promoting optimal paint adhesion.
Begin by selecting the appropriate sandpaper for the job. For most outdoor metal furniture, medium-grit sandpaper, typically in the range of 80 to 120 grit, is suitable for the initial sanding. This grit level effectively removes old paint and smooths out minor surface irregularities without being too abrasive. For intricate or detailed areas, consider using sanding sponges or small pieces of sandpaper to ensure thorough coverage.
With the sandpaper in hand, gently sand the entire surface of the furniture, working in the direction of the grain or in smooth, even strokes. Pay particular attention to areas where the old paint is chipped, flaking, or uneven. The goal is to create a consistent and slightly roughened surface that provides an ideal substrate for the new paint to adhere to.
Once the initial sanding is complete, wipe down the furniture with a clean, damp cloth to remove any dust and debris generated during the sanding process. Inspect the surfaces to ensure that they are smooth and free of any remaining traces of old paint or imperfections. If necessary, perform additional sanding to achieve the desired level of smoothness and uniformity.
By meticulously sanding your outdoor metal furniture, you create a pristine canvas for the application of primer and paint. This critical step sets the stage for a flawless and long-lasting finish, ensuring that your revitalized furniture will exude beauty and charm for years to come.
Applying Primer
Once the metal surfaces of your outdoor furniture have been thoroughly cleaned and sanded, the next step in the preparation process is to apply a high-quality primer. Primer serves as a crucial foundation for the paint, promoting adhesion, enhancing durability, and providing an even base for the color coat.
Before applying the primer, ensure that the furniture is free of any dust or debris resulting from the sanding process. Use a clean, dry cloth to wipe down the surfaces, removing any residual particles that could compromise the primer’s adhesion. It’s essential to work in a well-ventilated area and to protect the surrounding environment from overspray or drips by using drop cloths or newspaper.
Choose a primer specifically formulated for metal surfaces and outdoor use. Rust-inhibiting primers are particularly effective for outdoor metal furniture, as they help prevent corrosion and ensure long-term protection. Shake the primer can thoroughly to mix the contents and then apply a light, even coat to the furniture, holding the can approximately 8 to 12 inches away from the surfaces.
When applying the primer, use smooth, overlapping strokes to achieve comprehensive coverage. Be mindful of intricate details, crevices, and hard-to-reach areas, ensuring that the primer reaches all exposed surfaces. Allow the primer to dry completely according to the manufacturer’s instructions, typically within 1 to 2 hours, before proceeding to the next step.
Inspect the primed surfaces to ensure that they are uniform and free of any imperfections. If necessary, lightly sand any rough areas or drips with fine-grit sandpaper to achieve a smooth foundation for the paint. Once the surfaces are pristine, they are ready to receive the vibrant color that will breathe new life into your outdoor metal furniture.
By applying a high-quality primer to your outdoor metal furniture, you create a resilient and long-lasting base for the paint, ensuring that the revitalization process yields a flawless and enduring finish. The primer not only enhances the adhesion of the paint but also provides essential protection against the elements, preserving the beauty of your furniture for years to come.
Before painting outdoor metal furniture, make sure to clean the surface thoroughly with a wire brush and soapy water to remove any rust, dirt, and old paint. Sand the surface to create a smooth base for the new paint to adhere to.
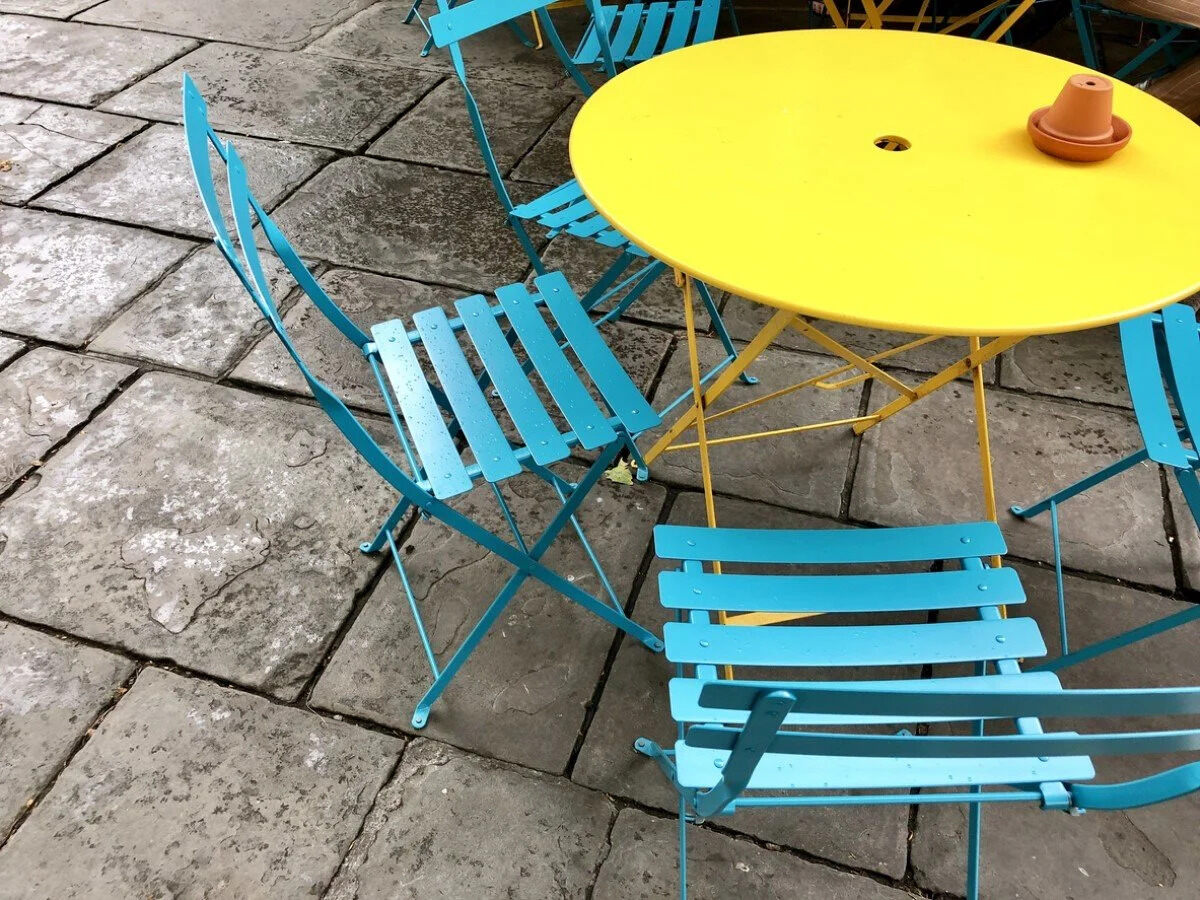
Choosing the Right Paint
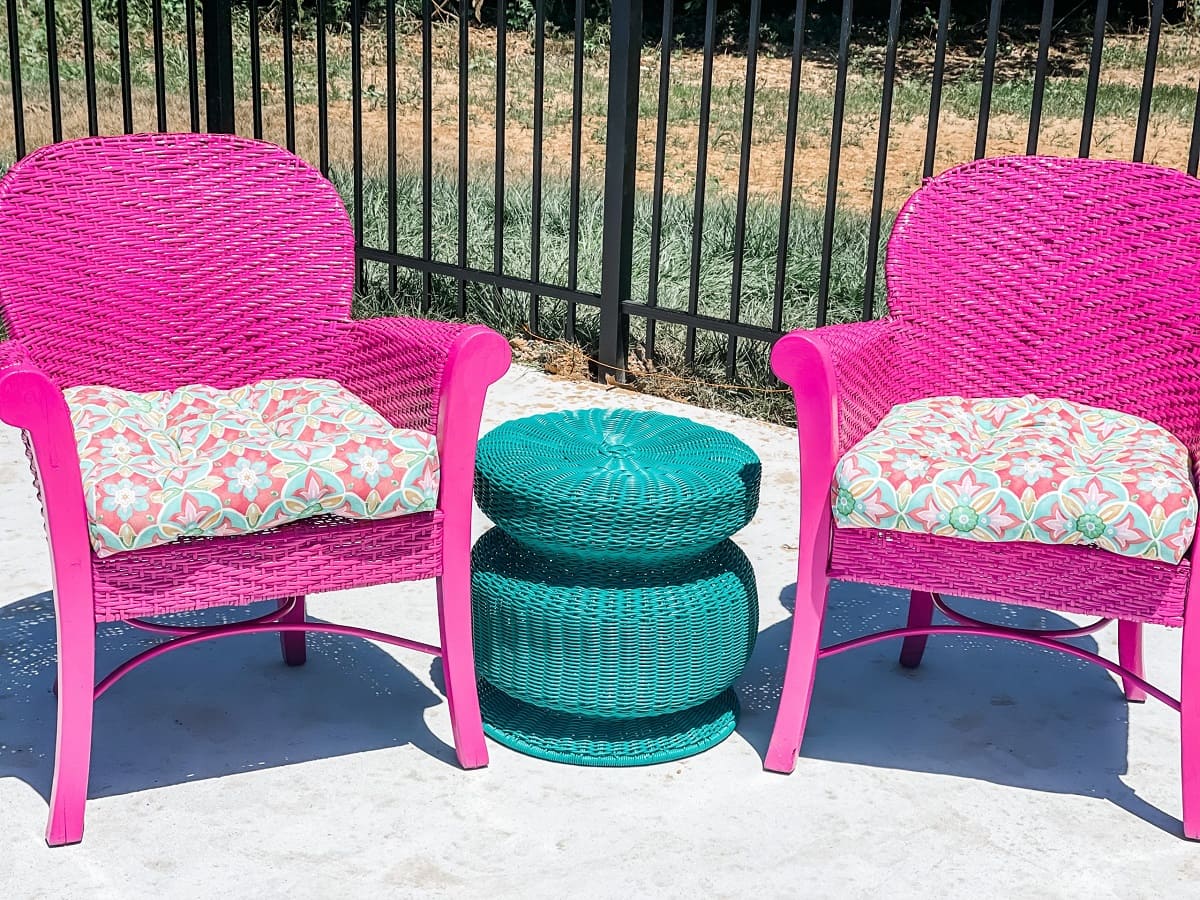
When it comes to revitalizing your outdoor metal furniture, selecting the right paint is essential for achieving a stunning and enduring finish. The ideal paint should not only complement your outdoor décor but also provide exceptional durability, weather resistance, and long-term protection against rust and corrosion.
Opt for a high-quality, outdoor-specific metal paint designed to withstand the rigors of the elements. Look for paints that offer rust-inhibiting properties and UV protection to ensure that your furniture maintains its beauty and integrity over time. Additionally, consider the color options available and choose a hue that harmonizes with your outdoor space while reflecting your personal style.
Before purchasing the paint, carefully review the manufacturer’s recommendations and instructions to ensure that the paint is suitable for the type of metal used in your furniture. Whether you have wrought iron, aluminum, steel, or another type of metal, it’s crucial to select a paint that is compatible with the specific material to maximize adhesion and longevity.
For optimal results, consider using a paint with a satin or semi-gloss finish, as these options not only provide a sleek and lustrous appearance but also offer enhanced resistance to moisture, making them ideal for outdoor applications. If you prefer a matte finish, ensure that the paint is formulated to withstand outdoor exposure and provide the necessary protective properties.
When it comes to application, choose between spray paint and brush-on paint based on your preferences and the intricacy of the furniture’s design. Spray paint offers quick and efficient coverage, making it well-suited for large, smooth surfaces, while brush-on paint allows for greater precision and control, making it ideal for detailed or ornate furniture pieces.
By carefully selecting the right paint for your outdoor metal furniture, you can ensure that the revitalization process results in a striking and enduring finish. The chosen paint should not only enhance the aesthetic appeal of the furniture but also provide essential protection, allowing your outdoor oasis to exude beauty and charm for years to come.
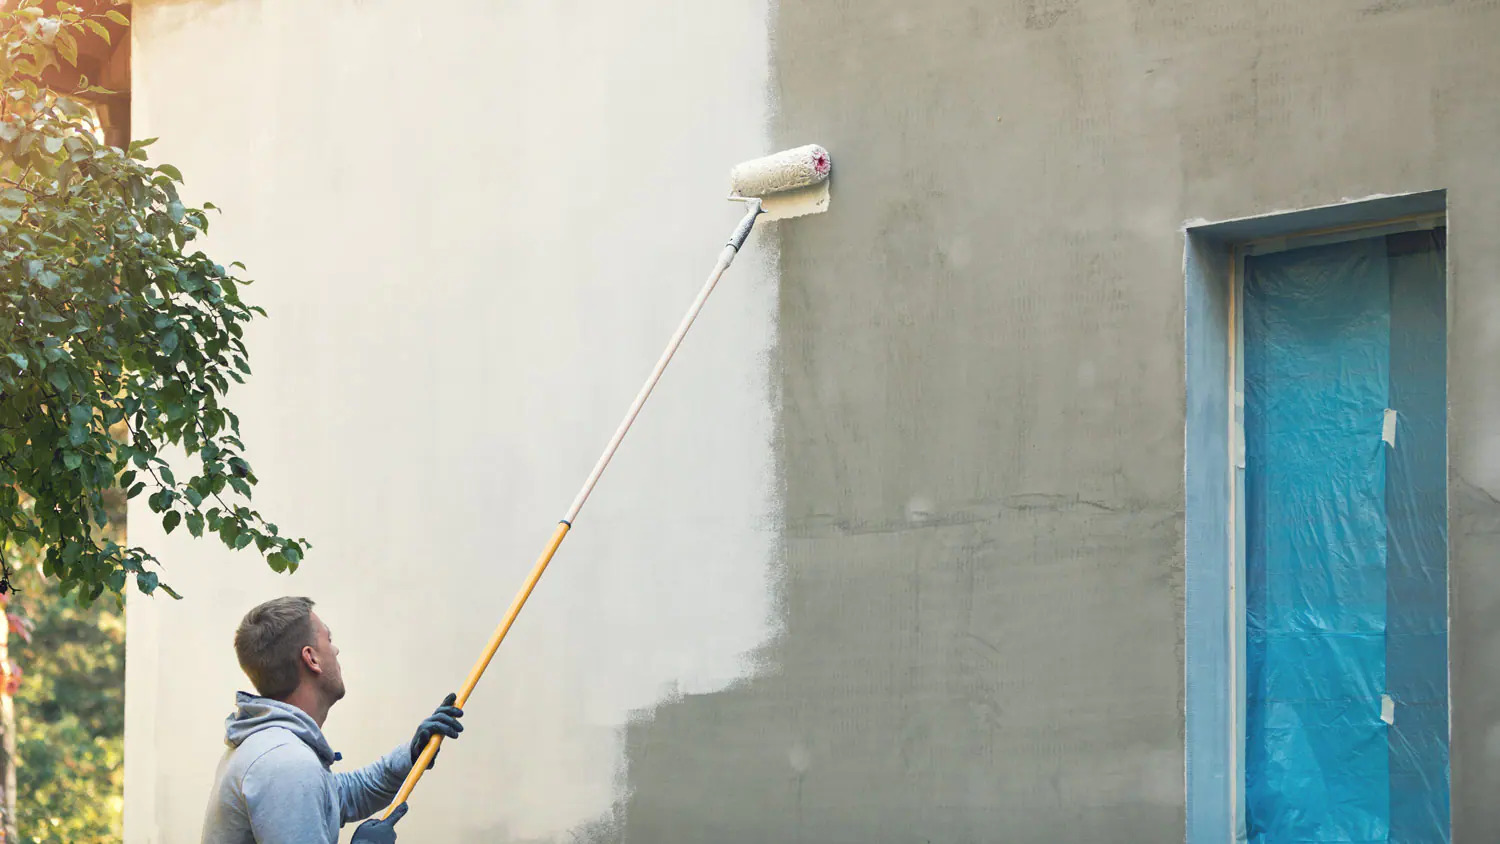
Applying the Paint
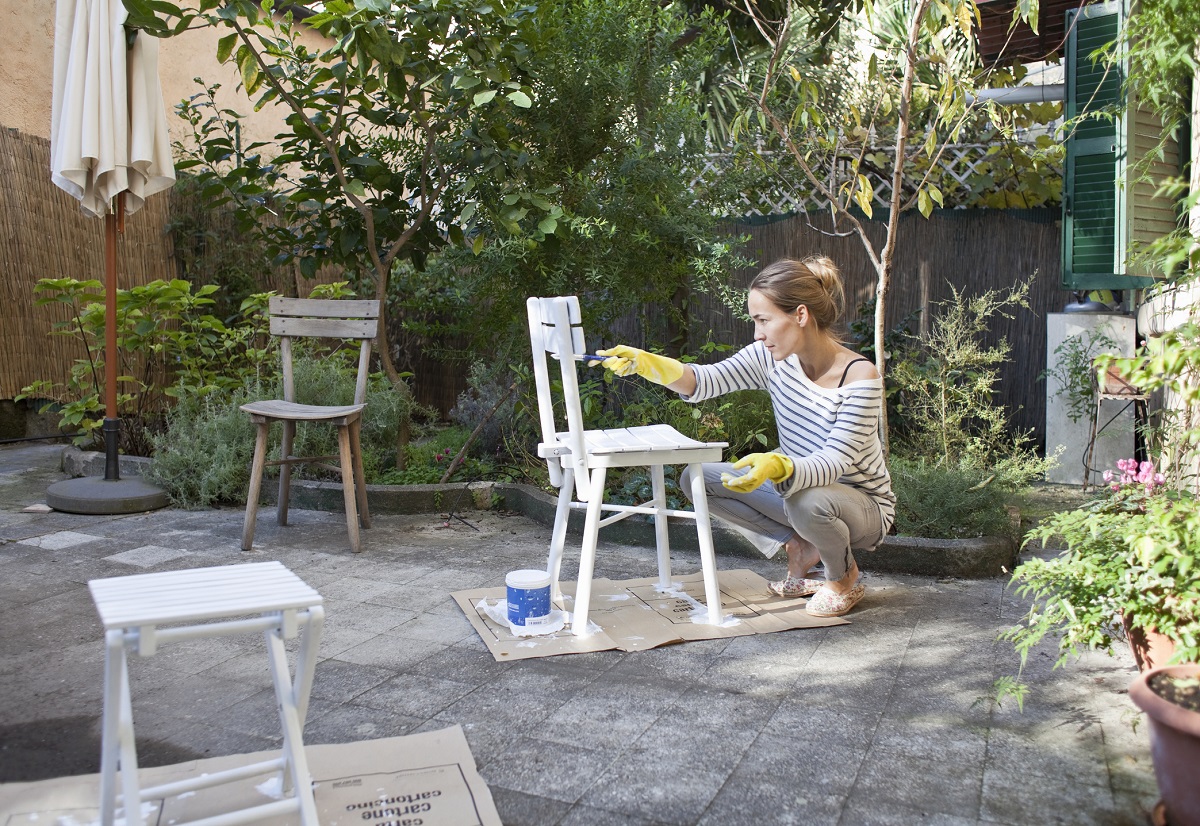
With your outdoor metal furniture primed and ready, it’s time to breathe new life into the surfaces with a fresh coat of paint. The application process requires precision, patience, and attention to detail to ensure a flawless and enduring finish that will enhance the beauty of your outdoor space.
Before painting, thoroughly shake the can of paint to mix the contents and ensure a consistent finish. If using brush-on paint, stir the paint thoroughly with a stir stick to achieve a uniform texture. Work in a well-ventilated area and protect the surrounding environment from overspray or drips by using drop cloths or newspaper.
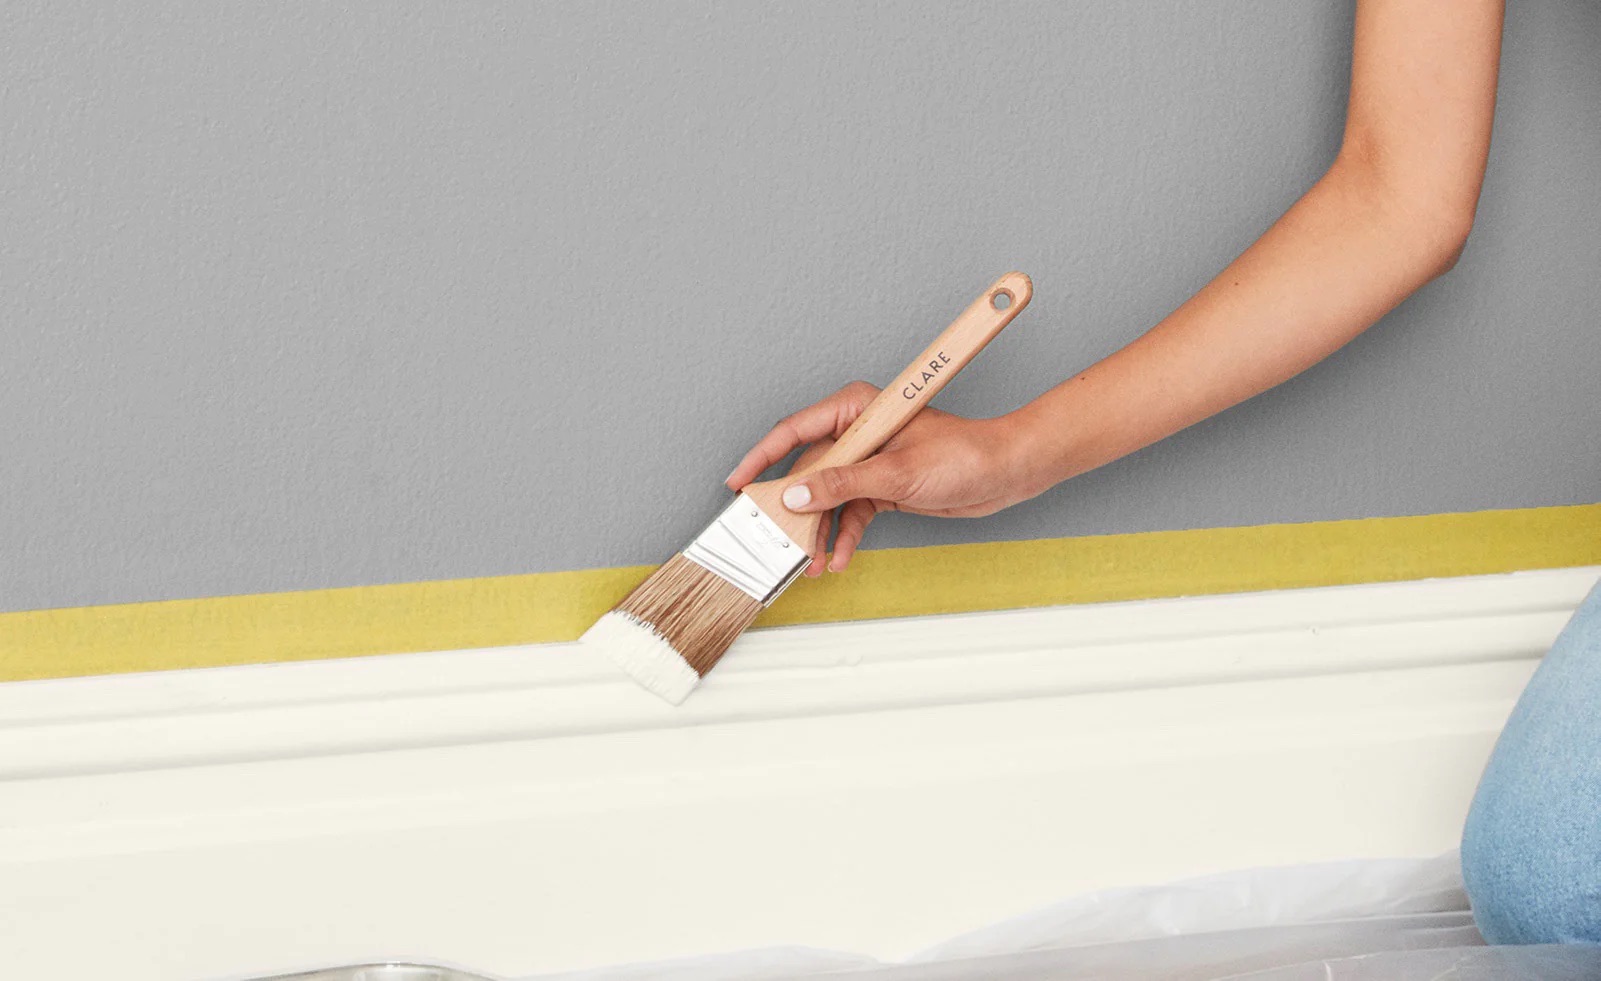
If using spray paint, hold the can approximately 8 to 12 inches away from the furniture and apply the paint using smooth, sweeping motions. Start with light, even coats, allowing each coat to dry according to the manufacturer’s instructions before applying the next. For brush-on paint, use high-quality brushes suitable for metal surfaces to achieve smooth and even coverage.
When applying the paint, focus on achieving comprehensive coverage while maintaining a consistent distance and angle to prevent drips or uneven application. Pay close attention to intricate details, crevices, and hard-to-reach areas, ensuring that the paint reaches all exposed surfaces for a uniform and professional finish.
After the initial coat, assess the coverage and determine if additional coats are necessary to achieve the desired color depth and opacity. Apply subsequent coats in the same manner as the first, allowing adequate drying time between each coat to ensure optimal adhesion and a flawless finish.
Once the final coat has been applied and allowed to dry thoroughly, inspect the painted surfaces to ensure uniform coverage and a smooth, lustrous finish. Address any imperfections or uneven areas promptly, either by lightly sanding and reapplying paint or by using touch-up techniques to achieve a flawless result.
By approaching the painting process with care and precision, you can transform your outdoor metal furniture into stunning focal points that exude beauty and charm. The application of high-quality paint not only enhances the aesthetic appeal of the furniture but also provides essential protection, ensuring that your revitalized pieces will stand the test of time in your outdoor sanctuary.
Sealing the Paint
After applying fresh paint to your outdoor metal furniture, it’s essential to protect the newly revitalized surfaces with a durable and weather-resistant sealant. Sealing the paint provides an additional layer of protection, enhances the finish’s longevity, and ensures that your furniture maintains its beauty and integrity despite exposure to the elements.
Choose a high-quality clear sealant specifically formulated for outdoor use on metal surfaces. Look for products that offer UV protection, moisture resistance, and durability to safeguard the paint and prevent premature wear and fading. It’s crucial to select a sealant that is compatible with the type of paint used and that complements the desired finish, whether matte, satin, or glossy.
Prior to applying the sealant, ensure that the painted surfaces are completely dry and free of any dust or debris. Use a clean, dry cloth to wipe down the furniture, removing any particles that could compromise the sealant’s adhesion. Work in a well-ventilated area and protect the surrounding environment from overspray or drips by using drop cloths or newspaper.
Apply the clear sealant in smooth, even coats, using a brush, roller, or spray can based on your preference and the intricacy of the furniture’s design. Focus on achieving comprehensive coverage while maintaining a consistent distance and angle to prevent drips or uneven application. Pay particular attention to intricate details and hard-to-reach areas, ensuring that the sealant protects all exposed surfaces.
Allow the initial coat of sealant to dry according to the manufacturer’s instructions before applying additional coats as needed to achieve the desired level of protection and durability. Ensure that each coat is dry to the touch before adding another layer, and assess the coverage and finish to determine if additional coats are necessary.
Once the sealant has dried thoroughly, inspect the surfaces to ensure uniform coverage and a smooth, lustrous finish. Address any imperfections or uneven areas promptly, either by applying additional sealant or by using touch-up techniques to achieve a flawless result.
By sealing the freshly painted surfaces of your outdoor metal furniture, you provide essential protection and ensure that the revitalization process yields a stunning and enduring finish. The sealant not only enhances the longevity of the paint but also safeguards the beauty of your furniture, allowing it to shine and endure in your outdoor sanctuary for years to come.
Conclusion
Revitalizing outdoor metal furniture through the process of cleaning, sanding, priming, painting, and sealing is a rewarding endeavor that can breathe new life into your outdoor space. By following the essential steps outlined in this comprehensive guide, you can transform weather-worn and tired-looking furniture into stunning focal points that exude beauty and charm for years to come.
Assessing the condition of the furniture provides a clear understanding of the restoration needed, allowing for targeted and effective revitalization. Thoroughly cleaning the metal surfaces removes dirt and debris, ensuring optimal paint adhesion and a flawless finish. Sanding the furniture creates a smooth and uniform surface, promoting adhesion and providing an ideal substrate for the new paint.
Applying a high-quality primer sets the stage for the paint, enhancing durability and providing essential protection against the elements. Choosing the right paint ensures that your furniture receives a vibrant and enduring finish, harmonizing with your outdoor décor while offering exceptional weather resistance and protection against rust and corrosion.
The meticulous application of paint breathes new life into the furniture, creating stunning and enduring surfaces that enhance the beauty of your outdoor space. Finally, sealing the paint provides an additional layer of protection, ensuring that your revitalized furniture maintains its luster and integrity despite exposure to the elements.
By embarking on this journey to restore and revitalize your outdoor metal furniture, you not only enhance the aesthetic appeal of your outdoor space but also create enduring focal points that exude beauty and charm. The revitalized furniture becomes a testament to your care and attention, providing a welcoming and inviting atmosphere for relaxation and enjoyment.
So, roll up your sleeves, gather your supplies, and embark on the journey to breathe new life into your outdoor oasis. With the expert tips and techniques provided in this guide, your outdoor metal furniture will stand the test of time, exuding enduring beauty and charm in your outdoor sanctuary.
Frequently Asked Questions about How To Prepare Outdoor Metal Furniture For Painting
Was this page helpful?
At Storables.com, we guarantee accurate and reliable information. Our content, validated by Expert Board Contributors, is crafted following stringent Editorial Policies. We're committed to providing you with well-researched, expert-backed insights for all your informational needs.


0 thoughts on “How To Prepare Outdoor Metal Furniture For Painting”