Home>Furniture & Design>Outdoor Furniture>How To Remove Outdoor Carpet
Outdoor Furniture
How To Remove Outdoor Carpet
Modified: February 18, 2024
Learn the best techniques for removing outdoor carpet from your patio or deck. Upgrade your outdoor furniture and design with these expert tips.
(Many of the links in this article redirect to a specific reviewed product. Your purchase of these products through affiliate links helps to generate commission for Storables.com, at no extra cost. Learn more)
Introduction
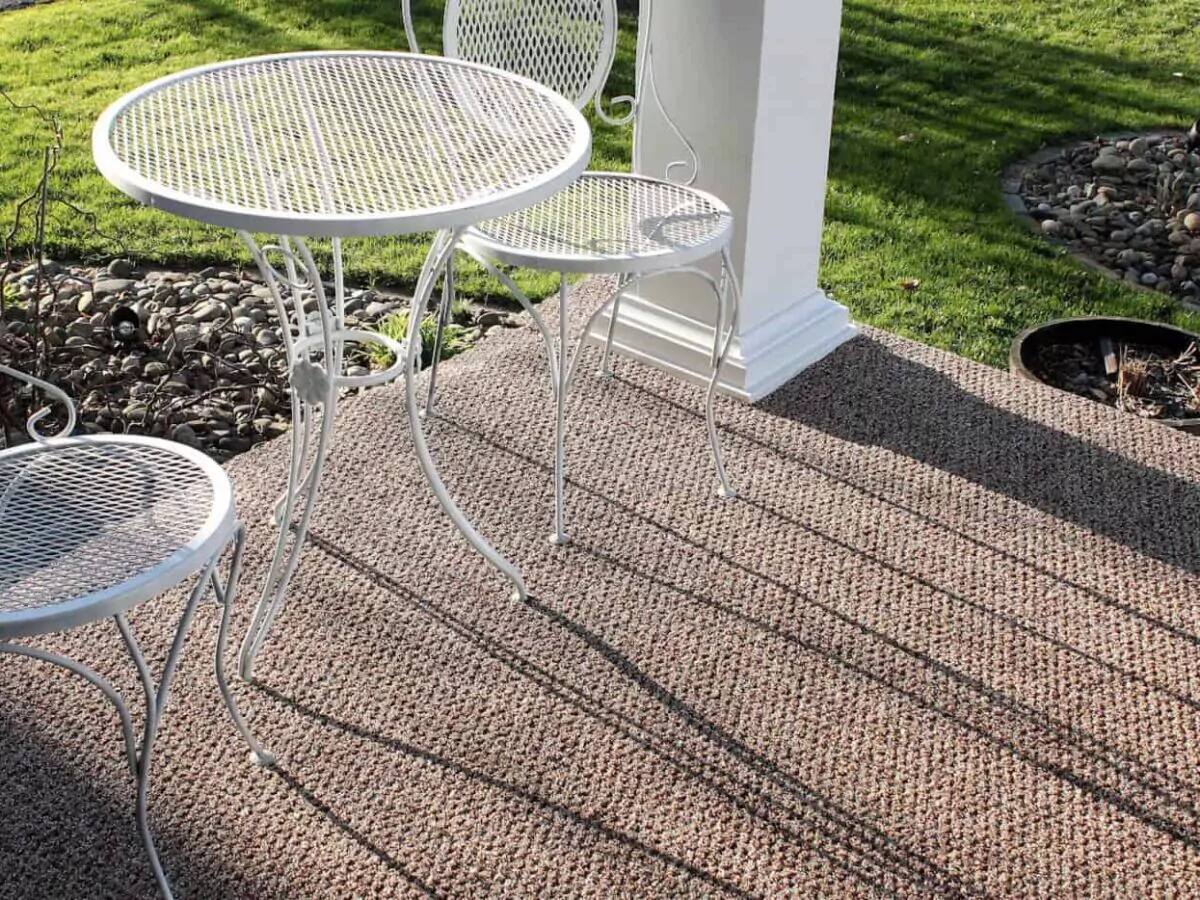
Outdoor carpets can be a great addition to your patio or deck, providing comfort and aesthetic appeal. However, over time, they can become worn, stained, or outdated, prompting the need for removal. Whether you’re looking to replace the outdoor carpet with a new one or opt for a different flooring option, knowing how to remove outdoor carpet properly is essential to ensure a smooth and successful transition.
In this comprehensive guide, we’ll walk you through the step-by-step process of removing outdoor carpet, from gathering the necessary tools and materials to properly cleaning the subfloor. By following these steps, you’ll be able to tackle this home improvement project with confidence and achieve a clean and pristine surface for your outdoor space.
Let’s dive into the details of how to remove outdoor carpet and revitalize your outdoor living area.
Key Takeaways:
- Prepare for Success
Gather tools and clear the area before removing outdoor carpet. Protect surfaces, inspect for mold, and ensure proper ventilation for a smooth and safe process. - Clean and Dispose Responsibly
Thoroughly clean the subfloor and dispose of old carpet properly. Consider recycling or donating, and follow local regulations for eco-friendly removal.
Step 1: Gather Necessary Tools and Materials
Before embarking on the outdoor carpet removal process, it’s essential to gather the required tools and materials to ensure efficiency and safety. Here’s a list of items you’ll need:
- Utility Knife: A sharp utility knife will be indispensable for cutting and slicing through the carpet and its underlying materials.
- Gloves: Sturdy work gloves will protect your hands from potential abrasions and ensure a secure grip while handling the carpet and debris.
- Mask: A protective mask is crucial for safeguarding your respiratory system from dust and airborne particles during the removal process.
- Goggles: Safety goggles will shield your eyes from any debris or particles that may become dislodged during the removal process.
- Pry Bar: A pry bar or crowbar will aid in lifting and separating the carpet from the subfloor, particularly in areas where adhesives are present.
- Trash Bags: Sturdy trash bags are essential for containing and disposing of the removed carpet and padding.
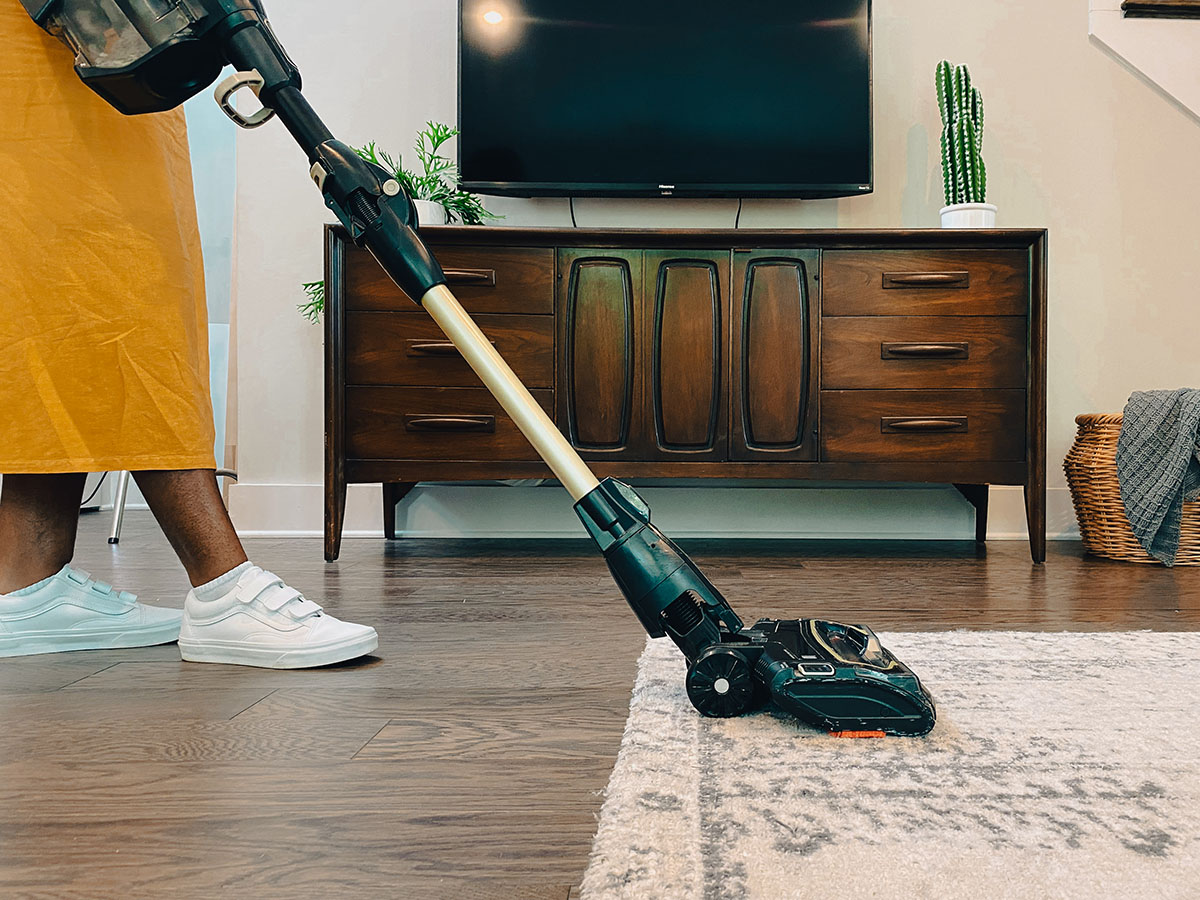
- Vacuum Cleaner: A vacuum cleaner with a hose attachment will help in removing loose debris and remnants from the subfloor.
- Adhesive Remover (if needed): If the outdoor carpet is glued down, an adhesive remover or solvent may be necessary to dissolve and eliminate the adhesive residue.
By ensuring that you have these tools and materials on hand, you’ll be well-equipped to commence the outdoor carpet removal process smoothly and efficiently. With safety and preparation in mind, you’re ready to move on to the next steps in revitalizing your outdoor space.
Step 2: Prepare the Area
Before diving into the actual removal of the outdoor carpet, it’s crucial to prepare the surrounding area to facilitate a seamless and organized process. Here are the essential steps to prepare the space:
- Clear the Area: Remove any furniture, planters, or other items from the outdoor space to create an open and unobstructed work area. This will prevent potential tripping hazards and allow for easier access to the carpet.
- Ventilate the Space: Since the removal process may generate dust and debris, it’s important to ensure adequate ventilation by opening windows and doors. If possible, consider using fans to improve air circulation and minimize airborne particles.
- Protect Adjacent Surfaces: If there are adjacent surfaces, such as walls or steps, that you want to safeguard from potential damage, consider using masking tape or protective coverings to shield these areas during the removal process.
- Inspect for Mold or Mildew: Before proceeding, inspect the outdoor carpet and the subfloor for any signs of mold or mildew. If present, take appropriate measures to address these issues before initiating the removal process.
By meticulously preparing the area, you’ll create a safer and more conducive environment for removing the outdoor carpet. This proactive approach will also contribute to a smoother transition and help protect the integrity of the surrounding surfaces.
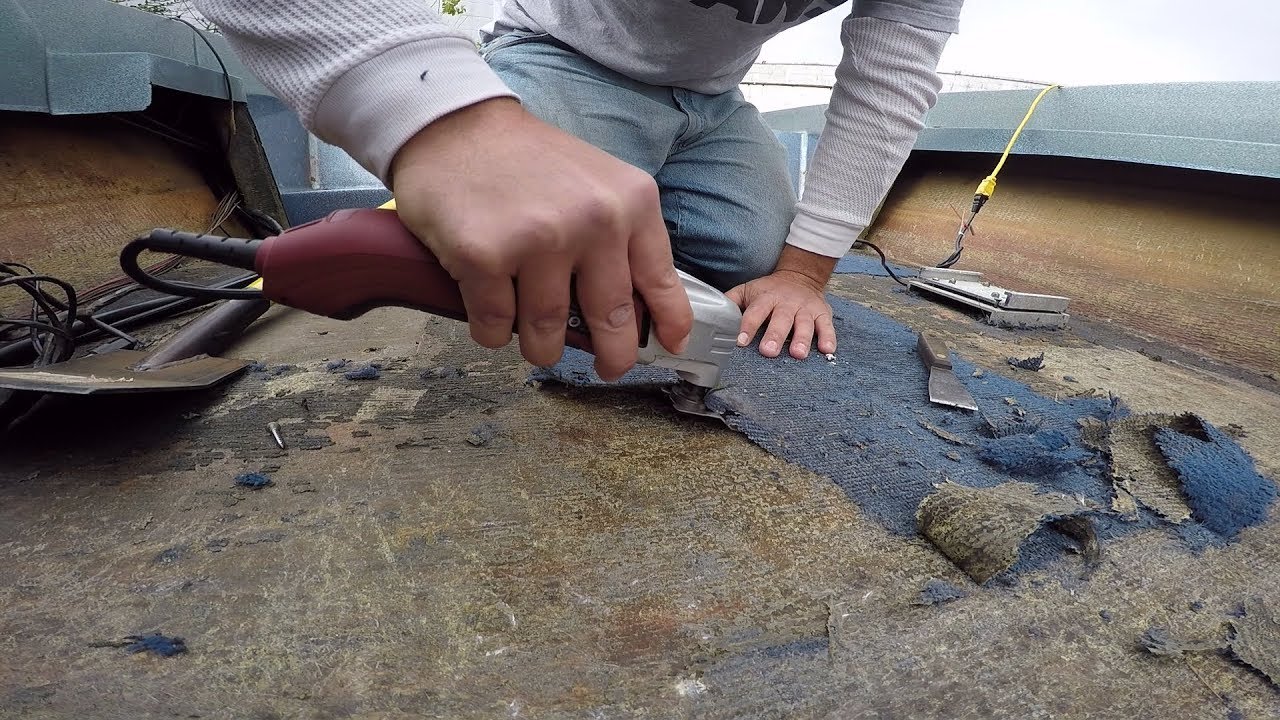
Step 3: Remove the Outdoor Carpet
Now comes the pivotal phase of actually removing the outdoor carpet. This step involves a systematic approach to effectively lift and detach the carpet from the subfloor. Here’s a detailed breakdown of the process:
- Start at a Corner: Begin by locating a corner of the outdoor carpet and carefully lifting it with a pry bar or your gloved hands. Slowly peel back the carpet to reveal the underlying padding and subfloor.
- Cut the Carpet into Manageable Sections: Using a utility knife, cut the carpet into manageable sections, typically 3 to 4 feet wide. This will facilitate easier handling and disposal of the carpet and padding.
- Remove the Padding: Once the carpet is lifted, proceed to detach the padding beneath it. Similar to the carpet, cut the padding into sections for efficient removal.
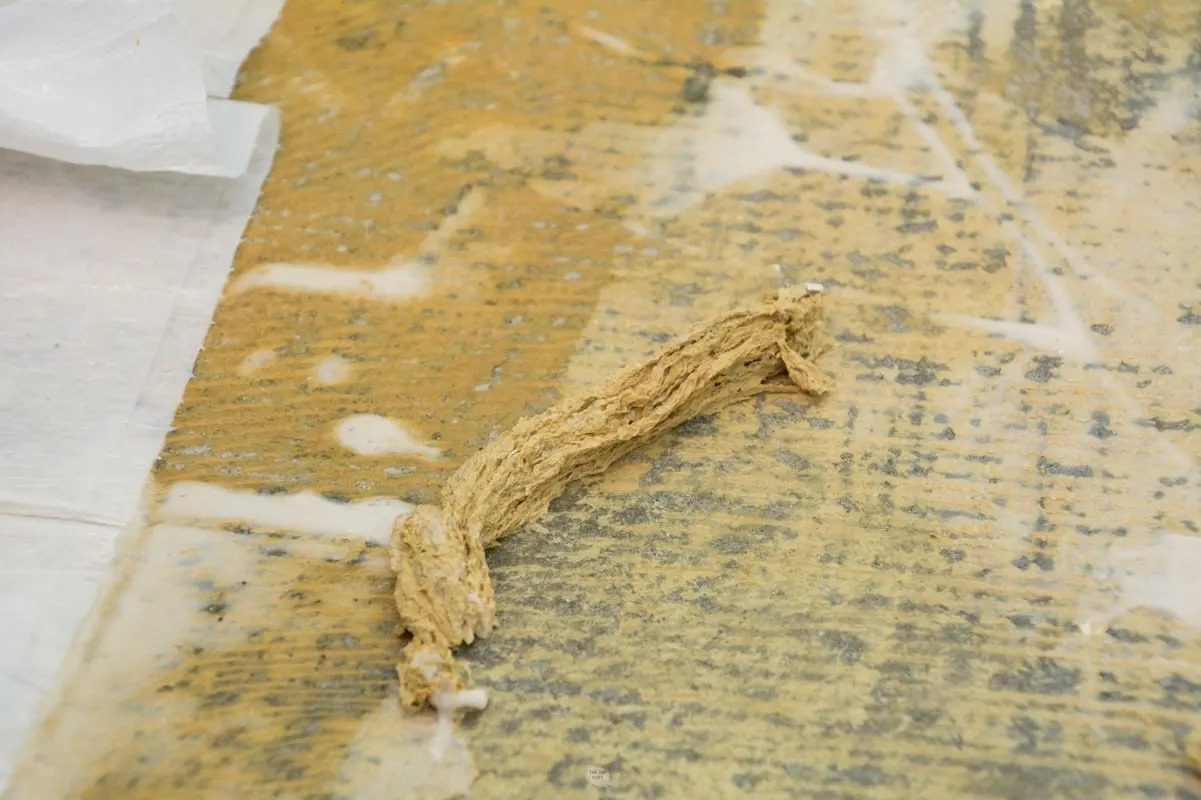
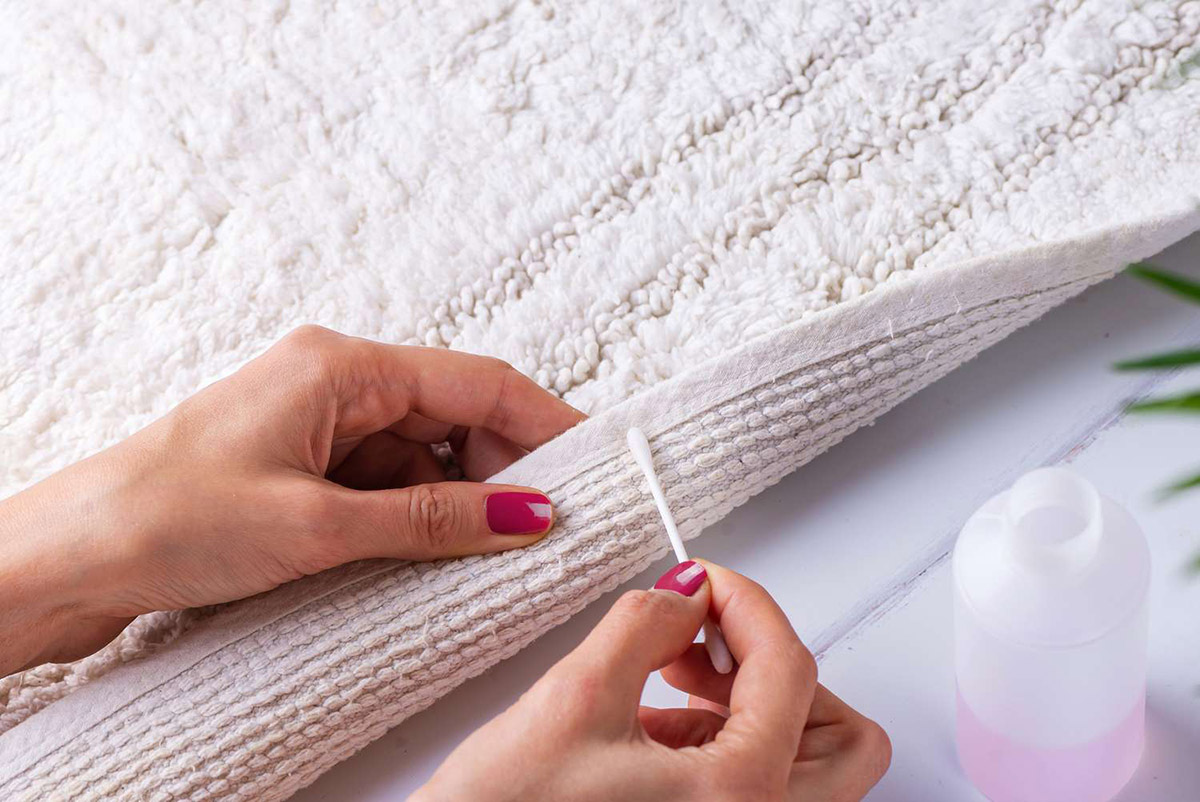
- Address Adhesive Residue (if applicable): If the outdoor carpet was secured with adhesive, you may encounter residual adhesive on the subfloor. In such cases, use an adhesive remover or solvent as per the manufacturer’s instructions to dissolve and eliminate the adhesive remnants.
- Dispose of the Carpet and Padding: Place the cut sections of carpet and padding into sturdy trash bags for disposal. Ensure that the bags are securely sealed to contain the debris.
By methodically following these steps, you’ll effectively remove the outdoor carpet and prepare the subfloor for the next phase of the renovation process. It’s essential to exercise caution and patience during this phase to ensure a thorough and efficient removal.
Use a utility knife to cut the outdoor carpet into manageable sections. Then, use a pry bar to lift and remove the carpet from the surface. Be sure to dispose of the carpet properly.
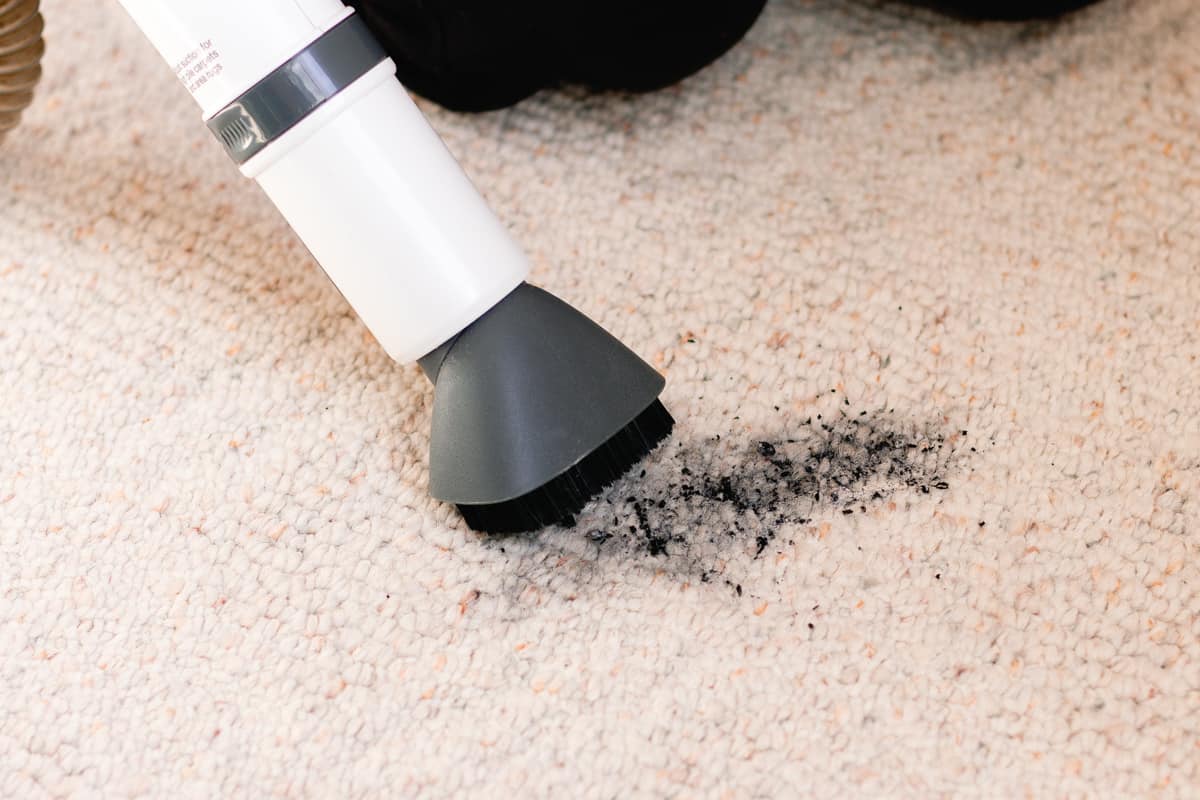
Step 4: Clean the Subfloor
With the outdoor carpet and padding successfully removed, the next critical step involves thoroughly cleaning the subfloor to prepare it for any future flooring installation or to restore it to its original state. Here’s a comprehensive guide to cleaning the subfloor:
- Remove Debris and Residues: Use a vacuum cleaner with a hose attachment to meticulously remove any loose debris, dust, or remnants from the subfloor. Pay close attention to corners, edges, and seams to ensure a comprehensive cleaning.
- Address Adhesive Residue: If adhesive residue remains on the subfloor from the previous carpet installation, apply an adhesive remover or solvent as recommended by the manufacturer. Allow the product to penetrate and dissolve the adhesive, and then carefully scrape away the softened residue using a putty knife or scraper.
- Inspect for Damage: Take this opportunity to inspect the subfloor for any signs of damage, such as water stains, rot, or uneven surfaces. Address any issues as needed before proceeding with the installation of new flooring materials.
- Consider Subfloor Sealers: Depending on the type of subfloor material, such as wood or concrete, you may opt to apply a suitable subfloor sealer to enhance its durability and moisture resistance. This additional step can contribute to the longevity of the new flooring and protect the subfloor from potential moisture-related issues.
By diligently cleaning and preparing the subfloor, you’ll create an optimal foundation for the subsequent steps in the renovation process. A well-prepped subfloor sets the stage for the installation of new flooring, ensuring a smooth and professional result for your outdoor living space.
Read more: How To Remove Carpet On Stairs
Step 5: Dispose of the Old Carpet
Once the outdoor carpet and padding have been removed and the subfloor is cleaned, it’s essential to address the proper disposal of the old carpet and associated materials. Responsible disposal is not only environmentally conscious but also contributes to a safe and organized work environment. Here’s a detailed guide for disposing of the old carpet:
- Check Local Regulations: Before disposing of the old carpet, familiarize yourself with local regulations and guidelines regarding the disposal of large items and construction debris. Some municipalities may have specific directives for carpet disposal, including designated drop-off locations or recycling options.
- Reuse or Recycle: If the outdoor carpet is in relatively good condition, consider repurposing it for other projects or donating it to organizations that may find a use for it. Additionally, explore recycling facilities that accept old carpets, as certain materials may be recyclable.
- Securely Seal and Package: Place the cut sections of the old carpet and padding into durable trash bags, ensuring that they are securely sealed to prevent any loose fibers or debris from escaping during transport.
- Arrange for Disposal: Contact your local waste management or sanitation department to inquire about the proper procedures for disposing of large items such as old carpeting. They can provide guidance on scheduled pick-ups, drop-off locations, or specialized disposal services.
- Hire a Disposal Service: If the volume of debris is substantial or if you prefer to delegate the disposal process, consider hiring a professional junk removal service that can handle the removal and responsible disposal of the old carpet and associated materials.
By adhering to proper disposal practices, you’ll contribute to environmental sustainability and ensure that the remnants of the old carpet are handled in accordance with local regulations. This conscientious approach marks the final step in the outdoor carpet removal process, setting the stage for the next phase of enhancing your outdoor living space.
Conclusion
Removing outdoor carpet is a transformative step in revitalizing your outdoor living space, paving the way for new flooring options and design possibilities. By following the systematic process outlined in this guide, you’ve gained the knowledge and confidence to tackle this home improvement project with precision and efficiency. From gathering the necessary tools and materials to responsibly disposing of the old carpet, each step plays a crucial role in achieving a successful outcome.
As you embark on this endeavor, keep in mind that thorough preparation, attention to detail, and a conscientious approach to disposal are key elements in the outdoor carpet removal process. By creating a safe and organized work environment, you ensure a seamless transition to the next phase of enhancing your outdoor area.
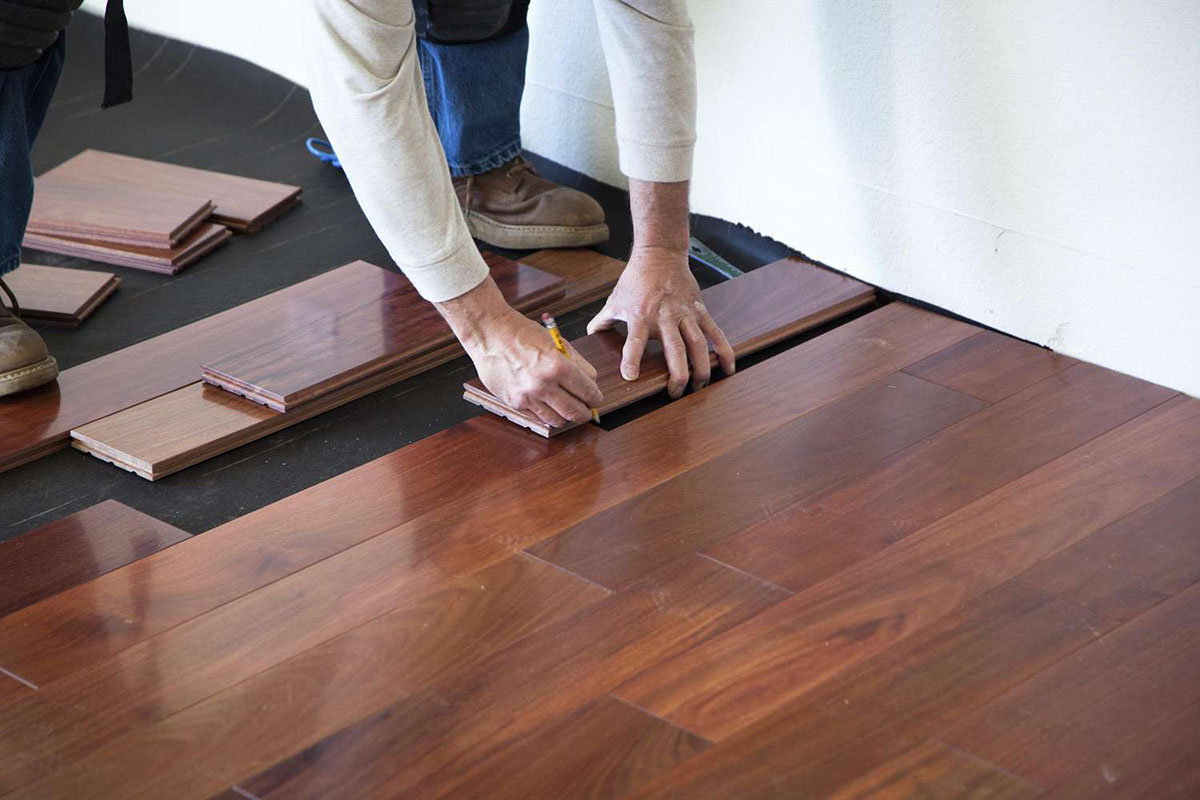
Whether you’re replacing the outdoor carpet with a new flooring option or embracing a different design direction, the removal process sets the stage for a fresh and inviting outdoor space. Be sure to consider your preferences, the environmental impact, and the long-term durability of the new flooring materials as you move forward.
With the old carpet removed and the subfloor primed for the next steps, you’re ready to embark on the exciting journey of transforming your outdoor living area. Embrace the possibilities, unleash your creativity, and envision the captivating outdoor oasis that awaits you.
By mastering the art of outdoor carpet removal, you’ve taken a significant stride in shaping an outdoor space that reflects your style and enhances your lifestyle. Cheers to the journey ahead and the endless potential for creating a captivating outdoor haven.
Frequently Asked Questions about How To Remove Outdoor Carpet
Was this page helpful?
At Storables.com, we guarantee accurate and reliable information. Our content, validated by Expert Board Contributors, is crafted following stringent Editorial Policies. We're committed to providing you with well-researched, expert-backed insights for all your informational needs.


0 thoughts on “How To Remove Outdoor Carpet”