Articles
How To Remove A Carpet Gripper
Published: December 10, 2023
Discover the best techniques for removing a carpet gripper with our informative articles. Learn how to safely remove the gripper to avoid damaging your floors.
(Many of the links in this article redirect to a specific reviewed product. Your purchase of these products through affiliate links helps to generate commission for Storables.com, at no extra cost. Learn more)
Introduction
Removing a carpet gripper can be a daunting task, especially if you’re not sure where to start. However, with the right tools and a bit of patience, you can easily remove a carpet gripper and have your floor ready for a new carpet or other flooring options. In this article, we will guide you through the step-by-step process of removing a carpet gripper, ensuring a smooth and hassle-free experience.
Before we begin, it’s important to understand what a carpet gripper is. A carpet gripper, also known as a tack strip, is a strip of wood or metal with small sharp nails protruding from it. It is installed around the perimeter of a room to hold the carpet in place. Removing the carpet gripper is necessary when you want to replace the carpet, install a different flooring material, or if the carpet gripper has become damaged or worn out.
This step-by-step guide will help you safely remove a carpet gripper without causing damage to your floors:
Key Takeaways:
- Safely and efficiently remove a carpet gripper by gathering the necessary tools, preparing the area, and using caution to avoid damage to the floor or injury.
- Thoroughly clean the area after removing the carpet gripper to ensure a debris-free surface, ready for the installation of new flooring materials.
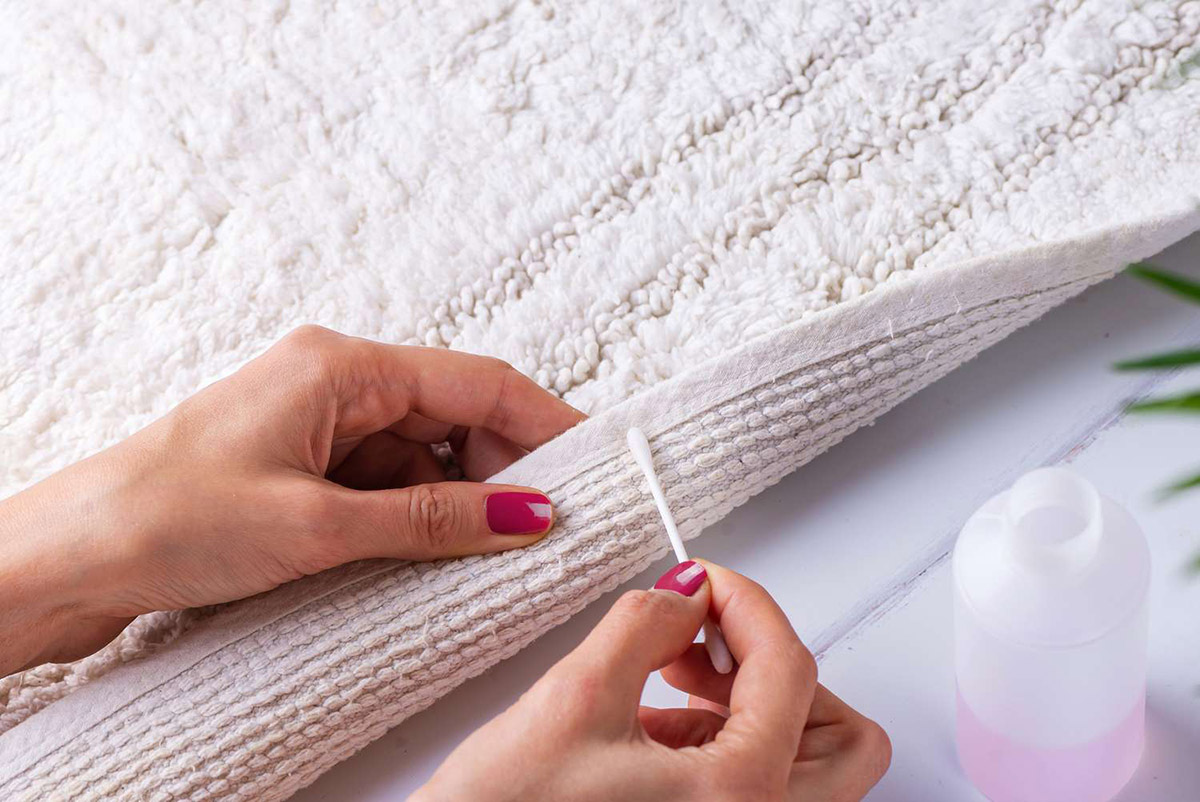
Read more: How To Remove A Carpet Adhesive
Materials Needed
Before you begin removing the carpet gripper, it’s essential to gather the necessary materials to ensure a smooth and efficient process. Here are the materials you’ll need:
- Protective gloves
- Safety goggles
- Pry bar or crowbar
- Hammer
- Pliers
- Utility knife
- Vacuum cleaner
- Putty knife or scraper
- Bucket or trash bag
- Cleaning solution or mild detergent
- Clean cloths or rags
These materials will help make the carpet gripper removal process safer and more efficient. Once you have gathered these items, you’ll be ready to begin the removal process.
Step 1: Gather the Tools
Before you start removing the carpet gripper, it’s important to gather all the necessary tools. Having the right tools on hand will make the process easier and more efficient. Here are the tools you’ll need:
- Pry bar or crowbar: This will help you loosen and lift the carpet gripper from the floor.
- Hammer: You’ll need a hammer to provide leverage and strike the pry bar or crowbar if needed.
- Pliers: Pliers will help you grip and remove any stubborn nails or staples.
- Utility knife: Use a utility knife to cut any carpet that may be attached to the gripper.
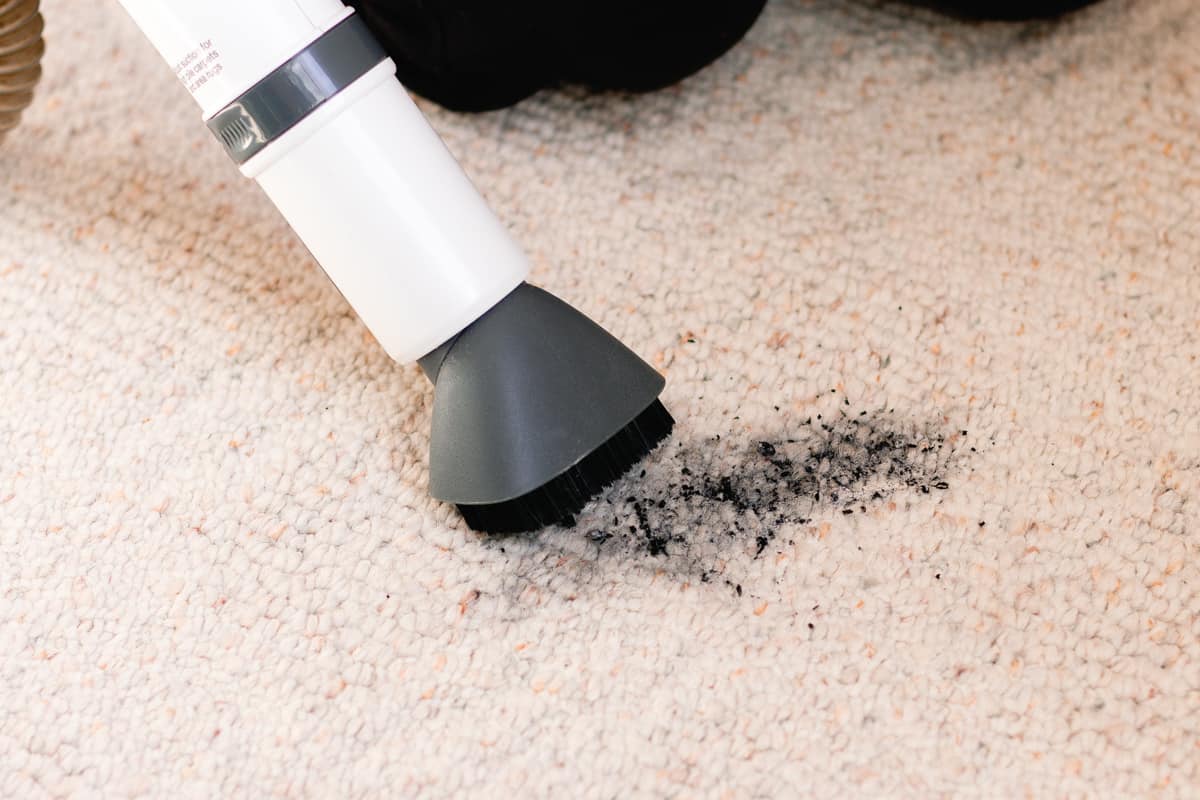
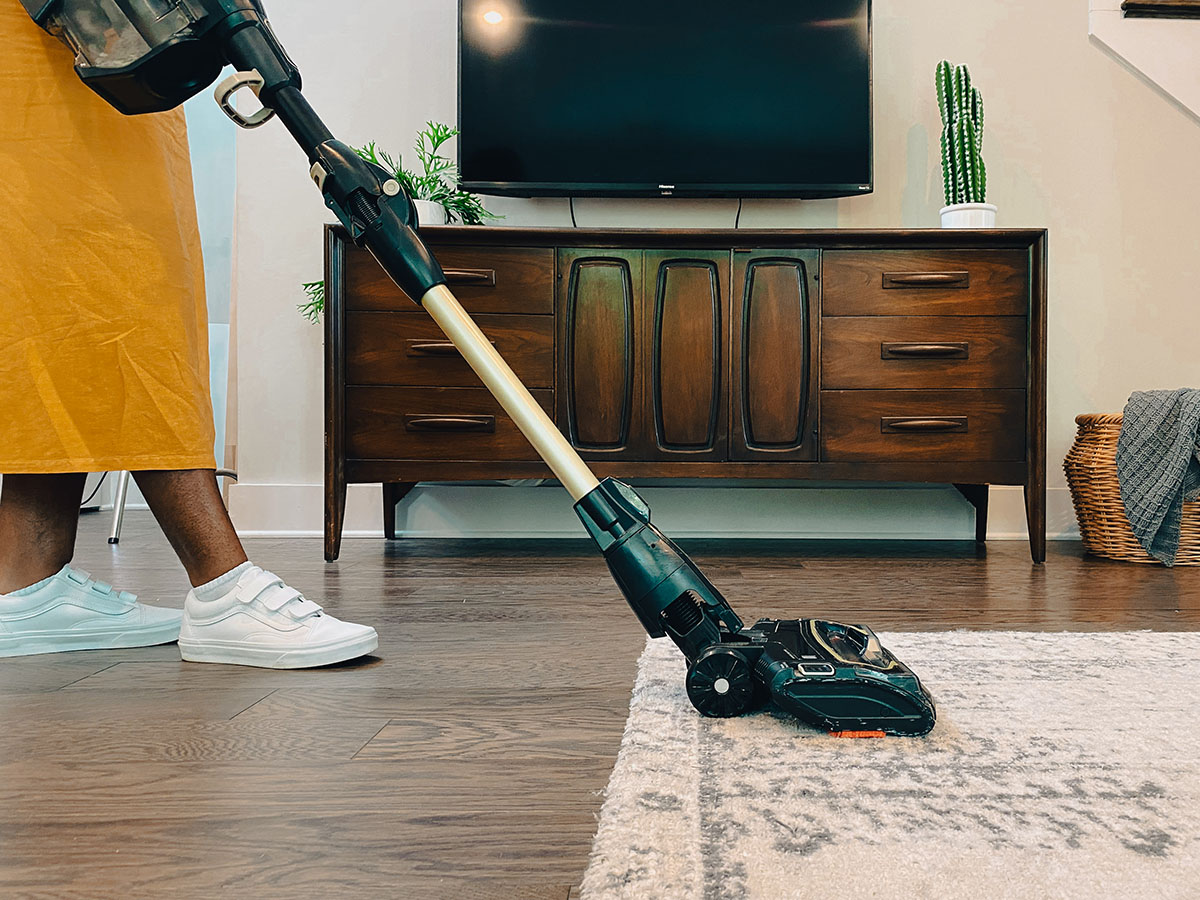
- Vacuum cleaner: This will be used to clean up any dust or debris that may be left behind after removing the gripper.
- Putty knife or scraper: A putty knife or scraper will come in handy to remove any adhesive residue left on the floor.
- Bucket or trash bag: Use a bucket or trash bag to collect and dispose of any nails, staples, or debris you remove.
- Cleaning solution or mild detergent: You’ll need a cleaning solution or mild detergent to thoroughly clean the floor after removing the carpet gripper.
- Clean cloths or rags: These will be used to wipe down and dry the floor after cleaning.
Having these tools readily available will save you time and effort during the carpet gripper removal process. Ensure that your tools are in good condition and accessible before proceeding to the next step.
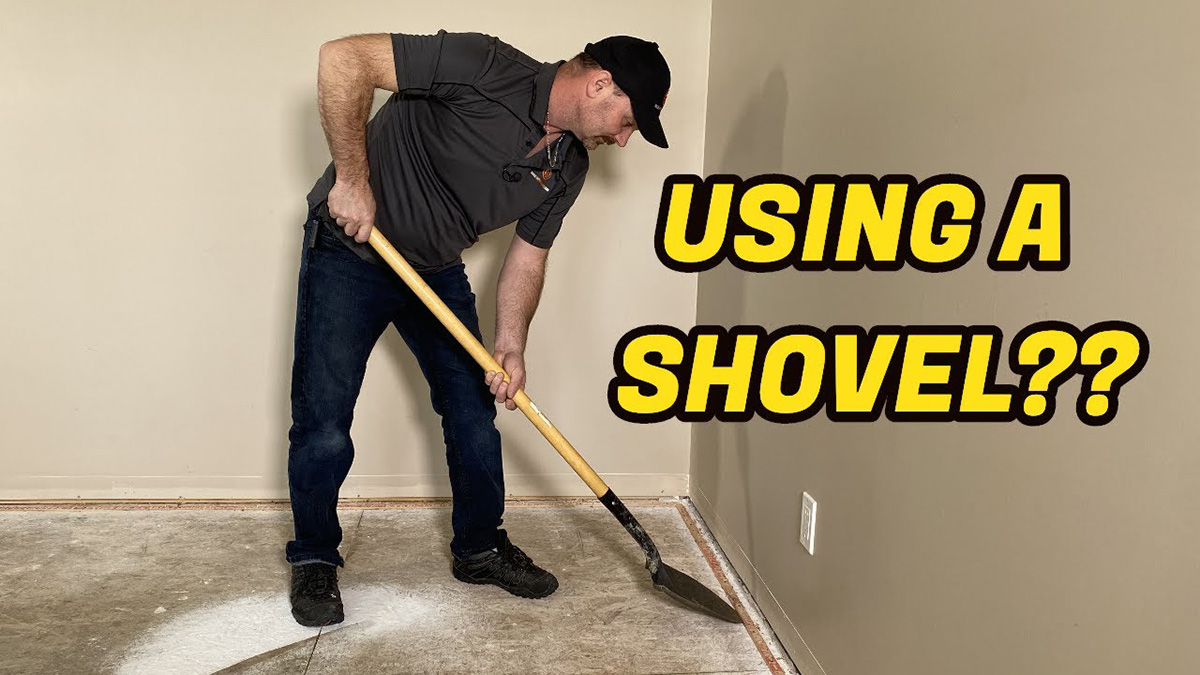
Step 2: Prepare the Area
Before you start removing the carpet gripper, it’s important to prepare the area to ensure a safe and efficient process. Follow these steps to prepare the area:
- Clear the room: Remove any furniture or obstacles from the room to create a clear and spacious workspace. This will make it easier to maneuver and prevent any accidents.
- Put on protective gear: Wear protective gloves to protect your hands from sharp nails, and safety goggles to shield your eyes from any flying debris.
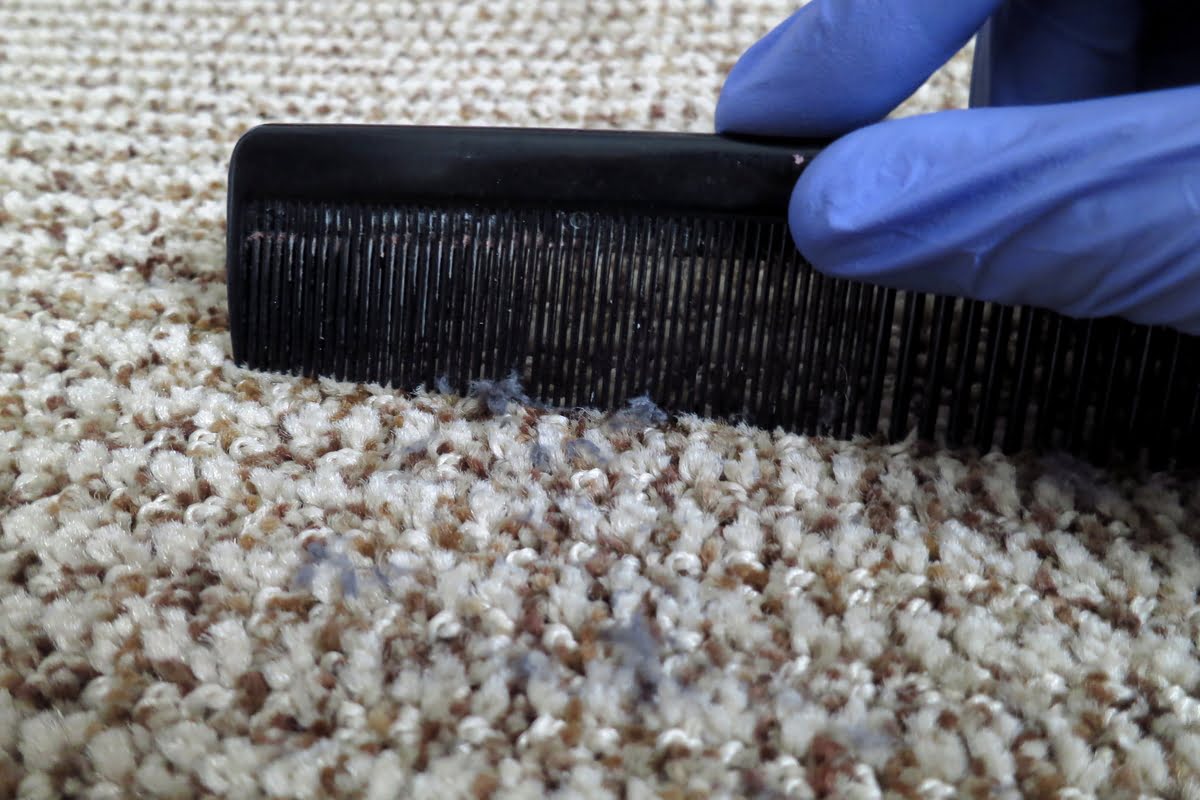
- Vacuum the area: Use a vacuum cleaner to remove any loose dirt or debris from the floor. This will make it easier to see and remove the carpet gripper.
- Inspect the gripper: Before you begin removing the gripper, inspect it for any damage or loose nails. This will give you an idea of what to expect and help you plan your approach.
- Protect the floor: Place a drop cloth or old blanket on the floor to protect it from scratches or damage while removing the carpet gripper.
Taking the time to prepare the area properly will ensure a smoother and safer carpet gripper removal process. Once you have completed these steps, you’ll be ready to move on to the next step and start removing the carpet gripper.
Use a pry bar or pliers to carefully lift the carpet gripper from the floor. Work slowly to avoid damaging the subfloor or carpet. Wear gloves for protection.
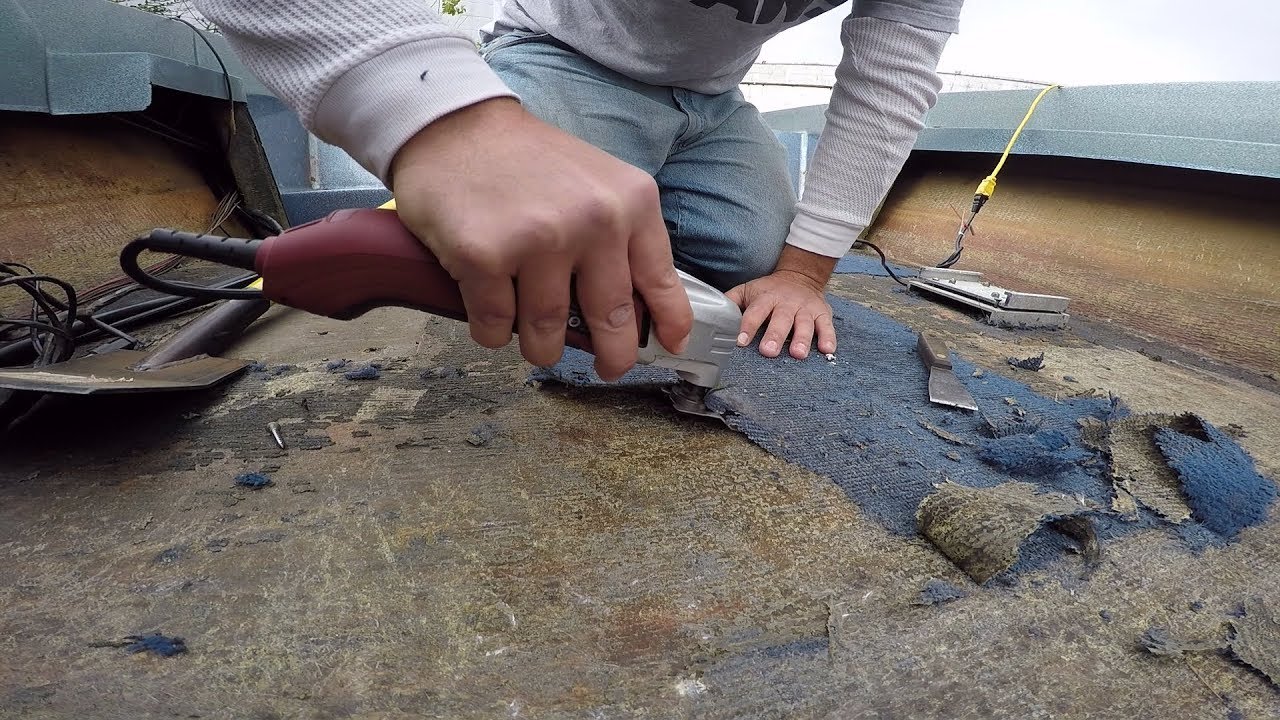
Step 3: Begin Removing the Gripper
Now that you have gathered your tools and prepared the area, it’s time to start removing the carpet gripper. Follow these steps to remove the gripper:
- Locate a starting point: Look for a corner or an edge of the room where you can easily access the carpet gripper. This will be your starting point.
- Insert the pry bar or crowbar: Slide the pry bar or crowbar under the edge of the carpet gripper. Use a hammer to gently tap the end of the pry bar if needed to insert it securely.
- Apply pressure: Once the pry bar or crowbar is inserted, apply downward pressure to lift the gripper from the floor. Be cautious not to use excessive force to avoid damaging the subfloor.
- Continue along the edge: Slowly move along the edge of the room, lifting the gripper with the pry bar. As you move, the nails or staples securing the gripper to the floor will start to loosen.
- Remove any remaining nails or staples: Use pliers to grip and remove any nails or staples that haven’t come loose during the lifting process. Be careful to avoid prying against the carpet itself to prevent tearing or damaging it.
- Repeat on other sides: Once you’ve removed the gripper from one side of the room, repeat the process on the remaining sides until all the carpet grippers are removed.
Remember to work slowly and carefully to prevent any injuries or damage to the floor. Take breaks if needed and proceed with caution. As you continue, you’ll notice the gripper becoming easier to remove, making the process smoother and less time-consuming.
Keep in mind that removing a carpet gripper can be a physically demanding task, so it’s good to take breaks to prevent strain or fatigue. Remember to pace yourself and prioritize safety throughout the process. With patience and persistence, you’ll be able to successfully remove the carpet gripper.
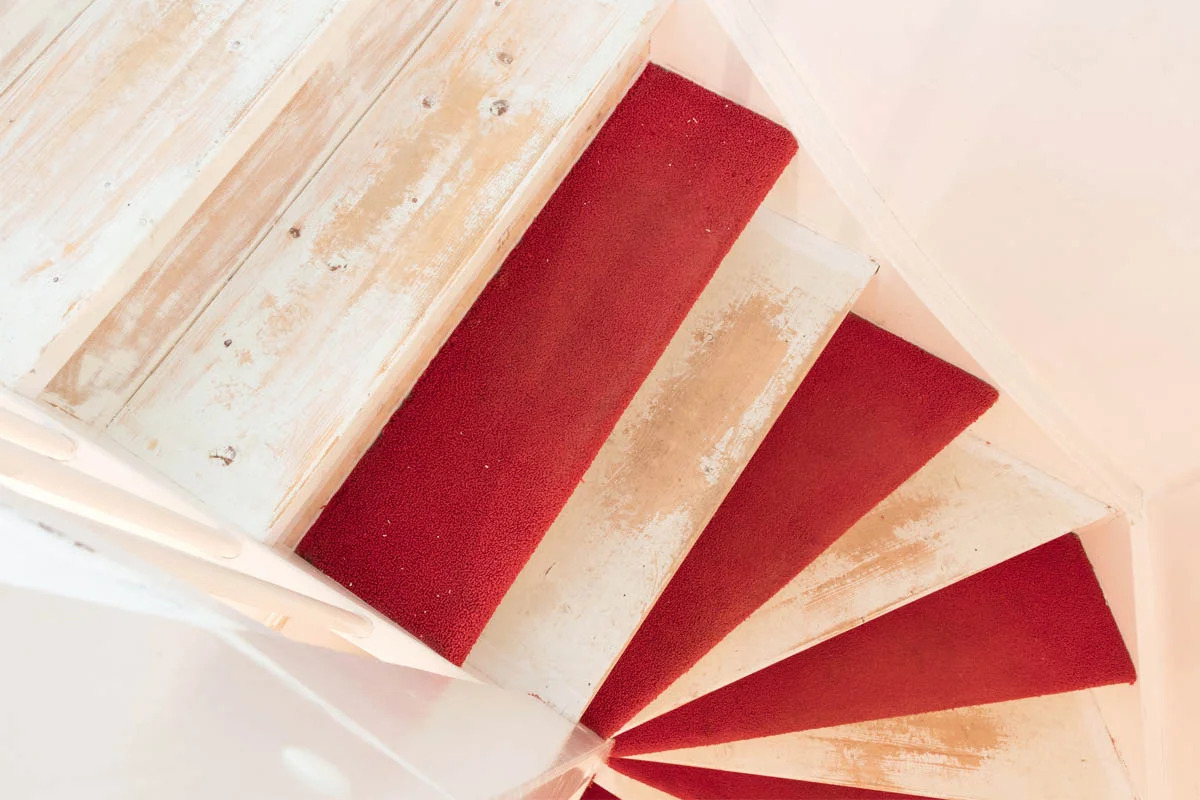
Read more: How To Remove Carpet On Stairs
Step 4: Remove any Remaining Staples or Nails
After removing the carpet gripper, there may still be some stubborn staples or nails left behind. It’s important to remove these remnants to ensure a smooth and clean surface for your new flooring. Follow these steps to remove any remaining staples or nails:
- Inspect the floor: Carefully examine the floor to locate any nails or staples that may be sticking out or embedded in the surface.
- Use pliers or a hammer: If the remaining staples or nails are visible and sticking out, use pliers to grip them and gently pull them out. If they are embedded or flush with the floor, you can use a hammer and a nail punch to drive them below the surface.
- Check for hidden nails or staples: Sometimes, there may be hidden or recessed staples or nails. Run your hand across the floor to feel for any protruding objects. If you find any, use pliers or a hammer to remove them as mentioned before.
- Inspect the floor again: Once you believe you have removed all the remaining staples or nails, visually inspect the floor again to ensure there are no missed ones.
It’s important to be thorough in removing any remaining staples or nails, as they can cause issues when installing new flooring. Even small remnants can lead to an uneven surface or damage to the new flooring material.
If you find it difficult to remove certain staples or nails, you can try using needle-nose pliers or a flathead screwdriver to pry them loose. However, be cautious not to damage the floor in the process.
By following these steps, you will have successfully removed any remaining staples or nails, leaving you with a clean and smooth surface ready for your new flooring.
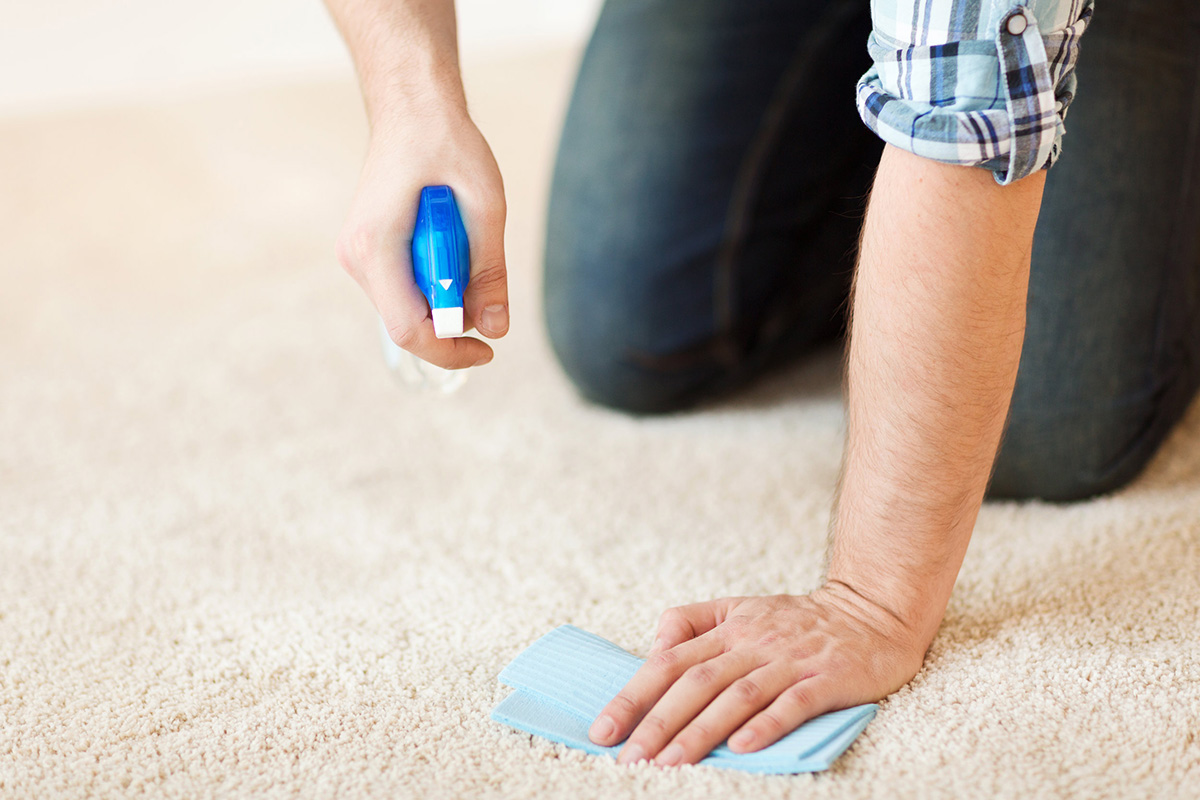
Step 5: Clean the Area
After removing the carpet gripper and any remaining staples or nails, it’s time to clean the area to ensure a fresh and debris-free surface. Follow these steps to clean the area:
- Vacuum the floor: Use a vacuum cleaner to remove any loose dirt, dust, or debris from the floor. Pay attention to the corners and edges where dirt and debris tend to accumulate.
- Scrape off any adhesive residue: Use a putty knife or scraper to gently scrape off any adhesive residue left behind by the carpet gripper. Be careful not to scratch or damage the floor in the process.
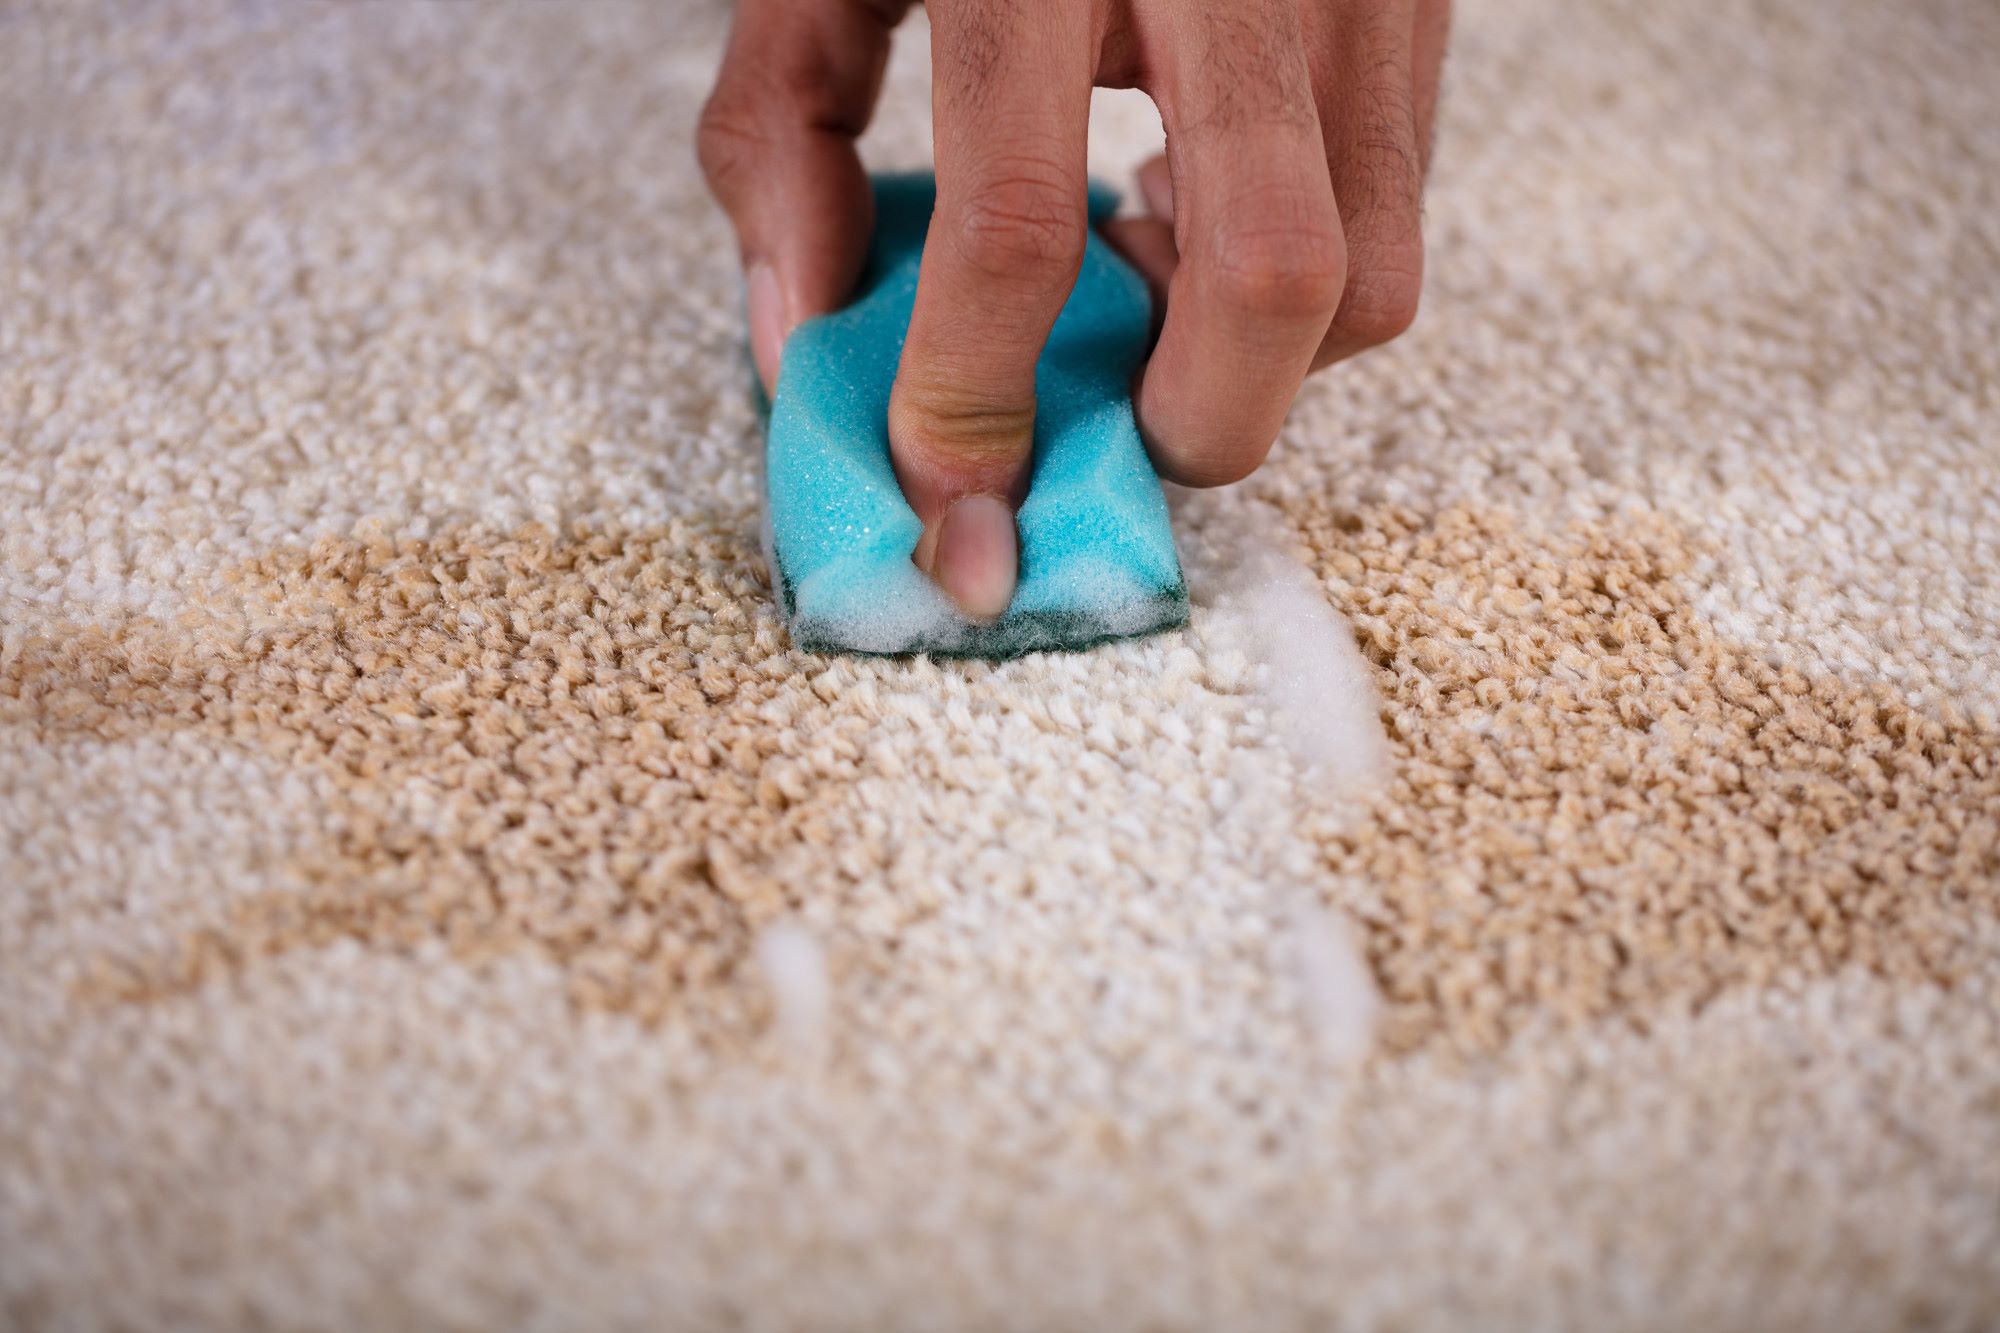
- Wipe down the area: Take a clean cloth or rag and dampen it with a cleaning solution or mild detergent. Wipe down the floor to remove any remaining residue or dirt. Rinse the cloth frequently and change the cleaning solution as needed.
- Dry the floor: Use a dry cloth or towel to thoroughly dry the floor. This will prevent any moisture from seeping into the subfloor and potentially causing damage or mold growth.
- Inspect the cleaned area: Take a final look at the cleaned area to ensure that it is free of any dirt, debris, or adhesive residue. If necessary, repeat the cleaning process in specific spots to achieve a spotless and well-prepared surface for your new flooring material.
Ensuring that the area is properly cleaned will not only provide a clean and attractive surface but also contribute to the longevity of your new flooring. It’s worth investing the time and effort to achieve a pristine and well-prepared surface.
If you encounter challenging stains or persistent adhesive residue, you may need to use specialized cleaning products or seek the assistance of a professional cleaner. They can provide recommendations and expertise to tackle more stubborn cleaning tasks.
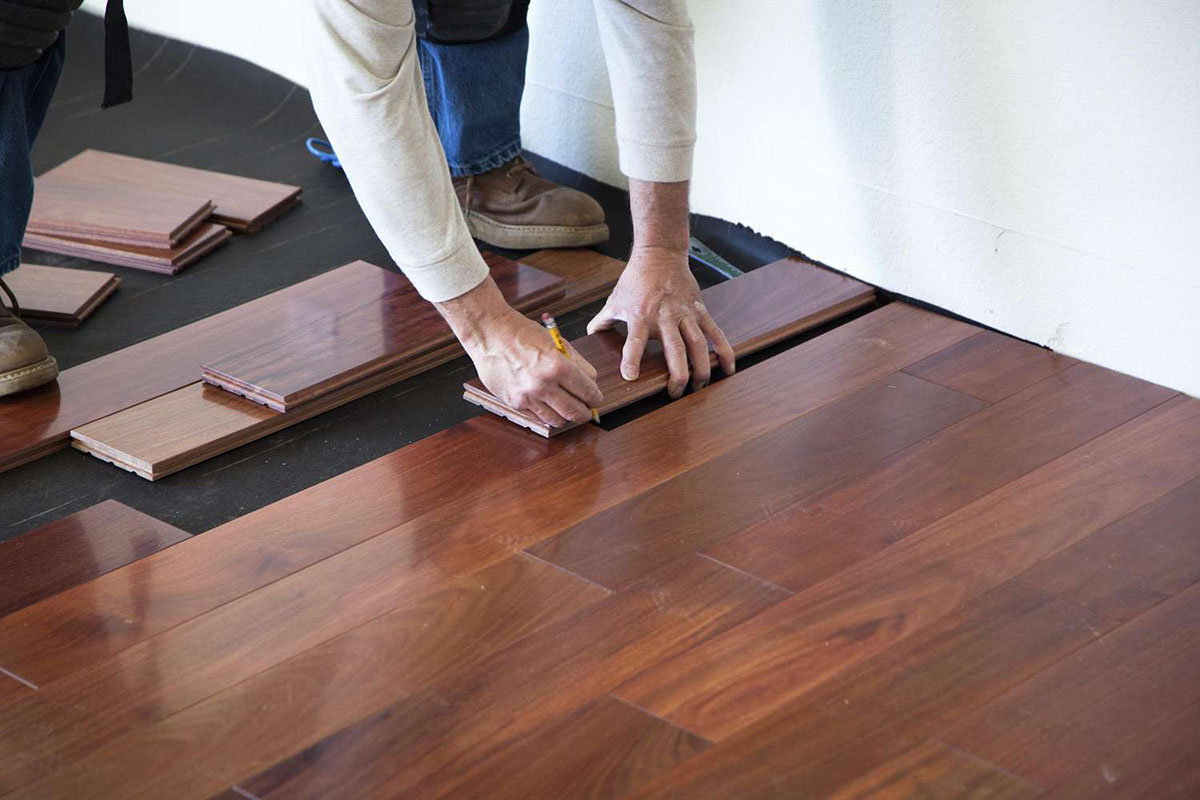
Once the area is clean and dry, you’re ready to move forward with installing your new flooring or taking the next steps in your home renovation project.
Conclusion
Removing a carpet gripper might seem like a daunting task, but with the right tools and techniques, it can be a manageable and rewarding process. By following the step-by-step guide outlined in this article, you can successfully remove the carpet gripper and prepare your floor for a fresh new look.
Remember to gather all the necessary tools before you begin and take the time to prepare the area properly. Use caution and protective gear to ensure your safety throughout the process. Approach each step with patience, as removing the gripper can be physically demanding and may require some persistence.
After removing the carpet gripper, make sure to inspect the floor for any remaining staples or nails. Removing these remnants will ensure a smooth and clean surface for your new flooring installation. Take the time to thoroughly clean the area, removing any debris and adhesive residue, to create an optimal foundation for your new flooring.
By following these steps and taking the necessary precautions, you can successfully remove a carpet gripper and prepare your floor for the next stage of your home improvement project. Remember to work at your own pace and prioritize safety throughout the process.
Now that you have the knowledge and instructions on how to remove a carpet gripper, you can confidently tackle this task and transform your floor to achieve the desired outcome. Good luck with your project!
Frequently Asked Questions about How To Remove A Carpet Gripper
Was this page helpful?
At Storables.com, we guarantee accurate and reliable information. Our content, validated by Expert Board Contributors, is crafted following stringent Editorial Policies. We're committed to providing you with well-researched, expert-backed insights for all your informational needs.