Home>Furniture & Design>Outdoor Furniture>How To Remove Outdoor Paint
Outdoor Furniture
How To Remove Outdoor Paint
Modified: August 30, 2024
Learn how to effectively remove outdoor paint from your furniture and design with our expert tips and techniques. Keep your outdoor furniture looking fresh and new for longer.
(Many of the links in this article redirect to a specific reviewed product. Your purchase of these products through affiliate links helps to generate commission for Storables.com, at no extra cost. Learn more)
Introduction
Welcome to the world of outdoor furniture and design! Whether you’re a seasoned outdoor enthusiast or just beginning to explore the joys of outdoor living, one thing is for sure: the beauty and longevity of your outdoor furniture depend on proper maintenance and care. Over time, outdoor furniture, such as wooden benches, metal tables, or plastic chairs, can lose their luster due to exposure to the elements. One common issue faced by outdoor furniture owners is the accumulation of old paint, which can detract from the overall aesthetics of the piece. Fortunately, with the right tools and techniques, removing old paint from outdoor furniture can be a manageable task.
In this guide, we’ll explore the step-by-step process of removing old paint from outdoor furniture, providing you with the knowledge and confidence to revitalize your outdoor pieces. From gathering the necessary materials to choosing the right method and executing the paint removal process, we’ve got you covered. By the end of this journey, you’ll be equipped with the insights and skills needed to breathe new life into your outdoor furniture, allowing you to fully enjoy the beauty of your outdoor space once again.
Key Takeaways:
- Say goodbye to old paint on outdoor furniture! Gather materials, choose the right method, and remove paint with care to reveal the natural beauty of your outdoor pieces.
- Revitalize your outdoor furniture by removing old paint. Prepare the area, apply the paint remover, and clean up thoroughly for a fresh, renewed outdoor space.
Read more: How To Paint Outdoor Pots
Step 1: Gather Materials
Before embarking on the paint removal journey, it’s essential to gather the necessary materials to ensure a smooth and efficient process. Here’s a list of items you’ll need:
- Protective Gear: Safety goggles, gloves, and a mask are vital for safeguarding yourself from potential hazards associated with paint removal chemicals and debris.
- Paint Remover: Select a high-quality paint remover suitable for outdoor use. Consider factors such as the type of paint on your furniture and the material of the furniture itself when choosing a remover.
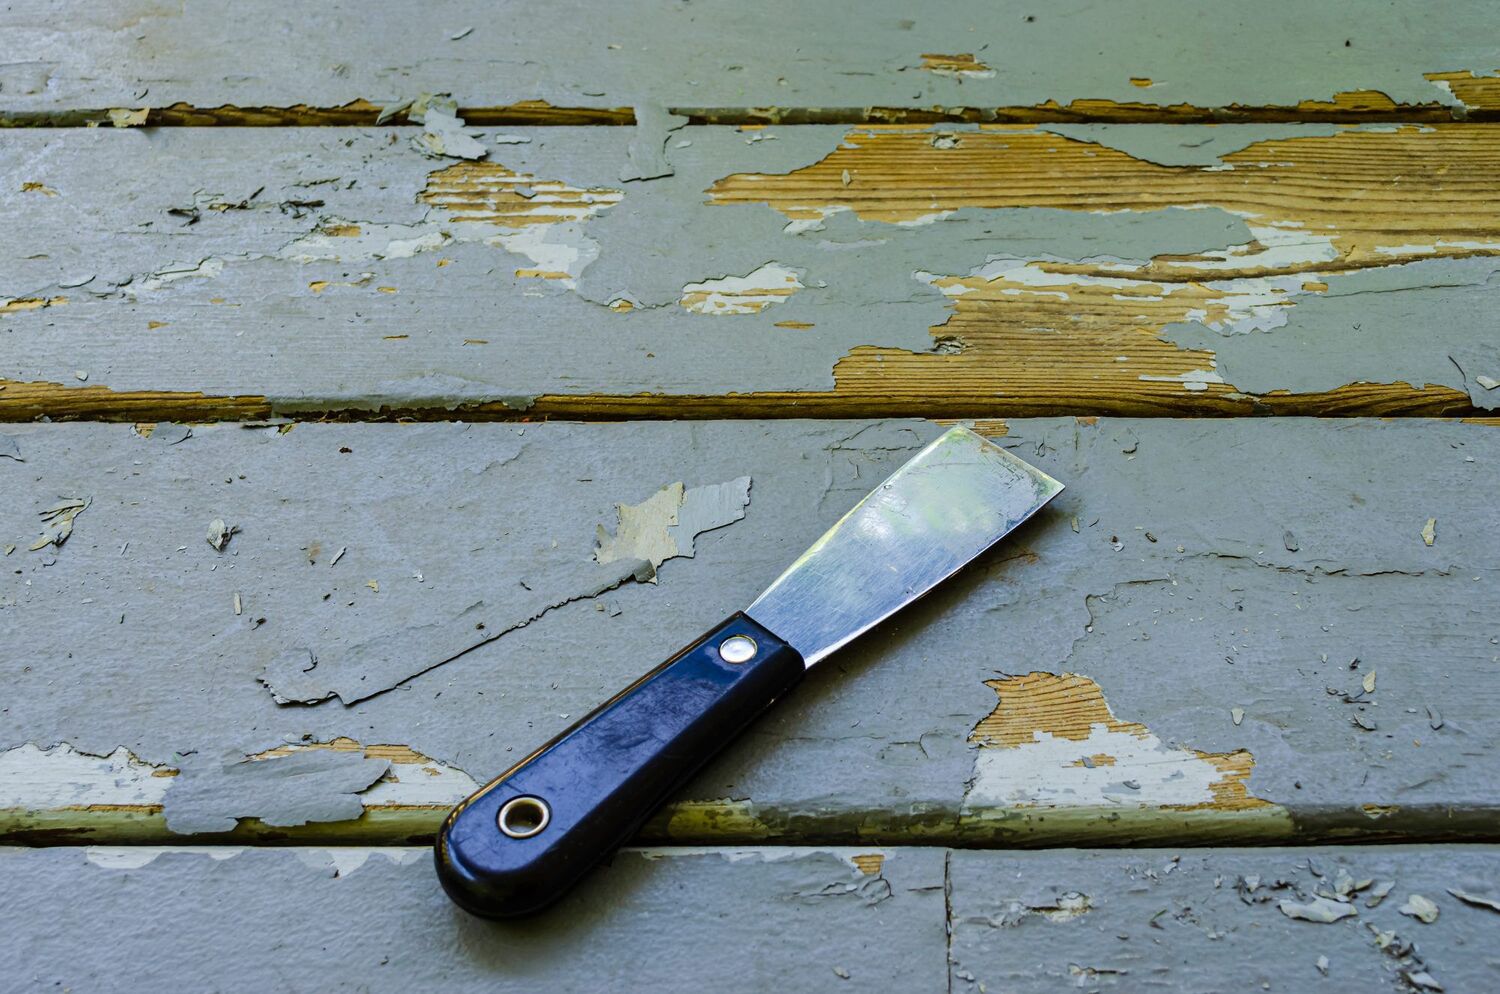
- Scraper and Wire Brush: These tools will aid in loosening and removing the paint from the furniture’s surface.
- Sandpaper: Have a variety of sandpaper grits on hand to smooth the surface of the furniture after paint removal.
- Drop Cloth or Tarp: Protect the surrounding area from paint chips and debris by laying down a drop cloth or tarp.
- Clean Cloth and Mineral Spirits: These will be useful for wiping down the furniture after paint removal to ensure a clean surface for refinishing.
- Bucket and Water Hose: Having a bucket of water and a water hose nearby will allow you to clean the furniture thoroughly after the paint removal process.
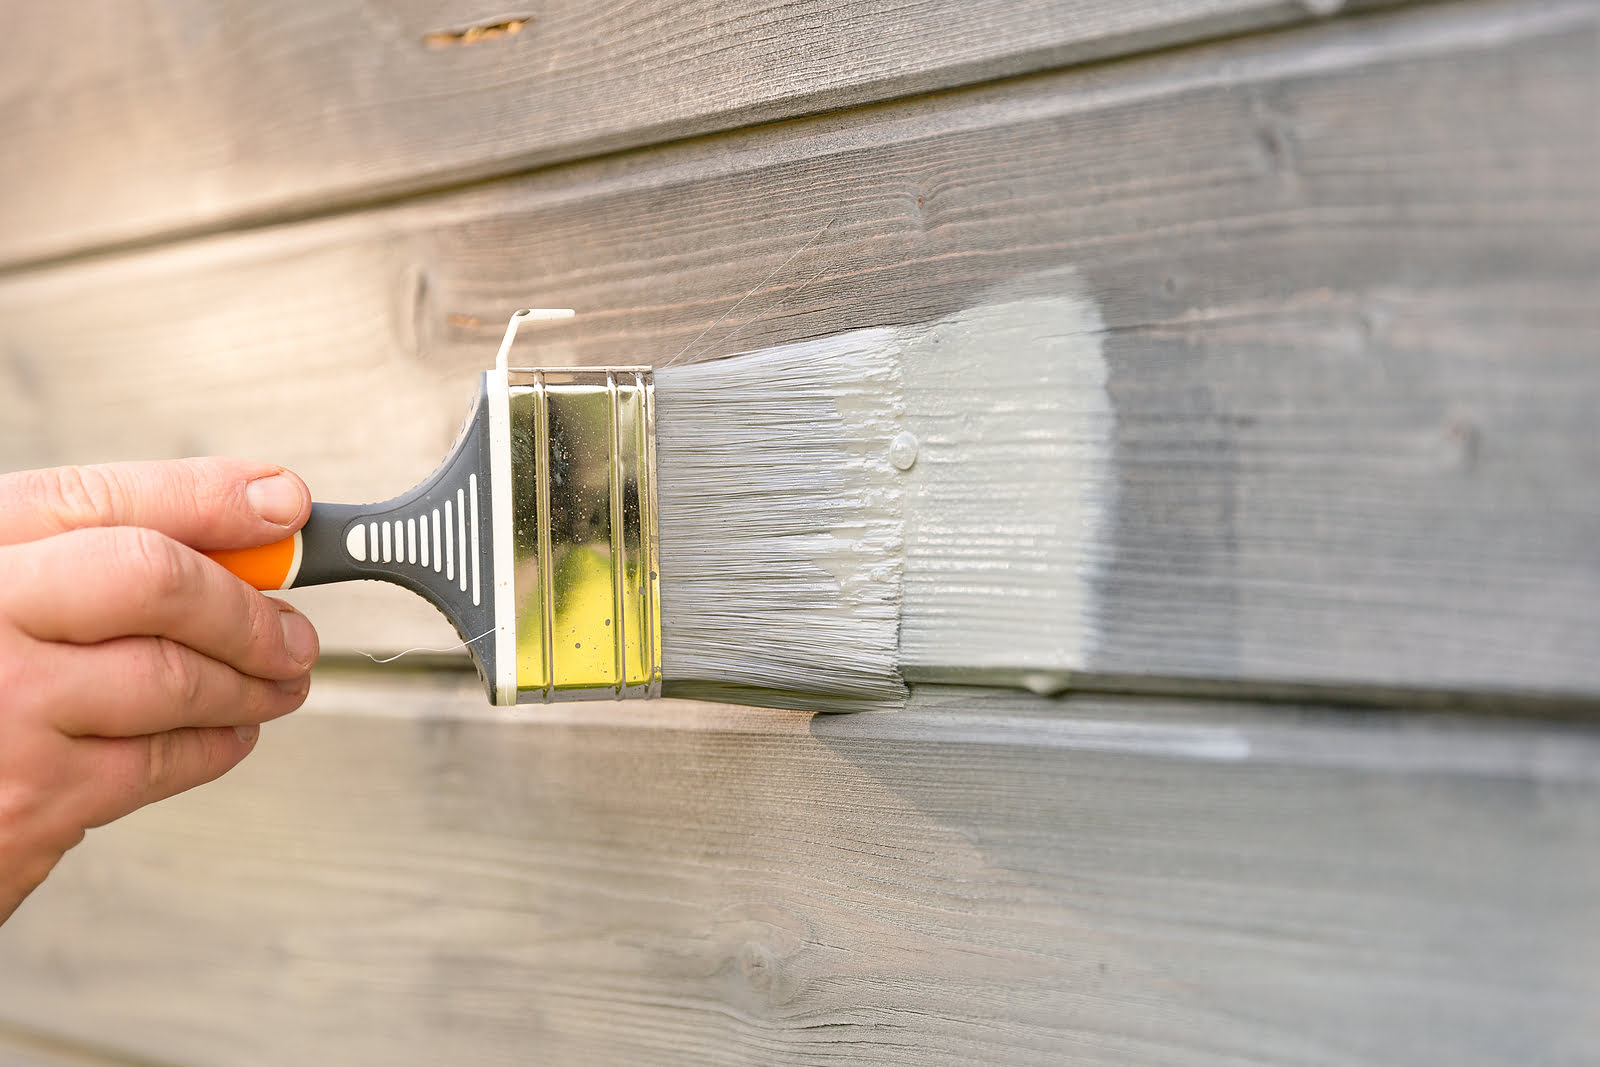
- Primer and Paint: If you plan to refinish the furniture after removing the old paint, ensure you have the appropriate primer and paint ready for the next steps.
By gathering these materials, you’ll be well-prepared to tackle the paint removal process effectively and safely. With the right tools at your disposal, you can proceed with confidence, knowing that you have everything you need to transform your outdoor furniture.
Step 2: Prepare the Area
Before diving into the paint removal process, it’s crucial to prepare the surrounding area to ensure a safe and organized workspace. Here’s how to get the area ready for the task at hand:
- Choose a Well-Ventilated Space: Select an outdoor area with ample ventilation to carry out the paint removal process. Adequate ventilation is essential for dispersing fumes and ensuring a comfortable working environment.
- Protect Nearby Surfaces: Cover any nearby surfaces, such as decks, patios, or walkways, with a drop cloth or tarp to prevent paint chips and debris from accumulating and causing a mess.
- Clear the Surrounding Area: Remove any obstacles or unnecessary items from the vicinity of the furniture to create a clear and unobstructed workspace.
- Secure Pets and Children: If pets or children are present, ensure their safety by keeping them away from the work area throughout the paint removal process.
- Position the Furniture: Place the furniture on top of the protective covering, ensuring that it is stable and easily accessible from all sides for efficient paint removal.
- Set Up a Workstation: Arrange your materials and tools within easy reach, creating a designated workstation for the paint removal task.
- Review Safety Procedures: Take a moment to review safety guidelines and procedures for handling paint removal chemicals and tools, ensuring that you are well-prepared to proceed safely.
By taking the time to prepare the area thoroughly, you’ll set the stage for a successful paint removal process. A well-organized and secure workspace not only promotes safety but also streamlines the task, allowing you to focus on restoring your outdoor furniture to its former glory with peace of mind.
Step 3: Choose the Right Method
When it comes to removing old paint from outdoor furniture, selecting the appropriate method is crucial for achieving optimal results. Different furniture materials and paint types may require specific approaches for effective paint removal. Here are some common methods to consider:
- Chemical Paint Removers: Chemical paint removers are effective for stripping paint from a variety of surfaces, including wood, metal, and plastic. They work by softening and lifting the paint, making it easier to scrape away. Be sure to follow the manufacturer’s instructions and safety guidelines when using chemical removers.
- Heat Guns: Heat guns are particularly useful for removing paint from wooden surfaces. By directing heat onto the paint, it softens and bubbles, allowing for easier removal with a scraper. Exercise caution and avoid overheating the wood to prevent damage.
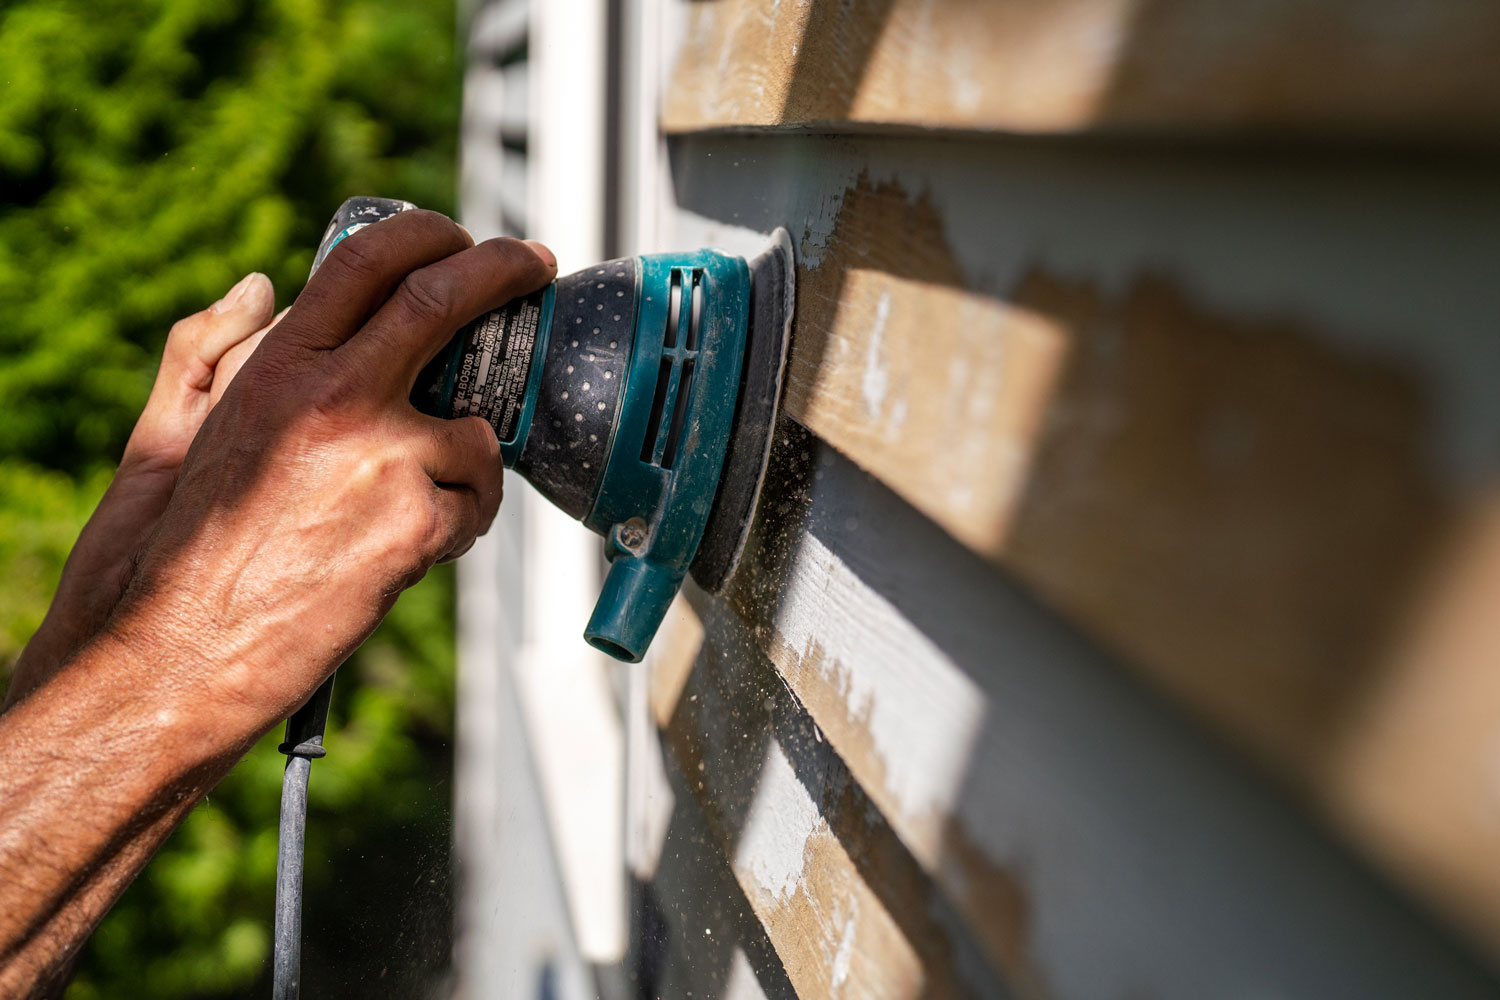
- Sanding: Sanding is a mechanical method of paint removal that involves using sandpaper or a power sander to abrade the paint from the furniture’s surface. This method is suitable for smaller areas or intricate details where other methods may be challenging to apply.
- Pressure Washing: For outdoor furniture with sturdy and weather-resistant materials, such as metal or plastic, pressure washing can effectively remove old paint. The high-pressure water stream dislodges the paint, preparing the surface for refinishing.
Before proceeding with the paint removal process, evaluate the type of furniture and the condition of the paint to determine the most suitable method. Consider factors such as the material of the furniture, the thickness of the paint layers, and the intricacy of the furniture’s design. By choosing the right method, you’ll set the stage for a successful paint removal endeavor, paving the way for the next steps in the restoration process.
Use a pressure washer or paint stripper to remove outdoor paint. Be sure to follow safety precautions and wear protective gear. Always test a small area first to ensure the method won’t damage the surface.
Step 4: Apply the Paint Remover
With the appropriate method selected and the necessary materials at hand, it’s time to apply the chosen paint removal solution to the outdoor furniture. Follow these steps to effectively apply the paint remover:
- Read the Instructions: Before proceeding, carefully review the instructions provided with the paint remover to understand the application process, safety precautions, and recommended dwell time.
- Prepare the Surface: Ensure that the furniture’s surface is clean and free of any loose debris or dirt. This will allow the paint remover to make direct contact with the old paint for optimal effectiveness.
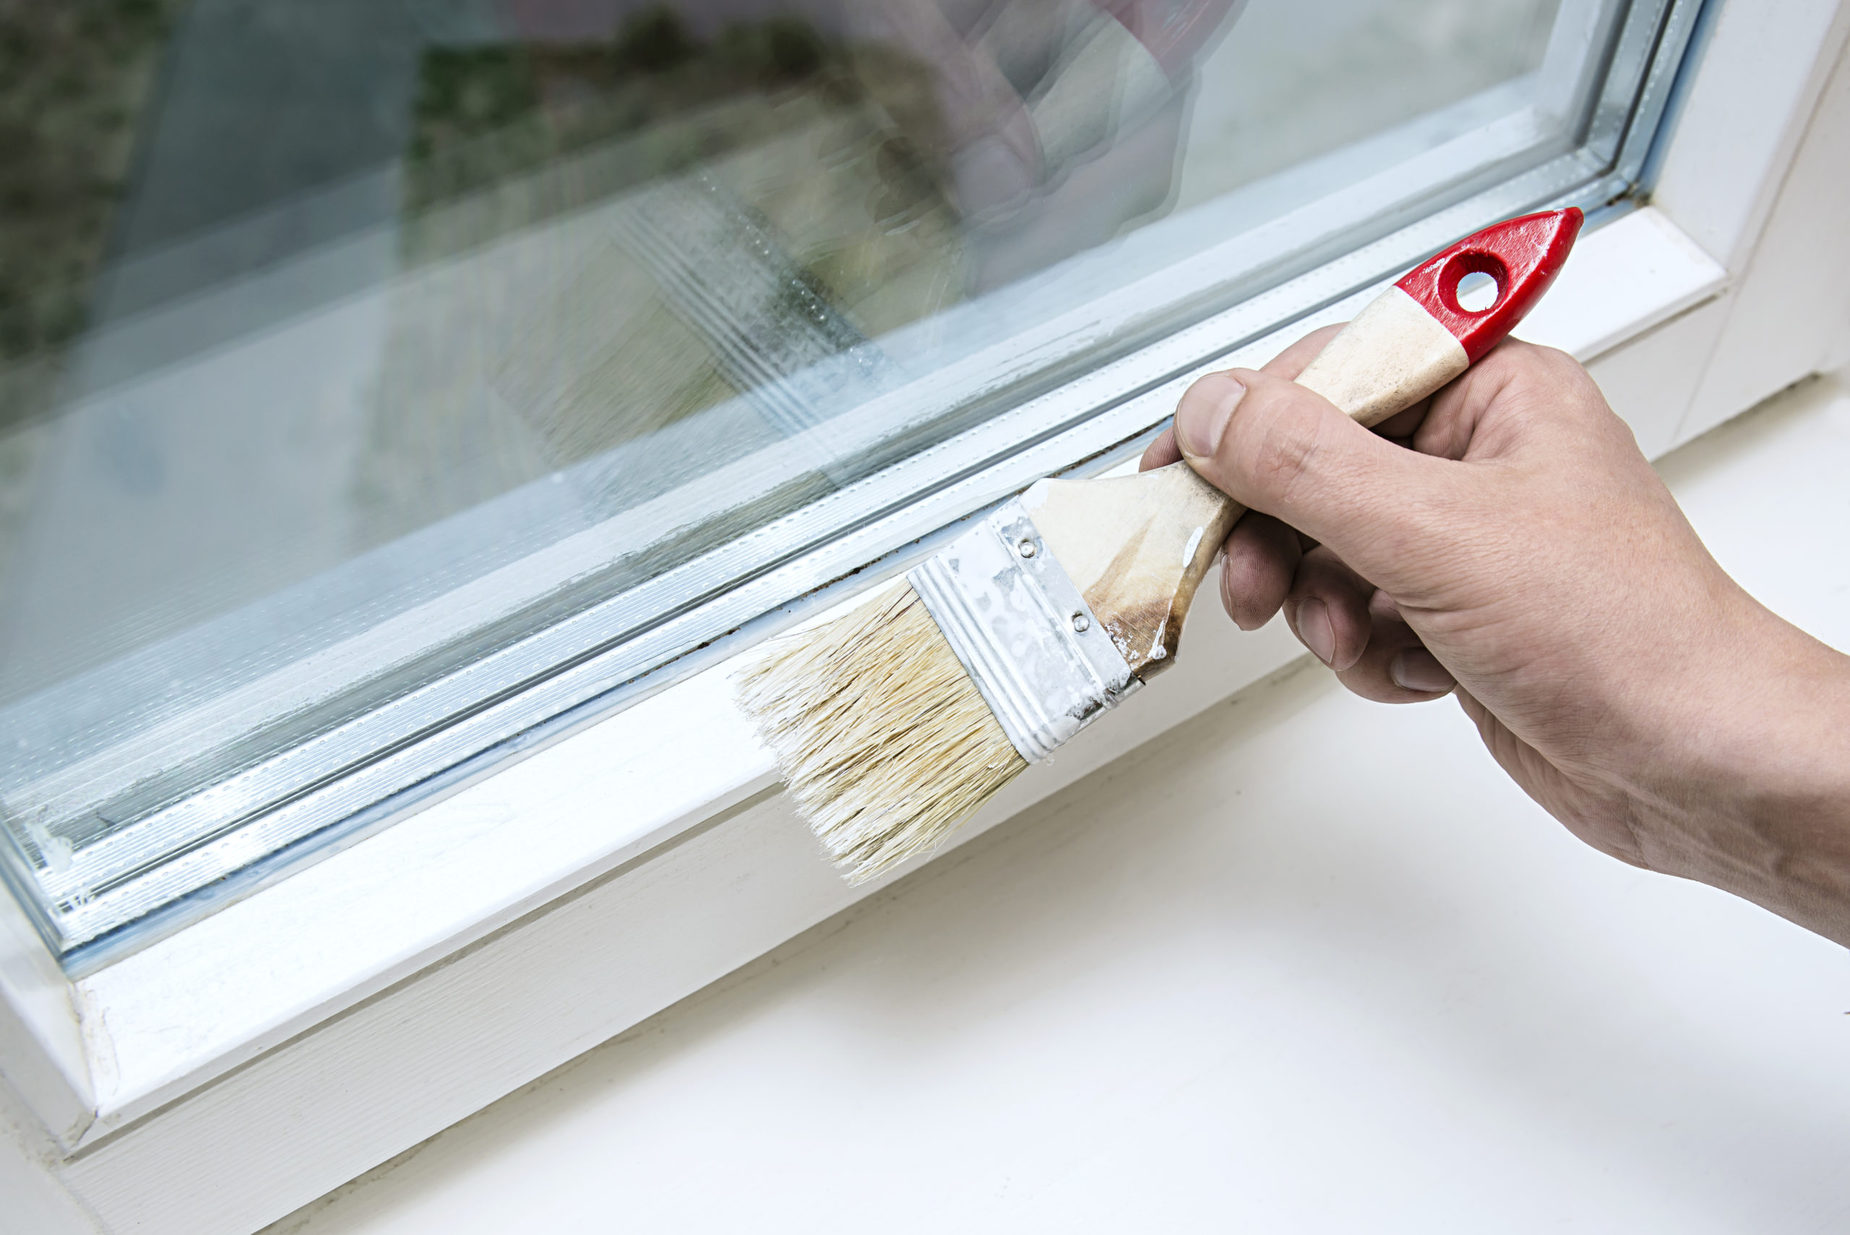
- Apply the Remover: Using a brush or applicator recommended by the manufacturer, apply the paint remover evenly over the affected areas of the furniture. Work in manageable sections to ensure thorough coverage.
- Allow Dwell Time: After applying the remover, allow it to dwell on the surface for the specified duration as per the product instructions. This dwell time allows the remover to penetrate and soften the old paint for easier removal.
- Monitor the Progress: Keep an eye on the paint remover’s progress. You may notice the paint starting to bubble or lift from the surface, indicating that it is ready for removal.
By following these steps, you’ll ensure that the paint remover is applied effectively, maximizing its paint-lifting capabilities and setting the stage for the next phase of the paint removal process. With patience and attention to detail, you’ll be well on your way to revealing the natural beauty of your outdoor furniture beneath the layers of old paint.
Read more: How To Paint Outdoor Cement
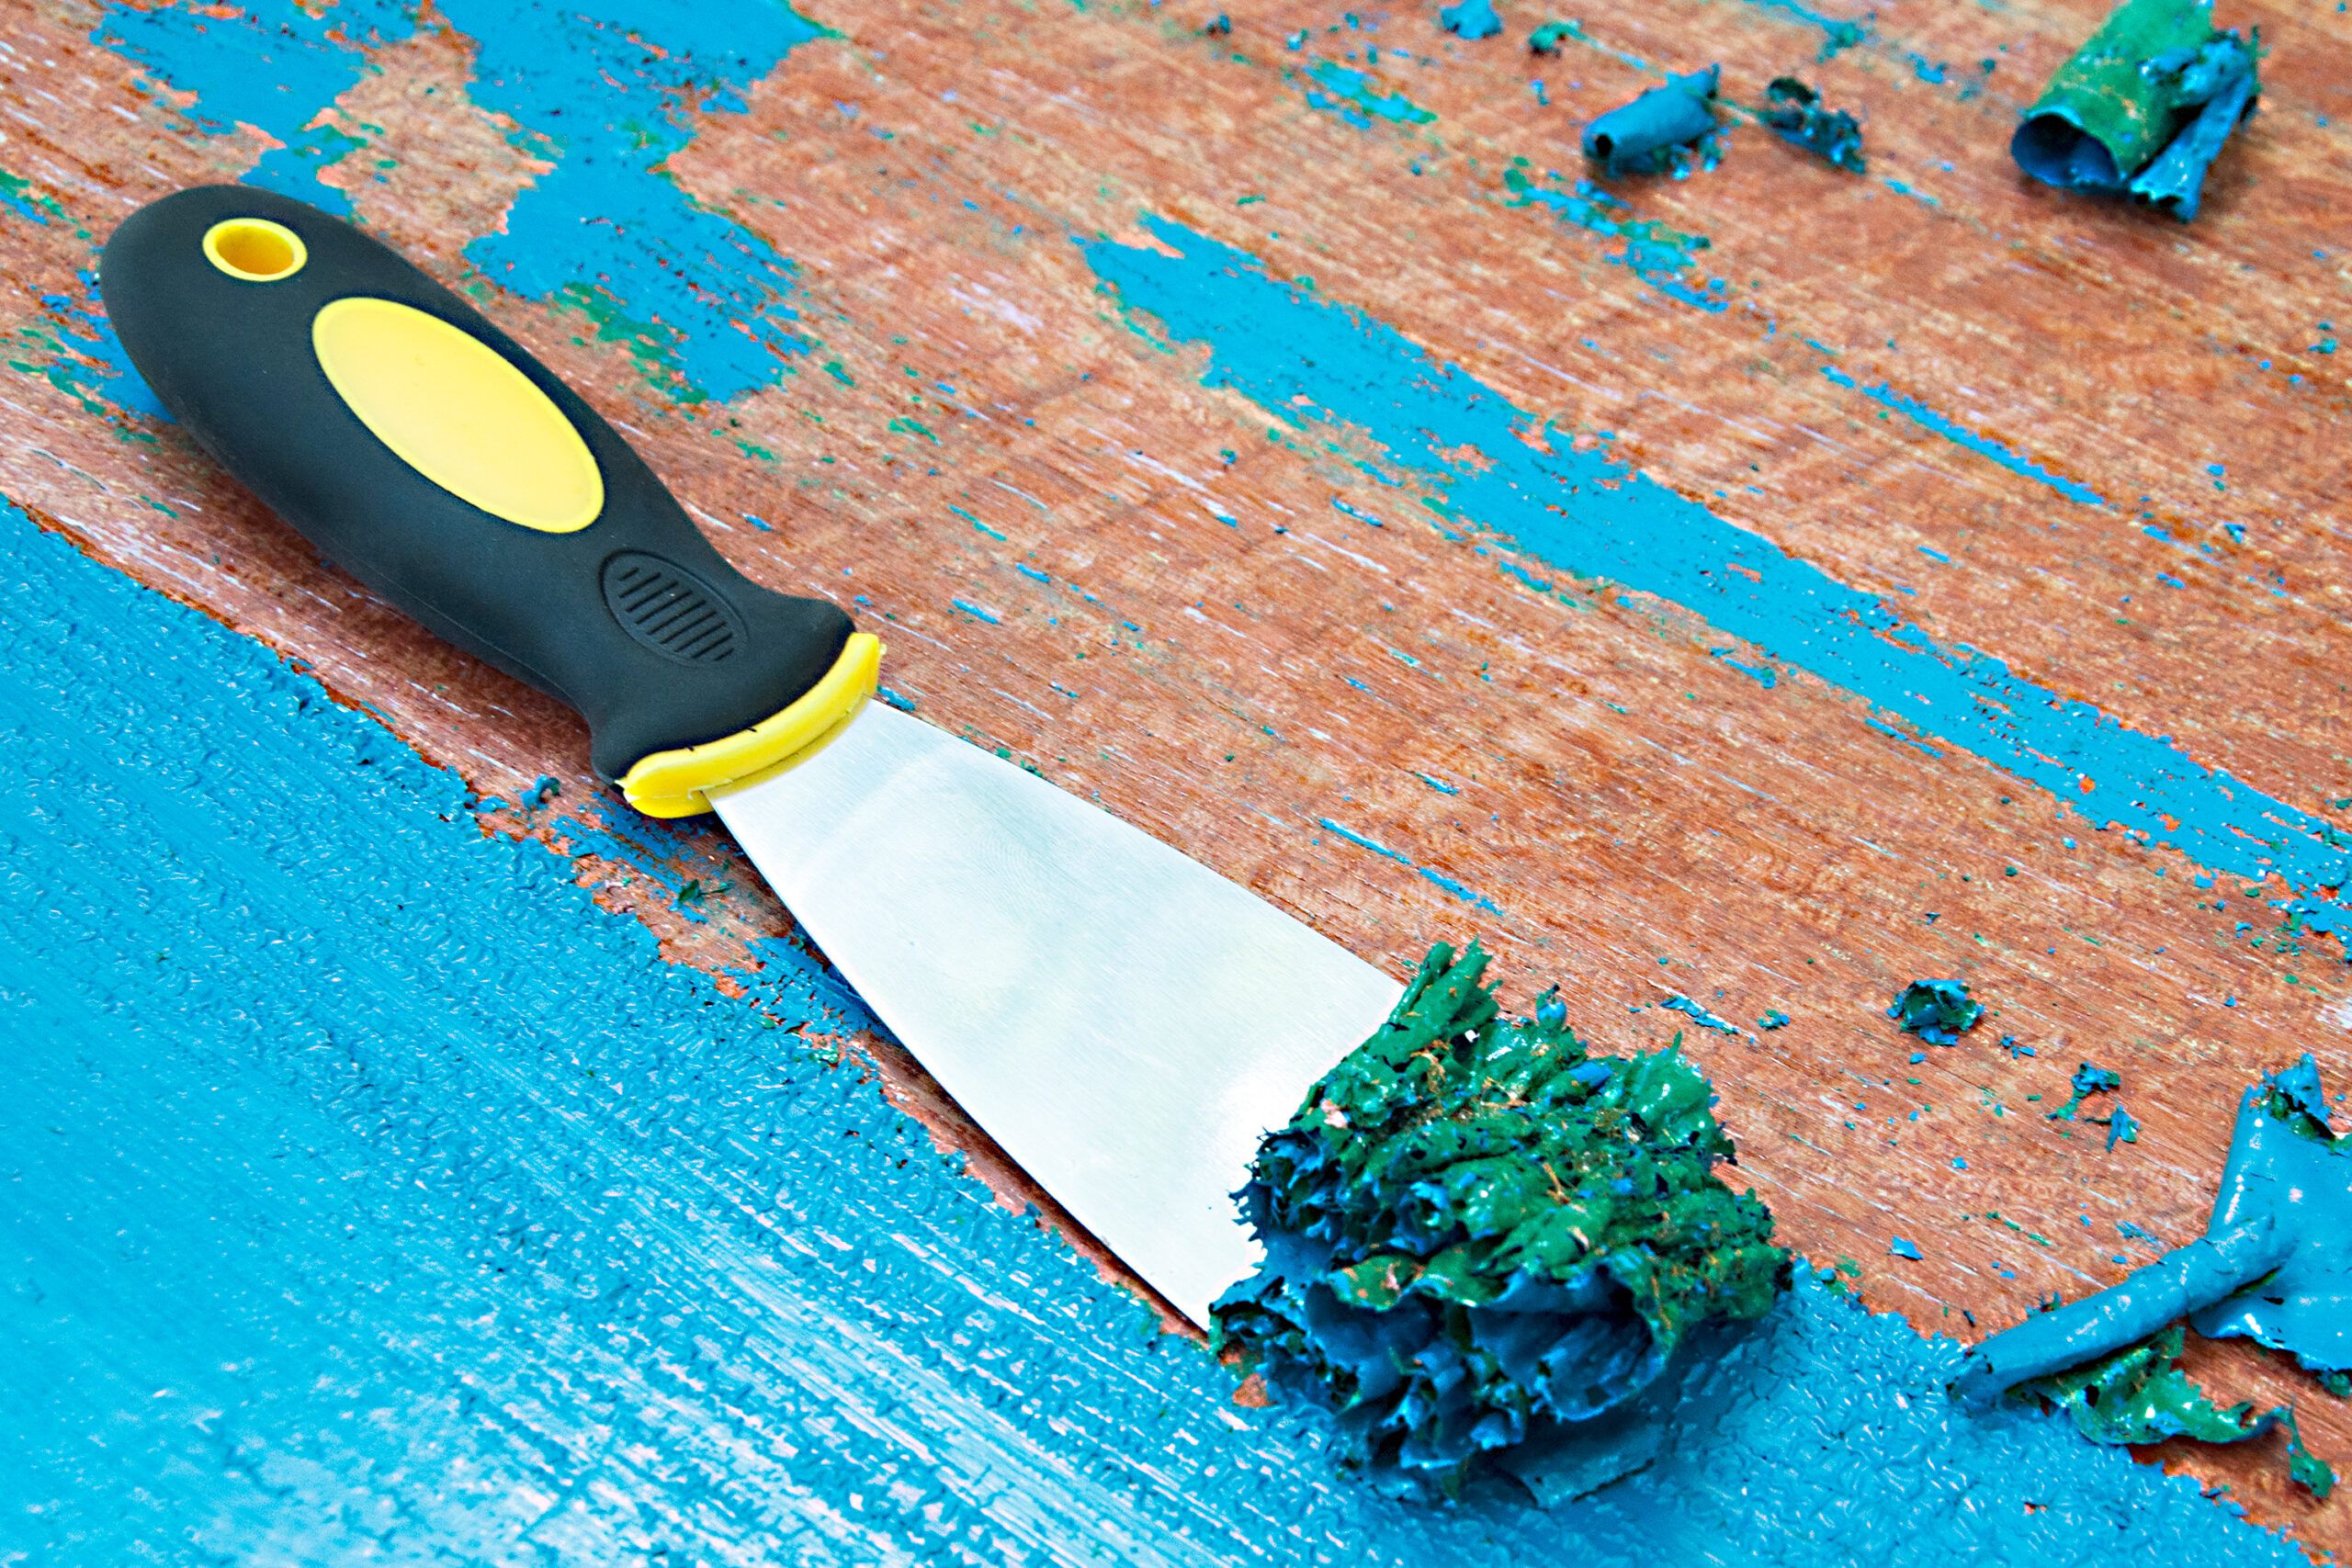
Step 5: Remove the Paint
After the paint remover has had sufficient dwell time and has effectively loosened the old paint, it’s time to proceed with the paint removal process. Here’s how to safely and efficiently remove the softened paint from your outdoor furniture:
- Use a Scraper: Begin by gently scraping the softened paint from the furniture’s surface using a suitable scraper. Work in the direction of the wood grain or the natural lines of the furniture to avoid causing damage.
- Employ a Wire Brush: For stubborn or intricate areas where paint residue remains, use a wire brush to dislodge and remove the remaining paint. The bristles of the wire brush can reach into crevices and details, ensuring thorough paint removal.
- Repeat as Needed: Depending on the thickness and type of paint, you may need to reapply the paint remover and repeat the scraping process to achieve complete paint removal. Be patient and thorough to reveal the clean surface beneath the old paint.
- Inspect the Surface: Once the majority of the paint has been removed, inspect the furniture’s surface to ensure that no traces of old paint remain. Address any lingering paint using a combination of scraping and wire brushing until the surface is clean and smooth.
By following these steps, you’ll effectively remove the old paint from your outdoor furniture, unveiling the natural beauty of the underlying material. Take your time during the paint removal process, exercising care and precision to achieve a clean and pristine surface that’s ready for refinishing.
Step 6: Clean Up
With the old paint successfully removed from your outdoor furniture, it’s essential to complete the process with a thorough clean-up to prepare the furniture for refinishing or immediate use. Follow these steps to ensure a meticulous clean-up:
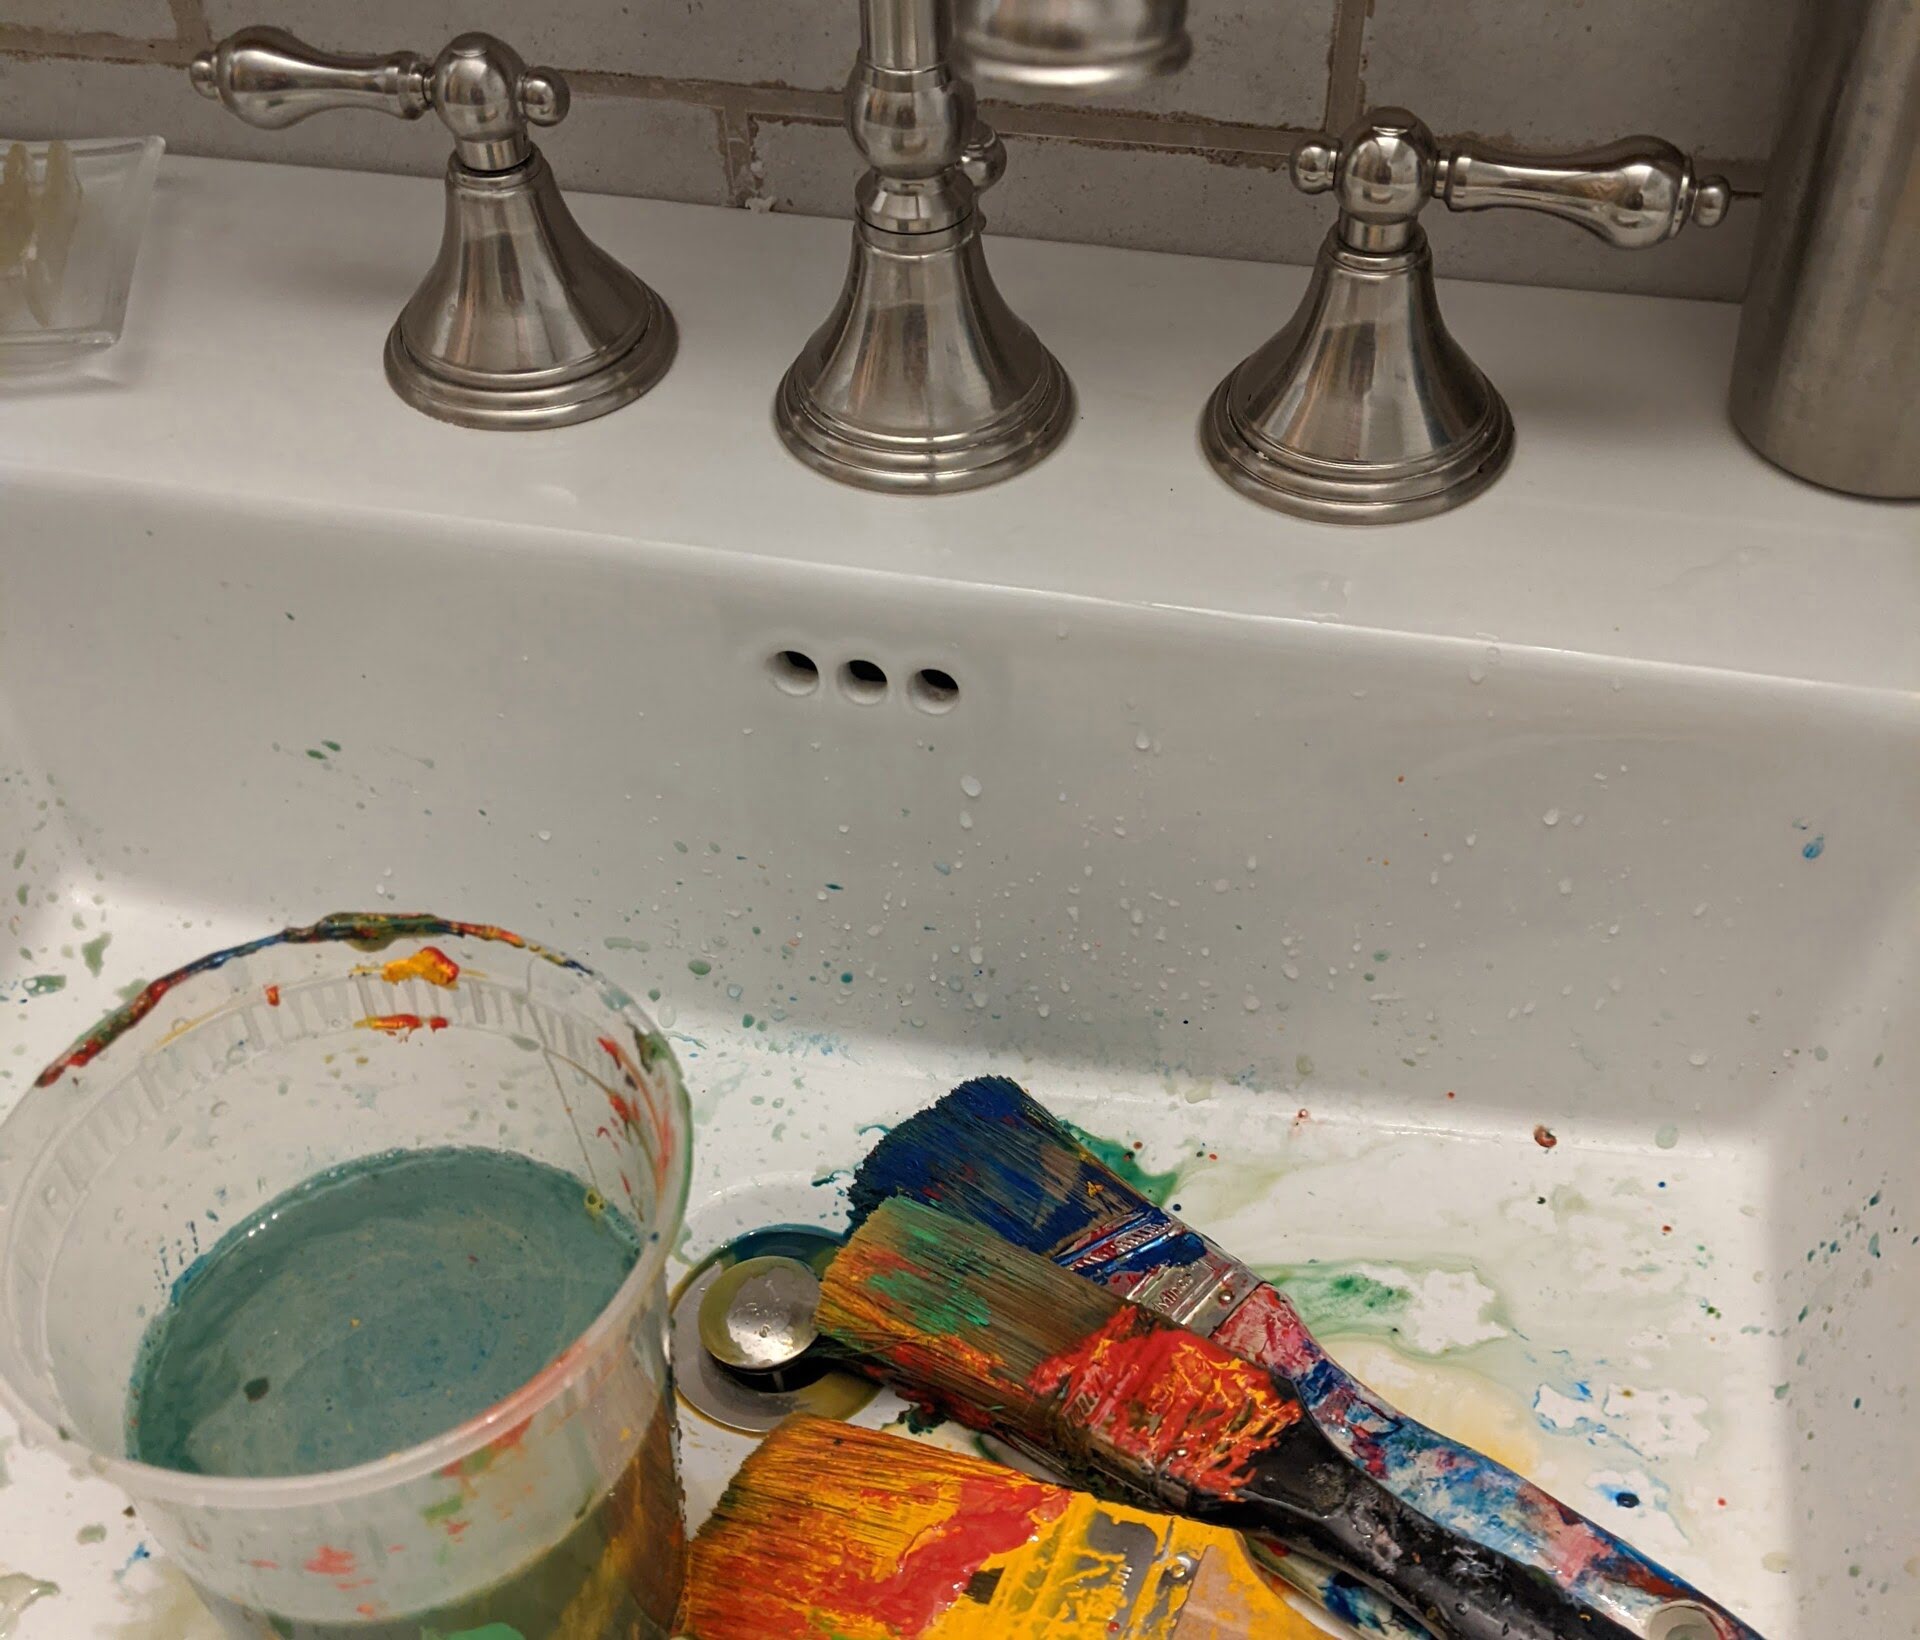
- Wipe Down the Surface: Using a clean cloth and mineral spirits, wipe down the entire surface of the furniture to remove any remaining paint residue, as well as any traces of the paint remover. This step will leave the surface clean and ready for the next phase of the restoration process.
- Rinse the Furniture: If the furniture is suitable for water exposure, rinse it with a water hose to eliminate any lingering debris, cleaning agents, or solvent residues. Thoroughly rinse all surfaces to ensure a pristine finish.
- Dry the Furniture: Allow the furniture to air dry completely in a well-ventilated area before proceeding with any refinishing or restoration efforts. Ensure that the furniture is entirely dry to prevent any moisture-related issues during the next steps.
- Dispose of Waste Properly: Dispose of any used paint remover, paint chips, and cleaning materials in accordance with local regulations. Adhere to proper waste disposal practices to minimize environmental impact.
By completing the clean-up process diligently, you’ll be one step closer to enjoying your revitalized outdoor furniture. The clean and refreshed surface sets the stage for refinishing or simply relishing the natural appeal of the furniture in its restored state. With the paint removal process and clean-up complete, you’re well-equipped to take the next steps in enhancing and preserving your outdoor living space.
Conclusion
Congratulations on successfully navigating the process of removing old paint from your outdoor furniture! By following the step-by-step guide, you’ve not only revitalized your outdoor pieces but also gained valuable insights into the care and maintenance of your furniture. As you stand back and admire the clean, refreshed surfaces, it’s clear that your efforts have paid off, breathing new life into your outdoor space.
Throughout this journey, you’ve learned the importance of gathering the right materials, preparing the work area, and choosing the appropriate paint removal method for your specific furniture and paint type. By carefully applying the paint remover and meticulously removing the old paint, you’ve uncovered the inherent beauty of your outdoor furniture, setting the stage for the next phase of the restoration process.
Whether you’re planning to refinish the furniture with a fresh coat of paint or allow the natural material to shine, the removal of old paint has provided a clean canvas for your creative vision. With the clean-up process complete, your outdoor furniture is primed for the next steps, whether it’s applying a new finish, adding decorative touches, or simply enjoying the renewed appeal of your outdoor oasis.
Remember, the care and maintenance of outdoor furniture are ongoing endeavors, and regular inspections and touch-ups can help preserve the beauty and longevity of your pieces. By incorporating these practices into your routine, you’ll continue to enjoy the splendor of your outdoor furniture for years to come.
As you bask in the satisfaction of a job well done, take a moment to appreciate the transformation you’ve achieved. Your outdoor furniture stands as a testament to your dedication and attention to detail, ready to enrich your outdoor experiences and create lasting memories for years ahead.
Here’s to the enduring beauty of your outdoor furniture and the joy it brings to your outdoor living space!
Frequently Asked Questions about How To Remove Outdoor Paint
Was this page helpful?
At Storables.com, we guarantee accurate and reliable information. Our content, validated by Expert Board Contributors, is crafted following stringent Editorial Policies. We're committed to providing you with well-researched, expert-backed insights for all your informational needs.


0 thoughts on “How To Remove Outdoor Paint”