Home>Furniture & Design>Outdoor Furniture>How To Seal Outdoor Mural
Outdoor Furniture
How To Seal Outdoor Mural
Published: January 12, 2024
Learn how to effectively seal your outdoor mural to protect it from the elements. Discover the best techniques and products for outdoor furniture and design.
(Many of the links in this article redirect to a specific reviewed product. Your purchase of these products through affiliate links helps to generate commission for Storables.com, at no extra cost. Learn more)
Introduction
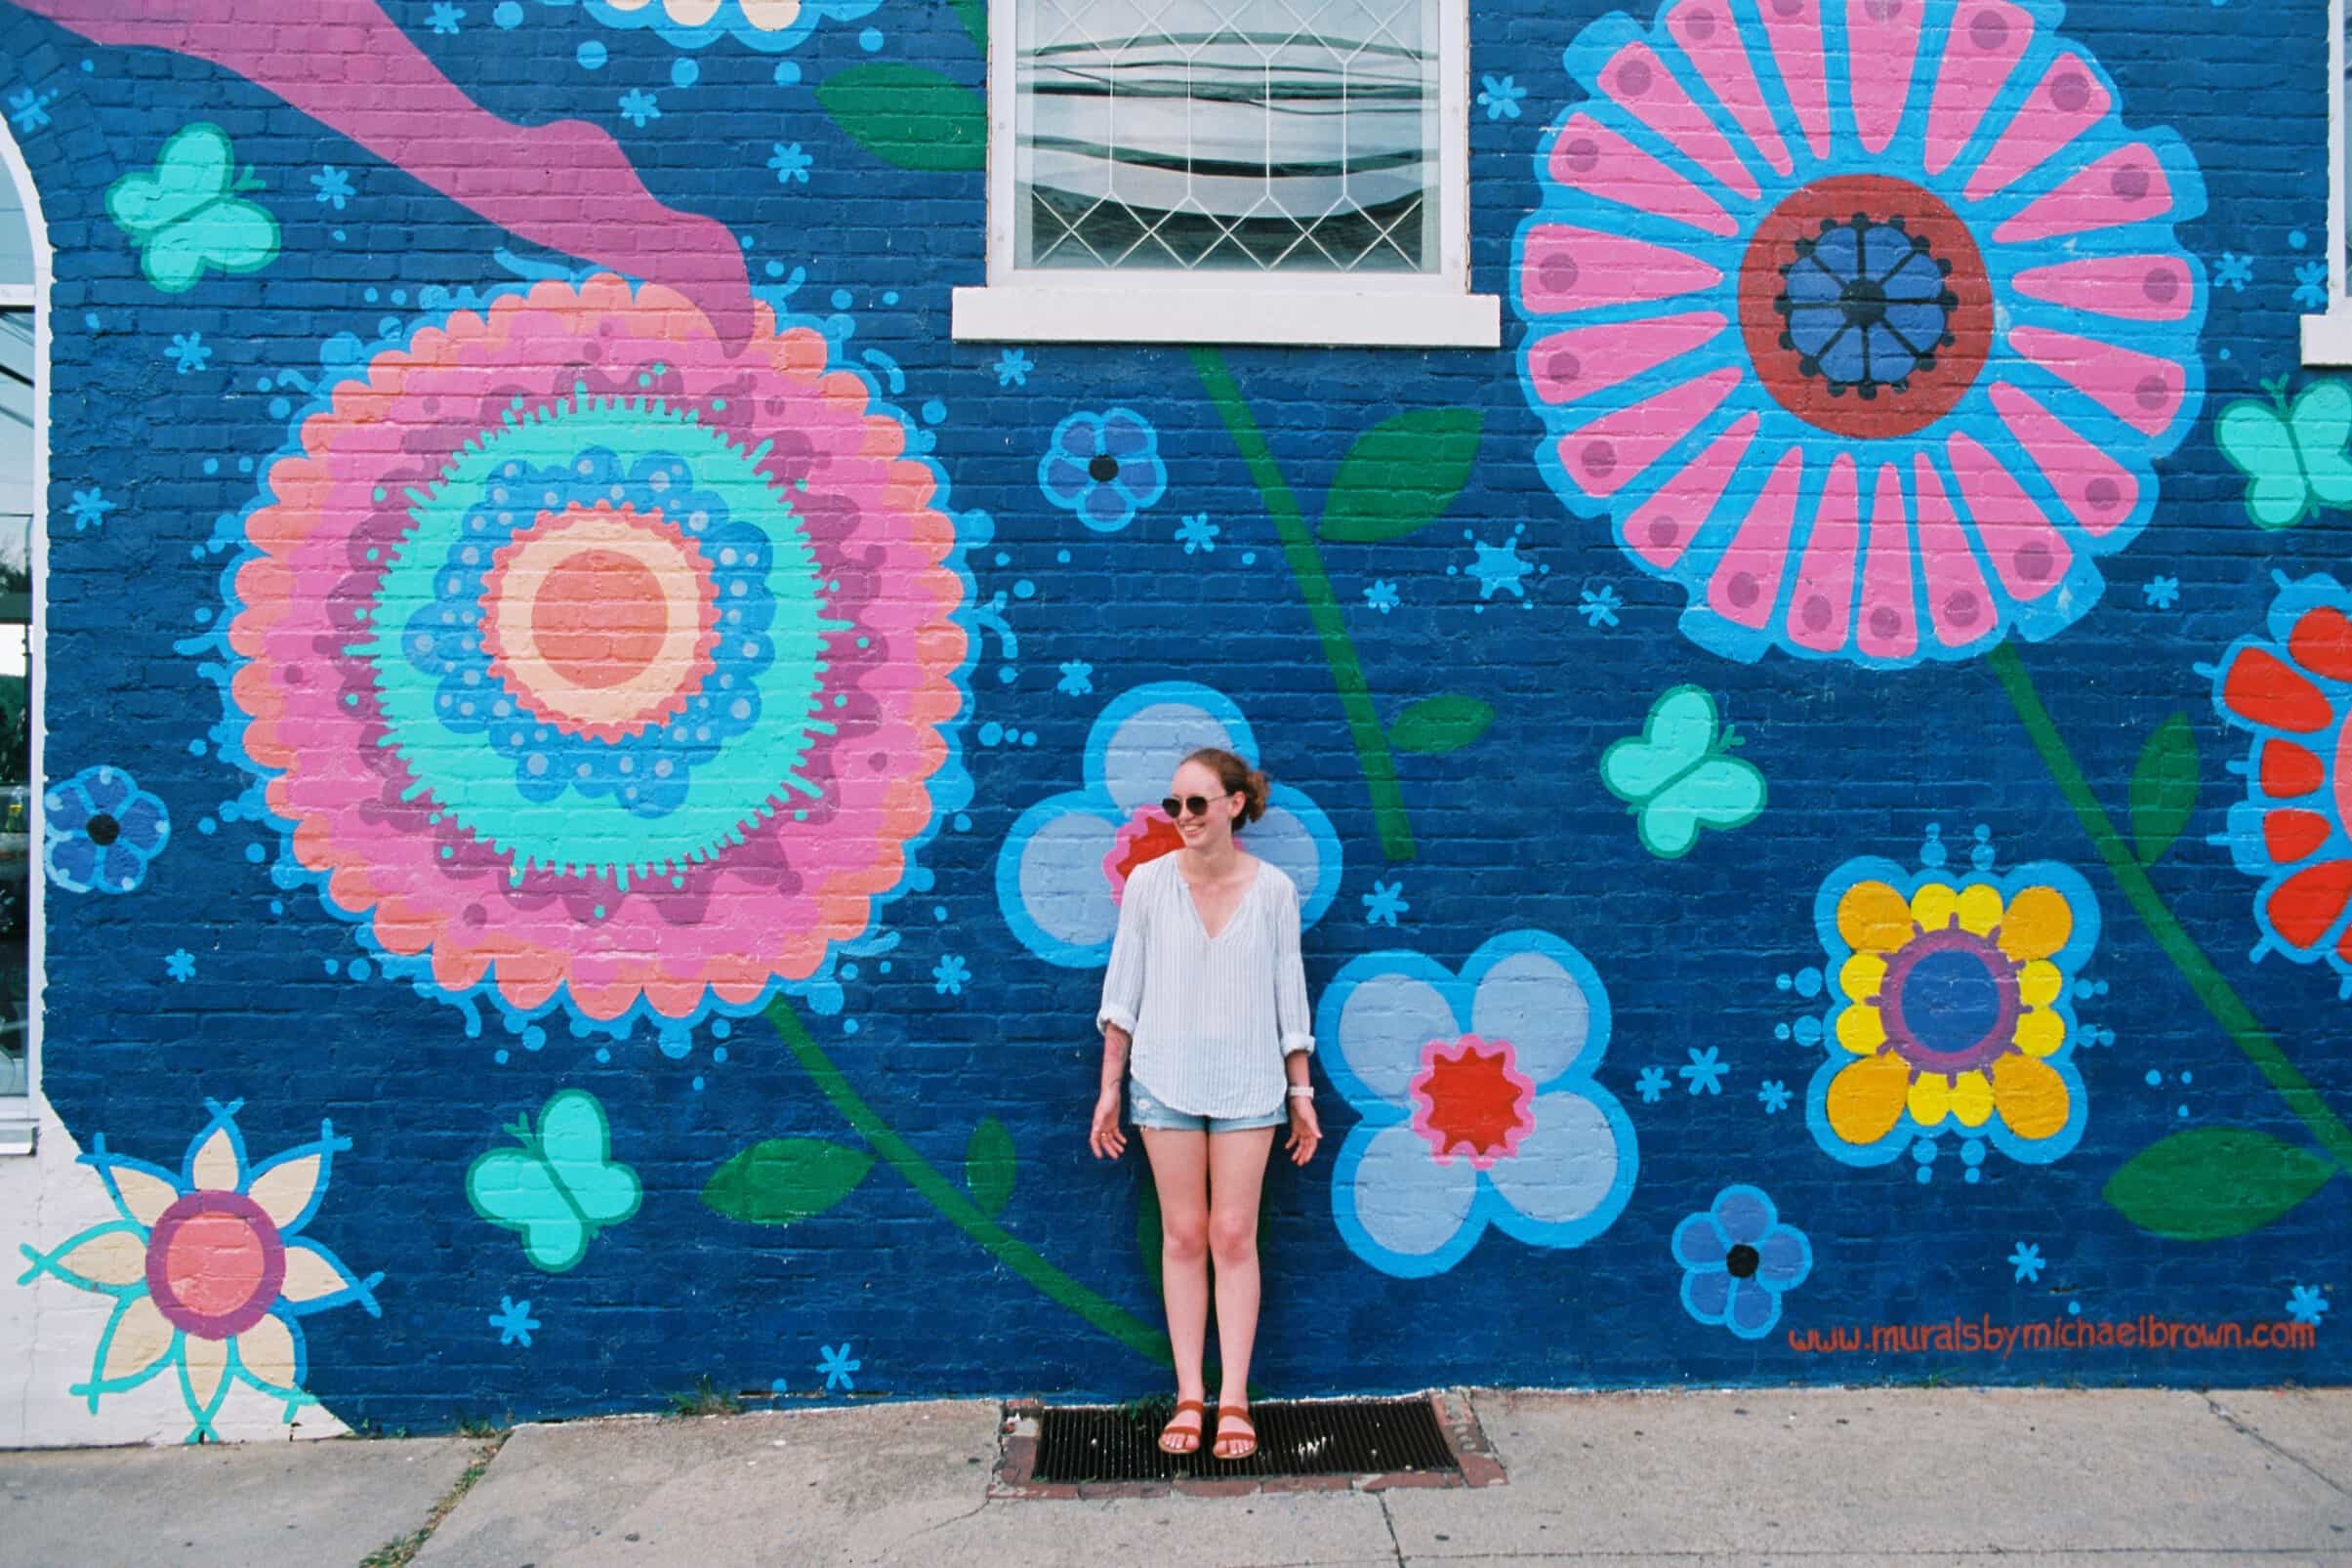
Creating an outdoor mural is a fantastic way to infuse personality and character into your outdoor space. Whether you've commissioned a talented artist or poured your heart and soul into the artwork yourself, protecting the mural from the elements is crucial to preserving its beauty for years to come. In this comprehensive guide, we'll explore the essential steps to effectively seal an outdoor mural, ensuring its longevity and vibrancy.
Sealing an outdoor mural not only safeguards it from weather-related damage but also enhances its visual appeal. By applying the right sealant and following proper techniques, you can protect the artwork from fading, moisture, and other environmental factors. Additionally, a well-sealed mural is easier to clean and maintain, allowing you to enjoy its stunning aesthetics without constant worry.
Throughout this guide, we'll delve into the step-by-step process of preparing the surface, selecting the appropriate sealant, and applying it with precision. We'll also discuss the crucial aspect of post-sealing maintenance to keep your outdoor mural looking impeccable year after year.
Whether you're a homeowner, business owner, or artist seeking to preserve an outdoor masterpiece, mastering the art of sealing outdoor murals is a valuable skill. Let's embark on this journey to safeguard your outdoor artwork and elevate the allure of your outdoor living space.
Key Takeaways:
- Protect your outdoor mural by cleaning the surface, choosing the right sealant, applying it carefully, letting it dry, and maintaining it regularly. This ensures its longevity and enduring beauty in your outdoor space.
- Sealing your outdoor mural not only safeguards it from the elements but also enhances its visual appeal. By following the steps and maintaining it, you can enjoy its stunning aesthetics for years to come.
Read more: How To Paint An Outdoor Mural
Step 1: Prepare the Surface
Before applying a sealant to your outdoor mural, it’s crucial to prepare the surface adequately. This preparatory phase sets the foundation for a successful sealing process and ensures optimal adhesion and protection. Here are the essential steps to prepare the surface:
- Clean the Surface: Begin by thoroughly cleaning the mural surface to remove any dirt, dust, or debris. Use a gentle detergent or mild soap with water to wash the area, and consider using a soft-bristled brush for stubborn stains. Rinse the surface with clean water and allow it to dry completely before proceeding.
- Repair Any Damage: Inspect the mural for any signs of damage, such as chipped paint or cracks. Address these issues by carefully touching up the artwork with matching paint and allowing it to dry completely. For more extensive damage, consult a professional artist or restorer to ensure the mural is in pristine condition before sealing.
- Remove Existing Sealant: If there is any previous sealant or coating on the mural, it’s essential to remove it before applying a new one. Use a suitable paint stripper or solvent according to the manufacturer’s instructions to eliminate the existing sealant. Thoroughly clean the surface again after this process to ensure it’s free from any residue.
- Protect Surrounding Areas: Take precautions to protect the surrounding areas of the mural, such as adjacent walls, plants, or structures. Use painter’s tape and plastic sheeting to cover and shield these elements from accidental overspray or drips during the sealing process.
By diligently preparing the surface, you create an optimal canvas for the sealant, allowing it to adhere effectively and provide robust protection to the outdoor mural. This meticulous approach sets the stage for a successful sealing endeavor and contributes to the long-term preservation of the artwork’s beauty.
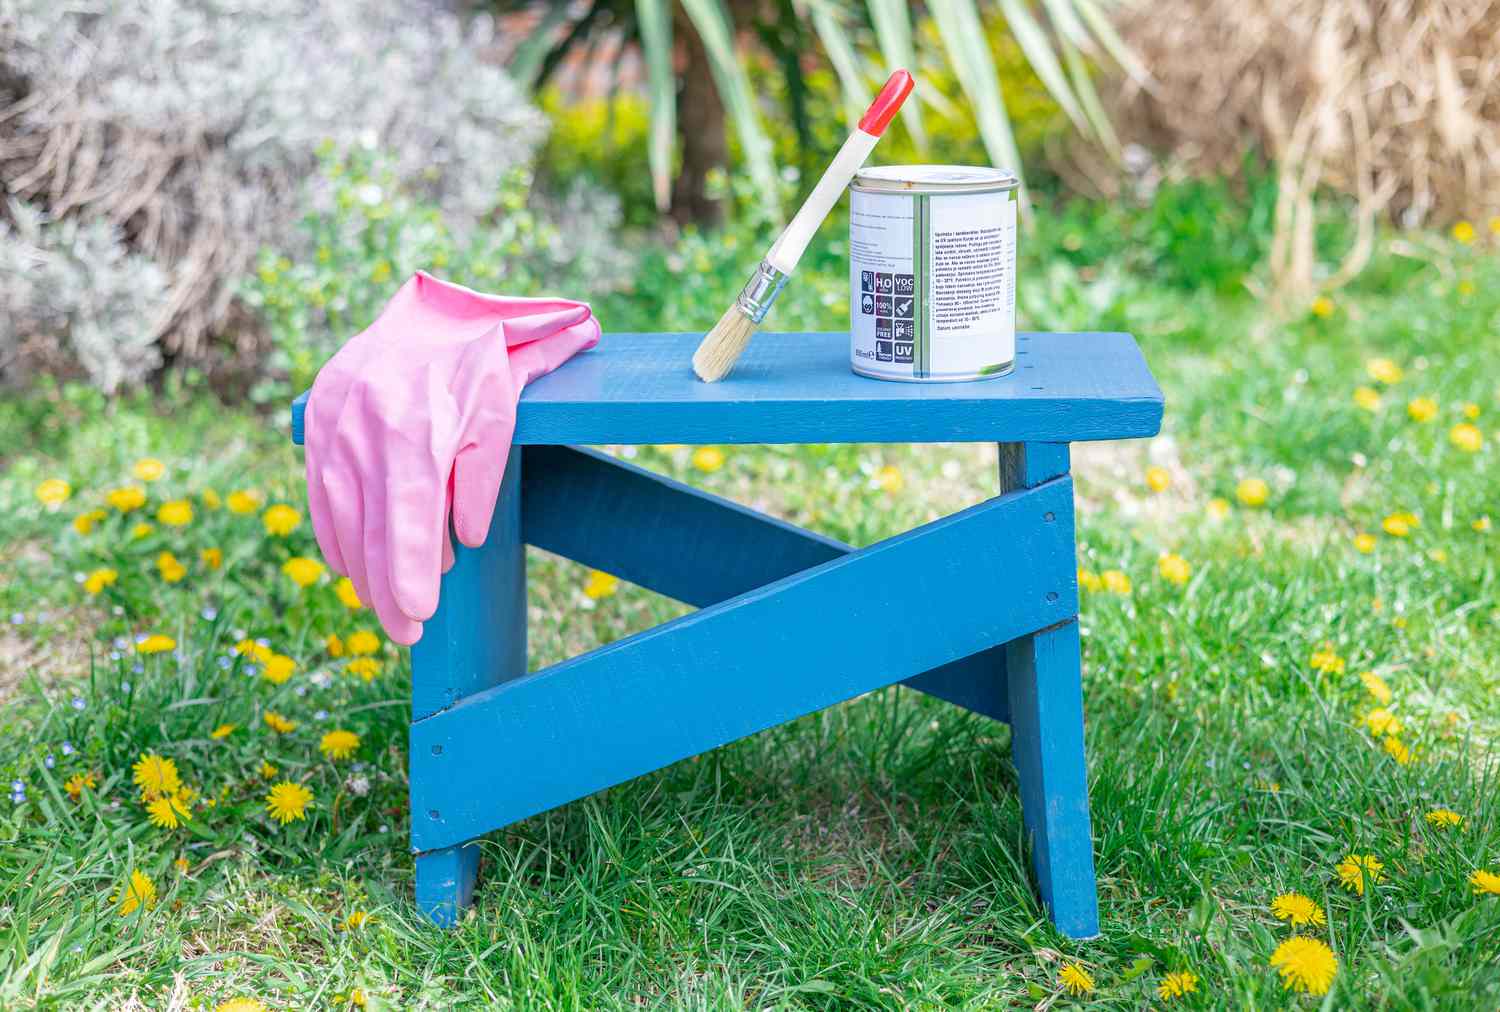
Step 2: Choose the Right Sealant
When it comes to sealing an outdoor mural, selecting the appropriate sealant is a decision that significantly impacts the longevity and resilience of the artwork. The right sealant not only provides protection against environmental elements but also enhances the vibrancy and durability of the mural. Here are essential considerations for choosing the right sealant:
- Weather Resistance: Opt for a sealant specifically designed for outdoor use, capable of withstanding the elements prevalent in your region. Look for products labeled as weatherproof, UV-resistant, and formulated to endure varying temperatures and moisture levels.
- Transparency and Finish: Consider the desired finish for your mural. Some sealants offer a glossy finish, enhancing the colors and details of the artwork, while others provide a matte or satin finish for a more subdued look. Additionally, choose a sealant that is entirely transparent to preserve the mural’s original appearance without altering its visual characteristics.
- Breathability: It’s crucial to select a sealant that allows the mural to breathe, preventing moisture from being trapped beneath the surface. A breathable sealant helps mitigate the risk of mold, mildew, and bubbling, safeguarding the integrity of the artwork over time.
- Compatibility: Ensure that the chosen sealant is compatible with the type of paint and surface of the mural. Different sealants are formulated for various paint types, such as acrylic, latex, or oil-based, and may adhere differently to different surfaces, such as concrete, stucco, or wood.
- Longevity and Maintenance: Assess the durability and maintenance requirements of the sealant. Look for products that offer long-lasting protection and are easy to maintain, allowing for simple cleaning and occasional touch-ups without compromising the sealant’s effectiveness.
By carefully evaluating these factors and choosing a sealant that aligns with the specific needs of your outdoor mural, you can ensure superior protection and visual enhancement. The right sealant serves as a shield, preserving the artwork’s allure while fortifying it against the rigors of outdoor exposure.
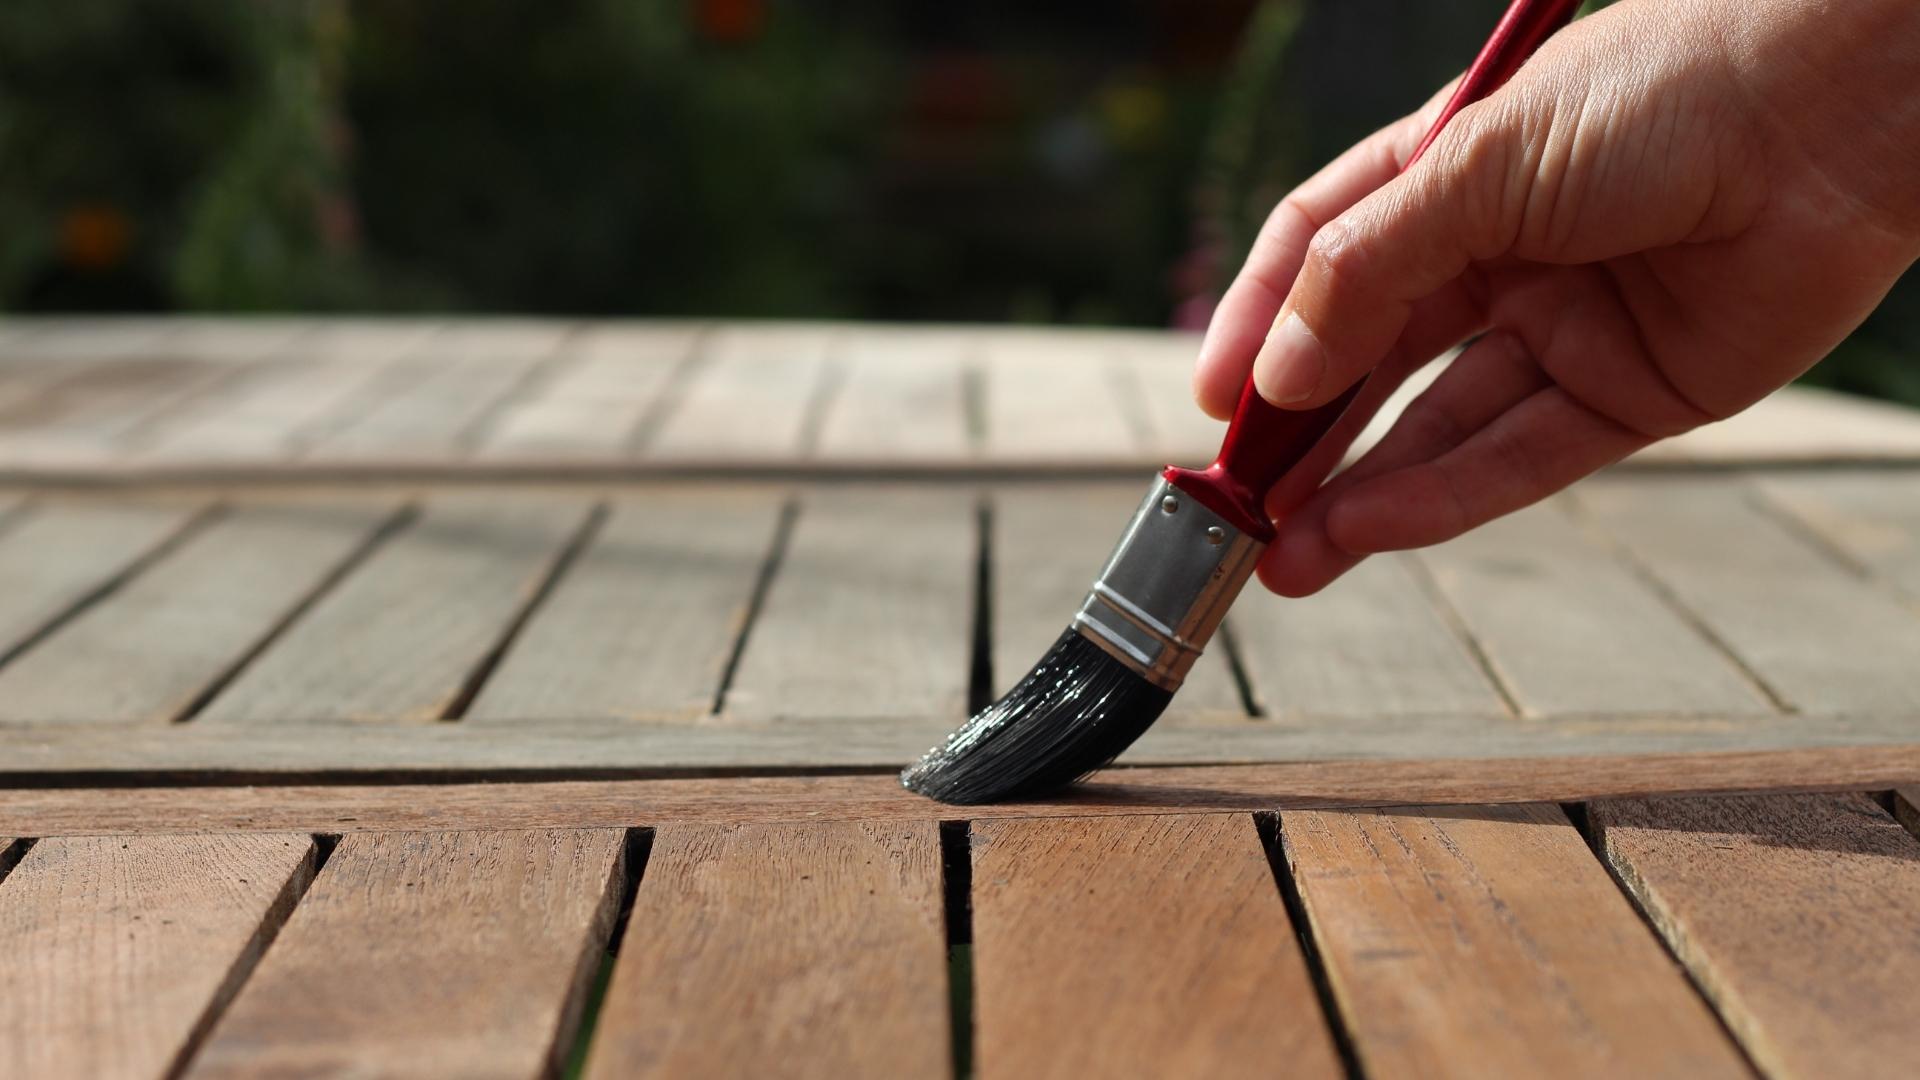
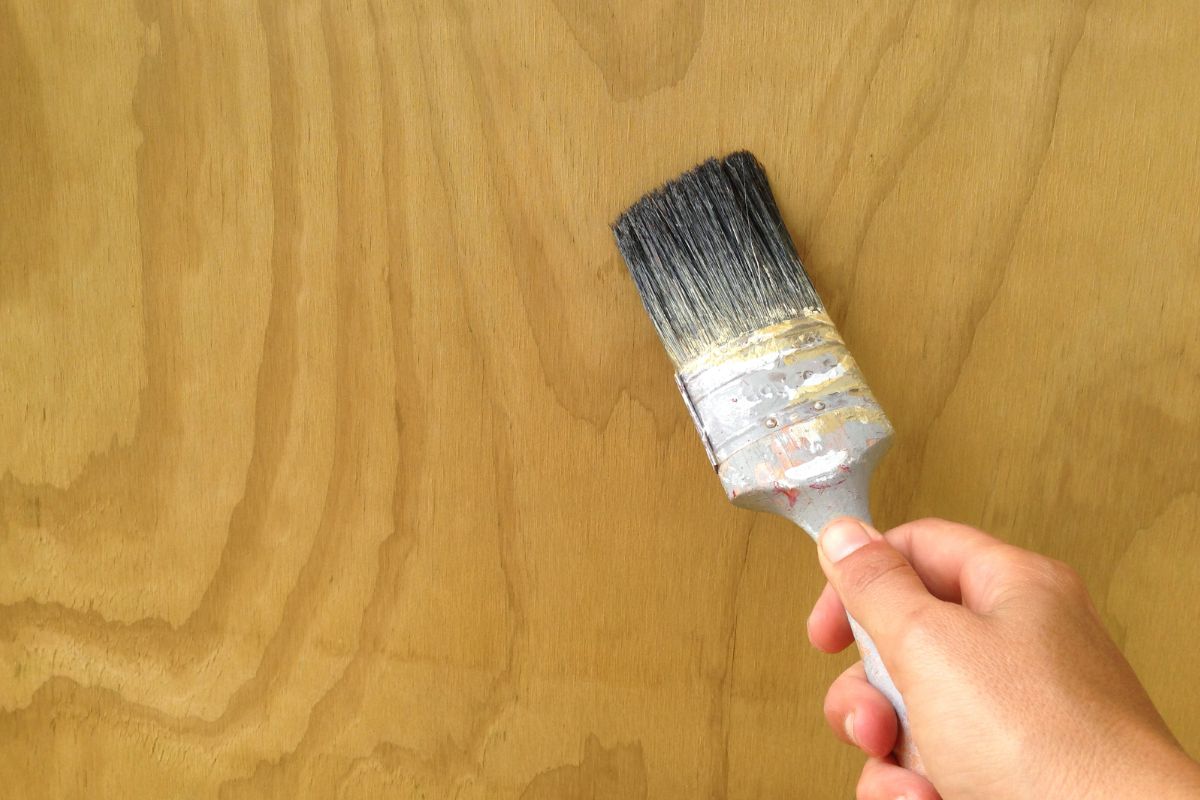
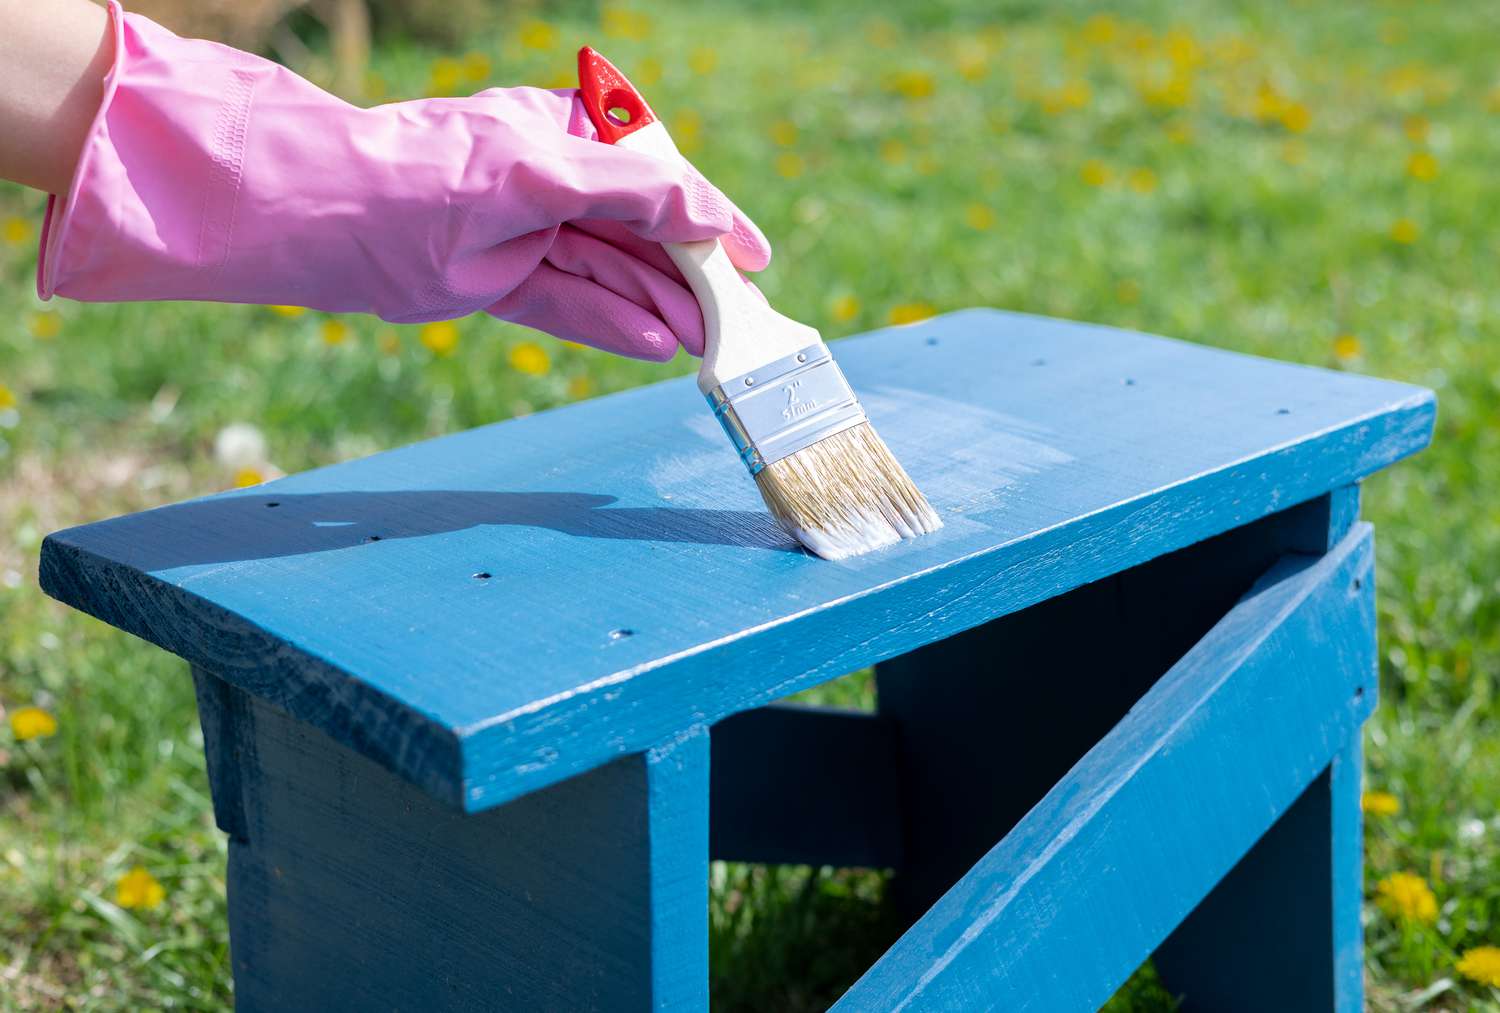
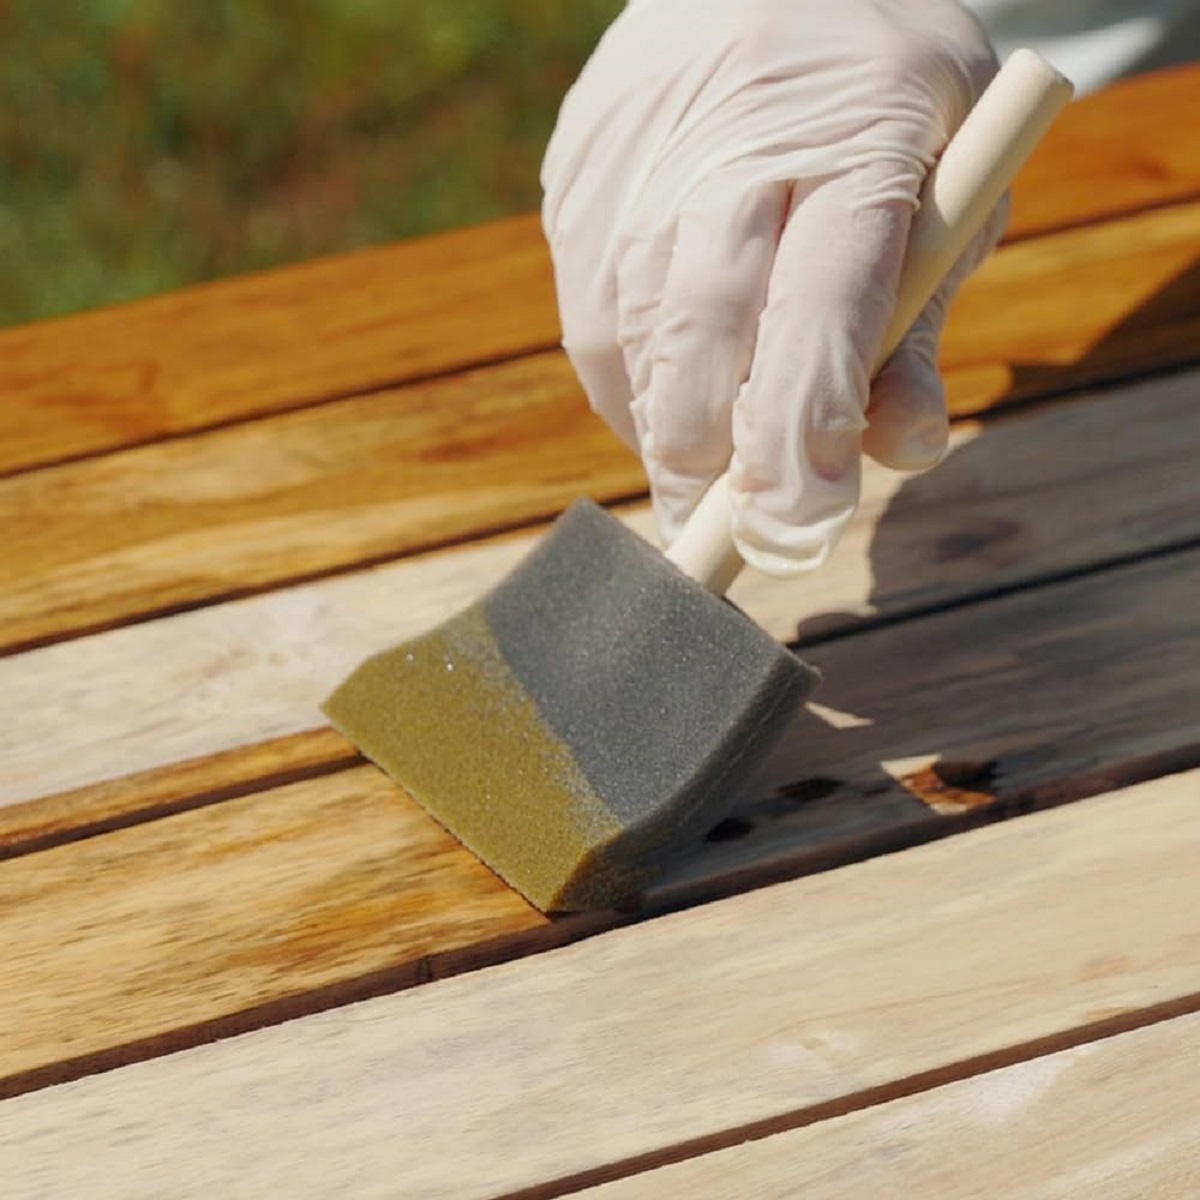
Step 3: Apply the Sealant
Once the surface is prepared, and the appropriate sealant is selected, it’s time to apply the sealant to the outdoor mural. The application process demands precision, patience, and a meticulous approach to ensure thorough coverage and optimal protection. Here’s a step-by-step guide to effectively apply the sealant:
- Choose Ideal Weather Conditions: Select a day with moderate temperature and low humidity for the application. Avoid windy days to prevent debris from affecting the sealant’s adherence and finish. Additionally, ensure that rain is not in the forecast for at least 24 hours after application.
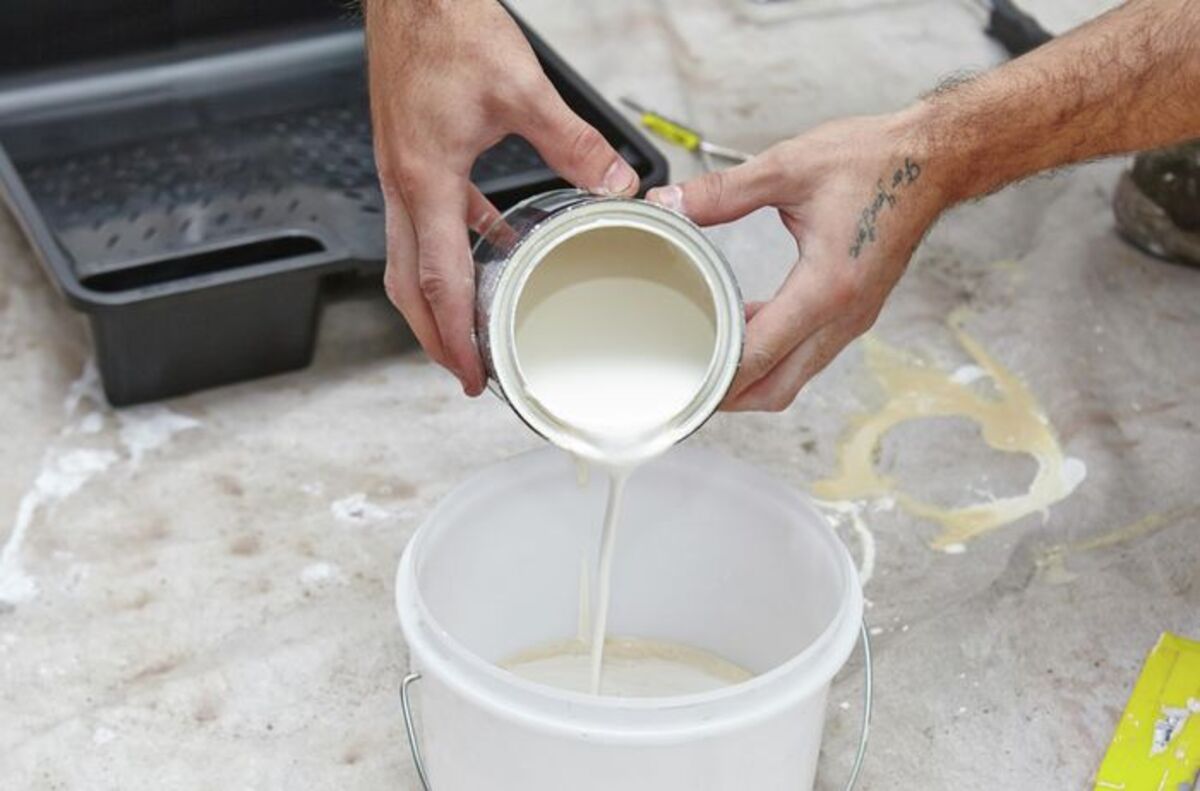
- Stir the Sealant: If the sealant requires mixing, carefully stir it according to the manufacturer’s instructions. Ensure that the sealant is well-blended to maintain its consistency throughout the application process.
- Use Appropriate Tools: Select high-quality brushes, rollers, or sprayers suitable for the type of sealant being applied. For intricate details and edges, a brush may be the most effective, while rollers or sprayers can expedite the process for larger surface areas.
- Apply Thin, Even Coats: Begin applying the sealant in thin, even coats, working from the top of the mural downward. Avoid overloading the surface with sealant to prevent drips, runs, or uneven coverage. Pay special attention to maintaining a consistent application rate to achieve a uniform finish.
- Overlap and Blend: If using multiple containers of sealant, be mindful of blending them to ensure a seamless transition between batches. Additionally, overlap each stroke slightly to blend the sealant and avoid visible lines or demarcations on the mural’s surface.
- Address Vertical Surfaces: When sealing murals on vertical surfaces, such as walls, apply the sealant from top to bottom to manage drips and ensure comprehensive coverage. Work in manageable sections to maintain control over the application process.
- Allow for Drying Time: Follow the manufacturer’s instructions regarding drying time between coats, ensuring that each layer is fully dry before applying subsequent coats. Adequate drying time is critical to the sealant’s effectiveness and the overall integrity of the mural.
By meticulously following these application guidelines, you can achieve a professional-quality seal, fortifying the outdoor mural against environmental factors while enhancing its visual appeal. The application process is a pivotal stage in the sealing endeavor, contributing to the mural’s long-term resilience and enduring beauty.
After completing an outdoor mural, use a clear, weatherproof sealant to protect it from the elements. Make sure to choose a sealant that is specifically designed for outdoor use and follow the manufacturer’s instructions for application.
Step 4: Let It Dry
After applying the sealant to the outdoor mural, allowing ample time for thorough drying is paramount to ensure optimal adhesion, durability, and effectiveness. Proper drying facilitates the formation of a robust protective layer, fortifying the mural against the elements and preserving its visual allure. Here are essential considerations for the drying phase:
- Follow Manufacturer’s Guidelines: Adhere to the recommended drying times provided by the sealant manufacturer. These guidelines account for factors such as temperature, humidity, and the number of coats applied, offering valuable insights into the optimal drying duration for the specific product used.
- Ensure Adequate Ventilation: Promote proper airflow around the mural to expedite the drying process. Open windows, doors, or use fans to facilitate ventilation, especially in enclosed or less ventilated outdoor areas. Adequate ventilation aids in the evaporation of solvents and accelerates drying.
- Monitor Weather Conditions: Be mindful of external factors such as humidity, temperature, and precipitation. Avoid exposing the freshly sealed mural to rain, excessive moisture, or extreme heat during the drying period, as these conditions can compromise the sealant’s integrity and finish.
- Avoid Physical Contact: Refrain from touching or interacting with the sealed mural during the drying phase. Physical contact can leave imprints, smudges, or disrupt the sealant’s curing process, potentially affecting its long-term performance and appearance.
- Assess Transparency and Finish: As the sealant dries, observe its transparency and finish to ensure it aligns with your aesthetic expectations. Some sealants may appear milky or cloudy during the drying phase but transition to a transparent finish upon complete drying. Patience during this phase is essential to accurately assess the final appearance.
- Plan for Additional Coats if Needed: Evaluate the sealed mural after the initial drying period to determine if additional coats are necessary for comprehensive protection. If touch-ups or additional layers are warranted, follow the manufacturer’s instructions for reapplication, ensuring that each coat dries thoroughly before proceeding.
By allowing the sealant to dry undisturbed within a conducive environment, you set the stage for a resilient and visually captivating outdoor mural. The drying phase is a critical component of the sealing process, contributing to the mural’s long-term endurance and enduring appeal.
Read more: Where Is The World’s Largest Outdoor Mural?
Step 5: Maintain the Mural
After successfully sealing your outdoor mural, ongoing maintenance is essential to preserve its beauty and protect it from the effects of weather and environmental exposure. Regular upkeep ensures that the mural retains its vibrancy and allure, extending its lifespan for years to come. Here are key strategies for maintaining the mural:
- Periodic Cleaning: Schedule routine cleaning sessions to remove dirt, dust, and pollutants that may accumulate on the mural over time. Use a gentle cleanser or mild soap with water to wash the surface, employing a soft sponge or cloth to avoid abrasion. Rinse thoroughly and allow the mural to dry completely after cleaning.
- Inspect for Damage: Conduct regular inspections to identify any signs of wear, chipping, or discoloration. Promptly address any issues by touching up the affected areas with matching paint and reapplying sealant as needed to maintain comprehensive protection.
- Monitor Sealant Integrity: Keep a vigilant eye on the sealant’s condition, looking for indications of peeling, cracking, or degradation. Address any compromised areas by carefully removing the damaged sealant, preparing the surface, and reapplying a fresh coat to reinforce the mural’s defense against the elements.
- Protective Measures: Implement protective measures to shield the mural from potential harm. Avoid placing objects against the mural, and be mindful of activities that may inadvertently impact its surface, such as leaning ladders or furniture. Strategically positioning outdoor furniture or planters can provide an additional barrier against accidental damage.
- Address Environmental Factors: Consider the impact of environmental elements on the mural’s longevity. If the area is prone to excessive sun exposure, strategically positioning shading elements or utilizing UV-protective coatings can mitigate potential fading and sun damage. Similarly, safeguarding the mural from excessive moisture and harsh weather conditions is crucial for its preservation.
- Professional Assessment: Periodically engage a professional artist or restorer to assess the mural’s condition and provide expert recommendations for maintenance and preservation. Their insights can offer valuable guidance for addressing any emerging issues and implementing proactive measures to safeguard the mural.
By diligently maintaining the sealed outdoor mural, you uphold its visual splendor and safeguard it against the challenges of outdoor exposure. Consistent care and proactive measures fortify the mural’s resilience, ensuring that it remains a captivating centerpiece of your outdoor space for years to come.
Conclusion
Sealing an outdoor mural is a transformative endeavor that not only protects the artwork from environmental elements but also enhances its enduring beauty. By following the comprehensive steps outlined in this guide, you have embarked on a journey to safeguard your outdoor masterpiece and elevate the allure of your outdoor living space. From meticulous surface preparation to the selection and application of the right sealant, each stage contributes to the mural’s resilience and longevity.
As you immerse yourself in the process of sealing the outdoor mural, remember that attention to detail, patience, and ongoing maintenance are pivotal to its preservation. The commitment to maintaining the mural ensures that it remains a captivating focal point, enriching your outdoor environment with its artistry and charm.
Embrace the opportunity to infuse your outdoor space with creativity and expression through the enduring beauty of a sealed outdoor mural. Whether it’s a vibrant depiction of nature, a captivating abstract composition, or a cherished piece of public art, your sealed outdoor mural stands as a testament to your dedication to preserving art and enriching the outdoor experience.
As the seasons unfold and the elements exert their influence, your sealed outdoor mural will continue to captivate and inspire, adding an enduring touch of elegance and creativity to your outdoor sanctuary. Embrace the art of sealing outdoor murals, and revel in the timeless allure it brings to your outdoor living space.
Frequently Asked Questions about How To Seal Outdoor Mural
Was this page helpful?
At Storables.com, we guarantee accurate and reliable information. Our content, validated by Expert Board Contributors, is crafted following stringent Editorial Policies. We're committed to providing you with well-researched, expert-backed insights for all your informational needs.


0 thoughts on “How To Seal Outdoor Mural”