Home>Furniture & Design>Outdoor Furniture>How To Seal Outdoor Light Fixture
Outdoor Furniture
How To Seal Outdoor Light Fixture
Published: January 14, 2024
Learn how to properly seal your outdoor light fixture to protect it from the elements. Get expert tips on outdoor furniture, design, and maintenance.
(Many of the links in this article redirect to a specific reviewed product. Your purchase of these products through affiliate links helps to generate commission for Storables.com, at no extra cost. Learn more)
Introduction
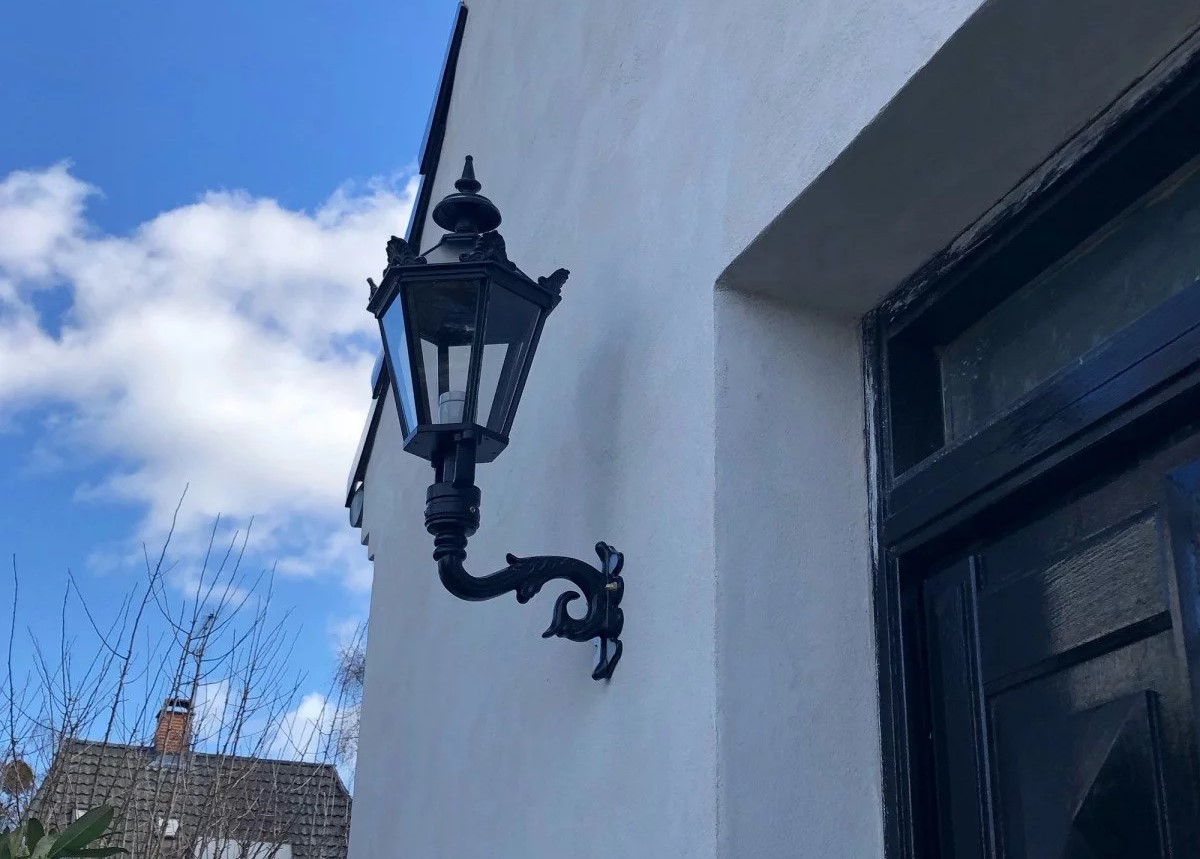
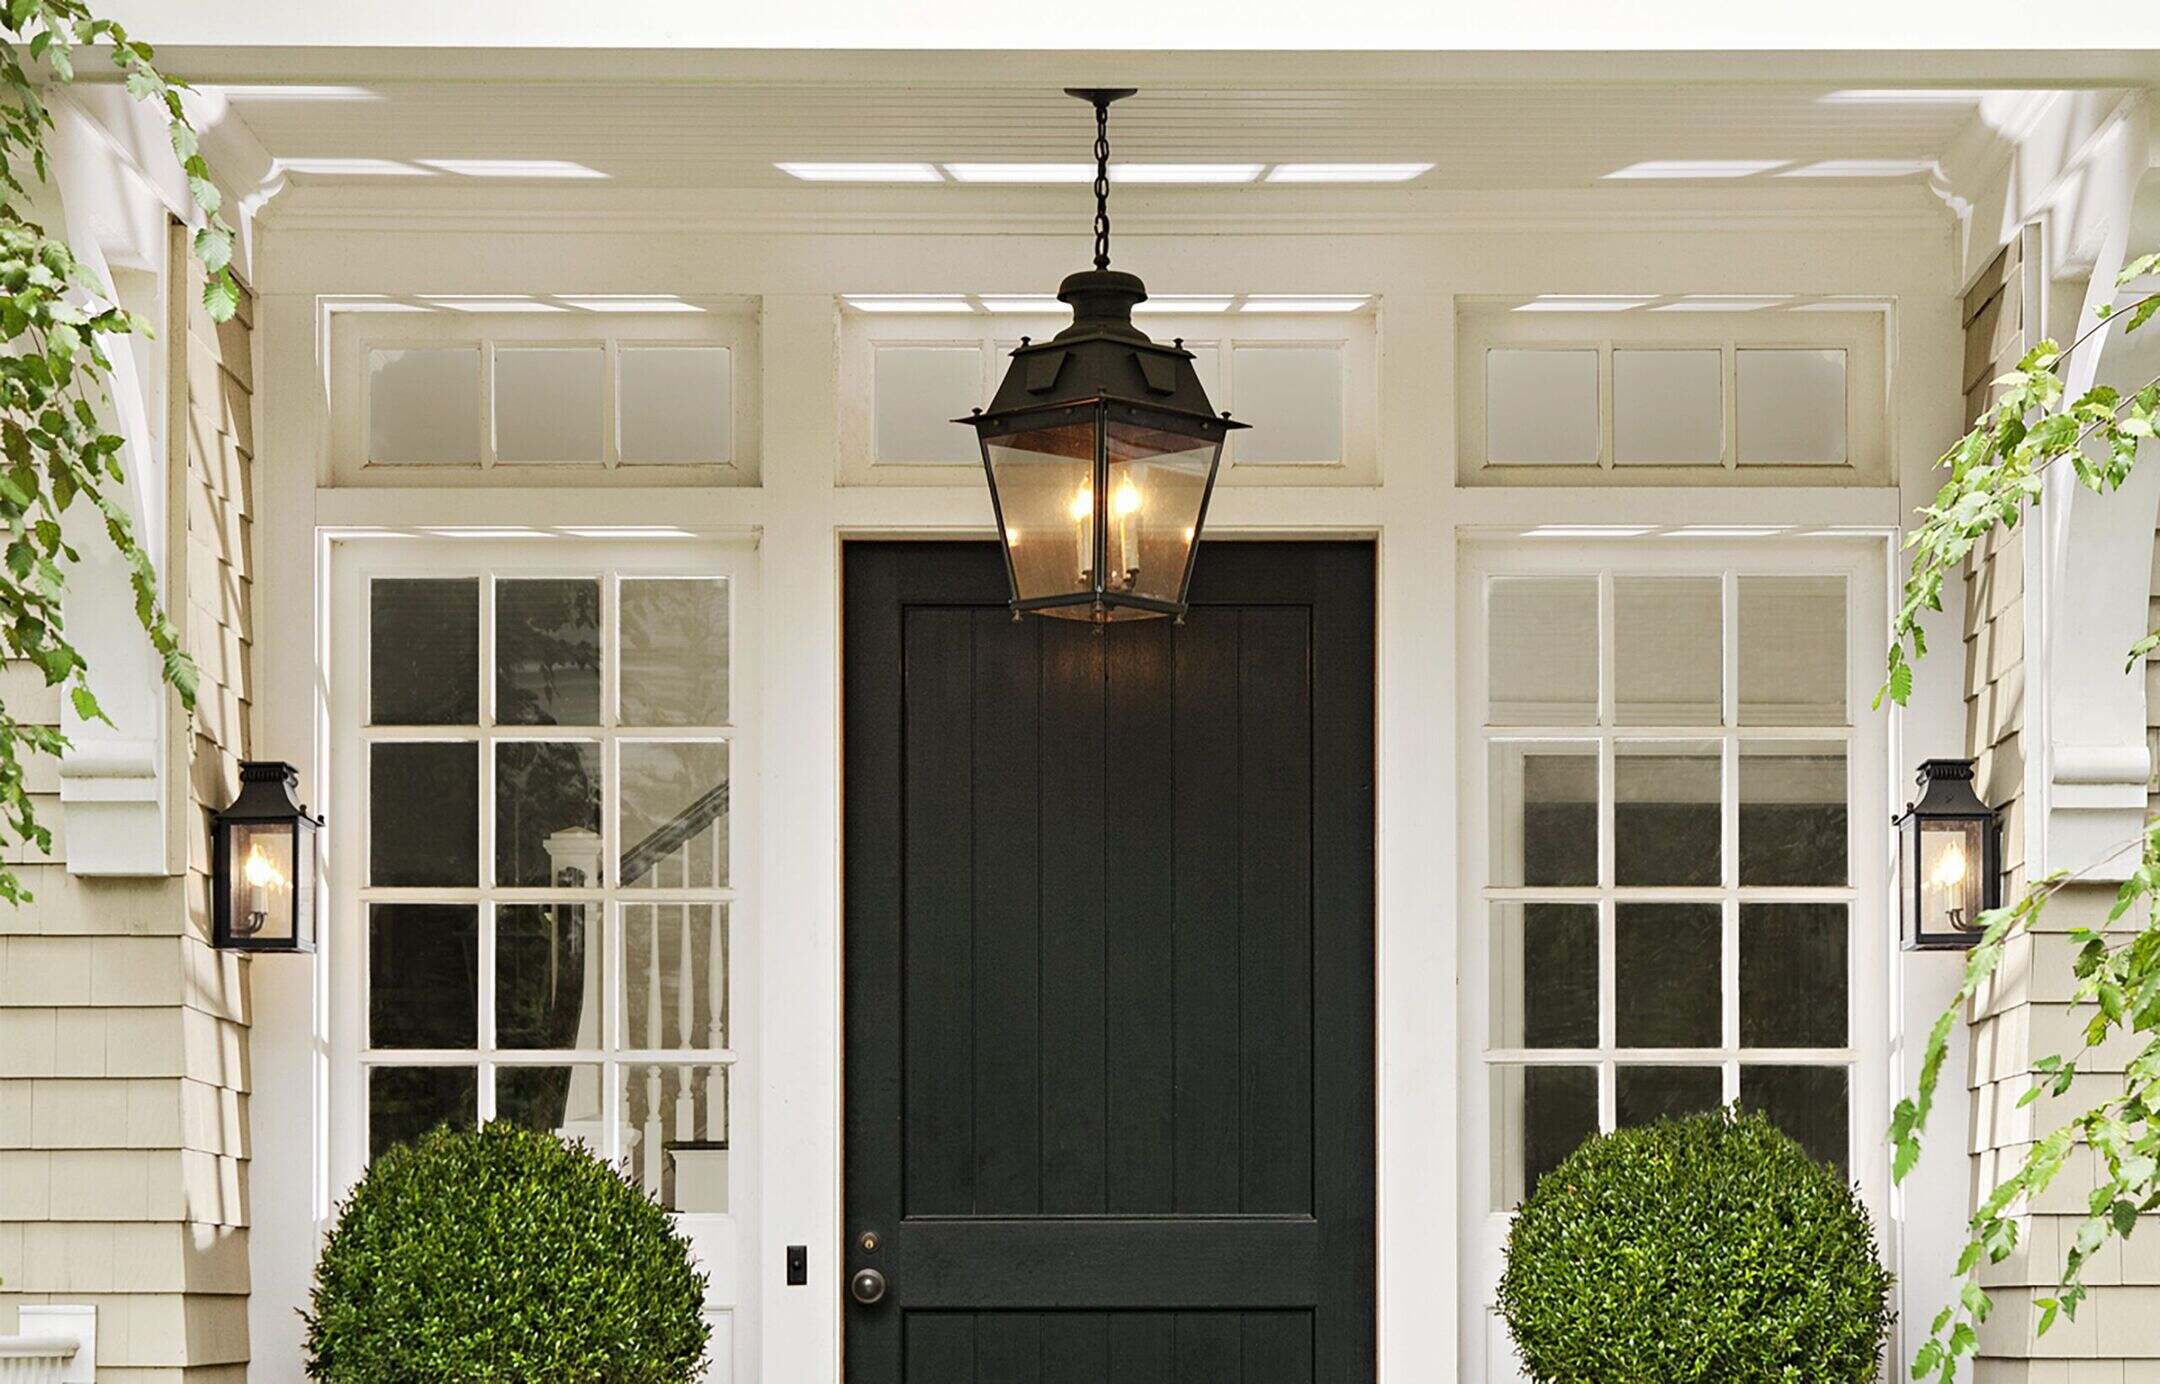
Welcome to our guide on how to seal outdoor light fixtures! Outdoor lighting not only enhances the aesthetic appeal of your home but also provides safety and security. However, exposure to the elements can lead to wear and tear, potentially compromising the integrity of the fixtures. Sealing outdoor light fixtures is crucial to protect them from moisture, dust, and other environmental factors, ensuring their longevity and optimal performance.
In this comprehensive tutorial, we will walk you through the step-by-step process of sealing your outdoor light fixtures. Whether you are dealing with a minor leak or simply want to take proactive measures to safeguard your fixtures, this guide is designed to equip you with the knowledge and skills necessary to effectively seal your outdoor light fixtures.
So, let's dive in and learn how to protect your outdoor light fixtures from the elements, ensuring that they continue to illuminate your outdoor spaces beautifully.
Key Takeaways:
- Protect your outdoor light fixtures by sealing them to prevent moisture damage and ensure long-term functionality. Follow the step-by-step process to safeguard your investment and enhance the safety and aesthetics of your outdoor spaces.
- Regularly inspect and maintain your outdoor light fixtures to preserve their performance and prolong their lifespan. By prioritizing care and maintenance, you can enjoy a well-lit and inviting outdoor environment while minimizing the need for repairs or replacements due to weather-related damage.
Read more: How To Test An Outdoor Light Fixture
Step 1: Turn off the Power
Before you begin working on sealing your outdoor light fixture, it is crucial to ensure your safety by disconnecting the power supply. Start by locating the circuit breaker or the light fixture’s switch in your electrical panel. Turn off the power supply to the outdoor light fixture by switching off the corresponding circuit breaker or the designated switch.
Once the power is turned off, it’s essential to verify that the fixture is no longer receiving electricity. You can do this by using a voltage tester or simply attempting to turn on the light. If the light does not turn on, you can proceed with confidence, knowing that the power has been successfully disconnected.
Remember, safety should always be the top priority when working with electrical components. By taking the necessary precautions and ensuring that the power source is deactivated, you can minimize the risk of electrical accidents and work on sealing the outdoor light fixture with peace of mind.
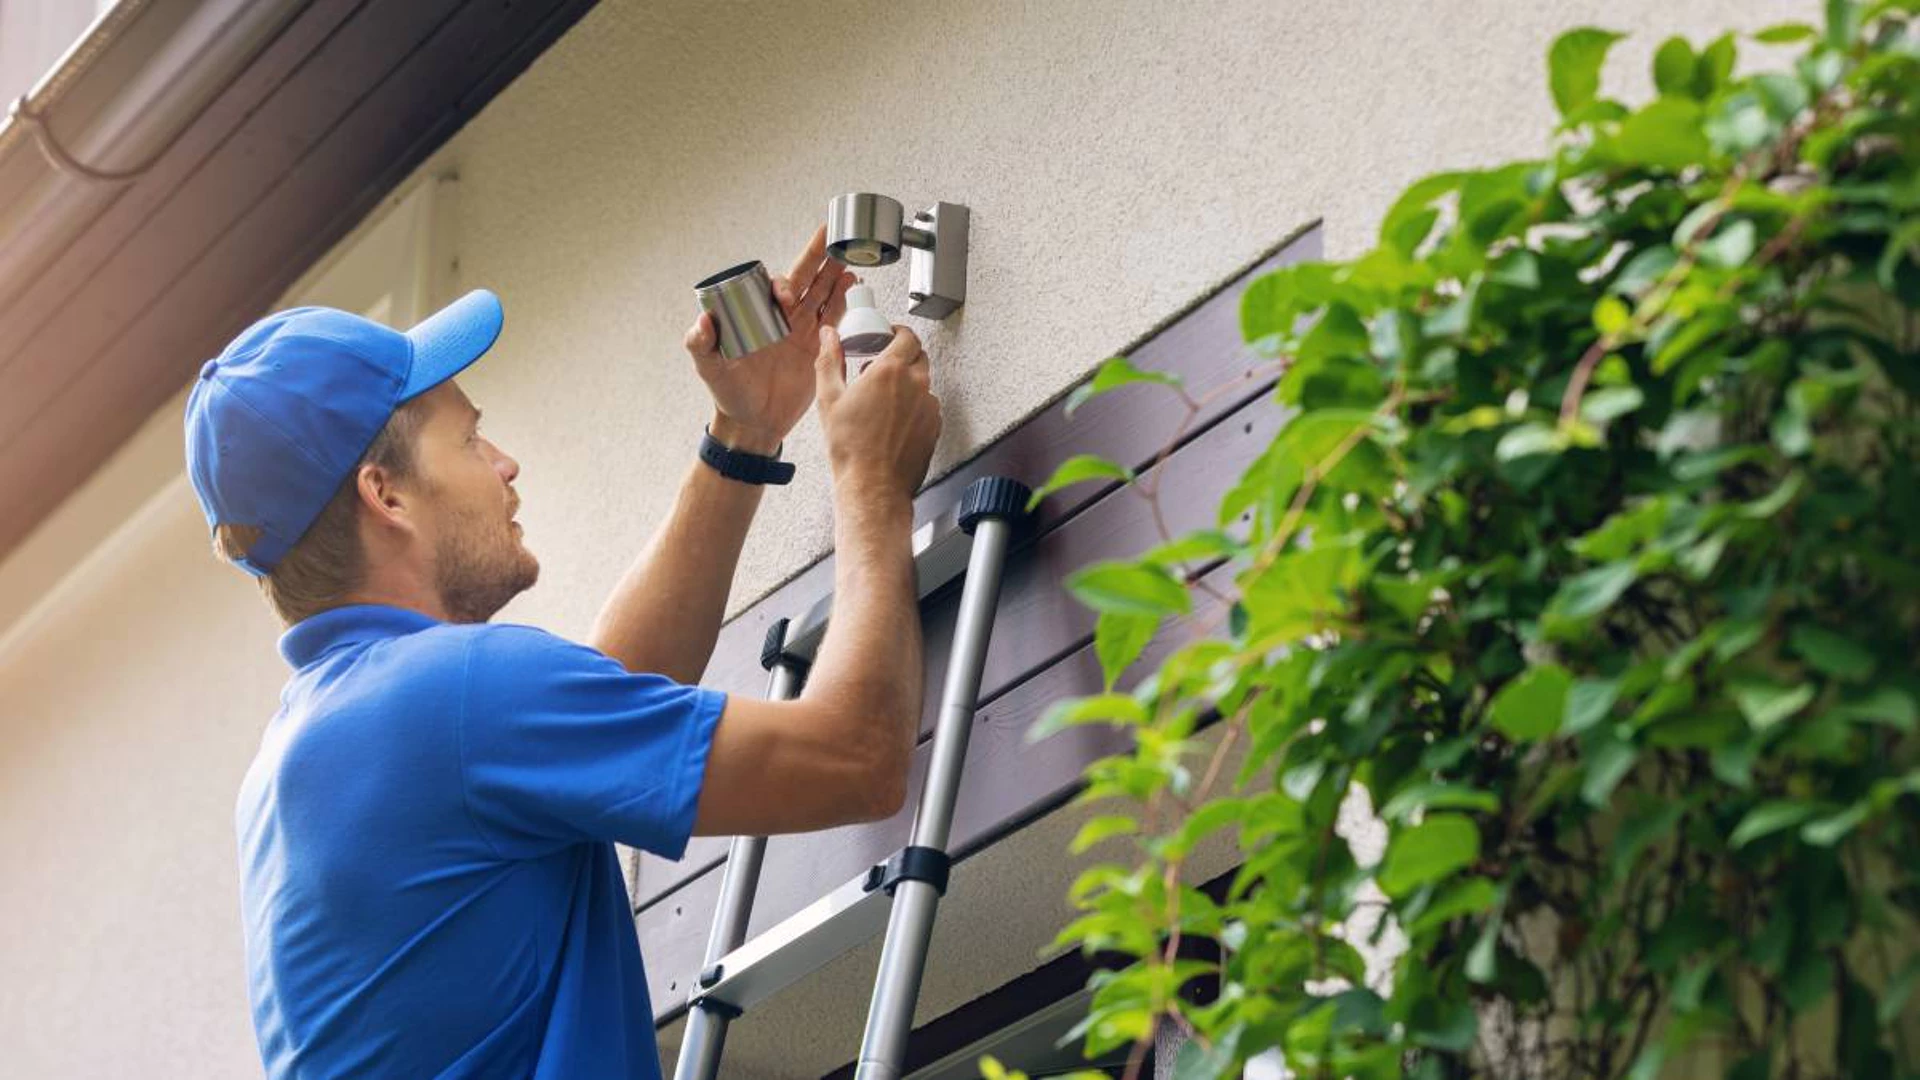
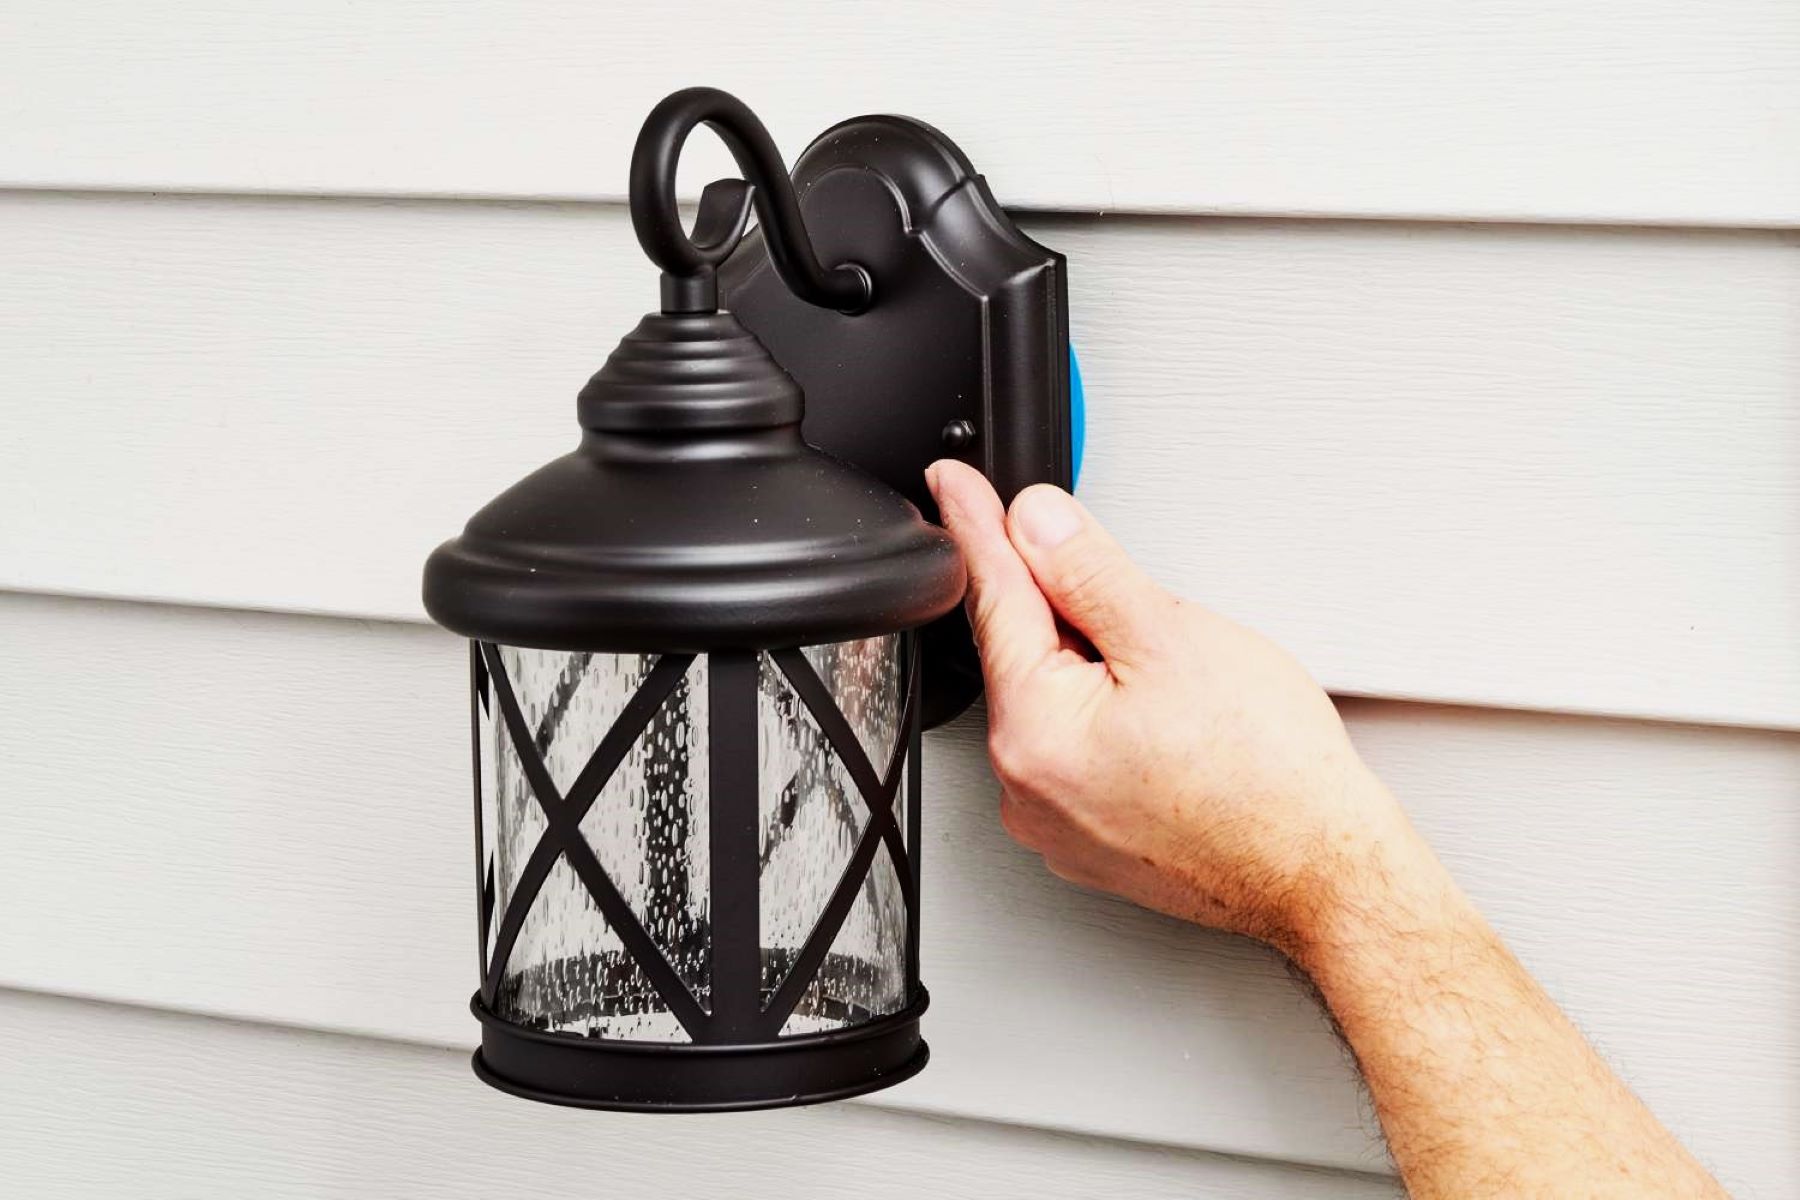
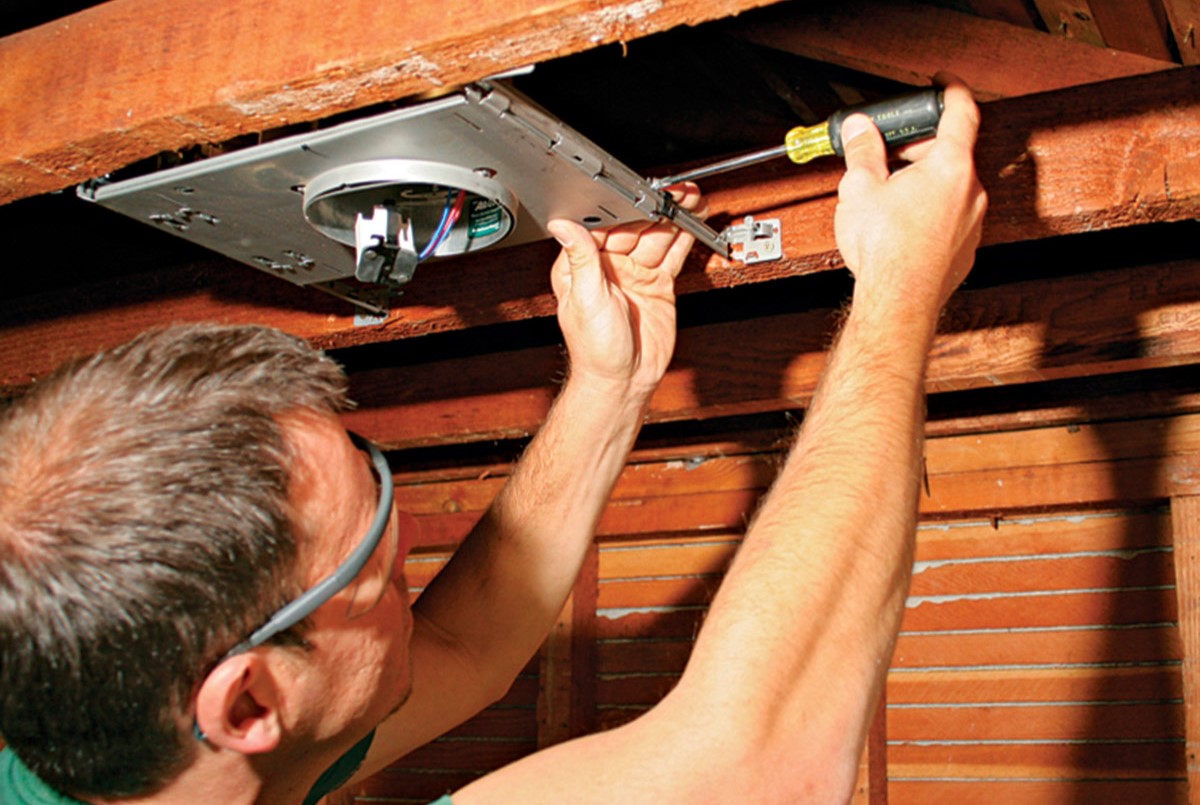
Step 2: Remove the Fixture
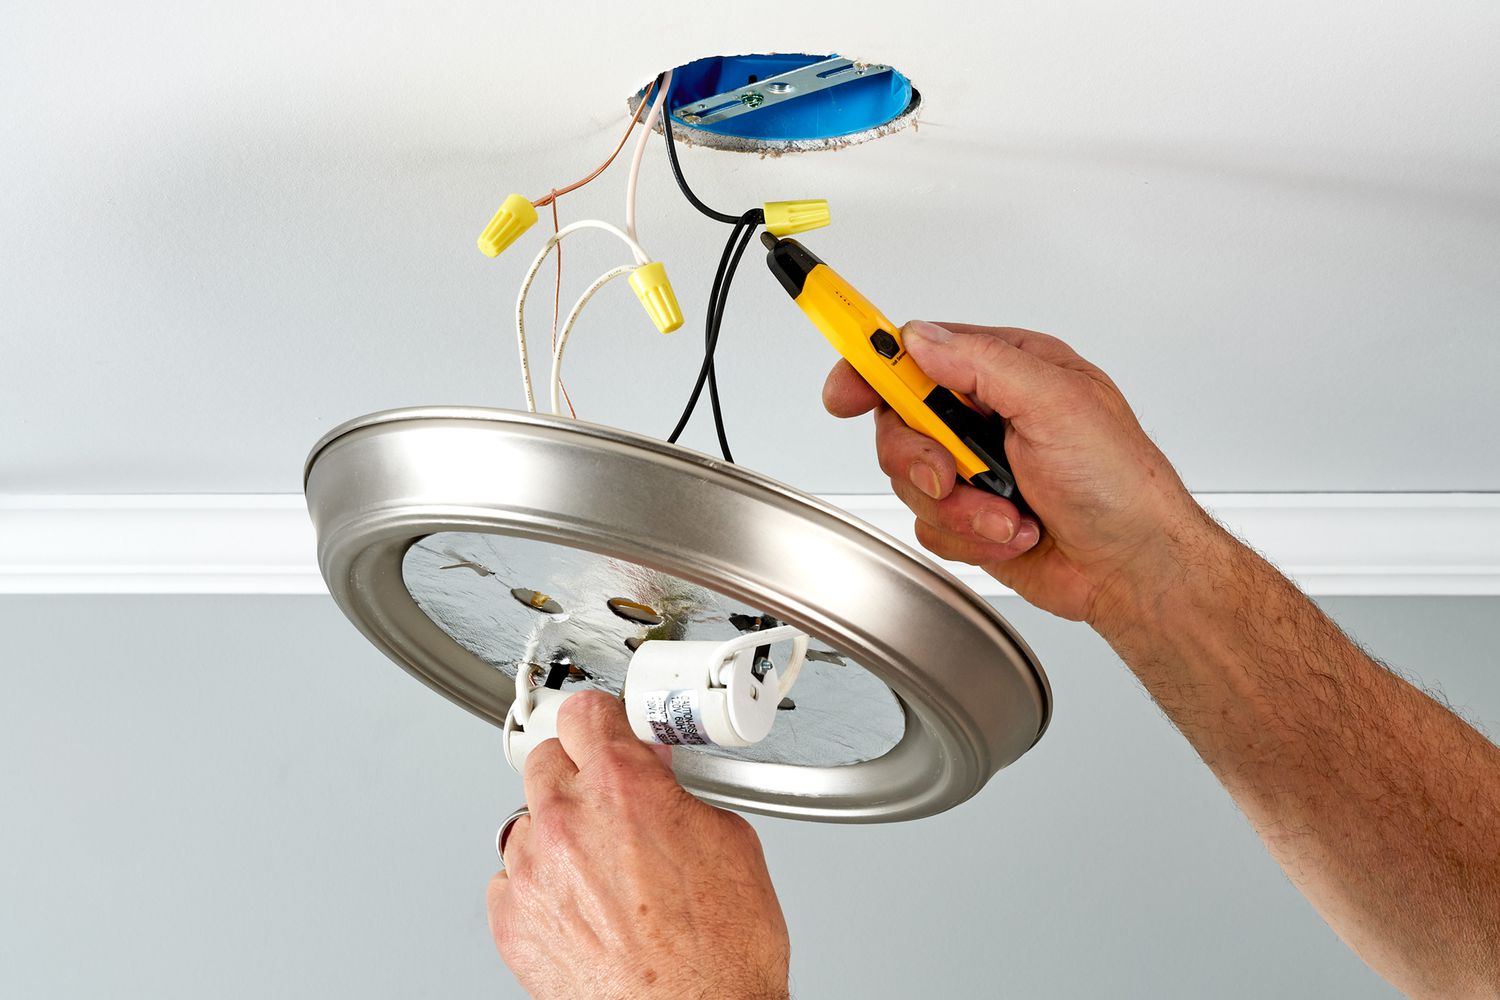
With the power supply turned off, you can now proceed to remove the outdoor light fixture. Start by carefully unscrewing or unfastening the fixture from its mounting, taking care to support its weight to prevent it from falling. If the fixture is attached to a wall or ceiling, use a screwdriver or appropriate tools to detach it from the mounting bracket or junction box.
As you remove the fixture, be mindful of any wires connected to it. Depending on the design of the fixture, you may encounter wire nuts or connectors joining the fixture’s wires to the house wiring. Carefully disconnect these wires, ensuring that they do not fall back into the junction box or wall opening.
Once the fixture is detached and the wires are safely disconnected, set the fixture aside in a secure location. This will allow you to work on sealing the area without the fixture obstructing your access. Additionally, it provides an opportunity to inspect the fixture for any signs of damage or wear that may require attention before reinstallation.
By removing the fixture, you create a clear workspace for the next steps in the sealing process. This also allows you to assess the condition of the mounting area and address any underlying issues that may impact the effectiveness of the sealant.
Step 3: Clean the Area
Before applying the sealant, it’s essential to prepare the area around the outdoor light fixture to ensure optimal adhesion and effectiveness of the seal. Begin by thoroughly cleaning the mounting surface, junction box, and the surrounding area. Use a mild detergent or soap solution and a clean cloth to remove any dirt, grime, or debris that may have accumulated over time.
Inspect the area for signs of corrosion, rust, or previous sealant that may need to be removed. If there are remnants of old sealant or adhesive, gently scrape or sand the surface to create a smooth and clean substrate for the new sealant to adhere to. Additionally, check for any water damage or moisture-related issues that may have contributed to the need for sealing the fixture.
After cleaning the area, allow it to dry completely before proceeding to the next step. Ensure that there is no residual moisture or cleaning solution present, as this can interfere with the bonding of the sealant to the surface. A dry and clean surface is essential for achieving a secure and long-lasting seal.
By thoroughly cleaning the area, you create an optimal foundation for the sealant, maximizing its ability to create a watertight barrier and protect the fixture and surrounding components from environmental elements.
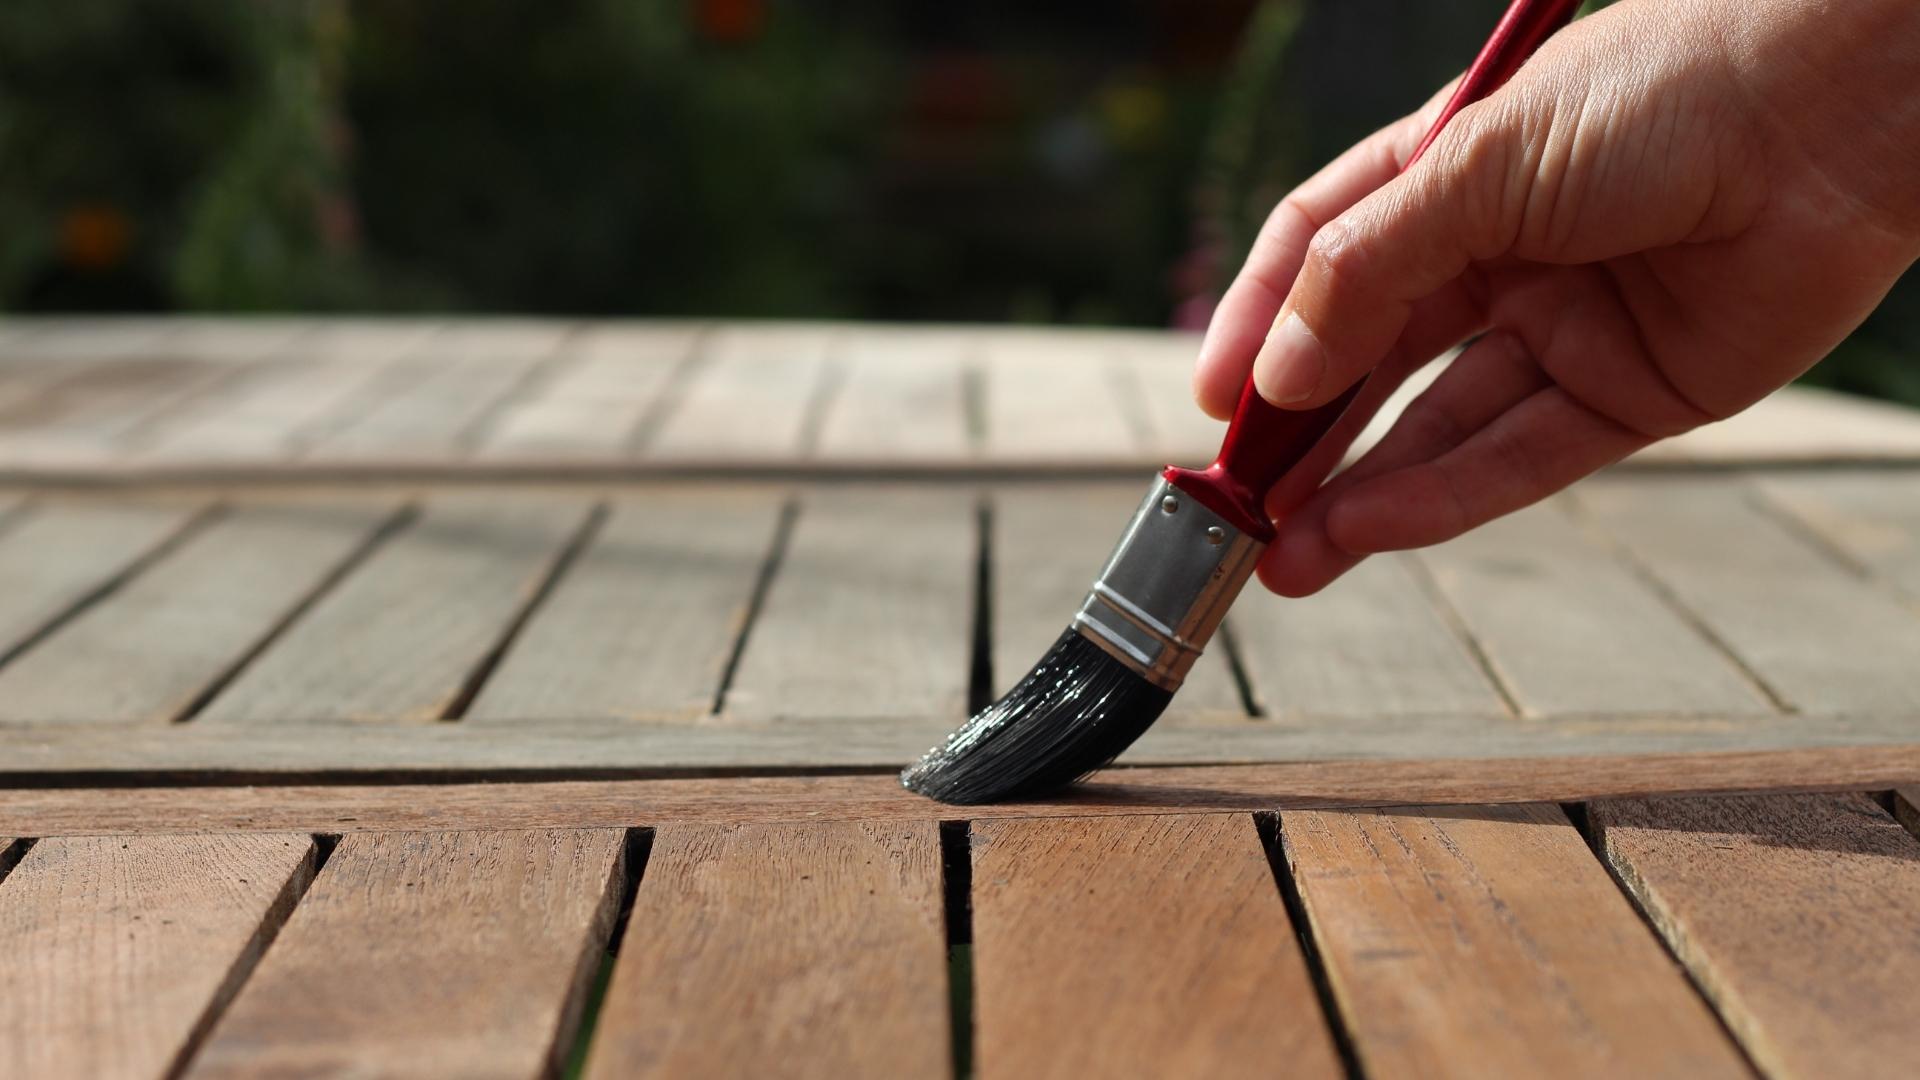
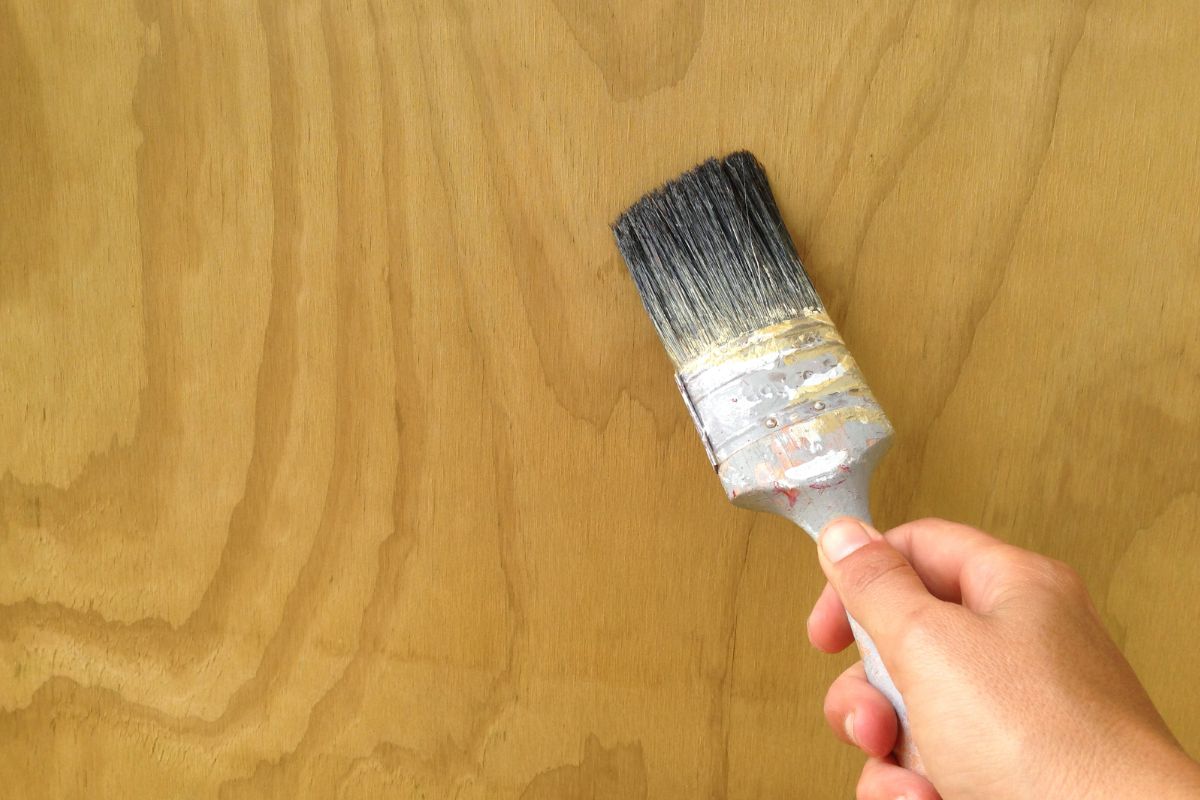
To seal an outdoor light fixture, use a clear silicone sealant around the edges where the fixture meets the wall. This will help prevent water from getting inside and causing damage.
Step 4: Apply Sealant
Now that the area is clean and prepared, it’s time to apply the sealant to effectively seal the outdoor light fixture. Choose a high-quality outdoor sealant that is specifically designed for the materials involved, such as metal, plastic, or glass. Silicone-based sealants are often a popular choice for outdoor applications due to their durability and weather resistance.
Using a caulking gun, carefully apply a continuous bead of sealant around the perimeter of the mounting surface or junction box where the fixture will be reinstalled. Ensure that the sealant completely encircles the area, creating a watertight barrier to prevent moisture from penetrating the fixture’s mounting location.
Pay close attention to any gaps, crevices, or seams where water could potentially infiltrate. Apply the sealant generously to cover these areas, taking care to create a uniform and thorough seal. If the outdoor light fixture has openings for wires or other components, apply sealant around these entry points to prevent water intrusion.
Smooth out the sealant bead with a tool or your finger to ensure proper adhesion and a neat finish. This helps to eliminate air pockets and promote a secure bond between the sealant and the mounting surface. Additionally, it enhances the visual appeal of the seal, creating a professional and polished appearance.
Allow the sealant to cure according to the manufacturer’s instructions before proceeding with the reinstallation of the outdoor light fixture. This curing period is essential for the sealant to achieve its full strength and effectiveness in providing long-term protection against the elements.
Read more: How To Waterproof Outdoor Light Fixture
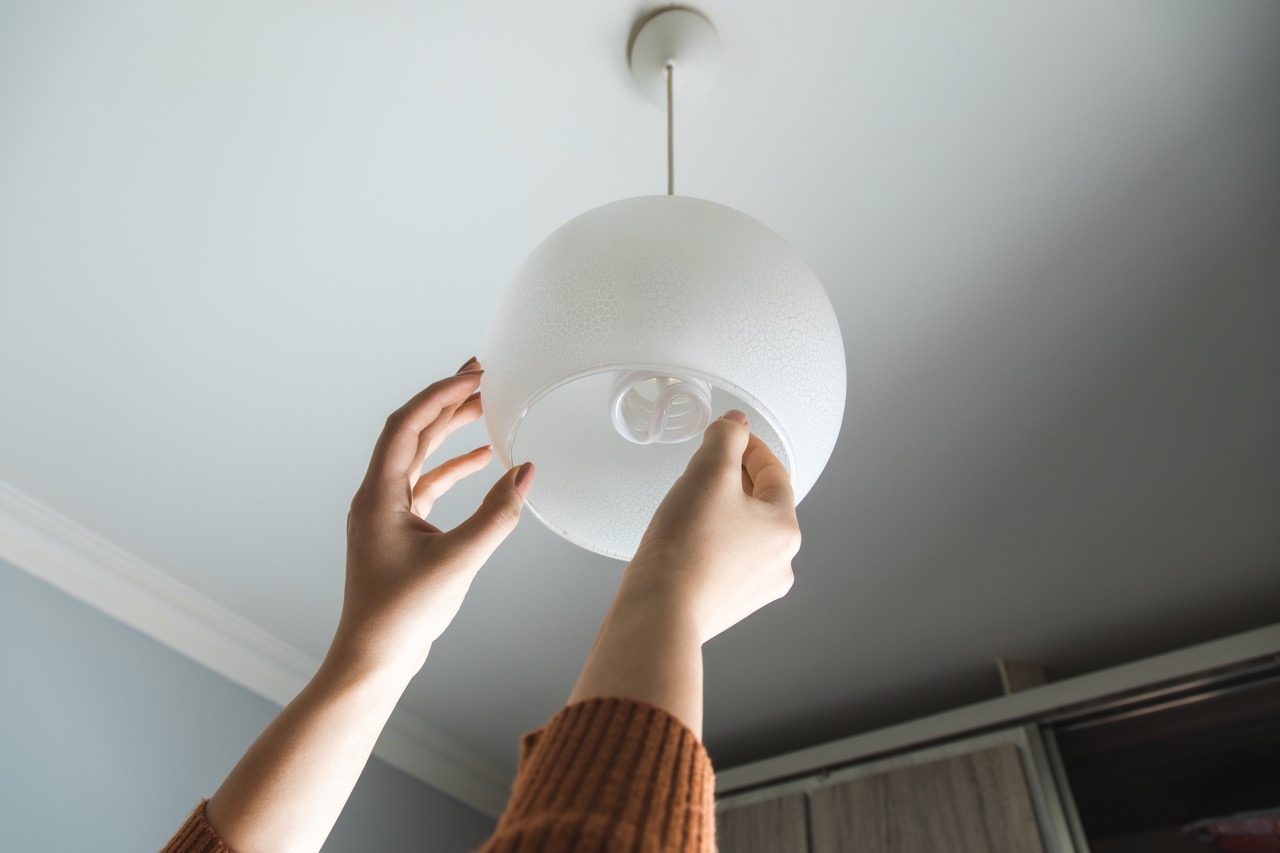
Step 5: Reinstall the Fixture
With the sealant in place and fully cured, it’s time to reinstall the outdoor light fixture. Begin by carefully reconnecting the wires from the fixture to the house wiring, ensuring that the connections are secure and insulated with wire nuts or connectors. Take note of the polarity of the wires, matching the corresponding colors to maintain proper electrical functionality.
Once the electrical connections are secured, position the fixture back onto the mounting surface or junction box. Align it carefully, taking care not to disturb the freshly applied sealant. Use the appropriate screws or fasteners to secure the fixture in place, ensuring that it is stable and flush against the mounting surface.
If the fixture includes a gasket or seal for additional weatherproofing, ensure that it is properly positioned and seated to provide a tight seal against the mounting surface. This secondary barrier can further enhance the protection of the fixture from environmental elements, complementing the effectiveness of the applied sealant.
As you reinstall the fixture, double-check that all components are properly aligned and fastened. Avoid over-tightening screws or fasteners, as this can damage the fixture or compromise the sealant. Once the fixture is securely in place, take a moment to inspect the overall installation to ensure that everything is in order before proceeding to the next step.
Reinstalling the fixture with care and attention to detail is essential for maintaining the integrity of the seal and ensuring the long-term effectiveness of the sealing process.
Step 6: Test the Light
After reinstalling the outdoor light fixture, it’s important to test its functionality to ensure that the sealing process has not impacted its operation. Turn the power supply back on at the electrical panel or by flipping the corresponding switch. Once the power is restored, test the light by flipping the fixture’s switch or using the designated controls.
Observe the light fixture to verify that it illuminates as expected. Check for any flickering, dimness, or irregularities in the light output, as these may indicate potential issues with the electrical connections or the fixture itself. If the light does not function properly, promptly turn off the power and inspect the connections and fixture for any problems that may require attention.
Assuming that the light operates as intended, take a moment to assess the area around the fixture for any signs of moisture or water intrusion. Look for leaks or drips that may indicate a compromised seal. If the sealant application was thorough and effective, the area should remain dry and free from water ingress.
Testing the light after sealing the fixture allows you to confirm that the electrical and lighting components are functioning optimally while also ensuring that the sealant has successfully protected the fixture from environmental elements. This final step provides peace of mind, knowing that your outdoor light fixture is both secure and fully operational.
Conclusion
Congratulations! You have successfully learned how to seal outdoor light fixtures, safeguarding them against the elements and ensuring their long-term functionality. By following the step-by-step process outlined in this guide, you have taken proactive measures to protect your outdoor lighting investment and enhance the safety and aesthetics of your outdoor spaces.
Sealing outdoor light fixtures is a simple yet essential maintenance task that can prevent moisture-related damage, corrosion, and premature deterioration. By turning off the power, removing the fixture, cleaning the area, applying sealant, reinstalling the fixture, and testing the light, you have effectively fortified your outdoor lighting against environmental factors such as rain, snow, and humidity.
Remember that regular inspection and maintenance of outdoor light fixtures are key to preserving their performance and prolonging their lifespan. Periodically check the sealant and the overall condition of the fixture to ensure that the seal remains intact and any potential issues are addressed promptly.
By prioritizing the care and maintenance of your outdoor light fixtures, you can continue to enjoy a well-lit and inviting outdoor environment while minimizing the need for repairs or replacements due to weather-related damage.
Thank you for taking the time to learn how to seal outdoor light fixtures. We hope this guide has empowered you to protect and preserve your outdoor lighting, allowing you to illuminate your outdoor spaces with confidence and peace of mind.
Frequently Asked Questions about How To Seal Outdoor Light Fixture
Was this page helpful?
At Storables.com, we guarantee accurate and reliable information. Our content, validated by Expert Board Contributors, is crafted following stringent Editorial Policies. We're committed to providing you with well-researched, expert-backed insights for all your informational needs.


0 thoughts on “How To Seal Outdoor Light Fixture”