Home>Furniture & Design>Outdoor Furniture>How To Seal Outdoor Painted Wood
Outdoor Furniture
How To Seal Outdoor Painted Wood
Published: January 13, 2024
Learn how to properly seal outdoor painted wood furniture and keep it looking great for years to come. Follow our expert tips and techniques for best results. Protect your outdoor furniture investment.
(Many of the links in this article redirect to a specific reviewed product. Your purchase of these products through affiliate links helps to generate commission for Storables.com, at no extra cost. Learn more)
Introduction
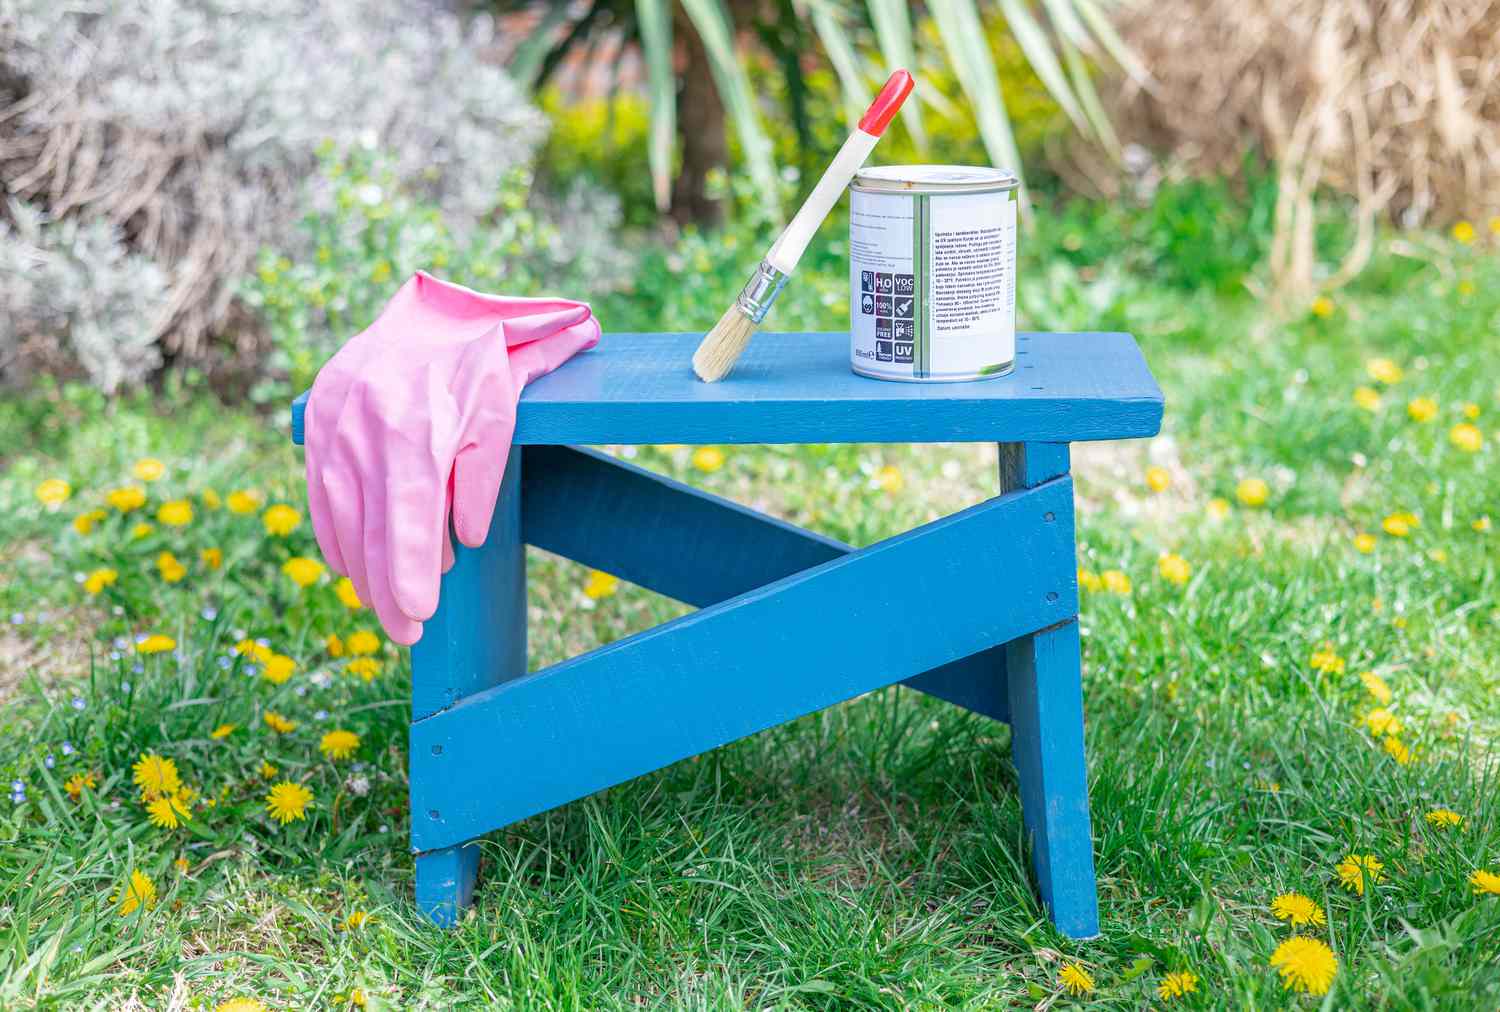
So, you've just finished painting your outdoor wooden furniture, and you're eager to protect your hard work from the elements. Whether it's a charming Adirondack chair, a classic picnic table, or a sleek garden bench, sealing the painted wood is essential for preserving its beauty and ensuring longevity. In this comprehensive guide, we'll explore the crucial steps to effectively seal outdoor painted wood, safeguarding it against rain, sunlight, and everyday wear and tear.
By following the proper sealing process, you can elevate the aesthetic appeal of your outdoor space while fortifying your cherished wooden pieces against moisture, mold, and fading. But before we delve into the nitty-gritty of sealing techniques, let's first understand the significance of selecting the right sealant for your outdoor painted wood projects. So, grab a cup of coffee, settle into your favorite chair, and let's embark on this enlightening journey to protect and enhance your outdoor wooden treasures.
Key Takeaways:
- Protect your outdoor painted wood furniture by choosing the right sealant based on weather resistance, wood type, and desired finish. Proper preparation and application ensure long-lasting beauty and durability.
- After sealing, follow recommended curing and maintenance practices to preserve the sealant’s efficacy and the furniture’s aesthetic appeal. Regular inspection, cleaning, and periodic maintenance uphold the integrity of your outdoor painted wood furniture.
Read more: How To Seal An Outdoor Wood Table
Selecting the Right Sealant
Choosing the appropriate sealant is a pivotal decision that significantly impacts the durability and visual appeal of your outdoor painted wood furniture. With a myriad of options available, it's crucial to consider factors such as weather exposure, wood type, and desired finish before making your selection.
1. Weather Resistance: Given that outdoor furniture is constantly exposed to the elements, opt for a high-quality sealant with exceptional weather resistance. Look for products specifically formulated for exterior use, as they are designed to withstand UV rays, moisture, and temperature fluctuations.
2. Wood Compatibility: Different types of wood may require specific sealants to ensure optimal protection and adhesion. For instance, hardwoods like teak and mahogany benefit from sealants tailored to dense, oily woods, while softwoods such as pine and cedar may necessitate a different formulation.
3. Finish and Color: Sealants are available in various finishes, including glossy, satin, and matte. Consider the aesthetic you wish to achieve and select a sealant that complements the painted wood's color and desired sheen. Some sealants are even formulated to enhance the natural grain of the wood, adding depth and character to the finish.
4. Environmental Impact: If eco-friendliness is a priority, explore water-based sealants that emit fewer volatile organic compounds (VOCs) compared to their solvent-based counterparts. These low-VOC sealants minimize environmental impact and contribute to healthier air quality in your outdoor living space.
5. Longevity and Maintenance: Assess the expected lifespan of the sealant and its maintenance requirements. Some products offer extended protection, reducing the frequency of reapplication and simplifying upkeep, which is particularly advantageous for large furniture pieces or intricate designs.
By carefully considering these factors and consulting with knowledgeable professionals, you can confidently select a sealant that aligns with your specific outdoor furniture needs. With the right sealant in hand, you're poised to embark on the next crucial phase: preparing the wood surface for sealing.
Preparing the Wood Surface
Before applying the sealant, it is imperative to prepare the painted wood surface meticulously. This preparatory phase not only ensures optimal adhesion and longevity of the sealant but also contributes to a smoother and more professional finish.
1. Cleaning and Drying: Begin by thoroughly cleaning the painted wood furniture to remove any dirt, dust, or grime that may have accumulated. Utilize a mild detergent solution and a soft-bristled brush to gently scrub the surface, followed by rinsing with clean water. After cleaning, allow the wood to dry completely before proceeding to the next steps.
2. Sanding: To promote adhesion and eliminate any roughness or imperfections, lightly sand the entire painted surface using fine-grit sandpaper. This step is particularly crucial if the paint has a glossy finish, as it enhances the mechanical bond between the sealant and the underlying paint layer.
3. Removing Dust: After sanding, thoroughly remove any sanding dust from the surface using a tack cloth or a damp microfiber cloth. This ensures that the sealant application is free from any particles that could compromise the final result.
4. Repairing Imperfections: Inspect the painted wood for any chips, cracks, or areas where the paint may be peeling. Address these imperfections by carefully touching up the paint and allowing it to dry completely before proceeding with the sealing process.
5. Masking and Protection: If there are metal or non-wood components on the furniture, such as hardware or glass inserts, protect these areas by carefully masking them with painter’s tape and plastic sheeting to prevent accidental sealant application.
By diligently preparing the wood surface, you lay the foundation for a successful sealant application that maximizes the protective benefits and enhances the overall appearance of your outdoor painted wood furniture. With the surface primed and ready, it's time to delve into the art of applying the sealant.
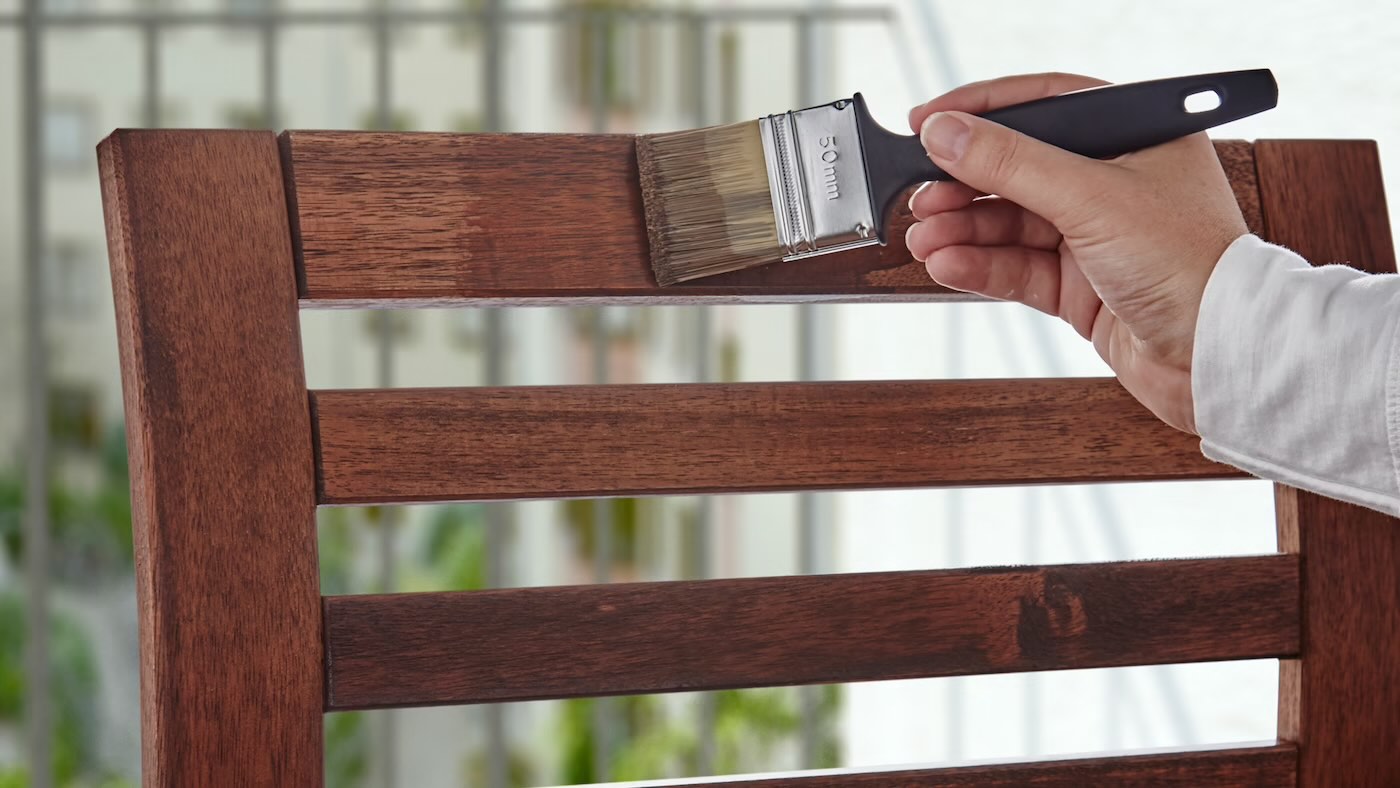
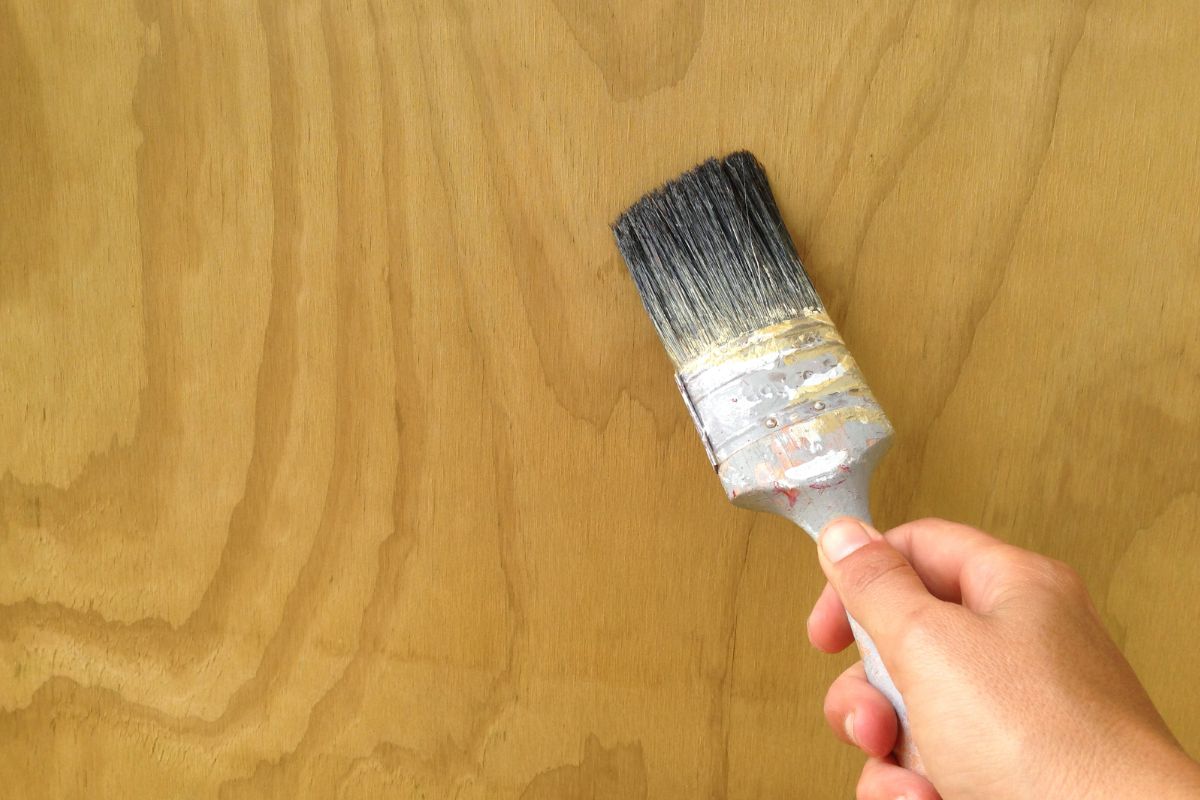
After painting outdoor wood, apply a clear outdoor sealer to protect it from the elements. Make sure the wood is clean and dry before applying the sealer.
Applying the Sealant
With the wood surface meticulously prepared, it’s time to apply the sealant, a critical step that will safeguard your outdoor painted wood furniture from the elements and enhance its visual allure. The application process demands precision, patience, and attention to detail to achieve a professional and long-lasting finish.
1. Test in an Inconspicuous Area: Prior to full application, perform a test patch of the sealant in an inconspicuous area to ensure compatibility with the existing paint and to gauge the desired finish and coverage.
2. Stirring and Straining: Thoroughly stir the sealant to achieve a uniform consistency, and strain it through a fine mesh strainer to remove any impurities that could mar the finish. This extra step ensures a smooth and blemish-free application.
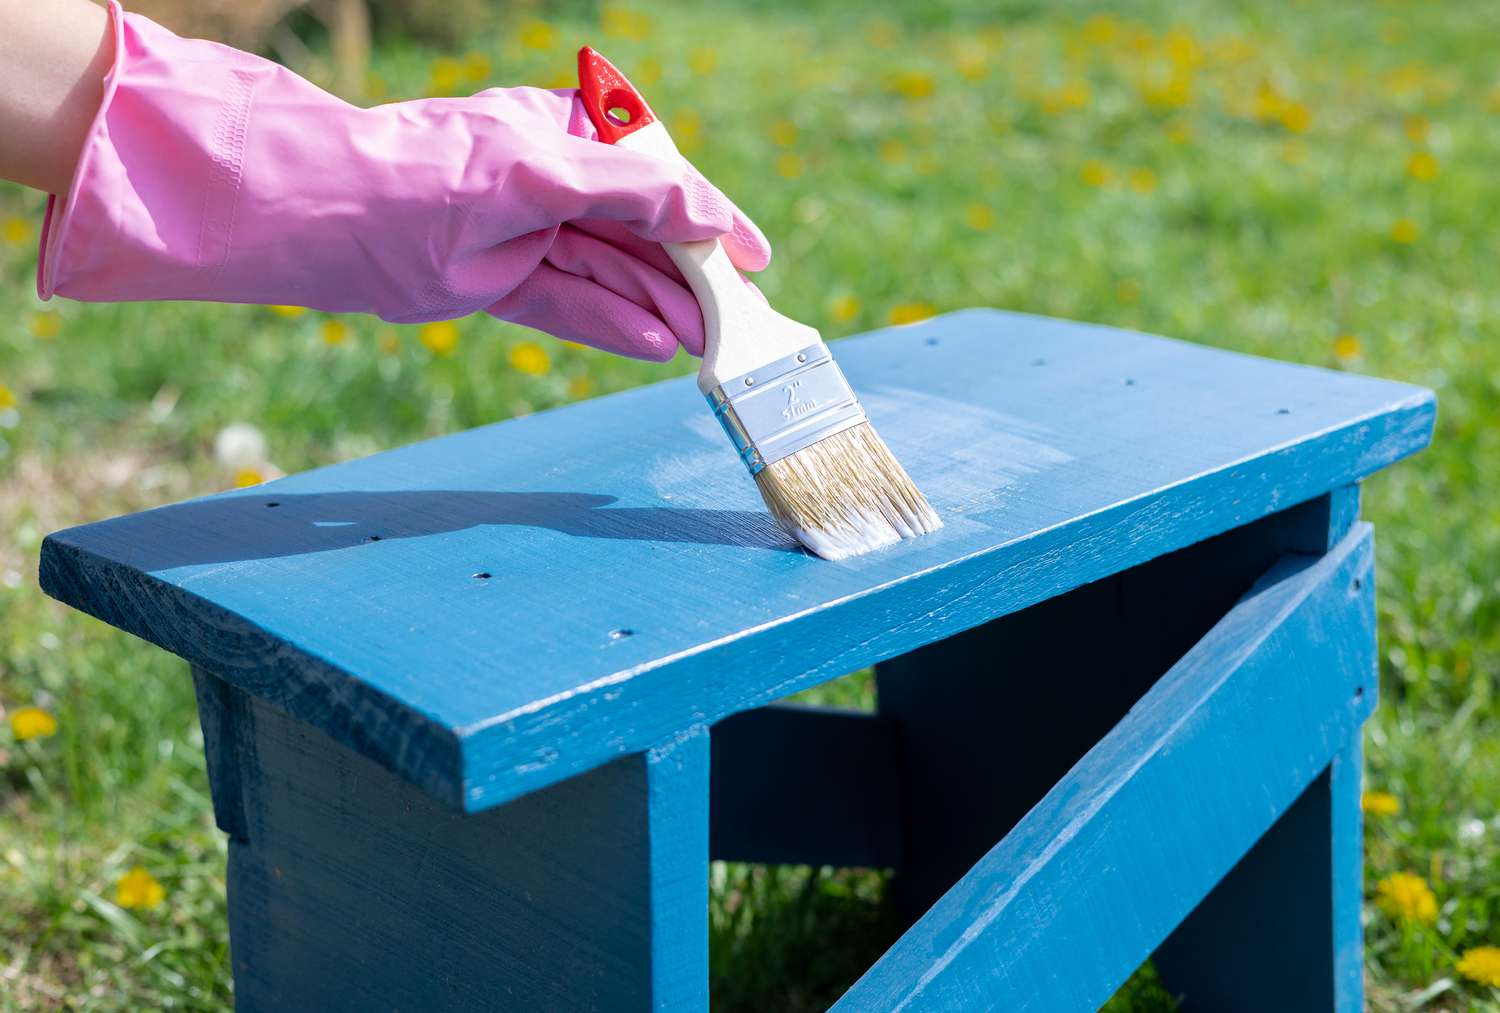
3. Application Tools: Select high-quality brushes, rollers, or sprayers suitable for the type of sealant being used. Brushes are ideal for intricate details and crevices, while rollers and sprayers are efficient for larger, flat surfaces.
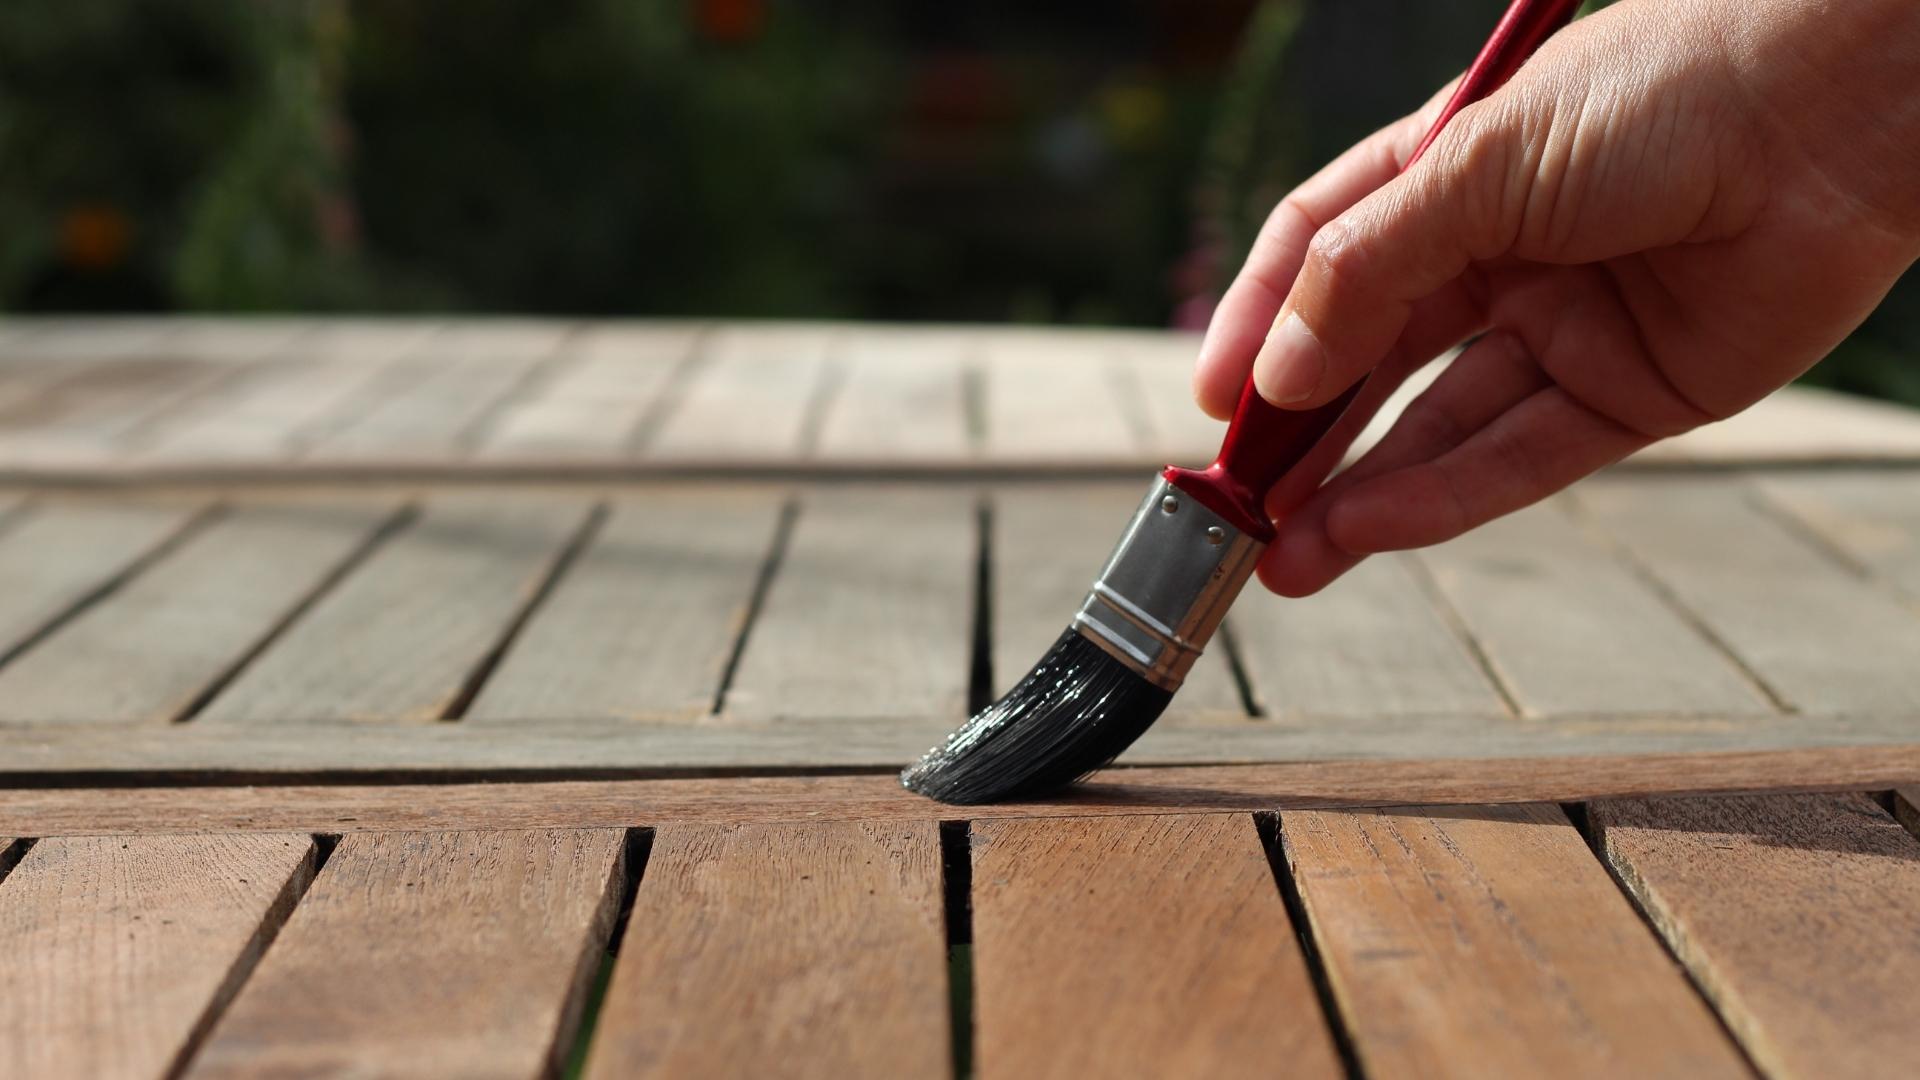
4. Consistent Application: Apply the sealant evenly in the direction of the wood grain to maintain a uniform finish. Avoid overloading the surface with excess sealant, as this can lead to drips, uneven coverage, and prolonged drying times.
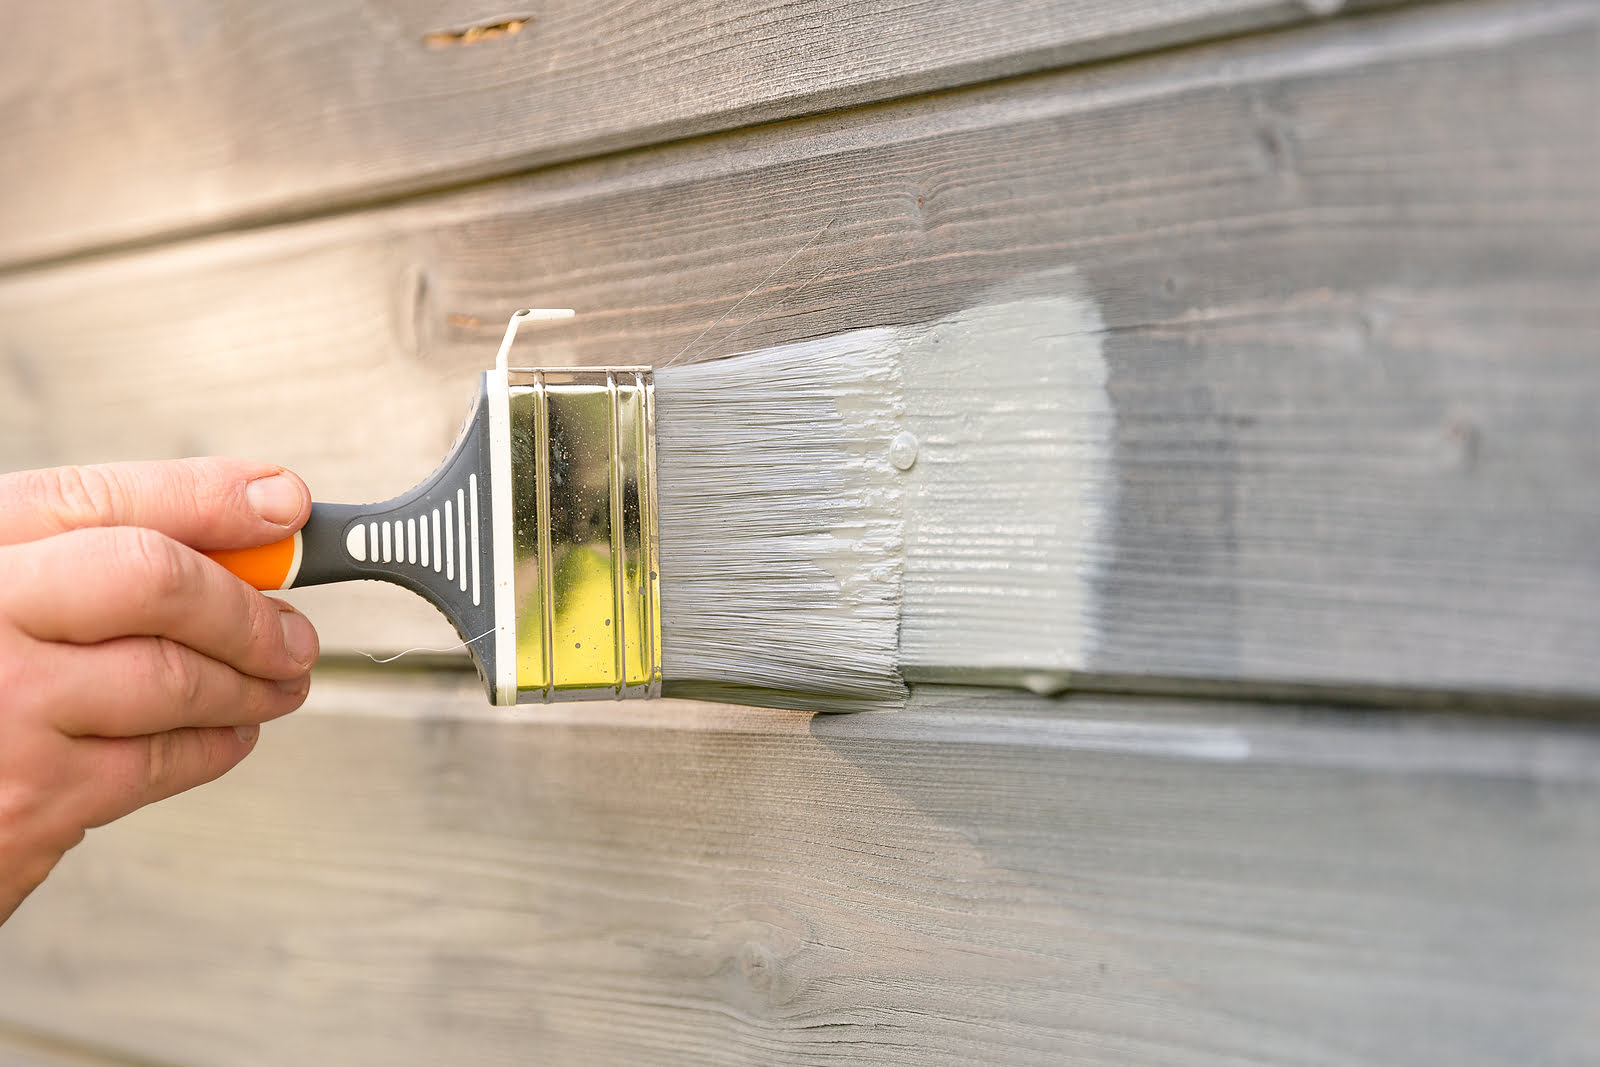
5. Thin Coats and Drying Time: Opt for thin, even coats of sealant, allowing each layer to dry thoroughly according to the manufacturer’s recommendations before applying subsequent coats. This gradual buildup ensures proper adhesion and a flawless, durable finish.
6. Ventilation and Weather Considerations: Ensure adequate ventilation during the application process to facilitate proper drying and minimize the inhalation of fumes. Additionally, take weather conditions into account, avoiding application on excessively hot, cold, or humid days that may compromise the sealant’s performance.
7. Cleanup and Maintenance: Promptly clean application tools with the appropriate solvents recommended by the sealant manufacturer, and store them properly for future use. After the final coat has been applied and allowed to cure, adhere to the recommended maintenance practices to preserve the sealant’s integrity and the wood’s pristine appearance.
By meticulously following these application guidelines, you can achieve a professional-quality seal that fortifies your outdoor painted wood furniture against environmental stressors while accentuating its inherent beauty. As the sealant cures and the furniture gleams with renewed protection, it’s essential to understand the subsequent steps for curing and maintaining the sealed wood surfaces.
Curing and Maintenance
After the sealant has been meticulously applied, the curing process begins, marking the transition from freshly treated surfaces to robust, weather-resistant barriers that safeguard your outdoor painted wood furniture. Understanding the nuances of curing and implementing proper maintenance practices is instrumental in preserving the sealant’s efficacy and the furniture’s aesthetic appeal over time.
1. Curing Time: Respect the recommended curing time provided by the sealant manufacturer, allowing the treated surfaces to dry and cure undisturbed. Avoid subjecting the furniture to heavy use, exposure to moisture, or harsh weather conditions during this critical phase.
2. Regular Inspection: Periodically inspect the sealed wood surfaces for any signs of wear, discoloration, or damage. Promptly address any issues that arise to prevent deterioration and maintain the furniture’s pristine appearance.
3. Cleaning and Protection: Implement a regular cleaning regimen to remove dirt, pollen, and other debris that may accumulate on the furniture. Utilize gentle cleaning solutions and soft cloths to preserve the sealant and painted surface, and consider using protective covers during inclement weather to minimize exposure to the elements.
4. Periodic Maintenance: Depending on the sealant type and environmental factors, periodic maintenance may be necessary to uphold the protective qualities of the sealant. This may involve light sanding and the application of additional coats of sealant to reinforce the wood’s defenses against UV radiation and moisture.
5. Environmental Considerations: Be mindful of the furniture’s placement and exposure to the elements, as prolonged direct sunlight, excessive moisture, and fluctuating temperatures can accelerate wear and necessitate more frequent maintenance and resealing.
6. Professional Restoration: In the event of substantial wear or deterioration, consider enlisting the expertise of professionals experienced in wood furniture restoration. Their insight and skill can revitalize the furniture, addressing any underlying issues and ensuring its prolonged resilience and allure.
By conscientiously adhering to these curing and maintenance practices, you can uphold the integrity of the sealant and the vibrancy of your outdoor painted wood furniture, prolonging its lifespan and enhancing your outdoor living space. As we conclude this enlightening journey through the world of sealing outdoor painted wood, it’s evident that the preservation and enhancement of wooden treasures require a harmonious blend of meticulous care, quality products, and an appreciation for the enduring beauty of natural materials.
Read more: How To Seal Paint For Outdoor Use
Conclusion
Embarking on the endeavor to seal outdoor painted wood furniture is a testament to your commitment to preserving its beauty and fortifying it against the elements. The journey from selecting the right sealant to the meticulous application and subsequent curing and maintenance underscores the artistry and science involved in safeguarding these cherished pieces.
By carefully considering the weather resistance, wood compatibility, finish, and environmental impact when selecting a sealant, you lay the foundation for enduring protection and aesthetic enhancement. The preparatory steps, including cleaning, sanding, and repairing imperfections, ensure that the wood surface is primed to receive the sealant, setting the stage for a flawless and long-lasting finish.
The art of applying the sealant demands precision, patience, and an understanding of the environmental and weather considerations that influence the process. Through consistent application, thoughtful drying periods, and adherence to maintenance practices, you elevate the outdoor painted wood furniture to a new echelon of resilience and allure.
As the sealant cures and the furniture basks in renewed protection, the commitment to regular inspection, cleaning, and periodic maintenance becomes paramount in upholding its integrity. By embracing these practices, you ensure that your outdoor painted wood furniture continues to enrich your outdoor living space for years to come.
In this holistic approach to sealing outdoor painted wood, the fusion of artistry, craftsmanship, and practicality converges, underscoring the timeless allure and enduring appeal of wooden treasures. As you revel in the beauty of your meticulously sealed outdoor furniture, you embody a profound appreciation for the harmonious union of nature and human ingenuity.
So, as you savor the tranquil moments in your outdoor sanctuary, surrounded by the splendor of your sealed wooden treasures, remember that the journey to protect and enhance them is a testament to your reverence for nature’s enduring gifts and your dedication to preserving their timeless allure.
Frequently Asked Questions about How To Seal Outdoor Painted Wood
Was this page helpful?
At Storables.com, we guarantee accurate and reliable information. Our content, validated by Expert Board Contributors, is crafted following stringent Editorial Policies. We're committed to providing you with well-researched, expert-backed insights for all your informational needs.


0 thoughts on “How To Seal Outdoor Painted Wood”