Home>Furniture & Design>Outdoor Furniture>How To Shorten Outdoor Led String Lights
Outdoor Furniture
How To Shorten Outdoor Led String Lights
Modified: August 16, 2024
Discover the best ways to shorten outdoor LED string lights and elevate your outdoor-furniture-furniture-and-design with our expert tips. Create a cozy and inviting atmosphere with perfectly placed lighting.
(Many of the links in this article redirect to a specific reviewed product. Your purchase of these products through affiliate links helps to generate commission for Storables.com, at no extra cost. Learn more)
Introduction
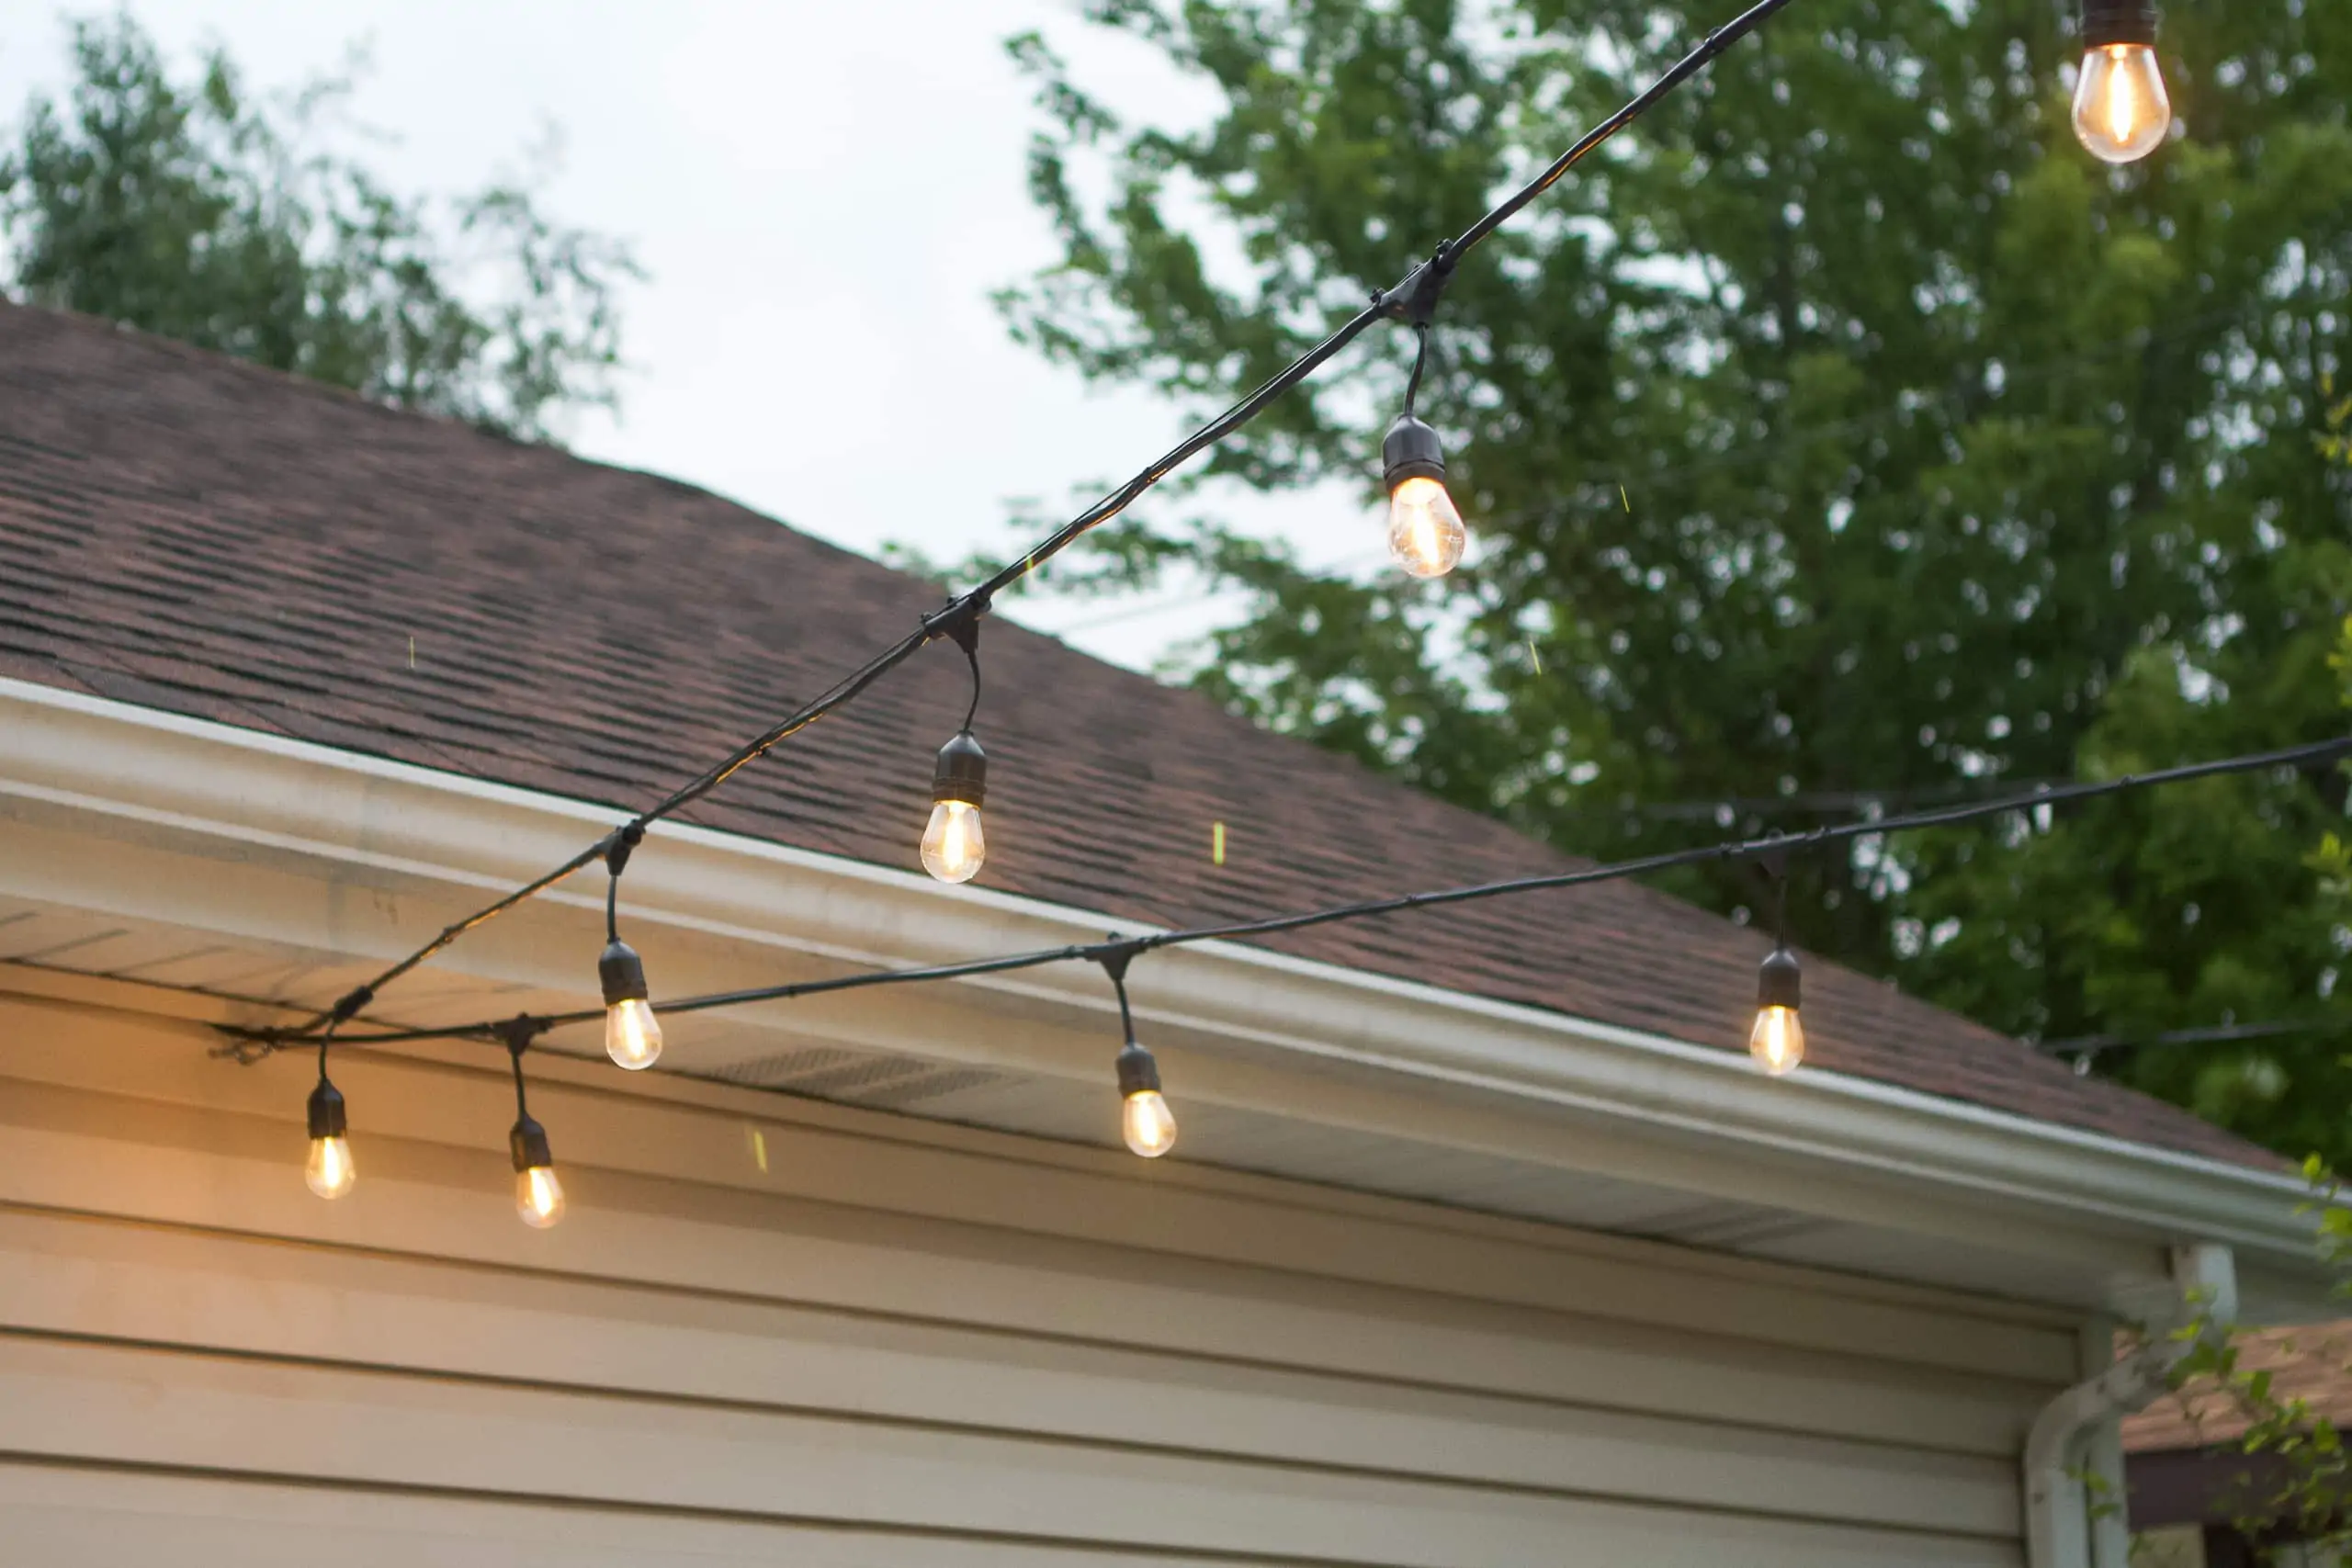
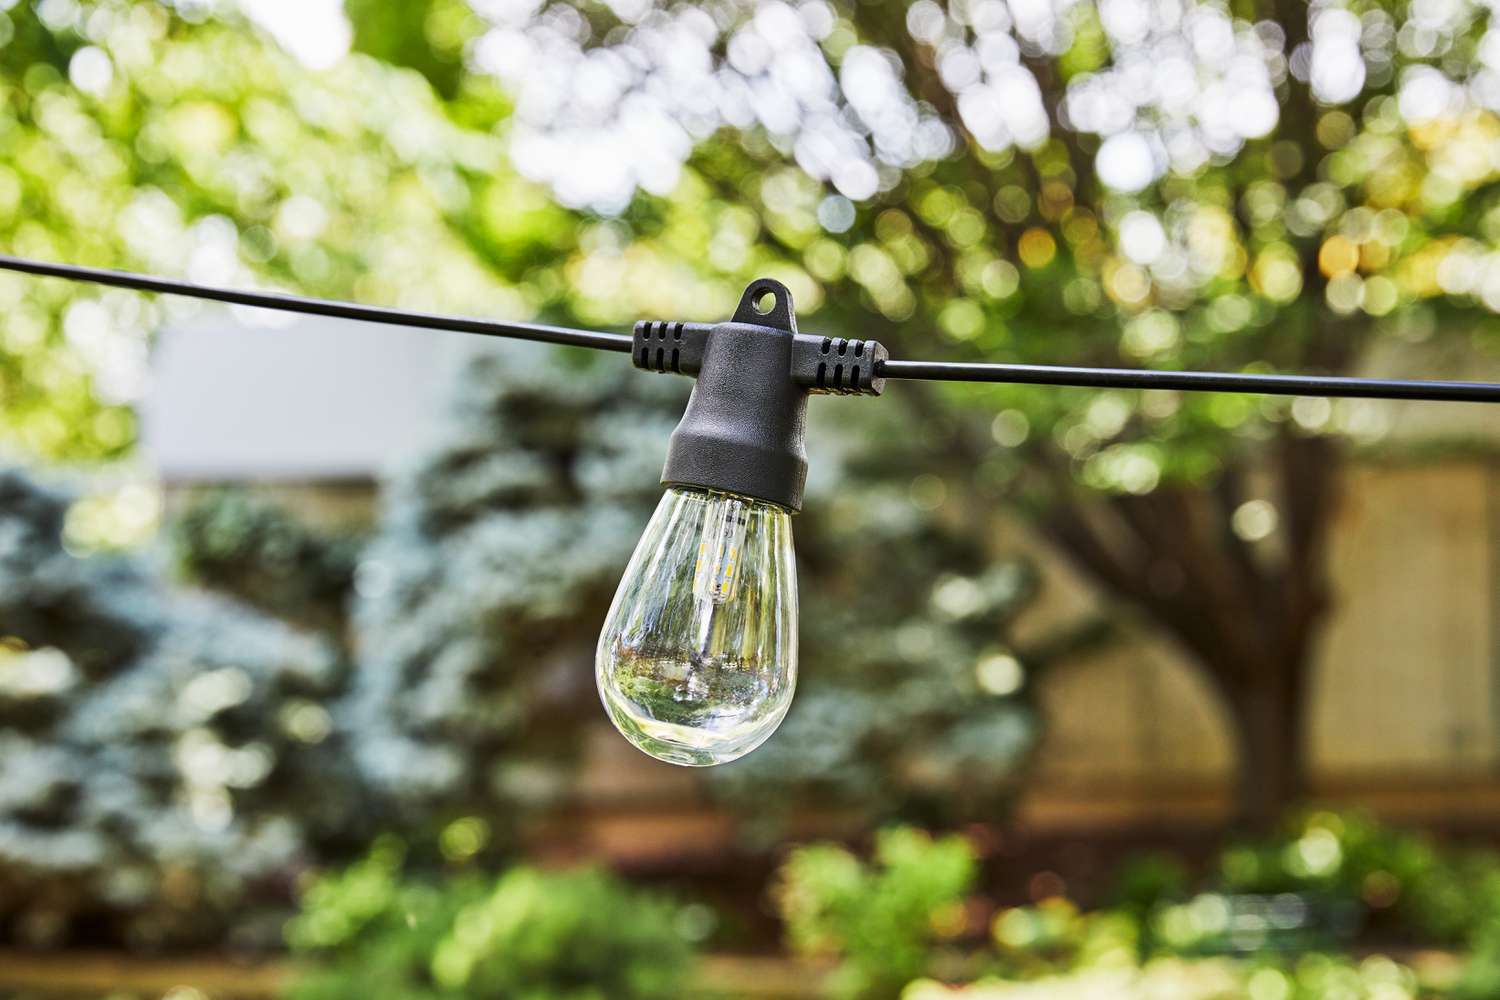
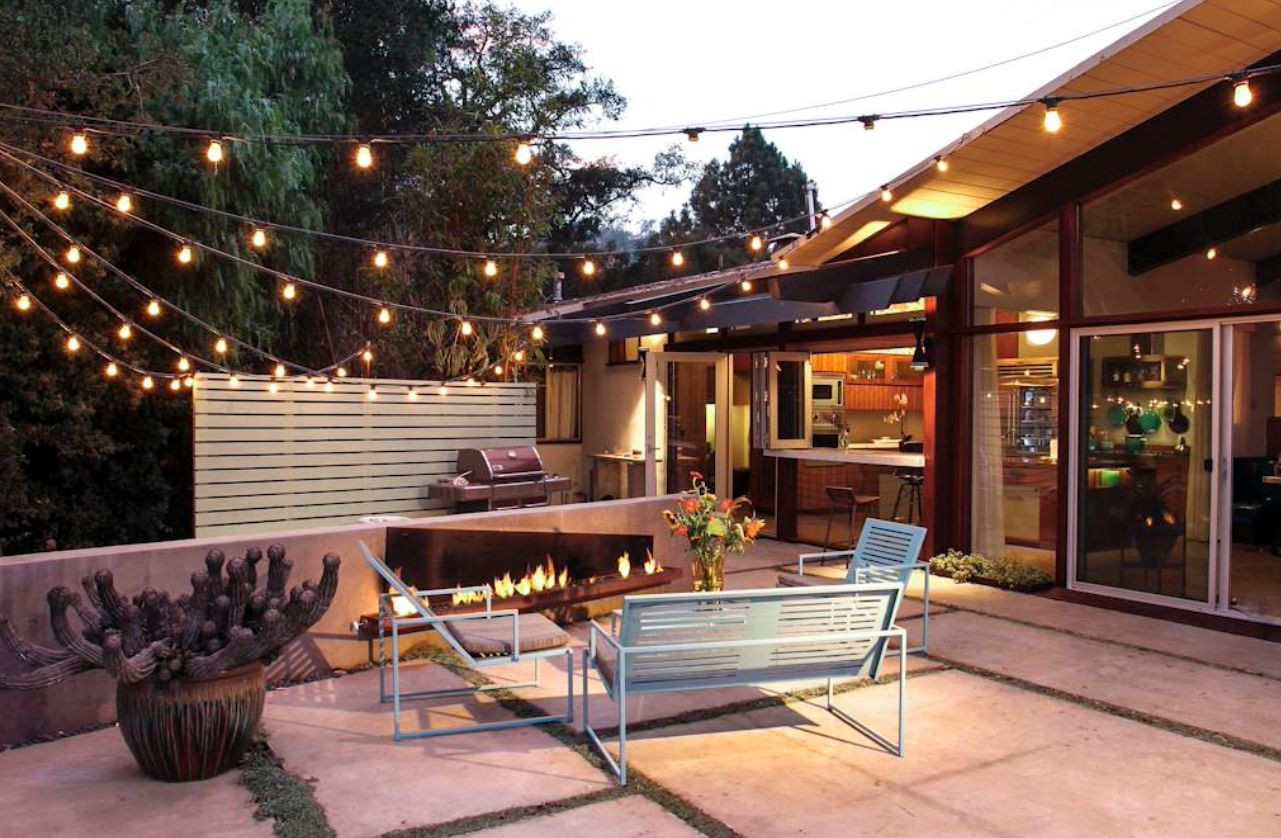
Welcome to the world of outdoor design and ambiance! Outdoor LED string lights have become a popular choice for adding a touch of magic to outdoor spaces, whether it's a cozy patio, a vibrant garden, or a lively backyard. However, sometimes you might find that the string lights you've purchased are a bit too long for your specific needs. Whether you want to customize the length to fit a particular space or simply prefer a more tailored look, shortening outdoor LED string lights is a feasible solution.
In this guide, we'll walk you through the process of shortening outdoor LED string lights, providing you with the knowledge and confidence to tackle this task with ease. By following these steps, you'll be able to achieve the perfect length for your outdoor LED string lights, ensuring that they beautifully complement your outdoor setting. So, let's dive in and learn how to transform your outdoor space with perfectly customized LED string lights!
Key Takeaways:
- Customize outdoor LED string lights to fit any space by following simple steps: gather materials, measure and mark, cut, seal ends, and test functionality.
- Shortening outdoor LED string lights allows for personalized ambiance, reflecting creativity and attention to detail in outdoor design projects.
Read more: How To Secure Outdoor String Lights
Step 1: Gather the necessary materials
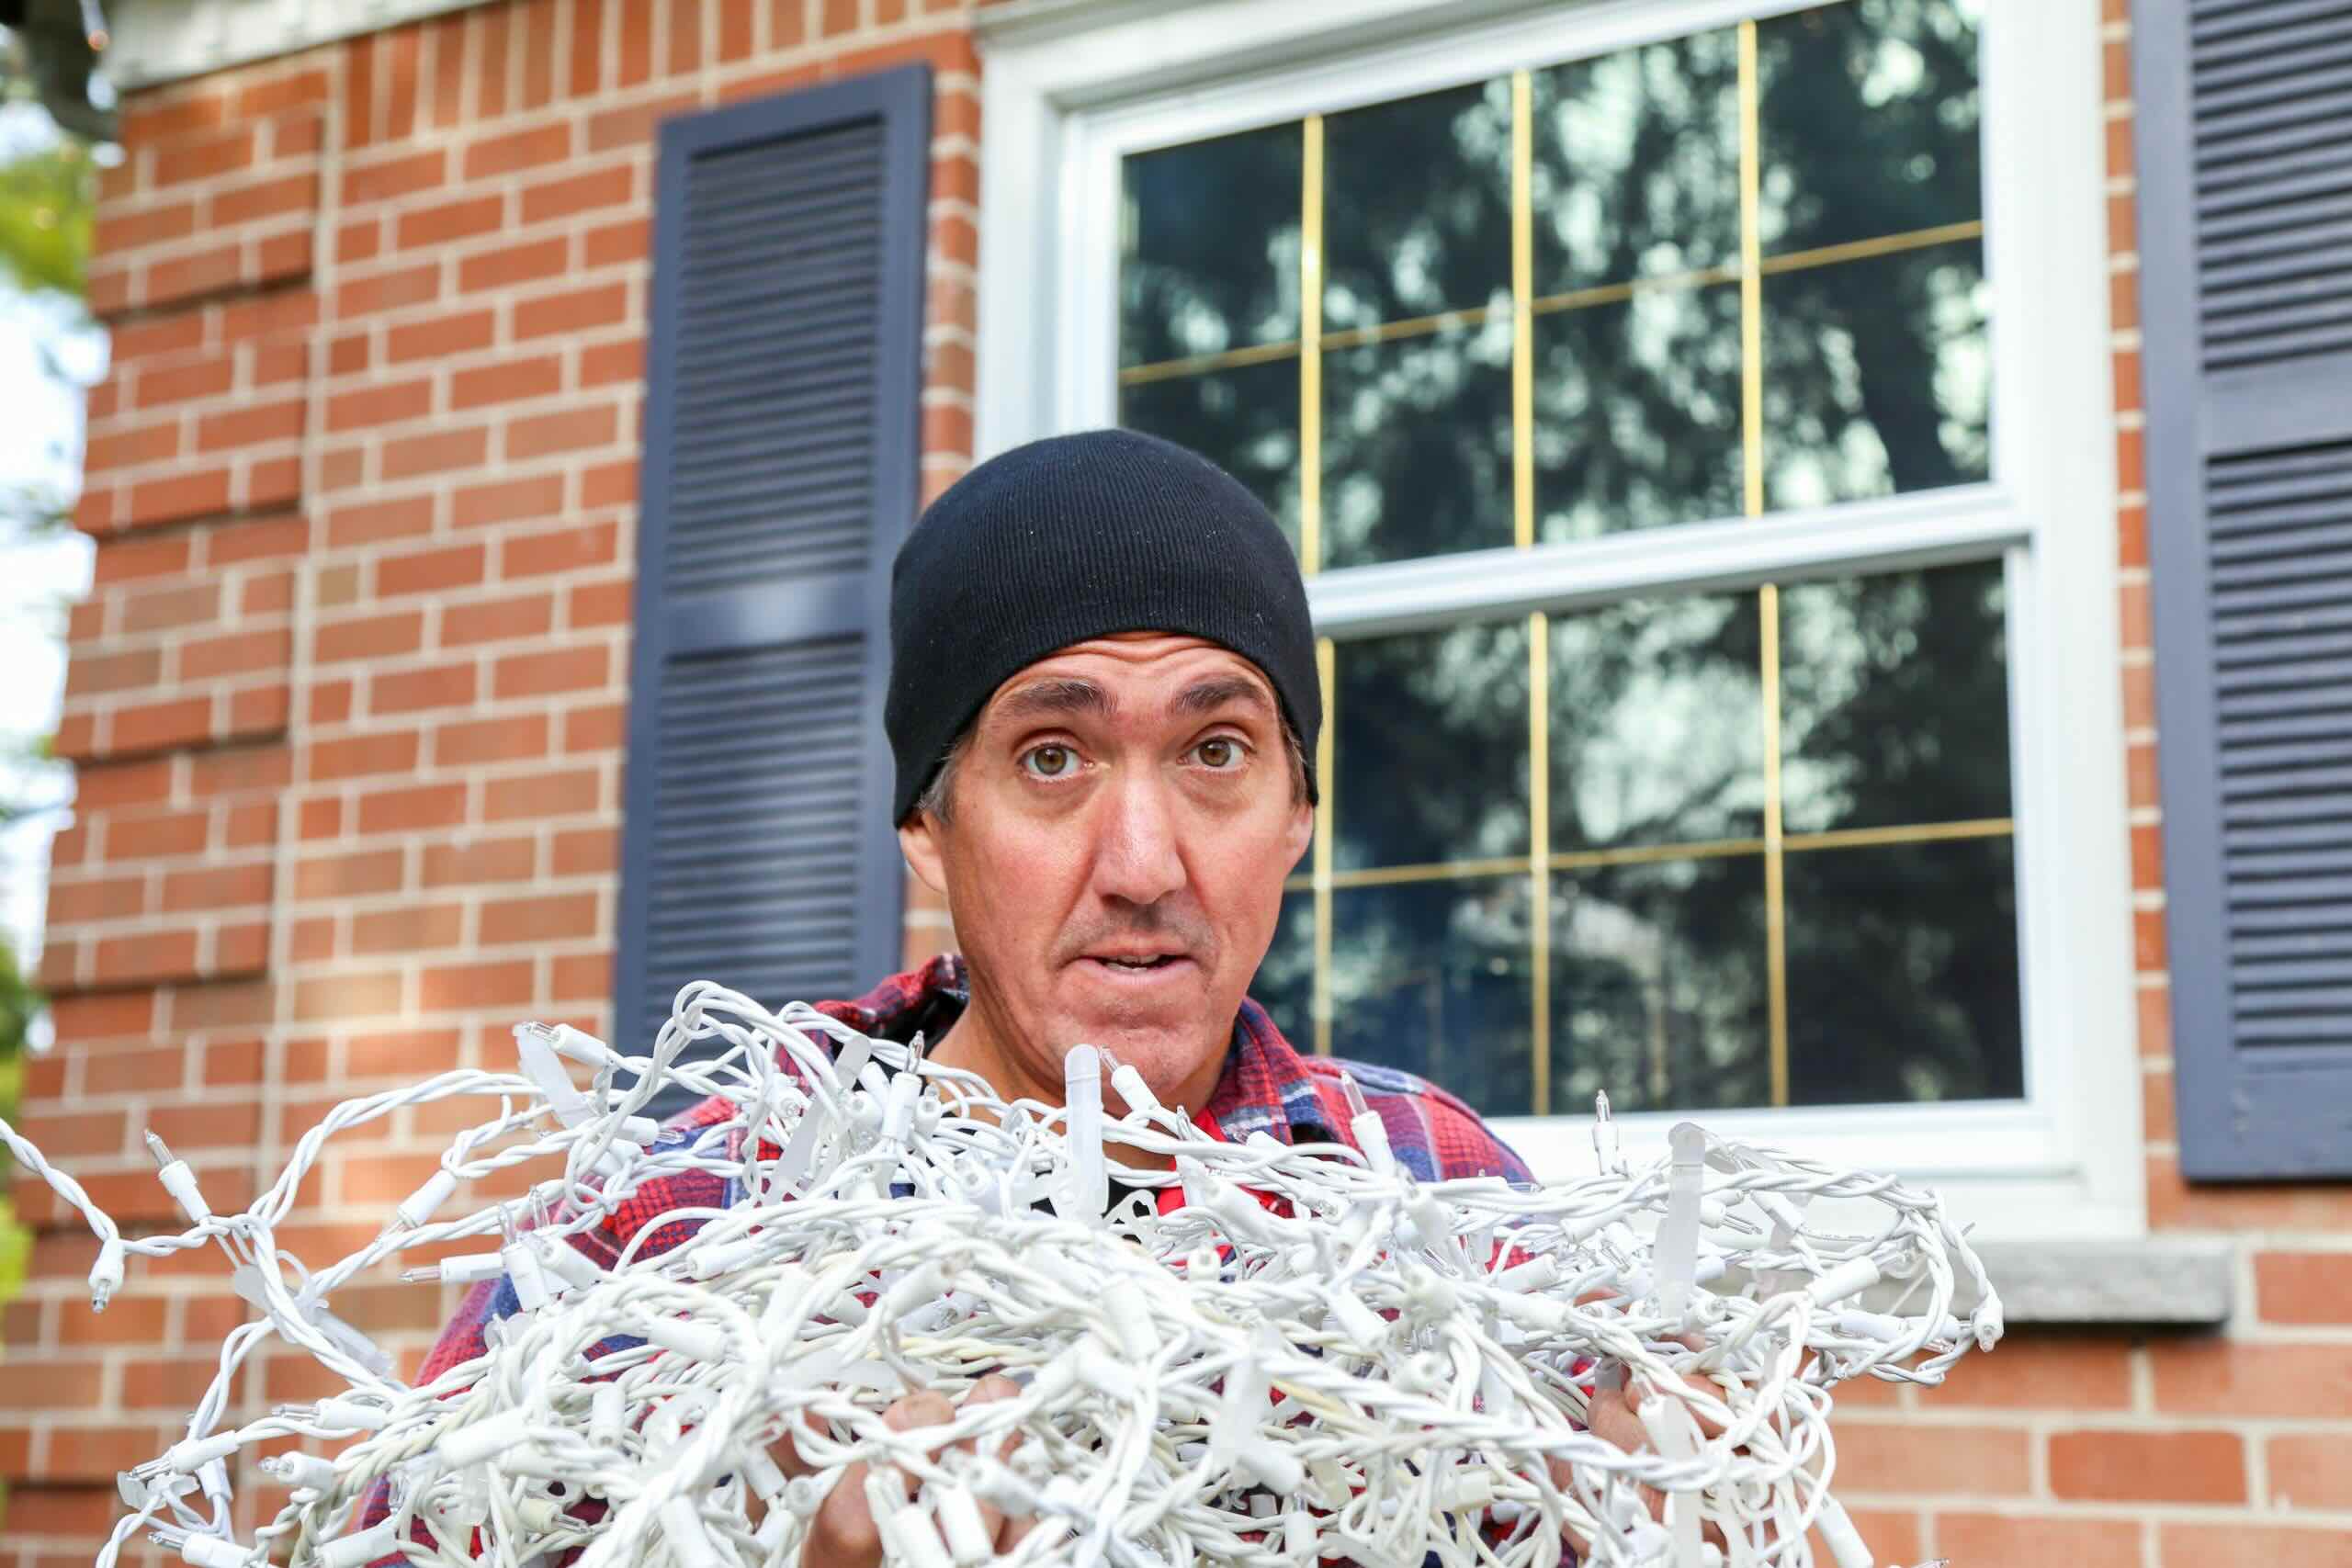
Before embarking on the journey of shortening your outdoor LED string lights, it's essential to gather the required materials. Having the right tools at your disposal will make the process smoother and more efficient. Here's what you'll need:
- Outdoor LED String Lights: The string lights that you intend to shorten.
- Measuring Tape: A reliable measuring tape will help you determine the exact length you want to achieve.
- Marker: A marker or pen for marking the specific points where you'll cut the string lights.
- Wire Cutters: High-quality wire cutters will ensure a clean and precise cut without damaging the internal wiring.
- Electrical Tape: This will be used to seal the cut ends of the string lights, providing protection against moisture and ensuring electrical safety.
- Scissors: A pair of scissors will come in handy for cutting the electrical tape and any additional materials required for sealing the cut ends.
By gathering these materials, you'll be well-prepared to proceed with shortening your outdoor LED string lights, ensuring that you have everything you need within arm's reach.
Step 2: Measure and mark the desired length
Once you have assembled the necessary materials, it’s time to determine the ideal length for your outdoor LED string lights. Careful measurement and marking are crucial in achieving a precise and tailored result. Here’s how to proceed:
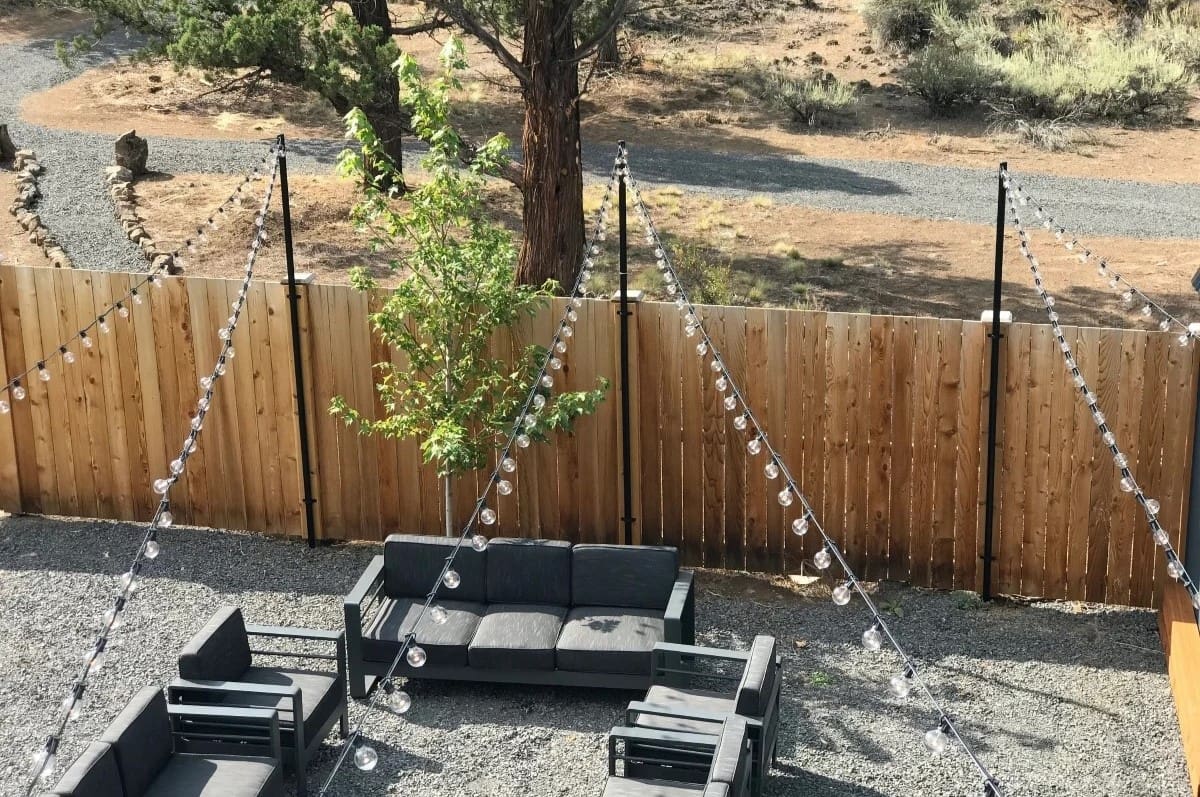
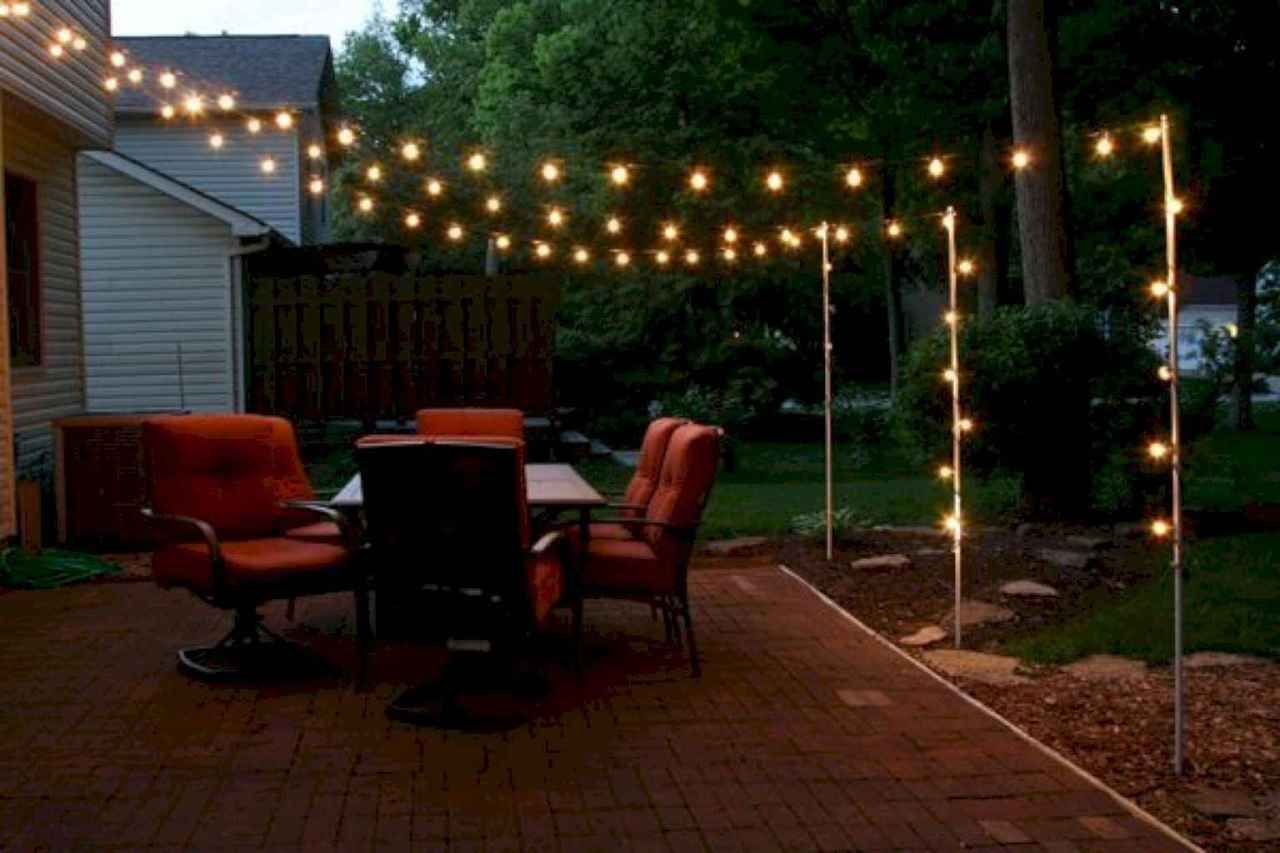
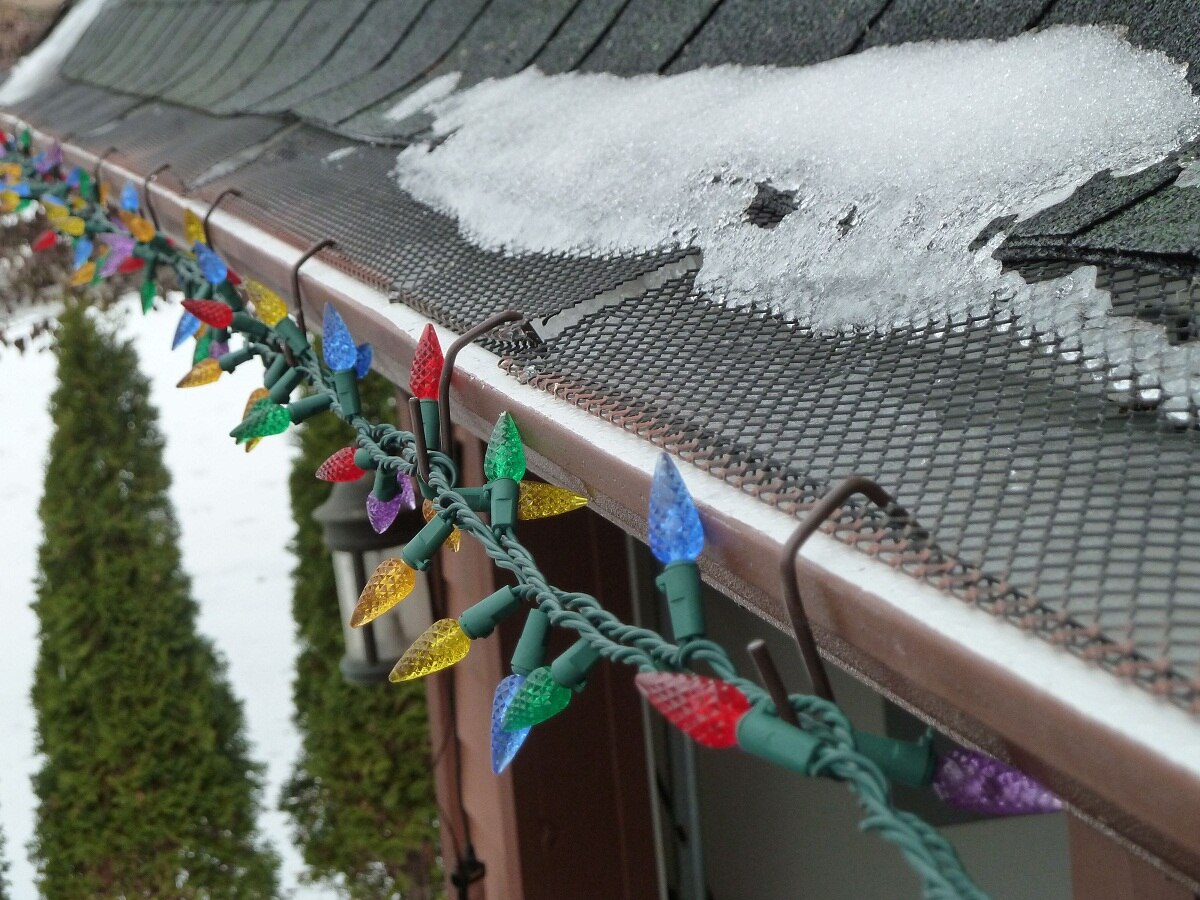
- Assess the Space: Before measuring, consider the specific area where the string lights will be installed. Take into account any obstacles, such as trees, posts, or structures, that may affect the placement of the lights.
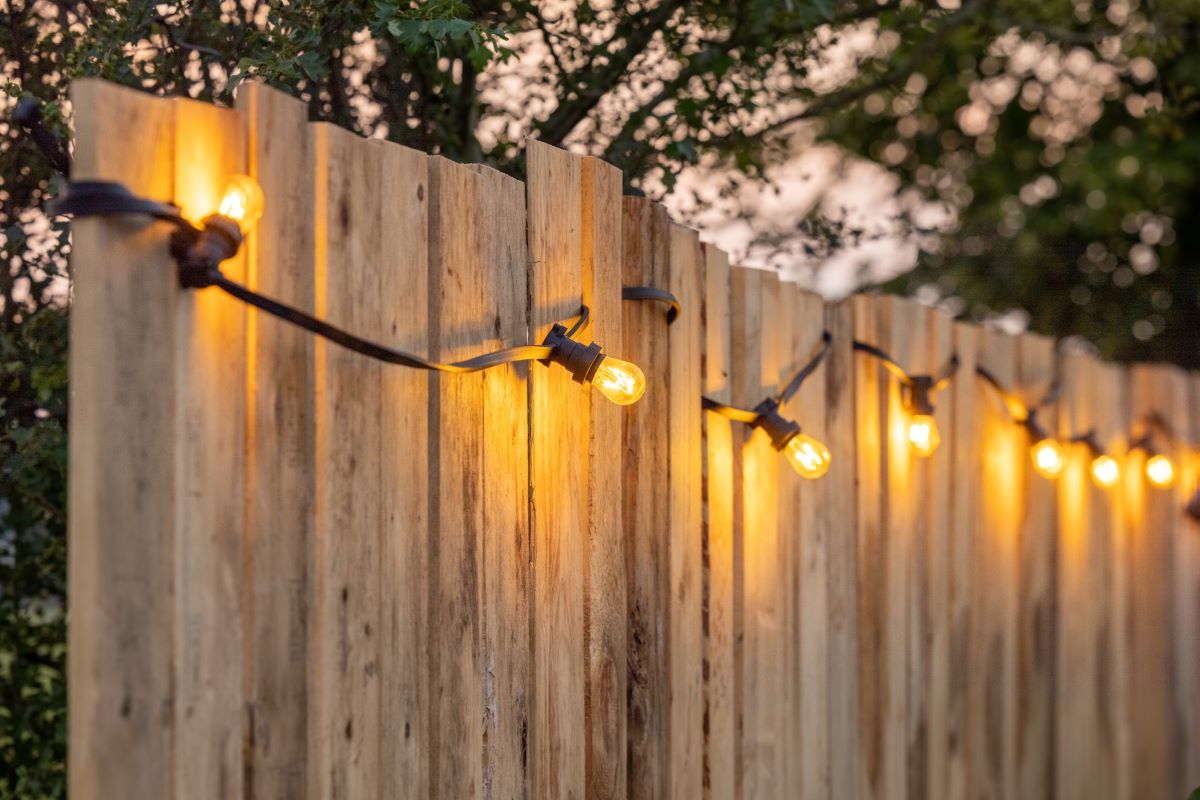
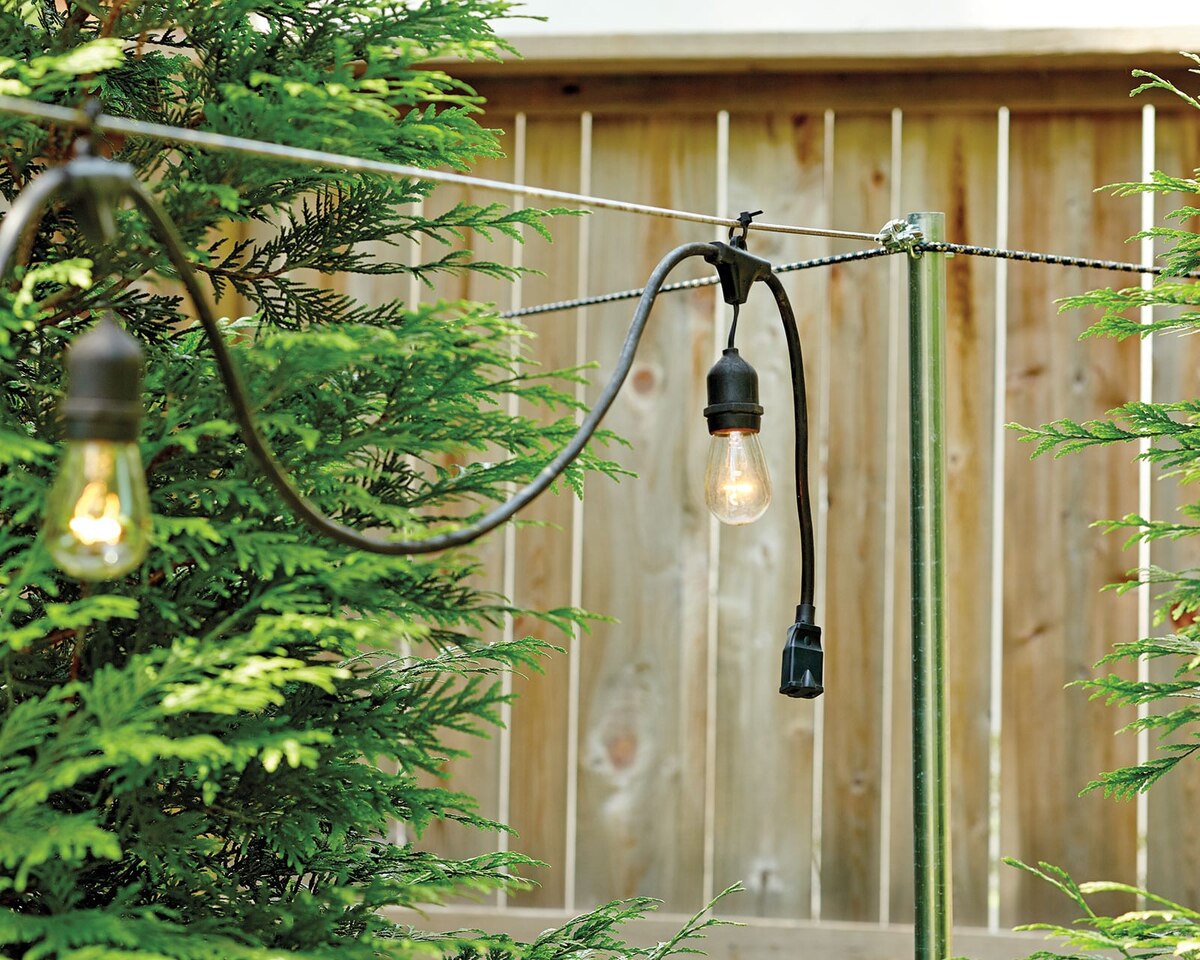
- Measure the Length: Use a measuring tape to determine the exact length you want for your string lights. Whether you’re draping them over a pergola, along a fence, or around a tree, take accurate measurements to ensure a perfect fit.
- Mark the Cutting Points: Once you’ve established the desired length, use a marker to clearly indicate where you will cut the string lights. Make precise marks at both ends to ensure uniformity.
By carefully measuring and marking the desired length, you’ll set the stage for the next step in the process: cutting the string lights to achieve the perfect fit for your outdoor space.
Step 3: Cut the string lights
With the desired length marked, it’s time to proceed with cutting the outdoor LED string lights. This step requires precision and attention to detail to ensure a clean and professional result. Here’s a guide to cutting the string lights:
- Prepare the Work Area: Lay the string lights on a flat surface, ensuring that the area is well-lit and free from any obstructions. This will provide a clear workspace for the cutting process.
- Use the Wire Cutters: Carefully position the wire cutters at the marked cutting points. Ensure that the blades of the wire cutters are aligned with the marks to achieve a straight and even cut.
- Execute the Cut: Apply gentle pressure to the wire cutters and make a clean cut through the string lights at the marked points. Exercise caution to avoid damaging the internal wiring or causing fraying.
- Inspect the Cut: After cutting the string lights, inspect the ends to ensure a neat and even cut. Trim any stray strands or uneven edges to maintain a tidy appearance.
By following these steps, you’ll successfully shorten the outdoor LED string lights to the desired length, setting the stage for the next crucial phase: sealing the cut ends to ensure safety and longevity.
To shorten outdoor LED string lights, carefully cut the excess wire and reseal the cut end with waterproof electrical tape. Make sure to test the lights before and after shortening to ensure they still work properly.
Step 4: Seal the cut ends
After cutting the outdoor LED string lights to the desired length, it’s essential to seal the cut ends to safeguard against moisture and maintain the integrity of the electrical components. Here’s how to effectively seal the cut ends:
- Apply Electrical Tape: Begin by carefully wrapping the cut end of the string lights with electrical tape. Ensure that the tape is wound securely around the exposed wires, providing a protective barrier against moisture and environmental elements.
- Secure the Tape: Press down firmly on the electrical tape to ensure a tight and secure seal. Smooth out any wrinkles or creases to create a uniform covering over the cut end.
- Inspect the Seal: After applying the electrical tape, inspect the sealed ends to confirm that the tape is firmly in place and that no exposed wires are visible. This visual check ensures the effectiveness of the seal.
By sealing the cut ends of the outdoor LED string lights, you’ll enhance their durability and safety, allowing them to withstand outdoor conditions with resilience. This crucial step ensures that your shortened string lights maintain their functionality and aesthetic appeal for an extended period.
Read more: How To Put Up Outdoor String Lights
Step 5: Test the shortened string lights
Before finalizing the installation of your shortened outdoor LED string lights, it’s imperative to conduct a thorough testing process to ensure that they are fully functional and safe. Here’s how to effectively test the shortened string lights:
- Connect to Power: Carefully connect the shortened string lights to a power source, ensuring that the electrical connections are secure and free from any defects or damage.
- Switch On: Activate the string lights and observe their performance. Pay close attention to each individual bulb to confirm that they illuminate as expected without flickering or irregularities.
- Check the Sealed Ends: While the lights are operational, inspect the sealed cut ends to verify that the electrical tape effectively protects the exposed wires from moisture and environmental factors.
- Observe for Any Issues: Monitor the string lights for an extended period to identify any potential issues such as overheating, inconsistent illumination, or electrical malfunctions.
By conducting a comprehensive testing process, you’ll gain confidence in the functionality and safety of your shortened outdoor LED string lights. This step ensures that the lights are ready for installation in your outdoor space, providing a captivating and inviting ambiance.
Conclusion
Congratulations on successfully shortening your outdoor LED string lights! By following the steps outlined in this guide, you’ve acquired the knowledge and skills to customize the length of your string lights, allowing you to create a beautifully tailored ambiance in your outdoor space. As you prepare to install the shortened string lights, it’s important to reflect on the journey and the impact that your personalized lighting will have on your outdoor setting.
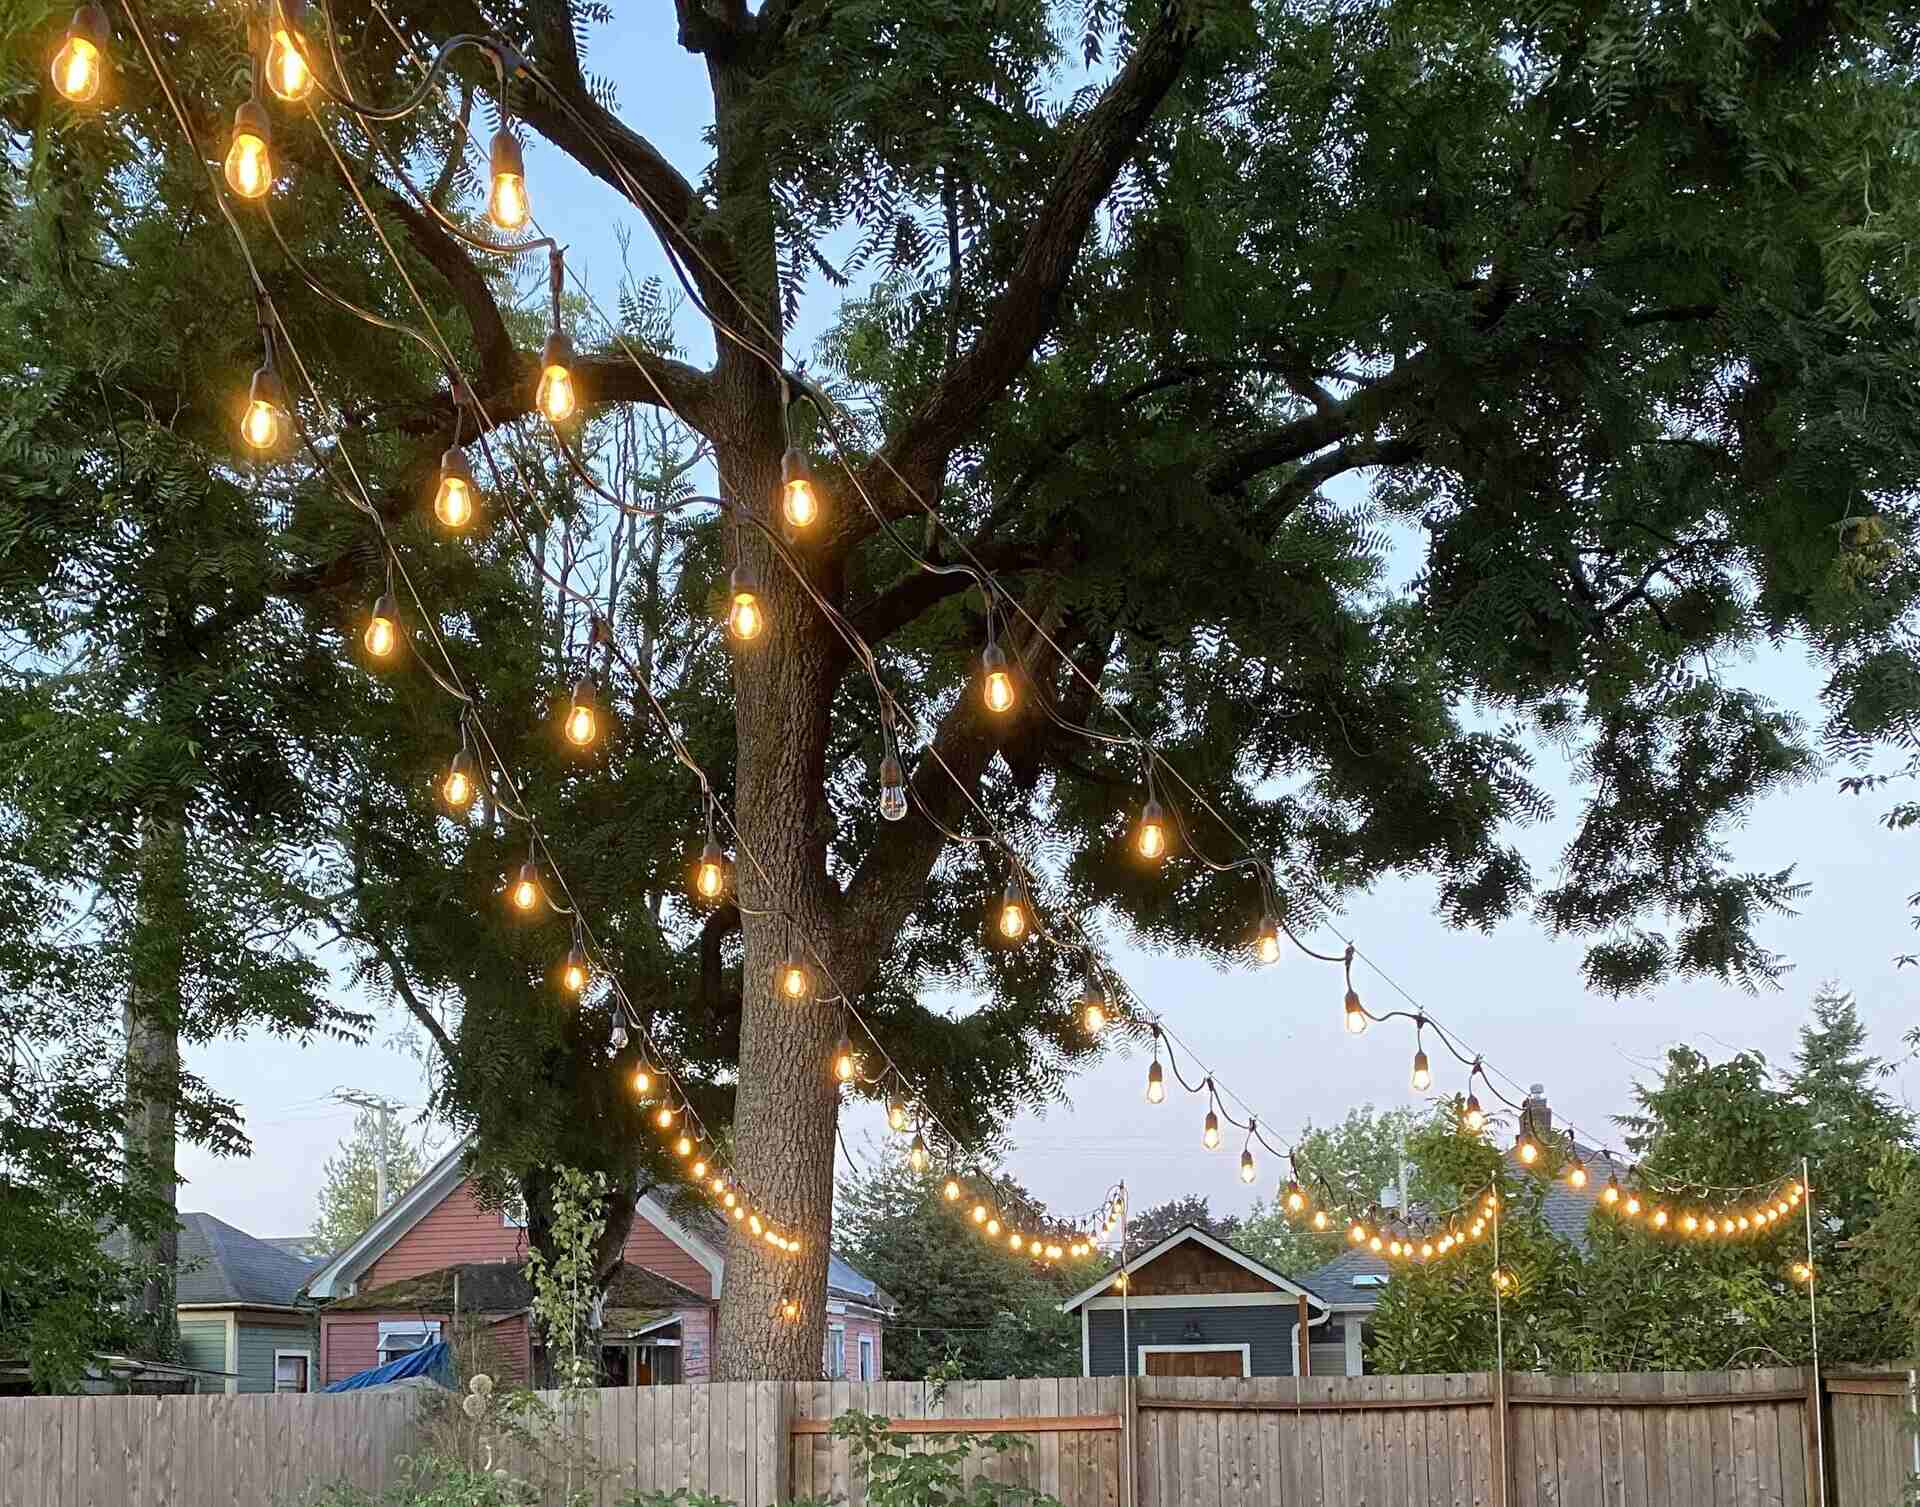
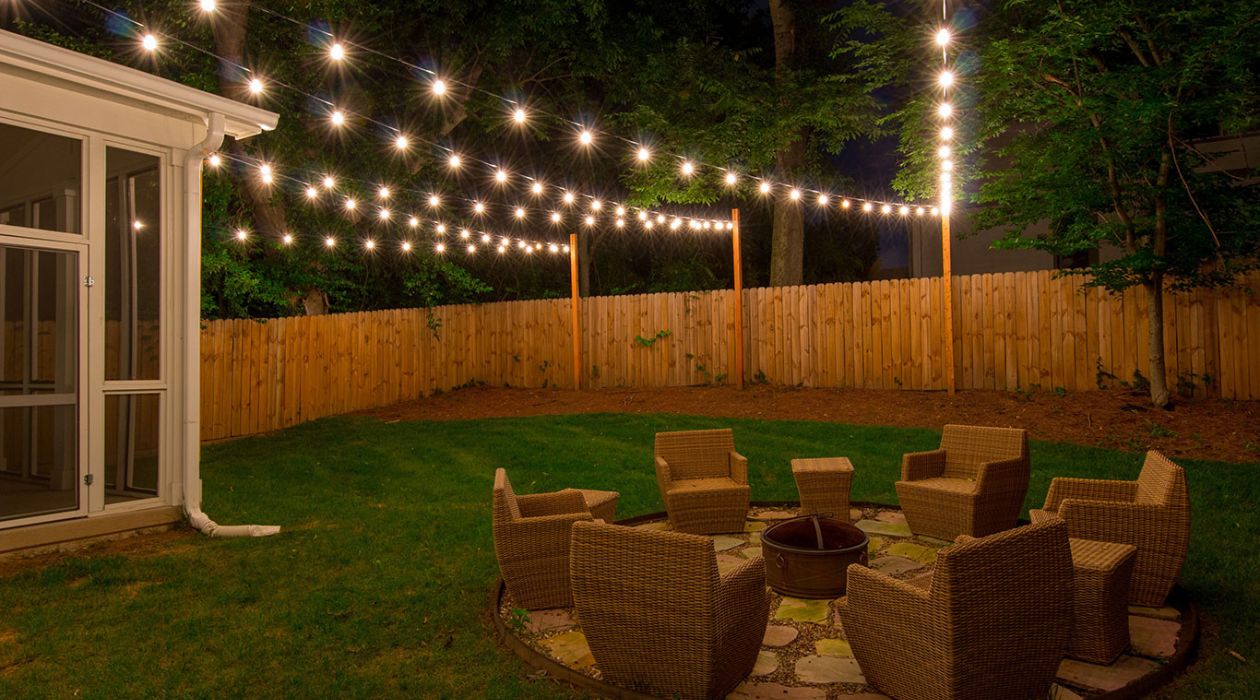
The process of shortening outdoor LED string lights embodies the spirit of creativity and customization, empowering you to curate a captivating atmosphere that reflects your unique style and vision. Whether you’re creating a cozy retreat for intimate gatherings or a vibrant backdrop for festive celebrations, your shortened string lights will serve as a testament to your attention to detail and dedication to crafting an inviting outdoor environment.
As you embark on the next phase of your outdoor design project, take pride in the craftsmanship and precision that went into customizing your string lights. Your efforts have resulted in a seamless integration of functionality and aesthetics, elevating the allure of your outdoor space and setting the stage for memorable moments under the enchanting glow of your personalized LED string lights.
Embrace the transformative power of outdoor lighting, and let your shortened string lights illuminate your outdoor gatherings with warmth and charm. With your newfound expertise, you have the ability to adapt and customize your lighting to suit any outdoor setting, ensuring that your outdoor space remains a captivating and inviting retreat for all to enjoy.
Now, as you bask in the radiance of your shortened outdoor LED string lights, revel in the ambiance you’ve created and the welcoming embrace of your thoughtfully illuminated outdoor oasis.
Now that you've mastered shortening your LED string lights, why not explore more creative ways to illuminate your garden? Our guide on outdoor lighting ideas offers 30 unique strategies to brighten up your space. From subtle accents to bold statement pieces, find inspiration to transform your garden into a magical nighttime oasis. Don't miss out on crafting an enchanting outdoor ambiance that complements your newly shortened lights.
Frequently Asked Questions about How To Shorten Outdoor Led String Lights
Was this page helpful?
At Storables.com, we guarantee accurate and reliable information. Our content, validated by Expert Board Contributors, is crafted following stringent Editorial Policies. We're committed to providing you with well-researched, expert-backed insights for all your informational needs.


0 thoughts on “How To Shorten Outdoor Led String Lights”