Articles
How To Put Up String Lights On Balcony
Modified: October 19, 2024
Learn how to beautifully decorate your balcony with string lights. Our articles provide step-by-step instructions and inspirations for creating a magical ambiance.
(Many of the links in this article redirect to a specific reviewed product. Your purchase of these products through affiliate links helps to generate commission for Storables.com, at no extra cost. Learn more)
Introduction
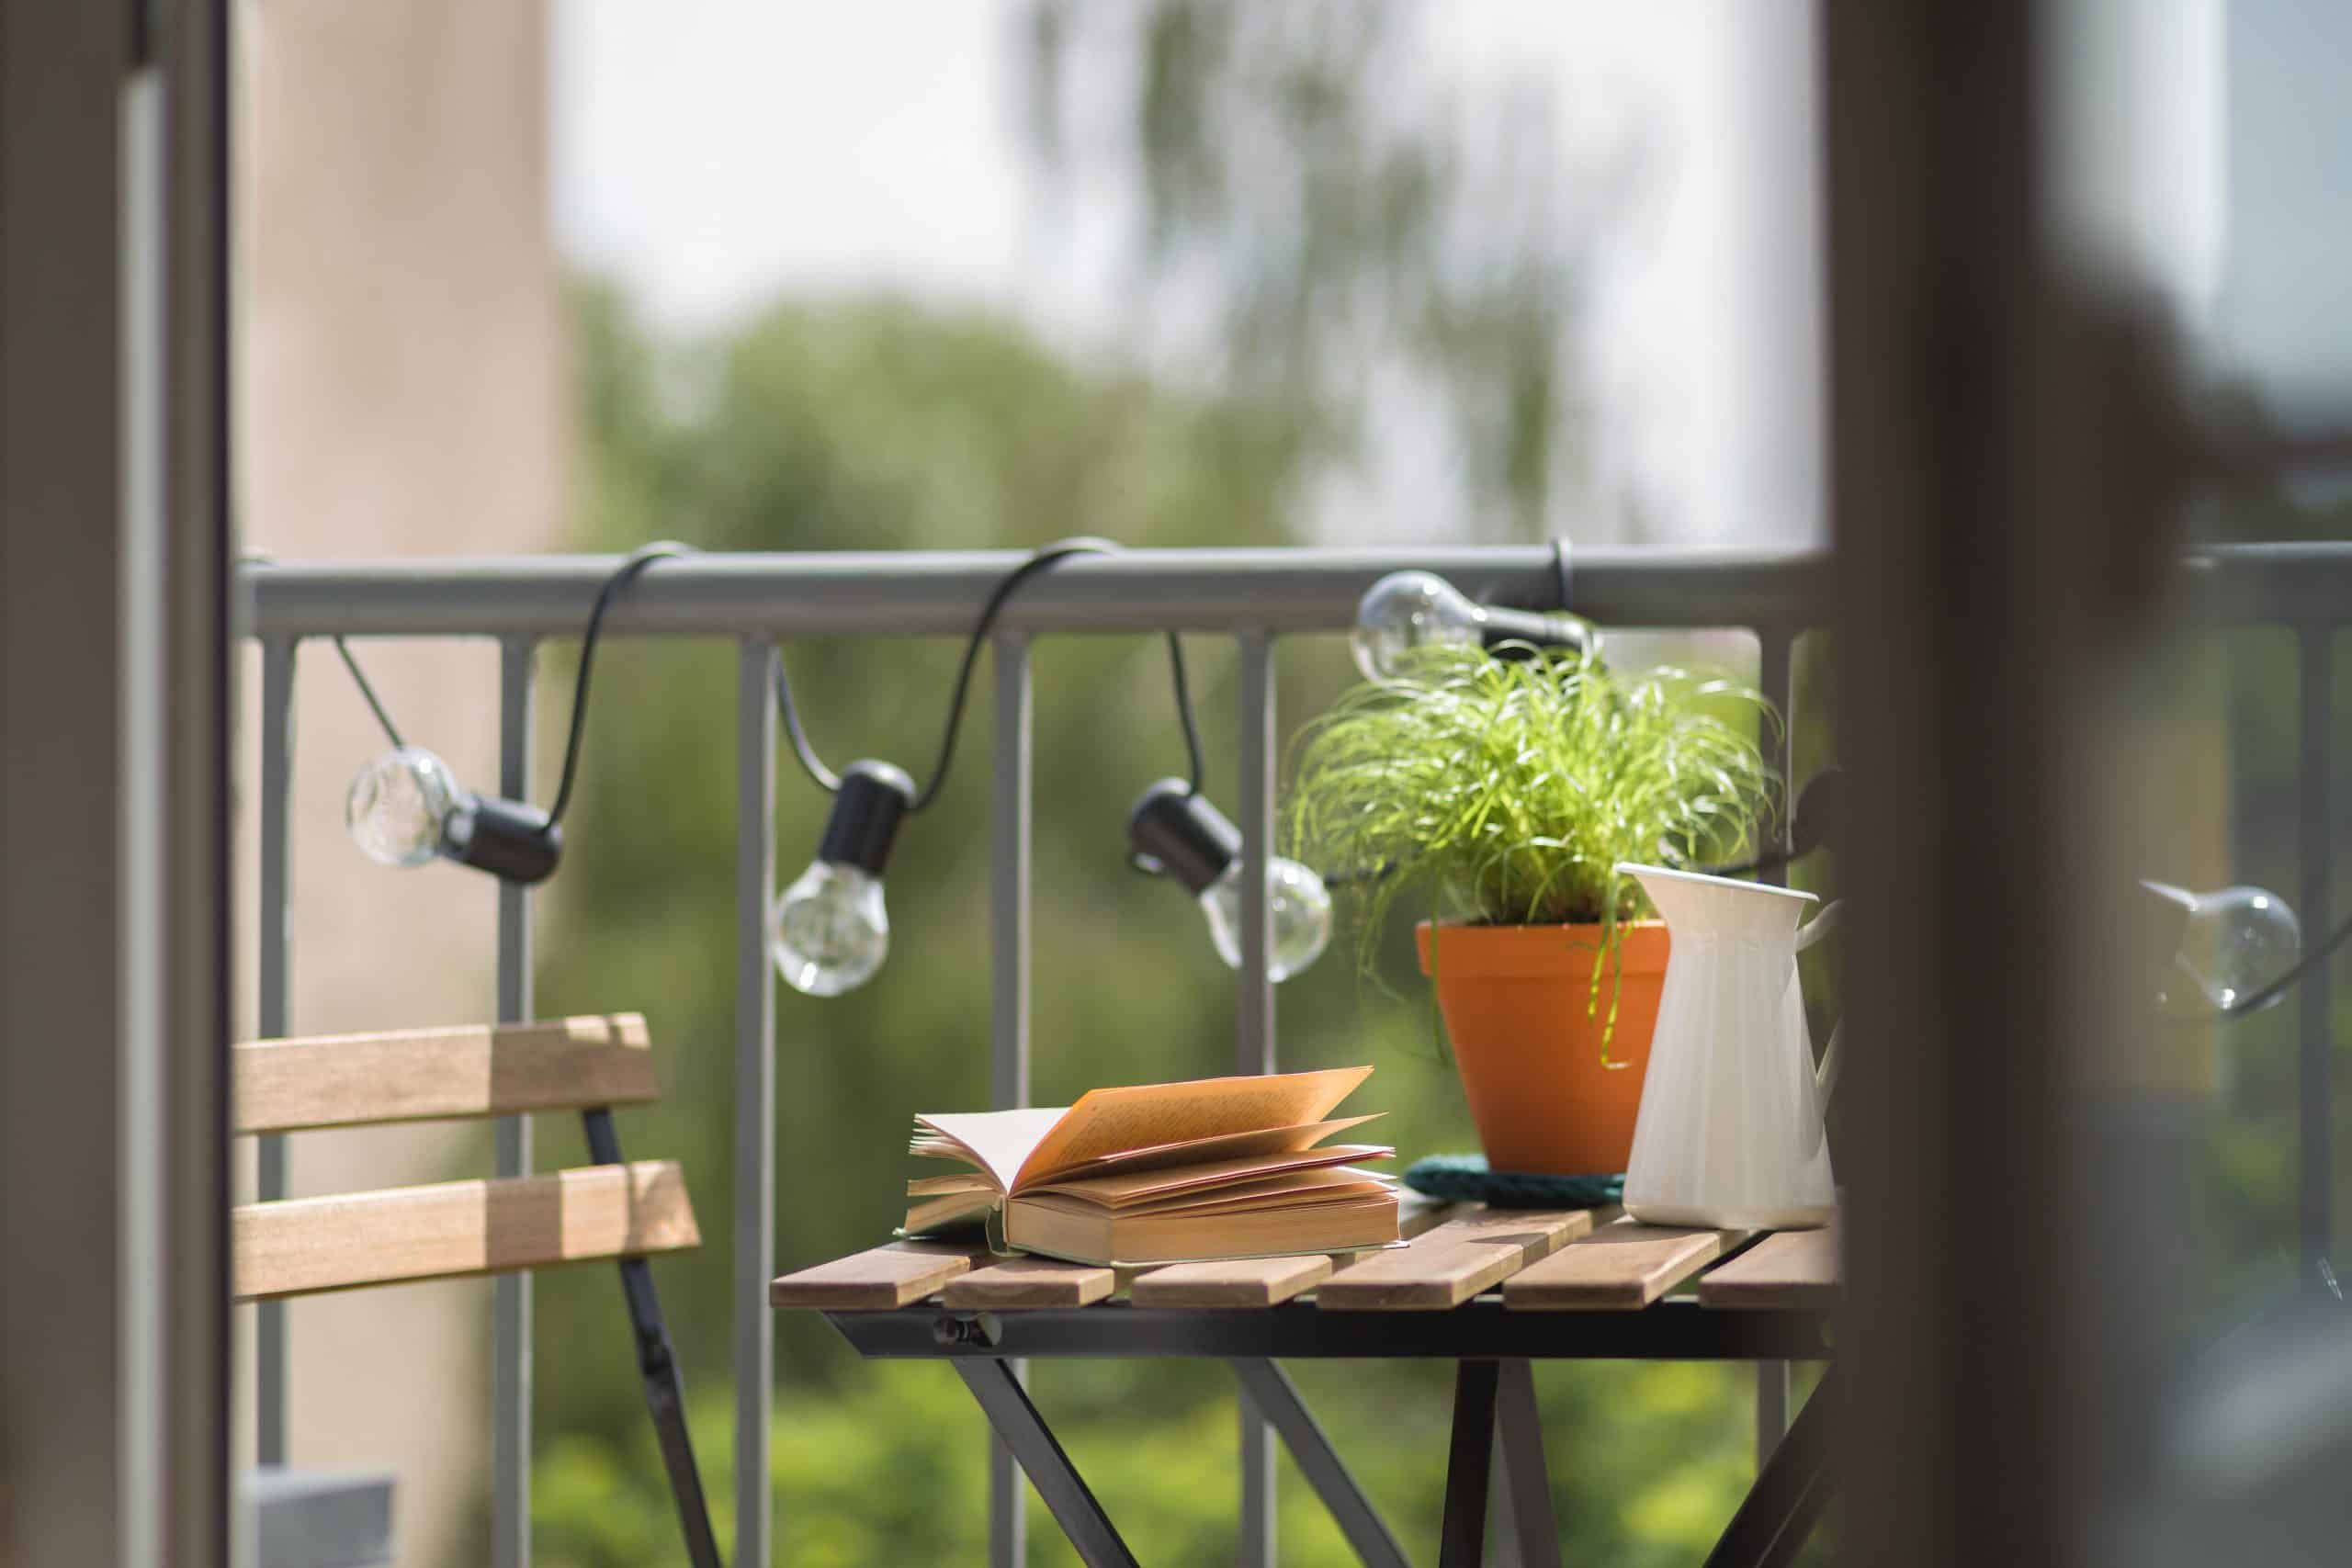
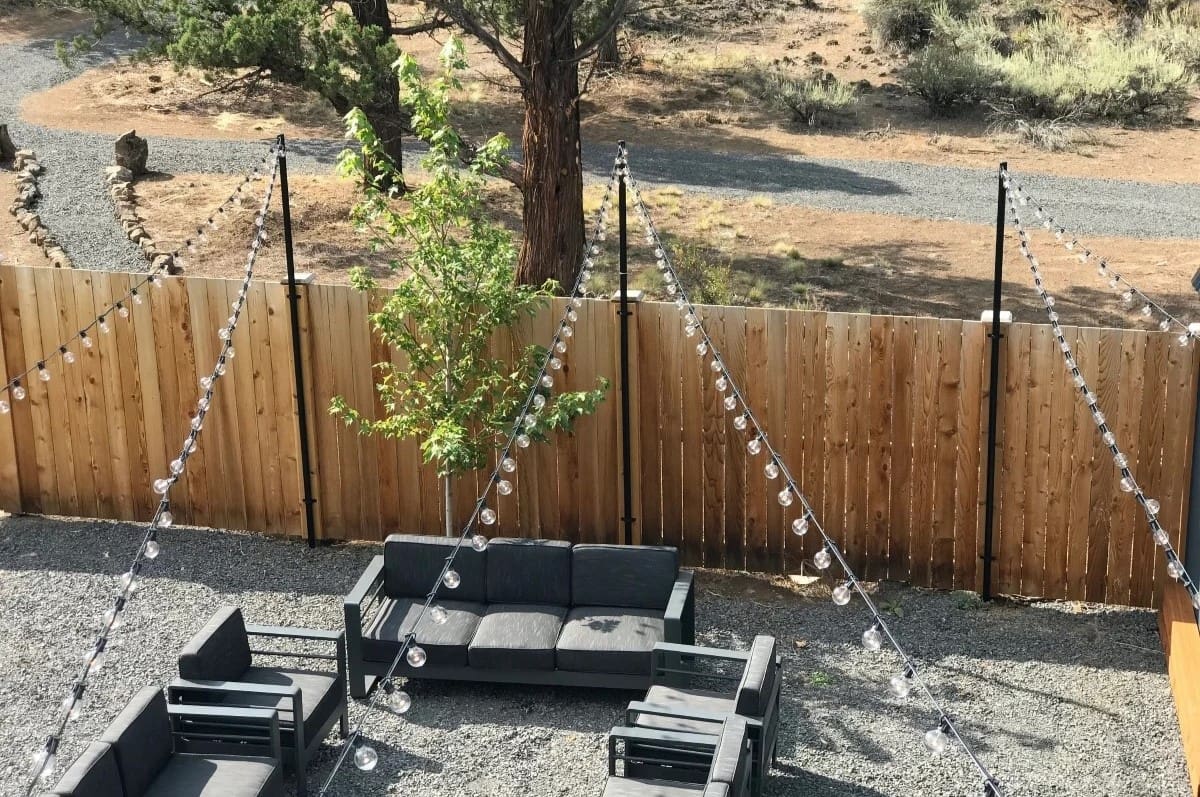
Adding string lights to your balcony can transform it into a cozy and inviting space, perfect for relaxing evenings or entertaining guests. Not only do string lights create a warm and magical ambiance, but they also provide practical lighting for outdoor activities. Whether you have a small balcony or a spacious terrace, installing string lights can make a significant difference in the overall aesthetics and functionality of your outdoor area.
In this guide, we will walk you through the step-by-step process of putting up string lights on your balcony. From assessing your balcony space to choosing the right lights and properly securing them, we will cover all the essential steps to ensure a successful installation. So, grab your tools and let’s get started on creating a delightful and enchanting atmosphere for your balcony.
*Please note that before starting any installation, it’s always important to prioritize safety. Make sure to read and follow the manufacturer’s instructions for the string lights and check for any specific guidelines related to balcony installations.*
Key Takeaways:
- Create a captivating outdoor retreat by following our step-by-step guide to installing string lights on your balcony. From assessing your space to testing the lights, you’ll enjoy a cozy and enchanting ambiance for all your outdoor activities.
- Transform your balcony into a magical oasis with the warm glow of string lights. Whether you’re relaxing alone or entertaining guests, the right lights and proper installation will elevate your outdoor space and create cherished memories.
Read more: How To Put Up Outdoor String Lights
Step 1: Assessing your balcony
Before you begin the installation process, it’s essential to assess your balcony to determine the best layout and positioning for your string lights. Consider the following factors:
- Size and shape: Take note of the size and shape of your balcony. This will help you determine how many string lights you will need and where you can hang them for optimal coverage.
- Power source: Identify the nearest power source to your balcony. This could be an outdoor electrical outlet or an indoor outlet nearby. Ensuring easy access to a power source will make the installation process much simpler.
- Weather conditions: Assess the weather conditions in your area. If your balcony is exposed to the elements, consider investing in weatherproof string lights or taking necessary precautions to protect them from rain or extreme weather.
- Structural support: Examine the structure of your balcony to determine where you can securely attach the string lights. Look for options such as railings, walls, or pillars that can provide adequate support.
By assessing these factors, you’ll have a better understanding of how to plan your string light installation and ensure that it aligns with your balcony’s specific layout and requirements.
Step 2: Choosing the right string lights
Choosing the right string lights is crucial to achieving the desired ambiance and functionality for your balcony. Here are some factors to consider:
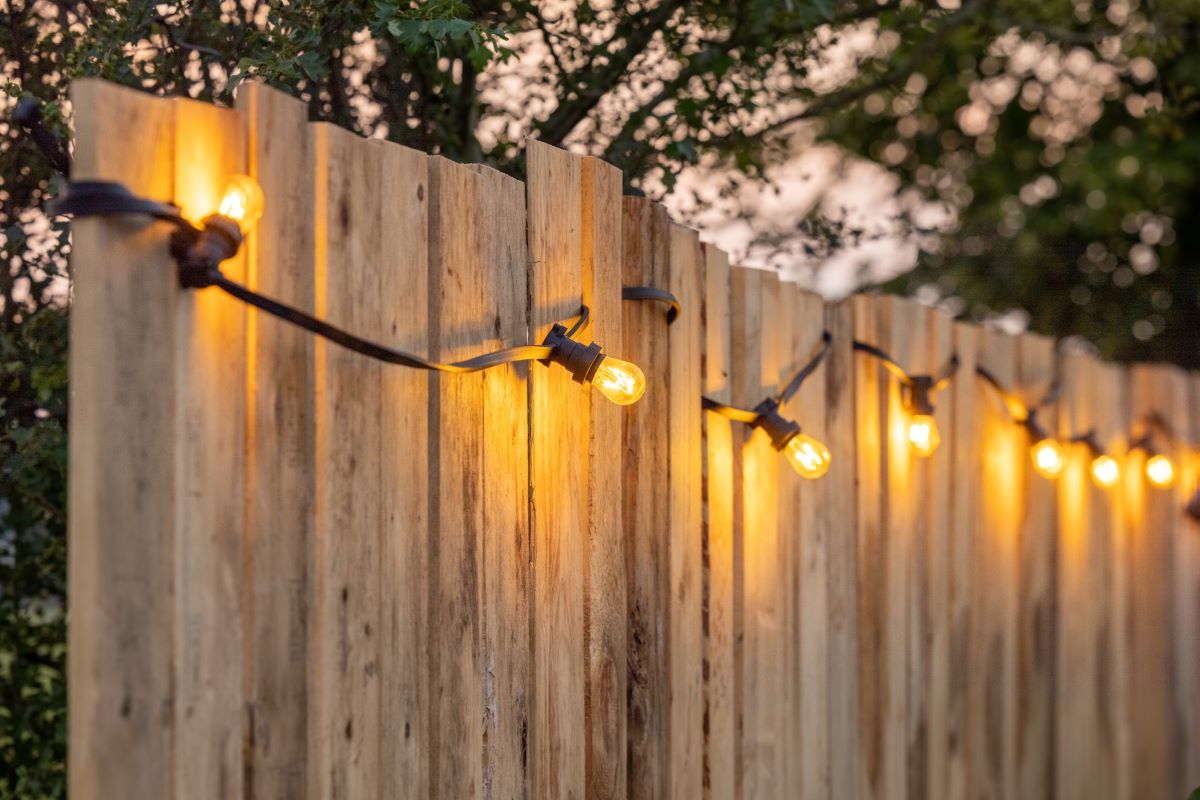
- Type of lights: There are various types of string lights available, including incandescent lights, LED lights, and solar-powered lights. Incandescent lights provide a warm and cozy glow, while LED lights offer energy efficiency and durability. Solar-powered lights are a great eco-friendly option if your balcony receives ample sunlight.
- Length and bulb spacing: Measure the length of your balcony and consider the desired spacing between the bulbs. This will help you determine the appropriate length of string lights to purchase. Be sure to choose lights with enough length and spacing to cover your balcony adequately.
- Color and style: Decide on the color and style of the string lights that align with your desired aesthetic. Traditional white lights offer a classic and elegant look, while colorful lights can add a festive and playful touch. You can also find string lights in various shapes and designs, such as lanterns or Edison bulbs, to suit your balcony’s style.
- Outdoor suitability: Ensure that the string lights you choose are suitable for outdoor use. Look for lights that are designed for outdoor environments and are weather-resistant to withstand the elements.
- Power source: Consider the power source for your string lights. If you have access to an outdoor electrical outlet, you can opt for plug-in lights. Alternatively, battery-operated or solar-powered lights offer flexibility in terms of placement.
By taking these factors into account, you can select the string lights that best meet your balcony’s specific needs and create the desired atmosphere for your outdoor space.
Step 3: Measuring the length of your balcony
Accurately measuring the length of your balcony is crucial to ensure you purchase the right length of string lights and achieve proper coverage. Follow these steps to measure your balcony:
- Gather measuring tools: Grab a measuring tape or a long piece of string to measure the length.
- Start from one end: Begin measuring from one end of your balcony. If your balcony has corners or curves, follow the outline of the railing or structure.
- Move along the railing: Keep the measuring tape or string aligned with the railing as you move along the balcony. Ensure you measure up and over any obstacles like pillars or corners.
- Measure the entire length: Continue measuring until you reach the other end of your balcony. Record the length in feet or meters.
- Consider additional areas: If you want to string lights across the ceiling or other parts of your balcony, measure those areas separately.
After measuring your balcony, add a few extra feet or meters to account for any slack or adjustments you may need during the installation process. It’s better to have slightly more length than not enough.
With the accurate measurements in hand, you can confidently choose the right length of string lights that will perfectly fit your balcony and provide the desired illumination.
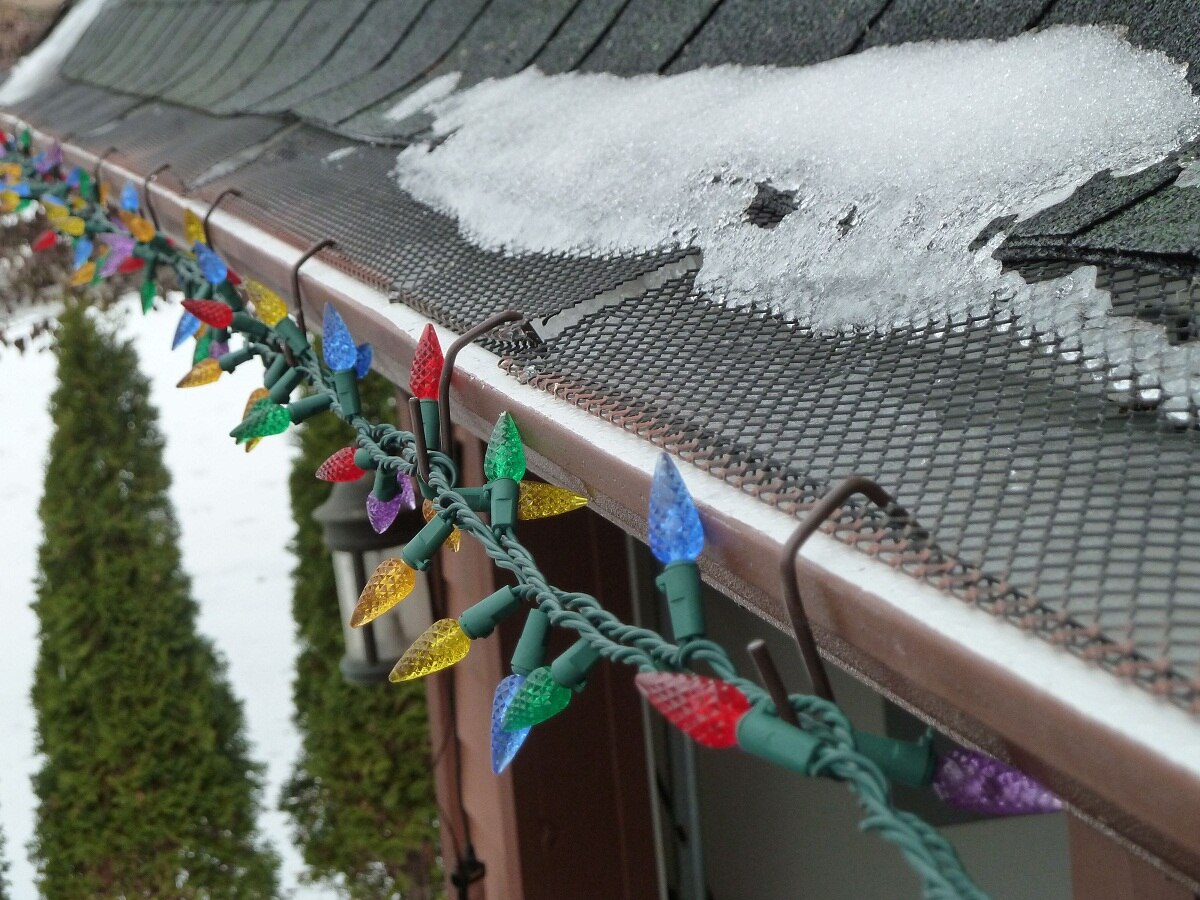
Step 4: Installing hooks or clips
Installing hooks or clips is a crucial step in securing your string lights on the balcony. Here’s how you can do it:
- Select the appropriate hooks or clips: Choose hooks or clips that are suitable for outdoor use and can securely hold the weight of your string lights. There are various options available, such as adhesive hooks, screw-in hooks, or mini clips specifically designed for string lights.
- Clean the surface: Before attaching the hooks or clips, clean the surface of your balcony’s railing or structure where they will be installed. Remove any dirt, dust, or debris that could affect the adhesion.
- Follow the manufacturer’s instructions: Different hooks or clips have specific installation guidelines. Read and follow the instructions provided by the manufacturer to ensure proper and secure installation.
- Placement of hooks or clips: Determine where you want to place the hooks or clips along the balcony railing or structure. Consider spacing them evenly to support the weight of the string lights and prevent sagging.
- Attach the hooks or clips: Depending on the type of hooks or clips you have, apply adhesive or use screws to secure them in place. Ensure they are firmly attached and able to support the weight of the string lights.
Remember to leave a little bit of slack in the string lights when attaching them to the hooks or clips. This will prevent them from pulling too tight and potentially damaging the lights or the hooks/clips.
By installing hooks or clips properly, your string lights will be securely held in place, allowing you to enjoy a worry-free and stylish balcony lighting setup.
When putting up string lights on a balcony, start by measuring the length of the area you want to cover. Use outdoor-safe string lights and hooks or clips to secure them in place. Make sure to plug them into a GFCI outlet for safety.
Read more: How To String Up Patio Lights
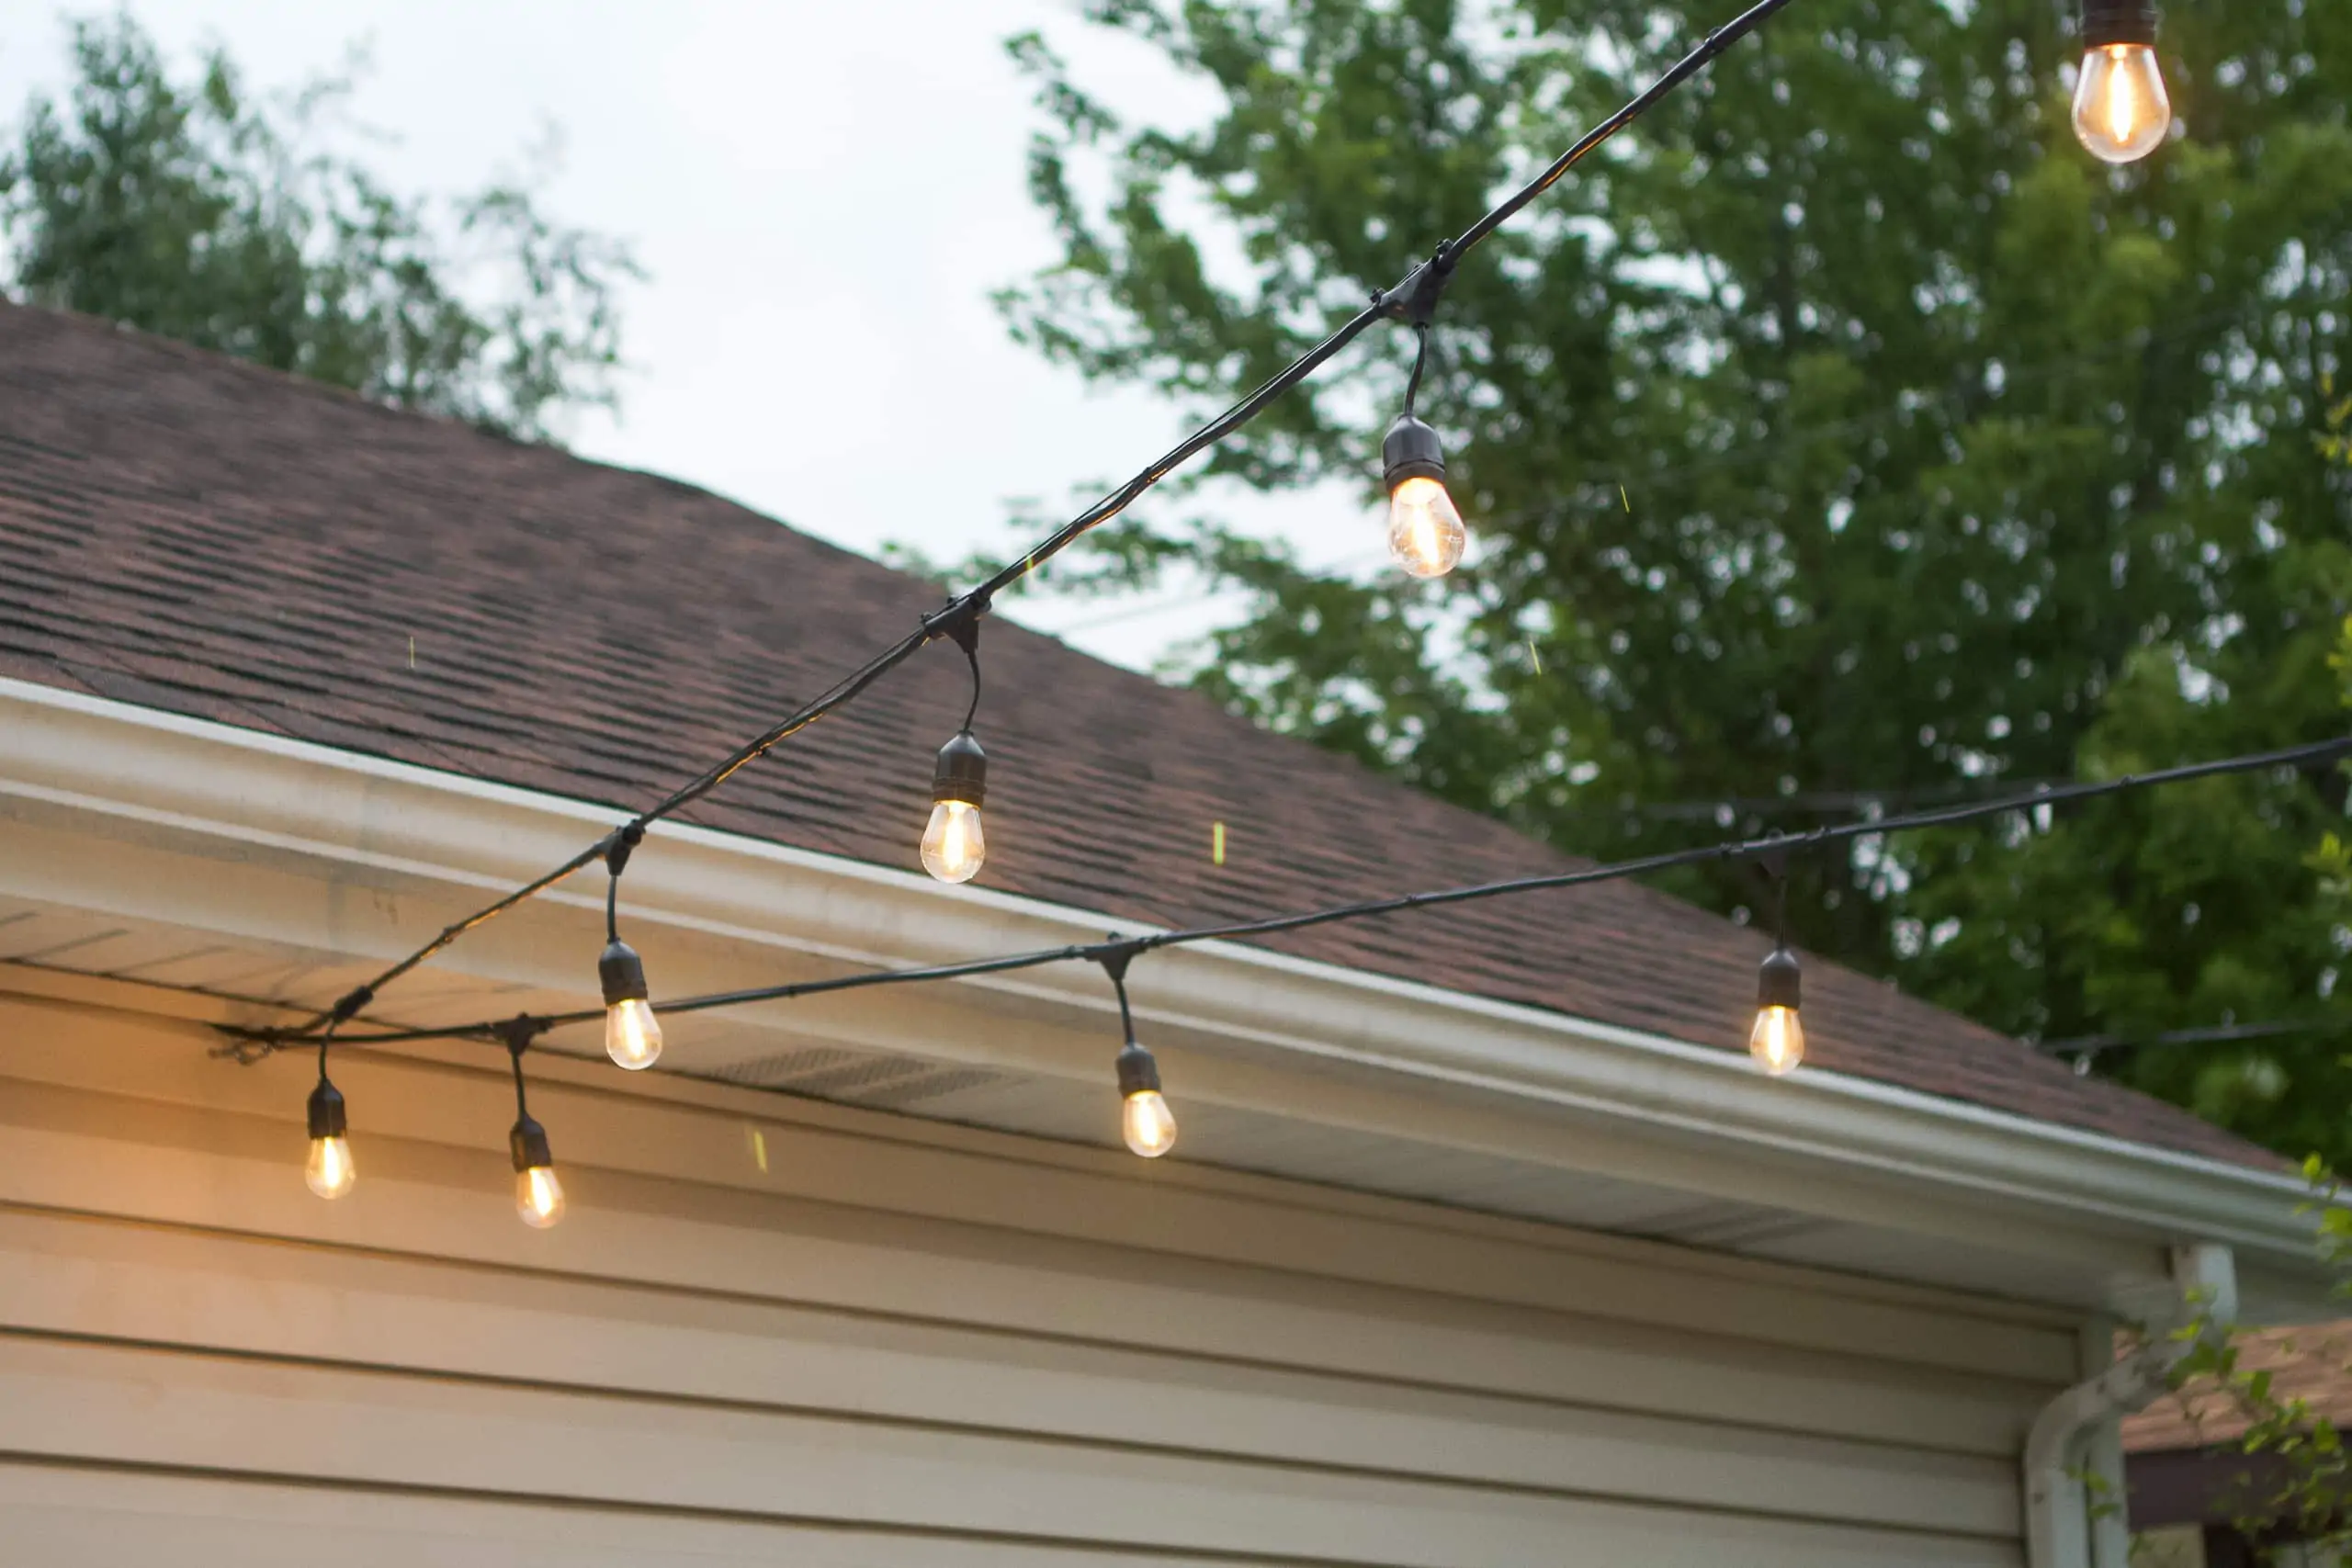
Step 5: Stringing the lights
With the hooks or clips in place, it’s time to start stringing the lights along your balcony. Follow these steps to ensure a neat and organized installation:
- Start from one end: Begin at one end of your balcony and attach the first bulb of the string lights to the first hook or clip. If your lights come with a plug, make sure the plug is located near an electrical outlet.
- Gently guide the lights: Carefully guide the lights along the balcony, attaching each bulb to the corresponding hook or clip. Keep the lights taut, but not overly stretched, to avoid unnecessary tension.
- Follow the desired pattern: Decide on the pattern you want for your lights. You can create straight lines, zig-zags, or any other pattern that suits your preference. Take your time to achieve an even and aesthetically pleasing arrangement.
- Use additional hooks or clips as needed: If the length of your balcony requires additional support, attach more hooks or clips along the way and secure the lights accordingly.
- Adjust the spacing: Ensure that the spacing between each bulb is consistent to maintain a uniform appearance. If necessary, adjust the position of the lights or the hooks/clips to achieve the desired spacing.
As you string the lights, step back occasionally to assess the overall look and make any necessary adjustments. Take your time with this process to create a beautiful and visually appealing display.
Continue stringing the lights until you reach the end of your balcony or the desired endpoint. Keep in mind that if you have any extra length of lights, you can wrap them around a pillar, hang them vertically, or incorporate them into another creative arrangement.
By following these steps, you’ll be able to create a stunning lighting display that enhances the ambiance and atmosphere of your balcony.
Step 6: Securing the lights
Once you have strung the lights along your balcony, it’s important to secure them properly to prevent them from coming loose or sagging. Here’s what you need to do:
- Check for any sagging: Step back and assess if there are any areas where the lights are sagging or not properly aligned. If you notice any sagging, adjust the position of the lights or tighten the hooks or clips to provide additional support.
- Use zip ties or twist ties: For added security, you can use zip ties or twist ties to hold the lights in place at regular intervals along the balcony railing or structure. This will help keep the lights taut and prevent them from shifting or swaying in the wind.
- Hide any visible cords: If there are exposed cords or excess wiring, find ways to conceal them. Use cord clips or adhesive hooks to hold the cords close to the balcony railing or structure, keeping them out of sight.
- Consider additional support: If your balcony is exposed to strong winds or if you’re using heavier lights, you may need additional support. Consider adding guide wires or thin cables that connect to secure points on your balcony to provide extra stability.
- Tape down any loose cords: Secure any loose cords or connectors with electrical tape to prevent them from dangling or becoming tripping hazards.
By properly securing the lights, you can enjoy peace of mind knowing that your installation is stable and won’t be easily disrupted. This will ensure that your balcony remains beautifully lit and safe for both you and your guests.
Step 7: Testing the lights
Before you fully enjoy your beautifully lit balcony, it’s crucial to test the lights to ensure they are working properly and shining brightly. Here’s what you need to do:
- Plug in the lights: Connect the plug of your string lights to the nearest electrical outlet. If you’re using battery-operated or solar-powered lights, make sure they are properly powered.
- Check for any issues: Once the lights are powered on, carefully inspect each bulb for proper illumination. Look for any dim or non-functioning bulbs, loose connections, or flickering lights.
- Replace faulty bulbs: If you come across any problematic bulbs, replace them with new ones according to the manufacturer’s instructions. Ensure that the replacement bulbs are compatible with your string lights.
- Test different lighting modes (if applicable): If your string lights have various lighting modes, such as steady, flashing, or dimming, test each mode to make sure they are functioning correctly.
- Check the overall lighting effect: Step back and observe the overall lighting effect on your balcony. Assess whether the lights provide the desired level of brightness and ambiance. Adjust any bulbs or make necessary modifications to achieve the desired effect.
By testing the lights before fully completing the installation, you can identify and address any issues or deficiencies. This will ensure that your balcony lights are working perfectly and ready to create a beautiful and enchanting atmosphere.
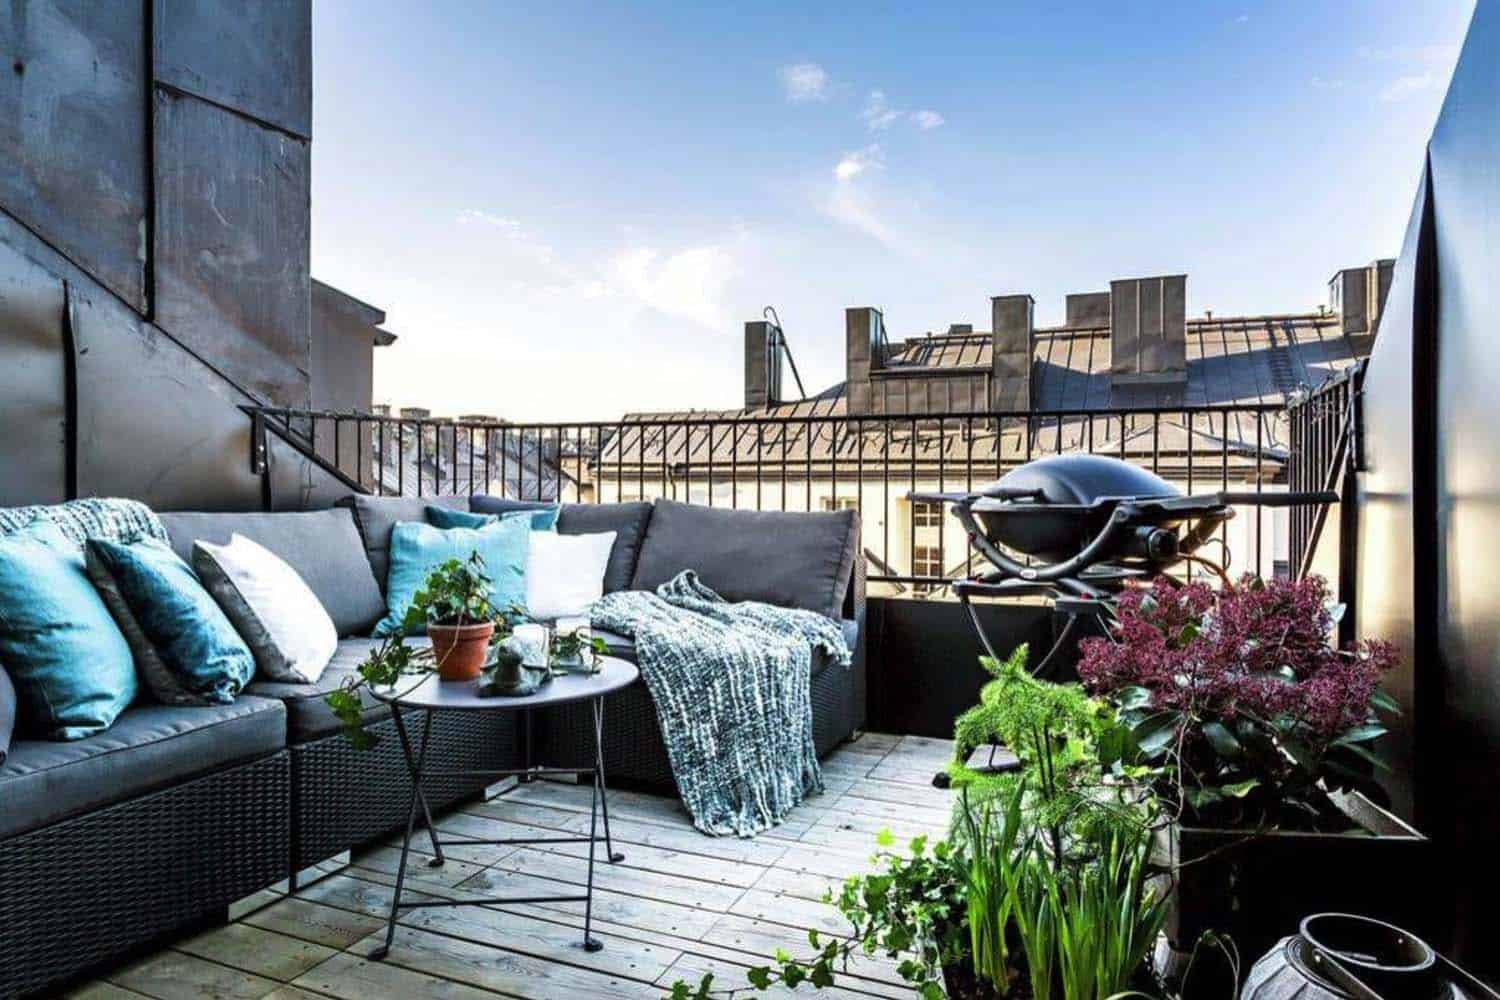
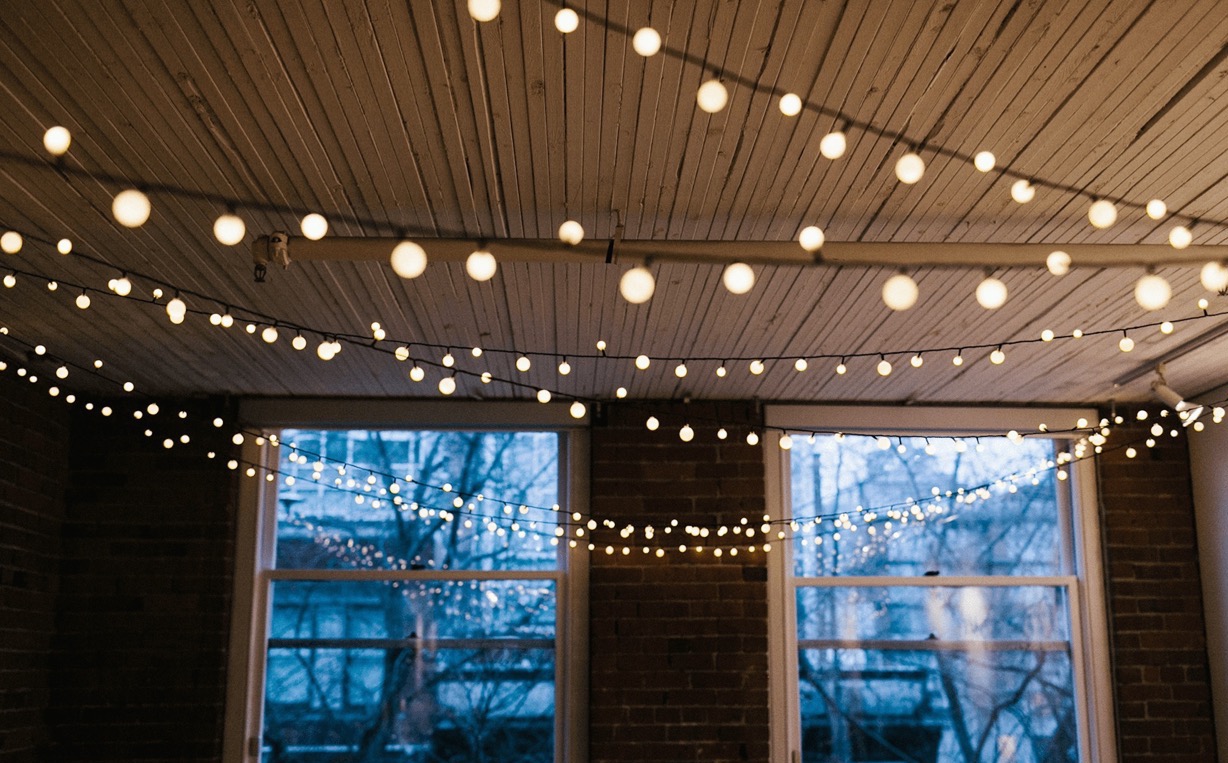
Step 8: Enjoying your balcony with string lights
After completing the installation and testing of your string lights, it’s time to sit back, relax, and truly enjoy the magical ambiance they bring to your balcony. Here are some tips for maximizing your enjoyment:
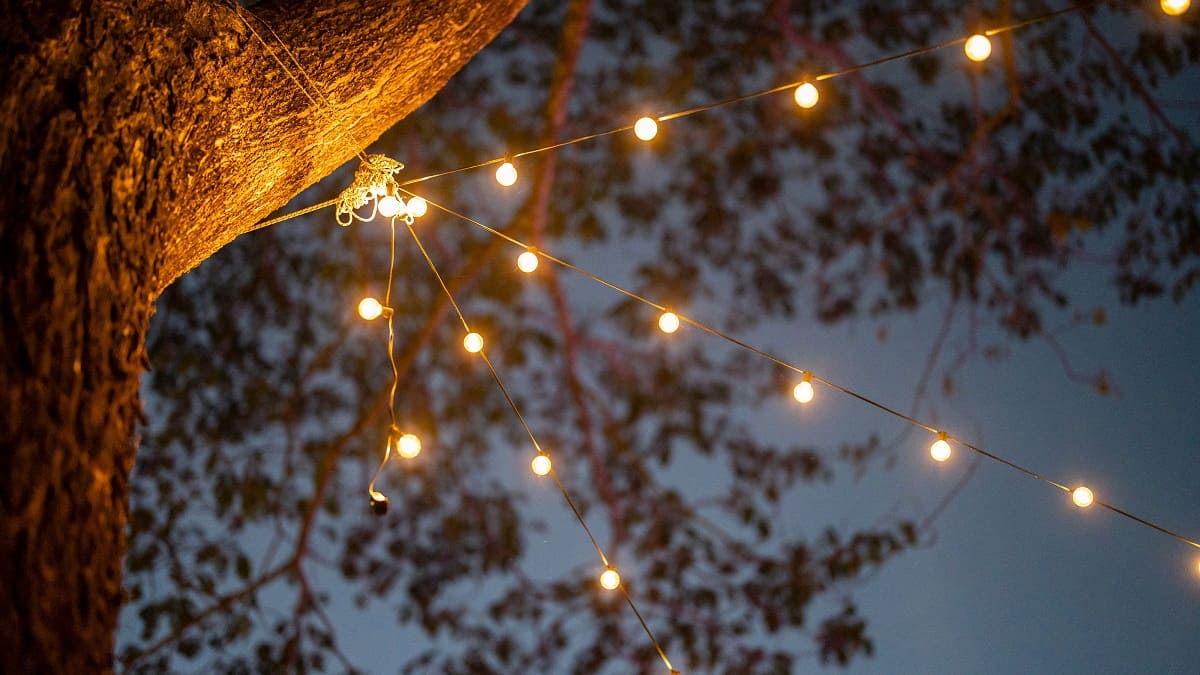
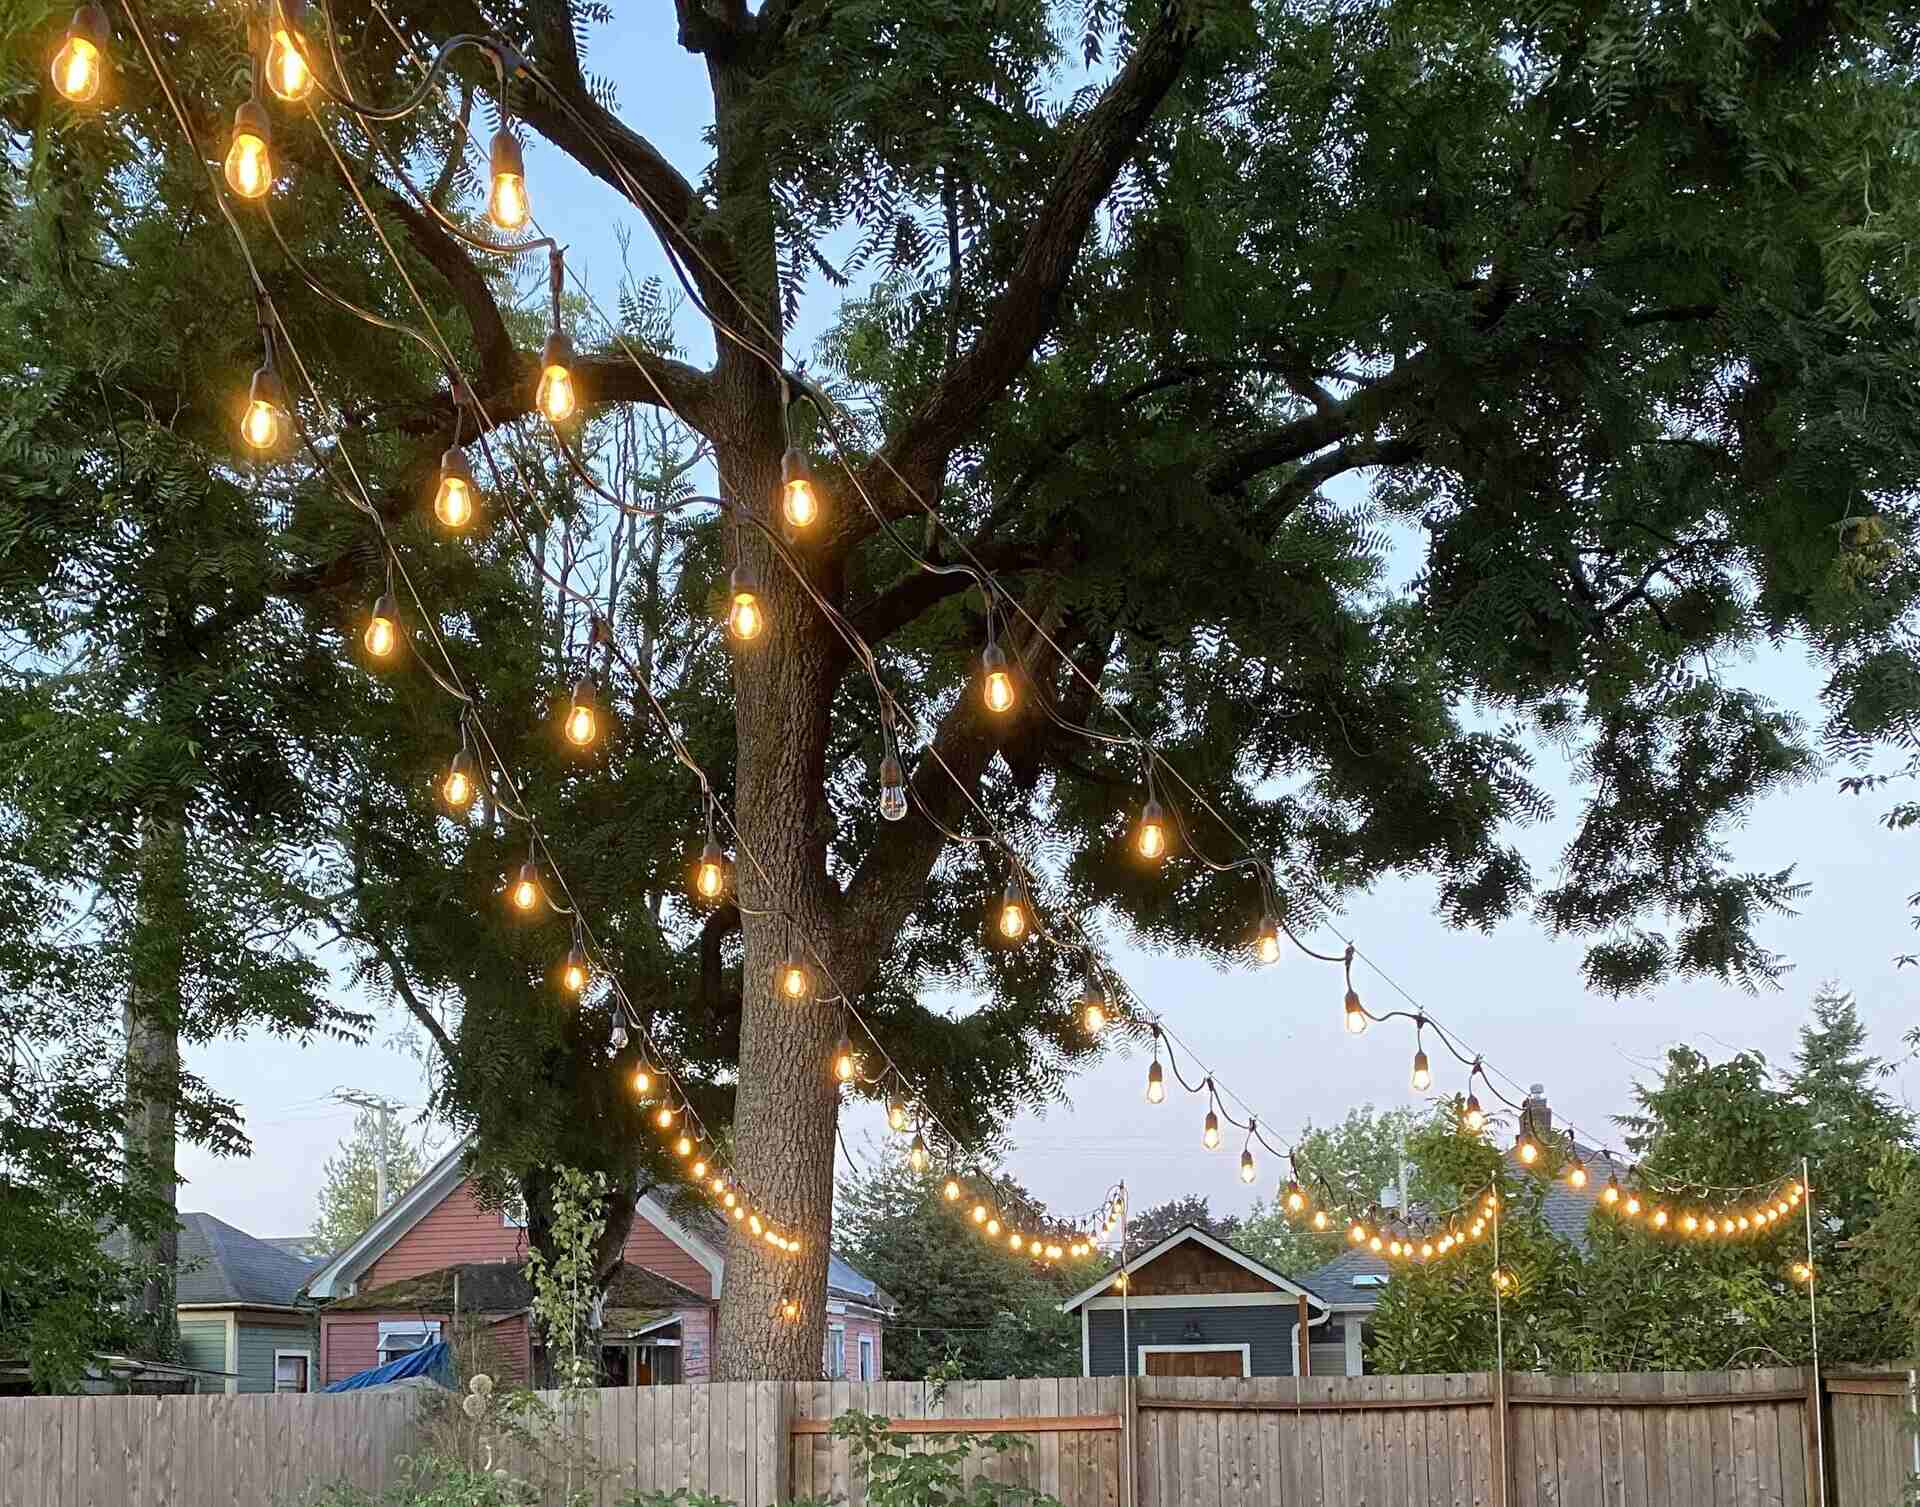
- Ambiance and mood-setting: String lights create a warm and inviting atmosphere. Use them to set the mood for a romantic dinner, a cozy gathering with friends, or a peaceful evening alone.
- Outdoor activities: Your well-lit balcony can become an extension of your indoor living space. You can enjoy reading a book, practicing yoga, or simply sipping a cup of tea while being bathed in the gentle glow of the lights.
- Entertaining guests: Host memorable gatherings on your balcony by utilizing the string lights as a backdrop. Whether it’s a small birthday party or a festive holiday gathering, the lights will add a touch of magic and charm to the occasion.
- Seasonal decorations: Get creative with your string lights for different seasons and celebrations. Dress them up with colorful paper lanterns for a summer fiesta or entwine them with faux foliage during the winter holidays.
- Experiment with light patterns: Play around with different lighting patterns and arrangements. Create patterns like waves, zig-zags, or cluster certain areas for a captivating visual impact.
- Regular maintenance: Keep your lights in top condition by regularly checking for any burnt-out bulbs or loose connections. Replace any faulty bulbs promptly and ensure the cables and connectors are secure and protected.
Remember to always prioritize safety and turn off the lights when not in use or when you leave your balcony. This will help extend the lifespan of the lights and reduce unnecessary energy consumption.
With your balcony beautifully adorned by string lights, you can now create cherished memories, enjoy peaceful moments, and make the most of your outdoor space throughout the year.
Read more: How To Put Up Bird Netting On Balcony
Conclusion
Adding string lights to your balcony can instantly transform it into a captivating and cozy space. By following the step-by-step process outlined in this guide, you can successfully install and enjoy the enchanting glow of string lights in your outdoor area.
From assessing your balcony’s layout and size to choosing the right type and length of string lights, every step plays a crucial role in achieving the desired ambiance. Properly securing the lights and testing them ensure a safe and flawless installation.
Once your balcony is adorned with the warm glow of string lights, you’ll have a welcoming retreat for relaxation, entertaining guests, or indulging in your favorite outdoor activities. The lights can enhance the overall atmosphere, set a romantic mood, and bring charm to any occasion throughout the year.
Remember to regularly inspect and maintain your string lights to keep them in optimal working condition. By replacing any faulty bulbs and securing loose connections, you can enjoy your balcony’s magical ambiance for many seasons to come.
So, take the next step, gather your tools, and start transforming your balcony into a stunning oasis with string lights. Get ready to savor wonderful moments and create lasting memories in your beautifully illuminated outdoor sanctuary.
Once you've mastered setting up string lights on your balcony, why not expand your outdoor lighting expertise further? Our next guide covers patio lighting ideas that will transform any outdoor area into a cozy, inviting retreat. Whether you're hosting a late-night gathering or enjoying a quiet evening alone, these tips ensure your patio is well-lit and welcoming.
Frequently Asked Questions about How To Put Up String Lights On Balcony
Was this page helpful?
At Storables.com, we guarantee accurate and reliable information. Our content, validated by Expert Board Contributors, is crafted following stringent Editorial Policies. We're committed to providing you with well-researched, expert-backed insights for all your informational needs.


0 thoughts on “How To Put Up String Lights On Balcony”