Articles
How To Make A Light Bulb
Modified: January 6, 2024
Learn how to make a light bulb with our informative articles. Discover step-by-step instructions and expert tips to create your own illuminated masterpiece.
(Many of the links in this article redirect to a specific reviewed product. Your purchase of these products through affiliate links helps to generate commission for Storables.com, at no extra cost. Learn more)
Introduction
When Thomas Edison invented the incandescent light bulb in 1879, it revolutionized the way we illuminate our lives. Since then, light bulbs have become an integral part of our homes and workplaces, providing us with the ability to operate well into the night. But have you ever wondered how a light bulb is made?
In this article, we will guide you through the process of making a light bulb from scratch. While it may seem like a complex task, with the right materials and a bit of patience, you can create your own functional light bulb. So, let’s gather our supplies and embark on this enlightening journey.
Key Takeaways:
- Crafting a homemade light bulb is a fascinating DIY project that deepens your understanding of the science behind illumination. While it may not match commercial bulbs’ efficiency, the satisfaction of creating your own light source is truly rewarding.
- Safety is paramount when working with electricity. Always prioritize caution, wear protective gear, and seek professional guidance if needed. Your homemade light bulb represents your creativity and resourcefulness, inspiring further DIY exploration.
Read more: How To Light A Light Bulb With A Potato
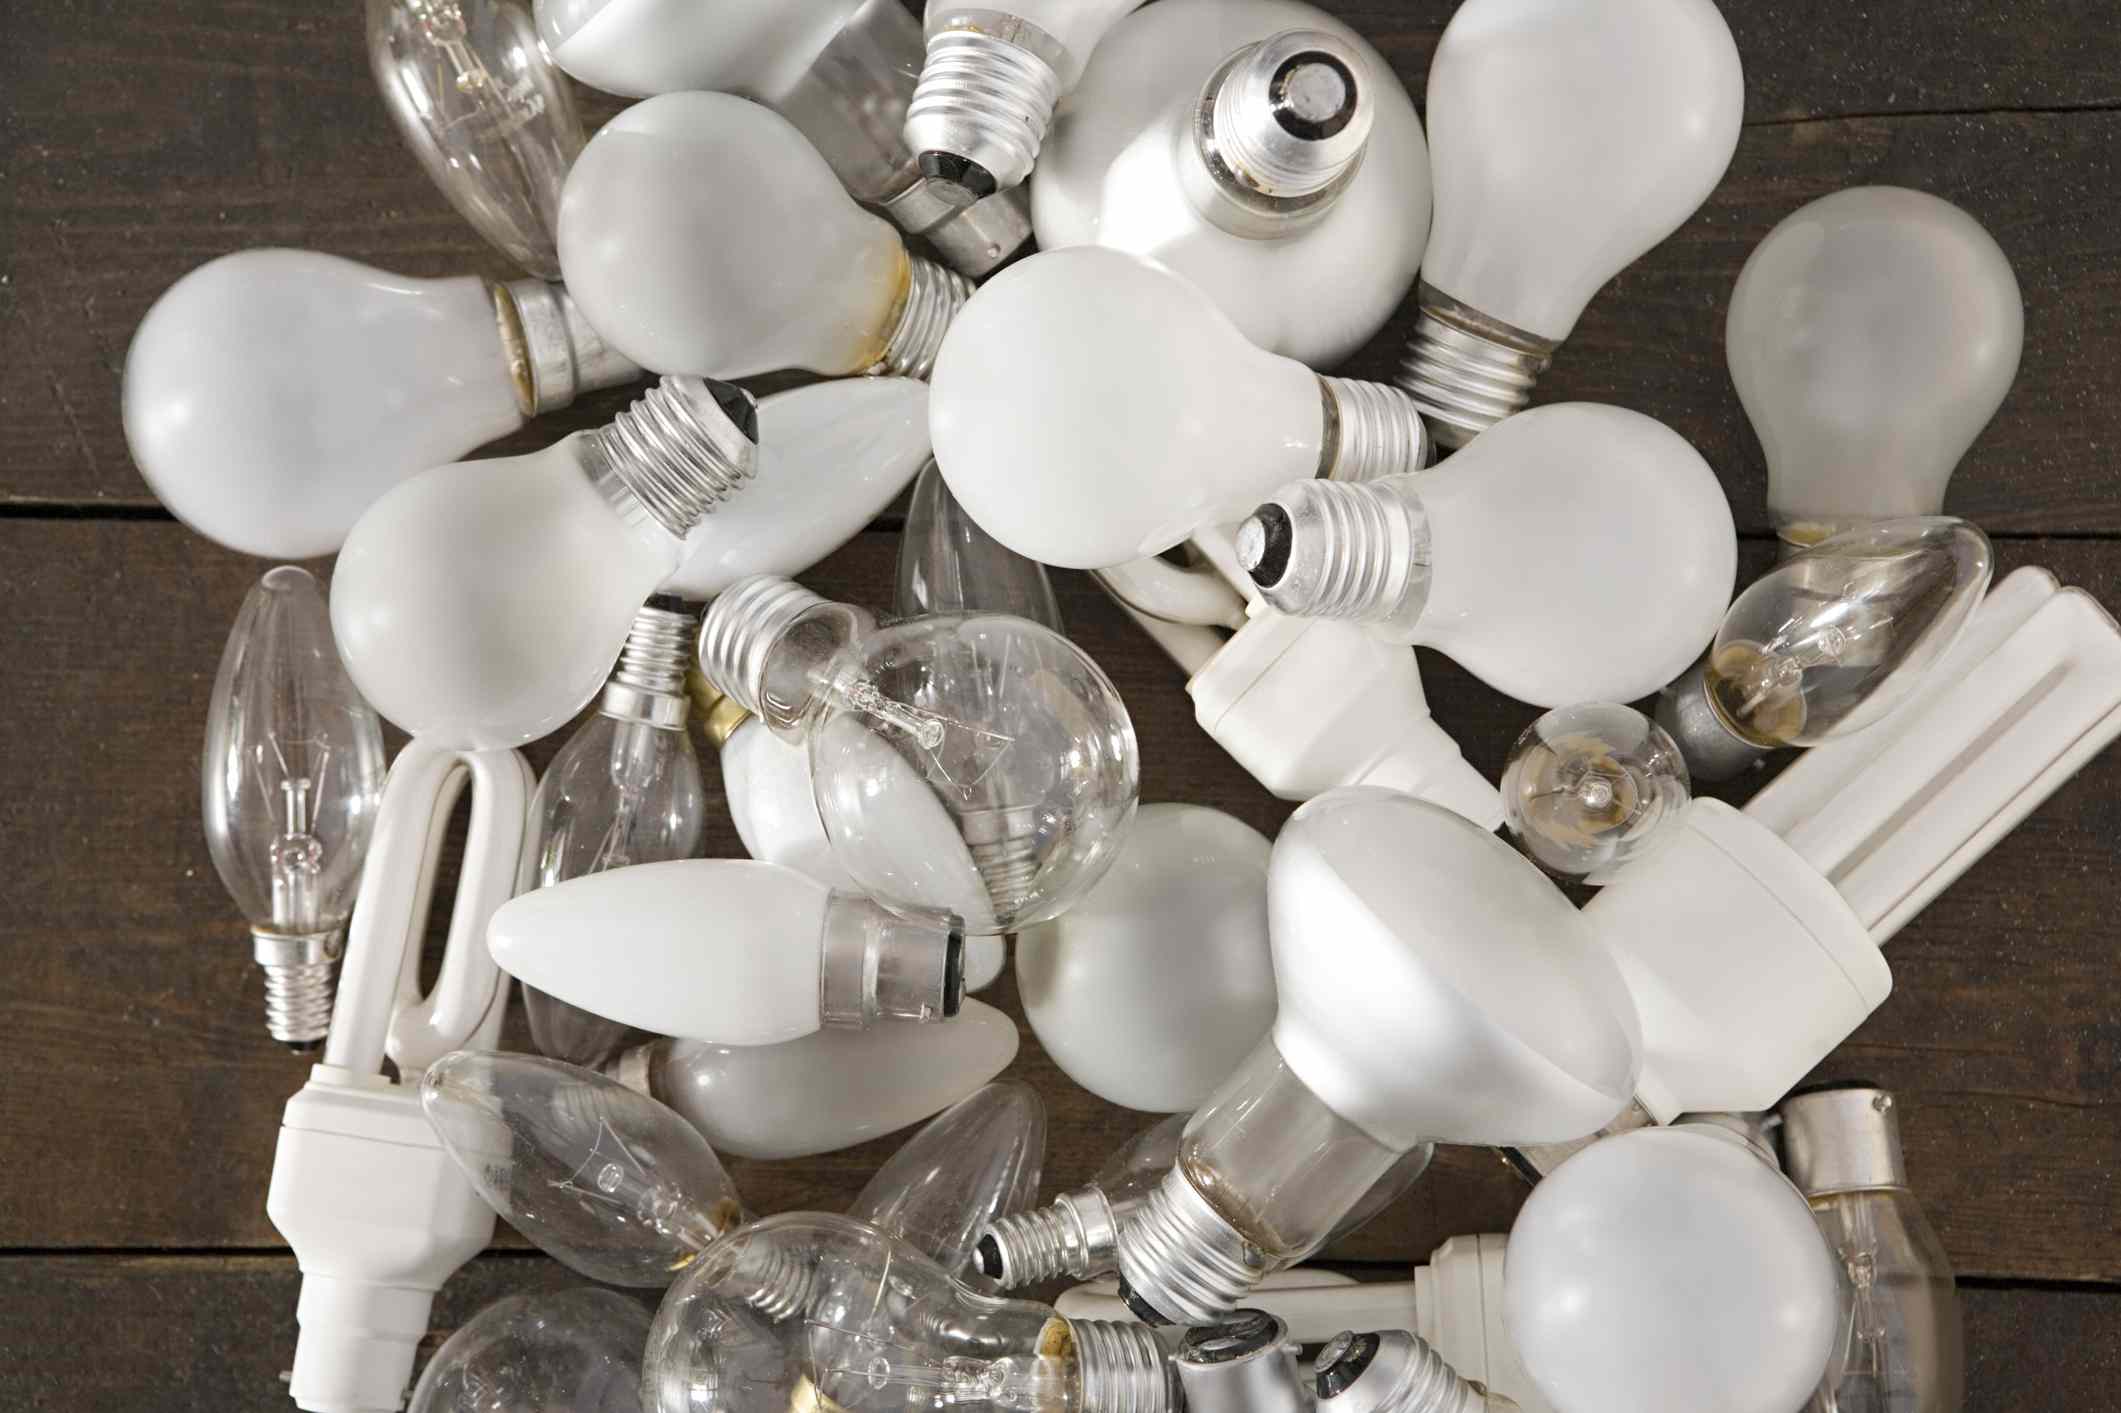
Materials Needed
Before we dive into the process of making a light bulb, let’s first gather the materials and tools that you’ll need. Here is a list of what you’ll require:
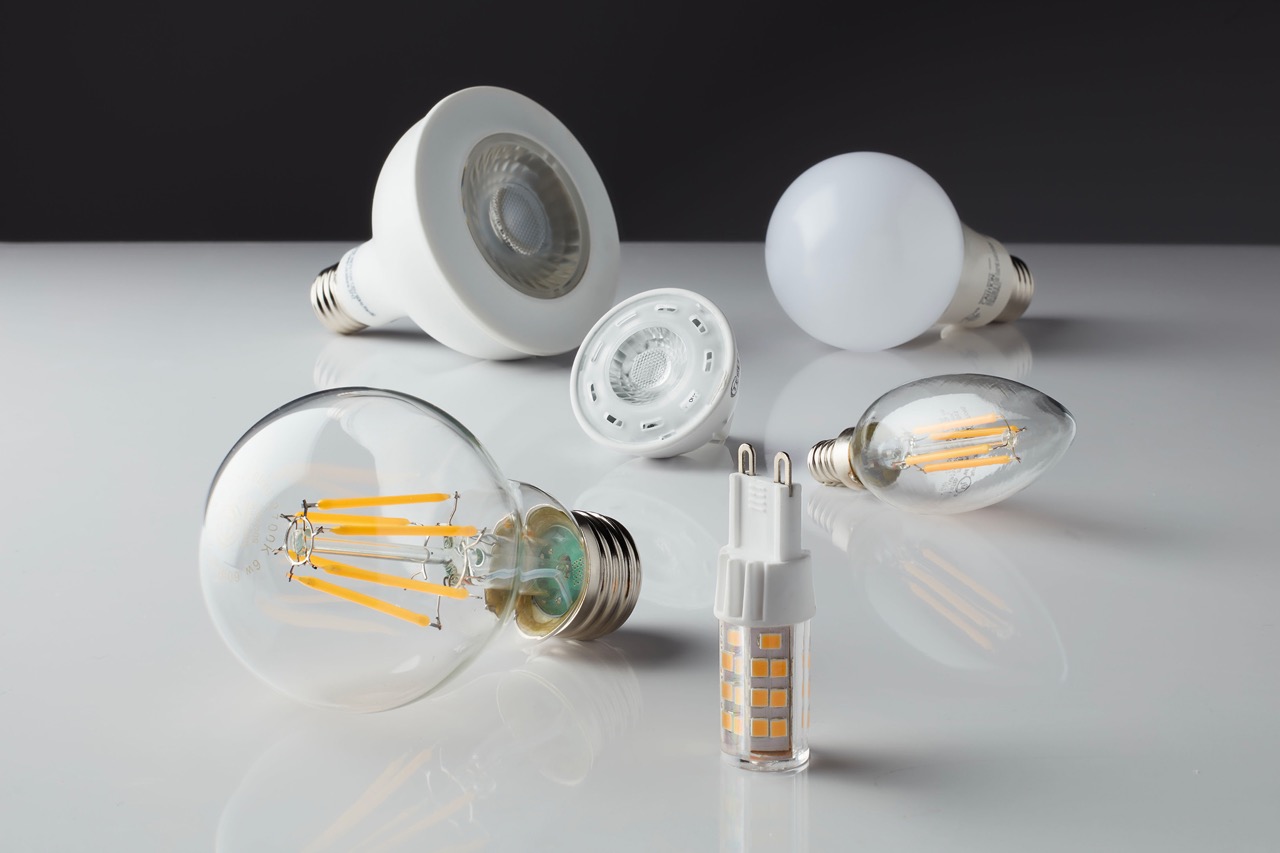
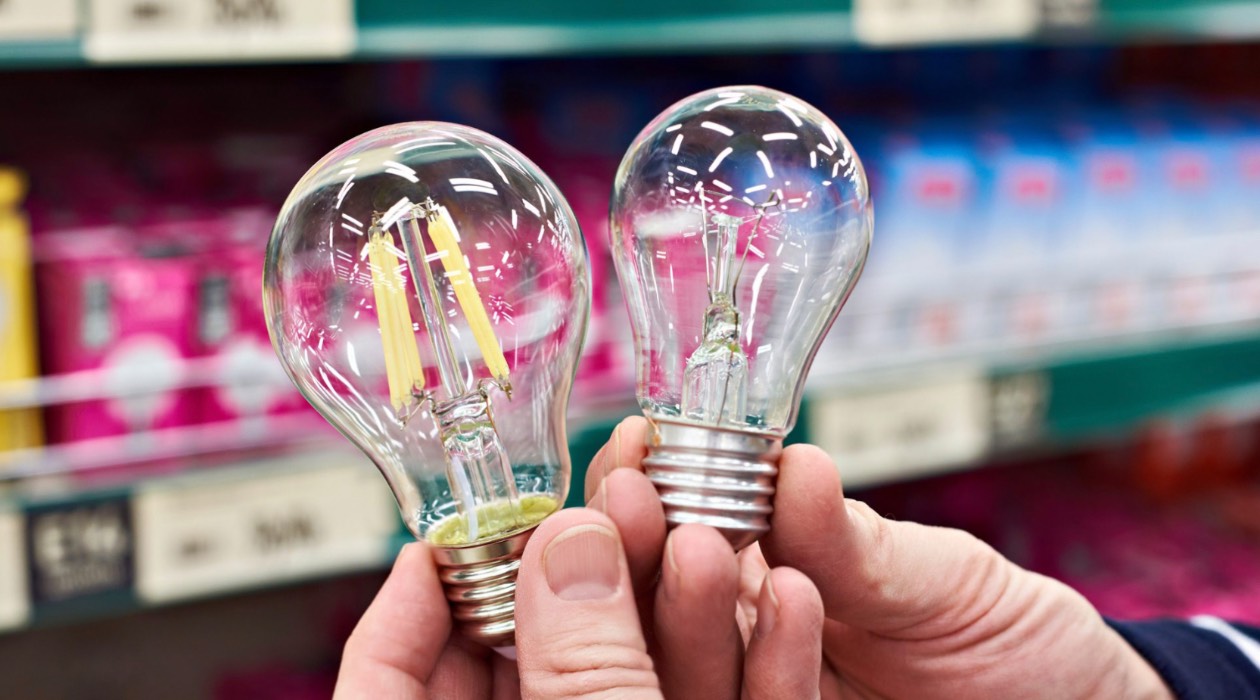
- Glass bulb
- Tungsten filament
- Copper wire
- Lead-in wires
- Electrical socket
- Soldering iron
- Electrical tape
- Wire cutters
- Safety goggles
- Heat-resistant gloves
It’s important to ensure that you have all of these items on hand before you begin. Safety should be your top priority, so make sure to wear the necessary protective gear, such as safety goggles and heat-resistant gloves, throughout the process.
Once you have acquired all the materials, you are ready to proceed with creating your very own light bulb. Let’s move on to the step-by-step process.
Step 1: Gathering the Components
The first step in making a light bulb is to gather all the necessary components. These include the glass bulb, tungsten filament, copper wire, lead-in wires, and electrical socket.
You can find most of these materials at your local hardware store or online. When selecting the glass bulb, make sure it is clear and free of any cracks or defects. The tungsten filament is the heart of the light bulb, so choose a high-quality one that is compatible with your chosen bulb size.
Next, you’ll need copper wire. This wire will be used to connect the filament to the lead-in wires. Look for a durable and flexible copper wire that can handle the electrical current. Similarly, make sure to choose lead-in wires that are strong and can withstand the heat generated by the bulb.
Finally, to connect your homemade light bulb to a power source, you’ll need an electrical socket. This socket will provide the necessary connection for the bulb to light up. Look for a socket that matches the size and specifications of your bulb.
Once you have gathered all the components, make sure to double-check everything to ensure you have what you need for the next steps. With all the materials ready, we can now move on to preparing the filament.
Step 2: Preparing the Filament
The filament is the part of the light bulb that produces light when an electrical current passes through it. In this step, we’ll focus on preparing the tungsten filament before inserting it into the glass bulb.
Start by cutting a length of tungsten filament that is suitable for your bulb size. Use wire cutters to carefully trim the filament. It’s important to handle the filament with care as it is fragile and can break easily.
Once you have the desired length of filament, take one end of it and attach it to the copper wire. Using a soldering iron, heat the end of the filament and the copper wire until they are hot enough to bond together. Be cautious while handling the soldering iron to prevent any burns or accidents.
After the filament and copper wire are securely bonded, allow them to cool down. This will ensure that the connection is strong and durable. Once cooled, trim any excess copper wire, leaving just enough to connect to the lead-in wires.
Preparing the filament requires precision and attention to detail. Take your time to ensure that the connection between the filament and copper wire is solid. With the filament ready, we can move on to the next step: assembling the bulb.
When making a light bulb, ensure that the glass is free from impurities to prevent it from shattering when heated. Use a tungsten filament for durability and efficiency.
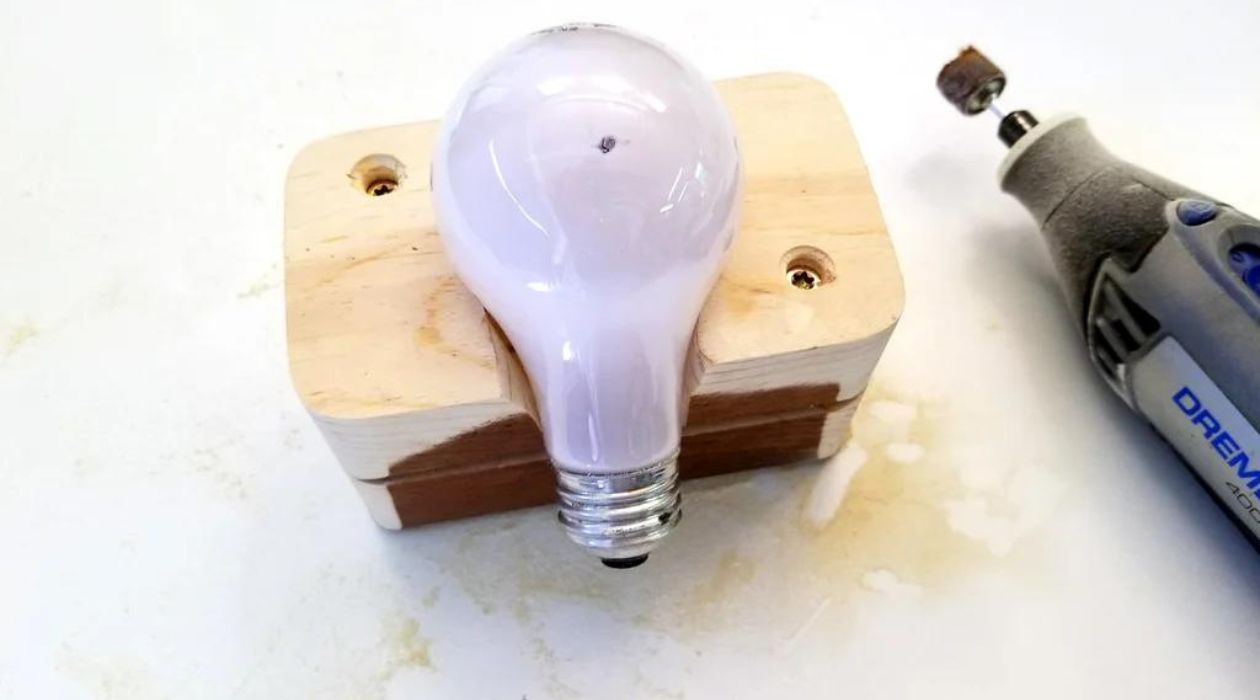
Step 3: Assembling the Bulb
Now that we have prepared the filament, it’s time to assemble the light bulb. This step involves inserting the filament into the glass bulb and sealing it to create a vacuum environment.
Start by gently removing the glass bulb from its packaging and ensuring that it is clean and free from any contaminants. Hold the bulb with care as it is fragile and can break easily. If needed, wear gloves to protect your hands from any potential cuts.
Next, locate the small metal or ceramic base inside the bulb. This is where the filament will be attached. Carefully insert the copper wire end of the filament into the base, ensuring a secure connection. Avoid applying excessive pressure to prevent damaging the base or filament.
Once the filament is properly positioned, carefully guide the copper wire towards the neck of the bulb. Use your fingers or a small tool to ensure that the wire is aligned and centered within the bulb. Take your time to make adjustments as needed.
With the filament securely positioned, it’s time to seal the bulb. Use a glass-to-metal sealant to fill the gaps between the base and the neck of the bulb. Apply a small amount of sealant and spread it evenly with a toothpick or a small brush. Be mindful not to use too much sealant to avoid blocking the light emitted by the filament.
Once the sealant is applied, allow it to dry and harden completely. This process may take a few hours, so be patient and avoid touching or moving the bulb during this time.
Congratulations! You have successfully assembled the light bulb. Now it’s time to move on to the next step: connecting the wires.
Read more: Why Is My Light Bulb Making Noise
Step 4: Connecting the Wires
Now that your light bulb is assembled, it’s time to connect the wires that will supply power to the filament. This step involves attaching the lead-in wires to the filament and connecting them to an electrical socket.
Start by stripping the insulation from both ends of the lead-in wires, exposing the conductive copper wire underneath. Use wire cutters or a wire stripper tool to carefully remove the insulation, ensuring that the copper wire is not damaged in the process.
Once the lead-in wires are stripped, take one end of each wire and position it near the copper wire of the filament. Twist the exposed copper wires together, creating a secure connection. It’s important to ensure that the connection is tight and there are no loose or exposed wires.
After connecting the lead-in wires to the filament, it’s time to secure them further. Use electrical tape to wrap around the connection point, providing insulation and protection. Wrap the tape tightly, making sure that the wires are covered completely.
With the connection point secured, it’s time to connect the other end of the lead-in wires to the electrical socket. Identify the positive and negative terminals on the socket and match them with the respective lead-in wires. Use a soldering iron to attach the wires securely to the socket terminals.
Once the wires are connected, use electrical tape to wrap around the soldered points for extra insulation. This will help prevent any accidental contact with the live electrical connections.
With the wires securely connected, your light bulb is almost ready for testing. However, before moving on to the final step, it’s essential to ensure safety and take necessary precautions. Double-check all connections, and if you are unsure, seek the guidance of a professional or someone experienced in electrical work.
Now let’s move on to the last step: testing the bulb to see if it lights up.
Step 5: Testing the Bulb
After all the hard work and careful assembly, it’s time to test your homemade light bulb. This step involves connecting the bulb to a power source and observing if it lights up.
Before proceeding, ensure that you have taken all necessary safety precautions. Make sure the electrical socket is turned off and unplugged before inserting the light bulb.
Now, gently insert the metal base of the light bulb into the electrical socket, ensuring a snug fit. Remember to handle the bulb with care to prevent any accidental damage or breakage.
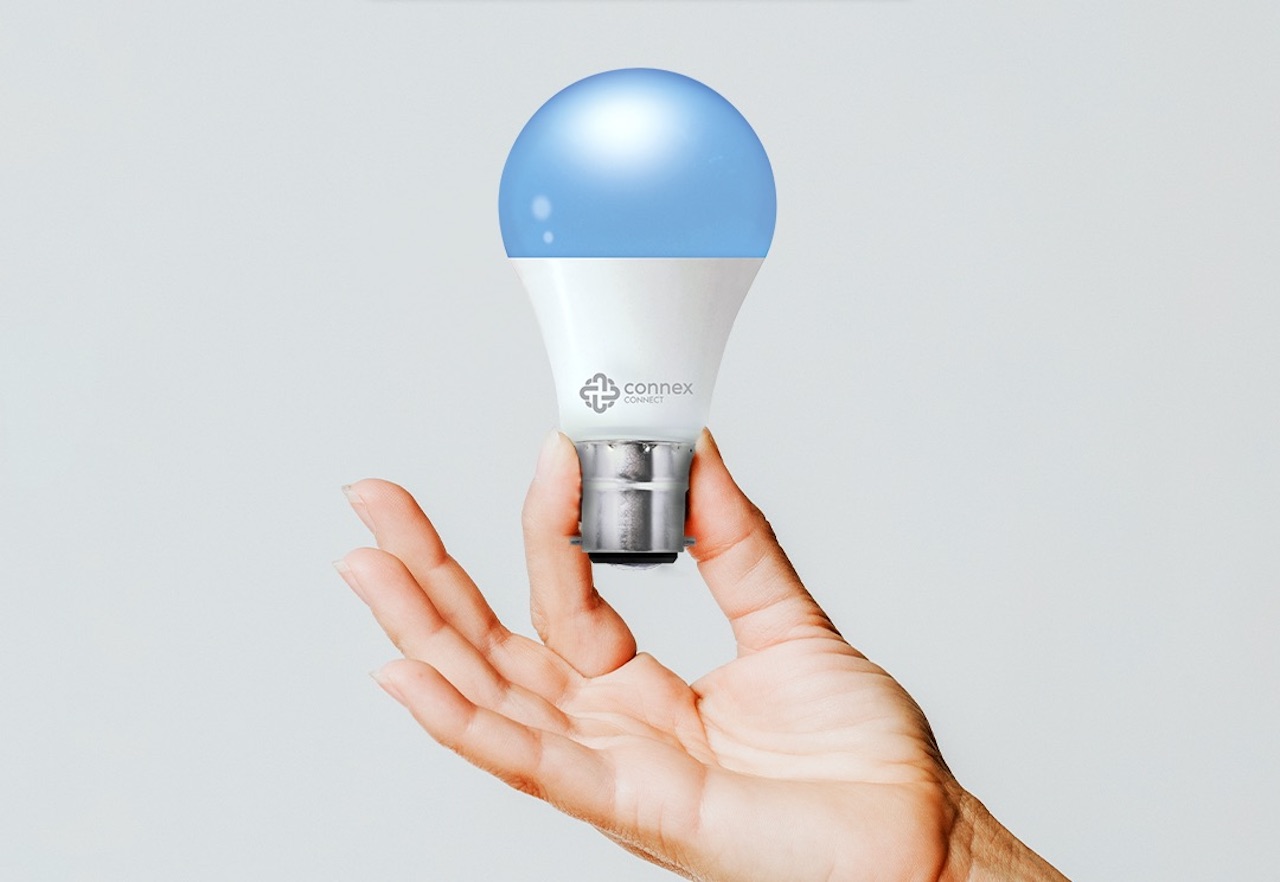
Once inserted, turn on the electrical socket and observe the bulb. If everything is connected properly, the filament inside the bulb should start to glow, emitting a warm and comforting light.
If the bulb does not light up, there may be an issue with the wiring or the connection. Double-check all the connections, ensuring that the lead-in wires are securely attached to the filament and electrical socket.
If the bulb still does not light up after checking the connections, it’s advisable to seek the assistance of a professional electrician. They will be able to diagnose the issue and provide guidance on how to rectify it.
On the other hand, if your homemade light bulb successfully lights up, congratulations! You have successfully created your very own functioning light bulb. Take a moment to appreciate your accomplishment and the science behind it.
Remember, experimenting with electricity can be dangerous, so always exercise caution and prioritize safety. If you plan on using the light bulb for a prolonged period or on a regular basis, it’s advisable to consult an electrician to ensure it meets all safety standards.
With the testing complete, you can now enjoy the fruits of your labor and bask in the warm glow of your homemade light bulb. Well done!
Conclusion
Creating your own light bulb from scratch may seem like a daunting task, but it is a fascinating endeavor that allows you to explore the inner workings of this everyday essential. Throughout the process, you have learned how to gather the necessary components, prepare the filament, assemble the bulb, connect the wires, and test the final product.
By following the step-by-step guide in this article and exercising caution during each stage, you have successfully crafted your very own homemade light bulb. This achievement not only showcases your DIY skills but also deepens your understanding of the science and engineering behind the humble light bulb.
While homemade light bulbs may not match the efficiency and longevity of commercially produced ones, the satisfaction of creating something with your own hands and witnessing it light up is truly rewarding. It serves as a reminder of the inventive spirit that drives innovation and inspires us to explore new possibilities.
Remember, safety is of utmost importance when working with electricity. Always take caution, wear appropriate protective gear, and consult professionals if you have any doubts or concerns.
Now that you have completed your journey into the world of light bulb creation, you can appreciate the ingenuity and craftsmanship that goes into manufacturing the light bulbs we rely on every day. Whether you choose to use your homemade bulb as a conversation starter or a decorative piece, it represents your passion for experimentation and exploration.
So, go ahead, proudly display your homemade light bulb, and let it serve as a testament to your creativity and resourcefulness. And who knows, this experience may even inspire you to embark on new DIY projects and continue exploring the wonders of the world around us.
Happy bulb-making!
Frequently Asked Questions about How To Make A Light Bulb
Was this page helpful?
At Storables.com, we guarantee accurate and reliable information. Our content, validated by Expert Board Contributors, is crafted following stringent Editorial Policies. We're committed to providing you with well-researched, expert-backed insights for all your informational needs.


0 thoughts on “How To Make A Light Bulb”