Home>Furniture & Design>Bathroom Accessories>How To Shorten A Shower Curtain
Bathroom Accessories
How To Shorten A Shower Curtain
Published: February 9, 2024
Learn how to shorten a shower curtain to fit your bathroom perfectly with our easy step-by-step guide. Find the best bathroom accessories for your space.
(Many of the links in this article redirect to a specific reviewed product. Your purchase of these products through affiliate links helps to generate commission for Storables.com, at no extra cost. Learn more)
Introduction
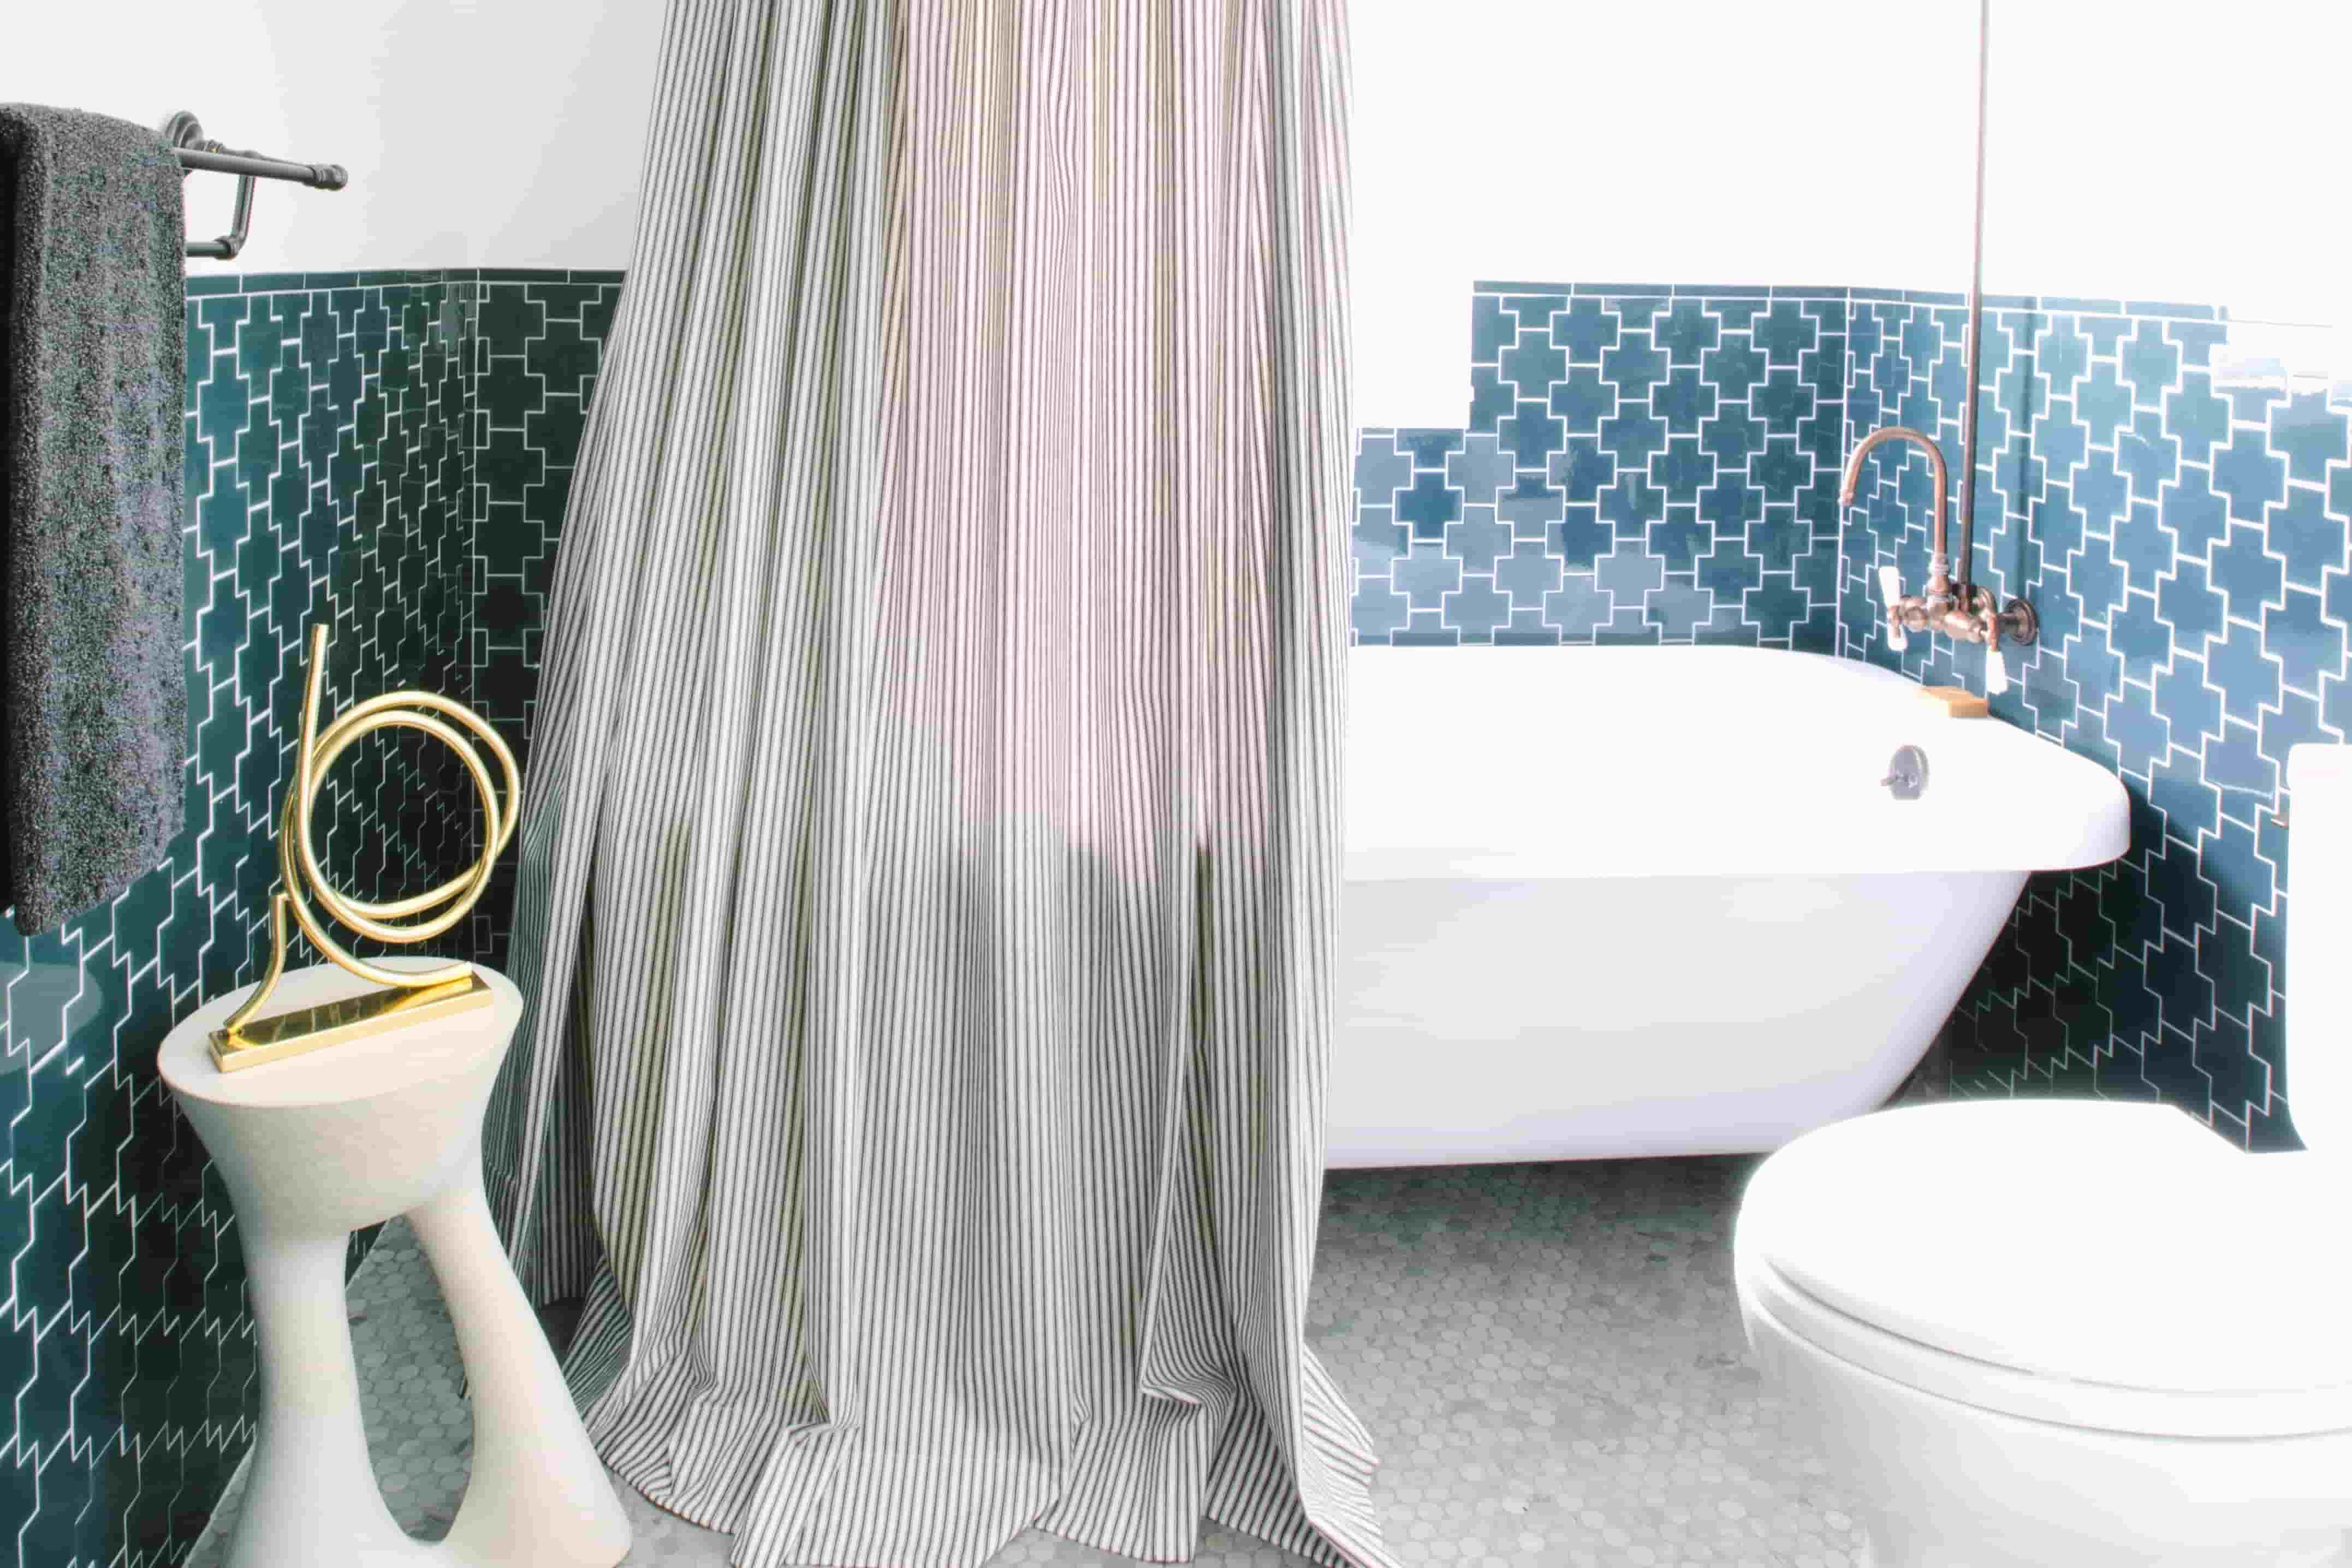
Shortening a shower curtain is a practical solution for achieving a perfect fit in your bathroom. Whether you've recently moved into a new home, renovated your bathroom, or simply want to update the look of your shower, knowing how to shorten a shower curtain can be a valuable skill. By customizing the length of your shower curtain, you can ensure that it doesn't drag on the floor or interfere with the aesthetic appeal of your bathroom.
In this comprehensive guide, we will walk you through the step-by-step process of shortening a shower curtain. From measuring and marking the desired length to hemming the bottom and rehanging the curtain, each stage is essential for achieving a professional and polished result. By following these instructions, you can tailor your shower curtain to fit your specific bathroom dimensions and design preferences.
Shortening a shower curtain is a practical and cost-effective alternative to purchasing a new one. It allows you to personalize your bathroom decor while also addressing any issues related to the length of the curtain. Whether you prefer a sleek and tailored look or need to accommodate a unique shower or tub configuration, the ability to shorten a shower curtain empowers you to create a cohesive and visually appealing space.
By mastering the art of shortening a shower curtain, you can take control of the aesthetics and functionality of your bathroom. This skill not only offers a creative outlet for expressing your personal style but also ensures that your shower curtain complements the overall design scheme of your bathroom. With the right tools and techniques, you can confidently embark on this DIY project and transform your bathroom with a custom-fitted shower curtain.
Now, let's delve into the step-by-step process of shortening a shower curtain to achieve a tailored and polished look for your bathroom. Whether you're a seasoned DIY enthusiast or a novice looking to enhance your home decor, this guide will equip you with the knowledge and skills needed to successfully customize the length of your shower curtain.
Key Takeaways:
- Customize your shower curtain to fit your bathroom perfectly by following simple steps to measure, cut, hem, and rehang. Enjoy a tailored and polished look without the need to buy a new curtain.
- Shortening a shower curtain is a cost-effective and creative way to personalize your bathroom decor. Master the DIY process to achieve a custom fit and elevate the aesthetics of your space.
Read more: How To Shorten Long Curtains Without Cutting
Step 1: Measure and Mark
Before you embark on shortening your shower curtain, it's crucial to start with accurate measurements. This initial step sets the foundation for achieving a perfectly tailored result. Here's how to measure and mark your shower curtain for the desired length:
-
Gather Your Tools: To begin, gather the necessary tools for this task. You will need a measuring tape, fabric marker or chalk, and a pair of sharp fabric scissors. Having these tools on hand will streamline the process and ensure precision.
-
Determine the Desired Length: Stand inside your shower or tub and visualize the ideal length for your shower curtain. Consider the practical aspects, such as ensuring that the curtain doesn't touch the floor or obstruct the drainage. Additionally, factor in the aesthetic appeal, aiming for a balanced and visually pleasing length.
-
Measure and Mark: With the measuring tape, carefully measure the distance from the top of the shower curtain to the desired bottom hem. Once you have determined the correct length, use the fabric marker or chalk to mark this measurement on the curtain. It's essential to double-check the accuracy of your markings before proceeding to the next step.
-
Account for Hemming: If you plan to hem the bottom of the curtain, remember to include this in your measurements. Typically, a 1-2 inch allowance for hemming is recommended to ensure a clean and polished finish.
-
Double-Check the Measurements: Before cutting the curtain, take a moment to review your measurements and markings. Ensuring precision at this stage will prevent errors and guarantee a professional-looking result.
By meticulously measuring and marking your shower curtain, you lay the groundwork for a successful shortening process. This attention to detail sets the stage for the subsequent steps, allowing you to proceed with confidence and precision. With the curtain accurately marked, you are ready to move on to the next phase of shortening the curtain to achieve the desired length.
This meticulous approach to measuring and marking ensures that your shower curtain will be tailored to perfection, enhancing both the functionality and aesthetics of your bathroom. With this crucial step completed, you are now prepared to proceed to the next stage of shortening the shower curtain, bringing you one step closer to achieving a custom fit for your bathroom decor.
Step 2: Cut the Curtain
With the shower curtain accurately marked for the desired length, the next step is to proceed with cutting the fabric. This stage requires precision and careful execution to ensure a clean and professional result. Here's a detailed guide on how to cut the curtain to achieve the perfect length:
-
Prepare the Work Area: Clear a flat and spacious surface to lay out the shower curtain. It's essential to have ample space to maneuver the fabric and ensure that it remains flat and taut during the cutting process. Removing any potential obstructions from the work area will facilitate a smooth and precise cutting experience.
-
Align the Markings: Lay the shower curtain flat on the work surface, ensuring that the marked line for the desired length is straight and clearly visible. Use a ruler or straight edge to verify that the marking is uniform across the width of the curtain. This alignment is crucial for achieving a consistent and even cut.
-
Use Sharp Fabric Scissors: Select a pair of sharp fabric scissors to cut the curtain. It's important to use scissors specifically designed for cutting fabric to ensure a clean and effortless cutting process. Starting at one end of the marked line, carefully begin cutting along the line, maintaining a steady and even pace to achieve a smooth edge.
-
Maintain Control and Precision: As you progress along the marked line, maintain control over the fabric and the scissors to prevent any deviations or jagged edges. Keeping a steady hand and a consistent cutting motion will result in a clean and professional-looking cut.
-
Double-Check the Cut: Once you have cut along the entire marked line, take a moment to inspect the edge for any irregularities. Ensuring that the cut is straight and uniform across the width of the curtain is essential for achieving a polished and tailored result.
By following these detailed steps, you can confidently proceed with cutting the shower curtain to the desired length. This meticulous approach ensures that the fabric is precisely tailored to fit your specific bathroom dimensions, setting the stage for the subsequent phase of hemming the bottom to achieve a clean and polished finish.
With the curtain now cut to the correct length, you are one step closer to achieving a custom fit for your bathroom decor. This precise and methodical approach to cutting the curtain sets the stage for the final stages of shortening the shower curtain, bringing you closer to realizing your vision for a perfectly tailored and visually appealing bathroom.
To shorten a shower curtain, remove the bottom hem and cut the desired length. Then, fold over the raw edge and sew a new hem. This will give you a custom fit without needing to buy a new curtain.
Step 3: Hem the Bottom
Hemming the bottom of the shower curtain is a crucial step that adds a polished and professional finish to the shortened fabric. This process not only prevents fraying but also ensures a clean and tailored appearance. Here's a detailed guide on how to hem the bottom of the shower curtain:
-
Prepare the Bottom Edge: Begin by folding the bottom edge of the curtain up to the desired hem length. Typically, a 1-2 inch fold is sufficient to create a neat and durable hem. Use a ruler or measuring tape to ensure that the fold is uniform across the entire width of the curtain.
-
Secure the Fold: Once the bottom edge is folded to the appropriate length, use fabric clips or pins to secure the fold in place. This step is essential for maintaining the alignment of the hem during the sewing process and preventing any shifting or unevenness.
-
Press the Fold: With the fold secured, use a hot iron to press the folded edge. Applying heat and pressure will create a crisp and defined crease, further securing the hem in place. Ensure that the iron is set to the appropriate heat level for the fabric of the shower curtain to avoid damage.
-
Sew the Hem: After pressing the fold, it's time to sew the hem in place. Using a sewing machine or a needle and thread, carefully stitch along the folded edge, securing the hem with straight and even stitches. For added durability, consider reinforcing the hem with a second row of stitching.
-
Trim Excess Fabric: Once the hem is securely sewn, trim any excess fabric beyond the stitched line. This step reduces bulk and ensures a clean and tidy finish along the bottom edge of the curtain.
By meticulously hemming the bottom of the shower curtain, you elevate the overall appearance and durability of the fabric. This tailored finish not only prevents fraying but also adds a professional touch to the shortened curtain, ensuring that it seamlessly integrates into your bathroom decor.
With the bottom hemmed to perfection, the shower curtain is now ready to be rehung, showcasing a custom fit that enhances the aesthetic appeal of your bathroom. This meticulous approach to hemming ensures that the shortened curtain achieves a polished and tailored look, reflecting your attention to detail and craftsmanship.
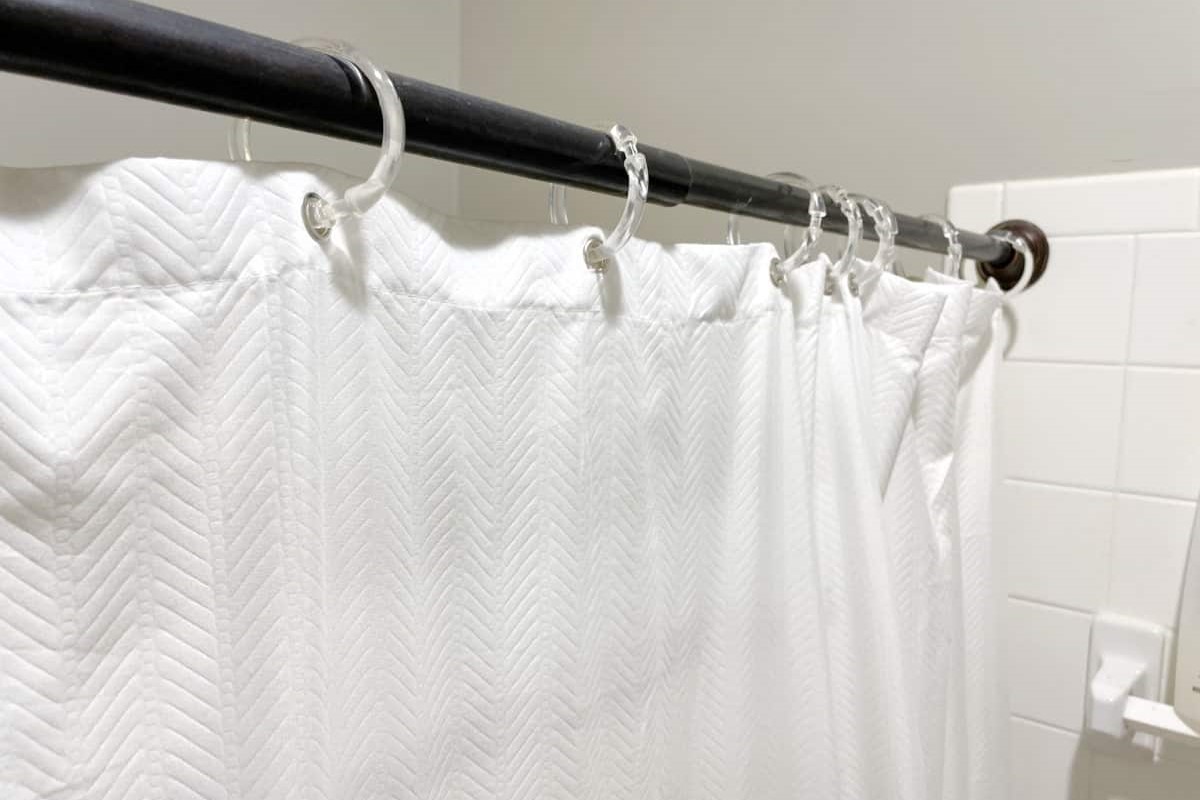
Step 4: Rehang the Curtain
With the shower curtain now shortened and the bottom neatly hemmed, the final step involves rehanging the curtain to showcase its custom fit and tailored appearance. This phase marks the culmination of your efforts, as the shortened curtain takes its place as a seamless and visually appealing element in your bathroom decor.
To rehang the curtain, follow these simple yet essential steps:
-
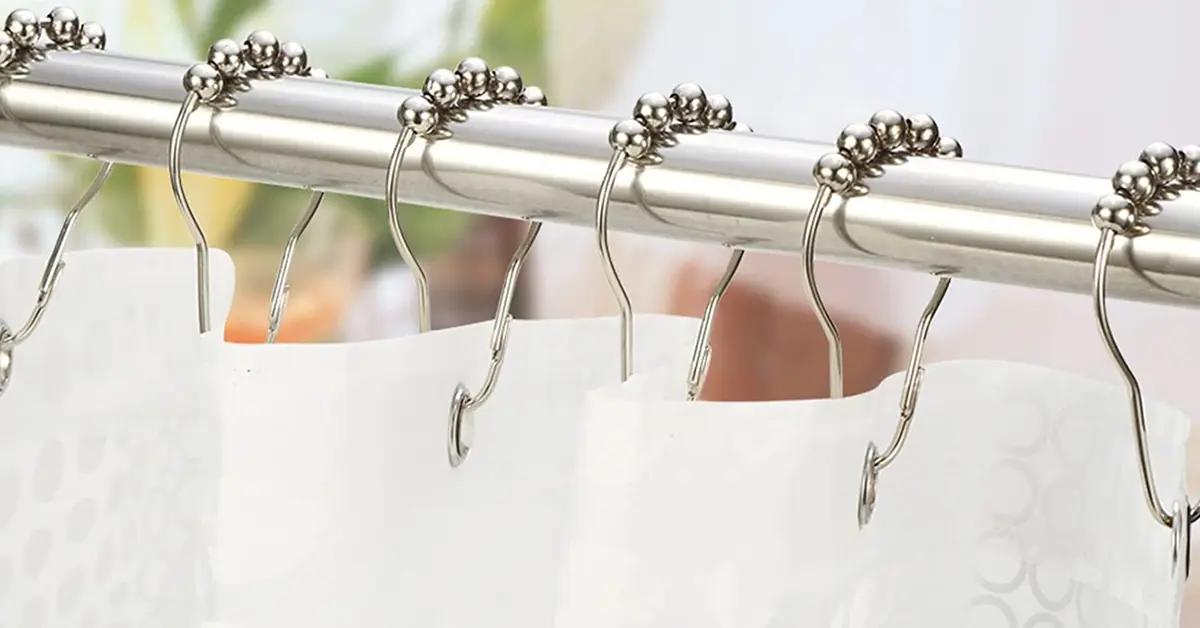
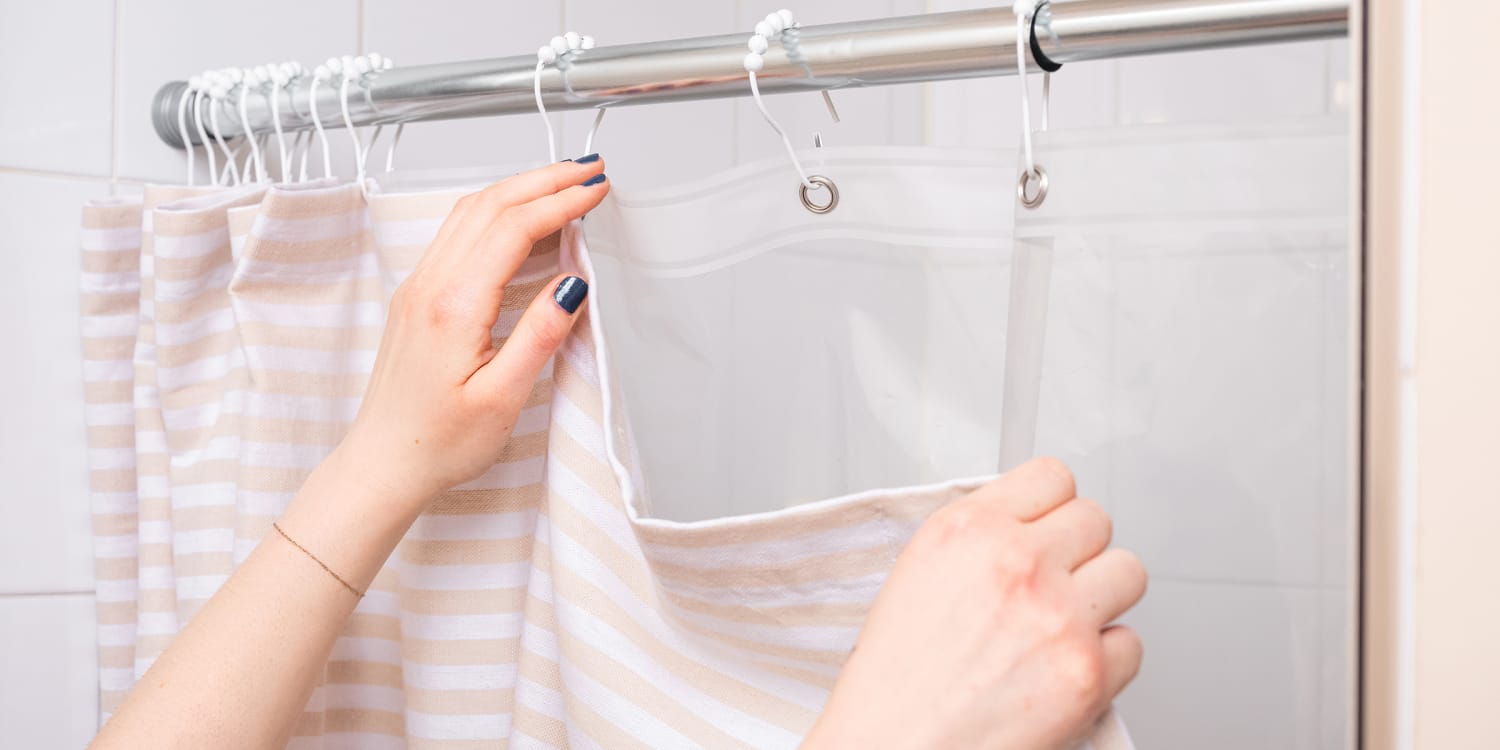
Remove the Existing Hooks or Rings: Start by removing the existing hooks or rings from the shower rod. Ensure that the rod is clear and free of any obstructions to facilitate the smooth rehanging of the shortened curtain.
-
Inspect the Curtain Rod and Rings: Take this opportunity to inspect the condition of the shower curtain rod and rings. Ensure that the rod is secure and stable, and check the rings for any signs of wear or damage. If necessary, replace any worn-out or damaged rings to ensure the proper support of the shortened curtain.
-
Attach the Hooks or Rings to the Curtain: If you are using hooks or rings to hang the curtain, reattach them to the designated holes or grommets along the top edge of the shortened curtain. Ensure that the hooks or rings are evenly spaced to maintain a balanced and uniform appearance when the curtain is hung.
-
Hang the Curtain with Care: With the hooks or rings in place, carefully hang the shortened curtain onto the shower rod. Take care to distribute the fabric evenly along the rod, ensuring that the curtain hangs straight and taut without any wrinkles or bunching.
-
Adjust the Length if Necessary: Once the curtain is hung, step back and assess its length and overall appearance. If adjustments are needed to achieve the desired drape and fit, carefully raise or lower the curtain to achieve the perfect positioning.
-
Smooth Out Any Wrinkles: After rehanging the curtain, take a moment to smooth out any wrinkles or creases along the fabric. Running your hands along the length of the curtain can help ensure a neat and polished appearance.
By following these steps, you can seamlessly rehang the shortened shower curtain, allowing it to take center stage in your bathroom with a custom fit that enhances the overall aesthetic. This final phase completes the process of shortening the shower curtain, culminating in a visually appealing and tailored result that reflects your attention to detail and craftsmanship.
With the curtain rehung and showcasing its custom fit, take a moment to appreciate the transformation it has brought to your bathroom. The shortened curtain now harmonizes with the space, offering both functionality and style in a perfectly tailored package.
Read more: How To Make A Shower Curtain
Conclusion
In conclusion, mastering the art of shortening a shower curtain empowers you to achieve a custom fit that seamlessly integrates into your bathroom decor. By following the step-by-step process outlined in this guide, you have gained the knowledge and skills needed to confidently embark on this DIY project and transform the appearance and functionality of your bathroom.
Shortening a shower curtain is not only a practical solution for addressing issues related to length and fit but also a creative endeavor that allows you to personalize your bathroom space. Whether you have a unique shower or tub configuration, prefer a sleek and tailored look, or simply want to update the aesthetics of your bathroom, the ability to customize the length of your shower curtain offers a cost-effective and visually impactful solution.
The meticulous approach to measuring, marking, cutting, and hemming the shower curtain ensures that the end result is tailored to perfection. By paying attention to detail and executing each step with precision, you have successfully transformed a standard shower curtain into a custom-fitted element that elevates the overall design scheme of your bathroom.
As you rehang the shortened curtain and admire its seamless integration into your bathroom decor, take pride in the craftsmanship and attention to detail that have brought this project to fruition. The tailored appearance of the shortened curtain reflects your dedication to creating a cohesive and visually appealing space, where both form and function harmonize to enhance the overall ambiance.
By mastering the technique of shortening a shower curtain, you have not only acquired a valuable DIY skill but also unlocked the potential to continually adapt and customize your bathroom decor to suit your evolving preferences. This newfound capability empowers you to take control of the aesthetics and functionality of your bathroom, ensuring that every element reflects your unique style and attention to detail.
In essence, the process of shortening a shower curtain transcends mere practicality; it embodies a creative endeavor that allows you to infuse your personal touch into your living space. As you enjoy the transformed ambiance of your bathroom, remember that the ability to customize and tailor elements such as the shower curtain is a reflection of your creativity and resourcefulness, enhancing the overall comfort and visual appeal of your home.
Frequently Asked Questions about How To Shorten A Shower Curtain
Was this page helpful?
At Storables.com, we guarantee accurate and reliable information. Our content, validated by Expert Board Contributors, is crafted following stringent Editorial Policies. We're committed to providing you with well-researched, expert-backed insights for all your informational needs.


0 thoughts on “How To Shorten A Shower Curtain”