Home>Furniture>Bedroom Furniture>How To Clean Dust Mites From A Mattress
Bedroom Furniture
How To Clean Dust Mites From A Mattress
Modified: October 21, 2024
Learn how to effectively clean dust mites from your mattress and improve your bedroom hygiene. Discover expert tips and techniques for removing allergens from bedroom furniture.
(Many of the links in this article redirect to a specific reviewed product. Your purchase of these products through affiliate links helps to generate commission for Storables.com, at no extra cost. Learn more)
Introduction
Welcome to the ultimate guide on how to clean dust mites from your mattress. Dust mites are microscopic creatures that thrive in warm and humid environments, making your cozy bed the perfect breeding ground for these unwanted guests. These tiny pests feed on dead skin cells and can trigger allergies and asthma symptoms in susceptible individuals.
Regularly cleaning your mattress is essential not only for maintaining good hygiene but also for ensuring a healthy sleep environment. In this article, we will explore different methods to effectively remove dust mites from your mattress, as well as provide tips for preventing their return.
Before diving into the cleaning process, it’s important to understand what dust mites are and why they pose a problem. Dust mites are eight-legged arthropods that are too small to be seen with the naked eye, measuring around 0.2 to 0.3 millimeters in length. They thrive in warm, humid environments and feast on dead human skin cells, their primary source of nutrition. Unfortunately, the average person sheds about 1.5 grams of dead skin per day, providing an ample food supply for these microscopic creatures.
While dust mites themselves may not be harmful, their feces and body fragments can trigger allergic reactions in some individuals. The most common symptoms include sneezing, itchy eyes, runny nose, coughing, and wheezing. If you already suffer from allergies or asthma, the presence of dust mites can exacerbate your symptoms. Consequently, it is crucial to keep your mattress as free as possible from these invisible intruders.
Now that we understand the importance of cleaning dust mites from your mattress, let’s delve into the step-by-step process of removing them effectively.
Key Takeaways:
- Regularly cleaning your mattress and bedding, using hot water, vacuuming, and encasing with dust mite-proof covers can effectively remove dust mites and allergens, creating a healthier sleep environment.
- Sunning, beating, and steam cleaning your mattress, along with regular maintenance habits, can help keep dust mites at bay, reduce allergies, and improve sleep quality.
Read more: How To Get Dust Mites Out Of Your Mattress
Understanding Dust Mites
Before we dive into the cleaning process, it’s important to have a better understanding of the tiny creatures commonly known as dust mites. Dust mites are microscopic arachnids that belong to the same family as spiders and ticks. They thrive in warm and humid environments, making your bedroom a perfect habitat for them.
Dust mites are incredibly small, measuring around 0.2 to 0.3 millimeters in length. Because they are invisible to the naked eye, most people are unaware of their presence. These tiny creatures feed on skin cells shed by humans and animals, which are found in abundance in mattresses, pillows, and bedding. Each dust mite is capable of producing up to 20 waste pellets per day, and their droppings contain allergenic proteins that can trigger allergic reactions in humans.
These allergens can cause a range of symptoms, including sneezing, coughing, itchy and watery eyes, nasal congestion, and asthma attacks. People with pre-existing respiratory conditions like asthma are particularly sensitive to dust mite allergens and may experience severe symptoms when exposed to them.
Dust mites thrive in environments where temperature and humidity levels are favorable. They are most commonly found in bedrooms, living rooms, and other areas where humans spend a significant amount of time. Their preferred habitat includes bedding, mattresses, pillows, curtains, upholstered furniture, and rugs.
While it’s impossible to completely eliminate dust mites from your home, regular cleaning and maintenance can significantly reduce their population and minimize the risk of allergic reactions. The following sections will guide you through the essential steps to effectively clean dust mites from your mattress and create a healthier sleep environment.
Why It’s Important to Clean Dust Mites from Your Mattress
Keeping your mattress free of dust mites is not just about maintaining cleanliness; it’s also crucial for your overall well-being. Here are several reasons why it’s important to regularly clean dust mites from your mattress:
- Allergies and Asthma: Dust mites are a common trigger for allergies and asthma symptoms. Their waste products, which contain potent allergenic proteins, can cause sneezing, coughing, wheezing, nasal congestion, itchy eyes, and skin irritation. By regularly cleaning your mattress and minimizing dust mite populations, you can help alleviate these symptoms and create a healthier sleep environment.
- Better Sleep: A clean and fresh mattress promotes better sleep. Dust mites can disrupt your sleep by causing discomfort, itching, and respiratory issues. By eliminating dust mites, you can create a more comfortable sleeping surface that promotes a restful night’s sleep.
- Prolonged Mattress Lifespan: Dust mites and their waste products can contribute to the deterioration of your mattress over time. The enzymes present in dust mite droppings can break down the fibers of your mattress, leading to wear and tear. By cleaning your mattress regularly, you can help extend its lifespan and save money in the long run.
- Improved Indoor Air Quality: Dust mites not only reside in your mattress but can also become airborne, circulating throughout your home. This can have a negative impact on indoor air quality, especially for individuals with respiratory issues. Regularly cleaning your mattress reduces the amount of dust mites and allergens in the air, leading to cleaner and healthier indoor air.
- Prevention of Secondary Infections: Dust mite allergies can weaken your immune system, making you more susceptible to other infections. By reducing dust mite populations in your mattress, you can help prevent secondary infections and maintain better overall health.
Now that we understand the importance of cleaning dust mites from your mattress, let’s move on to the practical steps you can take to effectively remove these microscopic pests.
Removing Bedding and Vacuuming Mattress
The first step in cleaning dust mites from your mattress is to remove all bedding, including sheets, pillowcases, and mattress protectors. Take these items and wash them in hot water, preferably at a temperature of 130°F (54°C) or higher. This high temperature will help kill the dust mites and remove any allergens they may have left behind.
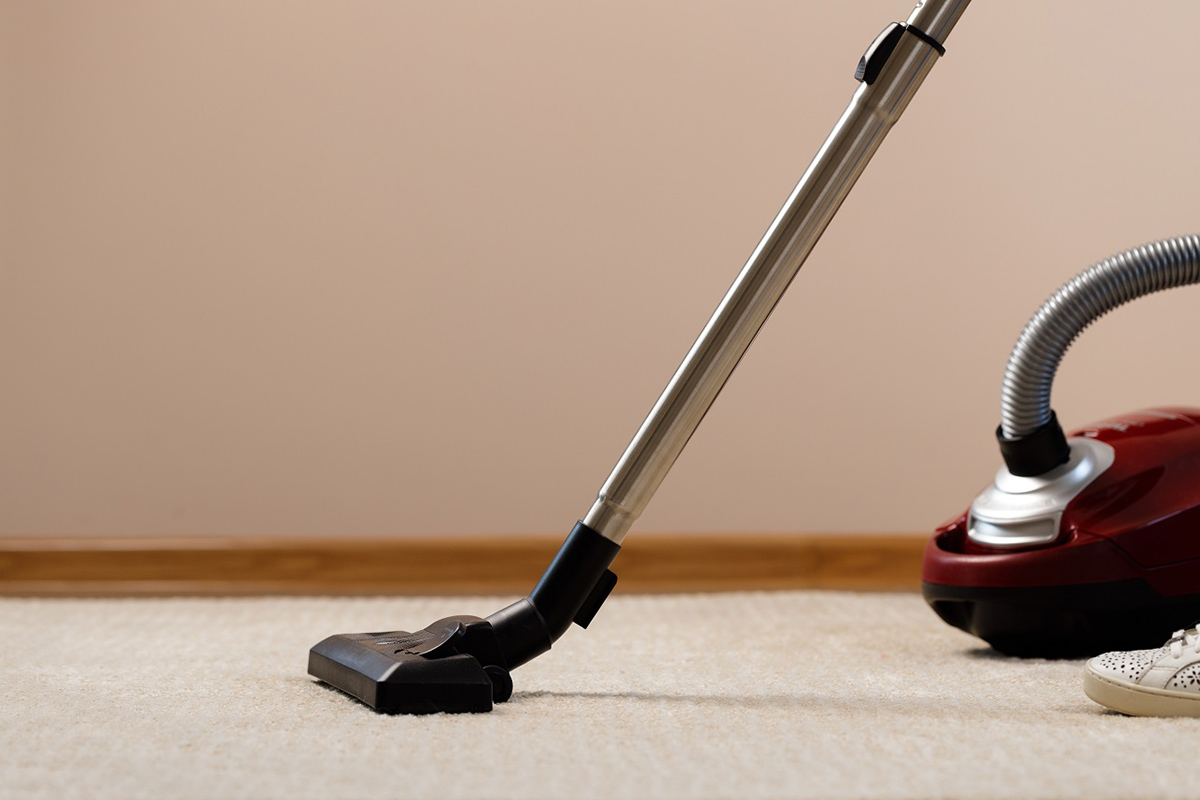
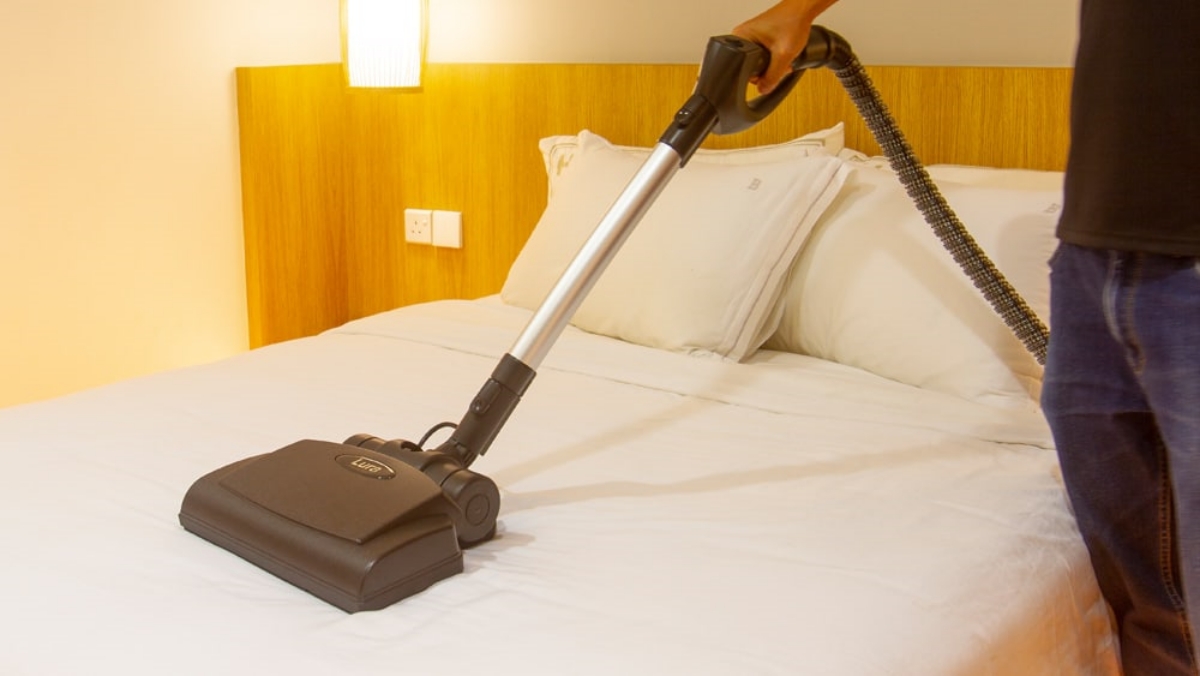
While your bedding is being washed, it’s time to focus on vacuuming your mattress. Start by using the upholstery attachment on your vacuum cleaner to thoroughly vacuum the surface of the mattress. Make sure to pay close attention to the seams, crevices, and corners, as these are common hiding spots for dust mites.
When vacuuming, move the attachment slowly and methodically, allowing enough time for the suction to effectively remove dust mites, their waste products, and other debris. It’s recommended to go over the entire mattress at least twice to ensure a thorough cleaning.
In addition to vacuuming the mattress surface, it’s also advisable to vacuum any pillows, cushions, or upholstered furniture in your bedroom. These items can also harbor dust mites and allergens, contributing to poor indoor air quality and potential allergic reactions.
Once you have finished vacuuming, it’s crucial to empty the vacuum cleaner bag or clean the dust cup and filter. This will prevent any captured dust mites and allergens from being reintroduced into your living space.
By removing bedding and thoroughly vacuuming your mattress, you have taken the first step towards eliminating dust mites and creating a cleaner sleep environment. The next section will focus on washing your bedding and pillowcases to ensure a more thorough removal of dust mites and allergens.
Washing Bedding and Pillowcases
After removing the bedding from your mattress, it’s time to wash them to eliminate any remaining dust mites and allergens. Here’s how to properly wash your bedding and pillowcases:
- Separate the Items: Sort your bedding and pillowcases according to their colors and fabric types. This will help prevent colors from bleeding and ensure that delicate fabrics are treated gently.
- Check Care Instructions: Before washing, always check the care labels on your bedding and pillowcases for any specific instructions. Some items may require special handling or specific temperature settings.
- Choose the Right Temperature: Set your washing machine to the highest water temperature allowed for the fabric. Dust mites and their allergenic proteins are sensitive to heat, so using hot water can effectively kill them. Aim for a temperature of at least 130°F (54°C).
- Use a Mild Detergent: Opt for a mild, fragrance-free detergent that is suitable for sensitive skin. Avoid using fabric softeners or bleach, as they can leave residues that may exacerbate allergies.
- Double Rinse: After the initial wash, add an extra rinse cycle to ensure that all traces of detergent are thoroughly removed from the bedding and pillowcases. Residual detergent can attract dust mites and cause skin irritation.
- Dry Properly: Dry your bedding and pillowcases in a hot dryer, if possible. The heat will help kill any remaining dust mites. If air-drying is your only option, make sure to dry them in direct sunlight, as sunlight can also have a killing effect on dust mites.
- Protective Covers: Consider using dust mite-proof covers or encasements for your pillows, mattresses, and box springs. These covers are specially designed to prevent dust mites from penetrating your bedding and pillows, providing an additional layer of protection against allergens.
Remember to wash your bedding and pillowcases regularly, ideally once a week, to keep them free from dust mites and allergens. By following these steps, you can ensure a thorough removal of dust mites and create a cleaner sleep environment.
In the next section, we will explore additional methods such as steam cleaning and using anti-dust mite sprays to further eliminate dust mites from your mattress.
Vacuum your mattress regularly to remove dust mites and their waste. Use a vacuum with a HEPA filter for best results.
Read more: How To Kill Dust Mites In Carpet
Steam Cleaning or Using an Anti-Dust Mite Spray
In addition to washing your bedding and vacuuming your mattress, there are other methods you can use to effectively clean dust mites from your mattress. Two popular options are steam cleaning and using an anti-dust mite spray.
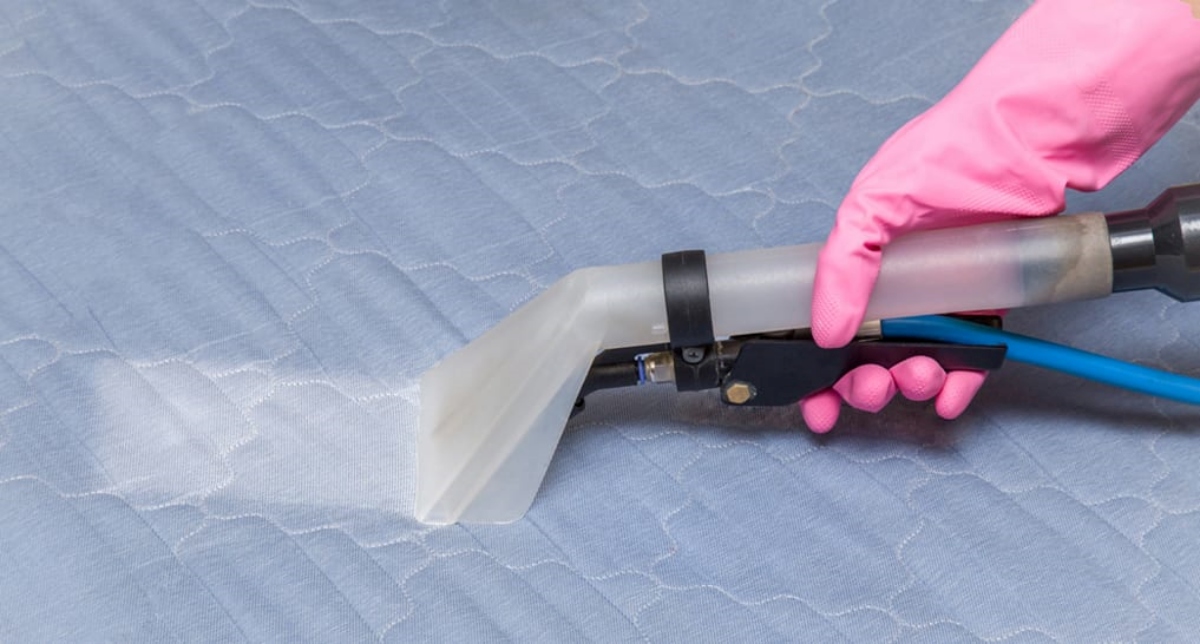
Steam Cleaning: Steam cleaning is an effective method for killing dust mites and removing allergens from your mattress. Steam cleaners use high-temperature steam to break down and eliminate dust mites, as well as bacteria and other allergens. To steam clean your mattress, follow these steps:
- Ensure that your mattress is dry and do a thorough vacuuming beforehand to remove any surface debris.
- Fill your steam cleaner with water according to the manufacturer’s instructions.
- Slowly run the steam cleaner over the entire surface of the mattress, focusing on areas that are prone to dust mite activity, such as seams and corners.
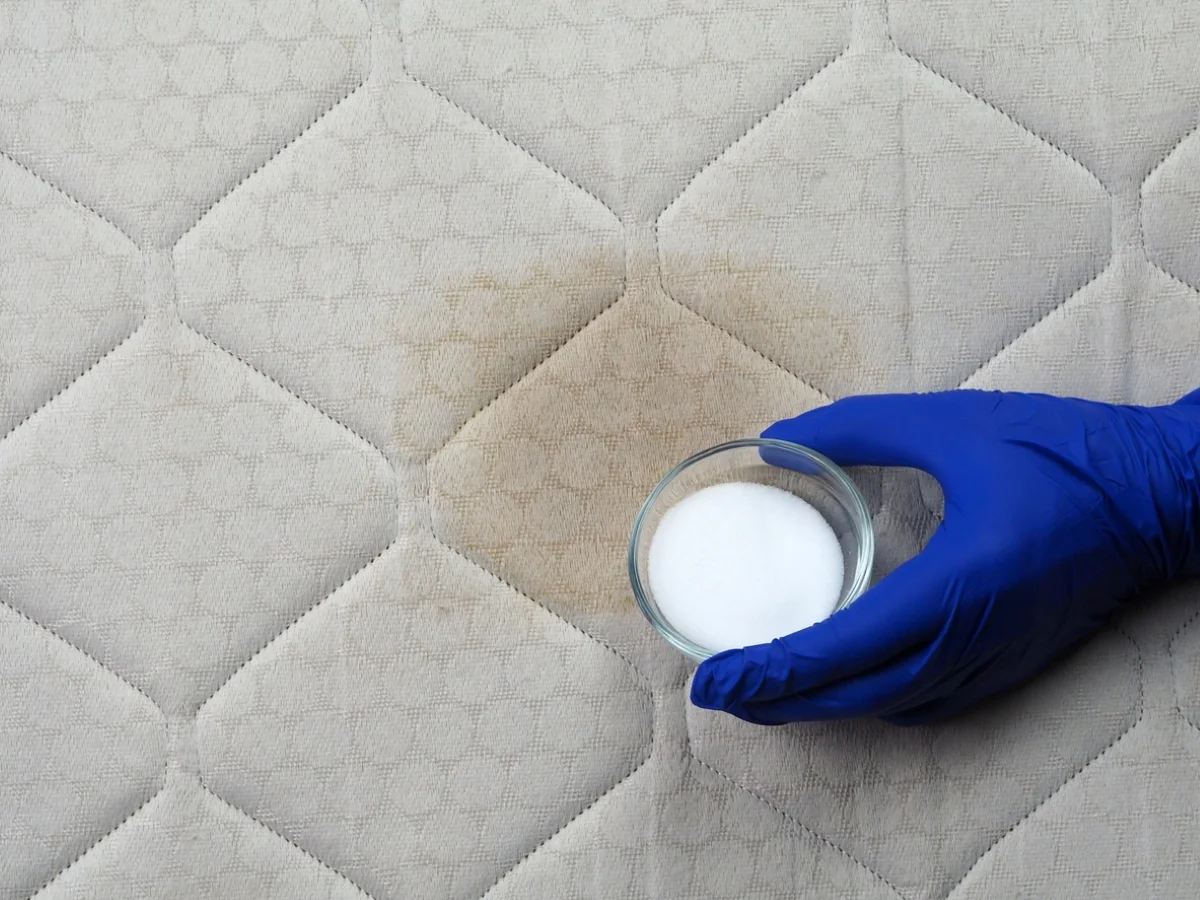
- Pay extra attention to stubborn stains or spots, as the high-temperature steam can help lift and remove them.
- Allow your mattress to fully dry before putting any bedding back on.
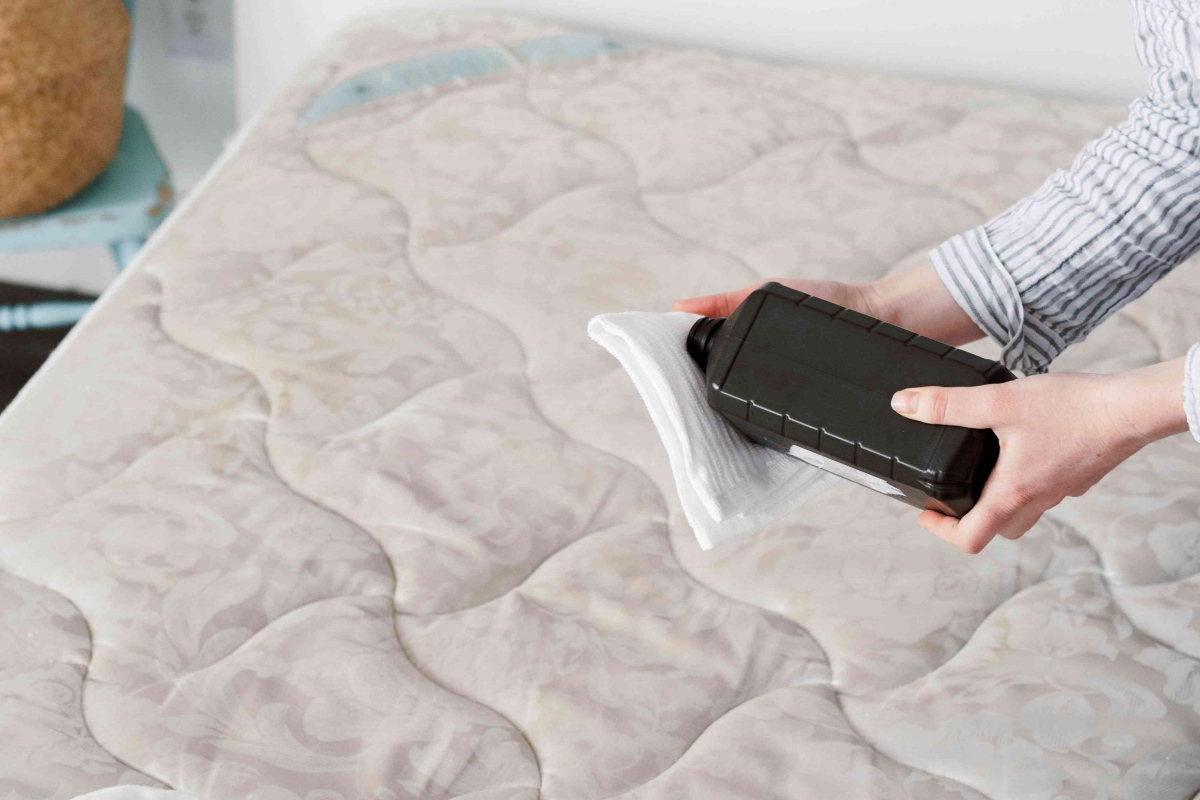
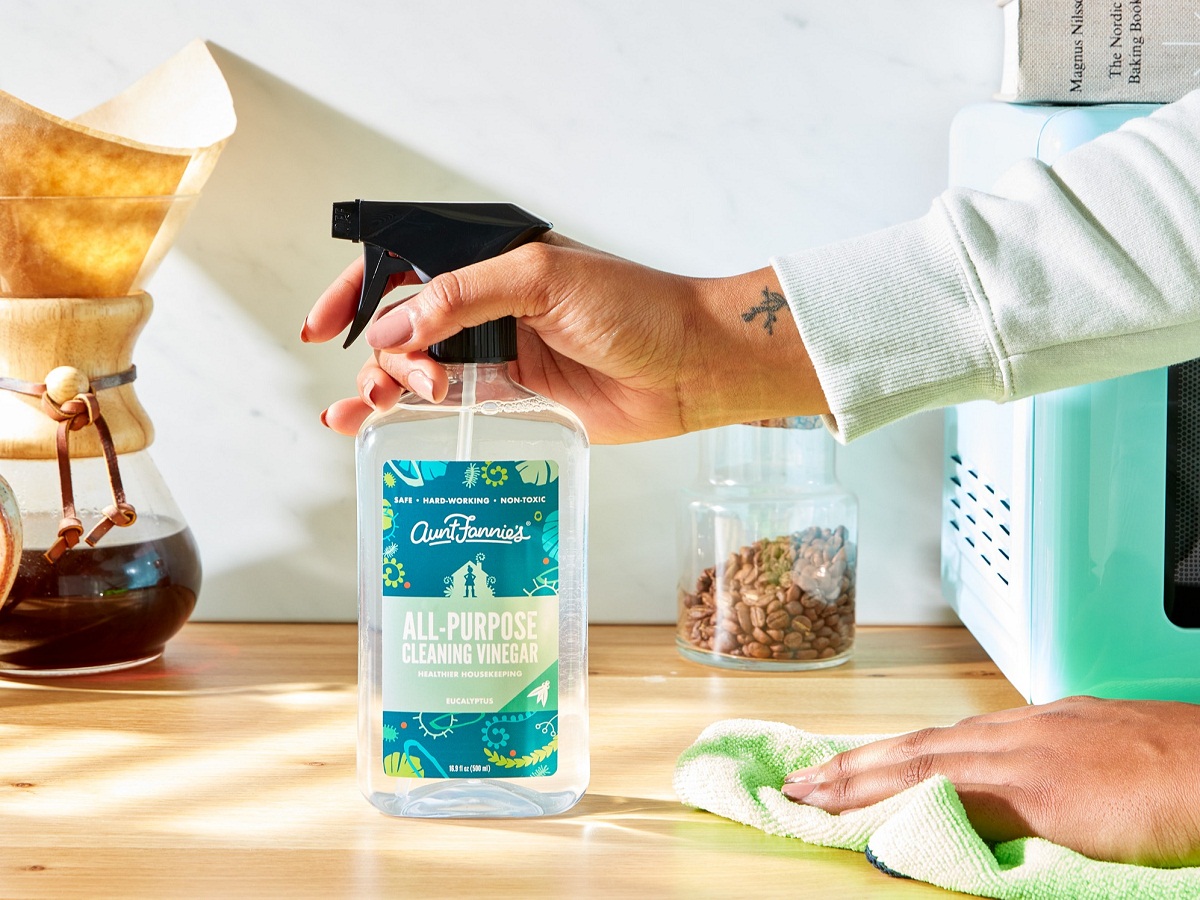
Anti-Dust Mite Spray: Another effective method is using an anti-dust mite spray. These sprays are specially formulated to kill dust mites and neutralize allergens, providing an extra layer of protection for your mattress. To use an anti-dust mite spray, follow these steps:
- Ensure that your mattress is dry and do a thorough vacuuming to remove any loose dust.
- Shake the anti-dust mite spray well and hold it about six to eight inches away from your mattress.
- Spray a fine mist evenly over the entire surface of the mattress.
- Allow the mattress to dry completely before putting any bedding back on.
It’s important to note that steam cleaning and using anti-dust mite sprays should be done in addition to regular vacuuming and washing of bedding. These methods can provide an extra level of deep cleaning and help eliminate dust mites and allergens that may have missed during the initial steps.
In the following section, we will explore the option of encasing your mattress and pillows to further protect against dust mites.
Encasing Your Mattress and Pillows
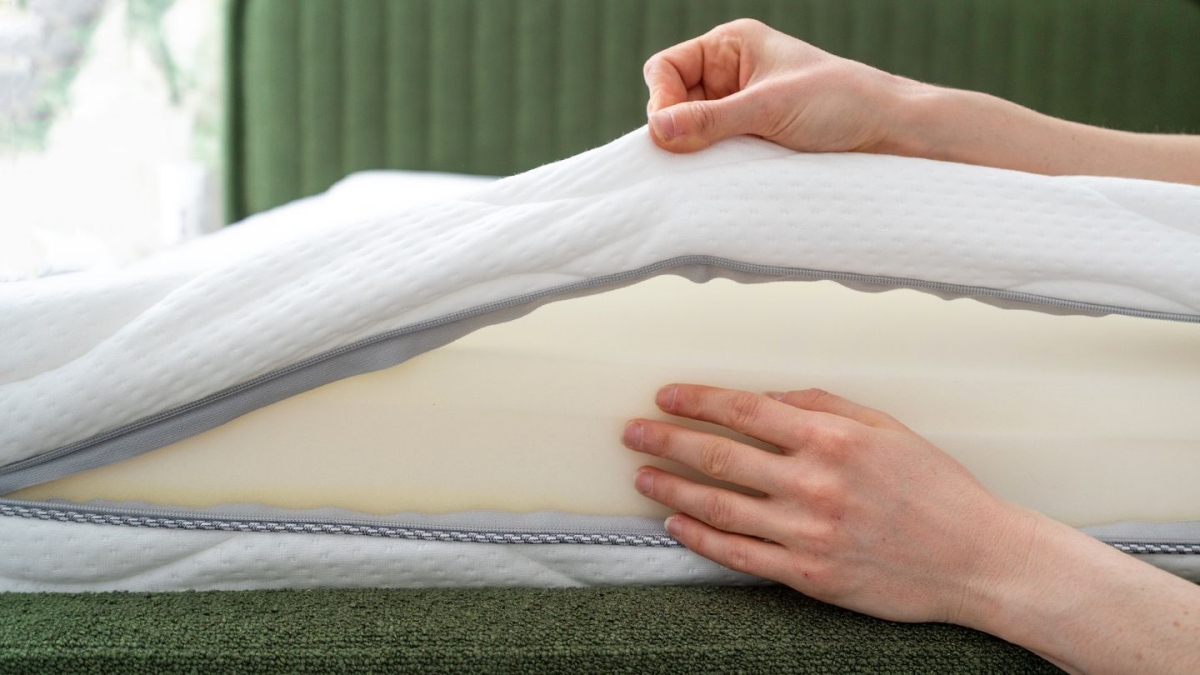
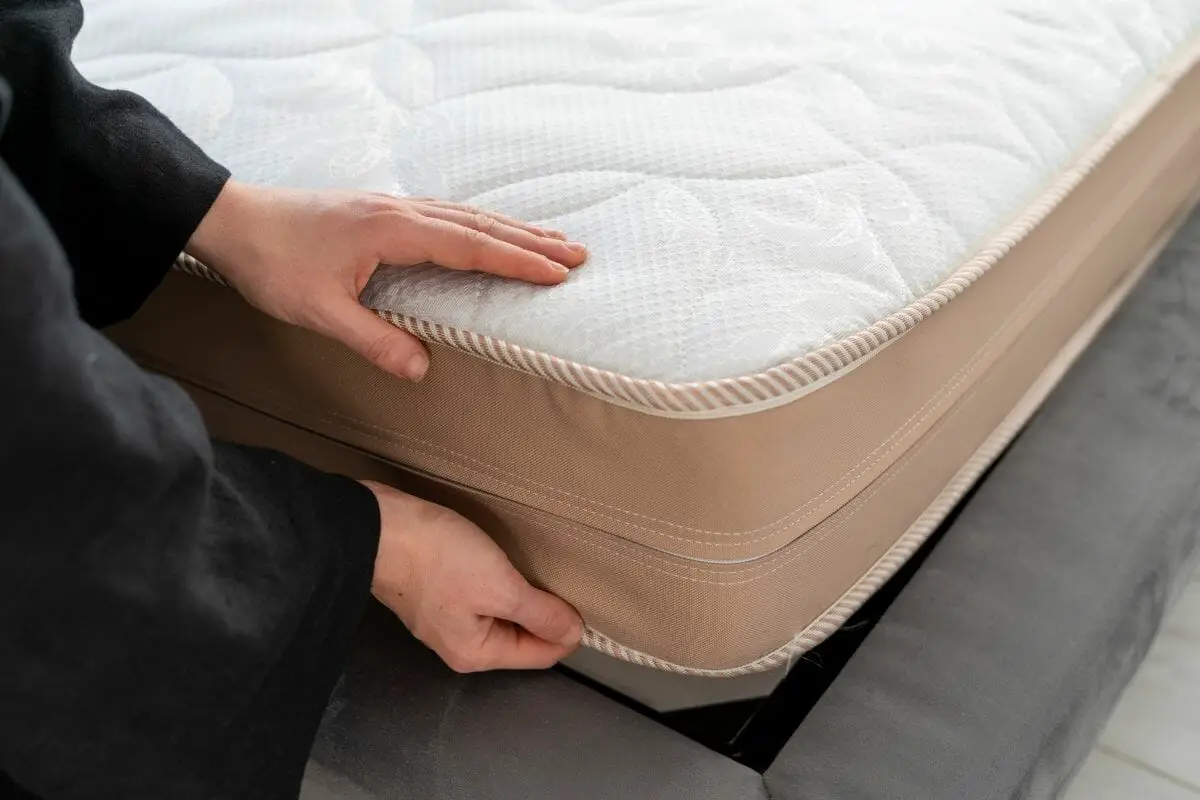
To add an extra layer of protection against dust mites, consider encasing your mattress and pillows with specialized dust mite-proof covers or encasements. These covers create a physical barrier that prevents dust mites from penetrating into your bedding, ultimately reducing your exposure to dust mite allergens. Here’s how to properly encase your mattress and pillows:
- Choose the Right Covers: Look for covers that are specifically designed to be allergen-proof and have a pore size of less than 10 microns. This pore size is small enough to prevent dust mites and their waste products from passing through.
- Measure Your Mattress and Pillows: Take accurate measurements of your mattress height, length, and width. For pillows, measure the length, width, and depth to ensure a proper fit for the encasements.
- Add the Covers: Slide the mattress cover onto your mattress, making sure it fits snugly. Use zipper-lock or Velcro closures to seal the cover securely. For pillows, insert them into the pillow encasements and close them tightly.
- Check for Gaps: After encasing your mattress and pillows, check for any gaps or openings that could allow dust mites to enter. If you find any, seal them with tape or tuck in the fabric to create a tight seal.
- Wash Regularly: It’s important to wash the covers regularly to remove any dust mite allergens that may accumulate on the outer surface. Check the care instructions provided by the manufacturer to determine the proper washing and drying methods for the covers.
- Replace When Necessary: Over time, the effectiveness of the dust mite covers may diminish. Replace them as needed to ensure continued protection against dust mites and allergens.
By encasing your mattress and pillows with dust mite-proof covers, you can create an additional barrier that prevents dust mites from infiltrating your bedding. This, in turn, helps reduce the risk of dust mite allergies and asthma symptoms, ensuring a healthier sleep environment for you.
In the next section, we will explore how sunning and beating your mattress can help further eliminate dust mites.
Sunning and Beating Your Mattress
In addition to regular cleaning methods, sunning and beating your mattress can be an effective way to further eliminate dust mites. Both methods help reduce moisture and expose the mattress to sunlight, which can have a drying and disinfecting effect. Here’s how you can sun and beat your mattress:
Sunning Your Mattress:
- Choose a sunny day and find an outdoor area where you can place your mattress. Make sure the area is clean and free from dust and dirt.
- Carefully carry your mattress outside and lay it flat on a clean surface, such as a patio or deck.
- Expose the mattress to direct sunlight for a few hours, ideally between 10 am and 3 pm when the UV rays are strongest.
- Flip the mattress and repeat the process to ensure both sides receive adequate sunlight exposure.
- After sunning, bring your mattress back inside and place it on a clean surface before putting the bedding back on.
Beating Your Mattress:
- Remove all bedding from your mattress and take it outside to an open area.
- Using a clean, long-handled broom or a tennis racket, firmly and repeatedly beat the mattress to dislodge dust mites, dead skin cells, and other debris. Start from one end and work your way across the entire surface, concentrating on areas where dust mites are more likely to accumulate, such as the corners and seams.
- After beating, thoroughly vacuum the mattress to remove any dislodged particles.
- Bring the mattress back inside and ensure it is fully dry before reassembling the bedding.
Sunning and beating your mattress can help reduce humidity, eliminate moisture, and expose dust mites to sunlight, all of which are unfavorable conditions for their survival. It’s important to note that these methods should be done in addition to regular cleaning practices and may not be suitable for all types of mattresses. Always check the manufacturer’s guidelines for specific care instructions.
In the next section, we will provide you with some tips for regular maintenance to help keep dust mites at bay.
Regular Maintenance Tips to Keep Dust Mites Away
Continuing with regular maintenance after thoroughly cleaning your mattress is essential in keeping dust mites at bay. Here are some tips to help you maintain a clean and dust mite-free sleep environment:
- Vacuum Regularly: Regularly vacuum your mattress, pillows, and the surrounding areas to remove any surface dust and debris. This helps prevent the buildup of dust mite allergens and keeps your sleep environment clean.
- Wash Bedding Weekly: Wash your bedding, including sheets, pillowcases, and covers, on a weekly basis. Use hot water (at least 130°F) to kill dust mites and remove allergens. Don’t forget to dry them thoroughly before putting them back on the bed.
- Reduce Humidity: Dust mites thrive in humid environments, so it’s important to maintain a low humidity level in your bedroom. Use a dehumidifier or air conditioner to control humidity, especially during the warmer months.
- Regularly Flip and Rotate Your Mattress: To prevent the accumulation of dust mites and prolong the lifespan of your mattress, regularly flip and rotate it. This helps distribute weight and wear more evenly, preventing the formation of dust mite colonies in certain areas.
- Avoid Clutter in the Bedroom: Dust mites love clutter, as it provides hiding spots and traps dust. Keep your bedroom clean and clutter-free to minimize the areas where dust mites can thrive.
- Wash Stuffed Animals and Decorative Cushions: If you have stuffed animals or decorative cushions in your bedroom, make sure to regularly wash them in hot water to eliminate dust mites and their allergens. If possible, keep these items to a minimum or remove them from the bedroom altogether.
- Use Hypoallergenic Bedding: Opt for hypoallergenic bedding, including pillowcases and mattress protectors, which are designed to repel dust mites and allergens. These products create an additional barrier against dust mites and can provide an extra layer of protection.
- Consider Allergy-Friendly Flooring: If you have carpeting in your bedroom, consider replacing it with hard flooring, such as hardwood or laminate, as they are easier to clean and less favorable for dust mites.
- Regularly Air Out Your Bedroom: Open the windows and allow fresh air to circulate in your bedroom to reduce humidity and refresh the air. This can help create an environment that is less appealing to dust mites.
By implementing these regular maintenance tips, you can help keep dust mites at bay and create a cleaner and healthier sleep environment. Remember, consistency is key in preventing the buildup of dust mites and allergens.
As we conclude this comprehensive guide on how to clean dust mites from your mattress, we hope you can use these tips to create a sleep sanctuary that is free from these microscopic pests. Sleep tight!
Read more: How To Kill Dust Mites In Pillows
Conclusion
Cleaning dust mites from your mattress is an important aspect of maintaining a healthy sleep environment. These microscopic pests can trigger allergies and asthma symptoms, leading to discomfort and disrupted sleep. By following the methods and tips outlined in this guide, you can effectively remove dust mites from your mattress and prevent their return.
Remember to start by removing the bedding and thoroughly vacuuming the mattress to eliminate surface dust mites and allergens. Washing your bedding and pillowcases in hot water helps further reduce dust mites and remove their waste products. Consider using steam cleaning or anti-dust mite sprays to provide an extra level of deep cleaning.
Encasing your mattress and pillows with dust mite-proof covers creates a barrier that prevents dust mites from infiltrating your bedding. Sunning and beating your mattress expose it to sunlight and help reduce moisture, which can discourage dust mite activity.
To maintain a dust mite-free sleep environment, practice regular maintenance habits such as vacuuming, washing bedding weekly, reducing humidity, and rotating the mattress. Keep your bedroom clean and free from clutter, and consider using allergy-friendly bedding and flooring options.
By implementing these practices and maintaining a clean sleep environment, you can reduce the risk of dust mite allergies, improve sleep quality, and prolong the lifespan of your mattress. Enjoy a healthier and more restful night’s sleep, free from the nuisances of dust mites.
Remember, consistency is key in keeping dust mites under control. Adopting these cleaning and maintenance practices as part of your regular routine can help ensure a clean and healthier sleep environment for years to come.
Frequently Asked Questions about How To Clean Dust Mites From A Mattress
Was this page helpful?
At Storables.com, we guarantee accurate and reliable information. Our content, validated by Expert Board Contributors, is crafted following stringent Editorial Policies. We're committed to providing you with well-researched, expert-backed insights for all your informational needs.