Articles
How To Clean Dust From A Fan
Modified: October 19, 2024
Discover effective ways to clean dust from your fan with our helpful articles. Keep your fan running efficiently and extend its lifespan.
(Many of the links in this article redirect to a specific reviewed product. Your purchase of these products through affiliate links helps to generate commission for Storables.com, at no extra cost. Learn more)
Introduction
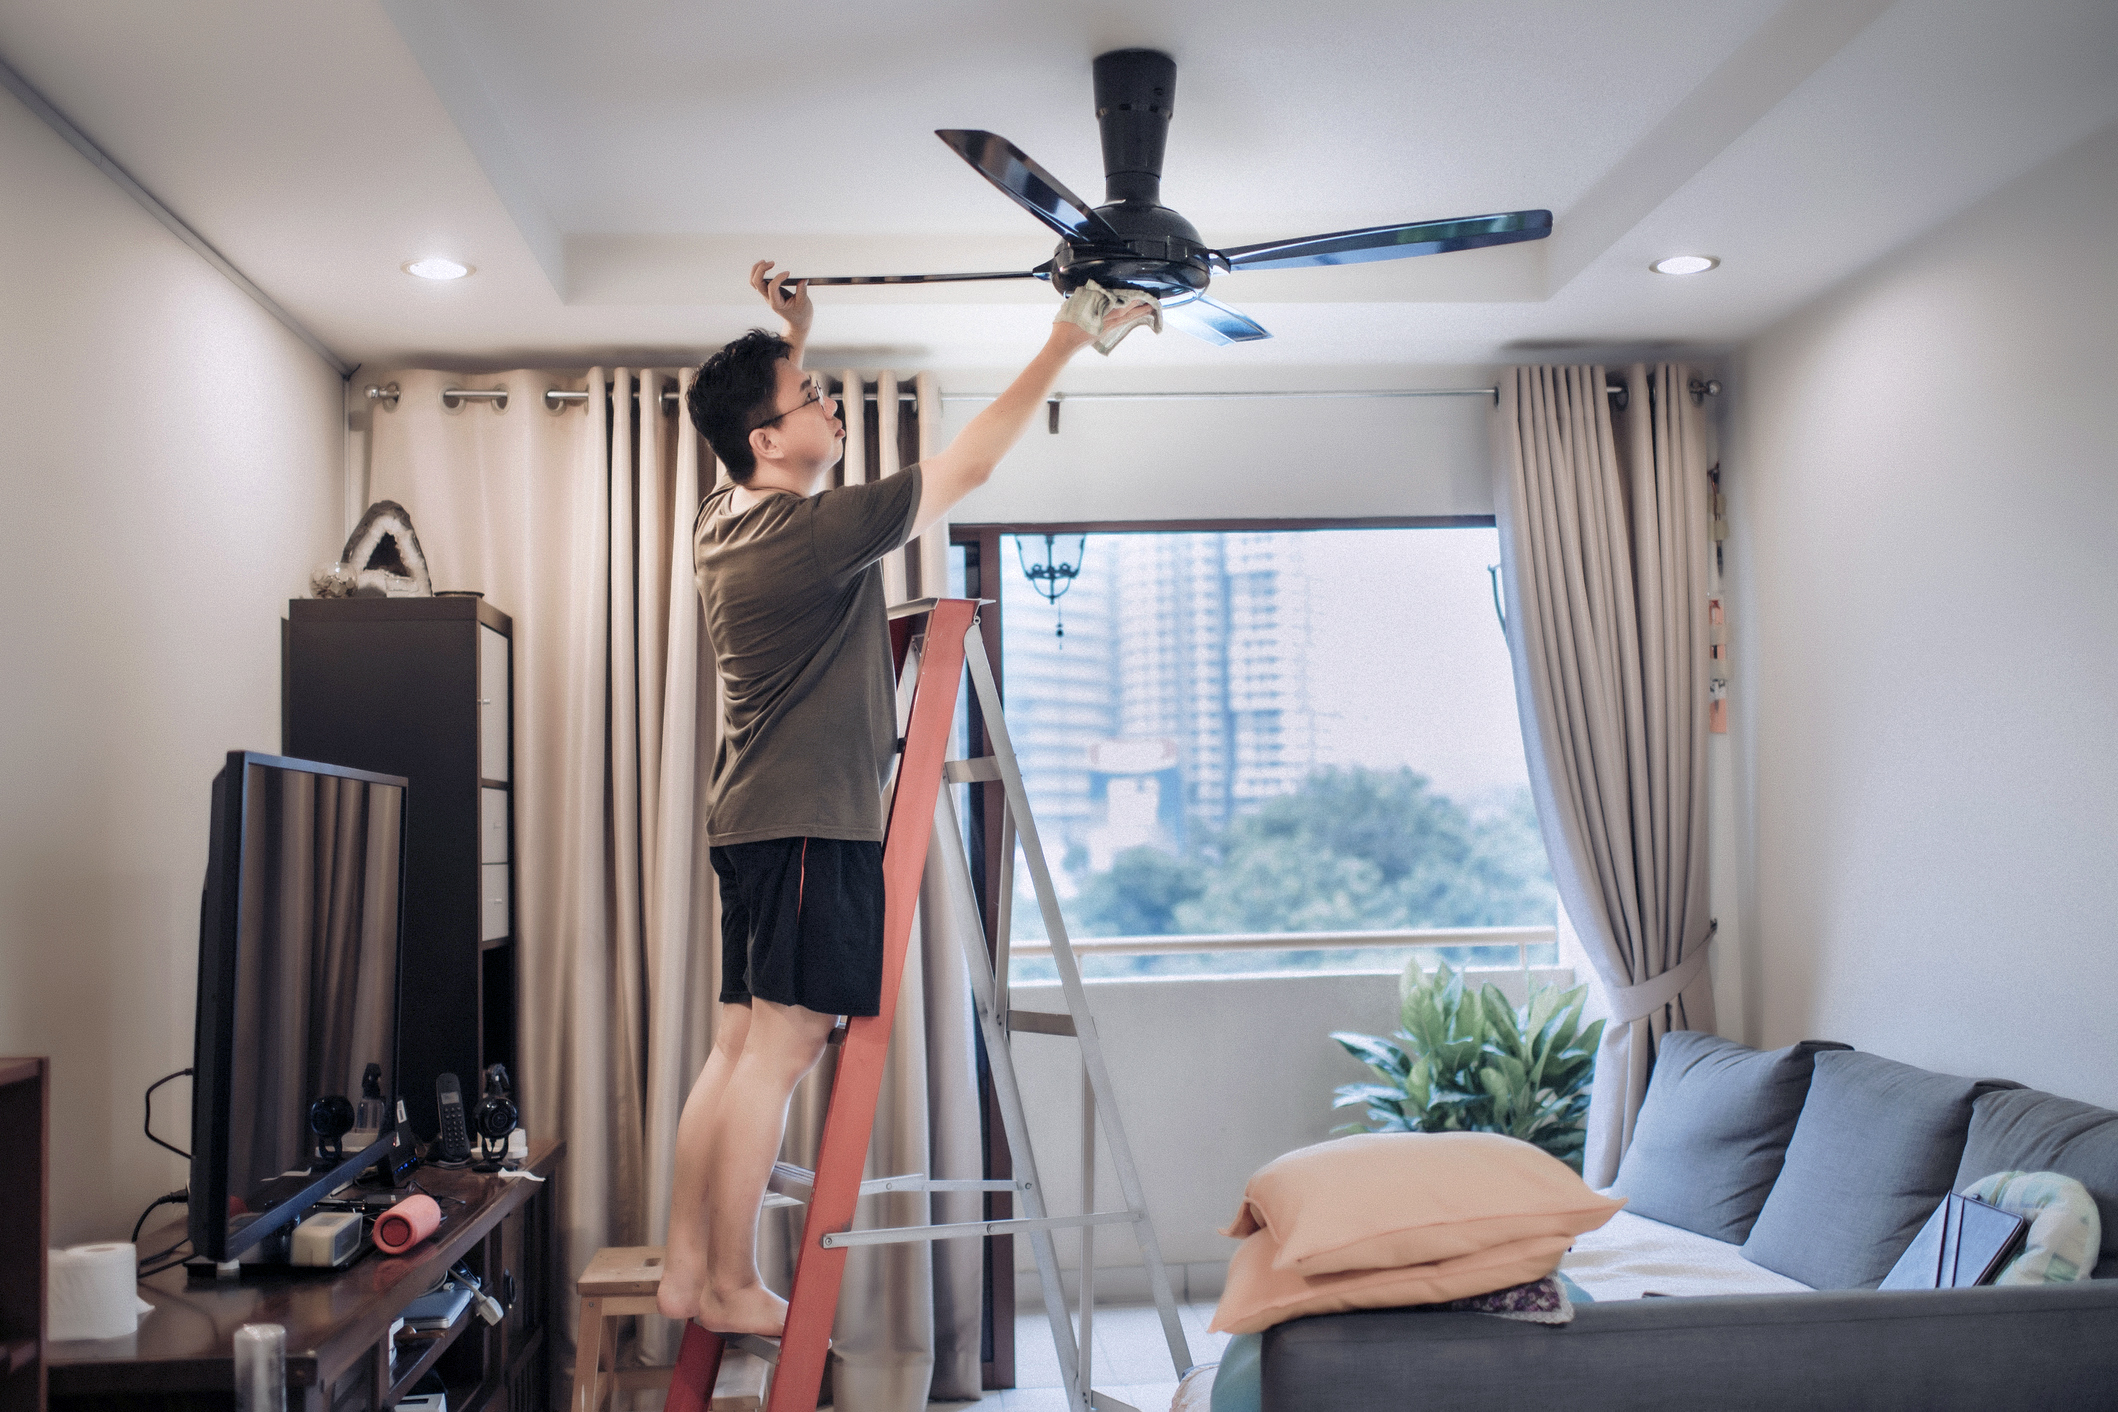
Having a fan in your home or office can make a significant difference in providing cool air and maintaining a comfortable environment. However, fans tend to accumulate dust over time, which not only affects their performance but also poses a health risk by circulating dust particles in the air. Cleaning the fan regularly is essential to keep it running smoothly and to improve the air quality in your space.
In this article, we will guide you through the process of cleaning dust from a fan to ensure optimal performance and longevity. We will provide step-by-step instructions and valuable tips to help you effectively remove dust from all parts of the fan, including the blades, housing, and motor.
Before we dive into the cleaning process, let’s gather the necessary tools and materials that will make the job easier and more efficient.
Key Takeaways:
- Regularly cleaning your fan is crucial for optimal performance and air quality. Gather the right tools, follow the step-by-step process, and take precautions to ensure a safe and effective cleaning experience.
- Disassemble, clean, and reassemble your fan with care to maintain its efficiency and longevity. Remember to test the fan after cleaning and follow additional tips for a healthier living environment.
Read more: How To Clean Dust Mites From A Mattress
Tools and Materials Needed
Before you begin cleaning your fan, it’s important to gather the necessary tools and materials. Here’s a list of items you’ll need:
- Dust mask or respirator: To protect yourself from inhaling dust particles during the cleaning process.
- Gloves: Optional, but wearing gloves can help keep your hands clean and protect against any sharp edges.
- Screwdriver: Depending on the type of fan you have, you may need a screwdriver to remove the fan housing or access the blades.
- Soft brush or microfiber cloth: Use these tools to gently brush or wipe away dust from the fan blades and other surfaces.
- Vacuum cleaner with brush attachment: A vacuum cleaner can be handy for sucking up loose dust particles as you clean.
- Clean, lint-free cloth: Use this to wipe down any surfaces and ensure a thorough cleaning.
- Mild cleaning solution: Depending on the material of your fan, you may need a mild cleaning solution like soap and water or a specific cleaner recommended by the manufacturer.
- Cotton swabs or toothbrush: These small tools can help you reach tight corners and crevices where dust may accumulate.
It’s important to note that the specific tools and materials needed may vary depending on the type and model of fan you have. Always refer to the manufacturer’s instructions for any additional tools or cleaning solutions required.
Now that you have gathered the necessary tools and materials, let’s move on to the step-by-step process of cleaning the fan.
Step 1: Shutting Off the Fan and Preparing the Cleaning Area
Before you start cleaning your fan, it is crucial to ensure that the fan is completely turned off and unplugged. This step is essential for your safety and to prevent any accidental damage to the fan while cleaning.
Once the fan is switched off and unplugged, it’s time to prepare the cleaning area. Find a suitable space where you can work comfortably and have easy access to the fan. It is recommended to clean the fan outdoors or in a well-ventilated area to avoid circulating dust particles throughout your living space.
Place a protective covering, such as an old sheet or newspaper, beneath the fan to catch any loose dust or debris that may fall during cleaning. This will make the cleanup process easier and prevent any damage to the surrounding area.
Wearing a dust mask or respirator is also advisable to protect yourself from inhaling dust particles. Additionally, if you’re concerned about your hands getting dirty or accidentally touching sharp edges, you may want to wear gloves during the cleaning process.
With the fan turned off, the cleaning area prepared, and any necessary safety precautions in place, you are now ready to proceed to the next step of disassembling the fan.
Step 2: Disassembling the Fan
Disassembling the fan is an important step to gain access to all the components that need cleaning. Here’s how you can safely disassemble your fan:
- Refer to the manufacturer’s instructions: Different fans may have varying disassembly methods. It’s always a good idea to consult the instruction manual provided by the manufacturer for specific guidance on how to disassemble your particular fan model.
- Remove the fan grill or front cover: If your fan has a removable grill or front cover, gently take it off by either pressing the release buttons or unscrewing the fasteners. Be careful not to force or break any parts during this process.
- Remove the blades: In some fans, the blades may be removable. Check if your fan allows the blades to be detached. If so, carefully remove them by unscrewing or unclipping them from the fan motor.
- Inspect for any hidden screws or fasteners: Depending on the design of your fan, there may be hidden screws or additional fasteners holding the fan together. Look carefully for any screws or clips that need to be removed to separate the fan housing or motor.
As you disassemble the fan, take note of the order and position of each component. This will make reassembling the fan easier later on. If you’re uncertain about any step of the disassembly process, always refer to the manufacturer’s instructions or seek professional assistance.
Now that the fan is disassembled, we can move on to the next step: cleaning the fan blades.
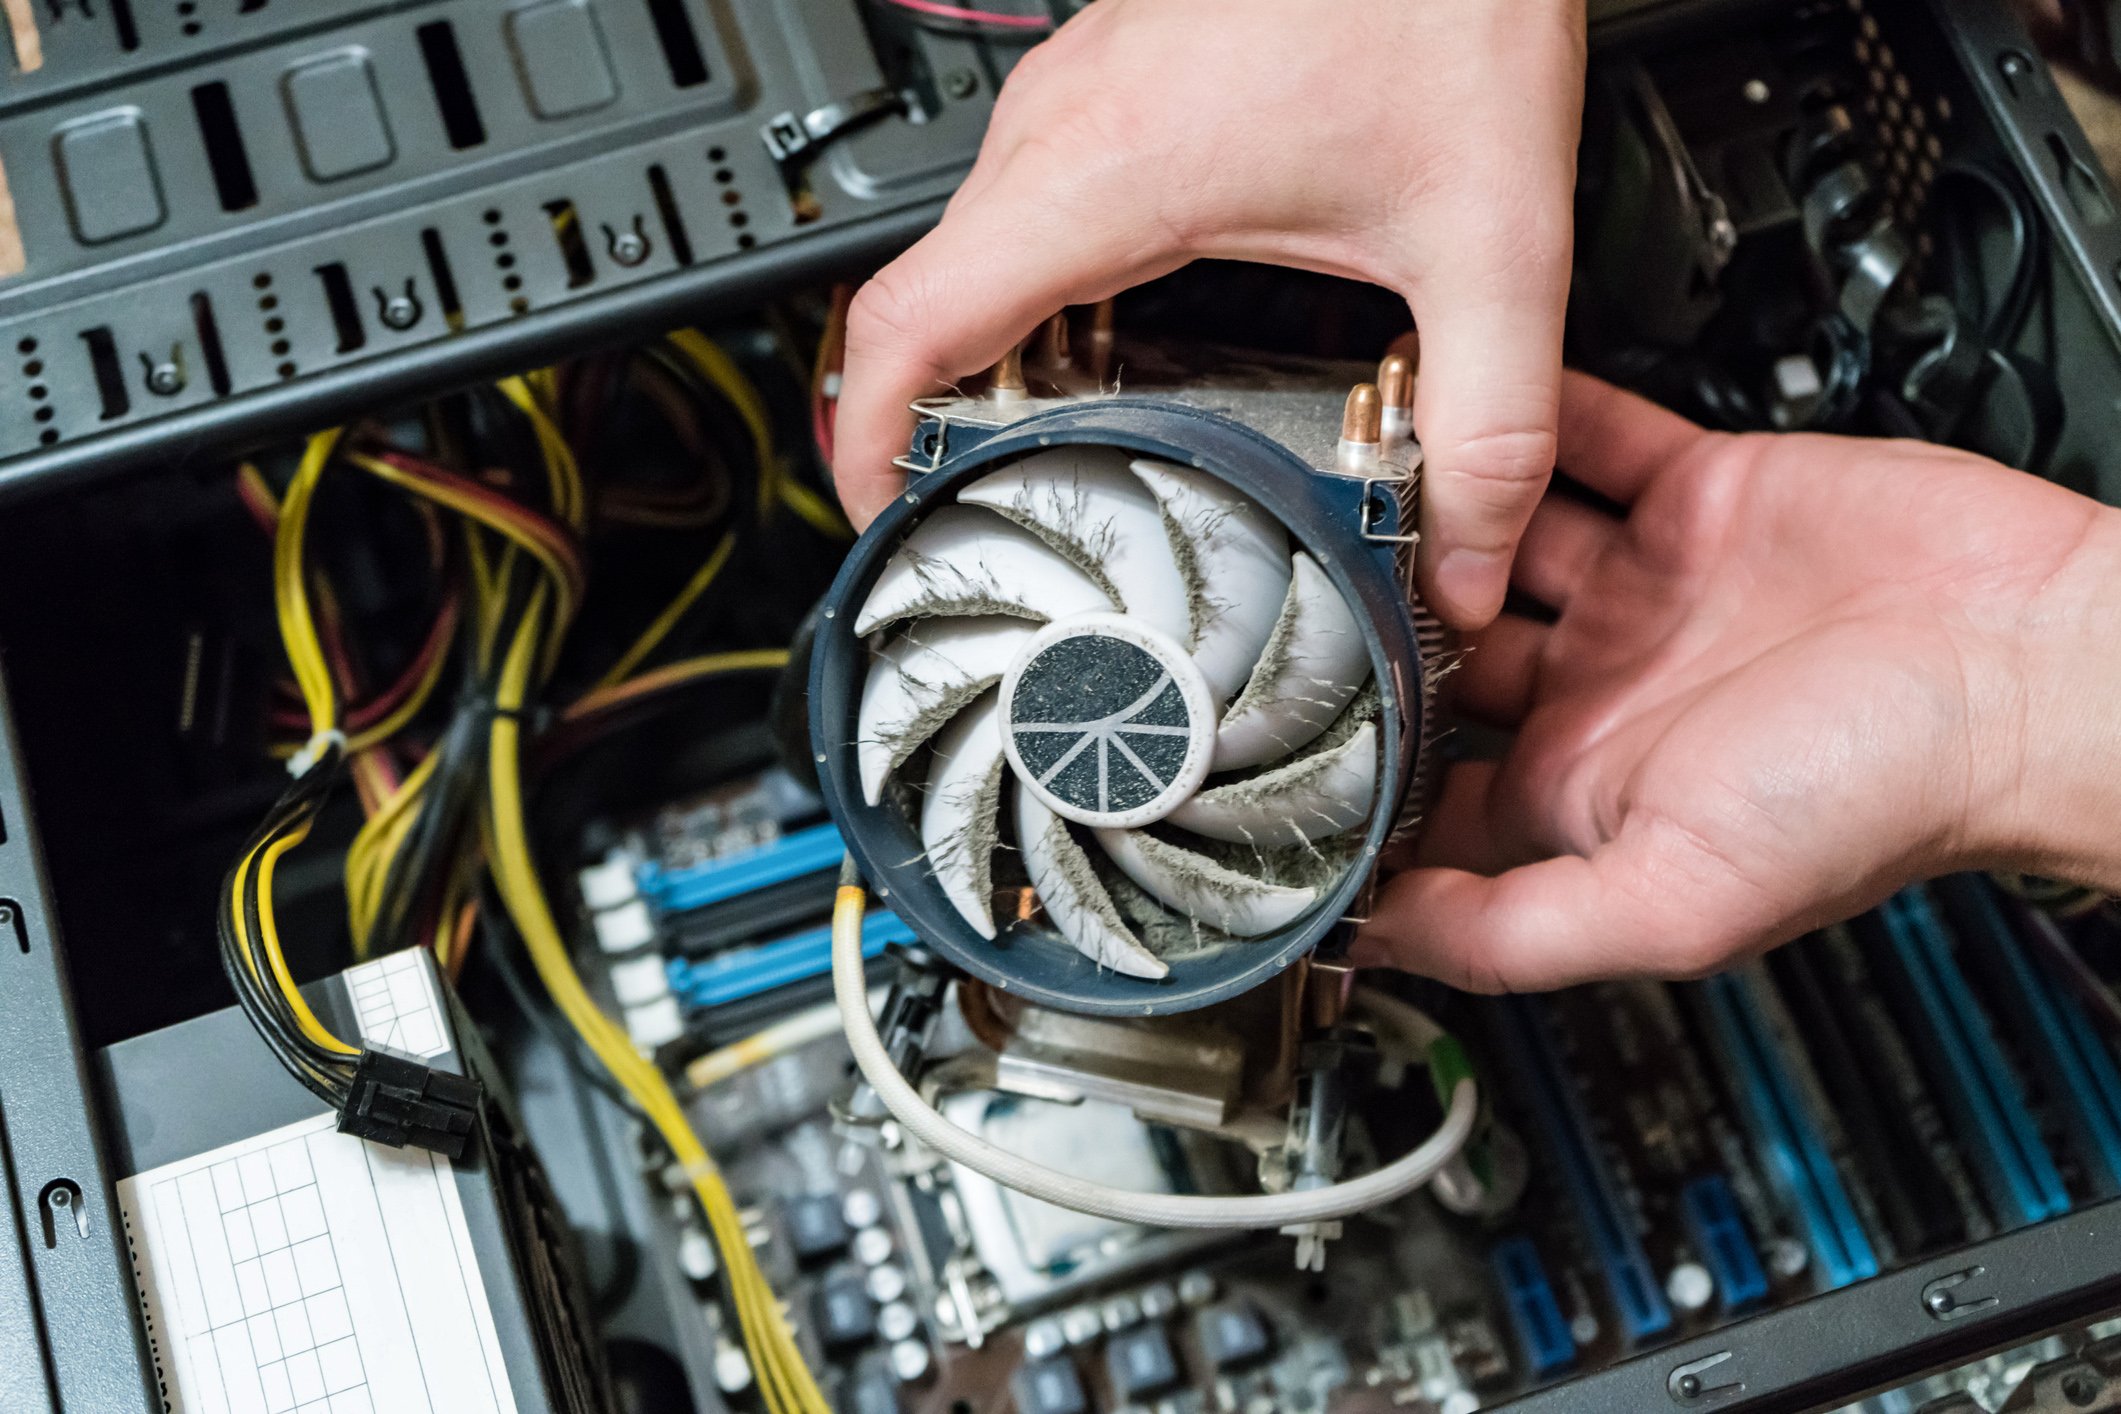
Step 3: Cleaning the Fan Blades
Now that the fan is disassembled, it’s time to clean the fan blades. Dust and debris tend to accumulate on the blades, reducing their efficiency and airflow. Follow these steps to effectively clean the blades:
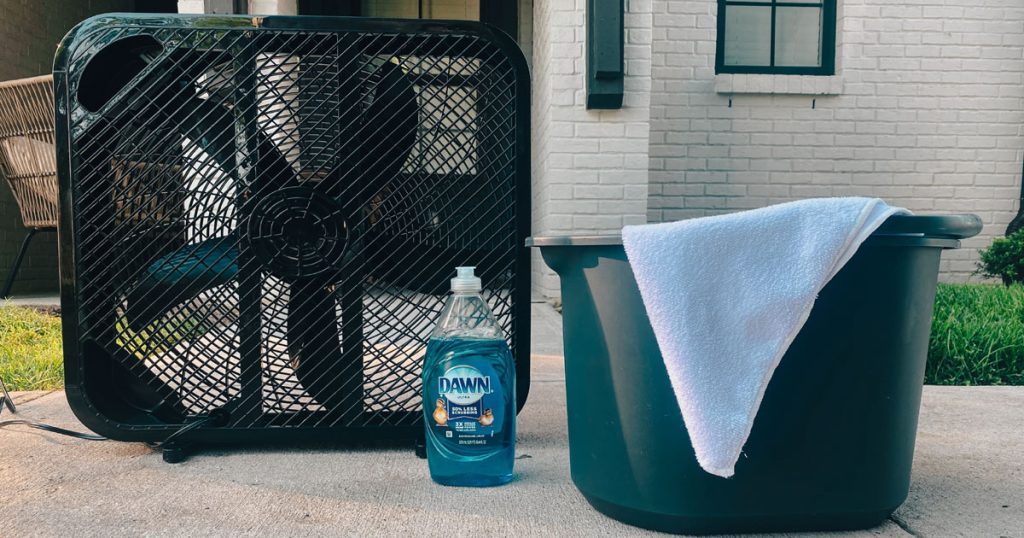
- Prepare a cleaning solution: Depending on the material of the fan blades, you can use a mild cleaning solution such as soap and water or a specific cleaner recommended by the manufacturer. Dilute the cleaning solution in a bucket or bowl according to the instructions.
- Dip a soft brush or microfiber cloth into the cleaning solution: Ensure that the brush or cloth is damp but not dripping wet. Excess water can damage the motor or other components of the fan.
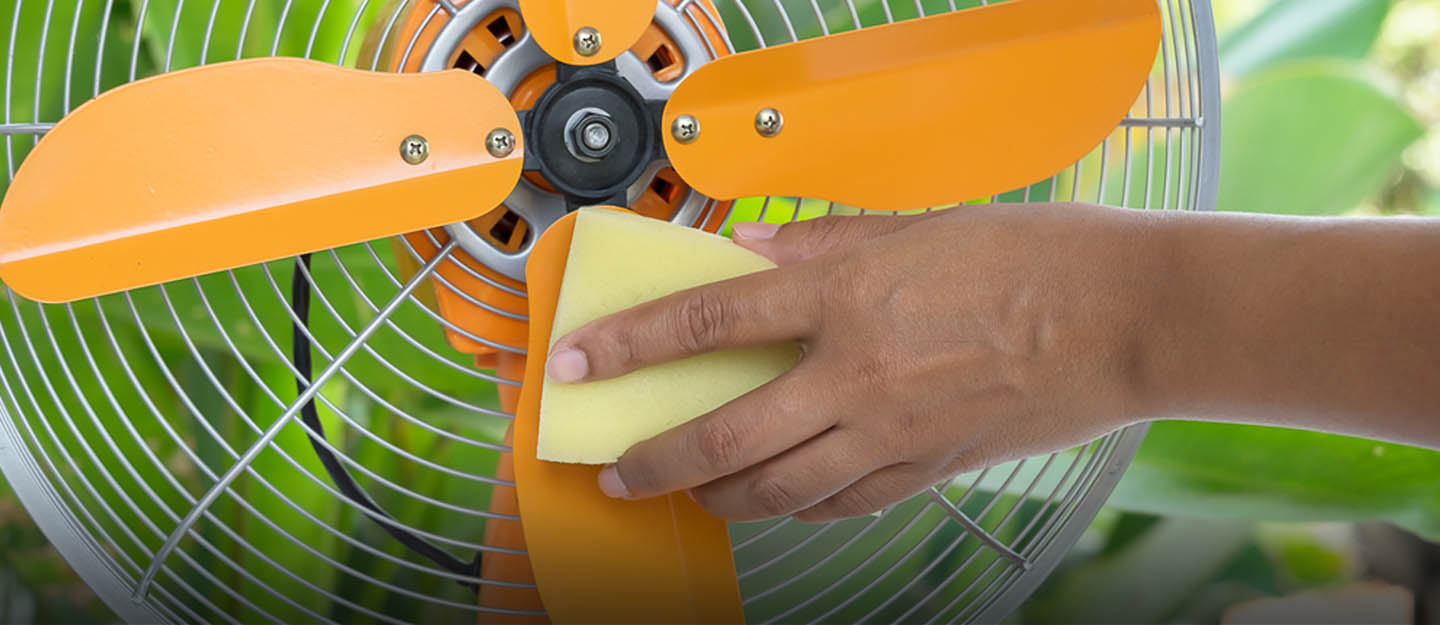
- Gently wipe or brush the blades: Start cleaning each fan blade from the center and work your way outward. Apply gentle pressure to remove accumulated dust and dirt. Pay extra attention to the edges and corners of the blades where dust tends to accumulate.
- If necessary, use cotton swabs or a toothbrush: For hard-to-reach areas or stubborn dirt, use cotton swabs or a toothbrush dipped in the cleaning solution. Carefully scrub any remaining dirt from the blades.
- Rinse the blades (if applicable): If the fan blades are washable, rinse them with clean water to remove any soapy residue. Ensure that the blades are completely dry before proceeding to the next step.
- Wipe dry: Use a clean, lint-free cloth to dry the fan blades thoroughly. Make sure there is no moisture left on the blades, as it can lead to rust or damage.
Remember to be gentle with the fan blades to avoid bending or damaging them. Take your time to ensure a thorough cleaning of each blade.
Once the fan blades are clean, it’s time to move on to cleaning the fan housing or casing.
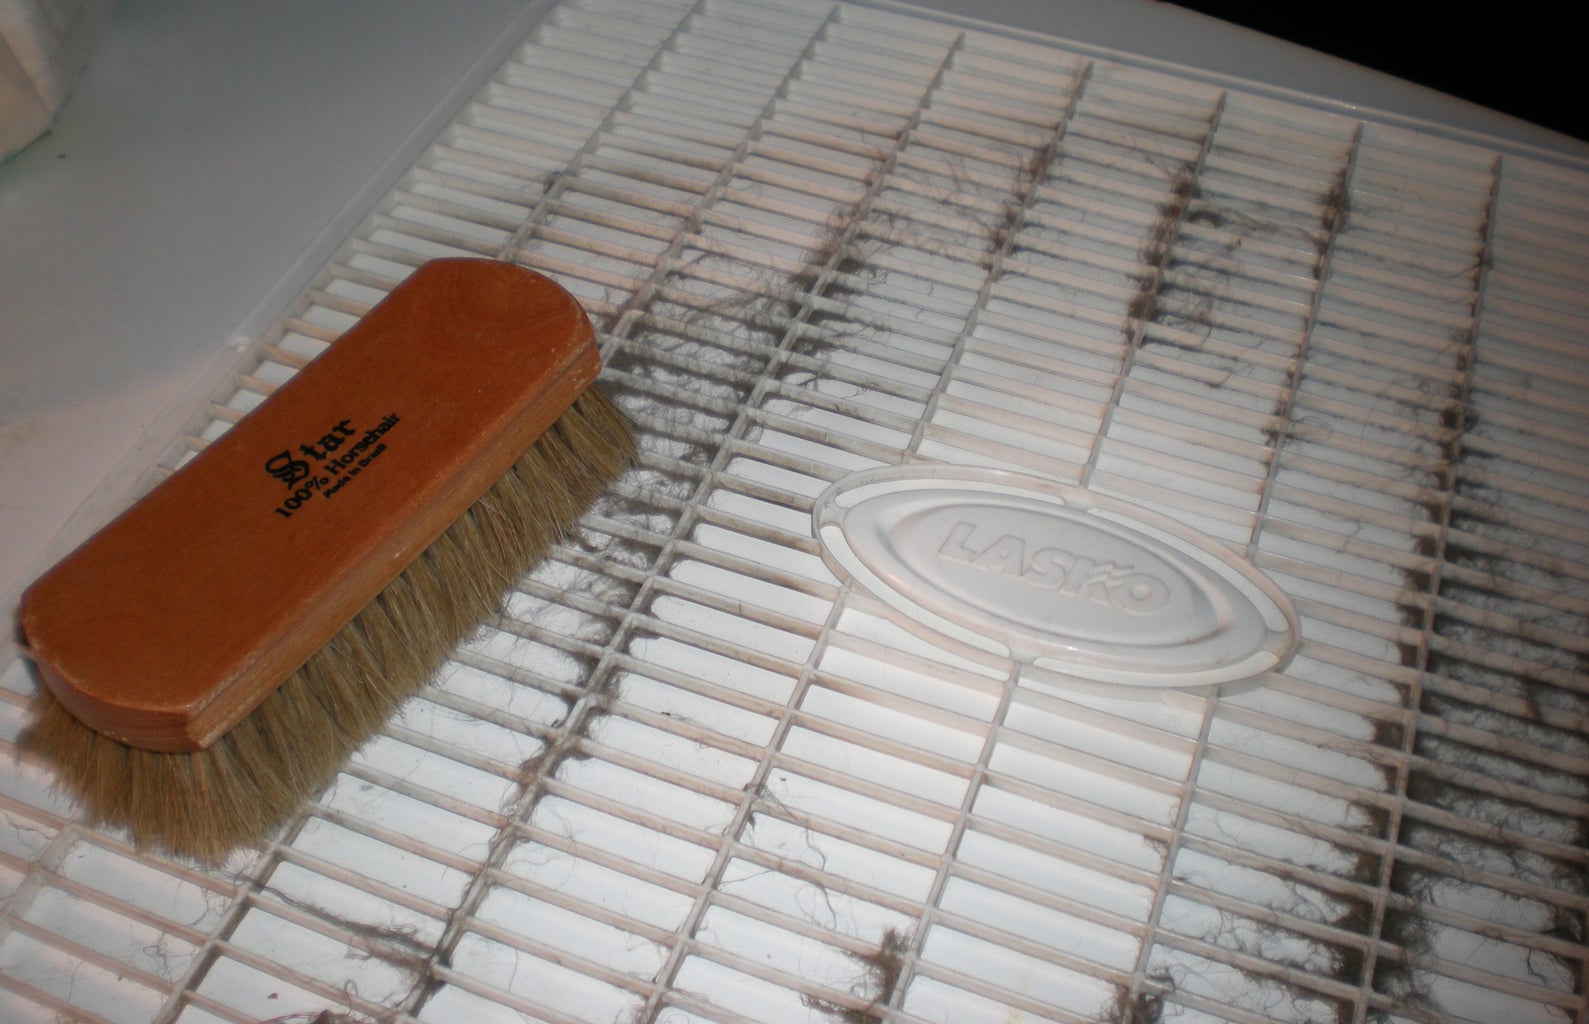
Step 4: Cleaning the Fan Housing or Casing
After cleaning the fan blades, it’s important to clean the fan housing or casing as well. Dust and debris tend to accumulate in these areas, affecting the overall performance and air quality. Follow these steps to clean the fan housing:
- Using a soft brush or a microfiber cloth, gently remove any loose dust and debris from the fan housing. Pay attention to the vents and grills where dust tends to accumulate.
- If the fan housing is removable, take it off following the manufacturer’s instructions. This will make cleaning more thorough and easier.
- Prepare a mild cleaning solution: Depending on the material of the fan housing, use a damp cloth with soap and water or a specific cleaner recommended by the manufacturer.
- Gently wipe the fan housing surfaces: Dip the cloth in the cleaning solution and wring it out so it is damp but not soaking wet. Wipe the housing surfaces, including the inner and outer sides as well as any crevices or hard-to-reach areas.
- If there are any stubborn stains or dirt, use a toothbrush or cotton swabs dipped in the cleaning solution to scrub those areas gently.
- Rinse (if applicable) and wipe dry: If the fan housing is washable, rinse it with clean water to remove any cleaning solution or residue. Make sure it is completely dry before reassembling the fan.
Cleaning the fan housing helps to maintain optimal airflow and prevent the buildup of dust and dirt. It also contributes to a cleaner and healthier environment.
With the fan housing cleaned, we can now move on to the next step: cleaning the fan motor.
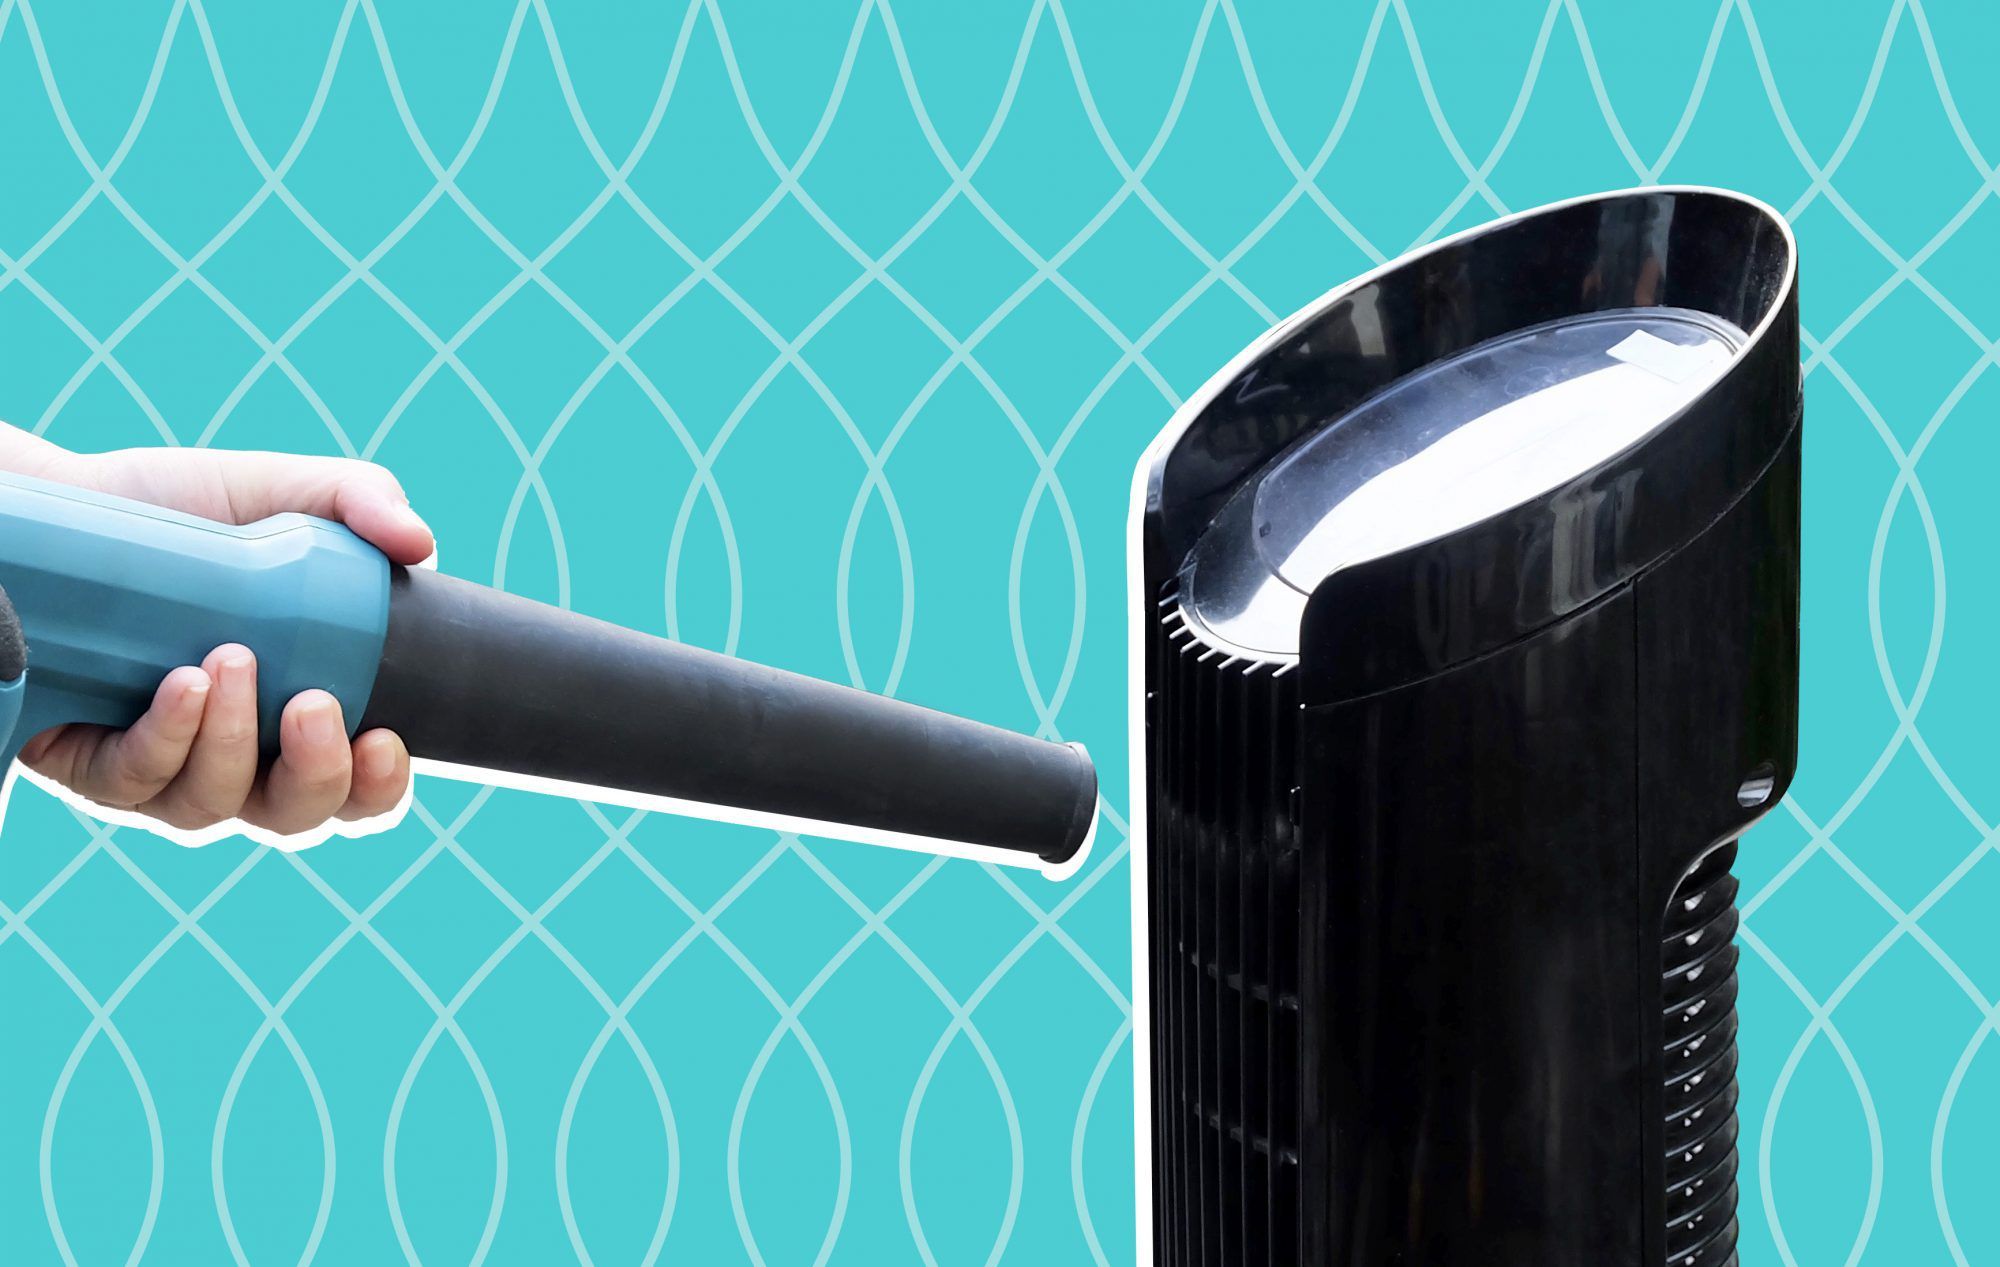
Use a vacuum with a brush attachment to clean dust from the fan blades. Be sure to unplug the fan before cleaning and avoid getting the motor wet.
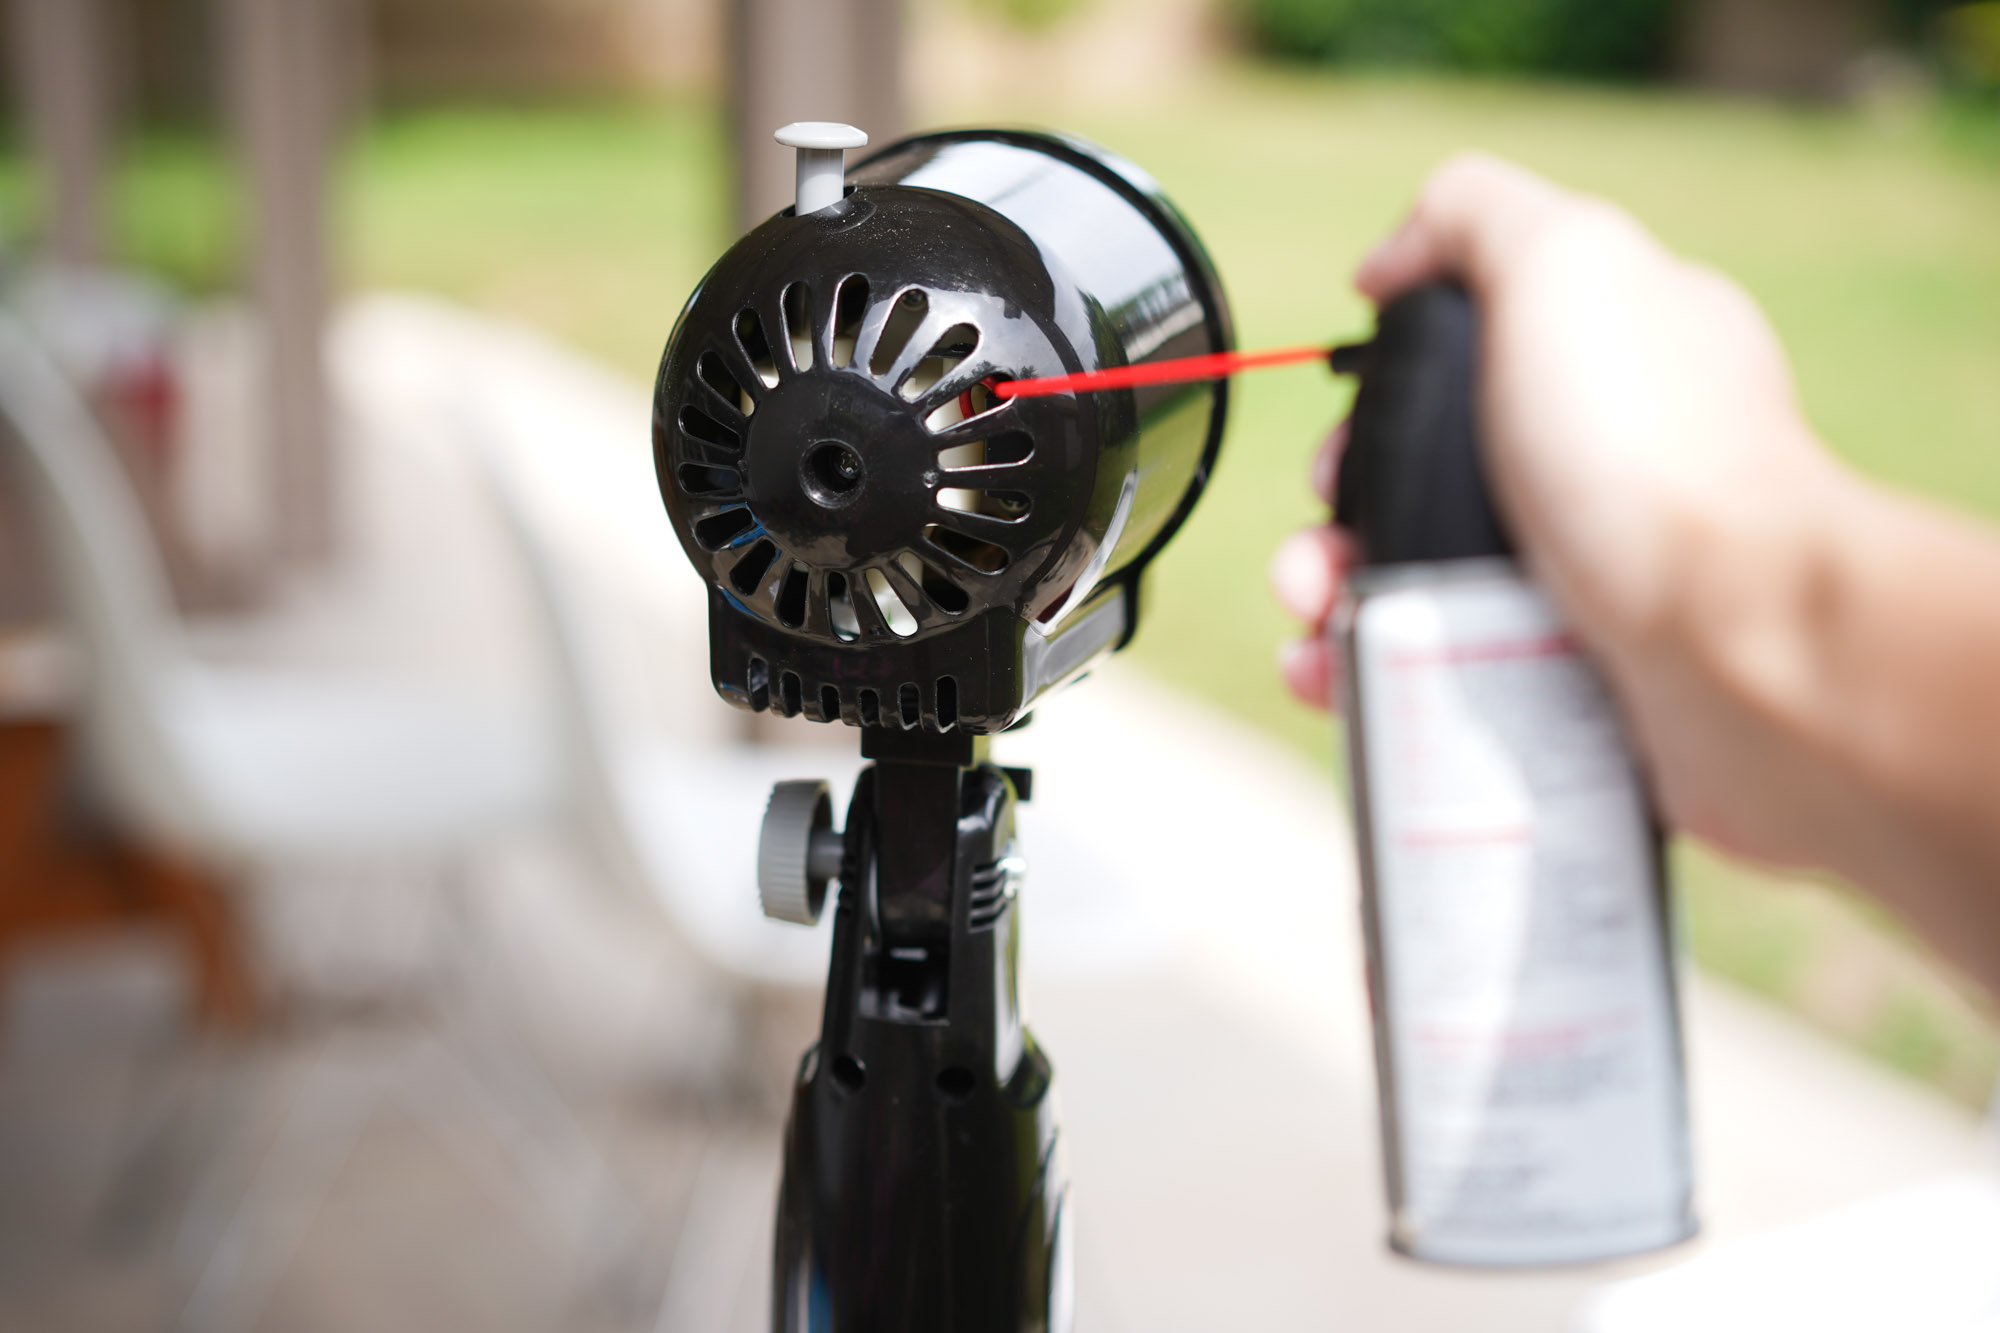
Step 5: Cleaning the Fan Motor
The fan motor is a vital part of the fan that requires regular maintenance to ensure optimal performance. While cleaning the motor, it’s essential to be cautious and avoid getting any moisture or cleaning solutions directly on the motor components. Follow these steps to clean the fan motor:
- Before starting, ensure the fan is completely disconnected from the power source to prevent any accidents.
- Using a soft brush or a can of compressed air, gently remove any loose dust or debris from the motor. Be careful not to push dust further into the motor or damage any delicate components.
- If there are visible dirt or grime on the motor, lightly dampen a cotton swab or cloth with a mild cleaning solution. Make sure to wring out any excess liquid, as dripping water or cleaning solution can damage the motor.
- Gently wipe the motor surfaces, taking care not to get any liquid directly on the motor or in any electrical components. Pay attention to areas like the vents and crevices where dirt may accumulate.
- For stubborn dirt or hard-to-reach areas, use a toothbrush or cotton swab dipped in the cleaning solution to carefully scrub the motor surfaces.
- Wipe dry: Once you have finished cleaning, use a clean, dry cloth to wipe the motor surfaces and remove any remaining moisture.
- Allow the motor to air dry thoroughly before reassembly. Make sure there is no moisture left on or inside the motor.
It’s crucial to exercise caution while cleaning the fan motor to prevent any damage. If you are unsure about cleaning the motor yourself, it’s always best to seek professional assistance.
Now that the fan motor is clean, we can move on to the next step: reassembling the fan.
Step 6: Reassembling the Fan
Once you have finished cleaning the fan components, it’s time to reassemble the fan for it to function properly. Follow these steps to reassemble the fan:
- Start by replacing the fan blades (if you removed them during the cleaning process). Align the blades with the motor shaft and secure them in place by tightening the screws or clips.
- If you removed the fan housing or casing, carefully position it back onto the fan body, ensuring it aligns correctly with any screws or clips. Fasten the housing securely but not too tightly.
- If there were any additional screws or fasteners, reattach them as per the manufacturer’s instructions.
- Double-check that all the components are properly aligned and securely fastened. Ensure there are no loose or dangling wires.
- If your fan has a removable grill or front cover, place it back in position and secure it with the release buttons or fasteners.
During the reassembly process, refer to the manufacturer’s instructions or any notes or photos you took while disassembling the fan to ensure you are following the correct order and positioning of the components.
Now that the fan is reassembled, we can move on to the final step: testing the fan to ensure it is working properly.
Step 7: Testing the Fan
After cleaning and reassembling the fan, it’s important to test it to ensure it is functioning properly. Follow these steps to test your fan:
- Plug the fan back into a functioning power outlet.
- Turn on the fan using the power switch or control buttons.
- Listen for any unusual noises or vibrations. If you notice any unusual sounds or vibrations, immediately turn off the fan and investigate the issue.
- Observe the fan blades to ensure they are spinning smoothly and evenly.
- Check if the fan is producing sufficient airflow. Place your hand in front of the fan to feel the air movement.
- Monitor the fan for a few minutes to make sure it is running smoothly without any disruptions.
If you notice any issues during the testing phase, such as motor malfunctions, uneven spinning, or inadequate airflow, it may indicate that further maintenance or repairs are required. In such cases, it’s best to consult the manufacturer’s instructions, reach out to customer support, or seek professional assistance.
Once you have tested the fan and verified its proper functioning, you can consider the cleaning process complete.
Now that you know how to clean a fan effectively, you can enjoy a fresh and clean airflow, while improving the performance and longevity of your fan.
Before wrapping up, let’s go over some additional tips and precautions to keep in mind when cleaning a fan.
Read more: How To Clean Dust Without A Duster
Additional Tips and Precautions
Here are some additional tips and precautions to keep in mind when cleaning a fan:
- Read the manufacturer’s instructions: Before cleaning your fan, always refer to the manufacturer’s instructions for specific guidelines on cleaning and maintenance.
- Regular maintenance: It’s a good practice to clean your fan regularly, especially if it is used frequently or in dusty environments. Cleaning once every few months is generally recommended.
- Unplug the fan: Always make sure the fan is unplugged and turned off before cleaning to avoid electrical hazards and accidental damage.
- Avoid using excessive water: Be cautious when using liquid cleaning solutions or water near electrical components. Excess moisture can damage the motor or other internal parts. Dampen your cloth or brush, but do not soak them.
- Be gentle: Handle the fan components with care to avoid bending or breaking them. Use gentle motions when cleaning to prevent any damage to delicate parts.
- Keep the fan dry: Ensure that all components are thoroughly dry before reassembling the fan to prevent rust or electrical damage. Allow ample time for the components to air dry completely.
- Keep the fan away from liquids: To maintain safety and prevent damage, avoid placing the fan near water sources or using it in humid environments.
- Maintain proper ventilation: Keep the area around the fan clear to ensure proper airflow and prevent the accumulation of dust and debris.
- Regularly clean the fan filters (if applicable): If your fan has removable filters, make sure to clean or replace them according to the manufacturer’s instructions to maintain optimal performance.
- Seek professional assistance if necessary: If you are unsure about any aspect of cleaning your fan or encounter any technical issues, it’s recommended to consult the manufacturer or seek professional assistance.
By following these tips and taking proper precautions, you can ensure an effective and safe cleaning process for your fan. Remember, a clean fan not only enhances its performance but also helps maintain a healthier and more comfortable living environment.
Now you are all set to clean the dust from your fan and enjoy its improved functionality and air circulation. Happy cleaning!
And that’s it! We’ve covered all the steps, tips, and precautions you need to know to effectively clean your fan. With regular maintenance and cleaning, your fan will keep you cool and comfortable for years to come!
If you have any further questions or need more assistance, feel free to reach out. Happy fan cleaning!
Validation: HTML encoding is valid.
Conclusion
Cleaning the dust from a fan is an essential maintenance task that helps optimize its performance and prolong its lifespan. By following the step-by-step guide provided in this article, you can effectively clean all parts of your fan, including the blades, housing, and motor.
Remember to gather the necessary tools and materials before starting the cleaning process. Shut off the fan and prepare the cleaning area to ensure a safe and convenient workspace. Disassemble the fan carefully, following the manufacturer’s instructions, and clean each component thoroughly.
Take your time to clean the fan blades, paying attention to both sides and hard-to-reach areas. Clean the fan housing or casing to remove accumulated dust and debris, and use caution when cleaning the delicate fan motor.
Once the cleaning is complete, reassemble the fan with care, ensuring all components are properly aligned and securely fastened. Test the fan to verify its smooth operation and adequate airflow.
Throughout the process, keep in mind additional tips and precautions, such as reading the manufacturer’s instructions, performing regular maintenance, and avoiding excessive moisture near electrical components.
By following these guidelines, you can maintain a clean and efficient fan, providing you with a refreshing airflow for a healthier and more comfortable living or working space.
Now it’s time to grab those cleaning tools and give your fan the attention it deserves. Enjoy the benefits of a clean and well-functioning fan!
And that’s a wrap! If you have any further questions or need more assistance, feel free to reach out. Happy cleaning!
Validation: HTML encoding is valid.
Frequently Asked Questions about How To Clean Dust From A Fan
Was this page helpful?
At Storables.com, we guarantee accurate and reliable information. Our content, validated by Expert Board Contributors, is crafted following stringent Editorial Policies. We're committed to providing you with well-researched, expert-backed insights for all your informational needs.


0 thoughts on “How To Clean Dust From A Fan”