Home>Furniture>Bedroom Furniture>How To Dismantle A Mattress

Bedroom Furniture
How To Dismantle A Mattress
Published: December 9, 2023
Discover the step-by-step process of dismantling a mattress with our expert guide. Transform your bedroom furniture effortlessly with our tips.
(Many of the links in this article redirect to a specific reviewed product. Your purchase of these products through affiliate links helps to generate commission for Storables.com, at no extra cost. Learn more)
Introduction
Welcome to the ultimate guide on how to dismantle a mattress. Whether you’re looking to dispose of an old mattress, move to a new home, or simply curious about what lies beneath the surface of your bed, dismantling a mattress can be a practical and interesting endeavor.
While the thought of dismantling a mattress might seem daunting at first, fear not! With the right tools, techniques, and a little bit of patience, you can easily break down your mattress and manage its disposal or recycling.
Before we dive into the step-by-step process, it’s important to note that not all mattresses are designed in the same way. Therefore, the specific process may vary depending on the type and construction of your mattress. However, in this comprehensive guide, we’ll provide you with a general framework that can be applied to most traditional mattresses.
So, let’s get started and learn how to dismantle a mattress like a pro!
Key Takeaways:
- Dismantling a mattress is a manageable task with the right tools and techniques. By following the step-by-step process, you can efficiently break down your mattress and responsibly dispose of its components.
- Prioritize responsible disposal options such as recycling, donation, or professional services to minimize environmental impact. By taking these steps, you contribute to a cleaner and greener living space.
Read more: How To Dismantle A Sofa Recliner
Step 1: Gather the necessary tools
Before you begin the process of dismantling your mattress, it’s important to gather all the necessary tools. Having the right tools on hand will make the entire process much easier and more efficient. Here’s a list of tools you’ll need:
- Utility knife or scissors: You’ll need a sharp utility knife or a pair of scissors to cut through the fabric, straps, and fasteners of the mattress.
- Pliers: Pliers will come in handy for removing any staples or nails that might be holding the mattress together.
- Phillips head screwdriver: If your mattress has any screws or bolts, a Phillips head screwdriver will be necessary to remove them.
- Work gloves: It’s important to protect your hands during the dismantling process, so be sure to wear a pair of sturdy work gloves.
- Trash bags: You’ll need large trash bags to collect and dispose of the various components of the mattress.
Once you’ve gathered all the necessary tools, find a clean and well-lit area where you can comfortably work on dismantling your mattress.
Now that you’re all set with the tools, it’s time to move on to the next step: removing the bedding and mattress cover.
Step 2: Remove the bedding and mattress cover
Before you can start dismantling your mattress, you need to strip it of all bedding and remove the mattress cover, if applicable. Here’s how:
- Start by removing all sheets, pillowcases, and any other bedding from the mattress. Fold them neatly and set them aside for washing or storage.
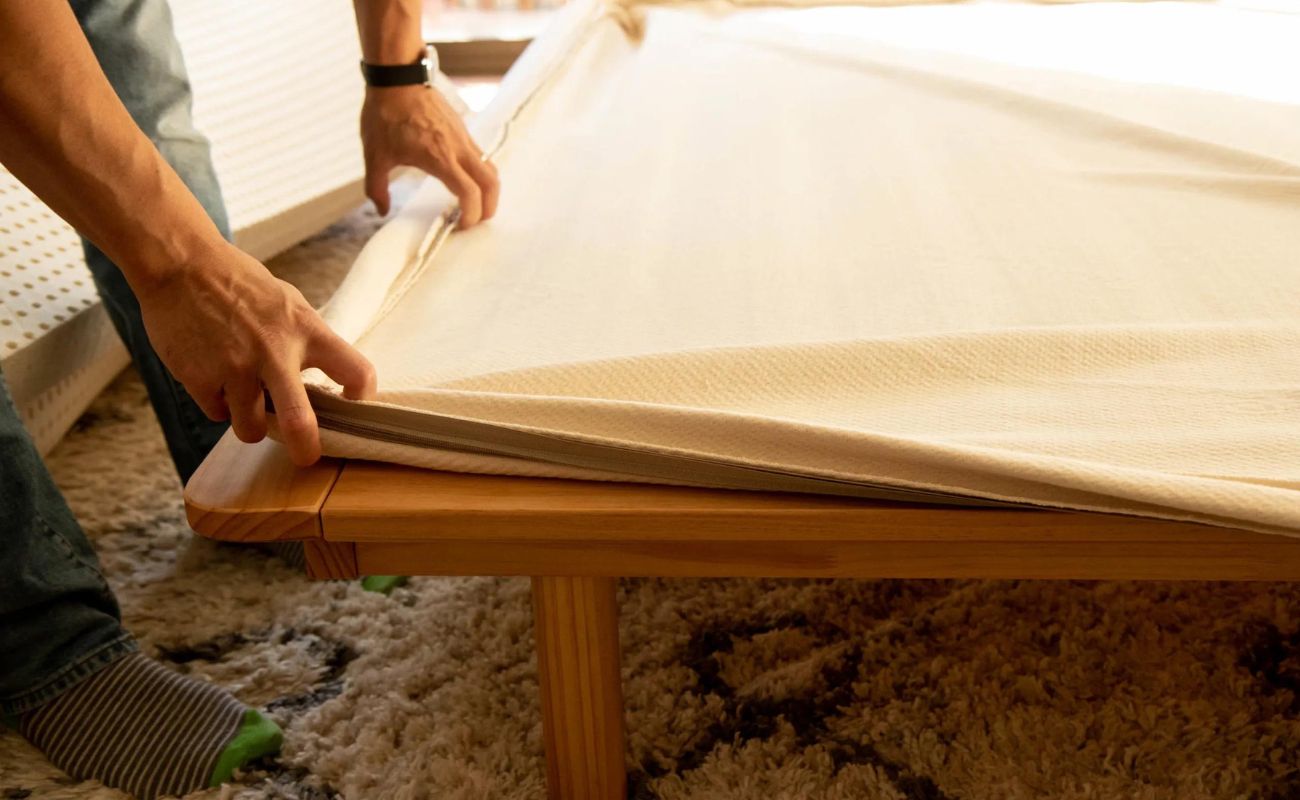
- If your mattress has a removable mattress cover, carefully unzip it and remove it from the mattress. Some mattress covers may have straps or fasteners that need to be undone before you can fully remove them. Follow the manufacturer’s instructions, if available.
- If your mattress doesn’t have a removable cover, proceed to the next step.
Removing the bedding and mattress cover will give you a clear view of the mattress’s construction and make it easier to dismantle. It’s also a good opportunity to inspect the mattress for any stains, damage, or signs of wear and tear.
With the bedding and cover removed, you’re ready to move on to the next step: unzipping the mattress cover (if applicable).
Step 3: Unzip the mattress cover (if applicable)
If your mattress has a removable cover that is secured with a zipper, you’ll need to unzip it to access the inner layers of the mattress. Here’s how:
- Locate the zipper that runs along the edge or underside of the mattress cover.
- Carefully unzip the cover, starting from one end and working your way to the opposite end. Take your time and avoid using excessive force to prevent any damage to the zipper or fabric.
- Once the zipper is completely undone, gently pull back the cover to expose the layers of the mattress.
Not all mattresses come with a removable cover, so if yours doesn’t have one, you can skip this step and proceed to the next one.
By unzipping the mattress cover, you’ll gain a deeper understanding of the mattress’s construction and be better prepared to tackle the next steps in the dismantling process.
With the mattress cover unzipped or without a removable cover at all, it’s time to move on to step 4: cutting or untying any straps or fasteners holding the mattress together.
Step 4: Cut or untie any straps or fasteners holding the mattress together
Once you have removed the bedding and, if applicable, unzipped the mattress cover, it’s time to check if there are any straps or fasteners holding the various layers of the mattress together. Here’s what you need to do:
- Inspect the mattress for any straps, ties, or fasteners that might be securing the layers.
- If you find any, carefully cut or untie them using a utility knife or a pair of scissors. Take caution not to damage the mattress or yourself while doing so.
- Some mattresses may have a single layer that is held in place by stitching instead of straps or fasteners. In this case, you can skip this step.
Removing these straps or fasteners will allow you to disassemble the mattress more easily in the next steps. It’s important to note that not all mattresses will have these additional securing mechanisms. However, it’s always a good idea to double-check just in case.
With any straps or fasteners removed, you’re ready to move on to the next step: removing the top comfort layer (if applicable).
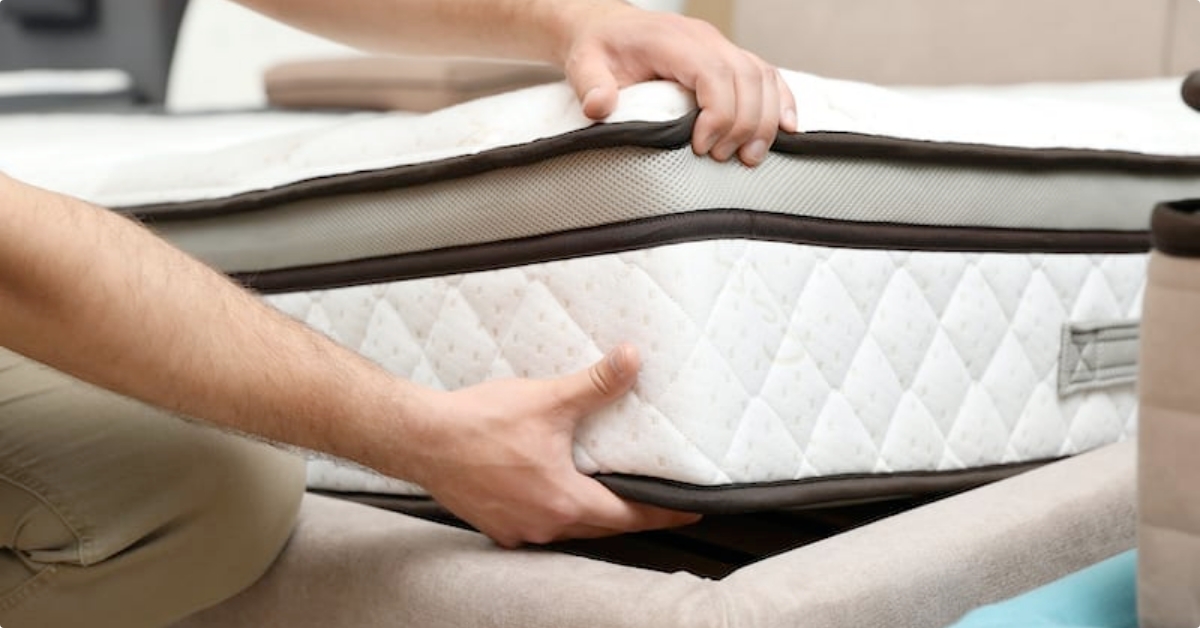
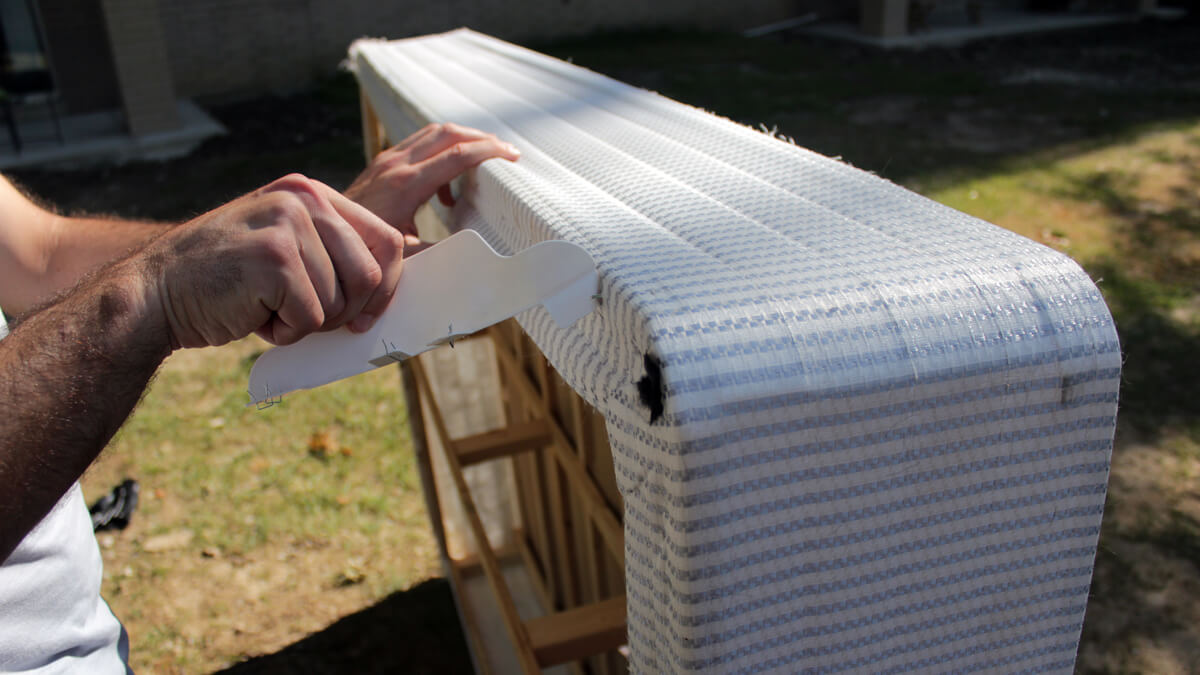
When dismantling a mattress, start by removing the outer fabric and foam layers to access the inner springs or support system. Use the right tools and be mindful of sharp edges. Dispose of each component responsibly.
Read more: How To Dismantle A Tool Shed
Step 5: Remove the top comfort layer (if applicable)
Some mattresses have a top comfort layer that provides extra cushioning and support. If your mattress has such a layer, you’ll need to remove it before proceeding with the dismantling process. Here’s how:
- Locate the top comfort layer of your mattress. It is usually made of foam, latex, or a pillow-top material.
- Depending on the design of your mattress, the comfort layer may be attached using adhesive or it may be removable.
- If it is attached, carefully cut through the adhesive using a utility knife or a pair of scissors to detach the comfort layer from the rest of the mattress.
- If the comfort layer is removable, unzip it or follow the manufacturer’s instructions to unfasten it.
- Gently lift and separate the comfort layer from the mattress, taking care not to tear or damage it.
If your mattress does not have a separate comfort layer or if it cannot be easily removed, you can skip this step and proceed to the next one.
Removing the top comfort layer will allow you to access the underlying layers of the mattress more easily. It’s important to handle the comfort layer with care as you’ll need it intact if you plan to reuse it or dispose of it separately.
With the top comfort layer removed, it’s time to move on to step 6: cutting the mattress into sections.
Step 6: Cut the mattress into sections
Now that you’ve removed the bedding, unzipped the mattress cover (if applicable), and taken out the top comfort layer (if present), you’re ready to start cutting the mattress into sections. This step will make it easier for you to handle and dispose of the mattress. Follow these steps:
- Using a utility knife or scissors, carefully cut along the edges of the mattress to divide it into manageable sections. The exact number of sections will depend on the size and dimensions of your mattress as well as your own preference.
- Start by cutting off the corners of the mattress. This will allow you to maneuver the knife or scissors more easily when cutting through the rest of the mattress.
- Once the corners are cut, move along the edges, making straight-line cuts to divide the mattress into sections. Take your time and use steady, controlled movements to ensure clean cuts.
- If your mattress has a particularly thick or dense core, you may encounter resistance while cutting. In such cases, you may need to apply more pressure or use a serrated knife specifically designed for cutting through mattresses.
As you cut through the mattress, be aware of any inner components such as springs or foam layers. Exercise caution to avoid damaging these elements.
Once you have finished cutting the mattress into sections, you’re one step away from completing the dismantling process. Next, we’ll discuss how to dispose of the mattress sections.
Step 7: Dispose of the mattress sections
After successfully cutting your mattress into sections, it’s time to figure out the best way to dispose of them. Here are a few options to consider:
- Recycling: Check if there are any local recycling centers or mattress recycling programs in your area. Many materials in mattresses, such as foam and metal springs, can be recycled and repurposed.
- Donation: If the mattress sections are still in good condition, consider donating them to a local charity or non-profit organization. Some organizations may accept mattress components to repurpose or refurbish.
- Curbside collection: Inquire with your local waste management or sanitation department to see if they offer curbside collection for large items like mattresses. They may have specific guidelines for how to prepare the mattress sections for collection.
- Disposal service: If none of the above options are feasible or available, you can contact a professional disposal service to handle the mattress sections. They will have the necessary equipment and expertise to properly dispose of the materials.
It’s important to note that the disposal options may vary depending on your location. Some areas may have specific regulations or restrictions regarding mattress disposal.
Before you proceed with any disposal method, make sure to double-check local regulations, contact relevant authorities or organizations, and follow their guidelines for safe and responsible disposal.
Congratulations! You’ve successfully dismantled your mattress and explored different options for its disposal. By following these steps, you’ve not only gained a deeper understanding of your mattress’s construction but also contributed to environmentally-friendly practices.
Dispose of the mattress sections responsibly and confidently, knowing that you’ve taken steps towards a cleaner and clutter-free living space.
With the mattress dismantled and disposed of, you can now enjoy a fresh start or proceed with your intended plans, whether it be getting a new mattress or repurposing the space in your bedroom.
Thank you for following this guide, and we hope you found it helpful and informative!
Conclusion
Dismantling a mattress can seem like a daunting task, but with the right tools, techniques, and a bit of patience, it can be a rewarding and manageable endeavor. By following the steps outlined in this guide, you can successfully break down your mattress and dispose of it responsibly.
Remember to gather all the necessary tools before you begin, including a utility knife or scissors, pliers, a Phillips head screwdriver, work gloves, and trash bags. These tools will make the dismantling process smoother and safer.
Start by removing the bedding and, if applicable, unzipping the mattress cover. If your mattress has any straps or fasteners, be sure to cut or untie them carefully. Additionally, if there is a removable top comfort layer, take the time to detach it properly.
Once you’ve completed these initial steps, you can proceed to cut the mattress into sections. Ensure you make clean cuts while being mindful of any inner components, such as springs or foam layers, to avoid damage.
Finally, consider your options for disposing of the mattress sections. Recycling, donation, curbside collection, or professional disposal services are all viable choices. Research local regulations and guidelines to ensure that you dispose of the sections responsibly and in accordance with local regulations.
By dismantling your mattress and taking the necessary steps to properly dispose of it, you are not only managing waste effectively but also contributing to a cleaner and greener environment.
Thank you for using this comprehensive guide to dismantle your mattress. We hope it has provided you with valuable insights and guidance. Now, sit back, relax, and enjoy your clutter-free bedroom!
Frequently Asked Questions about How To Dismantle A Mattress
Was this page helpful?
At Storables.com, we guarantee accurate and reliable information. Our content, validated by Expert Board Contributors, is crafted following stringent Editorial Policies. We're committed to providing you with well-researched, expert-backed insights for all your informational needs.
