Home>Garden Essentials>Garden Storage>How To Dismantle A Glued Wardrobe
Garden Storage
How To Dismantle A Glued Wardrobe
Modified: October 20, 2024
Learn how to dismantle a glued wardrobe for easy storage. Our step-by-step guide will help you take apart your furniture without damaging it.
(Many of the links in this article redirect to a specific reviewed product. Your purchase of these products through affiliate links helps to generate commission for Storables.com, at no extra cost. Learn more)
Introduction
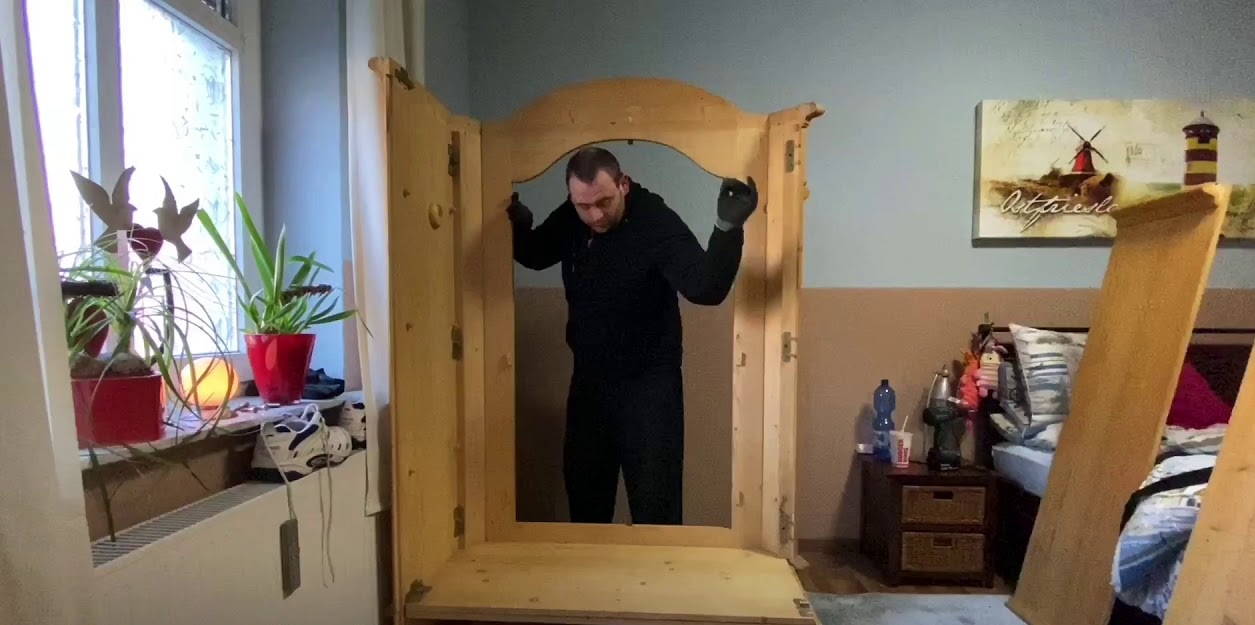
Welcome to our comprehensive guide on how to dismantle a glued wardrobe. Sometimes, whether you’re moving to a new home, renovating a room, or simply looking to replace your old wardrobe, you may find yourself facing the challenge of disassembling a glued wardrobe. While it may seem like a daunting task, with the right tools and techniques, you can dismantle a glued wardrobe efficiently and effectively.
Before we delve into the step-by-step process, it’s important to note that dismantling a glued wardrobe requires caution and proper planning. Ensure you have a clear workspace to maneuver comfortably and gather all the necessary tools before you begin. It’s also recommended to practice safety measures by wearing protective gloves and eyewear to avoid any accidents or injuries.
Now, let’s dive into the details on how to dismantle a glued wardrobe and make the process as smooth as possible.
Key Takeaways:
- Dismantling a glued wardrobe requires careful preparation, the right tools, and patience. From removing doors to storing disassembled parts, following safety measures and proper techniques is key for a successful process.
- Prioritize safety, patience, and organization when dismantling a glued wardrobe. Assess the structure, use the right tools, and store disassembled parts properly for future reassembly or repurposing.
Read more: How To Dismantle A Sofa Recliner
Preparing your workspace
Before you begin dismantling your glued wardrobe, it’s essential to prepare your workspace to create a safe and organized environment. By taking a few extra steps to set up your workspace properly, you can ensure a smoother and more efficient dismantling process.
Here are some key steps to follow when preparing your workspace:
- Clear the surrounding area: Remove any furniture, obstacles, or items that may hinder your movement around the wardrobe. Create ample space around the wardrobe to allow for easy access and maneuverability.
- Protect the floor: Lay down a drop cloth or protective covering on the floor to prevent any damage, scratches, or debris from accumulating during the dismantling process. This will also make it easier to clean up any mess afterwards.
- Gather your tools: Make sure you have all the necessary tools within reach. This may include a screwdriver, pry bar, hammer, pliers, putty knife, scraper, heat gun, and adhesive remover. Having your tools prepared and nearby will save you time and effort during the dismantling process.
- Wear protective gear: Prioritize your safety by wearing sturdy work gloves and protective eyewear. These protective items will safeguard your hands and eyes from any potential hazards, such as sharp edges, flying debris, or chemical residues.
- Organize your workspace: Set up a designated area or table to lay out and organize the dismantled parts of the wardrobe. This will ensure that you keep track of all the pieces and prevent them from getting lost or damaged. Use containers or labeling to sort and store screws, bolts, and other small hardware.
By taking the time to properly prepare your workspace, you can minimize potential risks, work more efficiently, and maintain a clean and organized environment throughout the process of dismantling your glued wardrobe.
Assessing the wardrobe
Before you start dismantling the glued wardrobe, it’s important to assess the structure and construction of the wardrobe. This step will help you better understand how the wardrobe is assembled and identify the areas where the glue is used.
Here are some key points to consider when assessing the wardrobe:
- Examine the joints: Take a close look at the corners and joints of the wardrobe to determine where the glue is applied. Glue is commonly used in areas such as the edges of panels, joints between sections, and the connection points of shelves and drawers.
- Identify the type of glue: Different types of glue may be used in the construction of the wardrobe, such as wood glue, epoxy, or adhesive tape. Understanding the type of glue used can help you choose the appropriate techniques for disassembling the wardrobe.
- Observe the design and construction: Look for any visible screws, nails, or fasteners that may be securing the wardrobe. Note the placement of hinges, handles, or other hardware that may require additional steps to remove. This information will guide you in the disassembly process.
- Check for removable parts: Some wardrobes have removable components, such as doors, shelves, or drawers. Identify if any of these parts can be easily detached before attempting to dismantle the glued sections. This will help simplify the process and reduce the risk of damaging the wardrobe.
- Take measurements: If you plan to reassemble the wardrobe at a later stage, it’s helpful to take measurements and photographs of the wardrobe’s dimensions, arrangement, and any unique features. This will assist you in recreating the wardrobe accurately when the time comes.
By thoroughly assessing the wardrobe, you gain valuable insight into its construction and adhesive usage. This knowledge will allow you to strategize the disassembly process and select the most appropriate methods for separating the glued sections, ensuring a successful dismantling of the wardrobe.
Gathering the necessary tools
Before you begin the process of dismantling a glued wardrobe, it’s crucial to gather all the necessary tools. Having the right tools on hand will make the dismantling process easier and more efficient. Here are the essential tools you will need:
- Screwdriver: A screwdriver with interchangeable heads (flathead and Phillips) will be indispensable for removing screws that hold the wardrobe together.
- Pry bar: A pry bar or crowbar will help you pry open glued sections and create separation between panels.
- Hammer: A hammer will come in handy for tapping and loosening stubborn glued areas or for removing nails and fasteners.
- Pliers: Pliers are useful for gripping and twisting small hardware such as screws, nails, or staples that may need to be removed during the disassembly process.
- Putty knife or scraper: A putty knife or scraper can be used to gently separate glued parts by working the blade between the surfaces.
- Heat gun: Utilizing a heat gun can help soften the glue, making it easier to dismantle glued sections. Be cautious when using a heat gun, as excessive heat can damage the wardrobe’s surface.
- Adhesive remover: An adhesive remover will be beneficial for removing any residual glue or adhesive from surfaces after the dismantling process.
- Protective gear: It’s essential to prioritize safety during the dismantling process. Wear protective gear including work gloves to protect your hands from sharp edges, and safety goggles to shield your eyes from debris.
By gathering these necessary tools before you begin dismantling the glued wardrobe, you’ll be prepared for any challenges that may arise and ensure the process goes smoothly. Having the right tools at your disposal will save you time and effort, making the dismantling process much more manageable.
Safety precautions
When it comes to dismantling a glued wardrobe, safety should always be a top priority. The process may involve sharp tools, potentially harmful substances, and heavy pieces of furniture. By taking certain safety precautions, you can minimize the risk of accidents and injuries. Here are some essential safety measures to consider:
- Wear protective gear: Before you start dismantling the wardrobe, put on proper protective gear, including sturdy work gloves and safety goggles. Gloves will protect your hands from sharp edges, splinters, and potential injuries. Safety goggles will shield your eyes from flying debris, dust, and any chemical fumes that may be released from adhesive removers.
- Work in a well-ventilated area: If you’re using adhesive removers or heat guns, make sure to work in a well-ventilated area. Proper ventilation will help dissipate any fumes that may be emitted, reducing the risk of respiratory irritation or other health issues.
- Use tools properly: Familiarize yourself with the proper usage of the tools you are using. Follow the manufacturer’s instructions and handle them with care. Avoid using excessive force, as it may lead to accidents or damage to the wardrobe or yourself.
- Take breaks and stay hydrated: Dismantling a wardrobe may be physically demanding. Remember to take regular breaks to rest and stretch your muscles. Stay hydrated by having water nearby to prevent dehydration.
- Secure heavy or unstable components: If any parts of the wardrobe are large or heavy, secure them properly to prevent them from toppling over. This will help avoid injuries and damage to the furniture or surrounding area.
- Follow proper lifting techniques: When lifting heavy sections or furniture pieces, use your leg muscles instead of your back. Bend your knees, maintain a straight back, and lift with your legs to minimize the risk of strains or injuries.
- Work with a partner if needed: If the wardrobe is large, heavy, or difficult to handle on your own, consider enlisting the help of a partner. Working together can make the dismantling process safer and more manageable.
- Keep children and pets away: Ensure that children and pets are kept a safe distance away from the work area to prevent accidents or injuries. Store tools and sharp objects properly to avoid any potential hazards.
By following these safety precautions, you can maintain a secure environment and minimize the risk of accidents or injuries while dismantling the glued wardrobe. Prioritizing safety will help ensure a smooth and successful dismantling process.
Read more: How To Dismantle A Mattress
Removing the doors
One of the first steps in dismantling a glued wardrobe is to remove the doors. This will make it easier to access the interior and facilitate the disassembly process. Here’s a step-by-step guide on how to remove the doors:
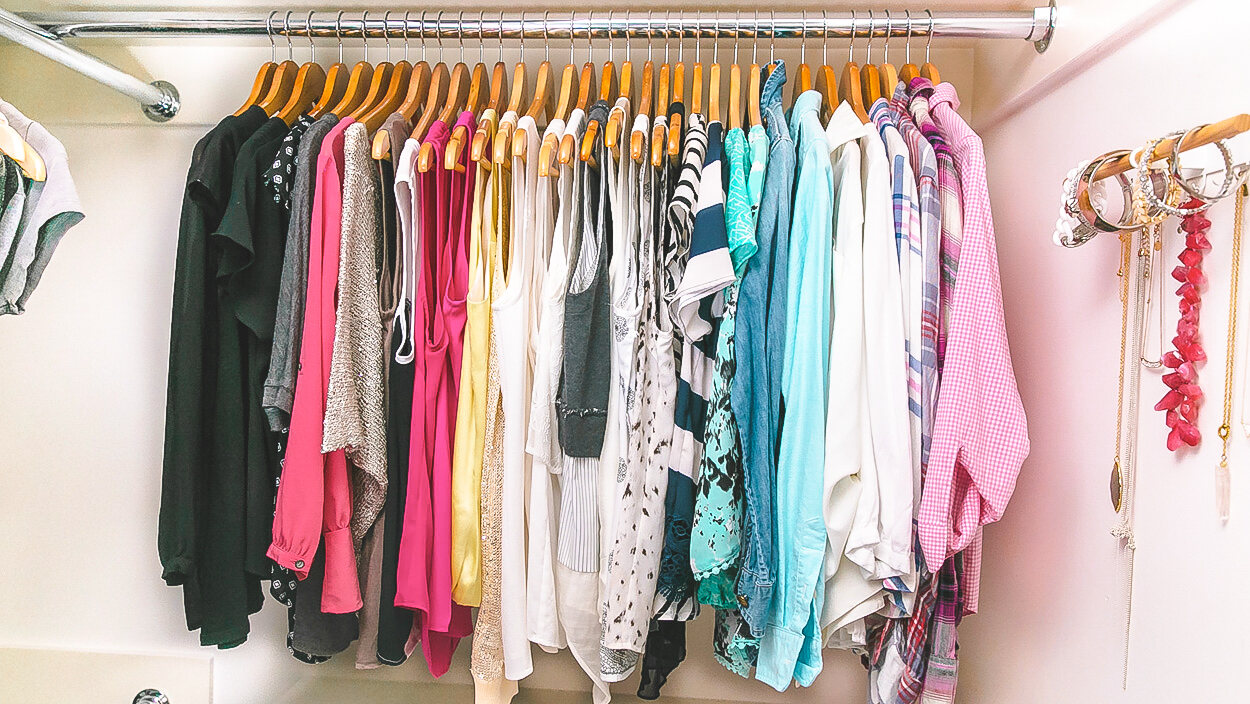
- Empty the wardrobe: Clear out any items or clothing from the wardrobe to create an unobstructed space for the door removal process.
- Locate the hinges: Identify the hinges that connect the doors to the wardrobe. These hinges are usually positioned on the inside of the wardrobe, on the side where the doors are attached.
- Remove the hinge pins: Depending on the type of hinges used, there may be hinge pins that hold the doors in place. Use a screwdriver or a hammer and a nail to tap out the hinge pins, gradually loosening them until they can be removed completely. Some hinges may require the use of a wrench or pliers to unscrew them.
- Detach the doors: Once the hinge pins are removed, gently lift the doors off the hinges. Ensure you have a firm grip and support the weight of the doors to prevent them from falling or getting damaged.
- Store the doors safely: Place the removed doors in a safe and secure location. You can lean them against a wall, lay them flat, or stack them carefully to avoid any scratches or damage. Consider using furniture blankets or protective padding to prevent any potential issues.
By following these steps, you can easily remove the doors from the glued wardrobe. Remember to handle the doors with care to avoid any accidents or damages. Once the doors are safely removed, you can proceed with the dismantling process of the remaining sections of the wardrobe.
Detaching the hinges
After removing the doors from the glued wardrobe, the next step is to detach the hinges that are still attached to the wardrobe frame. Here’s a step-by-step guide on how to detach the hinges:
- Inspect the hinges: Take a close look at the hinges that remain on the wardrobe frame. Different types of hinges may be used, such as butt hinges, Euro hinges, or concealed hinges. Identify the type of hinges you are working with for the most effective removal method.
- Remove screws: Using a screwdriver, carefully remove the screws that secure the hinges to the wardrobe frame. Start by loosening the screws, then completely unscrew them. Keep the screws in a safe place to avoid misplacing them.
- Release the hinge plates: Some hinges may have additional parts, such as hinge plates or mounting brackets. These components may be attached to the wardrobe frame using screws or other fasteners. Remove these screws or fasteners to release the hinge plates.
- Gently pry the hinges: If the hinges are glued or stuck to the wardrobe frame, use a pry bar or a flathead screwdriver to gently pry them away from the surface. Apply pressure gradually to avoid any damage to the wardrobe frame or surrounding area. Be cautious not to force or bend the hinges excessively.
- Inspect for any remaining adhesive: After removing the hinges, inspect the area around the hinge for any adhesive residue. If there is any adhesive remaining, use a putty knife or scraper to carefully remove it. You can also use an adhesive remover to dissolve stubborn adhesive if needed. Follow the manufacturer’s instructions when using adhesive removers.
- Repeat for all hinges: Repeat the process of removing the screws, releasing the hinge plates, prying the hinges, and removing any residue for all the hinges remaining on the wardrobe frame.
By following these steps, you can successfully detach the hinges from the glued wardrobe. Take your time and exercise caution during this process to avoid any accidental damage. Once all hinges are removed, you can proceed to the next steps in dismantling the wardrobe.
Use a hairdryer to heat the glue and carefully pry the pieces apart with a putty knife. Be patient and work slowly to avoid damaging the wardrobe.
Loosening the glued sections
Once the doors and hinges have been removed from the wardrobe, the next step is to loosen the glued sections. Glue is often used to secure various parts of the wardrobe together, and loosening these glued sections is essential for a successful dismantling process. Here’s a step-by-step guide on how to loosen the glued sections:
- Identify the glued sections: Take a close look at the wardrobe to identify the areas where glue has been applied. Common areas include the edges of panels, joints between sections, and connection points of shelves and drawers. Make a mental note or mark these locations for easy reference.
- Tap with a mallet or hammer: Using a rubber mallet or a hammer wrapped in a cloth, gently tap the glued sections. The aim is to create vibrations that can help loosen the bond between the glued surfaces. Be careful not to hit too hard, as it may cause damage to the wardrobe.
- Apply pressure: Use your hands or a pry bar to apply gentle pressure to the glued sections. Gradually apply more force while being mindful of the resistance. The goal is to slowly separate the surfaces without causing any damage.
- Use a heat gun: If the glue is stubborn and doesn’t loosen easily, you can apply heat to soften it. Keep the heat gun at a safe distance from the wardrobe and move it back and forth across the glued area. The heat will help soften the glue, making it easier to separate the glued sections.
- Work with a partner: If the glued sections are large or heavy, it may be helpful to have a partner assist you in applying pressure or using the heat gun. Working together can make the process easier and safer.
- Be patient and repeat if necessary: Loosening glued sections may take time, and it’s important to be patient. If the glue doesn’t loosen on the first attempt, repeat the tapping, pressure, and heat application process until the bonded surfaces start to separate.
By following these steps, you can effectively loosen the glued sections of the wardrobe. Take care to avoid damaging the wardrobe during the process and be patient, as some sections may require more effort to separate. Once the glued sections are loosened, you can proceed with further disassembly of the wardrobe.
Applying heat to soften the glue
When it comes to dismantling a glued wardrobe, applying heat to soften the glue can be a highly effective technique. Heat helps to break down the adhesive bond, making it easier to separate the glued sections without causing damage. Here’s a step-by-step guide on how to apply heat to soften the glue:
- Choose the right heat source: Use a heat gun or a hairdryer with a nozzle attachment to direct controlled heat onto the glued area. Ensure that you have a heat source that allows you to adjust the temperature and airflow, as excessive heat can damage the wardrobe or surrounding surfaces.
- Protect the surrounding area: Before applying heat, use aluminum foil or a heat-resistant material to cover any adjacent surfaces that you want to protect from potential heat damage. This will help to prevent any accidental marks or discoloration on the wardrobe or nearby objects.
- Set the heat gun to a low or medium setting: Begin by setting the heat gun to a low or medium temperature. It’s best to start with a lower setting and increase the temperature gradually, if needed. The goal is to soften the glue without scorching or causing any other damage to the wardrobe.
- Keep a safe distance: Hold the heat gun several inches away from the glued area to avoid direct contact with the wardrobe. Move the heat gun around the glued section in a slow, circular motion. This will distribute the heat evenly and prevent any localized overheating.
- Observe the glue: As you apply heat to the glued section, keep a close eye on the glue’s appearance and texture. The glue will start to soften and become more pliable, which indicates that it is ready for separation. Be cautious not to overheat the area or leave the heat source in one spot for too long.
- Use a pry bar or scraper: Once the glue has softened, gently insert a pry bar or a putty knife between the glued surfaces. Gradually apply pressure to separate the sections, taking care not to force or pry too aggressively. If needed, apply additional heat to stubborn areas to further soften the glue.
- Clean up any residue: After separating the glued sections, you may find some residual adhesive on the surfaces. Use a putty knife or a scraper to remove any remaining glue. If necessary, you can also use an adhesive remover or rubbing alcohol to dissolve or clean the leftover residue.
By following these steps, you can effectively apply heat to soften the glue and make the dismantling process of the glued wardrobe much smoother. Remember to exercise caution and patience throughout the process to avoid damaging the wardrobe or injuring yourself. Proper heat application will help you safely separate the glued sections and continue with the disassembly process.
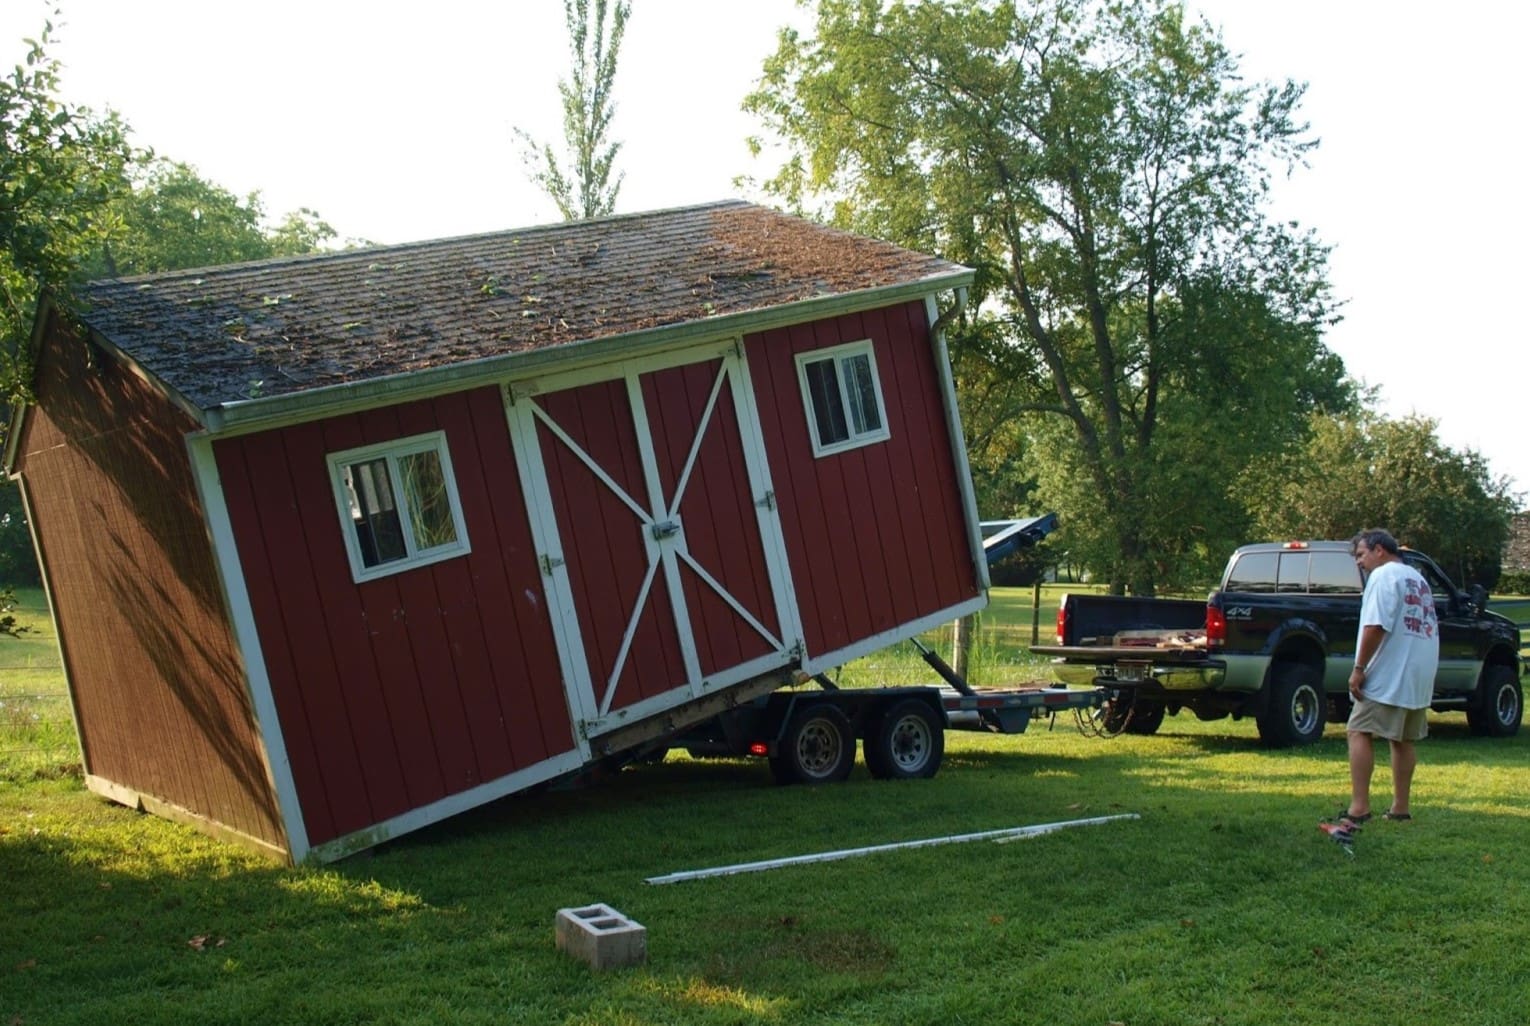
Read more: How To Dismantle A Tool Shed
Using a putty knife or scraper to gently separate glued parts
When dismantling a glued wardrobe, using a putty knife or scraper is an effective method for gently separating the glued parts. These tools allow you to create a thin barrier between the glued surfaces, gradually loosening the bond without causing damage. Here’s a step-by-step guide on how to use a putty knife or scraper:
- Select the right tool: Choose a putty knife or scraper that is appropriate for the size and material of the wardrobe. A putty knife with a thin, flexible blade or a scraper with a slightly curved edge can be effective for this task.
- Identify the glued sections: Take a close look at the wardrobe to pinpoint the areas where the glue is applied. This can include the edges of panels, joints between sections, or connection points of shelves and drawers.
- Insert the putty knife or scraper: Carefully insert the edge of the putty knife or scraper between the glued surfaces. Start at one end or corner and work your way along the glued area. Apply gentle pressure to create separation, taking care not to force or pry too aggressively.
- Move the tool along the glued section: Slide the putty knife or scraper along the glued section, incrementally creating a gap between the surfaces. Wiggle the tool back and forth or use a gentle twisting motion to further loosen the glue. Be patient and repeat the process as necessary, working in small sections at a time.
- Utilize multiple angles: If the glue is particularly stubborn, try inserting the putty knife or scraper at different angles. This can help to disrupt the bond and gradually separate the glued surfaces. Use a combination of upward, downward, and sideways motions to find the most effective angle.
- Apply heat if needed: If the glue is resistant and difficult to separate, you can apply heat using a heat gun or hairdryer. Heat softens the glue, making it easier to work with. Be cautious not to overheat the area, and remember to protect the surrounding surfaces to prevent any damage.
- Repeat and clean up residues: Continue inserting the putty knife or scraper and creating separation along the glued sections until the surfaces are completely detached. After separating the parts, you may find residue or adhesive remaining on the surfaces. Use the putty knife or scraper to gently remove any remaining glue. You can also utilize an adhesive remover or rubbing alcohol to clean up the residues.
By following these steps, you can effectively use a putty knife or scraper to gently separate the glued parts of the wardrobe. Take your time, be careful not to damage the wardrobe, and utilize heat or adhesive removers as needed. Using these tools allows for a controlled and careful disassembly process, ensuring a successful dismantling of the glued wardrobe.
Removing any remaining adhesive residue
After disassembling a glued wardrobe, you may encounter some remaining adhesive residue on the surfaces. It’s important to remove this residue to ensure a clean and smooth finish. Here’s a step-by-step guide on how to remove any remaining adhesive residue:
- Assess the residue: Take a close look at the surfaces to identify any areas where adhesive residue is still present. It may appear as sticky, hardened, or discolored patches.
- Try scraping: In many cases, adhesive residue can be scraped off using a putty knife, scraper, or even your fingernail. Gently apply pressure and scrape the residue in a consistent motion. Be cautious not to damage the surface, especially if it is made of delicate material like wood or laminate.
- Use a solvent or adhesive remover: If scraping alone doesn’t remove all the residue, consider using a solvent or specialized adhesive remover. Choose a solvent that is safe for the surface material and follow the manufacturer’s instructions. Apply the solvent to a clean cloth or sponge and gently rub the residue until it loosens and wipes away. Remember to test the solvent on a small, inconspicuous area first to ensure it doesn’t cause any damage or discoloration.
- Try rubbing alcohol: Rubbing alcohol can be an effective homemade solution for removing adhesive residue. Apply a small amount onto a clean cloth and gently rub the residue in circular motions. The alcohol will help dissolve the adhesive, making it easier to remove. Avoid using excessive amounts of alcohol to prevent damage to the surface.
- Consider vinegar or oil: For less stubborn residue, vinegar or cooking oil can be used as natural alternatives to remove adhesive residue. Apply a small amount onto a cloth and rub the residue gently. Both vinegar and oil have adhesive-dissolving properties that can help break down the residue. Wipe away any excess liquid and residue with a clean cloth.
- Clean the surface: After successfully removing the adhesive residue, it’s important to clean the surface to remove any remaining cleaning agents or oils. Use a mild soap and water solution or a surface cleaner appropriate for the material. Wipe the surface thoroughly and dry it with a clean cloth.
- Inspect for any stubborn residue: After cleaning, inspect the surface for any stubborn residue that may still be present. If necessary, repeat the removal process or consider seeking professional assistance if the residue is particularly difficult to remove.
By following these steps, you can effectively remove any remaining adhesive residue from the disassembled wardrobe. Whether using scraping, solvents, or natural remedies, be cautious and test any products or techniques on a small area before applying them to the entire surface. With patience and the right approach, you can achieve a clean, residue-free finish on your wardrobe.
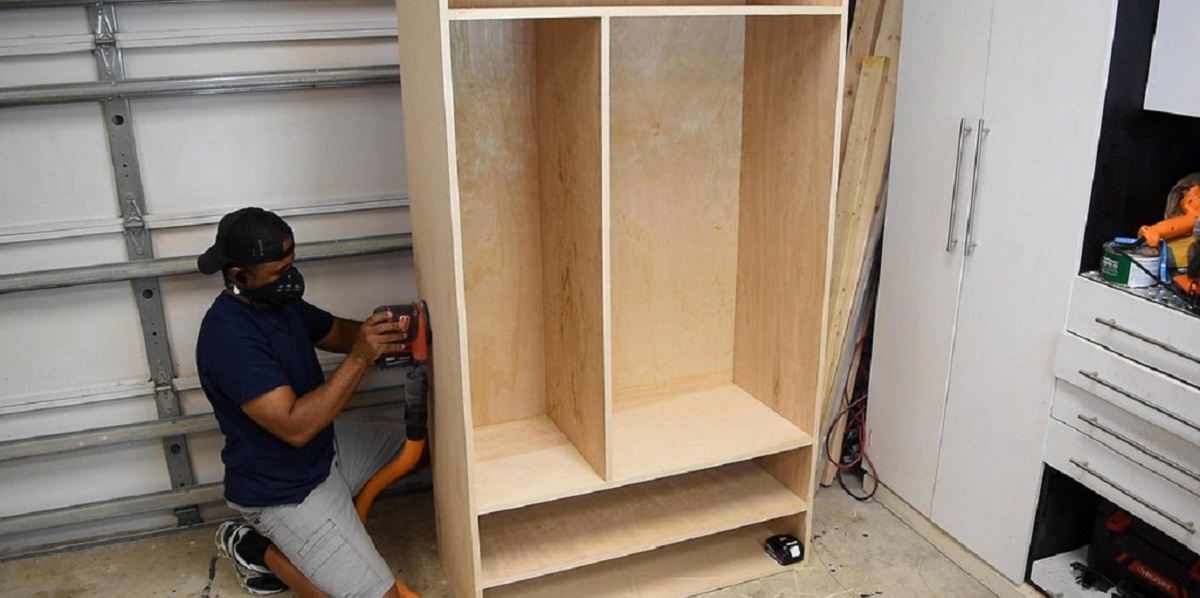
Disassembling the wardrobe panels
Once you have removed the doors, detached the hinges, and loosened the glued sections, the next step in dismantling a wardrobe is to disassemble the panels. This involves separating the various components of the wardrobe, such as the sides, back, top, and bottom. Here’s a step-by-step guide on how to disassemble the wardrobe panels:
- Identify the fasteners: Take a close look at the panels to determine how they are connected. Look for screws, nails, or other types of fasteners that may be securing the panels together.
- Remove fasteners: Use a screwdriver, pry bar, or appropriate tool to remove the fasteners that are holding the panels together. Start at one corner or edge of the panel and gradually work your way along, removing screws or nails one at a time. Place the fasteners in a safe container to avoid misplacing them.
- Apply gentle pressure: As you remove the fasteners, apply gentle pressure to separate the panels from each other. You may need to wiggle or twist the panels slightly to free them from their connections.
- Store disassembled panels: Once a panel is disconnected from the others, carefully set it aside in a safe location. Consider using furniture blankets or protective padding to prevent any scratches or damage to the panels.
- Repeat for all panels: Continue the process of removing fasteners and separating the panels for each section of the wardrobe. Pay attention to any specific instructions or design features that may affect the disassembly process.
- Take precautions for large panels: If some of the panels are large or heavy, you may need additional assistance or support when disassembling them. Use caution to prevent any injuries or damages during the process. Consider using clamps or braces to secure the panels while you work on detaching them.
- Inspect for any hidden connections: After disassembling the panels, inspect each piece to ensure that there are no hidden connections or parts. Some wardrobes may have additional supports or brackets that need to be detached before fully separating the panels.
By following these steps, you can successfully disassemble the wardrobe panels. Remember to work methodically, keeping track of the fasteners and storing the disassembled panels properly. Take precautions for large and heavy panels, and be mindful of any hidden connections that may need to be detached. With patience and careful effort, you can completely dismantle the wardrobe and prepare it for storage, transportation, or any further modifications you have in mind.
Storing the disassembled parts properly
After dismantling a wardrobe, it’s important to store the disassembled parts properly to ensure their safety and maintain their condition. Proper storage will make it easier to reassemble the wardrobe if desired or protect the components during transportation or future use. Here’s a step-by-step guide on how to store the disassembled parts:
- Organize and label: Sort the disassembled parts, such as the panels, doors, and hardware, and organize them in a logical manner. If there are multiple sections or components, consider grouping them together. Label each part or group to make reassembly easier later on.
- Use protective padding: To prevent any scratches or damage, wrap the disassembled parts in furniture blankets, bubble wrap, or foam padding. This will provide an extra layer of protection during storage or transportation. For smaller components, consider using ziplock bags or small containers to keep them organized.
- Find an appropriate storage space: Select a clean, dry, and temperature-controlled area for storing the disassembled parts. Ideally, choose a space away from direct sunlight and where the components won’t be in the way or at risk of being knocked over. A designated storage room, garage, or well-sealed closet can be suitable options.
- Arrange components vertically: If possible, store the wardrobe panels and larger components vertically rather than horizontally. Storing them vertically helps to save space and minimize the risk of warping or other damage. You can lean them against a wall or use adjustable shelving units for support.
- Create an inventory list: Make an inventory list of all the disassembled parts, including a description and the corresponding labels. This list will help you keep track of the components and ensure that nothing is lost or misplaced during storage. Consider taking photographs for reference as well.
- Protect hardware and small parts: Place small hardware, such as screws, nails, and hinges, in labeled ziplock bags or containers. Keep them together with their corresponding parts to avoid confusion when reassembling the wardrobe. Securely attach these bags or containers to a larger piece or tape them to the corresponding panel to keep everything organized.
- Avoid placing weight on top: When stacking or storing the disassembled parts, avoid placing heavy items on top of delicate panels or components. Excessive weight can cause them to warp or become damaged over time.
By following these steps, you can ensure that the disassembled parts of the wardrobe are stored properly. Taking the time to organize, label, and protect the components will make it easier to reassemble the wardrobe in the future or keep the parts in good condition for other purposes. With proper storage, you can confidently store the disassembled wardrobe until you need it again.
Read more: How To Dismantle A Hoover Vacuum Cleaner
Conclusion
Dismantling a glued wardrobe may initially seem like a challenging task, but with the right tools, techniques, and precautions, it can be a manageable process. By following the step-by-step guide outlined in this article, you can successfully dismantle a glued wardrobe and prepare it for transportation, storage, or any necessary modifications.
The process begins by preparing your workspace, clearing the area, and gathering all the necessary tools. Assessing the wardrobe and identifying the glued sections will help you strategize the disassembly process. Removing the doors, detaching the hinges, and using heat or a putty knife to loosen the glued parts are key steps in the dismantling process. Additionally, remembering to remove any remaining adhesive residue and properly storing the disassembled parts will ensure their safety and preservation.
Throughout the process, it’s essential to prioritize safety by wearing protective gear, working in a well-ventilated area, and using tools properly. Take breaks, stay hydrated, and work methodically to avoid accidents or injuries.
Remember, each wardrobe may have unique construction and adhesive types, so adapt the techniques as required. If you’re unsure or uncomfortable with the process, consider seeking assistance from a professional carpenter or furniture specialist.
Dismantling a glued wardrobe can be a rewarding experience, allowing you to repurpose or reassemble the wardrobe in a new space. Proper disassembly and storage techniques ensure that the components remain in excellent condition for future use.
By following these guidelines, you’ll be equipped with the knowledge and confidence to dismantle a glued wardrobe effectively. Happy dismantling!
Now that you've mastered dismantling a glued wardrobe, why not dive deeper into crafting skills that can transform your living space? If you're eager to get hands-on with more DIY projects, our guide on woodworking offers the latest and greatest techniques that are perfect for crafting everything from furniture to intricate decor. Whether you're a seasoned carpenter or a novice looking to expand your skill set, this article is packed with insights that will help you create stunning pieces with precision and flair.
Frequently Asked Questions about How To Dismantle A Glued Wardrobe
Was this page helpful?
At Storables.com, we guarantee accurate and reliable information. Our content, validated by Expert Board Contributors, is crafted following stringent Editorial Policies. We're committed to providing you with well-researched, expert-backed insights for all your informational needs.


0 thoughts on “How To Dismantle A Glued Wardrobe”