Home>Gardening & Outdoor>Outdoor Structures>How To Dismantle A Tool Shed
Outdoor Structures
How To Dismantle A Tool Shed
Modified: October 20, 2024
Learn how to dismantle a tool shed and safely remove outdoor structures with our step-by-step guide. Ensure a smooth process with expert tips and techniques.
(Many of the links in this article redirect to a specific reviewed product. Your purchase of these products through affiliate links helps to generate commission for Storables.com, at no extra cost. Learn more)
Introduction
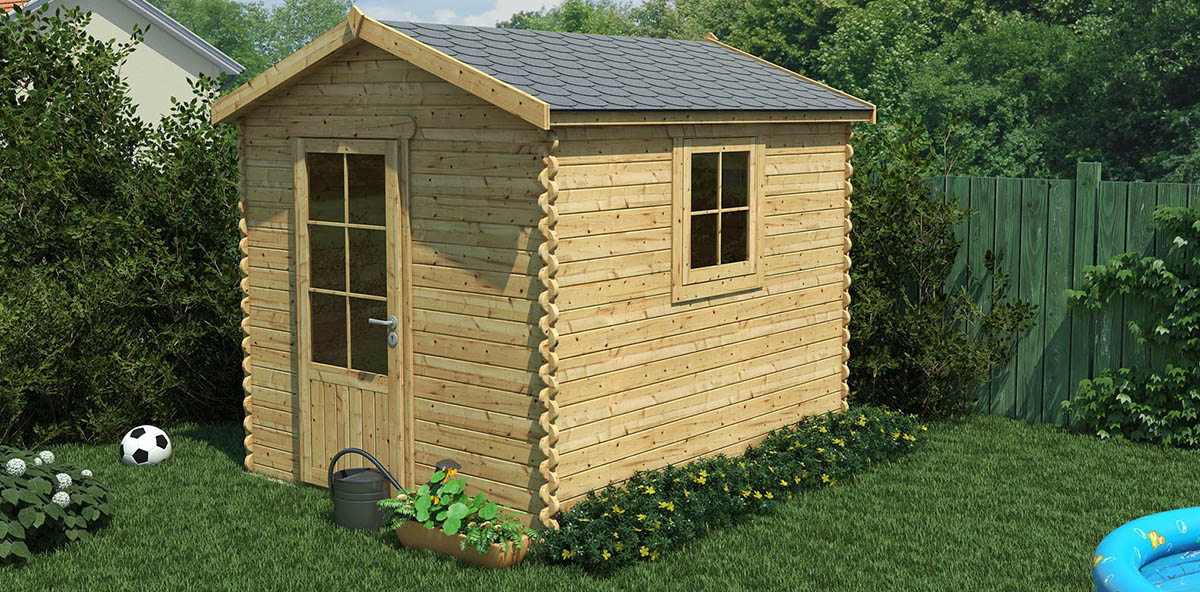
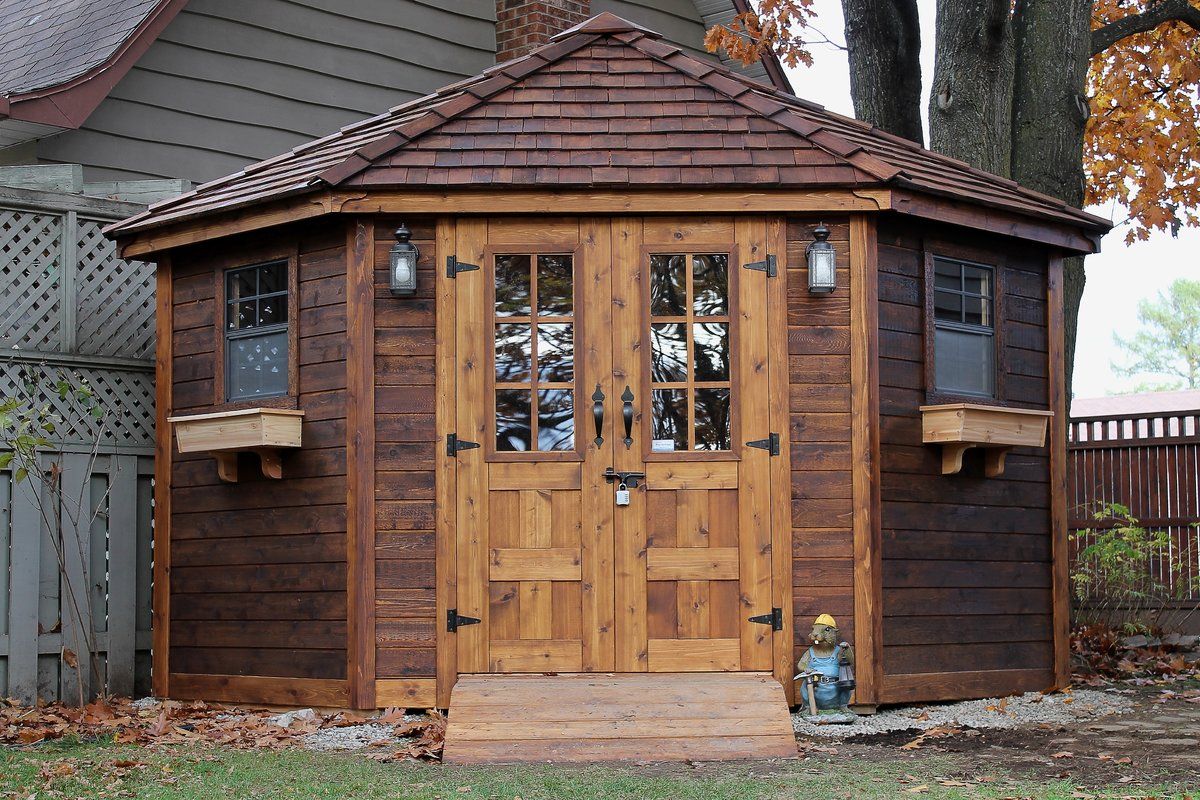
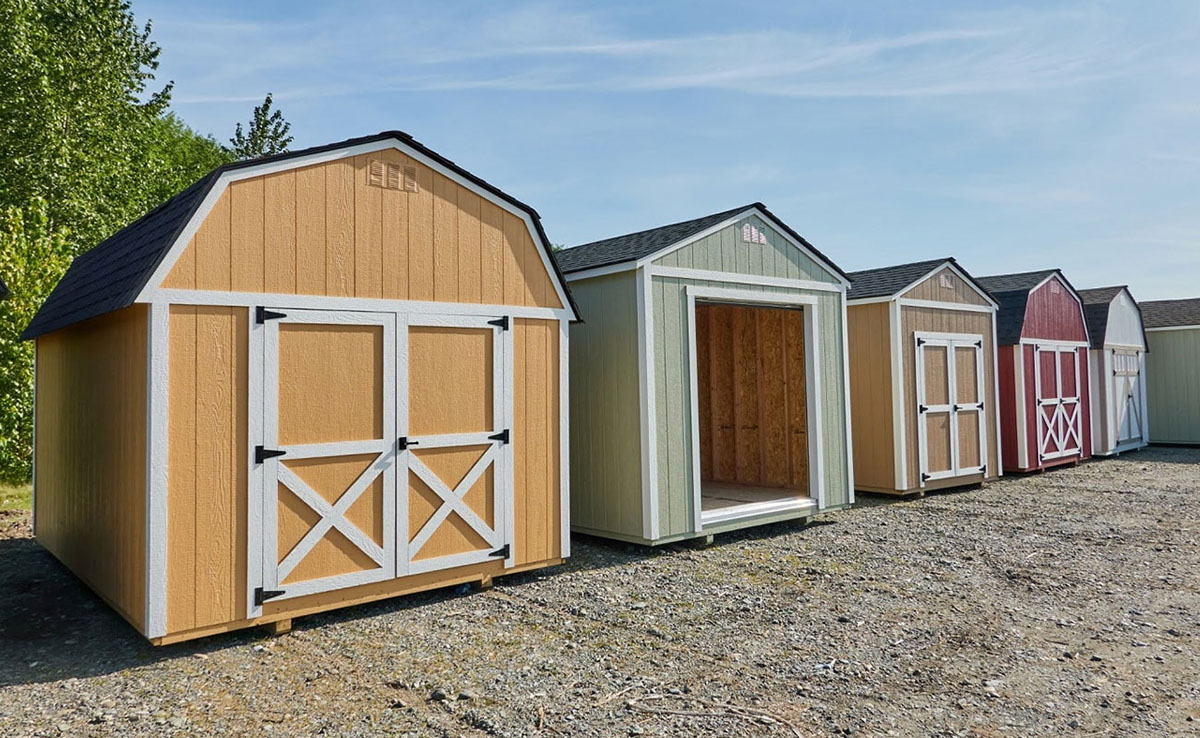
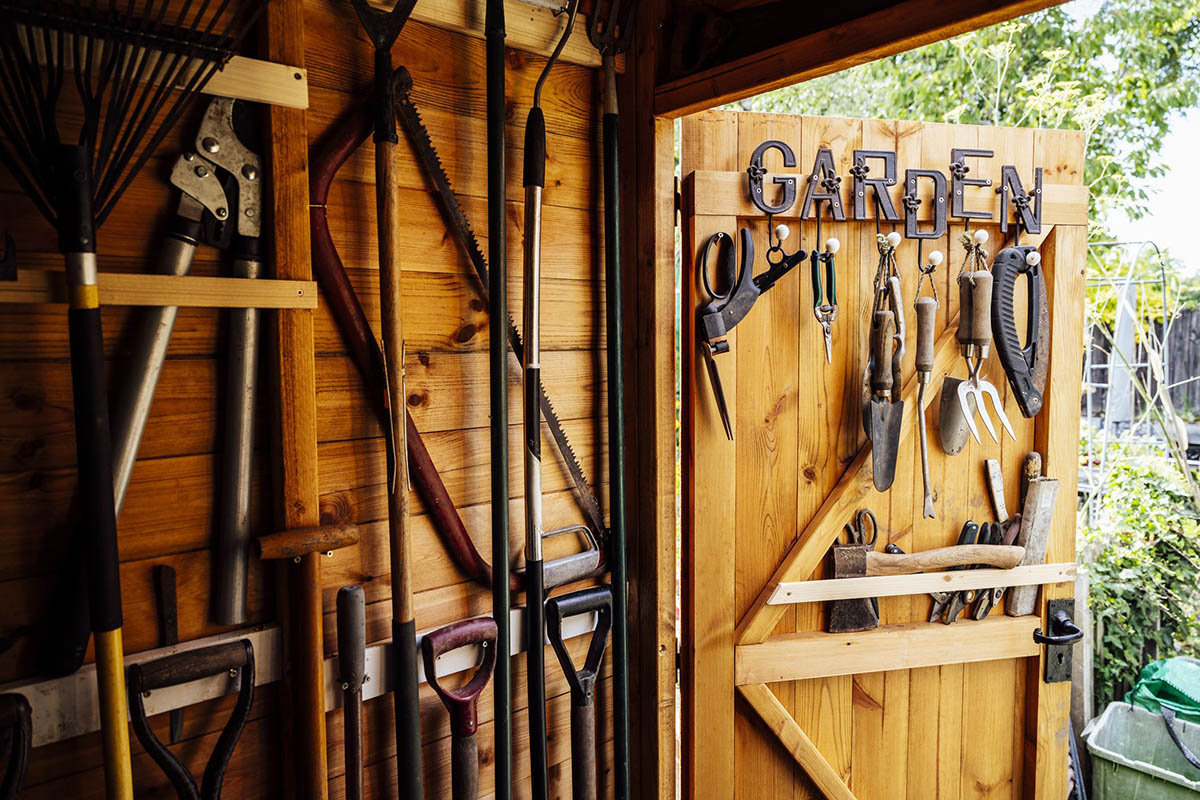
Tool sheds are invaluable for storing gardening equipment, tools, and other essentials for maintaining your outdoor space. However, there may come a time when you need to dismantle a tool shed, whether it’s due to wear and tear, the need for a new shed, or a change in landscaping plans. While the task may seem daunting at first, with the right approach and tools, dismantling a tool shed can be a manageable and rewarding project.
In this comprehensive guide, we will walk you through the step-by-step process of dismantling a tool shed, ensuring that you are well-equipped to tackle this endeavor with confidence. From gathering the necessary tools to the proper disposal of materials, we have you covered. So, roll up your sleeves, and let’s embark on this dismantling journey together!
Key Takeaways:
- Safety and preparation are crucial when dismantling a tool shed. Gathering the right tools, clearing out the shed, and disposing of materials responsibly ensure a smooth and organized process.
- Methodical dismantling and environmental responsibility are key. By systematically removing the roof, walls, and flooring, and responsibly disposing of materials, you can transform your outdoor space while promoting sustainability.
Read more: How To Move A Large Shed Without Dismantling
Step 1: Gather necessary tools and equipment
Before you commence the dismantling process, it’s essential to gather the appropriate tools and equipment to ensure a smooth and efficient operation. Here’s a list of the essential items you’ll need:
- Protective Gear: Prioritize safety by wearing heavy-duty gloves, protective eyewear, and sturdy work boots to shield yourself from potential hazards.
- Power Tools: Depending on the shed’s construction, power tools such as a reciprocating saw, circular saw, or cordless drill with screwdriver bits will expedite the disassembly process.
- Hand Tools: Equip yourself with a pry bar, hammer, utility knife, and a set of screwdrivers for tasks that require manual precision.
- Ladder or Step Stool: For sheds with elevated components, a stable ladder or step stool is indispensable for safe access.
- Container for Screws and Nails: Keep a container handy to store screws, nails, and other small hardware components, preventing them from getting lost during disassembly.
- Assistance: Enlist the help of a friend or family member to assist with heavy lifting and provide an extra pair of hands for certain tasks.
By ensuring that you have these tools and equipment at your disposal, you’ll be well-prepared to tackle the dismantling process efficiently and safely. With safety as a priority and the necessary tools in hand, you’re ready to move on to the next step in dismantling your tool shed.
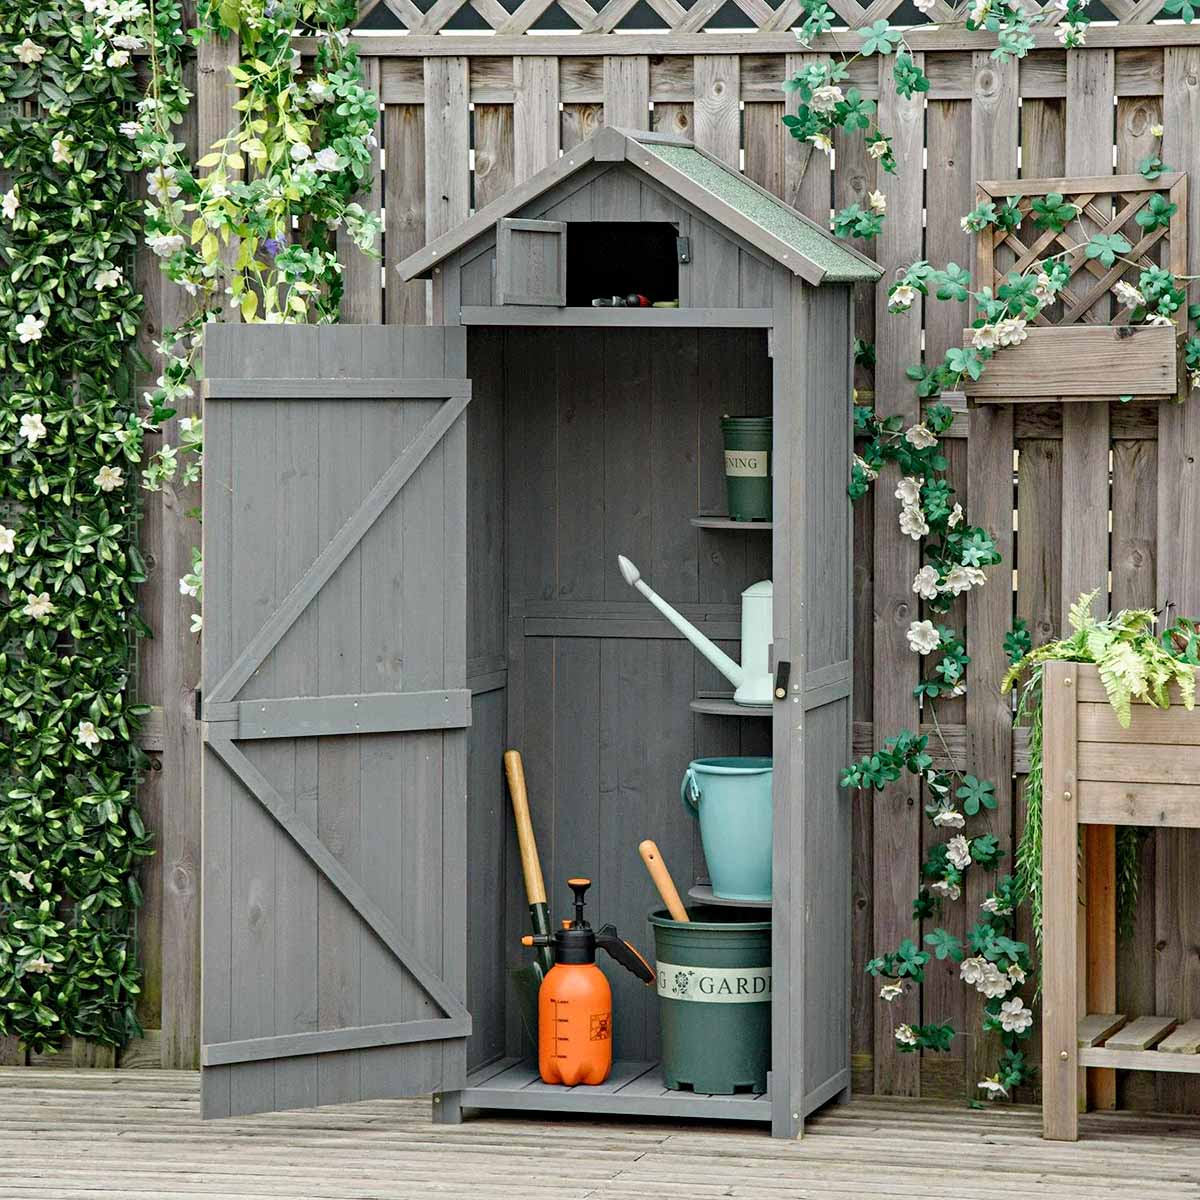
Step 2: Clear out the contents of the shed
Before you begin the physical dismantling of the shed, it’s crucial to clear out its contents. This step not only ensures a safer working environment but also allows you to assess the full scope of the disassembly process. Here’s how to efficiently clear out the shed:
- Remove Items Methodically: Start by taking out smaller items such as hand tools, pots, and gardening supplies. Organize and pack them in labeled boxes for easy relocation or storage.
- Clear Larger Equipment: If your shed houses larger machinery or equipment, carefully maneuver and remove these items to a designated area, ensuring they are safely secured.
- Dispose of Unwanted Items: Sort through the contents and identify any damaged or unnecessary items for proper disposal or recycling. This decluttering process will streamline the shed’s clearing and dismantling.
- Inspect for Hazardous Materials: Check for any hazardous materials such as chemicals, pesticides, or flammable substances. Ensure that these are handled and disposed of in accordance with local regulations and guidelines.
By systematically clearing out the shed’s contents, you’ll create a clear workspace to facilitate the subsequent steps of dismantling. Additionally, this process allows you to safeguard valuable items and responsibly manage any potentially hazardous materials, setting the stage for a well-organized and safe dismantling process.
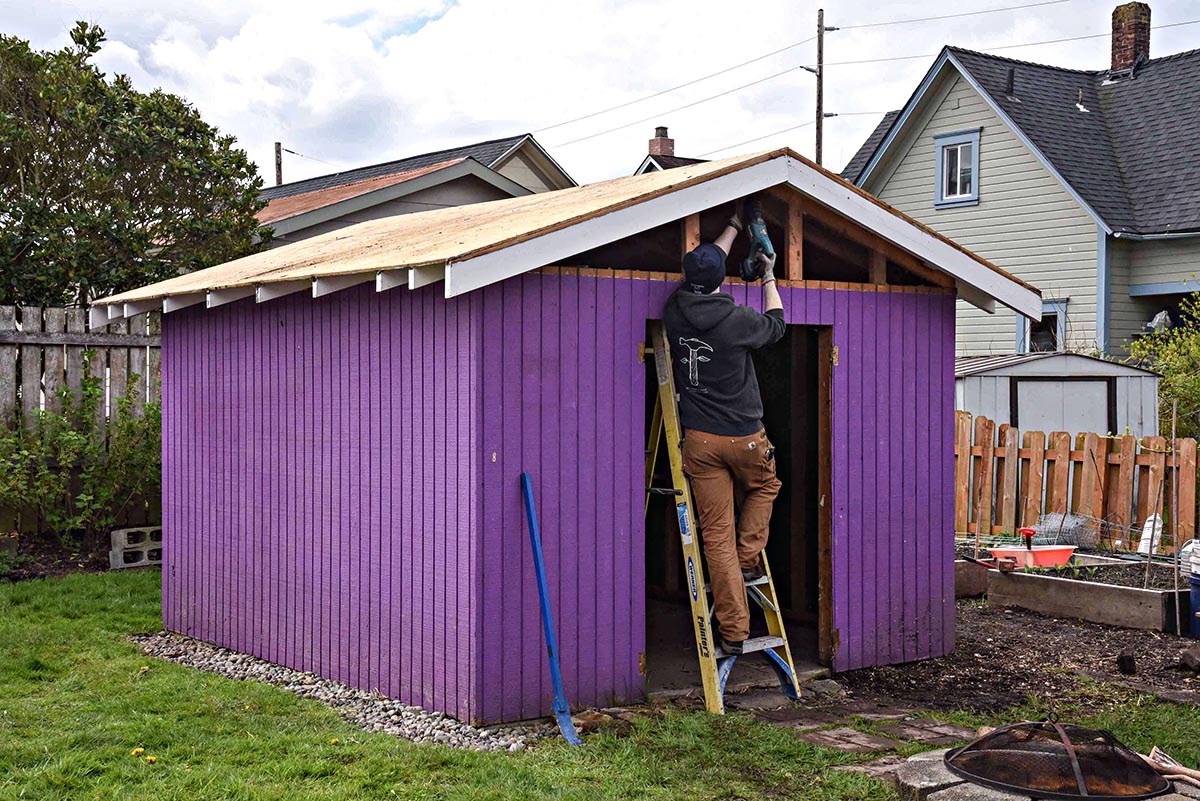
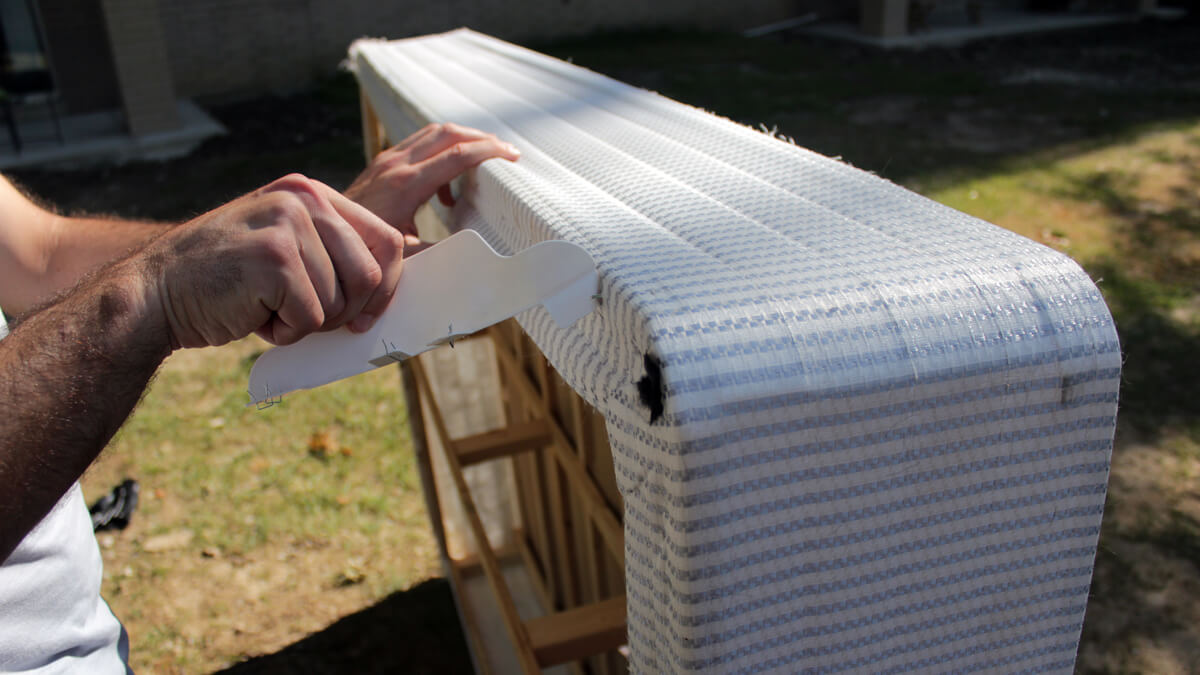
Step 3: Remove the roof and upper structure
With the shed’s contents cleared, it’s time to focus on dismantling the roof and upper structure. This step requires careful planning and attention to safety, as it involves working at elevated heights and handling potentially heavy components. Here’s a comprehensive guide to efficiently removing the roof and upper structure:
- Assess the Roofing Material: Determine the type of roofing material used, whether it’s shingles, metal sheets, or another material. Depending on the material, employ suitable tools to begin removing the roofing systematically.
- Unfasten Roofing Components: If the roof is secured with nails or screws, use a pry bar or appropriate screwdriver to carefully remove these fasteners. Exercise caution to prevent injury from falling debris.
- Disassemble Roof Supports: Identify the supporting framework of the roof and upper structure. Depending on the shed’s construction, carefully disassemble these components, ensuring that the structure remains stable during the process.
- Lower Components Safely: As each section of the roof and upper structure is detached, lower them to the ground with the assistance of a ladder or suitable lifting equipment. Prioritize safety to prevent accidents or damage to surrounding areas.
- Clear Debris as You Progress: Continuously clear away debris and discarded materials to maintain a safe and organized workspace. This practice minimizes potential tripping hazards and enhances overall safety.
By methodically removing the roof and upper structure, you’ll pave the way for the subsequent steps of dismantling the shed’s walls and flooring. Adhering to safety protocols and working diligently, you’ll effectively prepare the shed for the next phase of disassembly, bringing you one step closer to completing the project.
Before dismantling a tool shed, make sure to disconnect any utilities such as electricity and water. Remove any items inside the shed and carefully disassemble it in the reverse order of how it was built, starting with the roof and working your way down to the foundation. Keep track of all hardware and materials for reassembly or disposal.
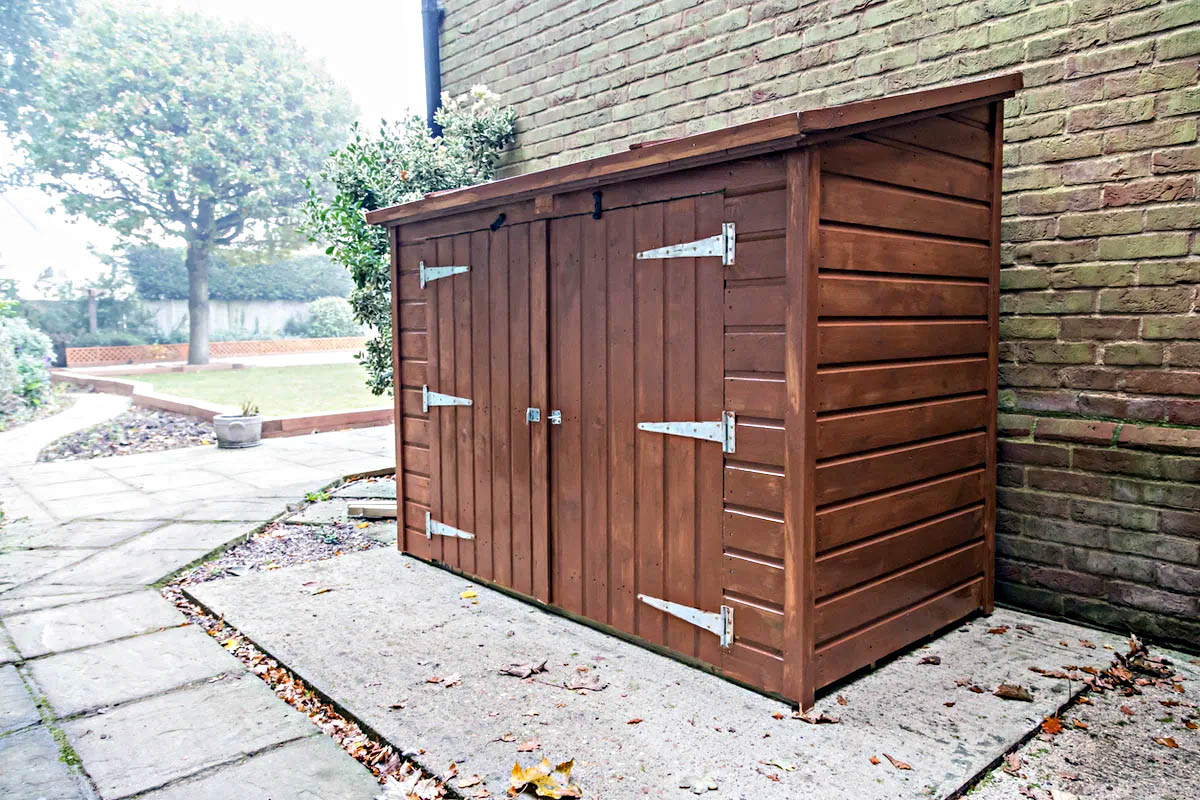
Step 4: Dismantle the walls and flooring
As the roof and upper structure have been successfully removed, the focus now shifts to dismantling the shed’s walls and flooring. This phase requires careful deconstruction to ensure the efficient removal of these integral components. Here’s a detailed guide to effectively dismantling the walls and flooring of the shed:
- Evaluate the Wall Construction: Assess the construction of the walls, identifying the materials used and the method of attachment. Whether the walls are constructed from wood, metal, or another material, understanding their composition is crucial for the deconstruction process.
- Remove Wall Panels or Siding: If the walls are clad with panels or siding, begin by systematically detaching these components. Utilize appropriate tools such as a pry bar or screwdriver to carefully remove fasteners and release the panels.
- Disassemble Framing and Supports: Once the outer cladding is removed, focus on disassembling the underlying framework and supports. Employ the necessary tools to carefully detach the framing, ensuring that the structure remains stable throughout the process.
- Dismantle Flooring Materials: If the shed has a raised flooring structure, proceed to dismantle the flooring materials. Depending on the construction, this may involve removing floorboards, plywood, or other flooring components.
- Clear Debris and Salvage Materials: As the walls and flooring are dismantled, clear away debris and salvage any reusable materials. Segregate salvageable components for potential reuse or recycling, promoting sustainability in the dismantling process.
By systematically dismantling the walls and flooring, you’ll effectively deconstruct the core elements of the shed, paving the way for the final phase of disposal and cleanup. Adhering to best practices and exercising caution, you’ll efficiently progress through this crucial phase of the dismantling process, bringing you closer to completing the project with confidence.
Read more: How To Organize A Tool Shed
Step 5: Disposal of materials
With the shed fully dismantled, the final step involves the responsible disposal of materials and waste generated during the dismantling process. Proper disposal ensures environmental sustainability and a clean, organized outdoor space. Here’s a comprehensive guide to effectively managing the disposal of materials:
- Segregate Materials for Recycling: Sort and segregate materials such as metal, wood, and other recyclable components. This sustainable approach minimizes waste and contributes to environmental conservation.
- Arrange for Waste Collection or Recycling Services: Contact local waste management or recycling facilities to arrange for the collection or drop-off of materials that cannot be repurposed on-site. Many communities offer specialized services for construction and demolition waste disposal.
- Dispose of Hazardous Materials Properly: If the shed contained hazardous materials such as chemicals, paint, or treated wood, ensure that these are disposed of in compliance with local regulations. Seek guidance from local authorities or waste management facilities for safe disposal methods.
- Reuse Salvageable Materials: Evaluate salvaged materials for potential reuse in future projects or donate them to community organizations, promoting sustainable practices and minimizing waste.
- Clean and Restore the Site: Once all materials have been appropriately disposed of, proceed to clean and restore the site where the shed previously stood. Clear any remaining debris, level the ground, and restore the area to its original state or prepare it for new landscaping endeavors.
By conscientiously managing the disposal of materials, you’ll not only complete the dismantling process but also contribute to environmental stewardship and community well-being. Embracing sustainable practices and responsible waste management, you’ll conclude the project with a sense of accomplishment and a renewed outdoor space ready for future endeavors.
Conclusion
Congratulations on successfully dismantling your tool shed! Through careful planning, diligent effort, and a commitment to safety and sustainability, you’ve navigated each step of the dismantling process with confidence and efficiency. As you reflect on the journey, consider the valuable insights gained and the positive impact of your efforts on your outdoor space and the environment. Here are some key takeaways to consider:
- Preparation is Key: By gathering the necessary tools and equipment, prioritizing safety, and systematically clearing out the shed’s contents, you set the stage for a smooth and organized dismantling process.
- Methodical Dismantling Yields Results: From removing the roof and upper structure to dismantling the walls and flooring, your methodical approach ensured a systematic and efficient deconstruction of the shed’s components.
- Environmental Responsibility Matters: Your commitment to responsible waste management, recycling, and reusing salvageable materials underscores the importance of environmental stewardship in all home improvement projects.
- Renewed Space, Fresh Opportunities: As you conclude the project and restore the site, envision the potential for new outdoor endeavors and the transformative impact of your efforts on the aesthetics and functionality of your outdoor space.
As you embark on future projects and continue to enhance your outdoor environment, carry forward the knowledge and experience gained from this dismantling endeavor. Whether it’s constructing a new shed, embarking on landscaping projects, or engaging in sustainable practices, your journey in dismantling the tool shed has equipped you with valuable skills and insights.
Remember, every project, no matter how challenging, offers an opportunity for growth and positive impact. Your commitment to excellence, safety, and environmental consciousness sets a commendable example for others embarking on similar endeavors. Embrace the sense of accomplishment and fulfillment that comes with completing a significant project, and let it inspire your future pursuits in creating a harmonious and sustainable outdoor space.
With the tool shed dismantling project now a part of your accomplished endeavors, take a moment to appreciate the transformation and the newfound possibilities it brings to your outdoor environment. Your dedication and resourcefulness have made a meaningful difference, and your outdoor space stands as a testament to your commitment to excellence and responsible stewardship.
Frequently Asked Questions about How To Dismantle A Tool Shed
Was this page helpful?
At Storables.com, we guarantee accurate and reliable information. Our content, validated by Expert Board Contributors, is crafted following stringent Editorial Policies. We're committed to providing you with well-researched, expert-backed insights for all your informational needs.


0 thoughts on “How To Dismantle A Tool Shed”