Home>Furniture>Bedroom Furniture>How To Remove A Sleep Number Mattress
Bedroom Furniture
How To Remove A Sleep Number Mattress
Modified: February 25, 2024
Looking to remove a Sleep Number mattress? Discover the steps and tips to safely take apart and dispose of your bedroom furniture for a hassle-free process.
(Many of the links in this article redirect to a specific reviewed product. Your purchase of these products through affiliate links helps to generate commission for Storables.com, at no extra cost. Learn more)
Introduction
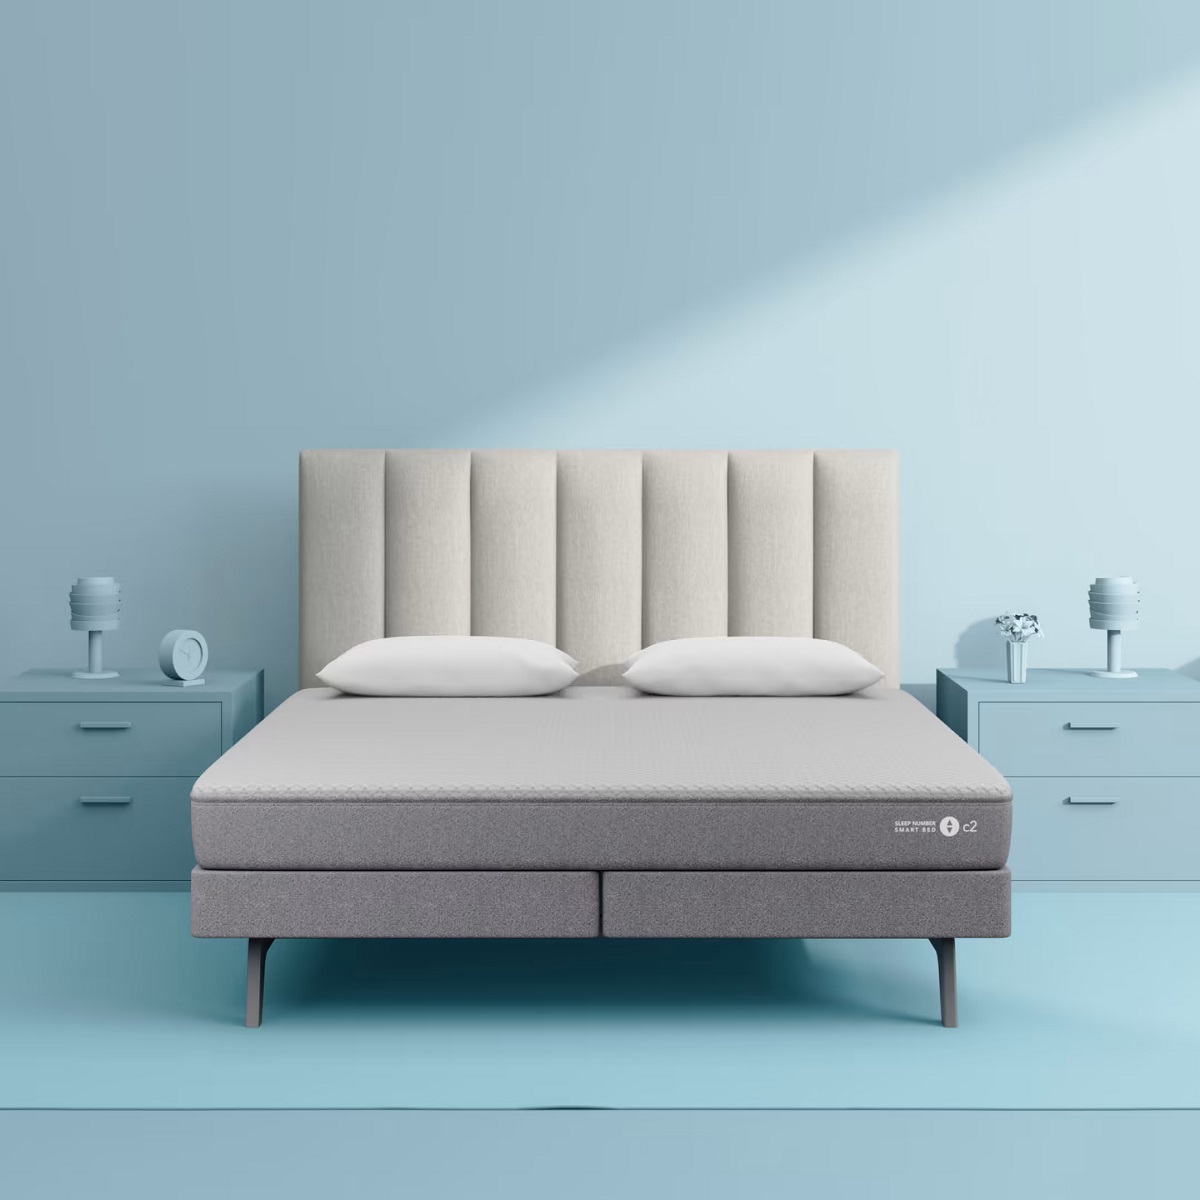
A Sleep Number mattress is known for its adjustable firmness and personalized comfort, making it a popular choice for many people seeking a good night’s sleep. However, there may come a time when you need to remove your Sleep Number mattress. Whether you’re moving to a new home or simply rearranging your bedroom, properly removing and storing your Sleep Number mattress is essential to ensure its longevity and functionality.
In this article, we will guide you through the step-by-step process of removing your Sleep Number mattress. We will cover everything from preparing for removal to safely storing the mattress components. So, let’s get started on how to properly remove a Sleep Number mattress and ensure its smooth transition.
Key Takeaways:
- Properly removing and storing a Sleep Number mattress is essential for maintaining its longevity and functionality. Follow the step-by-step process to ensure a smooth transition and enjoy quality sleep for years to come.
- Prepare the space, gather necessary tools, and follow the user manual for a successful removal process. Safely unplug, deflate, and pack the mattress components to ensure easy reassembly and optimal comfort.
Read more: How To Clean A Sleep Number Mattress
Preparing for Removal
Before you begin the process of removing your Sleep Number mattress, it’s important to make sure you have all the necessary tools and resources. Here are a few steps to prepare for a smooth removal:
- Clean the area: Start by clearing the area around the mattress. Remove any obstacles or furniture that may hinder the removal process. This will provide you with more space and make it easier to navigate.
- Gather the tools: You will need a few basic tools such as a screwdriver, pliers, and possibly a wrench, depending on the specific model of your Sleep Number mattress. Make sure you have these tools on hand before you begin.
- Assess the condition: Take a moment to assess the condition of the mattress and its components. Check for any visible signs of damage or wear and tear. This will help you determine if any repairs or replacements are necessary before storing or reassembling the mattress.
- Read the user manual: Every Sleep Number mattress comes with a user manual that provides specific instructions for removal and reassembly. Take the time to read and familiarize yourself with the manual before you start the process. This will ensure that you follow the manufacturer’s guidelines and avoid any potential issues.
By preparing in advance, you will have a clear understanding of the removal process and be well-equipped with the necessary tools and knowledge. This will make the overall process of removing your Sleep Number mattress much smoother and more efficient.
Unplugging and Deflating the Mattress
Once you have prepared the space and gathered the necessary tools, the next step in removing your Sleep Number mattress is to unplug and deflate it. Follow these steps to safely unplug and deflate your mattress:
- Locate the air pump: The air pump is the device responsible for inflating and deflating the mattress. Locate the air pump and ensure that it is switched off and unplugged from the power source.
- Detach the hoses: Look for the hoses that connect the air pump to the mattress. There will typically be two hoses, one for each side of the mattress. Unscrew or unclip the hoses from the mattress.
- Open the air release valve: Locate the air release valve on each side of the mattress. It is usually located near the hoses. Open the valve by turning it counterclockwise to release the air.
- Allow the mattress to deflate: Once the air release valves are open, the mattress will start to deflate. Depending on the model and size of your Sleep Number mattress, it may take a few minutes for the mattress to fully deflate.
It’s important to note that deflating the mattress completely is crucial before moving on to the next steps. This will make it easier to handle and remove the mattress components without risking damage or injury.
Once the mattress is fully deflated, you are ready to proceed to the next step in removing your Sleep Number mattress: removing the mattress cover.
Removing the Mattress Cover
After successfully unplugging and deflating your Sleep Number mattress, the next step is to remove the mattress cover. Follow these steps to safely remove the cover:
- Locate the zipper: Look for the zipper that runs along the edges of the mattress cover. This zipper allows you to easily remove and replace the cover.
- Unzip the cover: Start by unzipping the cover. Gently pull the zipper tab and slide it along the edges, opening up the cover. Be careful not to force the zipper to prevent any damage.
- Remove the cover: Once the zipper is completely unzipped, carefully lift the cover off the mattress. Take your time and avoid any sudden or jerky movements to prevent tearing or stretching the cover.
- Prepare the cover for storage: Before storing the cover, make sure it is clean and free of any dirt or debris. If necessary, wash and dry the cover according to the manufacturer’s instructions to maintain its quality and prolong its lifespan.
By removing the mattress cover, you are one step closer to completely disassembling your Sleep Number mattress. The cover is an essential component to protect the mattress, and properly storing it ensures that it remains in good condition for future use.
Now that the cover is safely removed, it’s time to move on to the next step: disassembling the base.
Disassembling the Base
With the mattress cover removed, it’s time to disassemble the base of your Sleep Number mattress. Follow these steps to safely disassemble the base:
- Remove any attached accessories: If your Sleep Number mattress has any attached accessories such as headboards or side rails, remove them first. Check the user manual for specific instructions on how to detach these accessories.
- Locate the mattress frame bolts: Look for the bolts that hold the mattress frame together. These bolts are typically located on the corners or sides of the frame. Use a screwdriver or the appropriate tool to loosen and remove the bolts.
- Dismantle the frame: Once the bolts are removed, carefully dismantle the mattress frame. Start by separating the individual pieces, such as the headboard, footboard, and side panels. Place each piece aside in a safe and organized manner.
- Label and organize: To make reassembly easier in the future, consider labeling each piece of the dismantled frame. This will help you identify the correct placement and orientation when you’re ready to put the mattress back together.
Disassembling the base is a crucial step in removing your Sleep Number mattress. By carefully following these steps and taking the time to label and organize the frame pieces, you’ll ensure a smooth reassembly process when the time comes.
Now that the base is disassembled, let’s move on to the next step: detaching the air chambers.
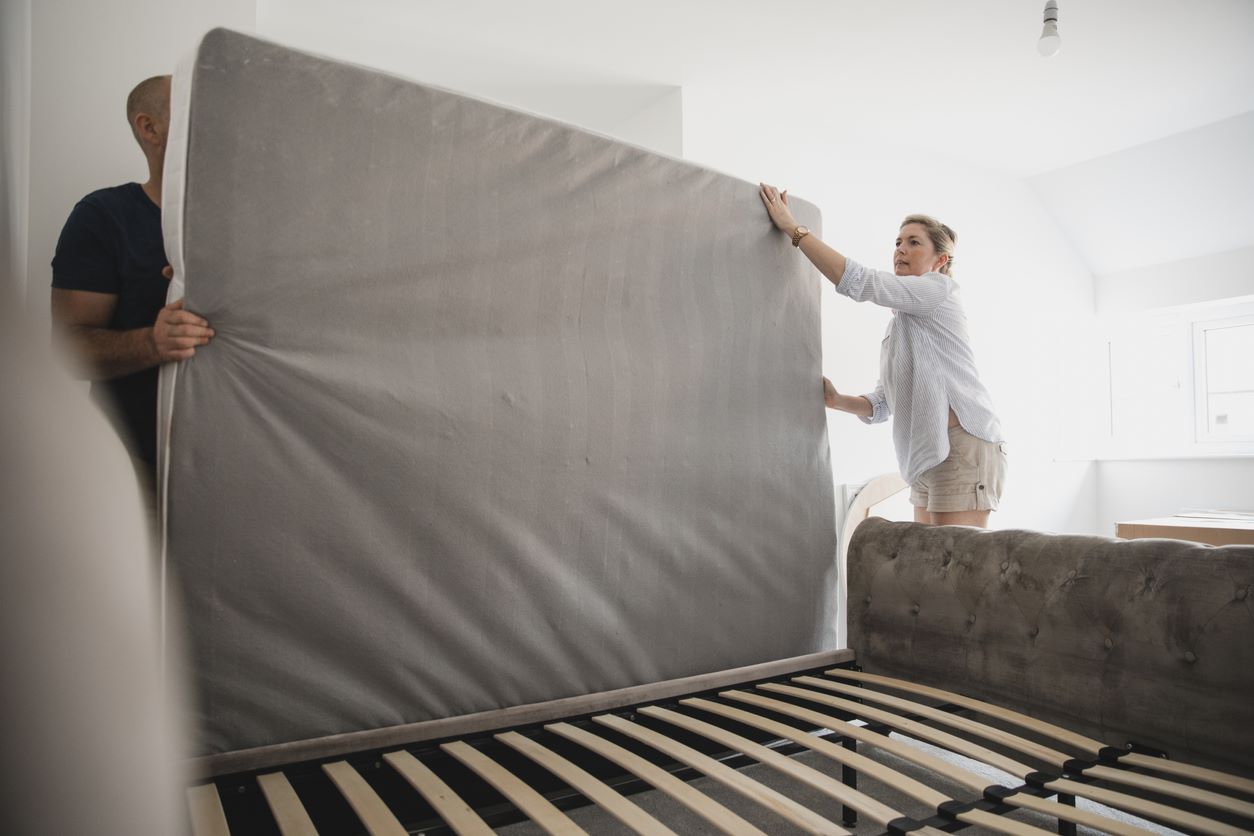
To remove a Sleep Number mattress, first, unzip and remove the mattress cover. Then, release the air from the mattress using the remote control or manual air release valve. Once the mattress is deflated, carefully lift and remove it from the bed frame.
Read more: How Long Does A Sleep Number Mattress Last
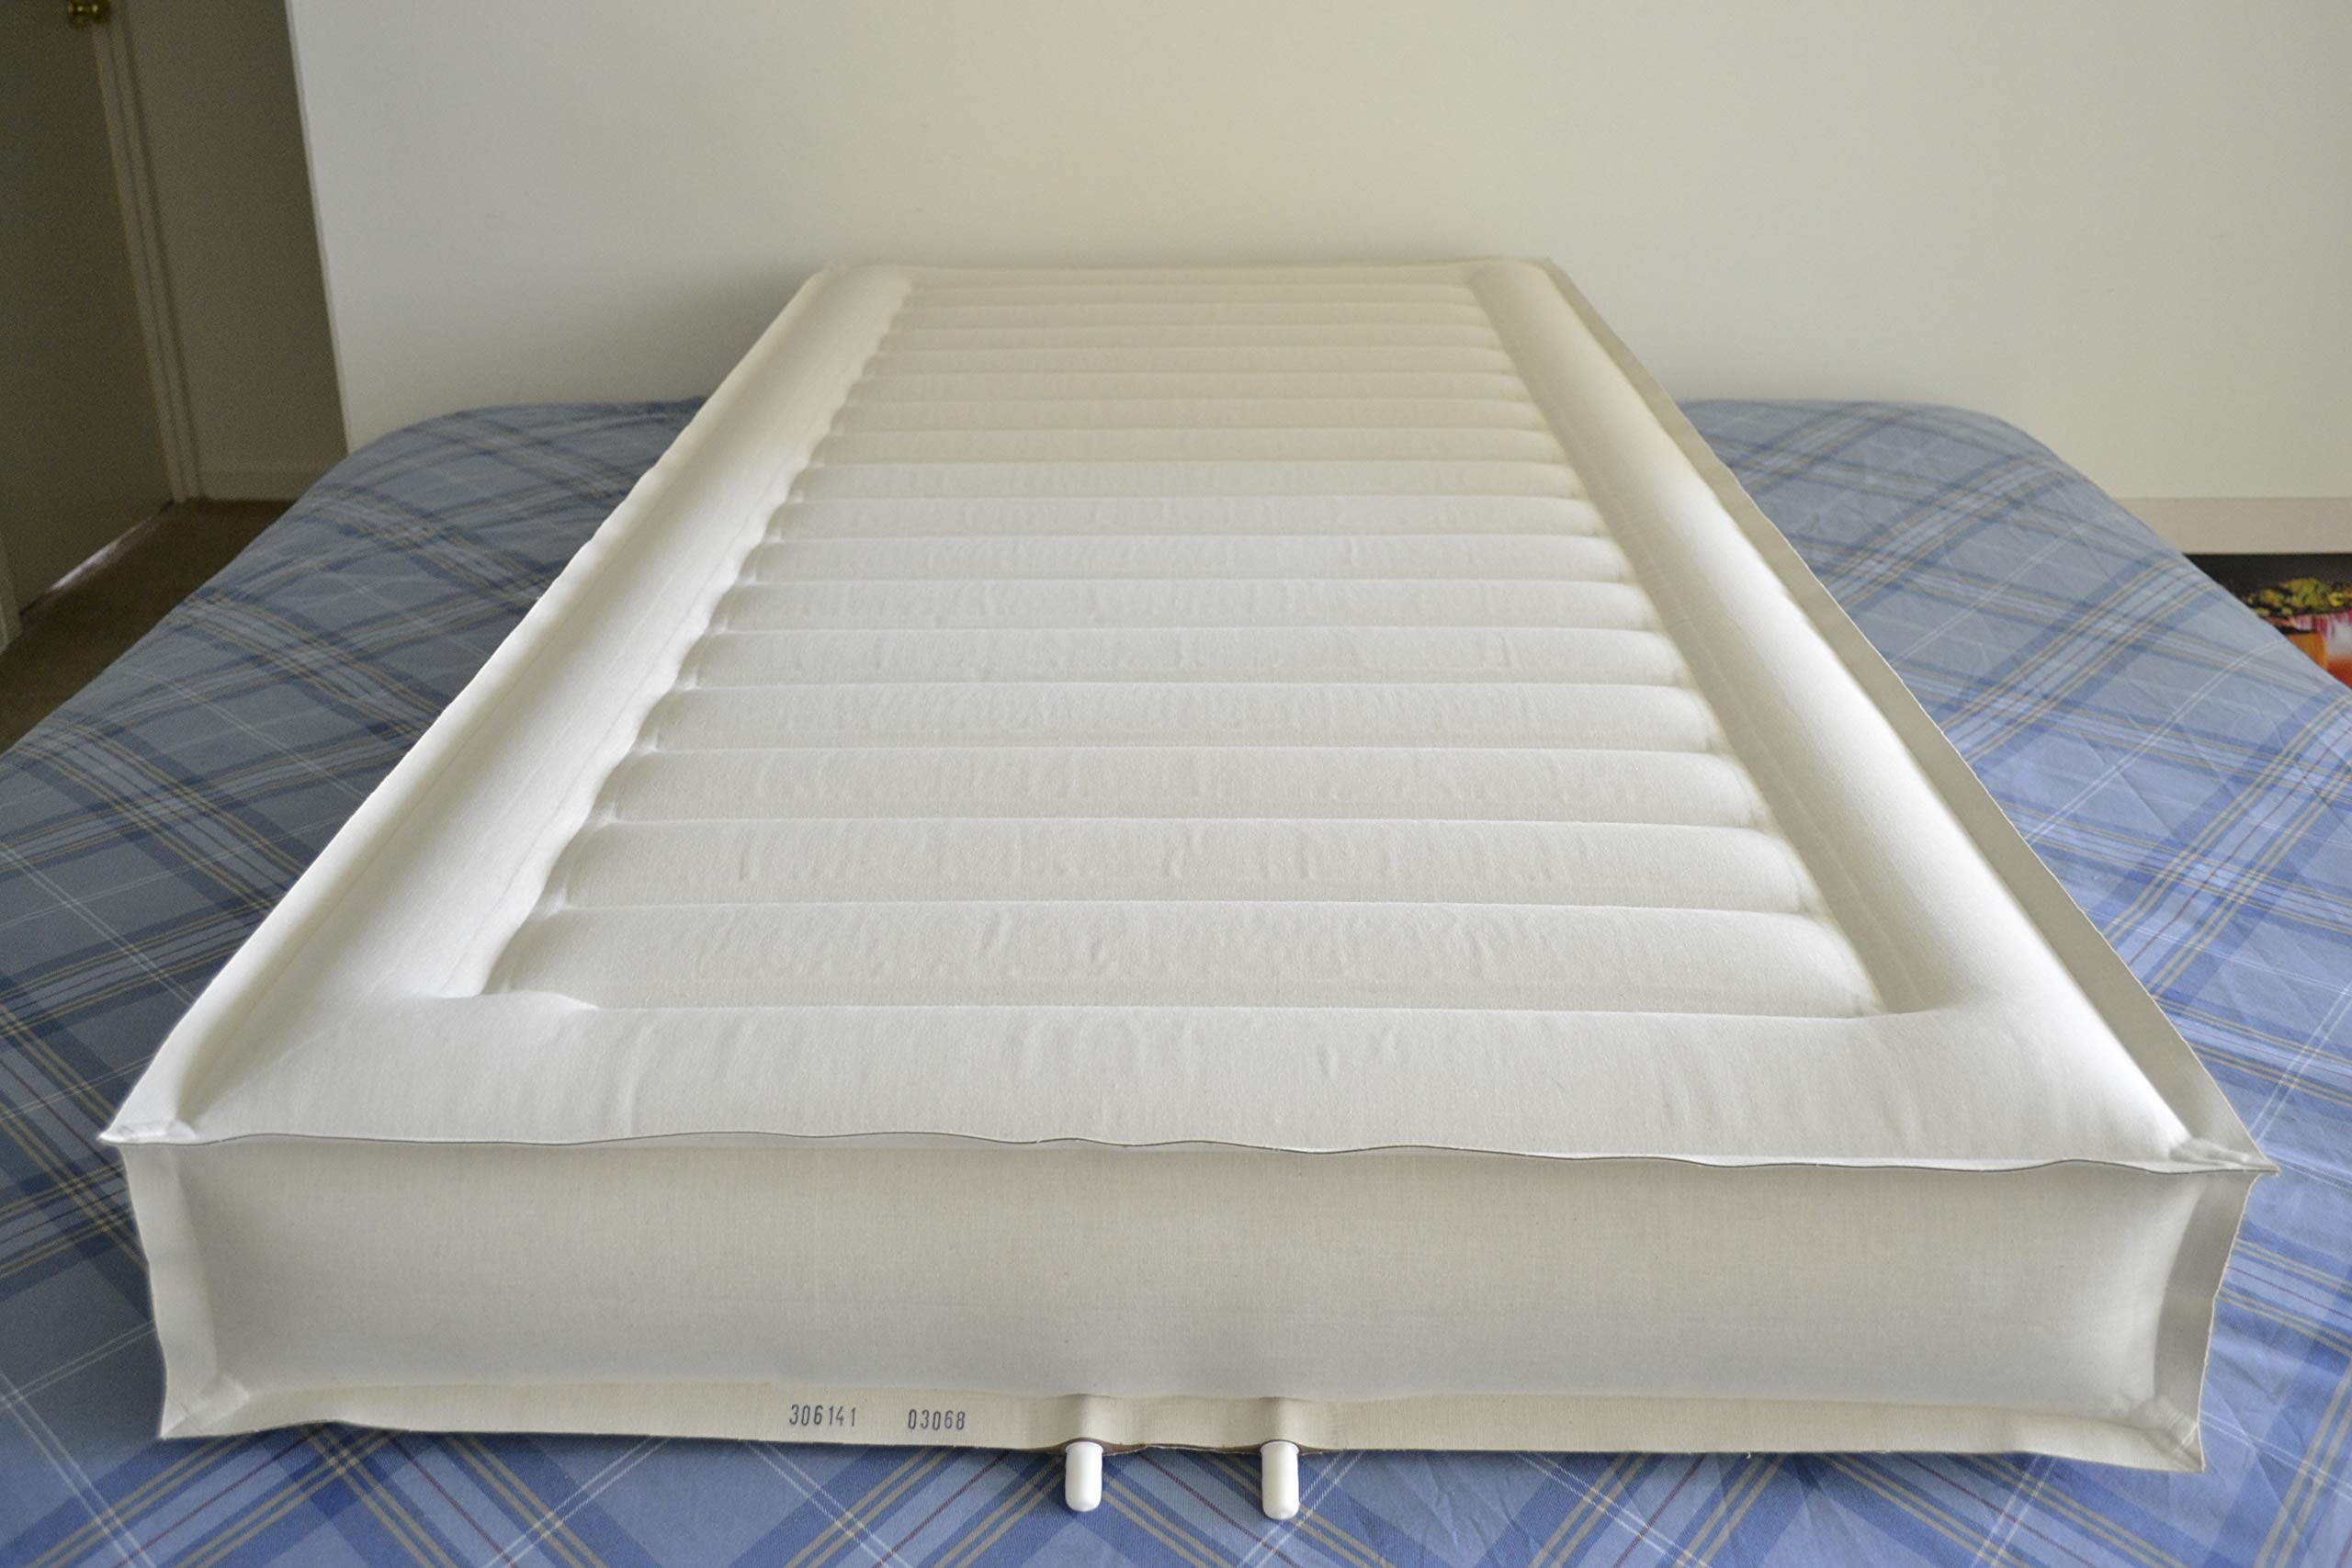
Detaching the Air Chambers
After the base is disassembled, the next step is to detach the air chambers from your Sleep Number mattress. The air chambers are responsible for providing adjustable firmness and support. Follow these steps to safely detach the air chambers:
- Locate the air chamber connectors: Look for the connectors that connect the air chambers to the base of the mattress. These connectors may be located on the sides or underneath the mattress.
- Remove the connectors: Depending on the model of your Sleep Number mattress, the connectors may be detached by turning or unscrewing them. Follow the instructions in the user manual to safely remove the connectors without causing damage.
- Carefully lift the air chambers: Once the connectors are removed, gently lift the air chambers from the mattress. Be cautious not to strain yourself or damage the chambers during this process.
- Release any remaining air: Before storing the air chambers, it’s important to release any remaining air inside. Look for the air release valve on each chamber and open it to allow the air to escape. This will make the chambers easier to handle and store.
By detaching the air chambers, you’re dismantling the core components of your Sleep Number mattress. Handling them with care and properly releasing any remaining air will ensure their longevity and functionality for future use.
Now that the air chambers are detached, let’s move on to the next step: packing and storing the mattress components.
Packing and Storing the Mattress Components
Now that you have successfully removed the mattress cover, disassembled the base, and detached the air chambers, it’s time to pack and store the mattress components. Follow these steps to properly pack and store your Sleep Number mattress:
- Clean and dry the components: Before packing, ensure that all mattress components are clean and dry. Use a mild cleaner and a cloth to clean any dirt or debris. Allow the components to air dry completely before moving on to the next step.
- Wrap the components: To prevent damage, use plastic wrap or mattress storage bags to individually wrap each mattress component. This will protect them from dust, moisture, and potential scratches during storage.
- Label the components: It’s essential to label each wrapped component to make reassembly easier in the future. Use a marker or labels to identify which component corresponds to which part of the Sleep Number mattress.
- Choose an appropriate storage location: Select a cool, dry, and well-ventilated area for storing the mattress components. Avoid areas prone to extreme temperature fluctuations or high humidity, as these conditions can damage the components over time.
- Store the components in an organized manner: Arrange the wrapped components in a neat and orderly fashion in the storage space. Stack them carefully to maximize the use of the available space while ensuring that they are not at risk of being crushed or damaged.
By properly packing and storing the mattress components, you are effectively preserving their quality and prolonging their lifespan. This will make reassembly easier whenever you’re ready to put your Sleep Number mattress back together.
Now that the mattress components are securely packed and stored, let’s move on to the final step: reassembling the Sleep Number mattress.
Reassembling the Sleep Number Mattress
After properly packing and storing the mattress components, it’s time to reassemble your Sleep Number mattress. Follow these steps to successfully put your mattress back together:
- Retrieve the stored components: Begin by retrieving the wrapped mattress components from storage. Make sure to handle them with care to avoid any damage or tears.
- Unwrap the components: Start by carefully removing the plastic wrap or mattress storage bags from each component. Be cautious not to snag or pull on the material.
- Refer to the labels: Use the labels you placed on the components during the packing process to identify which piece belongs where in the mattress assembly. This will aid in a smoother reassembly.
- Assemble and attach the base: Begin by reassembling the base of the Sleep Number mattress. Follow the reverse order of disassembly, starting with attaching the headboard, footboard, and side panels. Use the labeled pieces as a guide to ensure correct placement.
- Attach the air chambers: Once the base is assembled, carefully attach the air chambers back to their respective connectors or ports. Secure them properly to ensure a tight and secure fit.
- Zip up the mattress cover: Lastly, zip up the mattress cover and ensure it is fully closed. Take a moment to smooth out any wrinkles or creases to maintain a neat and tidy appearance.
By following these steps, you will be able to successfully reassemble your Sleep Number mattress and restore it to its original functionality and comfort. Take your time during the reassembly process to ensure that each component is properly connected and aligned.
Remember to consult the user manual for any model-specific instructions or additional tips for reassembling your Sleep Number mattress.
With your mattress reassembled, you can now enjoy a restful night’s sleep once again.
Conclusion
Removing and storing your Sleep Number mattress properly is essential to maintain its longevity and functionality. By following the step-by-step process outlined in this article, you can easily and safely remove your mattress, pack and store its components, and reassemble it when needed. This ensures that your Sleep Number mattress remains in optimal condition for years to come.
Remember to prepare the space, gather the necessary tools, and read the user manual before starting the removal process. Unplugging and deflating the mattress, removing the cover, disassembling the base, detaching the air chambers, and packing the mattress components in an organized manner are all key steps to successfully remove and store your Sleep Number mattress.
When the time comes to reassemble your mattress, be sure to refer to the labels and follow the reverse order of the removal process. Take your time during the reassembly process to ensure each component is properly connected and aligned. Once reassembled, enjoy the personalized comfort and quality sleep that the Sleep Number mattress provides.
By following these guidelines, you can confidently and effectively remove, store, and reassemble a Sleep Number mattress, allowing you to adapt to any changes in your living situation or bedroom arrangement. So, whether you’re moving, redecorating, or simply looking for a change, you can rest assured knowing that your Sleep Number mattress will be ready for a restful night’s sleep.
Frequently Asked Questions about How To Remove A Sleep Number Mattress
Was this page helpful?
At Storables.com, we guarantee accurate and reliable information. Our content, validated by Expert Board Contributors, is crafted following stringent Editorial Policies. We're committed to providing you with well-researched, expert-backed insights for all your informational needs.