Home>Furniture>Bedroom Furniture>How To Disassemble A Sleep Number Bed

Bedroom Furniture
How To Disassemble A Sleep Number Bed
Modified: May 6, 2024
Learn how to easily dismantle your Sleep Number bed with our step-by-step guide. Save time and effort with our expert tips for disassembling bedroom furniture.
(Many of the links in this article redirect to a specific reviewed product. Your purchase of these products through affiliate links helps to generate commission for Storables.com, at no extra cost. Learn more)
Introduction
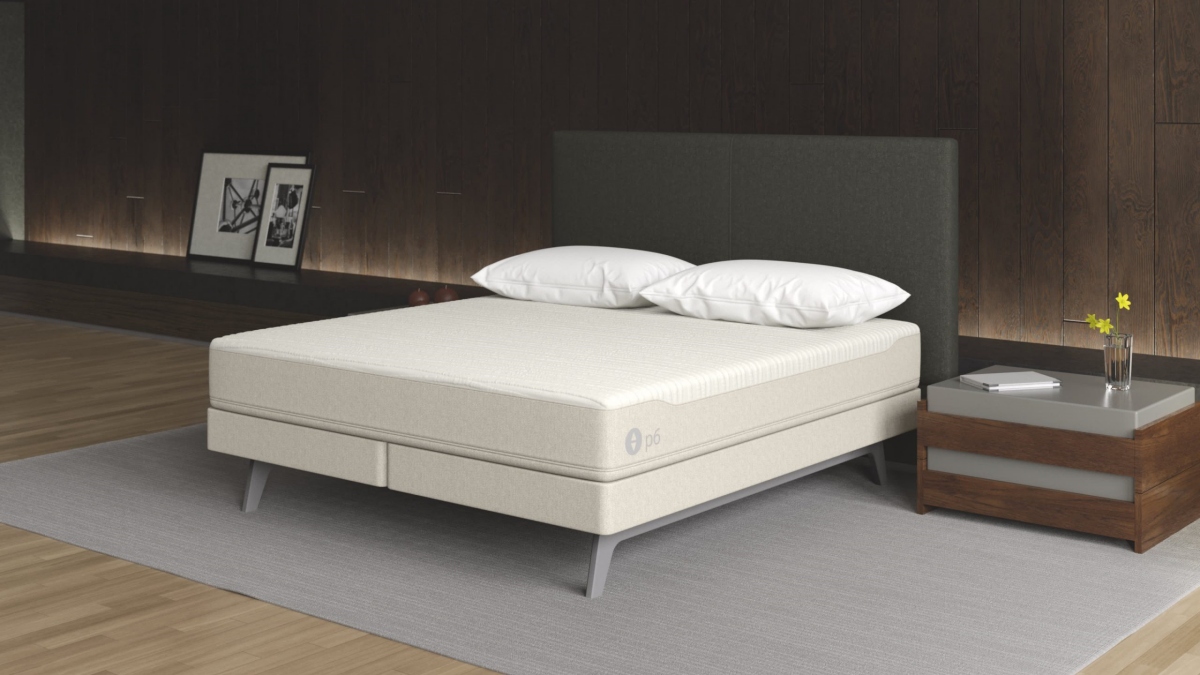
When it comes to bedroom furniture, one popular choice for many people is a Sleep Number bed. Known for its adjustable comfort levels and personalized sleep experience, a Sleep Number bed can provide a restful night’s sleep. However, there may be instances where you need to disassemble your Sleep Number bed, whether it’s for moving purposes or to rearrange your bedroom layout. In this article, we will guide you through the step-by-step process of disassembling a Sleep Number bed.
Disassembling a Sleep Number bed can seem like a daunting task, but with the right tools and a systematic approach, it can be done efficiently and effectively. By following these instructions, you’ll be able to disassemble your Sleep Number bed with ease and ensure that all the components are properly preserved for future assembly.
Before we dive into the disassembly process, let’s briefly go over the tools and materials you’ll need to have on hand:
– Screwdriver (Phillips and flathead)
– Allen wrench
– Pliers
– Rubber mallet (optional)
– Plastic zip ties or bags for small hardware
– Moving blankets or furniture sliders (optional)
Now that you’re equipped with the necessary tools, let’s move on to the next step – preparing the workspace.
Key Takeaways:
- Disassembling a Sleep Number bed requires the right tools, systematic approach, and careful organization to ensure all components are preserved for future assembly.
- Regular cleaning and maintenance of your Sleep Number bed, including the mattress, base, and frame, are essential for its longevity and optimal performance.
Read more: What Is A Sleep Number Bed
Step 1: Gather the necessary tools and materials
Before you begin disassembling your Sleep Number bed, it’s important to gather all the tools and materials you’ll need. Having everything ready beforehand will help streamline the process and prevent any delays or frustrations.
Here’s a breakdown of the tools and materials you’ll need:
– Screwdriver (Phillips and flathead): These will be essential for removing screws and disassembling various parts of the bed. Make sure you have both types of screwdrivers on hand, as different components may require different types of screws.
– Allen wrench: Sleep Number beds often use Allen screws, so having an Allen wrench set that includes different sizes will be necessary for loosening and tightening these screws.
– Pliers: Pliers can be handy for removing any stubborn screws or connectors, especially if they become stripped or difficult to grip with a screwdriver.
– Rubber mallet (optional): While not always necessary, a rubber mallet can be useful for gently knocking parts loose or for aligning pieces that may be slightly misaligned.
– Plastic zip ties or bags for small hardware: As you disassemble your Sleep Number bed, you’ll come across small screws, bolts, and other hardware. It’s important to keep these items organized and prevent them from getting lost. Using plastic zip ties or small plastic bags will ensure that you can easily identify and locate these items when it’s time to reassemble the bed.
– Moving blankets or furniture sliders (optional): If you’re planning on moving your Sleep Number bed to another location, having moving blankets or furniture sliders can help protect the components and make the transportation process smoother.
Now that you have gathered all the necessary tools and materials, you’re ready to move on to the next step – preparing the workspace.
Step 2: Prepare the workspace
Before you start disassembling your Sleep Number bed, it’s important to create a clean and organized workspace. This will make the process more efficient and help prevent any damage to the bed or surrounding furniture.
Here are some steps to prepare your workspace:
1. Clear the area: Remove any obstacles or furniture that might obstruct your movement or impede the disassembly process. Make sure you have enough space to lay out the disassembled parts and to work comfortably.
2. Protect the floor: If you’re working on a hardwood or tile floor, consider using a drop cloth or protective covering to prevent any scratches or damage. This will also make it easier to slide and maneuver the parts during disassembly.
3. Have a workbench or table: Find a sturdy table or workbench where you can lay out the components as you disassemble the bed. This will provide a stable surface and prevent any parts from falling or getting lost.
4. Get proper lighting: Make sure the workspace is well-lit, either by natural daylight or by using additional lighting. This will help you see the details and avoid any mistakes during disassembly.
By preparing a clean and organized workspace, you’ll be able to disassemble your Sleep Number bed more efficiently and reduce the risk of damaging any parts. Now that your workspace is ready, let’s move on to the next step – removing the mattress and bedding.
Step 3: Remove the mattress and bedding
Before you can begin disassembling the frame and other components of your Sleep Number bed, you’ll need to remove the mattress and bedding. This step ensures that these items are safely stored and protected while you work on disassembling the rest of the bed.
Here’s a step-by-step guide to removing the mattress and bedding:
1. Start by deflating the air chambers: Use the remote control to deflate the air chambers of your Sleep Number bed. Follow the manufacturer’s instructions for proper deflation. This will make it easier to handle and move the mattress.
2. Remove the mattress from the frame: Depending on the model of your Sleep Number bed, there may be straps or fasteners holding the mattress to the frame. Detach these straps or fasteners and carefully lift the mattress off the frame. It may be helpful to have an extra pair of hands to assist with this step, especially if the mattress is heavy or cumbersome.
3. Place the mattress in a protective bag or cover: To keep the mattress clean and safe during the disassembly process and transportation, place it in a specially designed mattress bag or cover. If you don’t have one, you can use a large plastic bag or wrap it in a waterproof material. Secure the bag or cover tightly to prevent any dirt, moisture, or damage from getting to the mattress.
4. Remove the bedding: Take off all the sheets, blankets, and pillows from the mattress. Place them in a separate bag or container for easy storage and to keep them clean.
Now that the mattress and bedding have been safely removed and stored, you can proceed to the next step – detaching the air chambers.
Step 4: Detach the air chambers
With the mattress and bedding safely removed, it’s time to detach the air chambers from your Sleep Number bed. The air chambers are responsible for adjusting the firmness and support of the bed, and they need to be disconnected before moving onto other components of the bed frame. Follow these steps to detach the air chambers:
1. Locate the air chamber connectors: The air chamber connectors are typically located at the head and foot of the bed frame. They may be covered with fabric or plastic caps that can be easily removed.
2. Remove the fabric or plastic caps: Use your fingers or a small tool to gently pry off the caps covering the air chamber connectors. Set these caps aside as they will be reattached later.
3. Disconnect the air chamber hoses: Once the connectors are exposed, you will notice that they are connected to hoses. Depending on the model of your Sleep Number bed, these hoses may have quick-release connectors or require unscrewing.
4. Disconnect the hoses: If your bed has quick-release connectors, press the release buttons on the connectors to detach the hoses from the air chambers. If the hoses require unscrewing, use a pair of pliers or a wrench to loosen the connection and separate the hoses from the air chambers.
5. Repeat for all air chambers: If your Sleep Number bed has multiple air chambers, repeat the above steps for each chamber until all the air chambers are detached.
Once the air chambers are disconnected, make sure to secure the hoses and connectors to prevent them from getting tangled or lost. You can use rubber bands or plastic zip ties to keep them organized.
Now that the air chambers have been detached, you can move on to the next step – disconnecting the hoses and air pump.
Read more: How To Inflate A Sleep Number Bed
Step 5: Disconnect the hoses and air pump
After detaching the air chambers, the next step in disassembling your Sleep Number bed is to disconnect the hoses and air pump. These components are responsible for inflating and deflating the air chambers and need to be separated from the bed frame for proper disassembly. Follow these steps to disconnect the hoses and air pump:
1. Locate the air pump: The air pump is typically located near the foot of the bed, either attached to the frame or placed nearby. It may be secured with screws or brackets.
2. Unplug the air pump: Before disconnecting any hoses, make sure to unplug the air pump from the power source. This will prevent any accidental inflation or deflation of the air chambers.
3. Remove any securing brackets or fasteners: If the air pump is attached to the bed frame with brackets or fasteners, use a screwdriver or Allen wrench to remove them. Set aside these brackets or fasteners for reassembly later.
4. Disconnect the hoses from the air pump: Locate the hoses that connect the air pump to the air chambers. Depending on your Sleep Number bed model, these hoses may have quick-release connectors or require unscrewing.
5. Disconnect the hoses: If your bed has quick-release connectors, press the release buttons on the connectors to detach the hoses from the air pump. If the hoses require unscrewing, use a pair of pliers or a wrench to loosen the connection and separate the hoses from the air pump.
6. Secure the hoses and air pump: Once the hoses are detached, make sure to secure them to prevent tangling or misplacement. You can use rubber bands or plastic zip ties to keep them organized. Similarly, store the air pump in a safe place, protected from any potential damage.
With the hoses and air pump disconnected, you’re ready to move on to the next step – taking apart the base and frame.
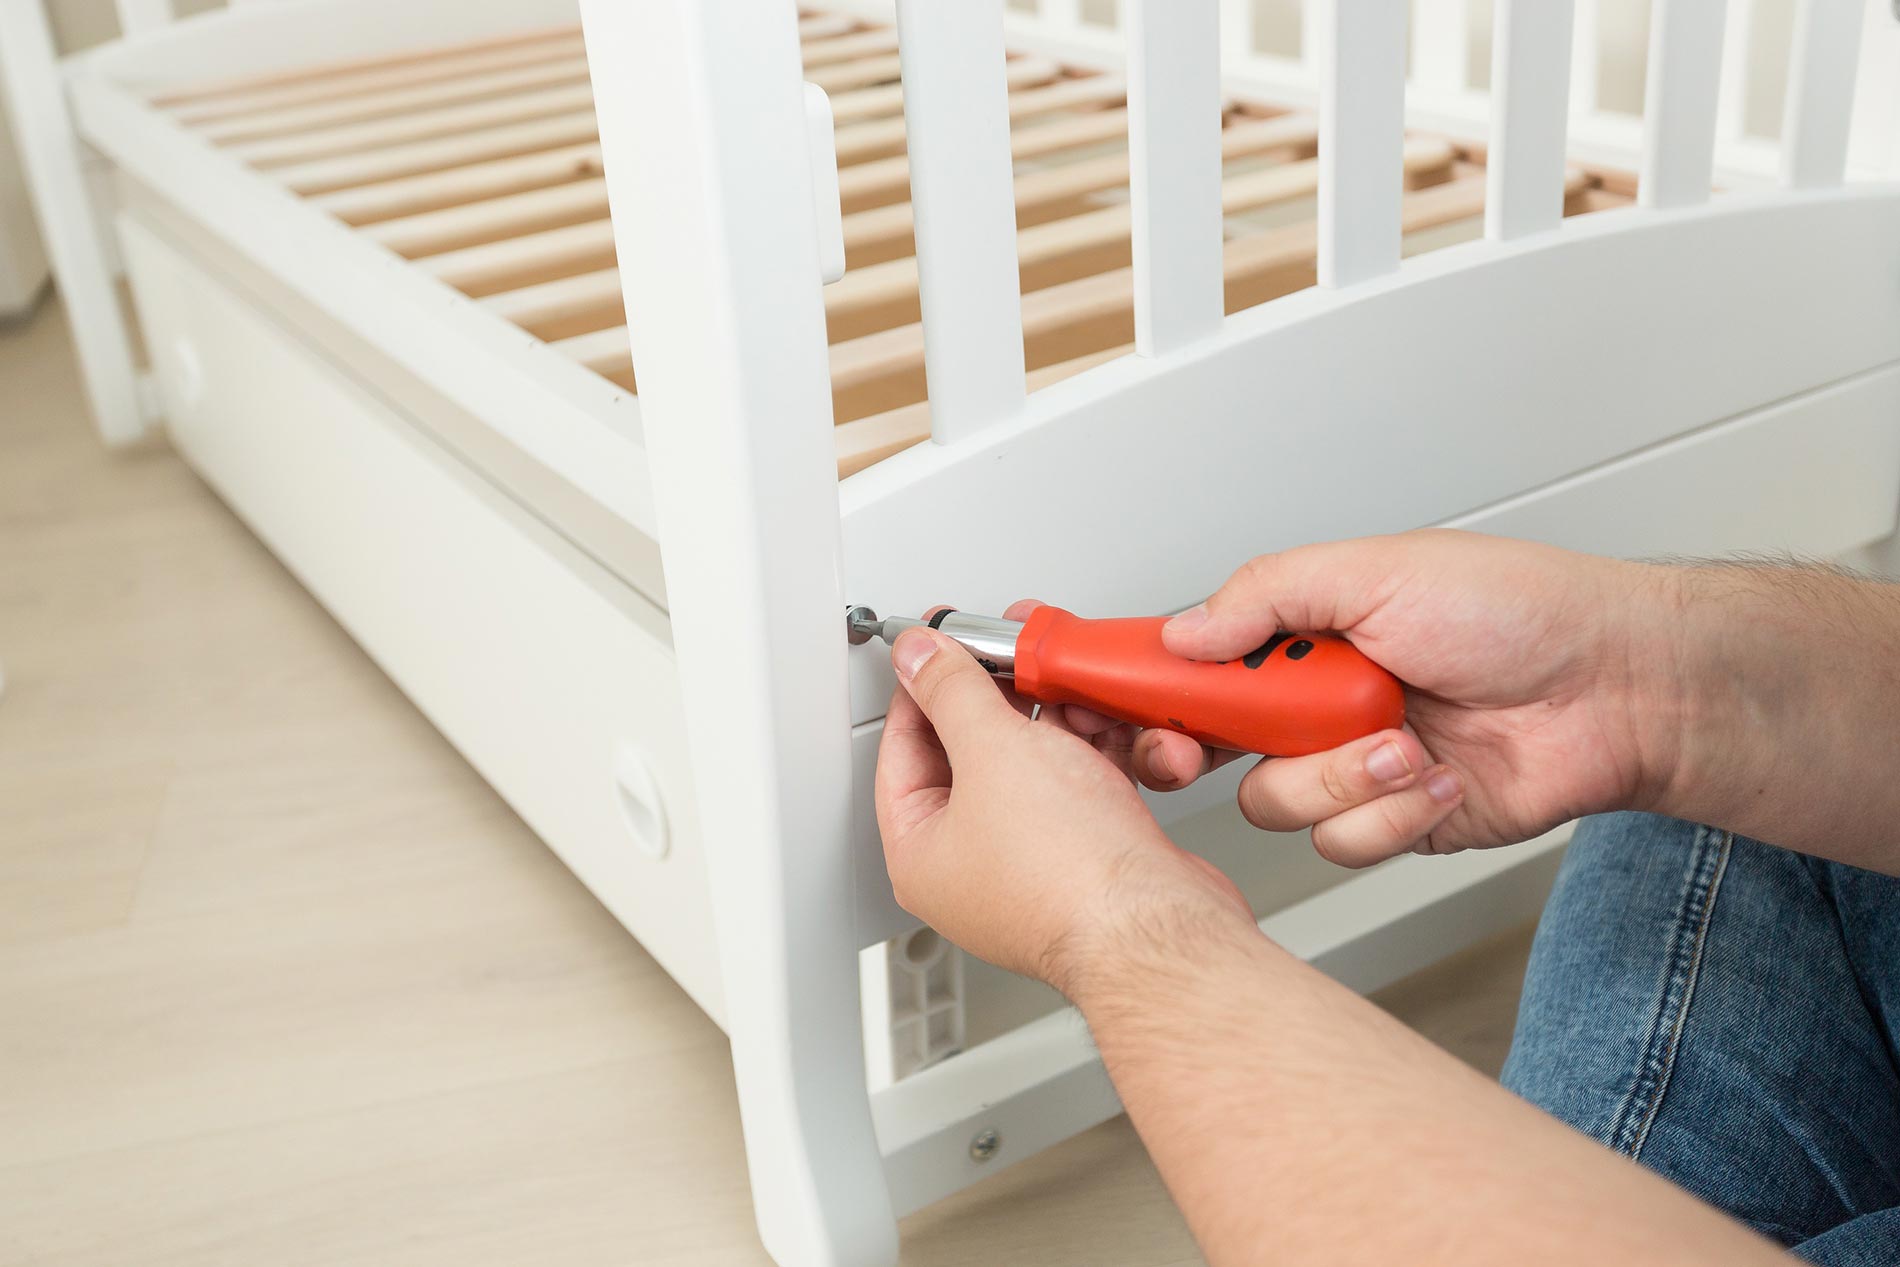
When disassembling a Sleep Number bed, start by removing the mattress and then unscrewing the base components. Keep track of all screws and parts to make reassembly easier.
Step 6: Take apart the base and frame
Now that you have detached the air chambers, hoses, and air pump, it’s time to take apart the base and frame of your Sleep Number bed. This step involves disassembling the various components that make up the base and frame structure. Follow these steps to take apart the base and frame:
1. Remove any attached accessories: If your Sleep Number bed has any attached accessories, such as side tables or storage compartments, remove them first. Follow the manufacturer’s instructions for safely detaching these accessories.
2. Locate the screws and bolts: Look for the screws and bolts that hold the base and frame together. These may be visible on the outside of the bed or may be concealed with fabric or plastic caps.
3. Use the appropriate tools: Depending on the type of screws and bolts used, use a screwdriver or Allen wrench to loosen and remove them. Make sure to keep track of the screws and bolts as you remove them, setting them aside in a secure place.
4. Disassemble the base and frame: Once all the screws and bolts have been removed, carefully separate the base and frame components. This may involve lifting or sliding parts to detach them from each other. If any parts are stuck or difficult to disassemble, you can gently tap them with a rubber mallet to loosen them.
5. Store the disassembled parts: As you disassemble the base and frame, it’s important to keep the parts organized. Group together similar components and place them in a designated container or bag. You can use plastic zip ties to secure any loose parts or wrap them in moving blankets or bubble wrap to prevent damage during storage or transportation.
By taking apart the base and frame in a systematic manner, you ensure that the components are properly preserved for future assembly. Now that the base and frame have been disassembled, it’s time to move on to the next step – disassembling the headboard and footboard.
Step 7: Disassemble the headboard and footboard
After taking apart the base and frame, the next step in disassembling your Sleep Number bed is to disassemble the headboard and footboard. The headboard and footboard are typically attached to the frame and may require additional steps to detach them. Follow these steps to disassemble the headboard and footboard:
1. Check for any secured attachments: Inspect the headboard and footboard for any screws, bolts, or other attachments that secure them to the frame. These may be located on the backside or underside of the headboard and footboard.
2. Use the appropriate tools: Depending on the type of attachments, use a screwdriver or Allen wrench to loosen and remove them. Keep track of the screws and bolts as you remove them, setting them aside in a secure place.
3. Detach the headboard and footboard from the frame: Once the attachments have been removed, gently lift or slide the headboard and footboard away from the frame. They might be connected by brackets or slotted connections that can be released with a firm pull or push.
4. Store the disassembled headboard and footboard: As you disassemble the headboard and footboard, it’s important to keep them protected and organized. If the headboard and footboard have any detachable components, such as shelves or decorative elements, remove and store them separately. Place the headboard and footboard in a designated, secure location to prevent any damage during storage or transportation.
By disassembling the headboard and footboard, you have successfully broken down all the major components of your Sleep Number bed. Now you can move on to the next step – organizing and storing the disassembled parts.
Step 8: Organize and store the disassembled parts
Now that you have disassembled all the components of your Sleep Number bed, it’s crucial to properly organize and store them. Keeping the parts organized will ensure easy reassembly in the future and minimize the risk of losing or damaging any components. Follow these steps to organize and store the disassembled parts:
1. Sort the components: Take inventory of all the disassembled parts, including the base, frame, headboard, footboard, air chambers, hoses, and hardware. Group similar components together to make the reassembly process smoother.
2. Secure loose parts: Use plastic zip ties, small bags, or containers to secure any loose hardware, such as screws, bolts, and connectors. Label the bags or containers to indicate which part they belong to for easy identification later on.
3. Wrap fragile components: If there are any delicate or fragile components, such as glass or decorative elements, wrap them in bubble wrap or packing paper to protect them from scratches or breakage during storage or transportation.
4. Protect large components: For larger components like the base, frame, headboard, and footboard, cover them with moving blankets or furniture covers to prevent scratches, chips, or other damage. Secure the covers in place with plastic wrap or straps if necessary.
5. Organize storage space: Find a designated storage area for the disassembled parts, such as a garage, basement, or storage unit. Make sure the space is dry, clean, and free from moisture or extreme temperature fluctuations.
6. Label and document: Use labels, tags, or a digital inventory system to mark each storage container or bag with the contents and corresponding part names. You can also take photos or create a detailed diagram to reference during reassembly.
By organizing and storing the disassembled parts properly, you’ll be well-prepared for when you need to reassemble your Sleep Number bed. Now it’s time to move on to the final step – cleaning and maintenance tips to keep your bed in top shape.
Read more: How To Store A Sleep Number Bed
Step 9: Cleaning and maintenance tips
Ensuring the cleanliness and proper maintenance of your Sleep Number bed is essential for its longevity and optimal performance. By following these cleaning and maintenance tips, you can keep your bed in top shape:
1. Regularly clean the mattress: Follow the manufacturer’s instructions for cleaning your Sleep Number mattress. Typically, you can spot-clean spills or stains with a mild detergent and water solution. Avoid saturating the mattress, as excessive moisture can damage the internal components.
2. Vacuum the base and frame: Use a vacuum cleaner with a brush attachment to remove any dust, dirt, or debris from the base and frame surfaces. Pay attention to crevices, corners, and joints where dust tends to accumulate.
3. Clean the hoses and air pump: Wipe down the hoses and air pump with a damp cloth to remove any dust or dirt. Ensure that the air pump vents are clear and free from obstructions to maintain proper airflow.
4. Inspect for wear and tear: Regularly check all components, including the base, frame, headboard, footboard, and hardware, for any signs of damage or wear. Replace any worn-out or damaged parts to ensure the bed’s stability and safety.
5. Maintain proper assembly: When reassembling your Sleep Number bed, ensure that all components are securely fastened and aligned. Double-check the connections, screws, and bolts to minimize any potential movement or squeaking during use.
6. Follow manufacturer’s guidelines: Consult the manufacturer’s manual or online resources for specific cleaning and maintenance recommendations for your Sleep Number bed model. They may provide additional tips or precautions based on the specific design and materials used.
By regularly cleaning and properly maintaining your Sleep Number bed, you can ensure its longevity and enjoy a comfortable and supportive sleep experience for years to come.
Now that you’re equipped with the knowledge of how to disassemble, clean, and maintain your Sleep Number bed, you’re ready to tackle the task with confidence. Whether you’re moving, redecorating, or simply in need of a thorough cleaning, following these steps will help you safely and effectively disassemble your Sleep Number bed.
Remember to always refer to the manufacturer’s instructions and guidelines specific to your Sleep Number bed model for the most accurate and up-to-date information.
Happy disassembling and happy sleeping!
Conclusion
Disassembling a Sleep Number bed may seem like a challenging task, but with the right tools, organization, and knowledge, it can be done smoothly and efficiently. By following the step-by-step guide outlined in this article, you can disassemble your Sleep Number bed with confidence and ensure that all the components are properly preserved for future assembly.
From gathering the necessary tools and materials to preparing the workspace, removing the mattress and bedding, detaching the air chambers and hoses, and disassembling the base, frame, headboard, and footboard – each step plays a crucial role in the disassembly process.
Additionally, it’s important to take care of your Sleep Number bed by cleaning and maintaining it regularly. This includes cleaning the mattress, vacuuming the base and frame, inspecting for wear and tear, and following the manufacturer’s guidelines for proper assembly and care.
Remember to stay organized throughout the process, securely store the disassembled parts, and label them for easy identification when the time comes to reassemble your Sleep Number bed.
By following these guidelines, you’ll be able to disassemble your Sleep Number bed effectively and safely. Whether you’re moving, redecorating, or simply giving your bed a thorough clean, taking the time to disassemble and maintain your Sleep Number bed will contribute to its long-lasting performance and your continued enjoyment of a restful night’s sleep.
Now that you’re equipped with the knowledge and steps needed to disassemble your Sleep Number bed, it’s time to put them into action. Best of luck with your disassembly process!
If dismantling your Sleep Number bed was a breeze, why stop there? For those itching to roll up their sleeves further, our guide on DIY home improvement offers a treasure chest of tips and tricks. Whether you're looking to spruce up the kitchen, refresh the bathroom, or add a personal touch to the living room, this article has all you need to transform your home with your own two hands. Dive in, get dirty, and turn your home into a masterpiece of your making.
Frequently Asked Questions about How To Disassemble A Sleep Number Bed
Was this page helpful?
At Storables.com, we guarantee accurate and reliable information. Our content, validated by Expert Board Contributors, is crafted following stringent Editorial Policies. We're committed to providing you with well-researched, expert-backed insights for all your informational needs.