Home>Furniture>Bedroom Furniture>How To Move A Sleep Number Bed

Bedroom Furniture
How To Move A Sleep Number Bed
Modified: February 25, 2024
Learn how to efficiently move a Sleep Number bed with our step-by-step guide. Ensure the safety of your valuable bedroom furniture during the relocation process.
(Many of the links in this article redirect to a specific reviewed product. Your purchase of these products through affiliate links helps to generate commission for Storables.com, at no extra cost. Learn more)
Introduction
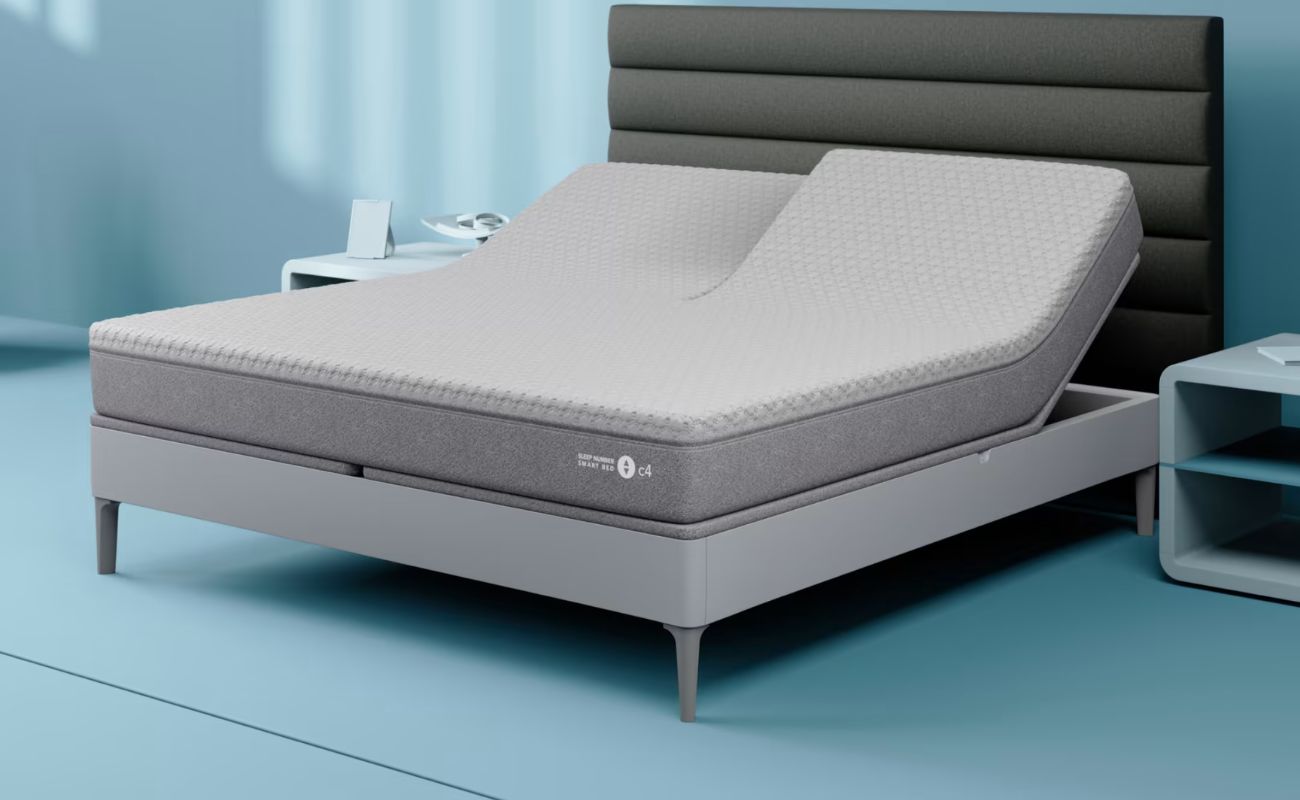
Welcome to our comprehensive guide on how to move a Sleep Number bed! Whether you’re relocating to a new home or simply rearranging your bedroom, knowing the proper steps to move your Sleep Number bed will ensure a smooth and hassle-free process. With its customizable comfort and innovative design, the Sleep Number bed is a popular choice for a good night’s sleep. However, due to its unique components, it requires some careful disassembly and reassembly. But fear not, as we will walk you through each step, providing expert tips and tricks along the way.
Moving any bed can be a challenging task, but when it comes to a Sleep Number bed, there are a few additional considerations. Made up of multiple components, including the bed frame, headboard, air chambers, base, and mattress, it’s important to handle each part with care to prevent any damage during the moving process. Taking the time to disassemble and pack the bed correctly will ensure that you can enjoy your Sleep Number bed in its optimal condition once it’s set up in its new location.
In this guide, we will break down the process into easy-to-follow steps, providing detailed instructions and valuable tips to make your move as seamless as possible. From gathering the necessary tools and equipment to reassembling the bed in its new location, we’ve got you covered. So, let’s dive in and learn how to move your Sleep Number bed without a hitch!
Key Takeaways:
- Ensure a smooth move for your Sleep Number bed by gathering essential tools, disassembling components with care, and protecting the mattress during transit. Follow expert tips for a hassle-free relocation.
- Reassemble your Sleep Number bed with precision, reconnect and inflate the air chambers, and fine-tune settings for personalized comfort. Enjoy a seamless transition and restful nights in your new location.
Read more: What Is A Sleep Number Bed
Step 1: Gather the Necessary Tools and Equipment
Before you begin disassembling your Sleep Number bed, it’s important to gather all the tools and equipment you’ll need. This will ensure that you have everything readily available and can complete the process smoothly and efficiently. Here’s a list of essential items you’ll need:
- Allen wrench or screwdriver – Depending on the type of bed frame and headboard you have, you may need either an Allen wrench or a screwdriver to remove the screws or bolts holding them together.
- Tape measure – It’s always a good idea to have a tape measure on hand to ensure that your new bedroom space can accommodate the size of your Sleep Number bed.
- Plastic bags or zip ties – These are useful for storing small screws, bolts, and other hardware to prevent them from getting lost during the move. Label each bag or use separate zip ties to keep the hardware organized for easy reassembly.
- Mattress cover or plastic wrap – To protect your Sleep Number mattress during the move, use a mattress cover specifically designed for this purpose or wrap it tightly with plastic wrap.
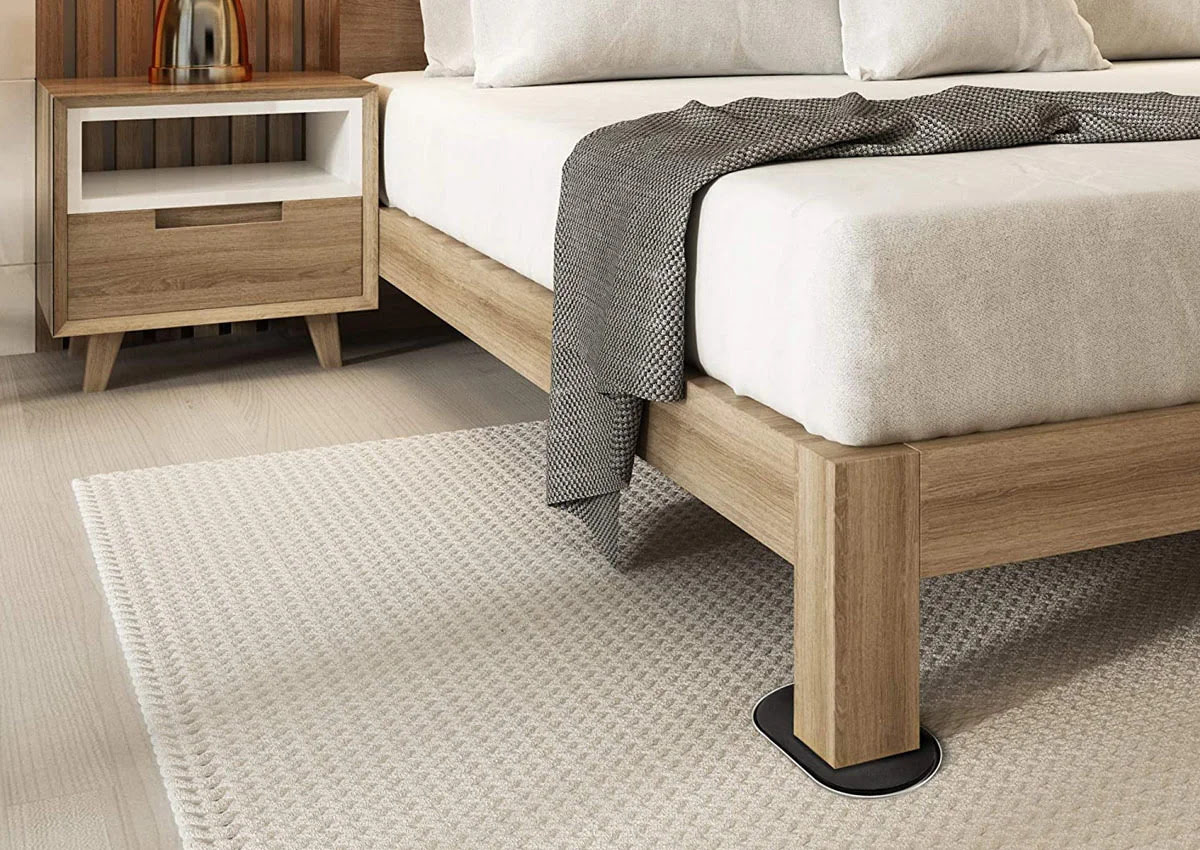
- Furniture sliders – If you’re moving your Sleep Number bed to a different area within the same room, furniture sliders can help you move the heavy pieces without straining your back or causing damage to your flooring.
- Moving blankets or padding – These will provide an extra layer of protection during transit, preventing scratches and dents on the bed frame and headboard.
Once you have all the necessary tools and equipment gathered, you’ll be better prepared to tackle the disassembly and moving process of your Sleep Number bed. Don’t forget to wear comfortable clothing and enlist the help of a friend or family member to make the task easier and safer.
Now that you’re well-equipped, let’s move on to the next step of dismantling the bed frame and headboard.
Step 2: Take Down the Bed Frame and Headboard
Now that you have gathered all the necessary tools and equipment, it’s time to disassemble the bed frame and headboard of your Sleep Number bed. Follow these steps to ensure a smooth dismantling process:
- Start by removing any bedding, pillows, and accessories from the bed.
- Using an Allen wrench or screwdriver, carefully remove the screws or bolts that attach the headboard to the bed frame. Place the screws or bolts in a plastic bag and label it for easy reassembly.
- Once the headboard is detached, set it aside in a safe location, ensuring it won’t get damaged during the move.
- Next, locate the brackets or connectors that secure the bed frame to the base. Depending on the model of your Sleep Number bed, you may need to unscrew or detach these connectors using the appropriate tools.
- Once the bed frame is detached from the base, disassemble any additional parts, such as side rails or footboards, following the manufacturer’s instructions.
- Store all the disassembled components securely, making sure to keep the hardware in a labeled plastic bag or zip-tied together.
By following these steps, you’ll be able to safely and efficiently take down the bed frame and headboard of your Sleep Number bed. Remember to take your time, handle each part with care, and keep the hardware organized for seamless reassembly later.
In the next step, we will guide you through deflating and disconnecting the air chambers of your Sleep Number bed.
Step 3: Deflate and Disconnect the Air Chambers
Now that you have successfully taken down the bed frame and headboard, it’s time to tackle the air chambers of your Sleep Number bed. Follow these steps to ensure a proper deflation and disconnection:
- Locate the air pump that is connected to your Sleep Number bed. This pump is responsible for inflating and deflating the air chambers.
- Turn off the air pump and unplug it from the power source.
- Using the controls on the pump or the remote control, deflate the air chambers of your Sleep Number mattress. Be sure to release all the air from both sides of the bed.
- Once the air chambers are fully deflated, locate the connectors that hold the air hoses in place. These connectors may be located underneath the mattress or on the sides. Depending on your model, they may require twisting or pulling to disconnect.
- Carefully disconnect the air hoses from the connectors, making sure not to damage the hoses or the connectors.
- Ensure that the air hoses are secured and won’t get tangled or damaged during the move. You can use zip ties or rubber bands to keep them neatly organized.
By following these steps, you will successfully deflate and disconnect the air chambers of your Sleep Number bed. Properly deflating and disconnecting the air chambers is crucial to prevent any damage or leaks during the move.
In the next step, we will guide you through detaching the base and legs of your Sleep Number bed.
Step 4: Detach the Base and Legs
With the air chambers deflated and disconnected, it’s time to focus on detaching the base and legs of your Sleep Number bed. Follow these steps to complete this task:
- If your Sleep Number bed has a separate base, locate the screws or bolts that attach it to the bed frame. Use the appropriate tools, such as an Allen wrench or screwdriver, to remove these screws or bolts and detach the base from the frame.
- Once the base is detached, carefully lift it off the floor and set it aside in a safe location. It’s best to have an extra pair of hands to assist you with this step, as the base can be quite heavy.
- Next, remove the legs of the bed frame. Depending on the model of your Sleep Number bed, the legs may screw in or simply slide into place. Carefully remove each leg by unscrewing or sliding them out.
- Store all the detached components, including the base and legs, in a secure location where they won’t get damaged during the move. Consider using moving blankets or padding to provide extra protection.
By following these steps, you will successfully detach the base and legs of your Sleep Number bed. Storing these components securely will ensure that they remain in good condition and are ready for reassembly at your new location.
In the next step, we will guide you through the process of moving the Sleep Number mattress and its various components.
When moving a Sleep Number bed, disassemble it carefully, pack the parts securely, and label everything for easy reassembly. Keep the mattress flat to avoid damaging the air chambers.
Read more: How To Inflate A Sleep Number Bed
Step 5: Move the Sleep Number Mattress and Components
Now that you have disassembled the bed frame, headboard, air chambers, base, and legs of your Sleep Number bed, it’s time to move the mattress and its various components. Follow these steps to ensure a safe and organized move:
- Carefully lift the Sleep Number mattress off the bed frame and set it on a clean and flat surface. It’s important to handle the mattress with care to avoid any tears or damage.
- If you have a mattress cover specifically designed for your Sleep Number mattress, place it over the mattress to provide an additional layer of protection during the move. If you do not have a mattress cover, you can tightly wrap the mattress with plastic wrap.
- Next, gather all the disassembled components, including the headboard, air hoses, base, and legs. Make sure they are securely packed and organized, utilizing plastic bags or zip ties to keep any small hardware together.
- Consider using furniture sliders to transport the heavy components, such as the bed frame and headboard, to minimize strain on your back and to protect your flooring.
- If you’re moving the Sleep Number bed to a new location, carefully load all the components into a moving truck or vehicle, making sure they are well-secured and won’t shift during transit.
- If you’re simply rearranging your bedroom, move the components to their desired locations, taking caution not to damage any furniture or walls in the process.
By following these steps, you’ll be able to move the Sleep Number mattress and its various components in a safe and organized manner. Remember to handle the mattress with care, secure all the components properly, and utilize furniture sliders to make the process smoother.
In the next step, we will guide you through the reassembly of the bed frame and headboard.
Step 6: Reassemble the Bed Frame and Headboard
Now that you have successfully moved the Sleep Number mattress and its components, it’s time to reassemble the bed frame and headboard. Follow these steps to ensure a proper and sturdy reassembly:
- Begin by unpacking all the components you previously detached, including the bed frame, headboard, base, and legs. Lay them out in an organized manner for easy access.
- If necessary, refer to the manufacturer’s instructions or user manual for your specific Sleep Number bed model to guide you through the reassembly process. These instructions will provide detailed steps and diagrams to help you correctly put the bed frame and headboard back together.
- Start by attaching the legs to the bed frame if they were removed. Make sure they are securely fastened, whether it involves screwing them in or sliding them into place.
- Next, line up the bed frame and headboard, ensuring that the screw holes or connectors align correctly.
- Using the appropriate tools, such as an Allen wrench or screwdriver, reattach the headboard to the bed frame, using the provided screws or bolts. Make sure to tighten them firmly to ensure stability.
- If your Sleep Number bed has a separate base, reattach it to the bed frame according to the manufacturer’s instructions. This may involve screwing or bolting it securely in place.
By following these steps and referring to the manufacturer’s instructions, you’ll be able to reassemble the bed frame and headboard of your Sleep Number bed with ease. Take your time to ensure that all the components are firmly secured and aligned properly.
In the next step, we will guide you through reconnecting and inflating the air chambers of your Sleep Number bed.
Step 7: Reconnect and Inflate the Air Chambers
With the bed frame and headboard reassembled, it’s time to reconnect and inflate the air chambers of your Sleep Number bed. Follow these steps to ensure a proper and comfortable setup:
- First, locate the air hoses that were previously disconnected from the air chambers. Check for any damages or leaks before proceeding.
- Align the connectors on the air hoses with the corresponding connectors on the air chambers. Depending on your model, you may need to twist or push the connectors to secure them together.
- Make sure the air hoses are properly connected and securely fastened to prevent any air leaks. Give them a gentle tug to ensure they are well-attached.
- Plug the air pump back into a power source and turn it on. Use the controls on the pump or the remote control to inflate the air chambers.
- Monitor the inflation process and adjust the firmness of the mattress to your desired Sleep Number setting. This will vary depending on your personal preference and comfort level.
- Once the air chambers are fully inflated and set to your preferred firmness, double-check for any air leaks around the connectors or hoses. If you notice any leaks, recheck the connections and make sure they are tightly secured.
By following these steps, you’ll be able to reconnect and inflate the air chambers of your Sleep Number bed, allowing you to enjoy personalized comfort and support once again.
In the final step, we will guide you through testing and adjusting your Sleep Number bed to ensure optimal comfort.
Step 8: Test and Adjust the Sleep Number Bed
After successfully reconnecting and inflating the air chambers of your Sleep Number bed, it’s important to test and adjust the bed to ensure optimal comfort and support. Follow these steps to fine-tune your sleep experience:
- Lie down on the mattress and test different Sleep Number settings to find the level of firmness that provides the most comfortable sleep for you. Adjust the firmness using the controls on the air pump or the remote control.
- Take note of your comfort level and any areas that may require additional adjustment. This could include additional inflation or deflation in specific zones of the mattress.
- Utilize the Sleep Number app, if available for your specific model, to further customize your sleep experience. The app allows you to track your sleep, adjust firmness, and access additional features such as snore detection or automatic adjustment for temperature regulation.
- If you sleep with a partner, communicate and adjust the Sleep Number settings based on each individual’s preferences. Finding the perfect balance that caters to both of your comfort needs will ensure a restful sleep for both of you.
- Make any necessary adjustments to the Sleep Number settings until you achieve your desired level of comfort and support. Take the time to experiment and find the configuration that allows you to wake up feeling refreshed and rejuvenated.
By following these steps and fine-tuning your Sleep Number bed, you’ll be able to enjoy the perfect sleep experience tailored to your specific preferences and needs. Remember to periodically test and adjust your settings as your comfort preferences may change over time.
Congratulations! You have successfully learned how to move your Sleep Number bed and ensure its optimal condition in its new location. Enjoy your personalized sleep haven!
If you have any further questions or need additional assistance, don’t hesitate to reach out to Sleep Number’s customer support or consult the manufacturer’s guidelines.
Read more: How To Store A Sleep Number Bed
Conclusion
Moving a Sleep Number bed doesn’t have to be a daunting task. By following the steps outlined in this comprehensive guide, you can safely and efficiently disassemble, move, and reassemble your Sleep Number bed in its new location. Remember to gather the necessary tools and equipment, take down the bed frame and headboard, deflate and disconnect the air chambers, detach the base and legs, and carefully move the mattress and components.
Once you have successfully relocated your Sleep Number bed, reassembling it is a straightforward process. Connect the air chambers, reattach the base and legs, and inflate the mattress to your preferred Sleep Number setting. Then, take the time to test and adjust the bed to ensure the perfect level of comfort and support for a good night’s sleep.
Throughout the process, be mindful of handling each component with care to prevent any damage. Utilize moving blankets, padding, or furniture sliders to protect the bed parts and your surroundings. Keep hardware organized and ensure all connections are securely fastened to avoid any issues during the move.
Remember, if you have any questions or concerns throughout the process, consult the manufacturer’s guidelines or reach out to Sleep Number’s customer support for assistance. Taking the time and effort to properly move your Sleep Number bed will ensure that you can continue to enjoy its customizable comfort and restorative sleep in its new location.
We hope this guide has provided you with valuable insights and instructions to successfully move your Sleep Number bed. Wishing you a seamless transition and many nights of rejuvenating sleep on your Sleep Number bed!
Frequently Asked Questions about How To Move A Sleep Number Bed
Was this page helpful?
At Storables.com, we guarantee accurate and reliable information. Our content, validated by Expert Board Contributors, is crafted following stringent Editorial Policies. We're committed to providing you with well-researched, expert-backed insights for all your informational needs.


0 thoughts on “How To Move A Sleep Number Bed”