Furniture
How To Stain A Wood Dresser
Modified: December 7, 2023
Learn how to stain a wood dresser and transform it into a stunning piece of furniture. Follow our step-by-step guide for professional results.
(Many of the links in this article redirect to a specific reviewed product. Your purchase of these products through affiliate links helps to generate commission for Storables.com, at no extra cost. Learn more)
Introduction
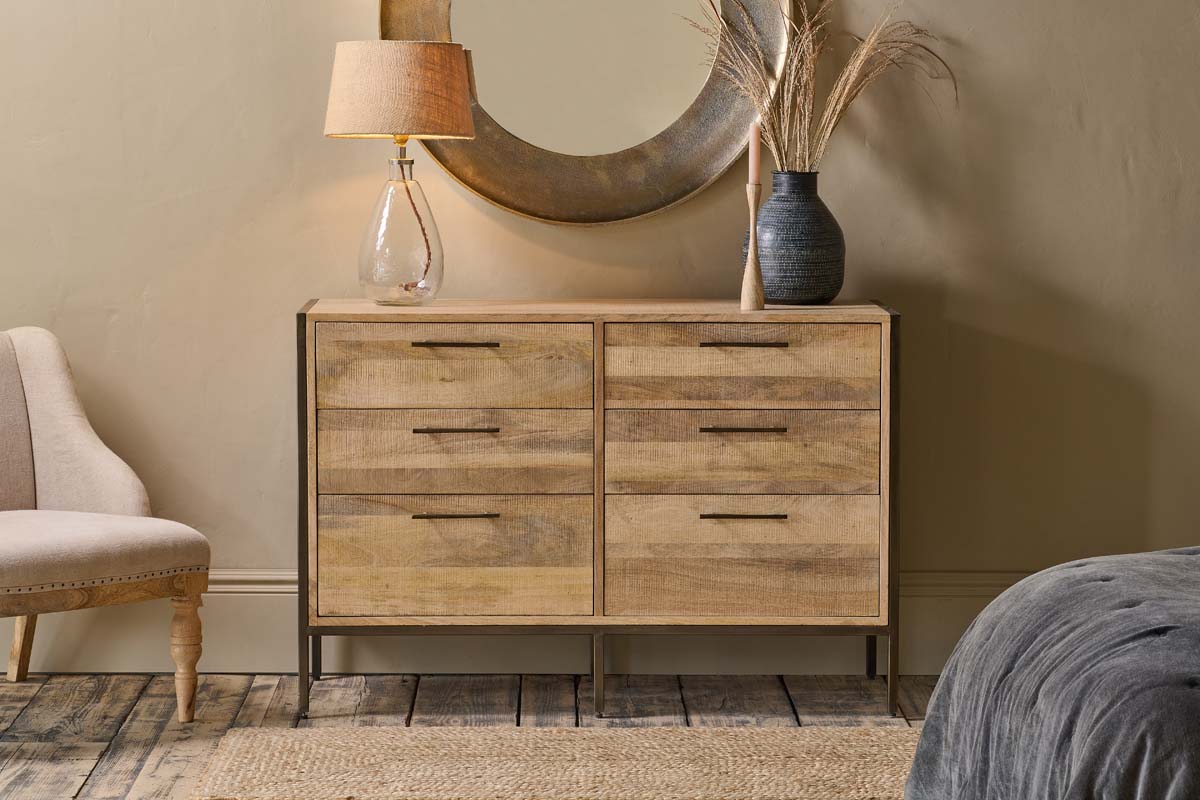
When it comes to furniture, nothing adds warmth, beauty, and character quite like a beautifully stained wood dresser. Staining a wood dresser is a great way to enhance its natural beauty while protecting it from wear and tear. Whether you want to bring new life to an old dresser or personalize a brand new one, staining can be a rewarding DIY project that allows you to customize the look to your liking.
In this article, we will guide you through the step-by-step process of staining a wood dresser. From gathering the necessary materials to applying the final coat, you’ll learn the techniques and tips needed to achieve professional-looking results.
Before we dive in, it’s important to note that staining wood requires careful preparation and attention to detail. The final outcome greatly depends on the quality of the wood and the proficiency with which the stain is applied. By following the steps outlined in this guide, you can ensure that the stain will penetrate the wood evenly and create a rich, long-lasting finish.
So, let’s get started and transform your wood dresser into a stunning centerpiece for your home!
Key Takeaways:
- Transform your wood dresser into a stunning centerpiece by following the step-by-step staining process, from preparation to sealing, for professional-looking results.
- Choose the right stain, apply it with care, and seal your dresser for long-lasting beauty and protection. Enjoy the warmth and character of your personalized wood dresser.
Read more: How To Bleach A Wood Dresser
Step 1: Gather the necessary materials
Before you begin staining your wood dresser, it’s essential to gather all the necessary materials. This ensures that you have everything you need to complete the project efficiently. Here’s a list of the essential items you’ll need:
- Safety equipment: Start by putting on protective gear such as goggles, gloves, and a dust mask. This will help protect your eyes, hands, and lungs during the staining process.
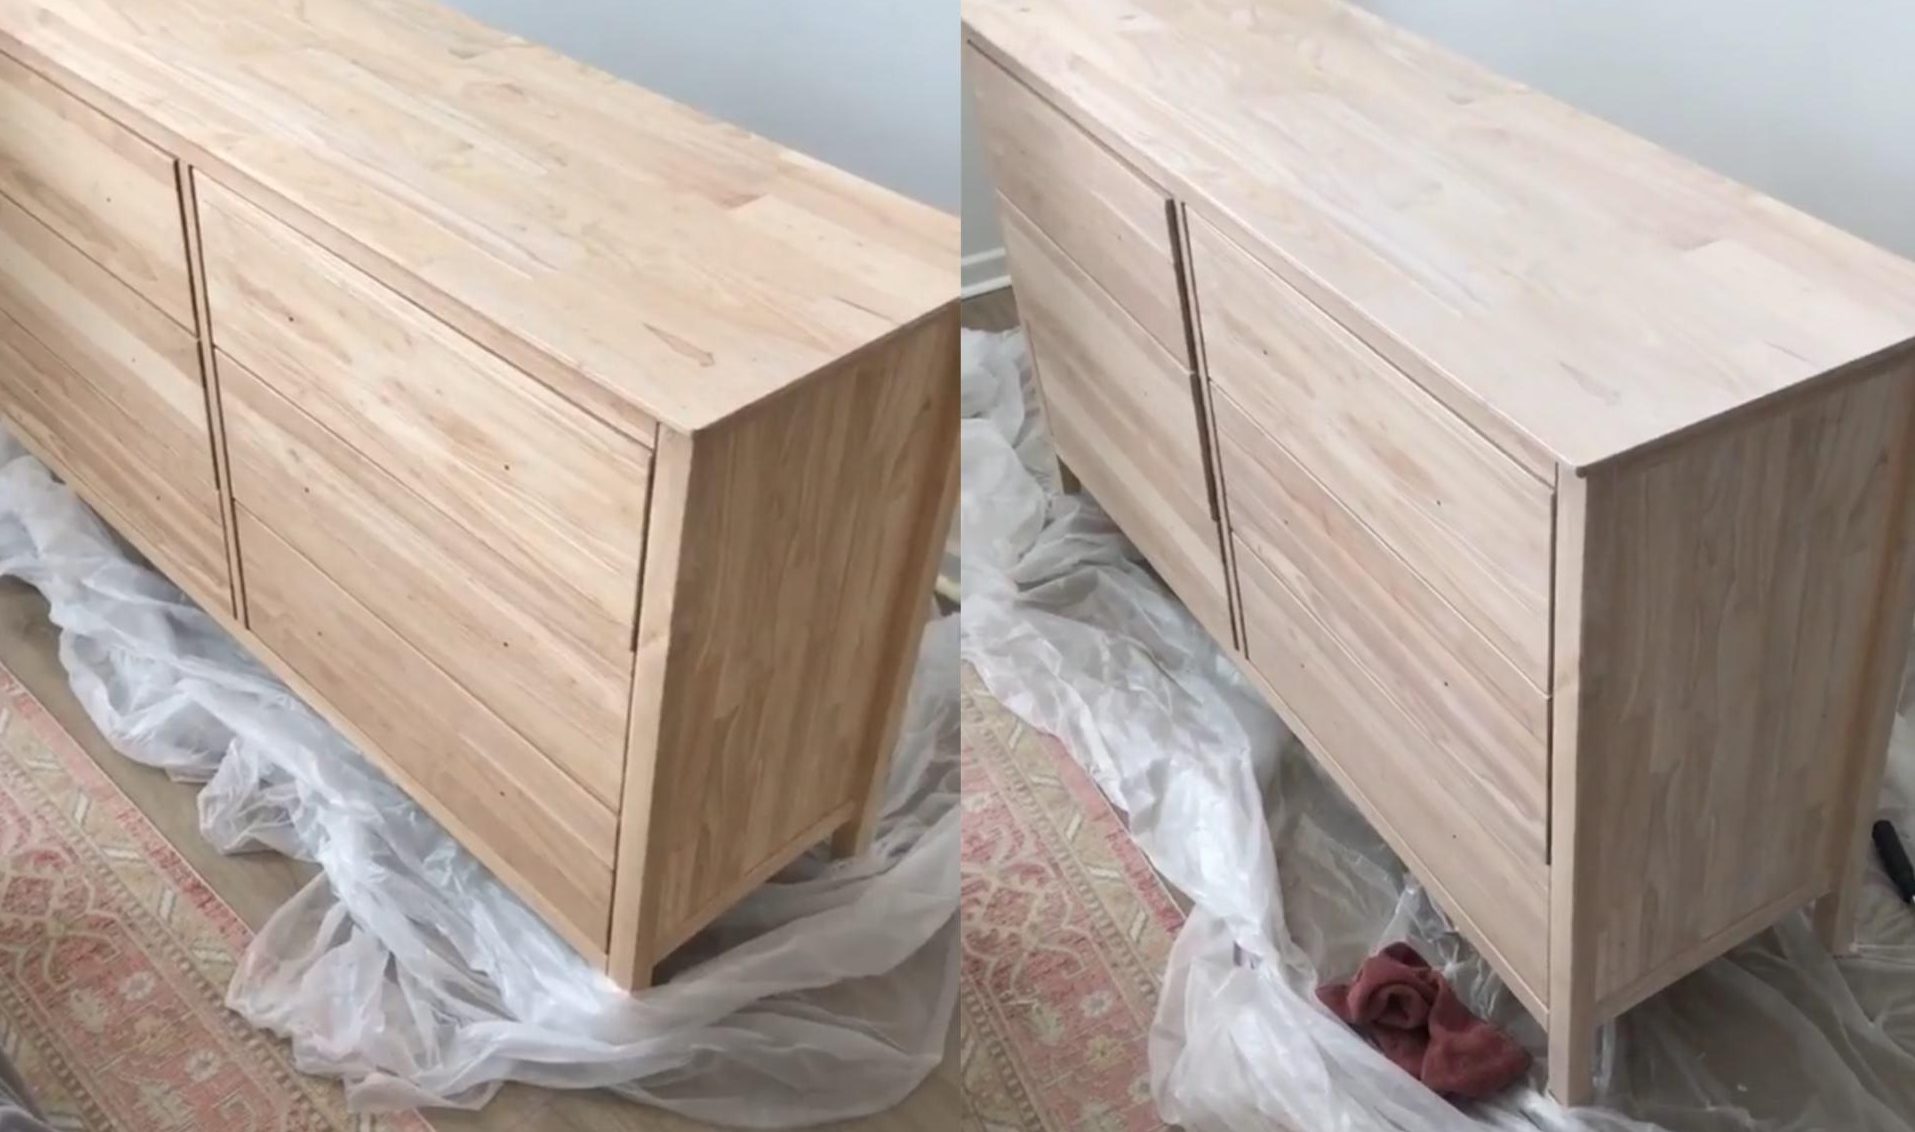
- Wood dresser: Choose a wood dresser that is suitable for staining. Ensure that it is clean, dry, and free from any existing finishes or coatings. Sanding might be required to remove any existing varnish or paint.
- Sanding materials: Depending on the condition of the wood dresser, you may need sandpaper, sanding blocks, or an electric sander to smooth out any imperfections and create a smooth surface for staining.
- Stain: Select a stain color that complements your desired aesthetic. There are many options available, including oil-based stains, water-based stains, and gel stains. Consider the type of wood and the desired finish when choosing the stain.
- Stir sticks and brushes: You’ll need stir sticks to mix the stain thoroughly before application. Brushes, either foam brushes or natural bristle brushes, are essential for applying the stain evenly.
- Cloth or rags: Keep some clean lint-free cloth or rags nearby to wipe off excess stain and create the desired finish.
- Protective finish: Decide whether you want to apply a protective finish such as varnish or polyurethane to seal and protect the stained wood.
- Drop cloths or newspapers: It’s important to protect your work area from any potential stains or spills. Lay down drop cloths or newspapers to catch any drips or splatters.
By ensuring that you have all these materials on hand, you’ll be well-prepared to move on to the next step of the staining process. It’s always better to have everything ready before you begin to avoid any interruptions or delays.
Step 2: Prepare the wood dresser for staining
Preparing the wood dresser before applying stain is crucial for achieving a smooth and professional-looking finish. Here are the steps to follow:
- Clean the dresser: Start by removing any dust, dirt, or debris from the dresser’s surface. Use a soft brush or a lint-free cloth to wipe away loose particles. This will ensure that the stain adheres evenly to the wood.
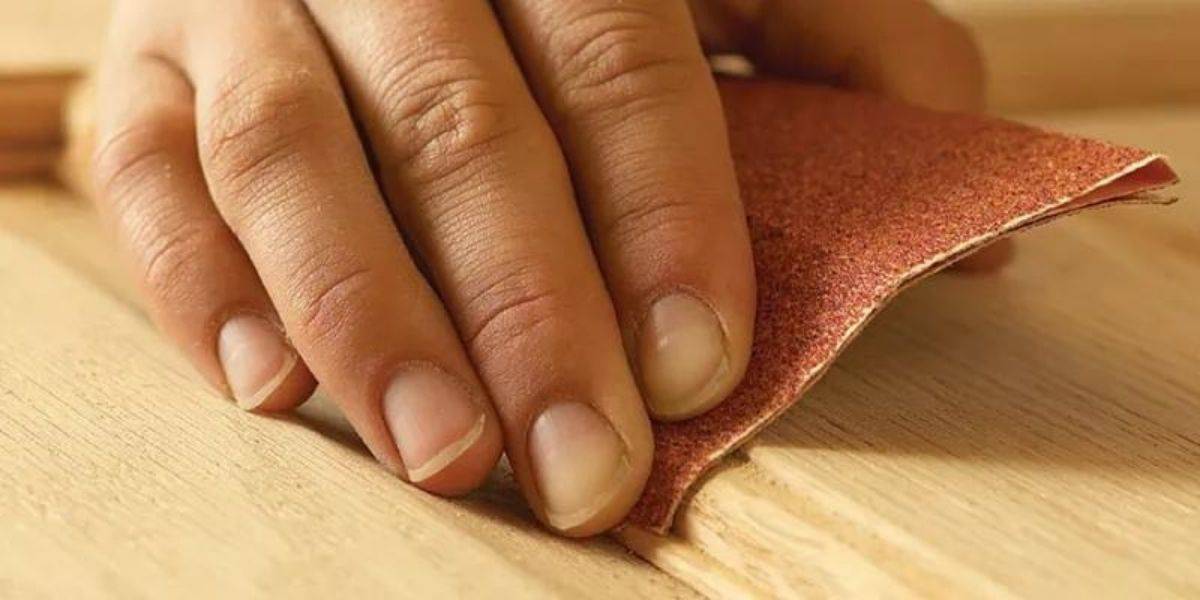
- Sand the dresser: If the dresser has any existing finish or a rough surface, it’s essential to sand it down. Start by using coarse-grit sandpaper and gradually move to finer grits for a smoother finish. Sand in the direction of the wood grain to avoid scratching the surface. This step will also help the stain penetrate the wood more effectively.
- Remove sanding residue: After sanding, wipe away any sanding residue with a lint-free cloth or a tack cloth. This will ensure a clean surface for the stain to adhere to.
- Fill any imperfections: If the wood dresser has visible gaps, cracks, or holes, use wood filler to fill them. Apply the wood filler according to the manufacturer’s instructions and smooth it out with a putty knife. Allow it to dry thoroughly before proceeding. Sand the filled areas lightly to make them flush with the rest of the dresser’s surface.
- Protect areas you don’t want to stain: If there are any parts of the dresser that you don’t want to stain, such as hardware or drawer slides, cover them with painter’s tape or remove them if possible. This will help ensure clean and precise staining.
By taking the time to properly prepare the wood dresser, you’re setting the foundation for a flawless stain application. Cleaning, sanding, and addressing any imperfections will result in a smoother and more even finish. Don’t rush this step – the effort you put into preparation will be reflected in the final result.
Step 3: Select the appropriate stain
Choosing the right stain is an important decision that will greatly impact the final look of your wood dresser. Consider the following factors when selecting the appropriate stain:
- Type of wood: Different types of wood absorb stain differently, so it’s important to choose a stain that works well with the specific wood species of your dresser. Some woods, like pine or birch, may require a pre-stain conditioner to ensure an even stain application.
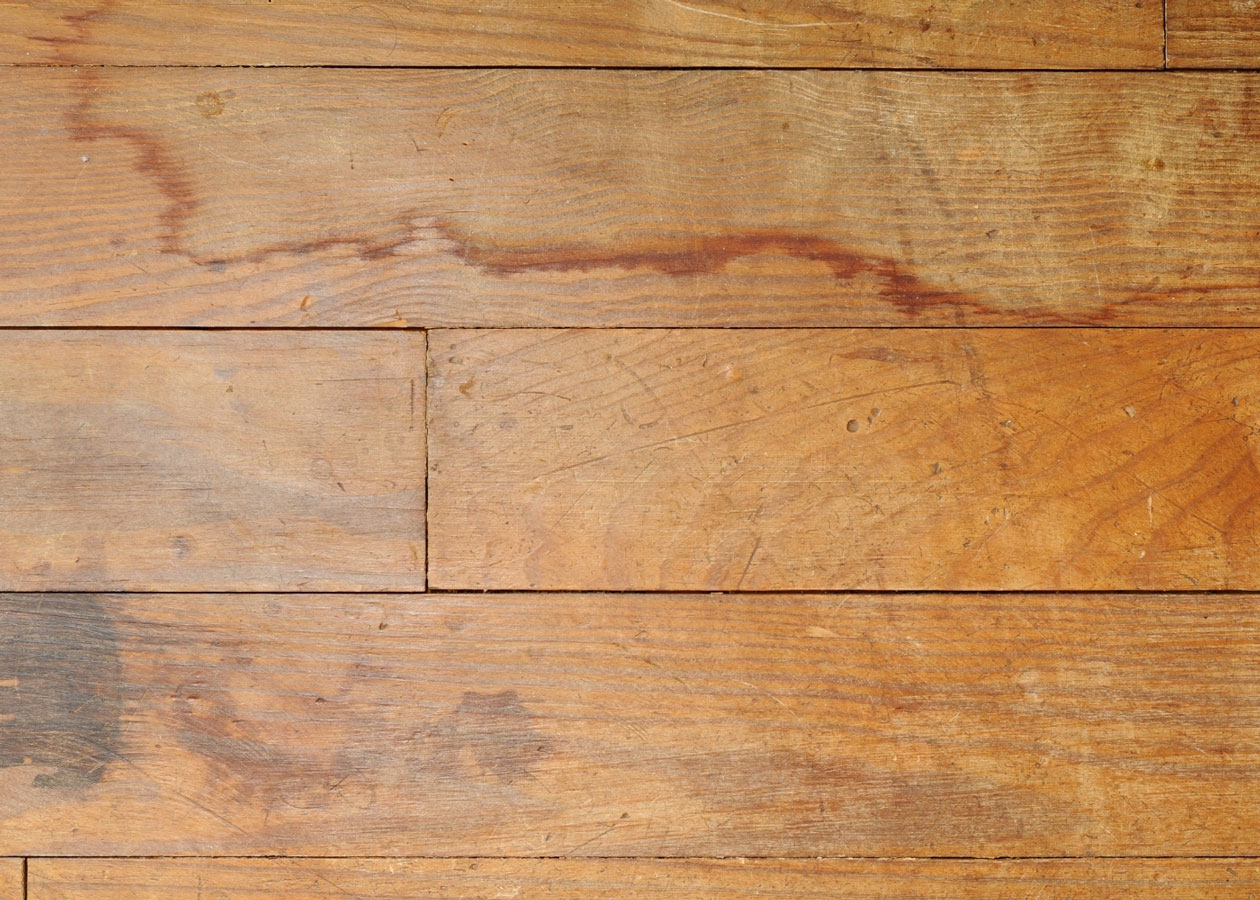
- Desired color: Determine the color you want to achieve for your wood dresser. Stains come in a wide variety of shades, ranging from light to dark, and even color options like gray, white, or weathered. Consider the overall aesthetic of your space and choose a stain color that complements it.
- Stain opacity: Stains can be categorized as transparent, semitransparent, or solid. Transparent stains allow the natural grain of the wood to show through, while solid stains cover the wood’s natural beauty entirely.
- Application method: Consider the ease of application and the desired finish. Some stains, like gel stains, are thicker and can be applied with a brush or a cloth, allowing for more control and minimal drips. Others are thinner and require careful application with a brush.
- Drying time: Check the estimated drying time listed on the stain container. Faster drying stains may require quicker work during application, while slower drying stains allow for more working time.
- Environmental considerations: If you’re concerned about the environmental impact, look for water-based or low VOC (volatile organic compound) stains that have fewer harmful chemicals and emit fewer fumes.
Take the time to test the stain on a small, inconspicuous area of the wood dresser or a scrap piece of the same wood. This allows you to preview the color and make any adjustments before staining the entire dresser. Keep in mind that the final result may vary slightly from the test area.
By considering these factors and testing the stain beforehand, you can confidently choose the right stain for your wood dresser and achieve the desired color and finish.
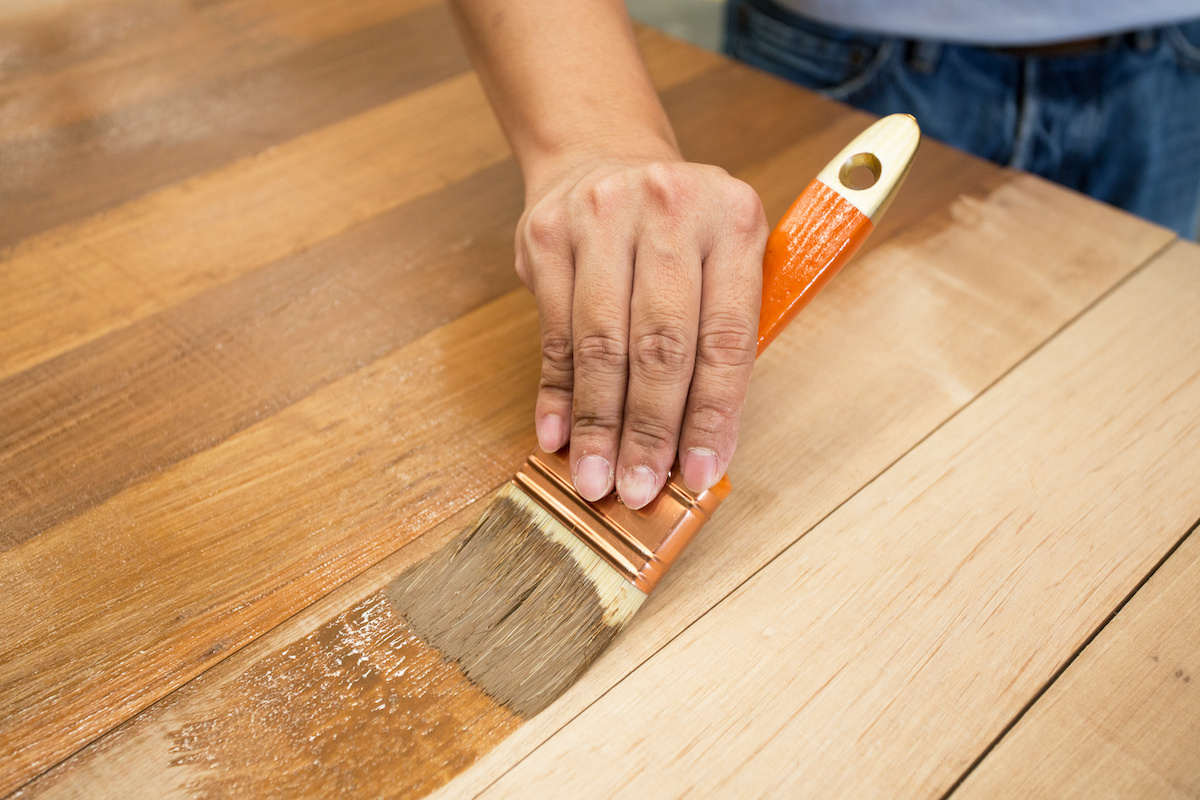
Step 4: Apply the stain to the wood dresser
Now that you’ve gathered your materials, prepared the wood dresser, and selected your desired stain, it’s time to apply the stain. Follow these steps for a successful staining process:
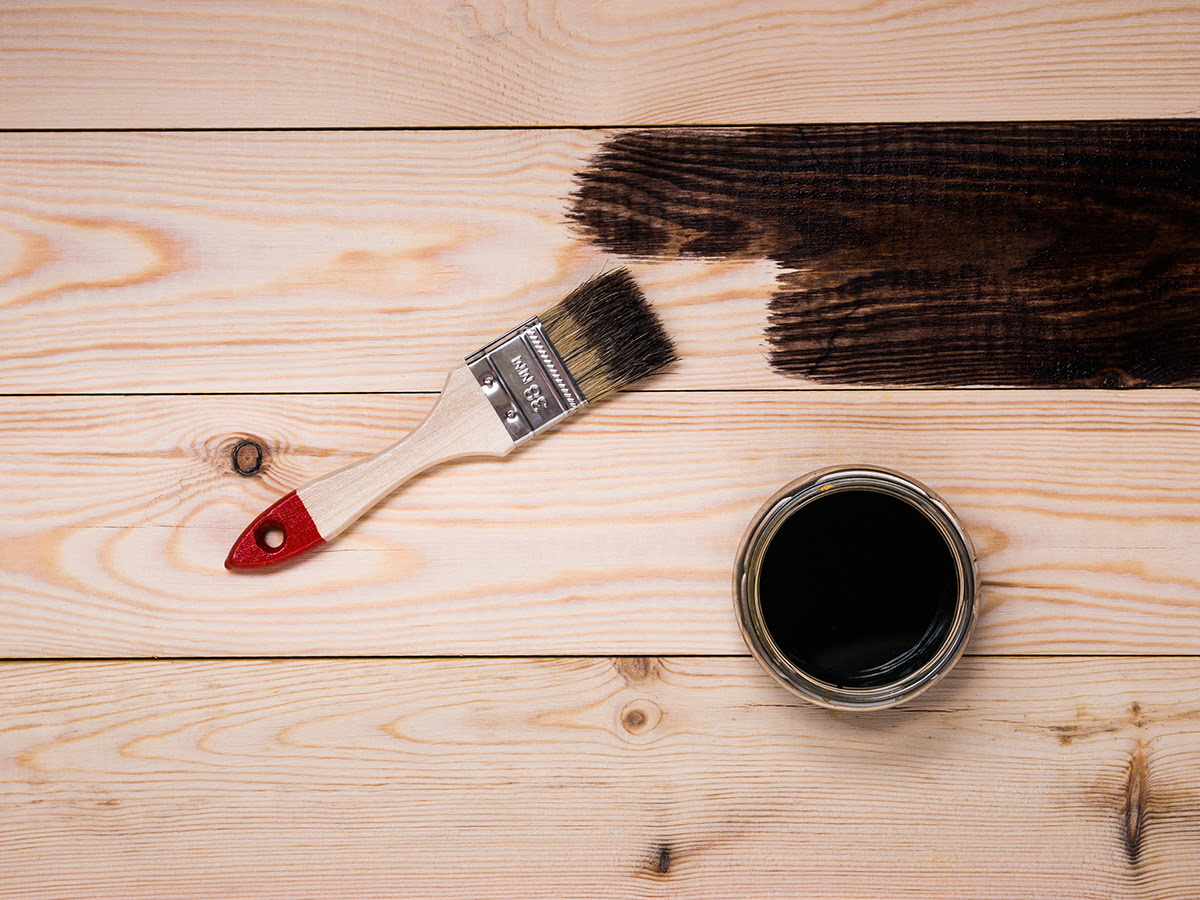
- Stir the stain: Before opening the stain can, give it a thorough stir using a stir stick. This will ensure that any settled pigments are evenly distributed throughout the stain.
- Apply the stain: Using a brush or a lint-free cloth, apply an even coat of stain to the wood dresser. Work in the direction of the wood grain, applying the stain generously and allowing it to penetrate the fibers.
- Overlap each stroke: To ensure consistent coverage, overlap each stroke of the brush or cloth slightly. This helps to eliminate any streaks or uneven patches in the final finish.
- Work in small sections: To avoid the stain drying before you can work it into the wood, tackle the stain application in manageable sections. This ensures that you have enough time to evenly distribute the stain and prevent lap marks.
- Check for drips and runs: Regularly inspect the surface for any drips or runs and smooth them out immediately with a brush or cloth. This will prevent the formation of unsightly marks on the dresser.
- Note the recommended drying time: Refer to the instructions on the stain container for the recommended drying time. Allow the first coat to dry completely before deciding if a second coat is necessary.
Remember, the longer you leave the stain on the wood, the darker the final color will be. Keep this in mind as you apply the stain and strive for a consistent tone throughout the dresser. If you’re unsure about the desired darkness, start with a lighter coat and build up to the desired shade with additional coats.
Once you have applied the stain to the entire dresser, let it sit for the recommended drying time. This allows the stain to penetrate and enhances the richness of the color. Avoid touching or moving the dresser during this time to prevent any smudges or smears.
Now that you’ve successfully applied the stain, it’s time to move on to the next step: removing the excess stain and allowing it to dry.
Before staining a wood dresser, make sure to sand the surface thoroughly to remove any existing finish and create a smooth surface for the stain to adhere to. Sand with the grain of the wood for best results.
Read more: How To Stain A Wood Shed
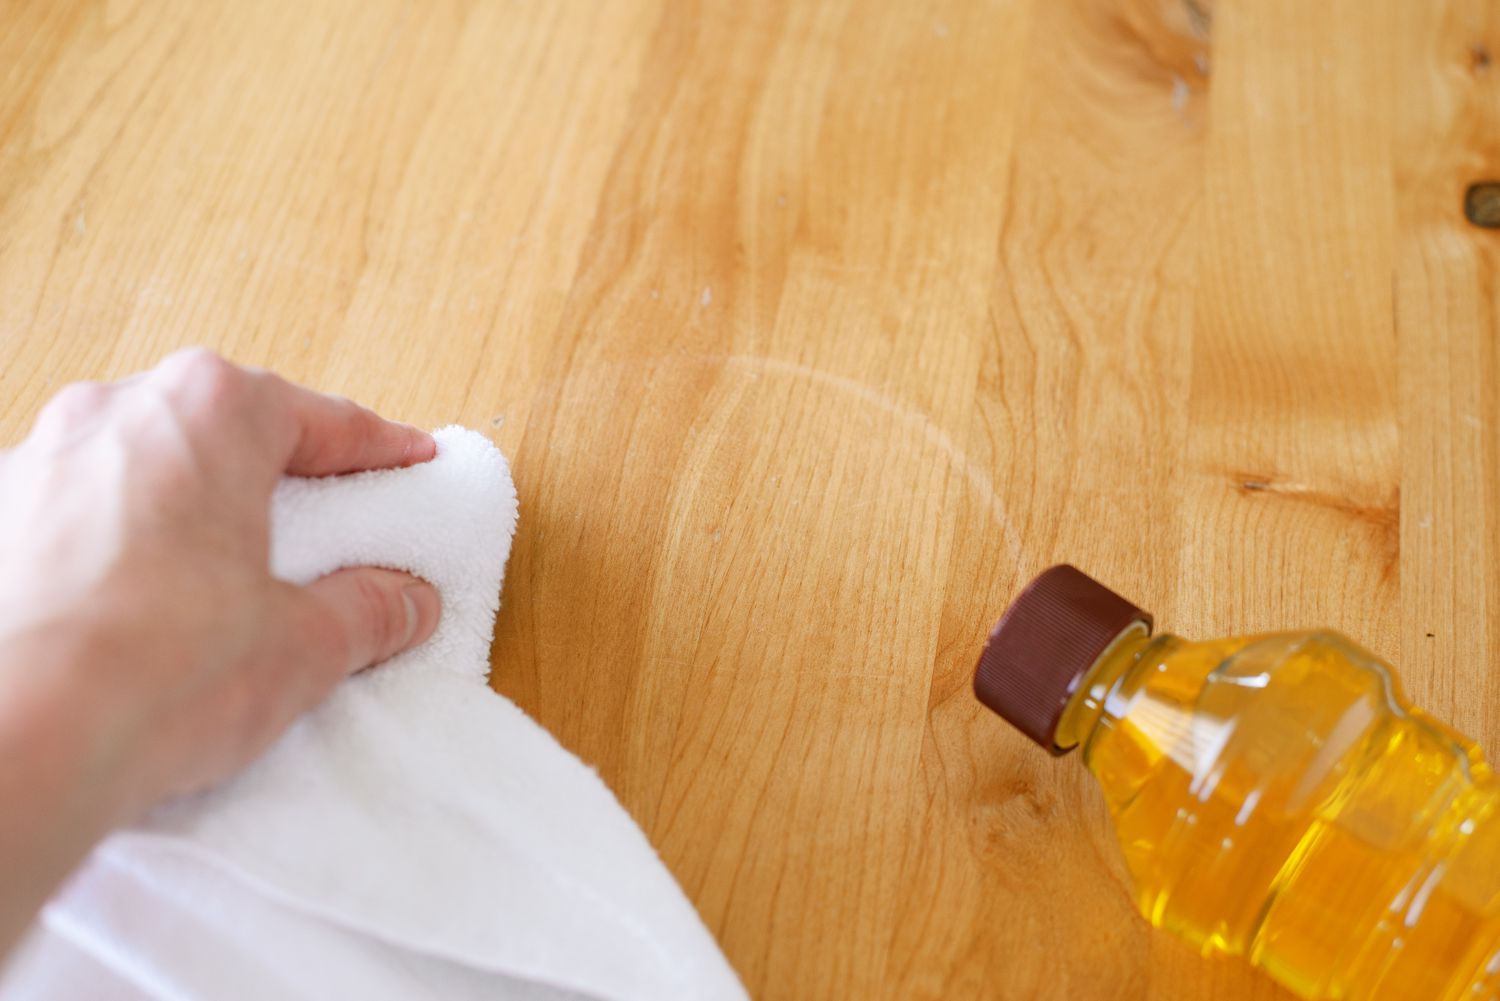
Step 5: Remove excess stain and allow it to dry
After applying the stain to your wood dresser, it’s important to remove any excess stain and allow it to dry properly. Follow these steps to achieve a polished finish:
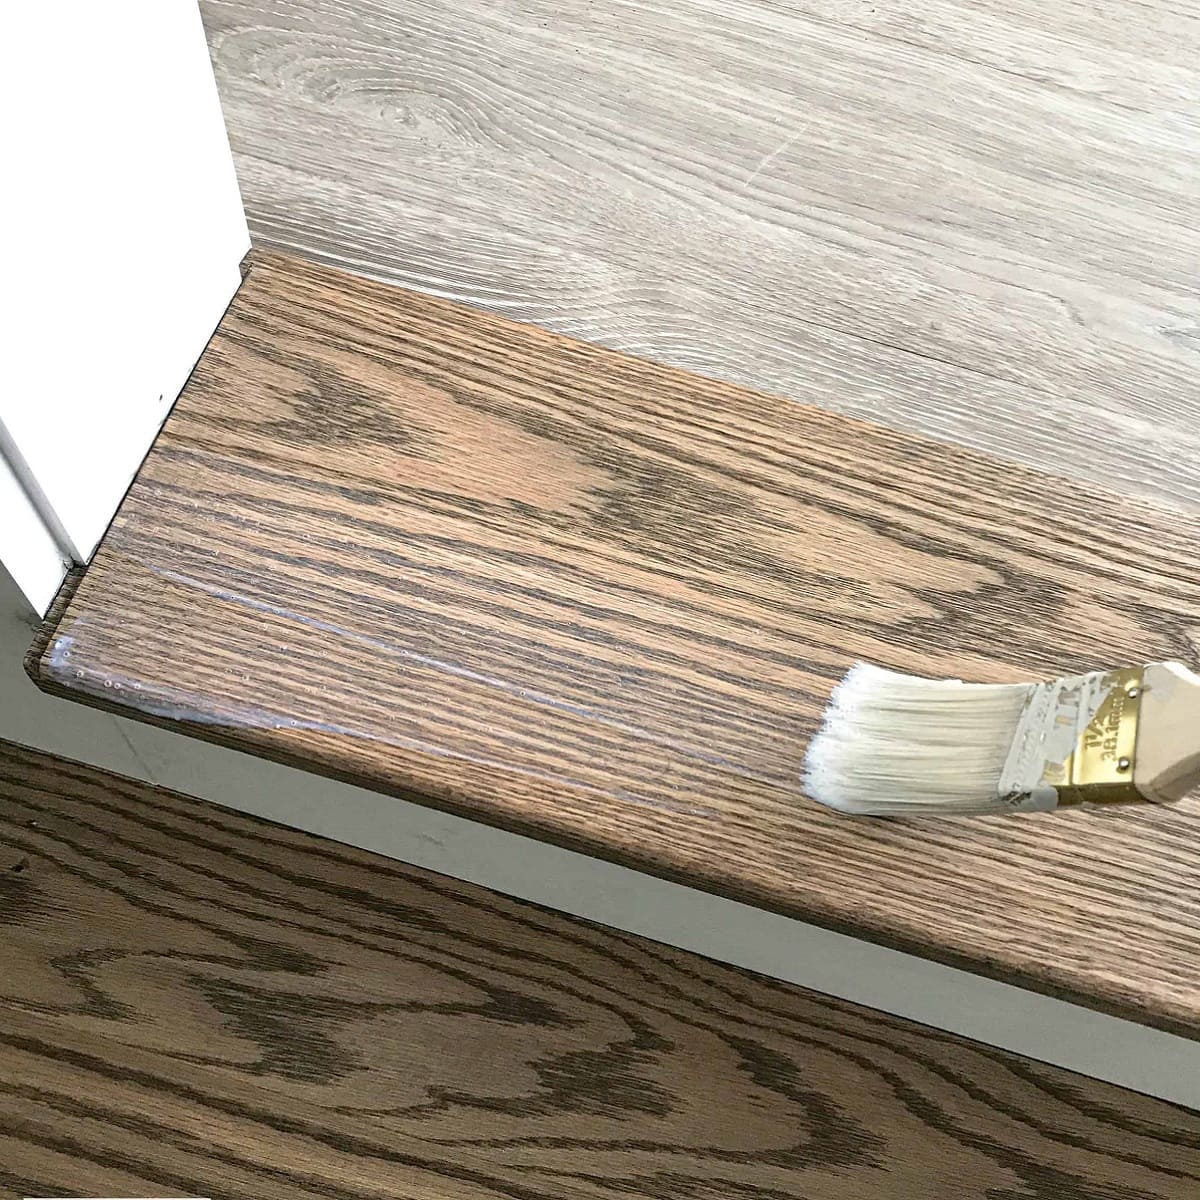
- Wipe off the excess stain: Take a clean, lint-free cloth or rag and gently wipe off any excess stain from the dresser’s surface. This helps to even out the color and remove any pooling or uneven patches.
- Pay attention to corners and crevices: Use a brush or a cloth wrapped around a small, flat tool to reach into corners and crevices. Ensure that all areas are properly wiped to prevent the accumulation of excess stain.
- Allow the stain to dry: Following the manufacturer’s recommendations, let the stain dry for the recommended amount of time. This can range from a few hours to overnight, depending on the type of stain and environmental conditions.
- Check for desired color: Once the stain has dried, evaluate the color and richness of the wood. If you’re satisfied with the result, you can proceed to the next step. However, if you prefer a darker or richer tone, you can apply an additional coat of stain. Repeat the staining process as outlined in Step 4.
While the stain is drying, it’s crucial to create an environment that minimizes dust and debris. Keep the area well-ventilated but free from excessive air movement to avoid particles landing on the wet stain. This will ensure a smooth and flawless finish.
Remember, the drying time may vary depending on the type of stain and environmental factors such as temperature and humidity. Don’t rush the process – allowing the stain to dry completely will result in a durable finish that will withstand everyday use.
Once the stain has dried, you’re ready to move on to the next step: applying a second coat, if desired, to enhance the depth of the color and achieve your desired finish.
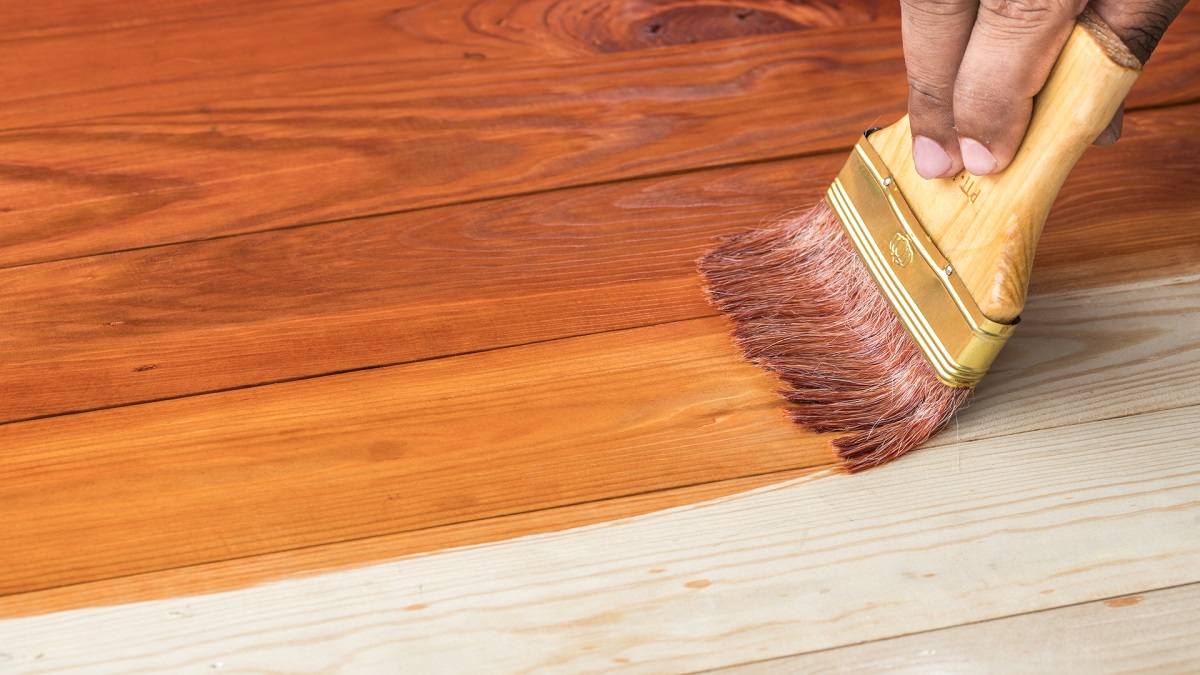
Step 6: Apply a second coat, if desired
Applying a second coat of stain is an optional step that can enhance the depth and richness of the color on your wood dresser. If you’re looking for a deeper or darker finish, follow these steps:
- Inspect the first coat: Before proceeding with a second coat, examine the dried first coat of stain. Assess the color and overall appearance to determine if you’re satisfied with the result. If the color appears too light or lacks depth, a second coat may be necessary.
- Lightly sand the surface: If you’ve decided to apply a second coat, lightly sand the surface of the dresser using fine-grit sandpaper. This will create a smooth surface for the new coat of stain to adhere to. Remember to wipe away any sanding residue before applying the second coat.
- Follow the staining process: Apply the second coat of stain using the same techniques outlined in Step 4. Work in small sections and ensure even coverage, paying attention to any areas that may require more stain to achieve the desired color.
- Wipe off excess stain: After applying the second coat, use a clean, lint-free cloth or rag to wipe off any excess stain. This step helps to create an even, consistent finish and prevent any tackiness on the surface of the dresser.
- Allow the stain to dry: Once again, follow the recommended drying time provided by the manufacturer. Be patient during this crucial step to allow the second coat to fully dry and cure.
Keep in mind that applying a second coat of stain can intensify the color significantly. It’s essential to exercise caution and make gradual adjustments to achieve the desired effect. Always test the stain on a small, inconspicuous area before applying it to the entire dresser.
If you’re satisfied with the color and richness of the stain after the second coat, you can move on to the final step: sealing the stained wood dresser to protect the finish and enhance its durability.
Step 7: Seal the stained wood dresser
Sealing the stained wood dresser is the final step in the staining process. It helps protect the finish from scratches, moisture, and everyday wear and tear. Follow these steps to properly seal your stained wood dresser:
- Select the appropriate sealer: There are various sealers available, including polyurethane, varnish, and lacquer. Choose a sealer that suits your needs and desired level of sheen. Matte, satin, or glossy finishes are common options.
- Prepare the dresser surface: Ensure that the stained wood dresser is completely dry before applying the sealer. Lightly sand the surface with fine-grit sandpaper to smooth out any imperfections or roughness. Wipe away any sanding residue with a clean, lint-free cloth.
- Apply the sealer: Using a brush or a clean cloth, apply a thin, even coat of sealer to the entire dresser surface. Work in the direction of the wood grain to achieve a smooth finish. Avoid over-applying, as it can result in uneven drying and a tacky surface.
- Allow the first coat to dry: Follow the manufacturer’s instructions for the recommended drying time. This can range from a few hours to overnight, depending on the type of sealer used.
- Inspect and apply additional coats: Once the first coat is dry, assess the dresser’s appearance. If you desire a deeper or higher level of protection, apply additional coats of sealer following the same application process. Lightly sand the surface between coats for optimal adhesion and smoothness.
- Continue applying coats, if necessary: Depending on the sealer’s characteristics and the level of protection you want, you may need to apply two or more coats of sealer. Each coat should be allowed to dry fully before applying the next.
- Final drying time: After applying the final coat of sealer, allow the dresser to dry in a well-ventilated area for the recommended drying time. This will ensure that the sealer cures properly for maximum durability.
Remember to follow the manufacturer’s instructions for specific drying times and application guidelines for the sealer you’ve chosen. Once the sealer has dried and cured, your stained wood dresser will be protected, have an enhanced finish, and be ready to use and enjoy.
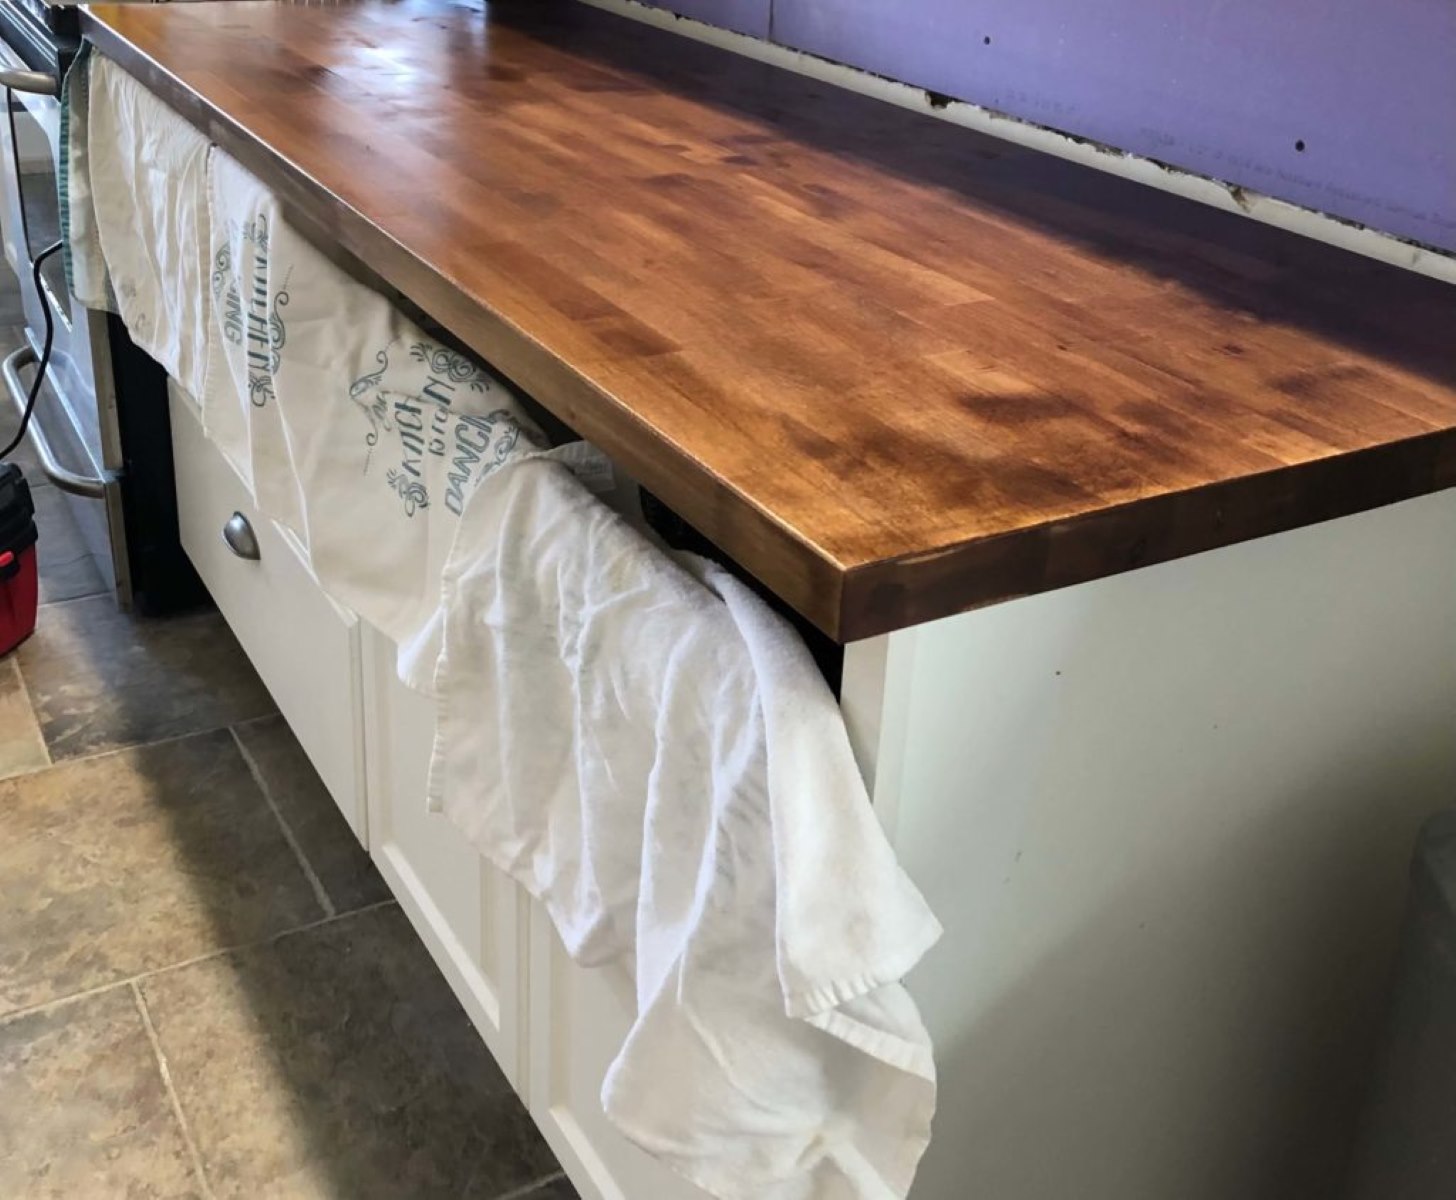
With the final step complete, you can now admire your beautifully stained and sealed wood dresser. It’s a testament to your effort and attention to detail, and it will bring warmth and character to any space in your home.
Conclusion
Staining a wood dresser is a rewarding DIY project that allows you to enhance its natural beauty and create a personalized piece of furniture. By following the step-by-step process outlined in this guide, you can achieve professional-looking results and transform your wood dresser into a stunning centerpiece for your home.
Throughout the staining process, it’s essential to gather all the necessary materials, prepare the wood dresser meticulously, select the appropriate stain, and apply it with care and precision. Removing excess stain and allowing it to dry properly are crucial steps that contribute to a smooth and even finish.
If desired, applying a second coat can deepen the color and add richness to the stained wood dresser. Finally, sealing the stained dresser with an appropriate sealer ensures its long-term durability and protection.
Remember to take your time, experiment with stain colors, and customize the process to suit your preferences and the specific characteristics of your wood dresser. Each step is an opportunity to showcase your creativity and craftsmanship.
With the completion of this project, you can now enjoy the beauty of your stained wood dresser for years to come. Whether it’s a vintage piece you’ve revived or a brand new dresser you’ve personalized, the stained finish will bring warmth, character, and a touch of nature to your home decor.
So, gather your materials, roll up your sleeves, and embark on this exciting journey of transforming your wood dresser through the art of staining. With a little patience and a lot of passion, you’ll achieve a stunning result that you’ll be proud to showcase in your home.
Frequently Asked Questions about How To Stain A Wood Dresser
Was this page helpful?
At Storables.com, we guarantee accurate and reliable information. Our content, validated by Expert Board Contributors, is crafted following stringent Editorial Policies. We're committed to providing you with well-researched, expert-backed insights for all your informational needs.


0 thoughts on “How To Stain A Wood Dresser”