
Furniture
How To Build A Dresser
Modified: August 28, 2024
Discover the step-by-step process of building your own dresser and bring your furniture-making skills to the next level. From selecting materials to final finishes, this comprehensive guide is the ultimate resource for DIY furniture enthusiasts.
(Many of the links in this article redirect to a specific reviewed product. Your purchase of these products through affiliate links helps to generate commission for Storables.com, at no extra cost. Learn more)
Introduction
Welcome to the world of DIY furniture building! If you’re looking to add a touch of personalization to your home or simply enjoy the satisfaction of creating something with your own hands, building a dresser is a great place to start. A dresser offers both functionality and style, providing ample storage space while enhancing the aesthetic appeal of your bedroom or any other room in your house.
By embarking on this DIY project, you have the opportunity to customize the dresser to perfectly match your taste and the existing décor of your space. Whether you prefer a rustic, farmhouse style or a sleek, modern design, building your own dresser allows you to choose the materials, colors, and finishes that align with your unique vision.
Before diving into the building process, it’s important to gather all the necessary materials and equipment. This ensures a smooth and efficient construction journey. Once you have everything you need, it’s time to roll up your sleeves, put on your safety goggles, and get ready to create a piece of furniture that will become a cherished addition to your home.
In this article, we will guide you through each step of building a dresser, outlining the materials needed and providing detailed instructions. By the end, you will have the knowledge and confidence to take on this project and create a dresser that will be both functional and visually pleasing. So, let’s get started!
Key Takeaways:
- Building a dresser from scratch allows for complete customization, from wood selection to finish, resulting in a durable and visually appealing piece that reflects your unique style and craftsmanship.
- Attention to detail, precision in measurements, and careful assembly are crucial in creating a functional and long-lasting dresser, making it a rewarding and satisfying DIY project.
Read more: How To Build A Built-In Dresser
Materials Needed
Before you begin building your dresser, you’ll need to gather the following materials:
- Wood: Choose a high-quality, durable wood such as pine, oak, or maple. The amount of wood you need will depend on the dimensions of the dresser you plan to build.
- Screws: Opt for screws that are appropriate for your chosen wood. Make sure to have a variety of sizes, including those for assembling the frame and attaching the drawer slides.
- Drawer Slides: Purchase drawer slides that match the width of your drawers. Soft-close slides are recommended for smooth operation.
- Drawer Fronts: Consider the style you want to achieve and select drawer fronts that match your desired aesthetic. These can be made from the same wood as the dresser or from a complementary material, such as metal or glass.
- Drawer Handles or Knobs: Choose handles or knobs that will enhance the overall look of your dresser. These can be found in a variety of styles and finishes.
- Sandpaper: It’s important to have sandpaper of various grits (ranging from coarse to fine) to smooth the wood surfaces.
- Wood Glue: Use wood glue to strengthen the joints during assembly.
- Wood Stain or Paint: Decide whether you want the natural wood grain to show through or if you prefer to paint the dresser. Purchase the appropriate stain or paint for your desired finish.
- Brushes or Rollers: Depending on whether you choose to stain or paint, have the necessary brushes or rollers on hand for application.
- Safety Equipment: Ensure you have safety goggles, gloves, and a dust mask to protect yourself during the construction process.
Having these materials readily available will make your DIY dresser building project more efficient and enjoyable. It’s always a good idea to double-check the instructions for any additional items that may be required based on the specific design or plans you are using.
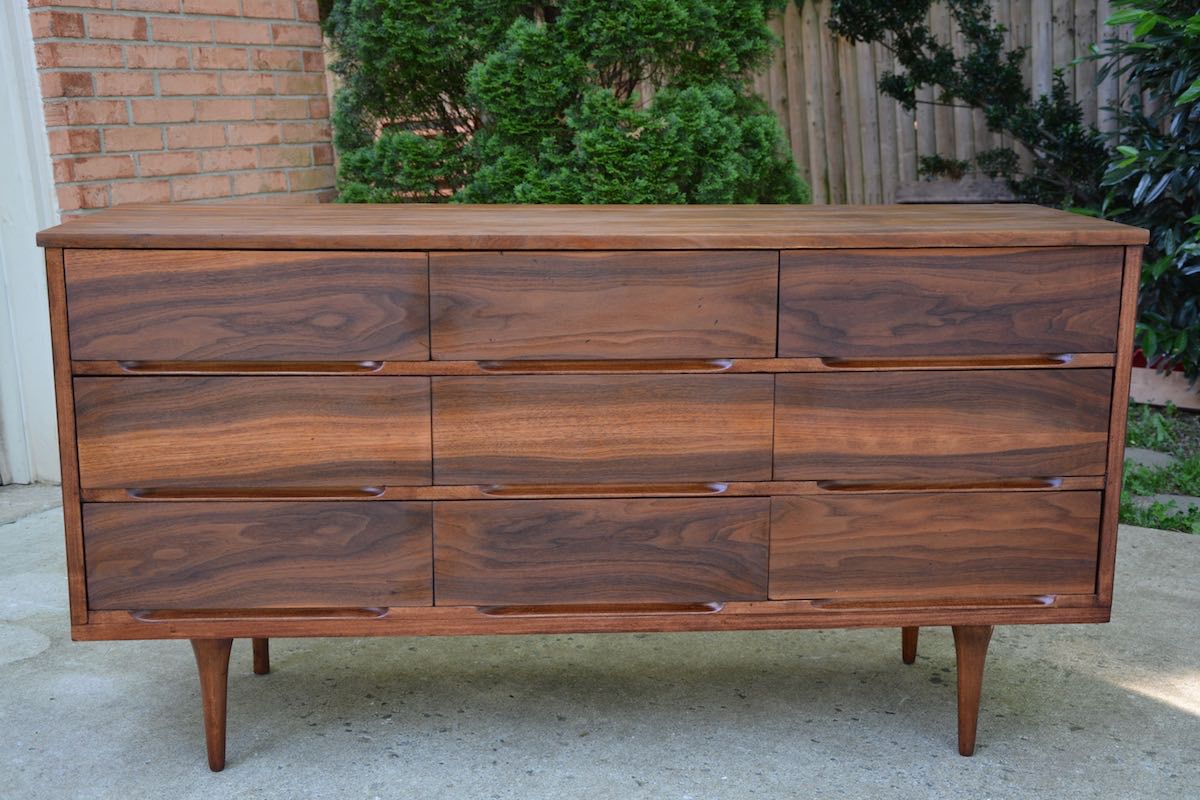
Step 1: Selecting the Wood
The type of wood you choose to build your dresser will greatly impact its durability, appearance, and overall quality. Different types of wood have distinct characteristics, such as grain patterns and varying levels of hardness. Here are a few popular options to consider:
- Pine: Pine is a commonly used wood for furniture due to its affordability and availability. It has a medium density and is relatively easy to work with. Pine has a light color and can be stained to achieve various finishes.
- Oak: Known for its strength and durability, oak is a highly popular choice for furniture construction. It has a distinct grain pattern and a range of natural colors, from light to dark. Oak can be stained or left natural to showcase its beauty.
- Maple: Maple is a hard and dense wood, making it ideal for furniture that needs to withstand heavy use. It has a light color and a smooth grain pattern. Maple can be stained, but it is also commonly finished with a clear coat to enhance its natural beauty.
- Mahogany: Mahogany is a luxurious wood with a rich, reddish-brown color and a distinctive grain pattern. It is highly valued for its durability and beautiful aesthetics. Mahogany is often finished with a clear coat or stain to showcase its natural beauty.
When selecting your wood, consider the style and overall design of your dresser. Think about how it will complement your existing furniture and the ambiance of the room. Additionally, take into account the level of maintenance you are willing to commit to. Some woods may require more upkeep than others.
It’s essential to choose carefully and ensure that the wood is of good quality. Inspect each board for any defects such as cracks, knots, or warping. These imperfections can weaken the wood and affect the longevity of your dresser. Always opt for straight, stable boards free from any significant flaws.
A common practice is to purchase the wood from a reputable lumberyard or home improvement store. They are likely to have a variety of wood options available and can provide advice or assistance in selecting the right type and quantity of wood for your project.
Remember, the quality of the wood you choose will play a significant role in the final outcome of your dresser. Take the time to research and make an informed decision to ensure a sturdy and visually appealing piece of furniture.
Step 2: Cutting the Pieces
Now that you have selected the perfect wood for your dresser, it’s time to start cutting the pieces according to your desired dimensions. This step requires precision and accuracy to ensure that all the components fit together seamlessly. Follow these steps to cut the pieces:
- Measure and mark: Use a tape measure and a pencil to measure and mark the dimensions of each piece on the selected wood. Take into account the height, width, and depth of the dresser, as well as the sizes of the individual drawers.
- Gather the necessary tools: To cut the pieces, you will need a circular saw or a table saw, a miter saw or a miter box, and a straight edge or a carpenter’s square. These tools will enable you to make accurate cuts.
- Set up your workspace: Find a spacious and well-lit area to set up your workbench or sawhorses. Ensure that the surface is stable and provides enough support for the wood as you cut it.
- Wear safety gear: Before you start cutting, it’s crucial to put on safety goggles and hearing protection. This will prevent any potential injuries from flying wood chips or loud noises.
- Cut the pieces: Using the appropriate saw for each cut, carefully follow the marked lines to cut the wood pieces according to your measurements. Double-check your measurements before making any cuts to avoid mistakes.
- Label the pieces: As you cut each piece, label them with a pencil or masking tape. This will help you keep track of which piece is which during the assembly process.
- Sand the edges: After cutting, use sandpaper to smooth the rough edges of the wood pieces. This will ensure a clean and polished finish.
Remember to take your time during this step and be diligent in your measurements and cutting. Accuracy is key to achieving a well-constructed dresser. Measure twice and cut once to avoid any costly mistakes.
Once you have successfully cut all the pieces, you are ready to move on to the next step: preparing the drawer slides. This is where the functional aspect of the dresser begins to take shape.
Step 3: Preparing the Drawer Slides
In order to ensure smooth and effortless movement of the drawers, it’s important to properly install and prepare the drawer slides. The drawer slides are responsible for supporting the weight of the drawers and allowing them to open and close smoothly. Follow these steps to prepare the drawer slides:
- Measure the length: Start by measuring the length of each drawer slide. Take precise measurements to ensure a proper fit.
- Mark the placement: Use a pencil to mark the placement of the drawer slides on both the dresser frame and the drawer sides. Make sure the slides are mounted vertically and parallel to each other.
- Attach the slides to the dresser frame: Place the first drawer slide against the inside of the dresser frame, aligning it with the marked placement. Secure the slide in place using screws. Repeat this process for the second slide on the opposite side of the frame.
- Attach the slides to the drawer sides: Place the corresponding drawer slide on the inside of the drawer side, aligning it with the marked placement. Secure the slide in place using screws. Repeat this process for the second slide on the other side of the drawer.
- Test the slides: Slide the drawer into the dresser frame, ensuring that it glides smoothly on the installed slides. Make any necessary adjustments to ensure proper alignment.
- Repeat for all drawers: Repeat the above steps for all the drawers in your dresser. Each drawer should have its own set of slides, properly installed and aligned.
Properly preparing the drawer slides is essential for the functionality and longevity of your dresser. Taking the time to measure and install them accurately will result in smoothly operating drawers that can withstand regular use.
Once you have completed the steps for preparing the drawer slides, you can move on to the next exciting phase of the project: assembling the frame of your dresser. Stay tuned for step 4!
Read more: How To Build A Dresser Out Of Pallets
Step 4: Assembling the Frame
With the drawer slides prepared and ready, it’s time to assemble the frame of your dresser. This step is crucial as it forms the foundation of the entire piece and ensures its stability and structural integrity. Follow these steps to assemble the frame:
- Organize the pieces: Lay out all the cut pieces of wood on your workspace, making sure to clearly identify each piece.
- Begin with the sides: Start by aligning one of the side pieces with the back piece of the dresser. Use wood glue and screws to attach them together, ensuring that they are flush and secure.
- Attach the top and bottom: Once the sides and back are joined, attach the top and bottom pieces to complete the box-like structure of the frame. Apply wood glue along the edges, then align and secure them using screws.
- Reinforce with corner brackets: To add extra stability, you can attach corner brackets to the inside corners of the frame. This will prevent the dresser from wobbling or shifting over time.
- Check for squareness: Use a carpenter’s square to check that the frame is perfectly square. This means that all corners should form right angles. Make any necessary adjustments by gently nudging the frame until it is square.
- Attach the drawer slides: Now is the time to secure the prepared drawer slides onto the inside of the dresser frame. Position them according to the measurements taken in step 3 and attach them securely using screws.
- Double-check stability: Before moving on to the next step, double-check the stability of the frame. Make sure it is solid and does not wobble. If needed, tighten any loose screws or make additional reinforcements.
Assembling the frame lays the groundwork for your dresser and sets the stage for the drawers and finishes to come. Take your time during this step to ensure the frame is sturdy and accurately aligned. A solid frame will ensure the longevity and functionality of your dresser.
Once the frame is assembled, you are ready to move on to step 5: installing the drawer slides. Stay tuned for the next installment of our dresser building journey!
Step 5: Installing the Drawer Slides
Installing the drawer slides is a critical step in the construction process, as it directly affects the smooth and effortless operation of your dresser drawers. Properly installed drawer slides ensure that the drawers glide in and out with ease. Here’s how to install them:
- Measure and mark: Measure the height at which you want the drawers to sit within the dresser frame. Mark this measurement on the inside of the frame for each set of drawer slides.
- Attach the slides to the frame: Place the drawer slides on the marked lines and align them with the edges of the frame. Secure them in place using screws. Ensure that the slides are level and parallel to each other.
- Measure and mark on the drawers: Measure the corresponding height on the inside of each drawer and mark it. This will determine where the drawers will sit on the slides.
- Attach the slides to the drawers: Align the drawer slides with the marked lines on the inside of each piece. Secure the slides to the sides of the drawers using screws.
- Test the slides: Slide each drawer into its corresponding slides and test the movement. Make sure the drawers glide smoothly and do not wobble or get stuck. Adjust the position of the slides if necessary for proper alignment.
- Secure the slides: Once you are satisfied with the fit and movement of the drawers, reinforce the slides by adding additional screws. This will ensure that the slides are securely attached and will not come loose over time.
Proper installation of the drawer slides is vital for the functionality and longevity of your dresser. Take your time to measure accurately and align the slides correctly. Smoothly operating drawers will enhance the overall user experience and make your dresser a joy to use.
With the drawer slides securely installed, you’re one step closer to completing your dresser! The next step is building the drawers themselves. Stay tuned for step 6 in our dresser building journey!
When building a dresser, make sure to use high-quality, durable materials such as solid wood or plywood to ensure the longevity of the piece. Quality materials will also provide a sturdy foundation for the dresser’s structure.
Step 6: Building the Drawers
Now that the frame and drawer slides are in place, it’s time to focus on building the drawers themselves. The drawers are an essential component of any dresser, providing storage space and adding to its overall functionality. Follow these steps to build the drawers:
- Measure and cut the drawer pieces: Measure the height, width, and depth of the opening within the dresser frame. Cut the front, back, and sides of the drawers based on these measurements. Remember to account for the thickness of the drawer slides.
- Assemble the front and back: Use wood glue and screws to attach the front piece to the back piece, creating a rectangular shape. Ensure that the corners are square and the joints are secure.
- Add the sides: Attach the side pieces to the front and back, aligning them with the top edges of the drawer. Use wood glue and screws to secure the sides to the front and back pieces.
- Check for squareness: Use a carpenter’s square to verify that the corners of the drawer are perfectly square. Adjust if necessary to ensure the drawer is properly aligned.
- Strengthen the corners: To reinforce the corners and add stability, you can also use corner brackets or dowels. These will enhance the durability of the drawer.
- Sand the edges: Use sandpaper to smooth the edges and surfaces of the drawer. This will ensure a polished finish and prevent any splinters or rough spots.
- Repeat for all drawers: Follow the above steps to build the desired number of drawers for your dresser. Ensure that each drawer is consistent in size and assembly.
During the drawer construction process, attention to detail is key. Take your time to measure accurately and assemble the pieces securely. This will result in sturdy and well-constructed drawers that withstand regular use.
With the drawers built, we’re making great progress in completing your dresser! The next step is attaching the drawer fronts. Stay tuned for step 7 in our dresser building journey!
Step 7: Attaching the Drawer Fronts
Attaching the drawer fronts is a crucial step that brings the aesthetic appeal to your dresser. The drawer fronts not only enhance the overall look of the piece but also provide a functional and seamless interface for opening and closing the drawers. Follow these steps to attach the drawer fronts:
- Position the drawer fronts: Place each drawer front in its designated position on the corresponding drawer. Ensure that there is even spacing between each drawer and that they are aligned with the top edges.
- Mark the hole placement: Use a pencil to mark the location of the screw holes on the backside of the drawer front. Make sure to mark at least two holes for secure attachment.
- Pre-drill the holes: Use a drill with a drill bit that matches the size of the screws you will be using. Carefully pre-drill holes on the marked spots on the back of the drawer fronts. This will prevent the wood from splitting when you attach the screws.
- Attach the drawer fronts: With the pre-drilled holes, align each drawer front with its corresponding drawer and insert the screws through the holes. Use a screwdriver or drill to drive the screws into the drawer, securing the front in place. Ensure that the screws are tightened just enough to hold the front securely without damaging the wood.
- Check for alignment: Double-check that all drawer fronts are properly aligned and level. Adjust if needed by tightening or loosening the screws slightly.
- Open and close the drawers: Test the functionality of the drawer fronts by opening and closing the drawers. Make sure they glide smoothly and have a comfortable grip. Adjust as needed to ensure proper operation.
Properly attaching the drawer fronts is essential to achieving a polished and professional look for your dresser. Take your time to align them accurately and ensure they are securely attached. Well-attached drawer fronts not only enhance the overall aesthetics but also provide a functional and seamless user experience.
With the drawer fronts securely attached, we’re nearing the end of our dresser building journey. The next step is adding the finish to your dresser. Stay tuned for step 8!
Read more: How To Build An IKEA Malm Dresser
Step 8: Adding the Finish
Adding a finish to your dresser is an essential step that not only enhances its appearance but also protects the wood from wear and tear. The finish provides a layer of sealant and brings out the natural beauty of the wood grain. Follow these steps to add a finish to your dresser:
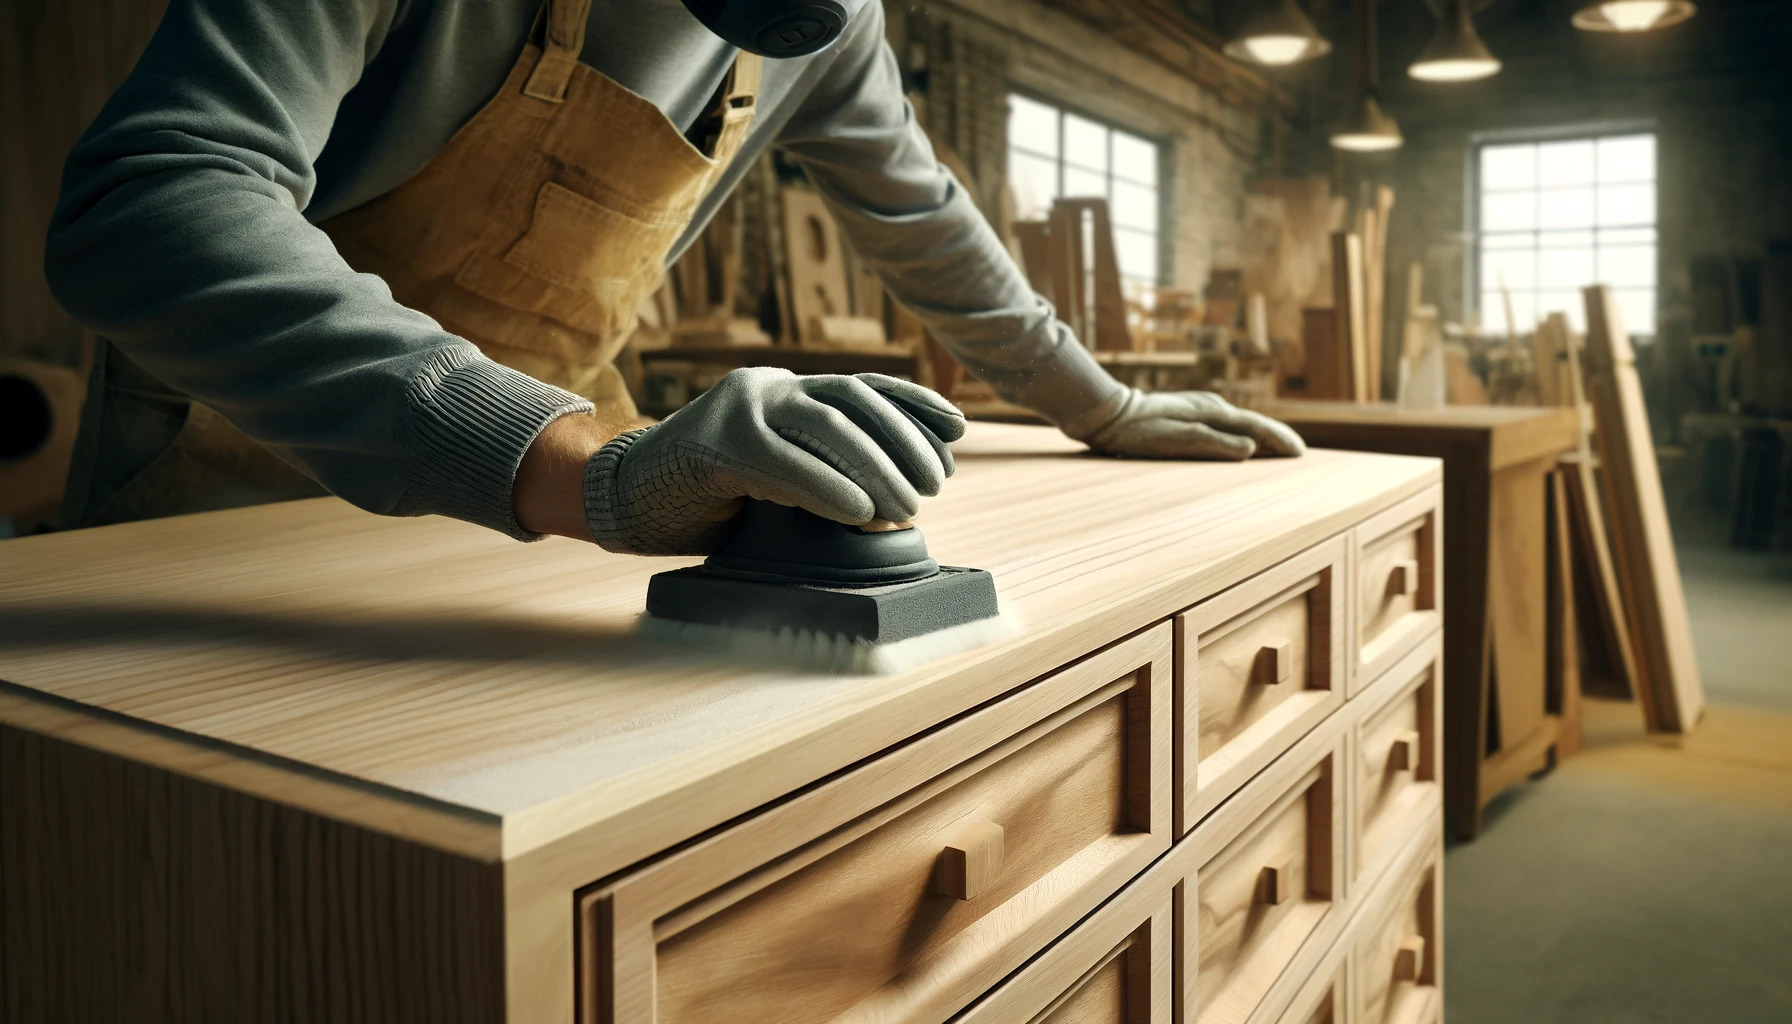
- Sand the surfaces: Before applying any finish, lightly sand all the surfaces of your dresser, including the drawers. This will smooth out any imperfections, ensuring a clean and even finish.
- Choose your finish: Decide on the type of finish you want for your dresser. Options include stain, paint, varnish, or wax. Consider the desired look and feel, as well as the level of protection and maintenance required.
- Apply the finish: Use a brush or a clean cloth to apply the finish evenly to all the surfaces of the dresser, following the manufacturer’s instructions. Work in small sections to ensure proper coverage and avoid streaks or drips. Apply multiple coats if necessary, allowing sufficient drying time between each coat.
- Sand between coats (if needed): Depending on the type of finish and desired smoothness, you may choose to lightly sand the surfaces between coats. This helps to remove any imperfections and allows for better adhesion between layers.
- Let it cure: Once you have applied the final coat of finish, allow it to fully cure according to the manufacturer’s instructions. This typically involves leaving the dresser in a well-ventilated area for a specified duration.
Adding a finish not only enhances the appearance of your dresser but also provides a protective layer that helps preserve the wood over time. It adds a touch of elegance and brings out the natural beauty of the chosen wood.
Remember to work in a well-ventilated area and follow all safety precautions when applying your chosen finish. Take your time and apply the finish meticulously for the best results.
With the finish applied, we’re almost at the finishing line of our dresser building journey. The next step is installing the hardware. Stay tuned for step 9!
Step 9: Installing the Hardware
Installing the hardware on your dresser is the final touch that adds functionality and style to your piece. Drawer handles or knobs not only make it easier to open and close the drawers but also provide a decorative element that complements the overall design. Follow these steps to install the hardware:
- Select the hardware: Choose the drawer handles or knobs that best suit your dresser’s style and your personal preference. Consider the size, shape, and finish that will enhance the overall look.
- Measure and mark: Measure and mark the precise locations where you want to install the hardware on each drawer front. Use a pencil to make these marks, ensuring they are centered and aligned with each other.
- Pre-drill holes: Before attaching the hardware, it’s important to pre-drill holes on the marked spots. This will prevent the wood from splitting when you secure the screws.
- Attach the hardware: Place the handle or knob over the pre-drilled hole and insert the screw through the back. Tighten the screw until the hardware is securely attached to the drawer front. Repeat this process for each drawer.
- Check alignment: Double-check that all the hardware is properly aligned and level. Make any necessary adjustments to ensure consistency across the drawers.
Installing the hardware is the final step in bringing your dresser to life. The right choices and proper installation will complete the look and functionality of your piece, providing the finishing touch that ties everything together.
Take your time to carefully select the hardware that complements your dresser’s style and ensure that it is securely attached. Attention to detail in this step will ensure a cohesive and polished final result.
With the hardware successfully installed, we have reached the end of our dresser building journey. The final step is adding any final touches or adjustments to make your dresser truly your own. Congratulations on creating a beautiful piece of furniture!
Step 10: Final Touches
With the construction and finishing of your dresser complete, it’s time to add those final touches that will make it truly unique and personalized. These final touches can include small adjustments, decorative elements, or even adding your own creative flair. Here are some ideas for giving your dresser those finishing touches:
- Check for any adjustments: Take a moment to inspect your dresser for any adjustments that may be needed. Ensure that all the drawers open and close smoothly, and that the dresser stands level on the floor. Make any necessary tweaks or fixes to ensure everything is just right.
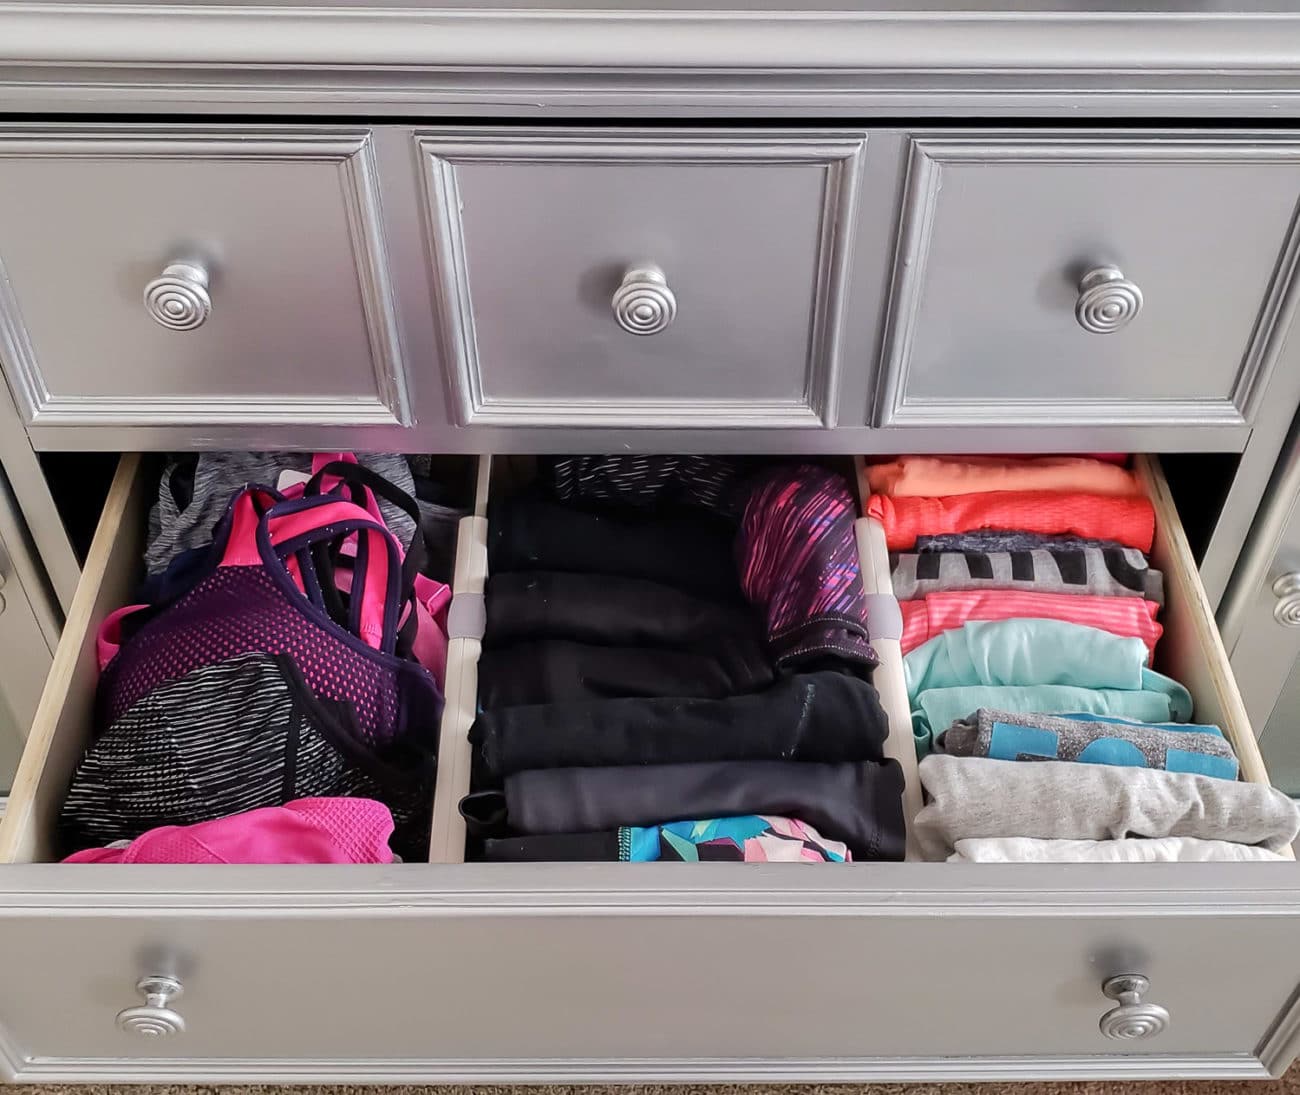
- Add drawer liners: Consider lining the bottom of each drawer with a decorative liner or adhesive paper. This not only adds a pop of color or pattern but also helps protect the inside of the drawers from scratches or marks.
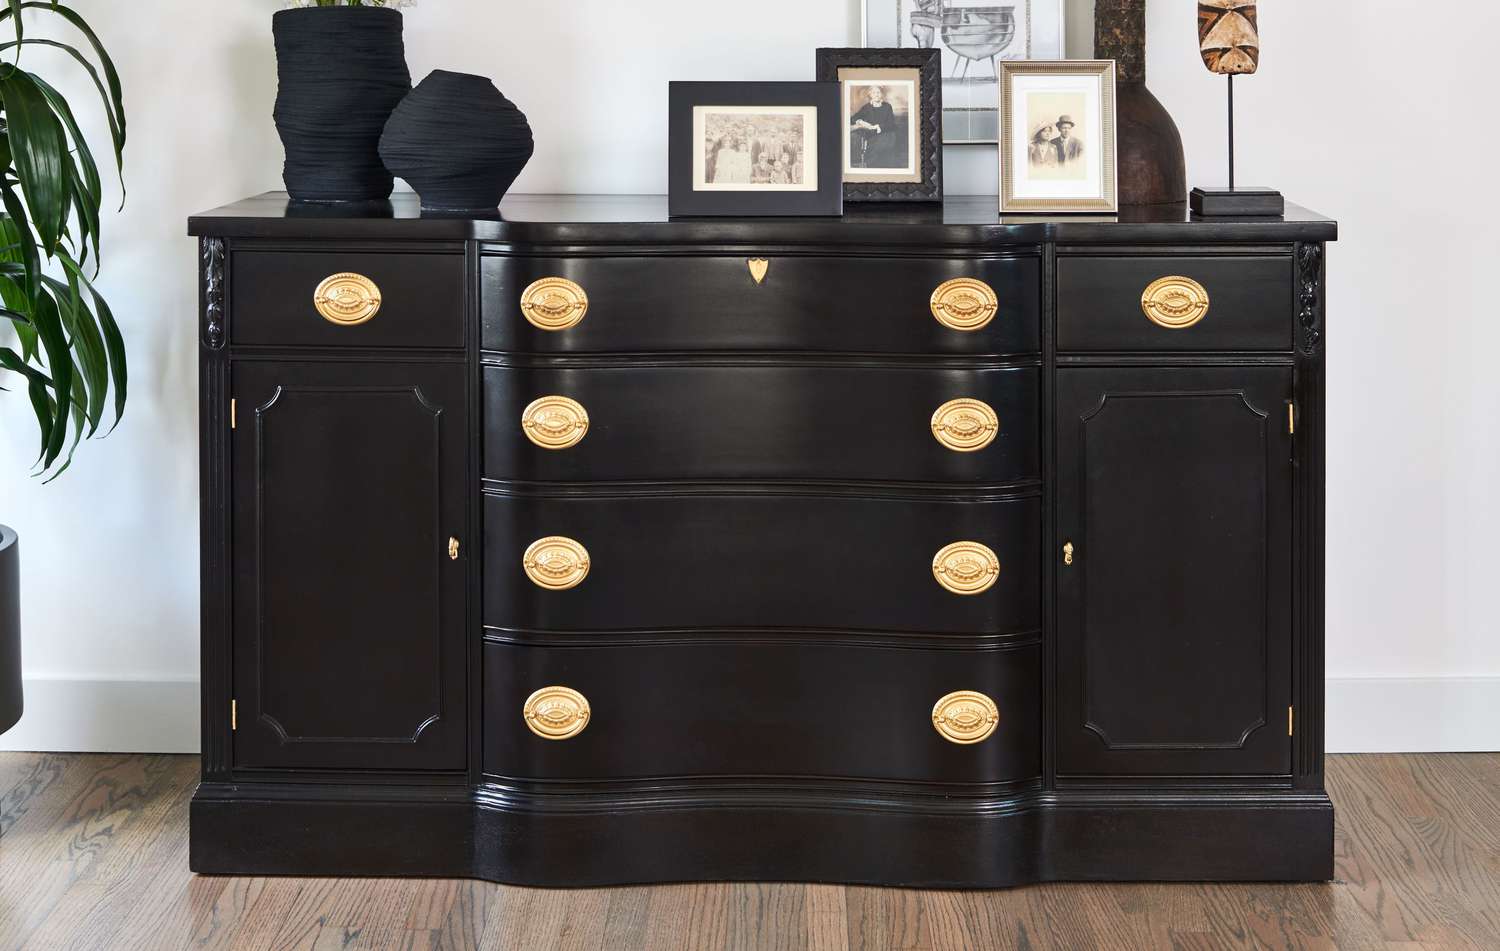
- Add embellishments: If desired, you can further enhance the visual appeal of your dresser by adding decorative elements such as molding, trim, or embellishments. These can be applied to the front of the dresser or around the edges to give it a more customized look.
- Apply furniture polish: Give your freshly finished dresser a final polish to bring out its natural shine. Use a furniture polish or wax to add a protective layer and maintain the beauty of the wood over time.
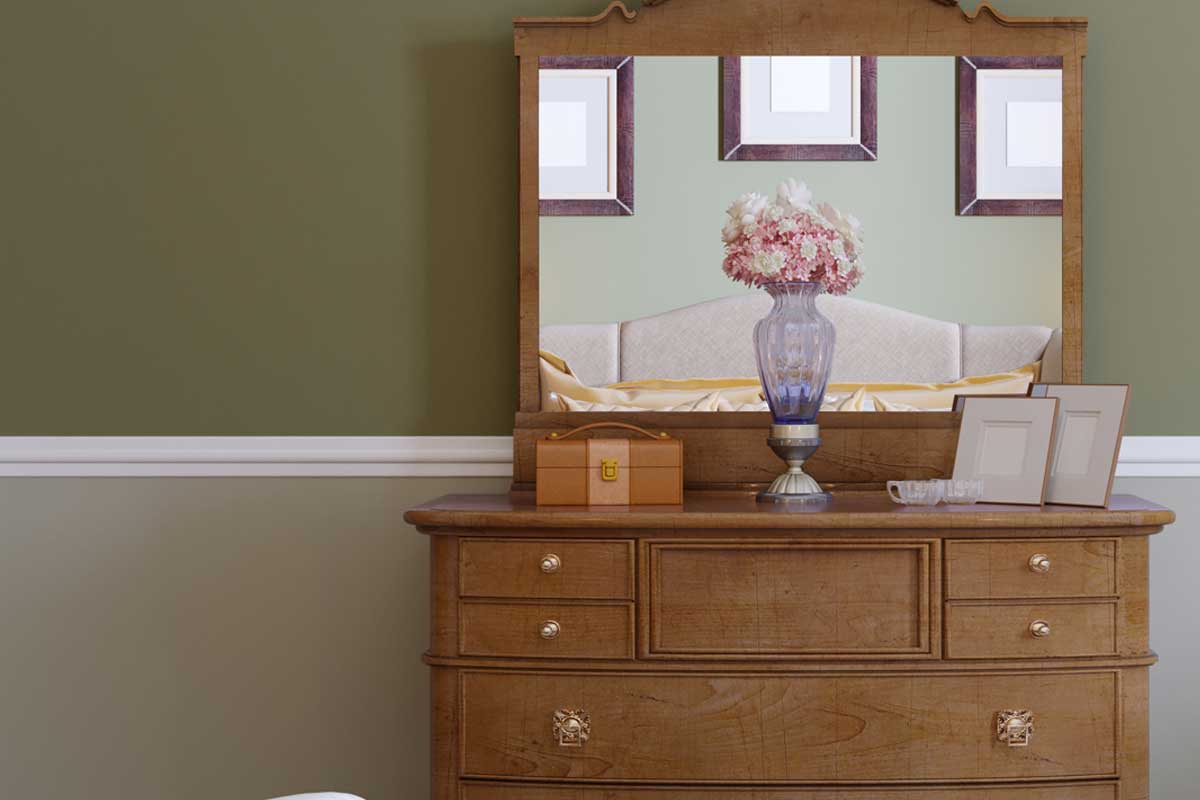
- Accessorize the dresser: Use the top of your dresser as an opportunity to display personal items or decorative accents. Add a mirror, a vase of flowers, or your favorite photos to personalize the space and make it feel like your own.
Remember to have fun and let your creativity shine through as you add those final touches to your dresser. These small details can make a big difference in personalizing your piece and transforming it into a statement furniture item that reflects your style and personality.
Congratulations on completing your dresser-building journey! You now have a beautiful and functional piece of furniture that you can be proud of. Take a step back, admire your handiwork, and enjoy the satisfaction of creating something truly special.
Conclusion
Building a dresser from scratch is a rewarding and fulfilling DIY project that allows you to showcase your woodworking skills while creating a functional piece of furniture for your home. Throughout this journey, we have covered the essential steps involved in constructing a dresser, from selecting the right wood to adding the final touches. By following these steps, you can create a dresser that is not only aesthetically pleasing but also durable and built to withstand the test of time.
Remember, the key to a successful dresser build is careful planning and attention to detail. Take your time in each step, ensuring proper measurements, precise cuts, and secure assembly. Don’t hesitate to consult woodworking resources or seek professional advice if needed. Safety should always be a priority, so be sure to wear the necessary protective gear.
By choosing high-quality materials, such as hardwood and sturdy drawer slides, you can create a dresser that will serve you well for many years. Adding a beautiful finish will enhance its appearance while protecting the wood from daily use and exposure. Finally, personalizing your dresser with the right hardware and decorative elements will bring your unique style and personality to the fore.
Building a dresser is not only a practical endeavor but also an opportunity to unleash your creativity and showcase your craftsmanship. The satisfaction of completing such a project is incomparable. Whether you’re an experienced woodworker or a novice, with careful planning and dedication, you can build a dresser that will be a cherished addition to your home.
We hope this step-by-step guide has provided you with the knowledge and inspiration to embark on your own dresser-building adventure. So, roll up your sleeves, gather your materials, and get ready to embark on an exciting DIY journey that will result in a beautiful and functional dresser that you can proudly call your own.
Frequently Asked Questions about How To Build A Dresser
Was this page helpful?
At Storables.com, we guarantee accurate and reliable information. Our content, validated by Expert Board Contributors, is crafted following stringent Editorial Policies. We're committed to providing you with well-researched, expert-backed insights for all your informational needs.


0 thoughts on “How To Build A Dresser”