
Furniture
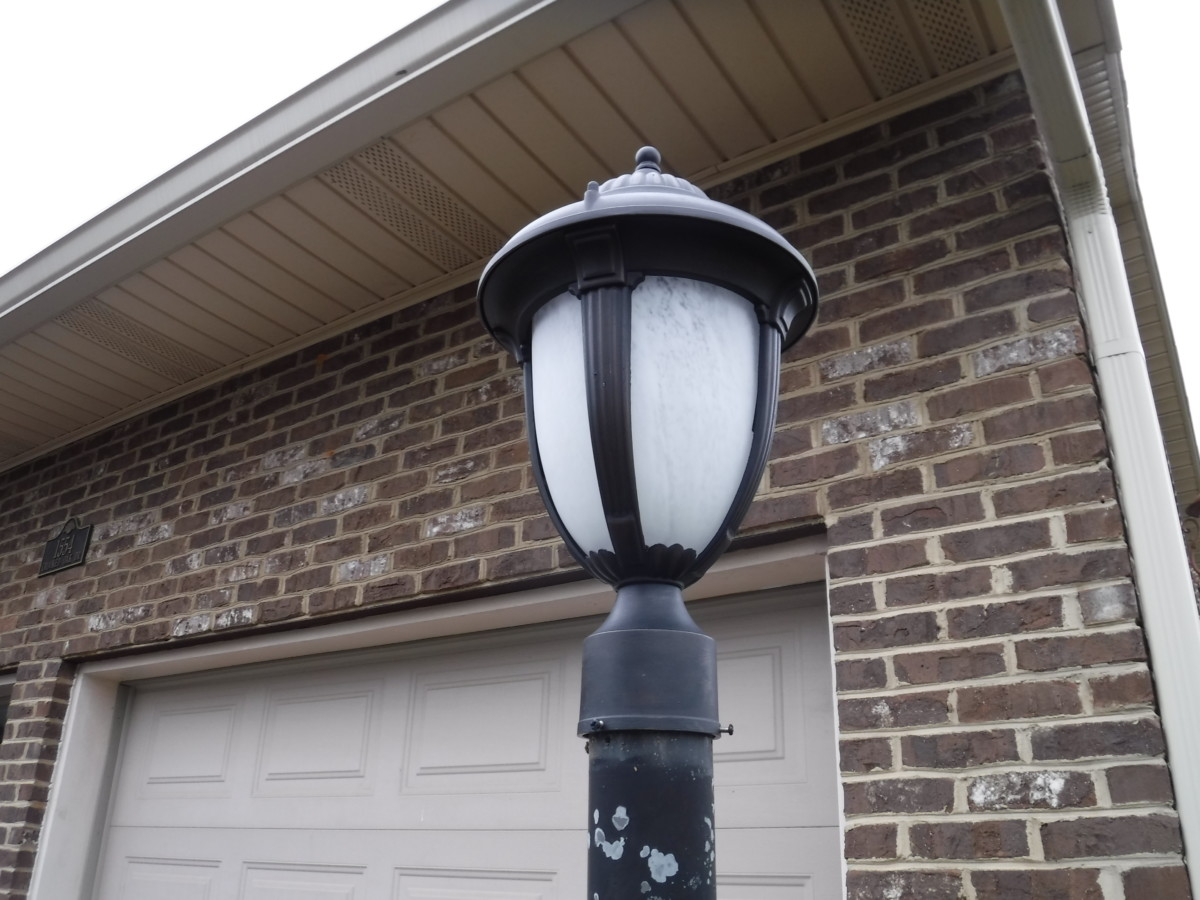
How To Change A Light Bulb In A Lamp Post
Modified: February 24, 2024
Learn how to easily change a light bulb in a lamp post with our step-by-step guide. Discover the necessary tools and techniques for hassle-free lamp maintenance.
(Many of the links in this article redirect to a specific reviewed product. Your purchase of these products through affiliate links helps to generate commission for Storables.com, at no extra cost. Learn more)
Introduction
Changing a light bulb may seem like a simple task, but when it comes to lamps posts, it can be a bit more challenging. Lamp posts not only provide functional lighting but also add a touch of elegance to our outdoor spaces. However, over time, the bulbs in these lamp posts may need to be replaced due to burnouts or simply to upgrade to more energy-efficient options.
In this article, we will guide you through the process of changing a light bulb in a lamp post. Whether you’re a DIY enthusiast or simply want to save some money by doing it yourself, we’ll provide you with the necessary steps and tips to ensure a successful bulb replacement. So, gather your tools and let’s get started!
Key Takeaways:
- Ensure safety by turning off power, using a stable platform, wearing gloves, and handling bulbs with care. Choose the right bulb type for optimal lighting performance and compatibility with your lamp post.
- Follow step-by-step guidance to successfully change the bulb in your lamp post, enhancing both illumination and the overall aesthetics of your outdoor space. If unsure, prioritize safety and seek professional assistance.
Read more: How To Light A Gas Lamp Post
Tools and Materials Needed
Before diving into the process of changing a light bulb in a lamp post, it’s important to gather the necessary tools and materials. Here’s what you’ll need:
- A ladder or step stool: Depending on the height of your lamp post, you may need a stable platform to reach the bulb.
- A pair of gloves: Safety should always be a priority, and gloves will protect your hands from potential cuts or burns.
- A replacement bulb: Make sure to choose a bulb that is compatible with your lamp post; check the wattage and bulb type before purchasing.
- A screwdriver: Some lamp posts may require you to remove screws to access the bulb.
- A cleaning cloth: This will come in handy for wiping away any dust or debris that may have accumulated in the lamp post.
Once you have these tools and materials ready, you’ll be well-prepared to tackle the task of changing the light bulb in your lamp post.
Step 1: Safety Precautions
Prior to starting any task, it’s essential to prioritize safety. When dealing with electricity and ladders, taking precautions is crucial. Here are some safety measures you should follow:
- Ensure that the lamp post is turned off: Before touching anything, switch off the power supply to the lamp post to avoid any potential electrical shocks. Locate the circuit breaker and turn off the corresponding switch.
- Use a stable platform: If your lamp post is tall, use a sturdy ladder or step stool to reach the bulb. Ensure that the ladder is firmly planted on the ground and that all its feet are secured.
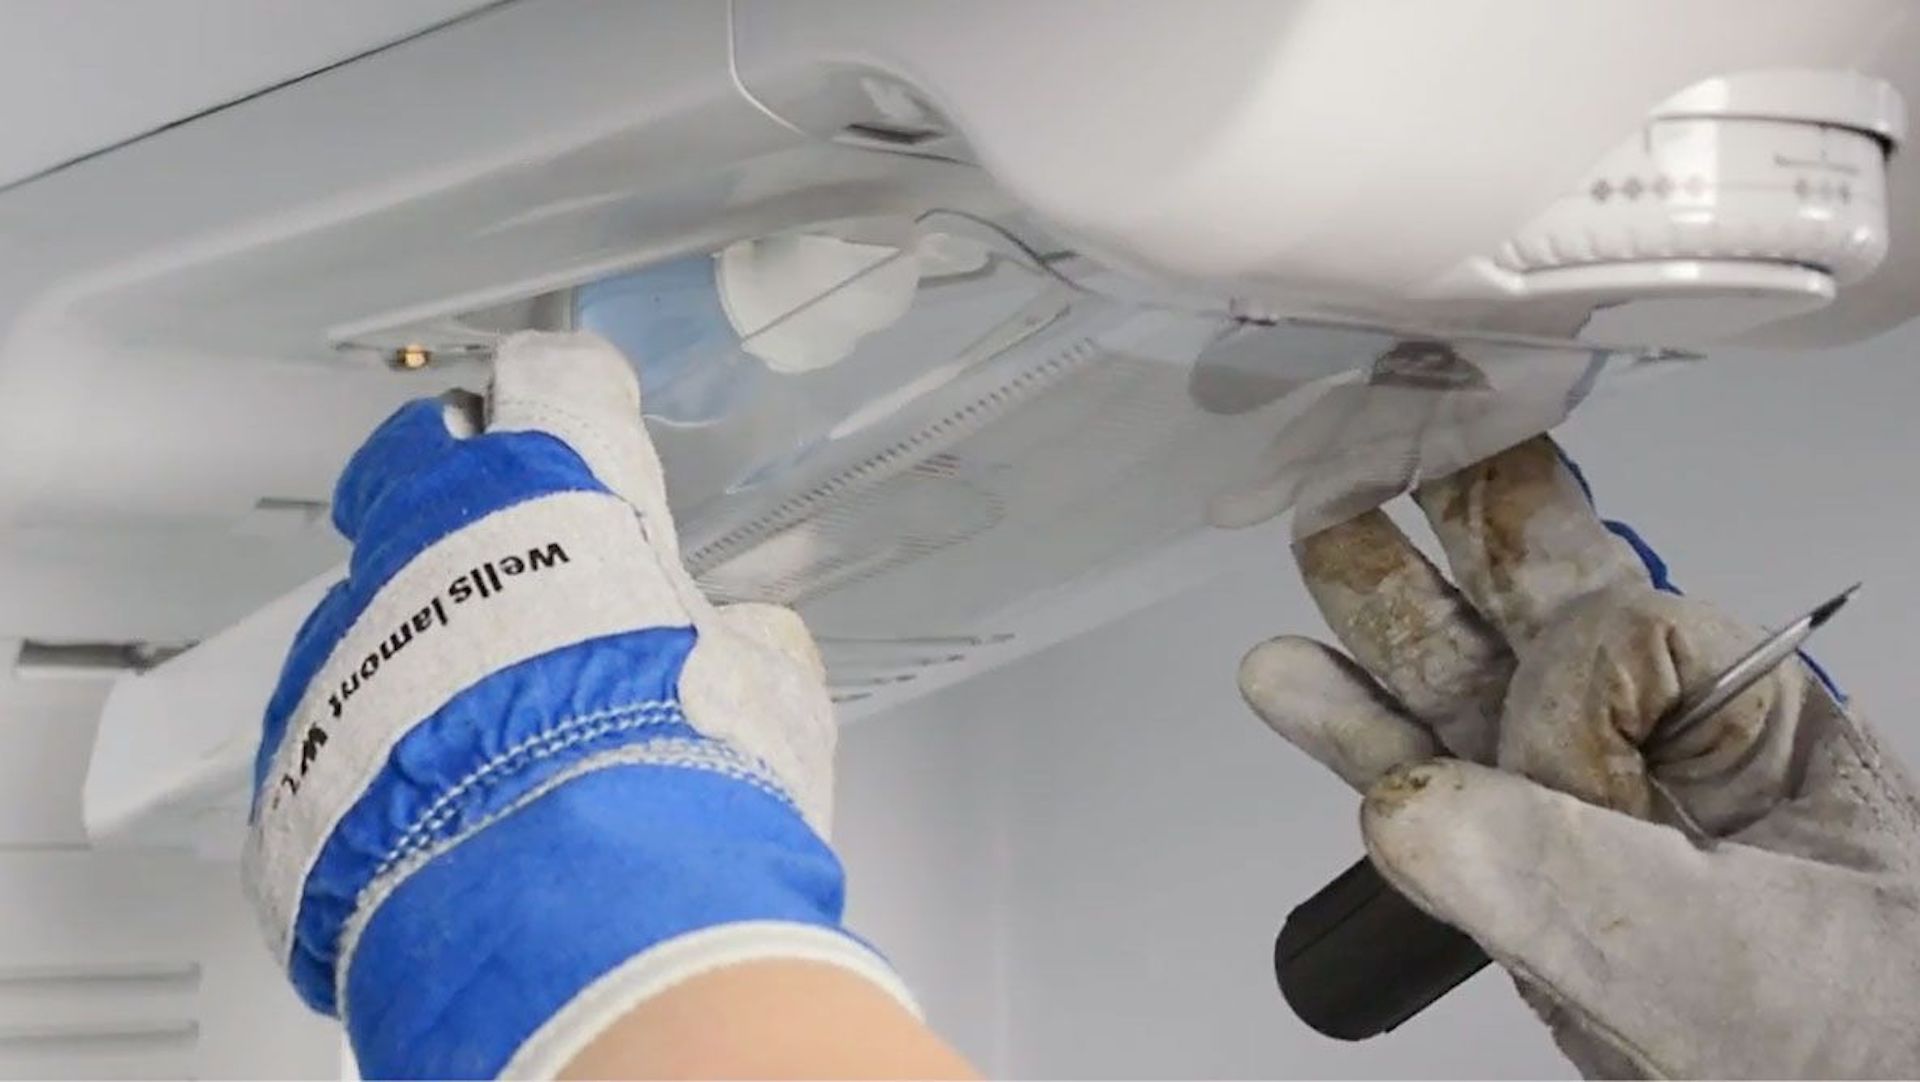
- Wear gloves: Protect your hands by wearing a pair of gloves. This will prevent any injuries from broken glass or sharp edges.
- Avoid overreaching: When on the ladder, make sure you maintain your balance and avoid leaning too much to one side. Overreaching can lead to accidents and falls.
- Do not touch the bulb with bare hands: If you’re replacing a halogen or incandescent bulb, it’s important to avoid touching it with your bare hands. The oils from your skin can damage the bulb. Use a cloth or wear gloves when handling the bulb.
By taking these safety precautions, you can ensure a secure and accident-free process when changing the light bulb in your lamp post.
Step 2: Determine the Correct Bulb Type
Not all light bulbs are created equal, and it’s crucial to choose the correct bulb type for your lamp post. The following steps will help you determine the right bulb:
- Check the wattage: Look for the wattage rating on the lamp post or inside the lamp fixture. It’s important to choose a bulb with a wattage that matches the recommended range. Using a bulb with a higher wattage can cause overheating and damage the fixture.
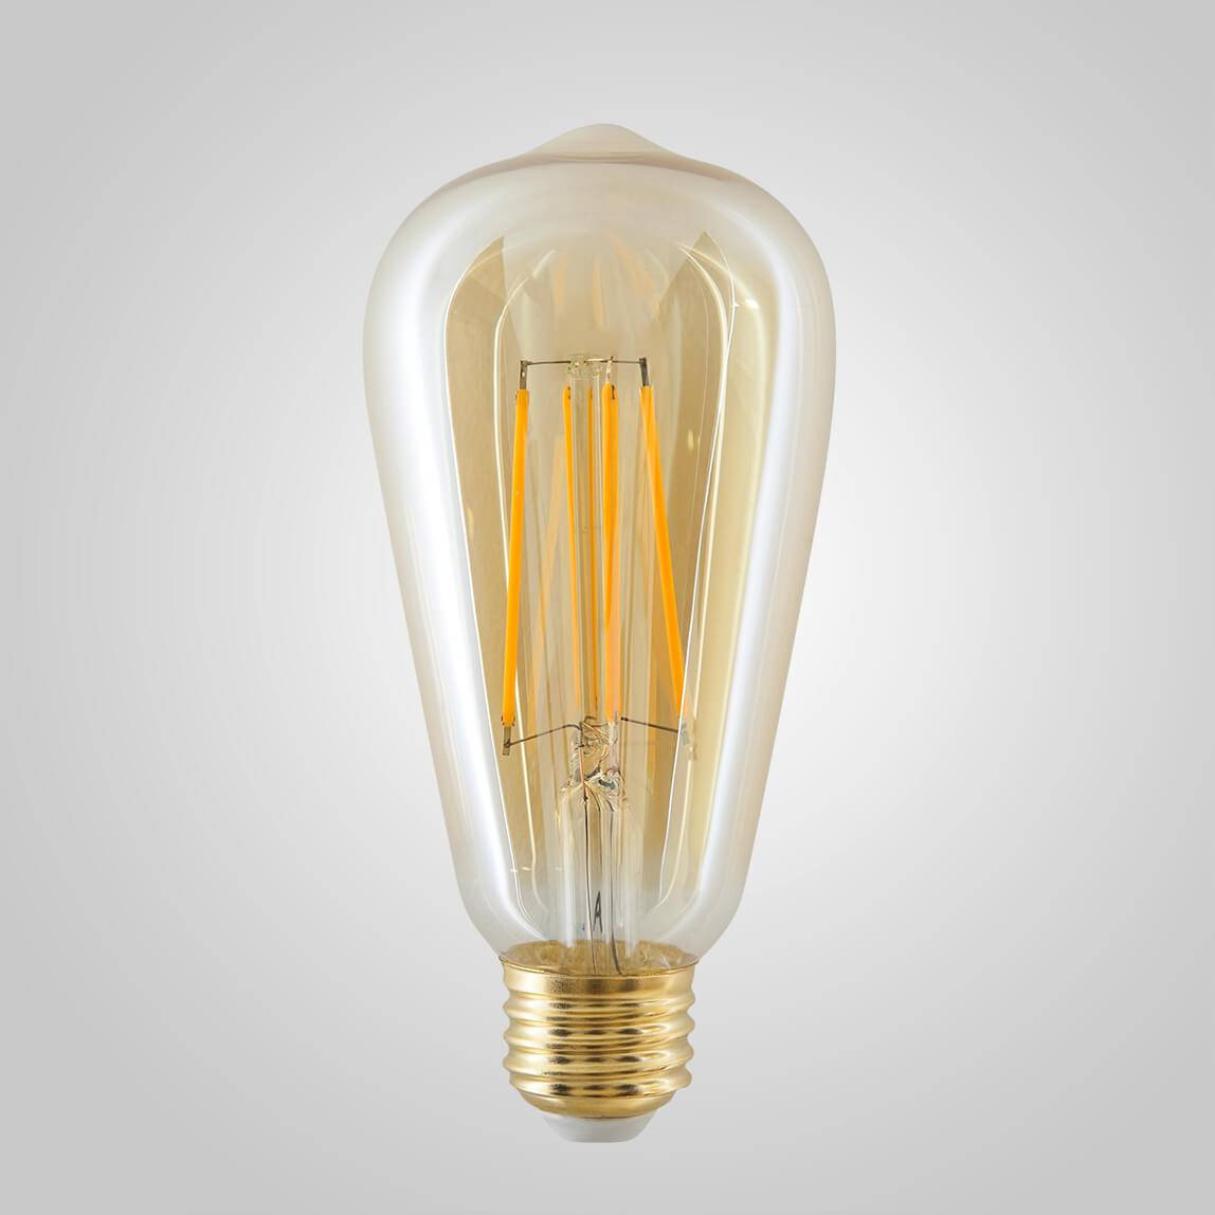
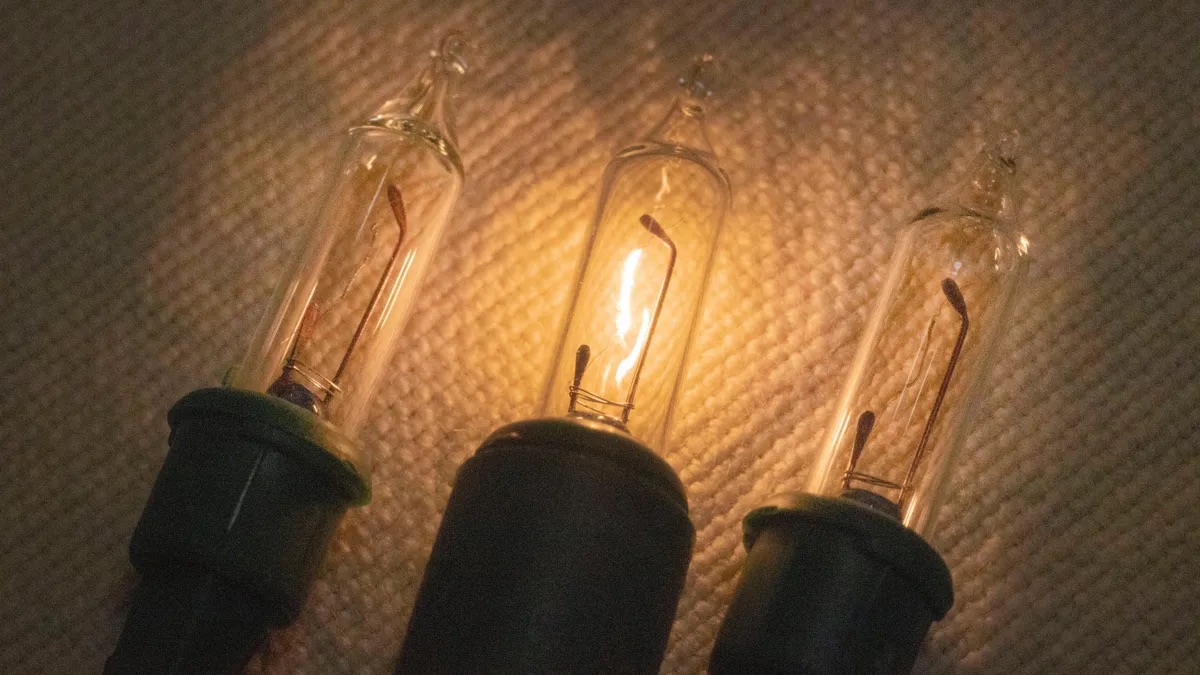
- Consider the bulb type: Lamp posts typically use incandescent or LED bulbs. Incandescent bulbs emit a warm glow but are less energy-efficient. On the other hand, LED bulbs are more energy-efficient and have a longer lifespan. Choose the type that suits your preference and requirements.
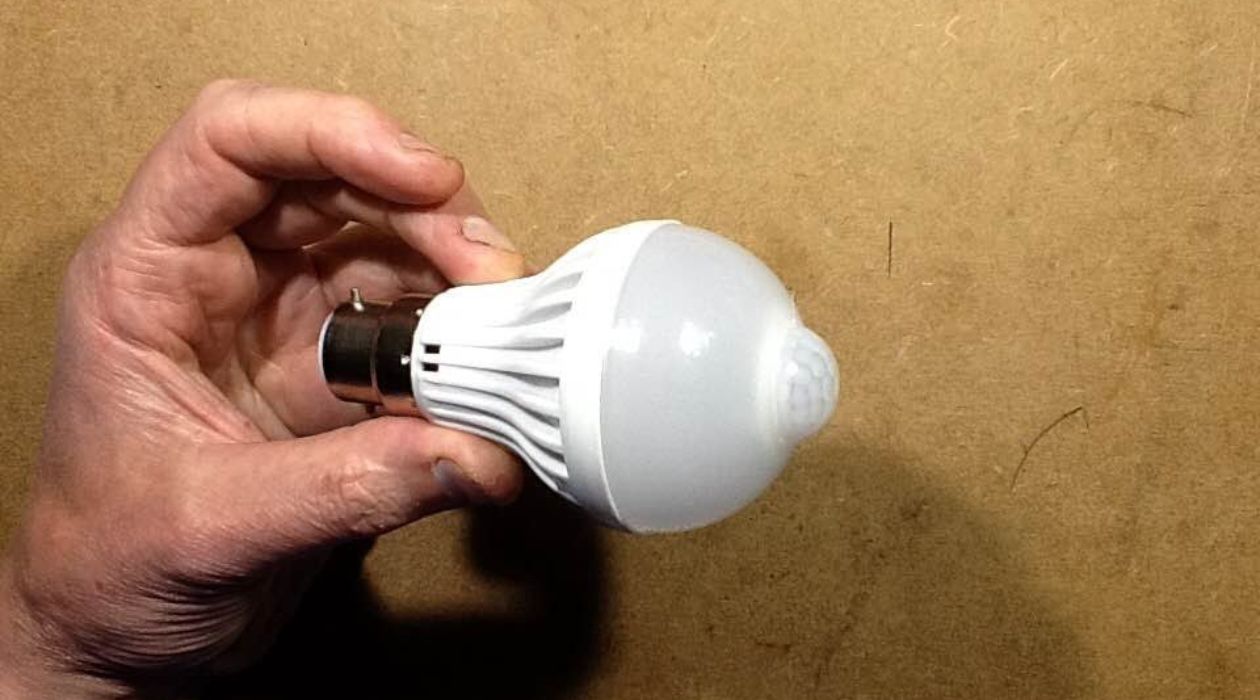
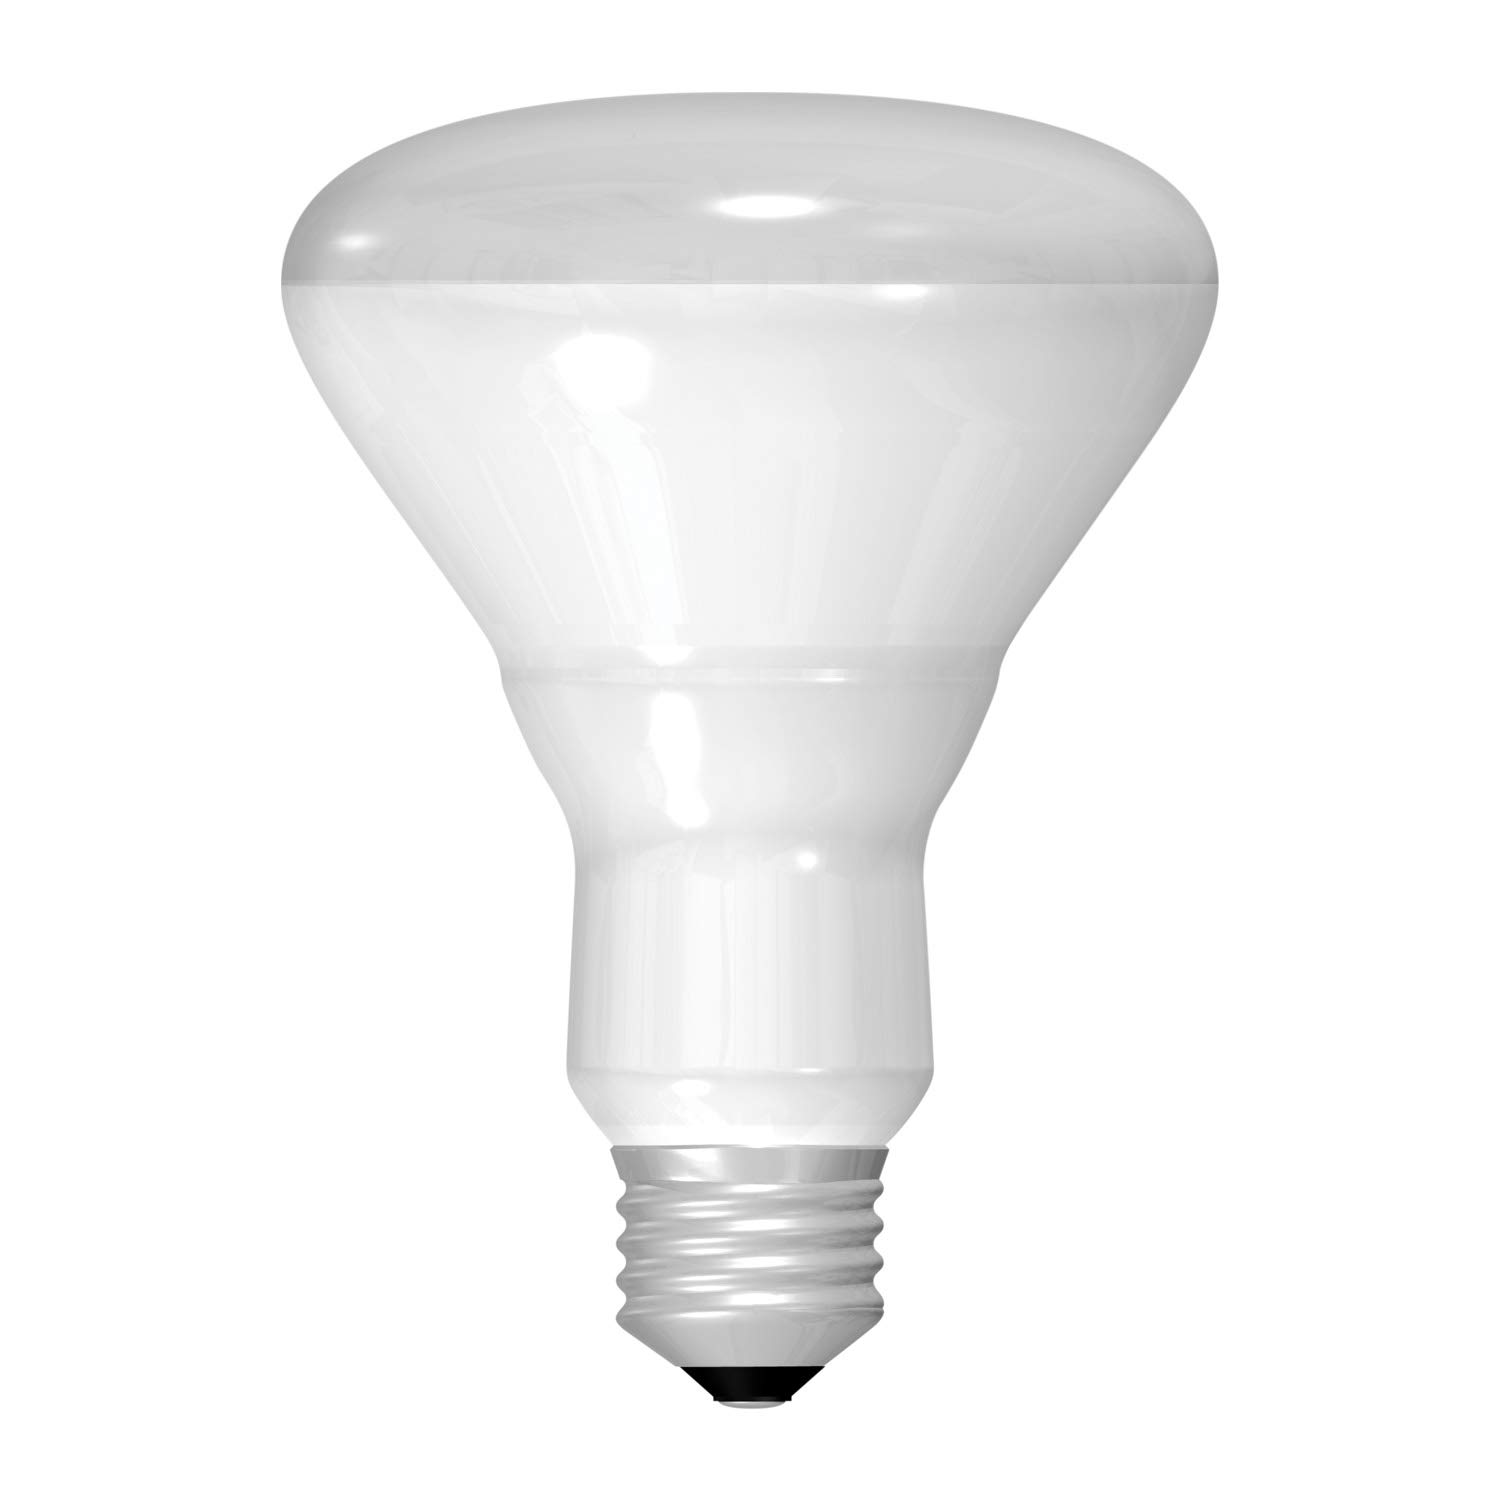
- Check the bulb base: The base of the bulb should match the socket in your lamp post. Common base types include Edison screw-in (E26/E27) and bayonet mount (B22). Make sure you choose a bulb with the matching base.
- Choose the bulb color: Depending on your outdoor lighting needs, you can choose between various color options, such as warm white, cool white, or daylight. Consider the ambiance you want to create and select the color that best suits your outdoor space.
By considering these factors and selecting the appropriate bulb type, you can ensure optimal lighting performance and compatibility for your lamp post.
Step 3: Turn Off the Power
Before proceeding with replacing the light bulb in your lamp post, it’s crucial to turn off the power to avoid any electrical accidents. Follow these steps to safely turn off the power:
- Locate the circuit breaker: Identify the circuit breaker that controls the power supply to your lamp post. This may be labeled as “Outdoor Lights” or “Lamp Post.
- Switch off the circuit breaker: Once you’ve located the correct circuit breaker, switch it off by pushing it to the “Off” position. This will cut off the power supply to the lamp post.
- Test the lamp post: To ensure that the power is off, try turning on the lamp post. If it doesn’t light up, you have successfully cut off the power supply.
Turning off the power is an essential safety precaution before proceeding with any electrical work. By following these steps, you can ensure a safe working environment and avoid any potential electrical hazards.
Read more: How To Replace Bulb In Outdoor Lamp Post
Step 4: Remove the Lamp Shade or Cover
Now that the power is turned off, you can proceed to remove the lamp shade or cover to gain access to the light bulb. Follow these steps:
- Inspect the lamp post: Take a close look at the lamp post to determine how the shade or cover is attached. It may be secured with screws, clips, or simply slide onto a bracket.
- Remove any screws or clips: If there are screws or clips securing the lamp shade or cover, use the appropriate tool, such as a screwdriver, to remove them. Place the screws or clips in a safe place to avoid losing them.
- Gently slide or lift the shade or cover: Once any screws or clips are removed, gently slide the lamp shade or lift the cover to detach it from the lamp post. Be careful not to force it or apply excessive pressure, as this may cause damage.
- Set the lamp shade or cover aside: Place the lamp shade or cover in a safe location, away from the working area. This will prevent it from getting damaged or dirty during the bulb replacement process.
By following these steps, you can successfully remove the lamp shade or cover and prepare the lamp post for the next stage of the light bulb replacement process.
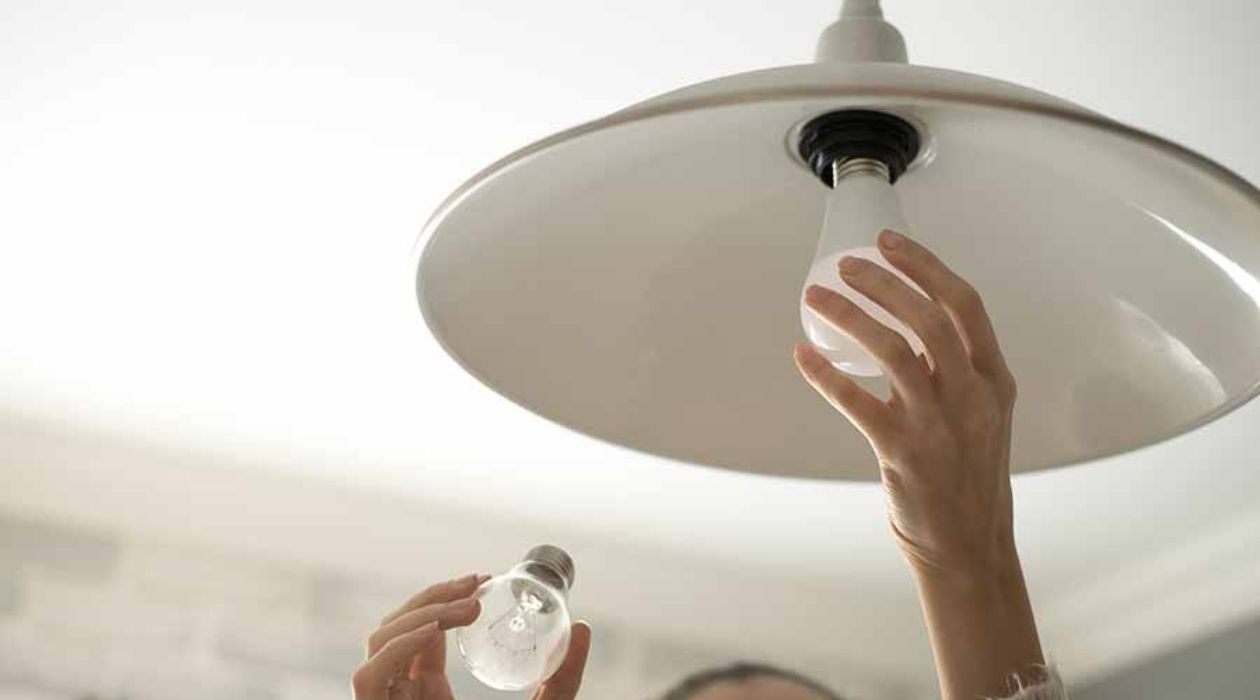
Before changing the light bulb in a lamp post, make sure to turn off the power to the post to avoid any electrical accidents. Use a ladder to reach the bulb and wear gloves to protect your hands from any broken glass.
Step 5: Unscrew the Old Bulb
Now that you have removed the lamp shade or cover, you can proceed to unscrew the old bulb. Follow these steps:
- Inspect the bulb socket: Take a look at the socket where the bulb is screwed in. Note any specific features or mechanisms that may be present, such as a twist-lock or bayonet mount.
- Safely remove the old bulb: If the bulb is a standard screw-in type, hold the base of the bulb and gently turn it counterclockwise until it loosens. Once loose, continue unscrewing the bulb until it is completely detached from the socket. If the bulb is a twist-lock or bayonet mount, follow the specific instructions for removal.
- Dispose of the old bulb properly: If the old bulb is no longer functional, it is important to dispose of it properly. Check with your local waste management guidelines to determine if the bulb should be recycled or if it needs to be disposed of as regular household waste.
Remember to handle the old bulb with care to avoid any potential accidents or injuries. By following these steps, you can safely and effectively remove the old bulb from your lamp post.
Step 6: Insert the New Bulb
With the old bulb removed, it’s time to insert the new one into the lamp post. Follow these steps:
- Inspect the new bulb: Before inserting the new bulb, make sure to inspect it for any signs of damage. Check for broken filaments or any other visible issues. If the bulb appears to be in good condition, you can proceed.
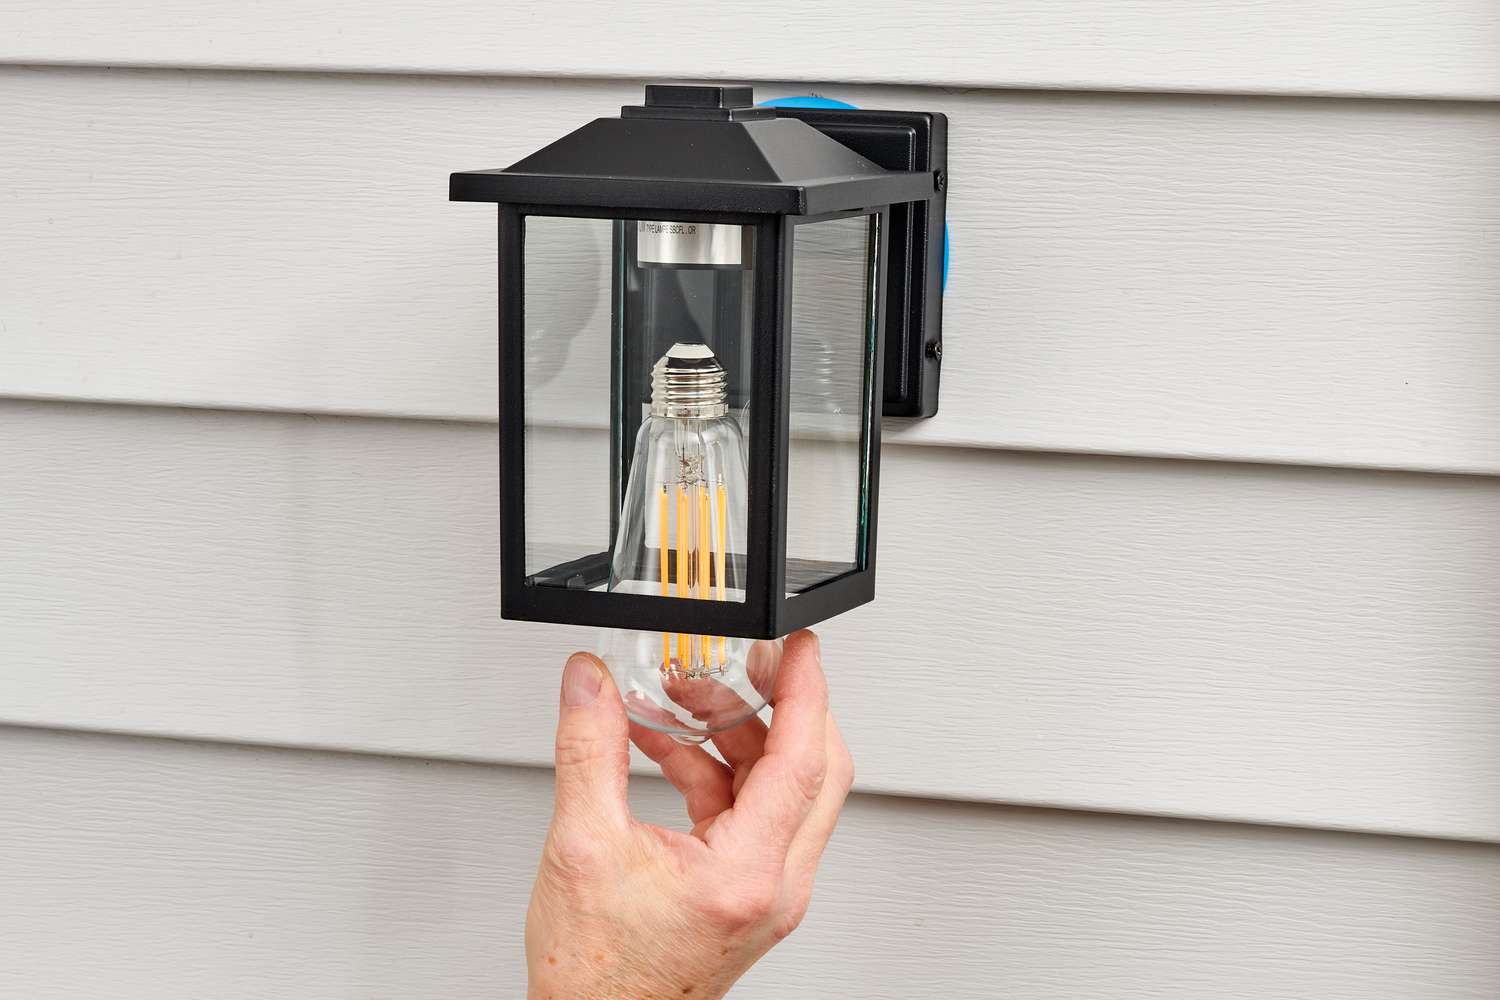
- Align the bulb with the socket: Take the new bulb and align it with the socket of the lamp post. Ensure that the base of the bulb is properly aligned with the socket configuration.
- Gently screw in the new bulb: Holding the base of the new bulb, start rotating it clockwise. Apply gentle pressure to screw it into the socket. Continue rotating until the bulb is securely in place, but be careful not to overtighten.
When inserting the new bulb, it’s important not to touch the glass part with your bare hands. The oils from your skin can affect the bulb’s performance and potentially shorten its lifespan. Use a glove or a clean cloth to handle the new bulb, or use gloves to protect your hands from any potential accidents.
By following these steps, you can safely and properly insert the new bulb into your lamp post, ensuring effective lighting for your outdoor space.
Step 7: Test the New Bulb
After inserting the new bulb, it’s important to test it to ensure that it is functioning properly. Follow these steps:
- Restore power to the lamp post: Go back to the circuit breaker and switch the corresponding switch to the “On” position, restoring power to the lamp post.
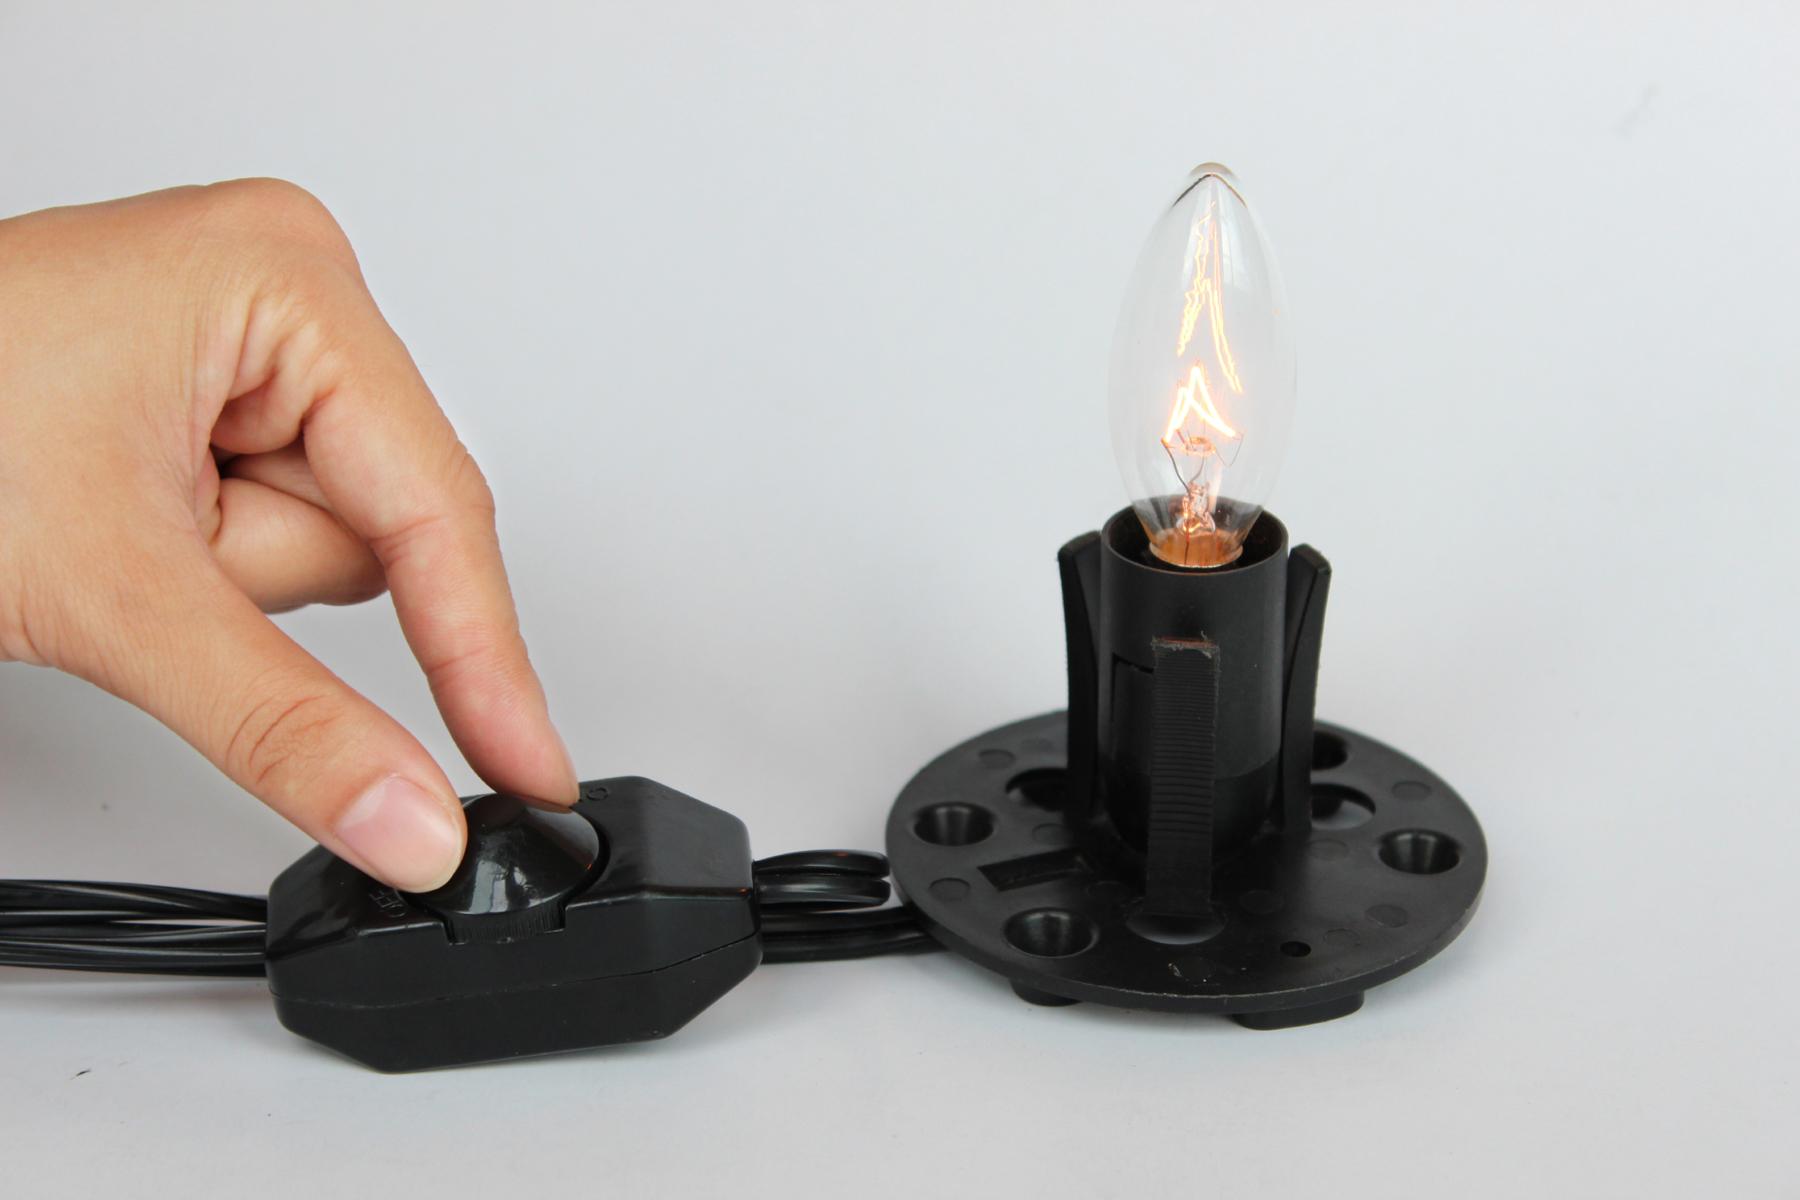
- Turn on the lamp post: If your lamp post has a switch or a control panel, turn it on to activate the light.
- Observe the new bulb: Take a moment to observe the new bulb. Ensure that it emits a steady, bright light and that there are no flickering or dimming issues.
- Check for proper fit: Pay attention to the placement of the new bulb within the lamp post. Make sure it is securely screwed into the socket and that there is no loose connection.
If you find any issues during the testing stage, such as flickering, dimming, or a loose connection, consider rechecking the bulb’s installation. It may be necessary to unscrew and reinstall the bulb, ensuring a proper and secure fit.
By testing the new bulb, you can ensure that your lamp post is providing adequate lighting and that the replacement was successful.
Read more: How To Wire A Lamp Post Light Sensor
Step 8: Replace the Lamp Shade or Cover
Once you have confirmed that the new bulb is functioning properly, it’s time to replace the lamp shade or cover. Follow these steps:
- Inspect the lamp shade or cover: Before replacing it, take a moment to inspect the lamp shade or cover for any damage or dirt. Clean it, if necessary, using a soft cloth or a mild cleaning solution.
- Align the shade or cover: Hold the lamp shade or cover in the correct position, aligning it with the brackets or slots on the lamp post.
- Slide or secure the shade or cover: Depending on the design of your lamp post, carefully slide the shade onto the brackets or secure it using screws or clips. Make sure it fits snugly and is securely attached to the lamp post.
- Check for proper alignment: Step back and ensure that the lamp shade or cover is properly aligned and straight. Adjust it, if necessary, for a visually appealing look.
Replacing the lamp shade or cover not only adds aesthetics but also protects the bulb from external elements. It also helps to diffuse the light and create a desired ambiance in your outdoor space.
By following these steps, you can successfully replace the lamp shade or cover on your lamp post, giving it a complete and finished look.
Step 9: Restore Power
With the new bulb securely in place and the lamp shade or cover replaced, it’s time to restore power to the lamp post. Follow these steps:
- Double-check the bulb and shade: Before turning the power back on, ensure that the bulb is properly installed and aligned, and the lamp shade or cover is securely in place.
- Return to the circuit breaker: Locate the circuit breaker that controls the power supply to the lamp post.
- Switch on the circuit breaker: Carefully switch the circuit breaker back to the “On” position to restore power to the lamp post.
- Test the lamp post: Once the power is restored, give it a few moments to ensure that the lamp post is fully illuminated and functioning as expected.
By restoring power to the lamp post, you can enjoy the full functionality of your outdoor lighting and bask in the beautiful glow of your newly installed bulb.
It’s important to note that if the bulb does not light up after restoring power, double-check the connections and confirm that the bulb is securely screwed into the socket. If the problem persists, it may indicate a larger electrical issue that requires professional assistance.
With these steps completed, you have successfully changed the light bulb in your lamp post and restored power to illuminate your outdoor space.
Conclusion
Changing a light bulb in a lamp post may initially seem like a daunting task, but with the right tools and step-by-step guidance, it can be easily accomplished. By following the steps outlined in this article, you can successfully change the bulb in your lamp post and restore proper illumination to your outdoor space.
Remember to prioritize safety throughout the process. Turn off the power, use a stable platform such as a ladder, wear gloves to protect your hands, and avoid touching the bulb with bare hands. These precautions will help prevent accidents and ensure a smooth and safe experience.
When selecting a new bulb, consider factors such as wattage, bulb type, base type, and color. Choosing the right bulb for your lamp post will ensure optimal lighting performance and compatibility.
As you go through the steps, take your time and handle the components with care. Pay attention to the alignment of the lamp shade or cover and test the new bulb to confirm its functionality.
By successfully changing the light bulb in your lamp post, you not only ensure proper illumination but also enhance the overall aesthetics and ambiance of your outdoor space.
Remember, if you encounter any difficulties or do not feel comfortable performing the task, it is always best to seek assistance from a professional electrician. Safety should be the top priority in every home improvement endeavor.
Now that you have the knowledge and steps to change a light bulb in a lamp post, go ahead and tackle this task with confidence. Enjoy the beauty and functionality of your renewed outdoor lighting!
Frequently Asked Questions about How To Change A Light Bulb In A Lamp Post
Was this page helpful?
At Storables.com, we guarantee accurate and reliable information. Our content, validated by Expert Board Contributors, is crafted following stringent Editorial Policies. We're committed to providing you with well-researched, expert-backed insights for all your informational needs.
