
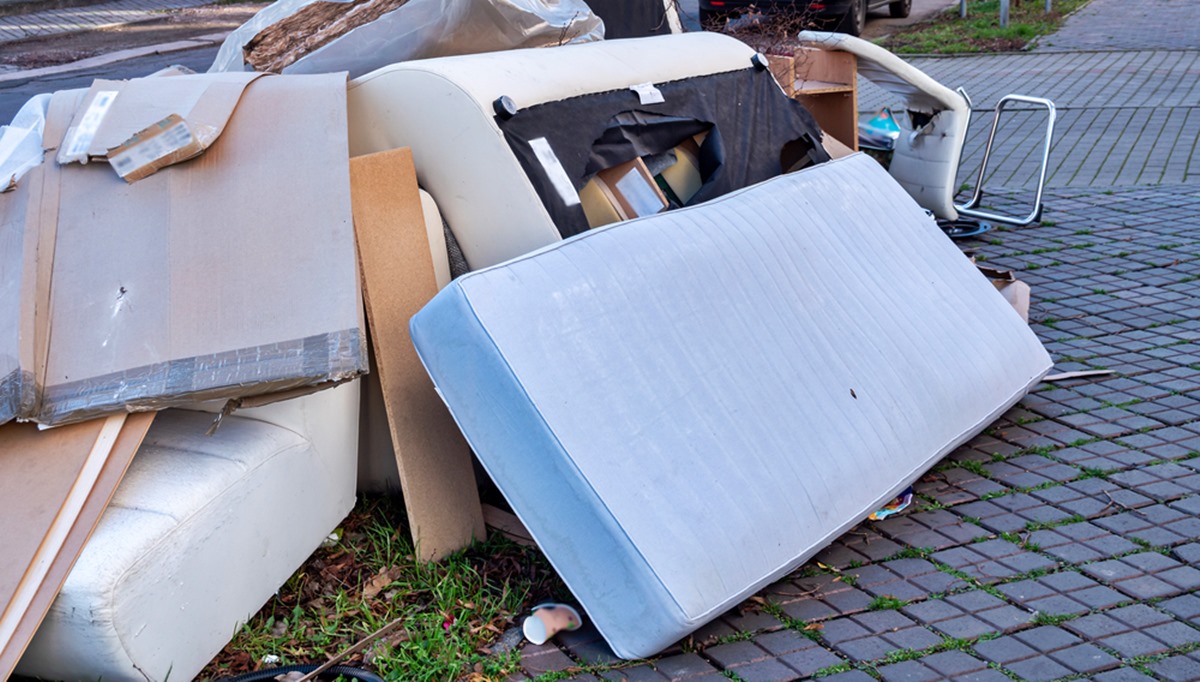
Furniture
How To Dispose Of Chandelier
Modified: November 1, 2024
Looking for the best way to dispose of a chandelier? Learn the proper steps to safely remove and dispose of your furniture at home.
(Many of the links in this article redirect to a specific reviewed product. Your purchase of these products through affiliate links helps to generate commission for Storables.com, at no extra cost. Learn more)
Introduction
Chandeliers are elegant and stunning light fixtures that can add a touch of luxury and sophistication to any space. However, there may come a time when you need to part ways with your chandelier, whether it’s because you’re moving to a new home, upgrading to a different style, or simply no longer have a need for it. But how do you go about disposing of a chandelier properly?
In this guide, we will walk you through the step-by-step process of safely and responsibly disposing of a chandelier. From turning off the power to dismantling the chandelier and ultimately finding the right way to dispose of it, we’ll cover it all.
Before we dive into the details, it’s important to note that chandeliers can be heavy and delicate, so it’s necessary to take proper precautions when handling them. If you feel uncertain about any step in the process, it’s always a good idea to consult a professional.
Now, let’s get started with step one: turning off the power.
Key Takeaways:
- Safely dispose of a chandelier by following step-by-step instructions, from turning off the power to finding the right disposal method. Consider recycling, donating, or selling to benefit the environment and others.
- Prioritize safety and environmental responsibility when disposing of a chandelier. Seek professional guidance if unsure, and explore recycling, donating, or selling options for a conscientious approach.
Read more: How To Fix A Chandelier
Step 1: Turn off the Power
The first and most crucial step in the process of disposing of a chandelier is to turn off the power supply. This ensures your safety and prevents any potential electrical accidents while working on the fixture.
To turn off the power, locate the circuit breaker or fuse box in your home. Look for the circuit that controls the chandelier and switch it off. If you’re unsure which circuit the chandelier is connected to, you can do a test by flipping each circuit breaker until the chandelier’s lights go out.
Once you’ve turned off the power, it’s also a good idea to tape a warning sign or note near the light switch and the circuit breaker to alert others that work is being done on the chandelier and the power should not be turned back on.
Remember, safety should always be your top priority when working with electricity. If you feel uncomfortable or unsure about turning off the power yourself, it’s best to consult a qualified electrician who can assist you.
Now that the power is safely turned off, let’s move on to step two: removing the chandelier.
Step 2: Remove the Chandelier
With the power turned off, it’s time to begin the process of removing the chandelier from its current location. This step requires careful handling to ensure the safety of both yourself and the chandelier.
Before you start, gather the necessary tools and materials such as a ladder, gloves, and a screwdriver or wrench. It’s also helpful to have a second person to assist you, especially if the chandelier is large or heavy.
Begin by placing a sturdy ladder or step stool beneath the chandelier, ensuring that it is secure and stable. It’s important to have a solid footing before attempting to remove the fixture.
Next, check for any screws or bolts that are securing the chandelier to the ceiling. Depending on the type of installation, there may be a mounting plate with visible screws or a canopy that needs to be removed. Use your screwdriver or wrench to carefully loosen and remove these fasteners.
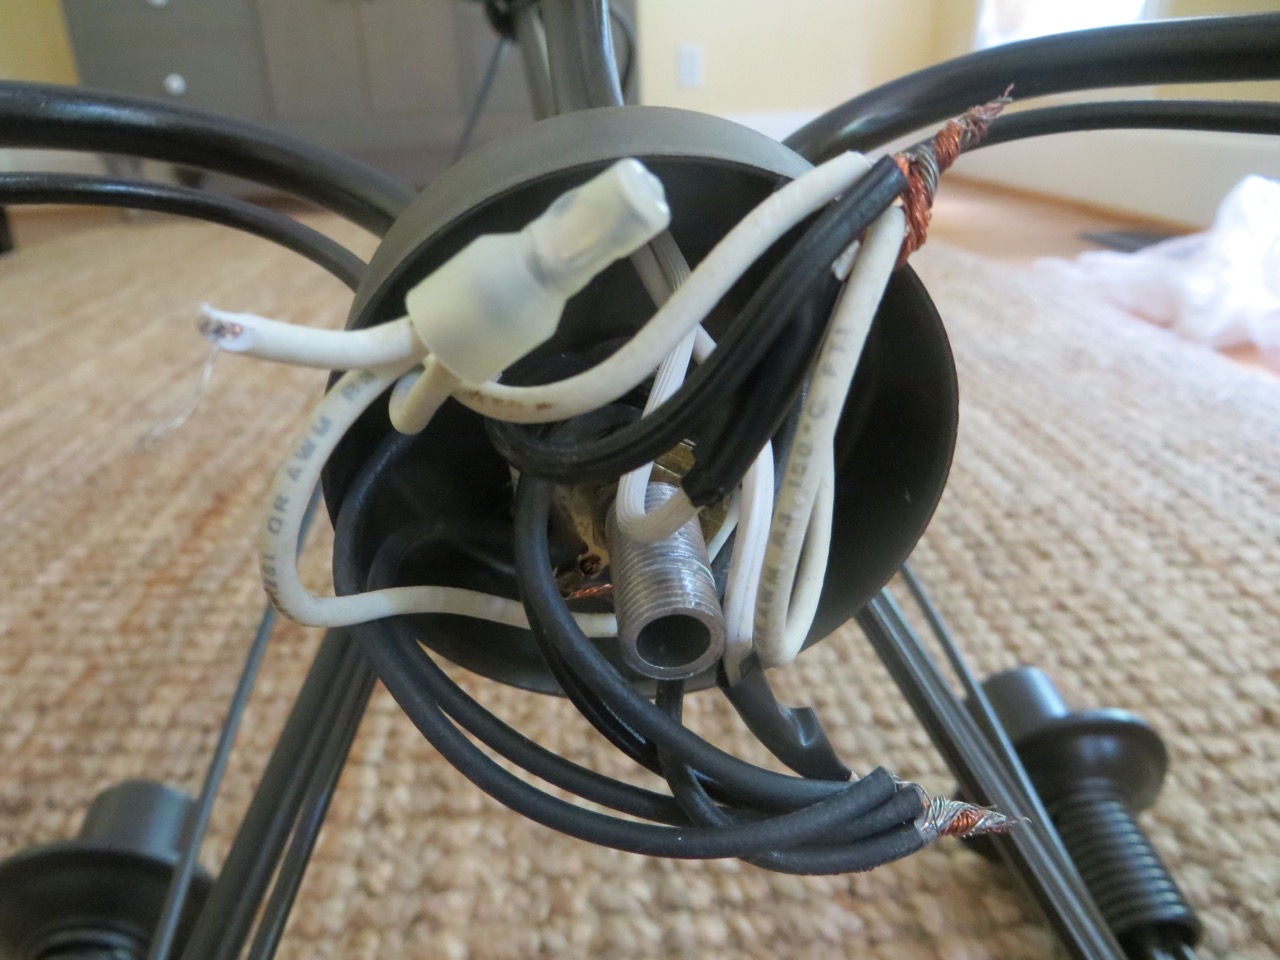
Once the chandelier is no longer attached to the ceiling, you will need to disconnect the wiring. This step requires caution, as there may still be some residual power in the wires. Use a voltage tester to ensure there is no electricity running through the chandelier before proceeding.
With the power confirmed as off, carefully disconnect the wires by unscrewing the wire nuts or removing any connectors. It’s a good idea to label or take a photo of the wiring connections before disconnecting them to make reinstallation easier, especially if you’re planning to reuse the chandelier in the future.
Once the wires are safely disconnected, gently lower the chandelier from the ceiling. If it’s a heavier fixture, have your assistant support the weight from below to prevent it from falling and causing damage.
Now that the chandelier is successfully removed, it’s time to move on to step three: dismantling the chandelier.
Step 3: Dismantle the Chandelier
Now that you have removed the chandelier from its location, it’s time to dismantle it. This step involves taking apart the various components of the chandelier so that it can be properly packed and stored or disposed of.
Before you begin dismantling, find a clear and spacious area where you can work. Place a soft blanket or towel on a flat surface to protect the chandelier from scratches or damage during disassembly.
Start by removing any decorative elements such as crystals, pendants, or shades from the chandelier. Carefully unscrew or unclip them, making sure to keep them organized and untangled to avoid any breakage or loss. Place them in a secure container or bag, labeling them if you plan to use them in the future or sell them separately.
Next, if your chandelier has multiple tiers or arms, you may need to disassemble them. Identify any screws or connectors that hold the different parts together and carefully remove them. Keep track of the sequence in which they are stacked or assembled, as this will make reassembly easier if needed.
If your chandelier has light bulbs, remove them and set them aside for separate disposal or recycling. It’s important to follow proper recycling guidelines for light bulbs, as they often contain hazardous materials.
As you dismantle the chandelier, take note of any broken or damaged parts. If the chandelier is in good condition overall, you may be able to repair or repurpose it. However, if there are significant damages or missing components, it may be best to consider disposing of it.
Now that the chandelier is fully dismantled, let’s move on to step four: packing and storing the pieces.
Before disposing of a chandelier, make sure to turn off the power and remove any bulbs. Then, carefully disassemble the chandelier and separate the metal, glass, and electrical components for recycling or proper disposal.
Step 4: Pack and Store the Pieces
After dismantling the chandelier, it’s important to properly pack and store the individual pieces to prevent damage and ensure they stay organized. Whether you plan to reuse the chandelier in the future or store it temporarily, following these steps will help protect its components.
First, gather the necessary packing materials. This may include bubble wrap, packing peanuts, foam, or soft cloth. You’ll also need sturdy boxes or containers, packing tape, and labels for easy identification.
Start by wrapping each component of the chandelier in bubble wrap or a soft cloth. This will provide cushioning and protection against scratches or impact during storage or transportation. Secure the wrapping with tape to keep it in place.
For delicate or fragile elements like crystals or pendants, consider using individual small bags or compartments within the box to prevent them from coming into contact with each other and potentially getting damaged.
When placing the wrapped components in the box, make sure they fit snugly and won’t move around during transit. Fill any empty spaces with packing peanuts or crumpled paper to provide additional protection and stability.
It’s important to label the box with clear identification, noting that it contains chandelier components. This will make it easier to locate and identify in the future, especially if you have multiple boxes in storage.
If you plan to reuse the chandelier, store the packed components in a safe and dry area, away from environmental factors that could cause damage, such as extreme temperatures or humidity.
Alternatively, if you no longer have a need for the chandelier and want to dispose of it, continue to step five: finding the proper way to dispose of the chandelier.
Read more: How To Dispose A Dishwasher
Step 5: Dispose of the Chandelier
When it comes to disposing of a chandelier, it’s important to do so in an environmentally responsible and legally compliant manner. Here are a few options to consider:
1. Recycling: Many chandelier components, such as metal frames and wiring, can be recycled. Check with your local recycling facilities to see if they accept chandeliers or specific parts of it. Some cities even have specialized electronic or metal recycling centers that can handle these items properly.
2. Donating: If your chandelier is still in good condition, consider donating it to a local charity, thrift store, or architectural salvage organization. They may be able to refurbish or resell it, giving it a new life and benefitting someone in need.
3. Selling: If you’re comfortable with selling online, you can try listing your chandelier on platforms like eBay, Facebook Marketplace, or Craigslist. Be sure to include detailed descriptions and clear photos to attract potential buyers. If it’s a valuable or antique piece, you may also want to reach out to specialized dealers or auction houses.
4. Hiring a removal service: If you prefer to have someone handle the disposal for you, you can hire a professional removal service. These companies often have experience in safely dismantling and disposing of various household items, including chandeliers. They can handle the entire process from start to finish, giving you peace of mind.
Whichever option you choose, always remember to consider the safety and environmental impact of your decision. Avoid dumping or illegally disposing of your chandelier, as it can harm the environment and potentially incur legal consequences.
To recap, in this step-by-step guide, we covered turning off the power, removing the chandelier, dismantling the components, packing and storing them, and finally, finding the suitable method to dispose of the chandelier in a responsible manner.
By following these steps, you can ensure the safe and proper disposal of your chandelier, allowing you to move forward with your home improvement projects or décor upgrades.
Remember, if you have any doubts or concerns about this process, it’s always a good idea to consult professionals in the field who can provide expert guidance tailored to your specific situation.
Best of luck with your chandelier disposal journey!
Conclusion
Disposing of a chandelier doesn’t have to be a daunting task. By following the step-by-step process outlined in this guide, you can safely and responsibly handle the disposal of your chandelier.
Starting with turning off the power and removing the chandelier, to dismantling and packing the components, and finally finding the proper method of disposal, each step plays a crucial role in ensuring the process goes smoothly.
Remember, safety should be your top priority at all times. If you feel unsure or uncomfortable about any aspect of the process, it’s always best to consult a professional who has the expertise to handle the task safely.
Additionally, consider the environmental impact of your disposal methods. Recycling the chandelier’s components, donating it to someone in need, or selling it to someone who can give it a new life are all environmentally responsible choices. Avoid tossing it in the trash or illegally dumping it, as this can harm the environment and potentially lead to legal consequences.
Whether you’re upgrading to a new chandelier, moving to a new home, or simply looking to declutter your living space, disposing of a chandelier can be done properly and conscientiously.
By following these guidelines and considering the options available, you can ensure that your chandelier is handled with care, respect for the environment, and even potentially benefit someone else in the process.
We hope this guide has provided you with the necessary insights and information to navigate the chandelier disposal process effectively. Remember, when in doubt, it’s always best to seek the assistance of professionals who can guide you through the process and ensure a seamless transition.
Good luck with your chandelier disposal journey, and may your future endeavors be filled with beautiful lighting and stylish décor!
Frequently Asked Questions about How To Dispose Of Chandelier
Was this page helpful?
At Storables.com, we guarantee accurate and reliable information. Our content, validated by Expert Board Contributors, is crafted following stringent Editorial Policies. We're committed to providing you with well-researched, expert-backed insights for all your informational needs.


0 thoughts on “How To Dispose Of Chandelier”