Furniture
How To Paint A Chandelier
Modified: April 23, 2024
Learn how to transform your old chandelier into a stunning piece of furniture with our step-by-step painting guide. Discover the secrets to achieving a professional finish.
(Many of the links in this article redirect to a specific reviewed product. Your purchase of these products through affiliate links helps to generate commission for Storables.com, at no extra cost. Learn more)
Introduction
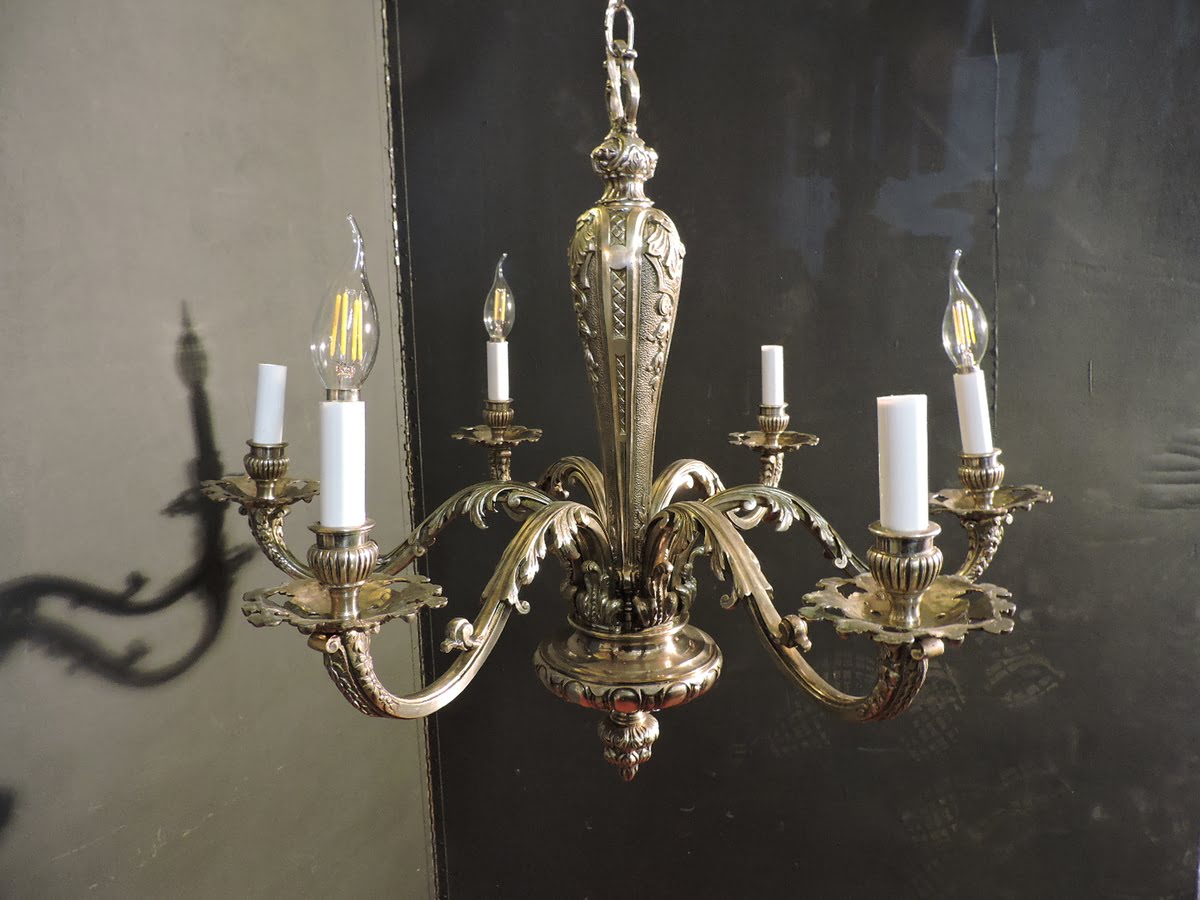
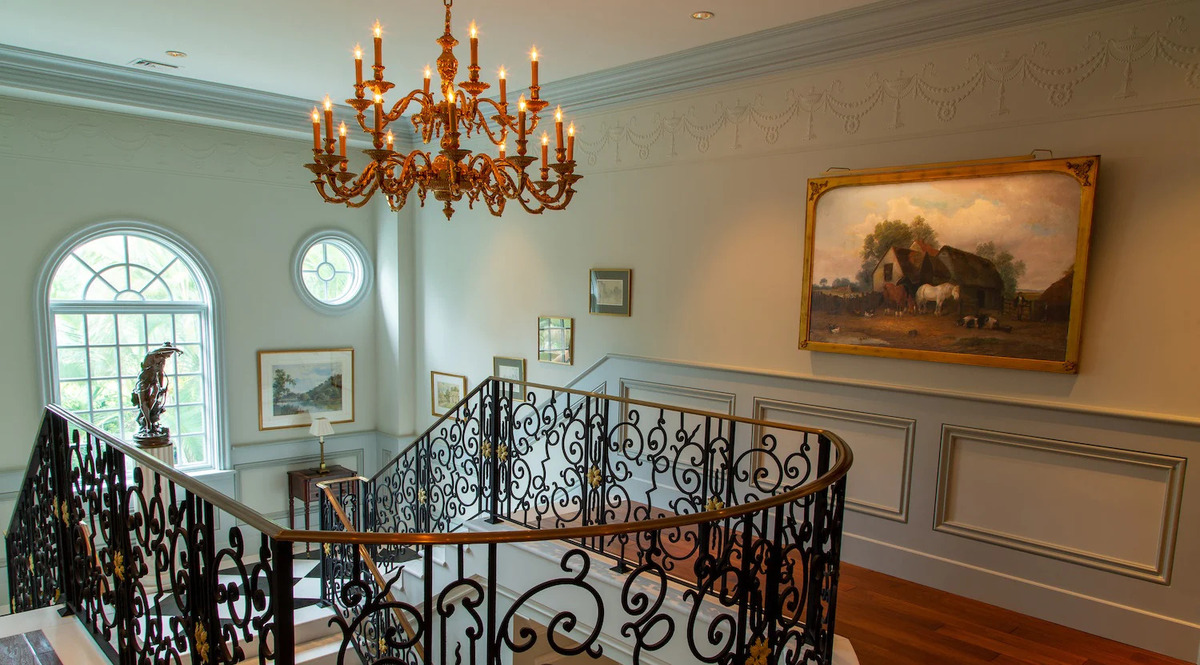
Furniture plays a vital role in creating the ambiance and character of a space, and a chandelier is often the centerpiece that adds elegance and charm to a room. However, over time, the finish on a chandelier may become outdated or worn, leaving you craving a fresh and updated look. Instead of replacing the entire fixture, consider giving your chandelier a makeover by painting it.
Painting a chandelier is an affordable and creative way to transform its appearance and breathe new life into your space. Whether you want to modernize a vintage chandelier, change its color to match your interior decor, or simply update its look, this guide will walk you through the step-by-step process of painting a chandelier.
Before diving into the painting process, it’s important to gather all the necessary materials and tools. Proper preparation, including removing the chandelier, cleaning it thoroughly, and applying the right primer and paint, will ensure a successful and long-lasting finish. So, let’s get started on revitalizing your chandelier and turning it into a stunning focal point in your room.
Key Takeaways:
- Revitalize your space by painting your chandelier with the right materials and step-by-step process, creating a stunning focal point that complements your interior decor.
- Unleash your creativity and transform your chandelier into a unique centerpiece by following the guide to proper cleaning, preparation, and painting techniques.
Read more: How To Paint A Brass Chandelier
Materials Needed
Before you begin painting your chandelier, it’s essential to gather all the necessary materials and tools. Here’s a list of what you’ll need:
- Drop cloth or old sheets
- Safety goggles
- Dust mask
- Gloves
- Screwdriver or pliers
- Cleaning solution or mild detergent
- Sponge or soft cloth
- Lint-free cloth
- Primer
- Paint in your desired color
- Paintbrushes of various sizes (small and medium)
- Painter’s tape
- Newspaper or plastic bags
- Wire or string
- Hooks or hangers to suspend the chandelier
- Ladder or step stool (if needed)
Make sure to have all these materials readily available before you begin the painting process. Doing so will help you work efficiently and ensure a smooth and successful chandelier transformation.
Step 1: Remove the Chandelier
The first step in painting a chandelier is to remove it from its current location. This will make the painting process easier and prevent any accidental damage to the surrounding area. Follow these steps to safely remove the chandelier:
- Turn off the electricity: Before attempting to remove the chandelier, ensure that the power is turned off at the circuit breaker. This will prevent any potential electrical hazards.
- Cover the floor: Lay down a drop cloth or old sheets underneath the chandelier to protect the floor from any dust, paint, or debris that may fall during the removal process.
- Prepare a workspace: Find a suitable area where you can safely disassemble and paint the chandelier. This could be a spacious table or a workbench.
- Remove decorative elements: Take note of any decorative elements such as crystals, glass shades, or ornaments attached to the chandelier. Gently remove them and set them aside in a safe place. It’s important to keep track of these pieces to ensure they are not lost or damaged during the painting process.
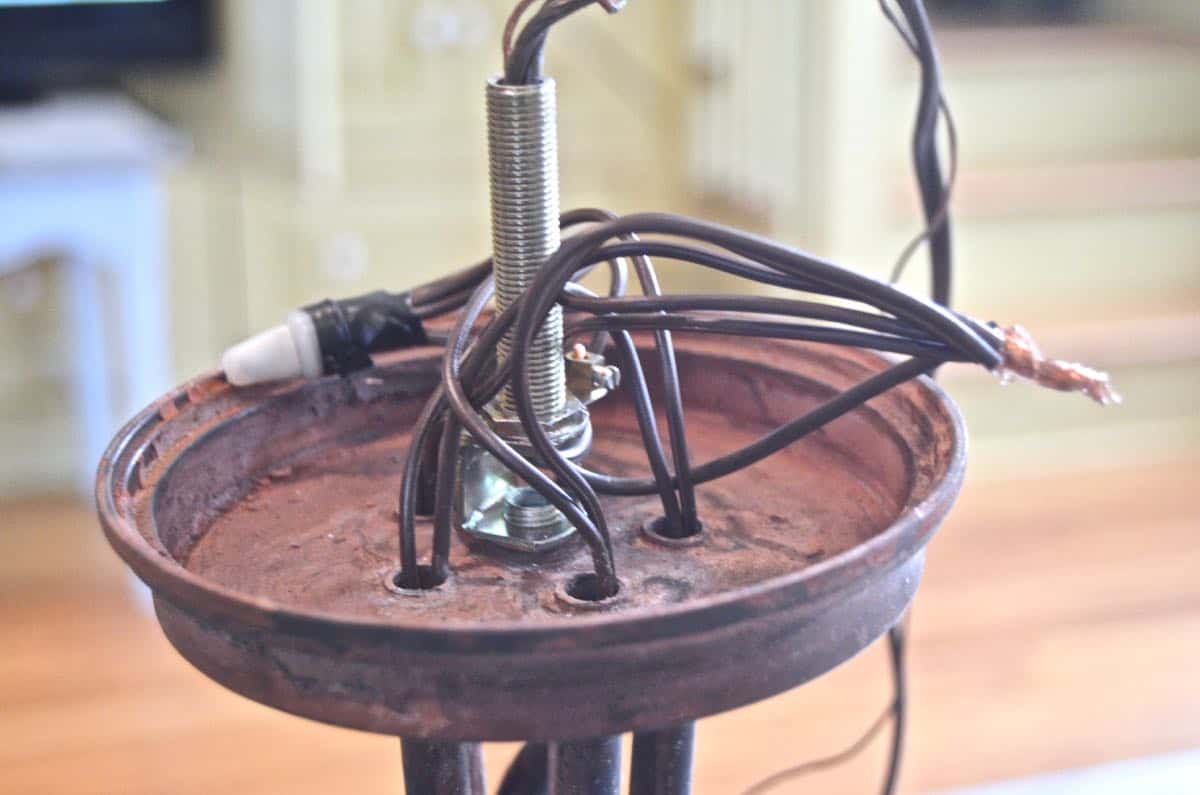
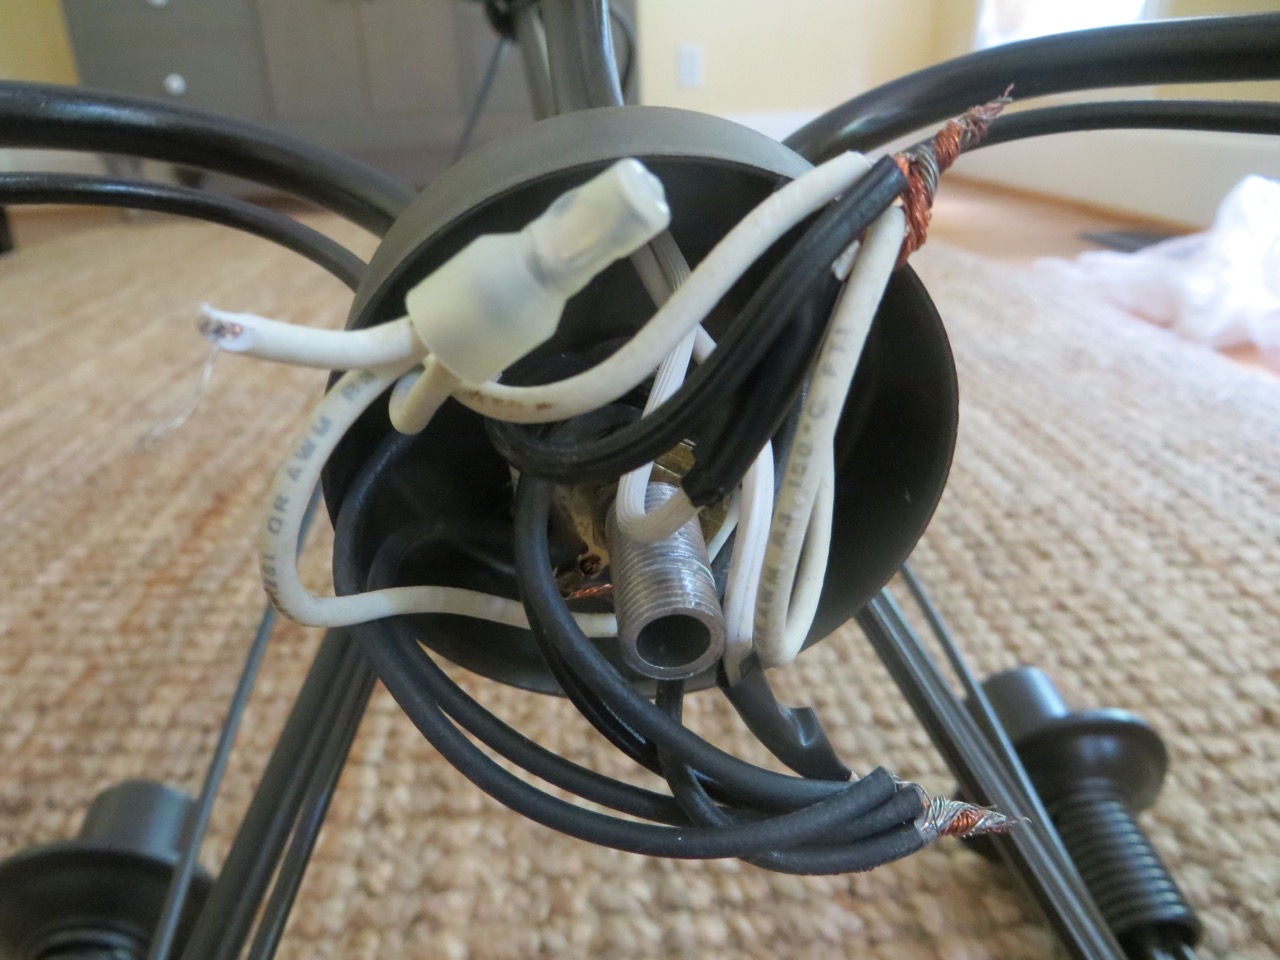
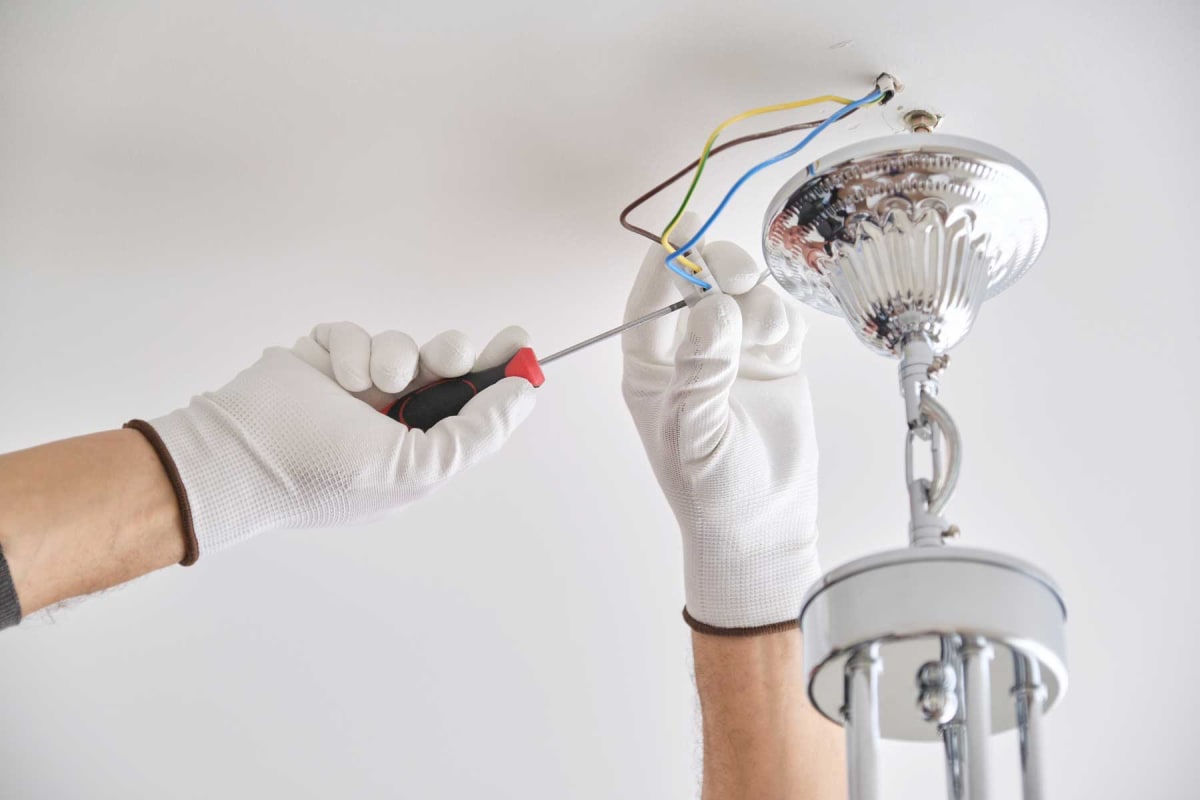
- Disconnect the chandelier: Locate the electrical connections where the chandelier is attached to the ceiling. Carefully disconnect the wiring by unscrewing the wire nuts or removing the mounting bracket. If you’re unsure how to disconnect the chandelier, it might be best to consult a professional electrician.
- Remove mounting hardware: Use a screwdriver or pliers to remove any mounting hardware, such as screws or brackets, that are holding the chandelier in place. Take care not to damage the ceiling or the chandelier itself.
- Lower the chandelier: With the mounting hardware removed, gently lower the chandelier from the ceiling. Enlist the help of a second person if necessary, as chandeliers can be heavy and cumbersome.
Once the chandelier is successfully removed, place it on a sturdy surface covered with a soft cloth or foam padding to prevent any scratches or damage. With the chandelier safely detached, you can now proceed to the next step: cleaning the chandelier.
Step 2: Clean the Chandelier
Before you can start painting your chandelier, it’s crucial to clean it thoroughly to remove any dirt, dust, or grime that may have accumulated over time. Cleaning the chandelier will ensure that the paint adheres properly and the final finish is smooth and flawless. Follow these steps to clean your chandelier:
- Safety first: Put on safety goggles and a dust mask to protect your eyes and respiratory system from any loose debris.
- Remove loose dust: Use a soft brush or a lint-free cloth to gently remove any loose dust or debris from the chandelier. Be careful not to exert too much pressure, as it may damage delicate parts.
- Prepare a cleaning solution: Mix a small amount of mild detergent or chandelier cleaner with warm water in a bucket or basin. Make sure to read the instructions on the cleaner to determine the appropriate dilution ratio.
- Clean individual components: Dip a sponge or a soft cloth into the cleaning solution and wring out any excess liquid. Start cleaning individual components of the chandelier, such as the frame, arms, and decorative elements. Gently wipe each part to remove any dirt or grime. For intricate details, use a soft-bristled brush to reach into crevices.
- Pay attention to crystals or glass shades: If your chandelier has crystals or glass shades, handle them with care. Clean them using a solution of warm water and mild detergent or glass cleaner. Allow them to air dry on a clean, lint-free cloth.
- Dry the chandelier: Once you have finished cleaning the chandelier, use a clean, lint-free cloth to dry each component thoroughly. Make sure there is no moisture left on the chandelier as it may affect the adhesion of the primer and paint.
By taking the time to properly clean your chandelier, you’ll ensure a fresh and pristine surface for the paint to adhere to. With the chandelier now clean and dry, you’re ready to move on to the next step: preparing it for painting.
Step 3: Prepare the Chandelier for Painting
Preparing the chandelier for painting is a crucial step that will ensure a smooth and long-lasting finish. By properly priming and prepping the surface, you’ll create an optimal base for the paint to adhere to. Follow these steps to prepare your chandelier for painting:
- Choose a well-ventilated area: Find a well-ventilated space, such as a garage or outdoor area, where you can work on the chandelier. Good ventilation will help with paint fumes and ensure proper drying.
- Protect surrounding areas: Cover any nearby surfaces or objects with a drop cloth or plastic sheeting to prevent accidental overspray or paint splatters.
- Remove bulbs and electrical components: Take out any light bulbs and detach electrical components, such as sockets and wires, from the chandelier. This will make it easier to paint and prevent any damage to these sensitive parts.
- Tape off areas: Use painter’s tape to mask off any areas of the chandelier that you don’t want to paint. This may include sockets, wiring, or any other parts that should remain the original finish.
- Sand the surface: Lightly sand the entire surface of the chandelier using fine-grit sandpaper. This will help roughen up the existing finish and create a better surface for the paint to adhere to. Be careful not to apply too much pressure, as you don’t want to damage the surface.
- Remove dust: Once you’ve finished sanding, use a clean, lint-free cloth to wipe away any dust or debris from the chandelier. This will ensure a clean surface for the primer and paint.
By properly preparing your chandelier, you’ll create an ideal surface for the paint to adhere to, leading to a professional-looking finish. Now that your chandelier is ready, it’s time to move on to the next step: applying the primer coat.
Read more: How To Install A Chandelier
Step 4: Apply Primer to the Chandelier
Applying a primer coat to your chandelier is an essential step in the painting process. The primer helps to create a smooth and even surface, enhances the adhesion of the paint, and prevents the original finish from bleeding through. Follow these steps to apply the primer to your chandelier:
- Choose the right primer: Select a primer that is specifically formulated for metal or the material your chandelier is made of. Consider using a bonding primer for better adhesion.
- Stir the primer: Give the primer a thorough stir to ensure it is well mixed. Follow the manufacturer’s instructions for stirring and any other specific recommendations.
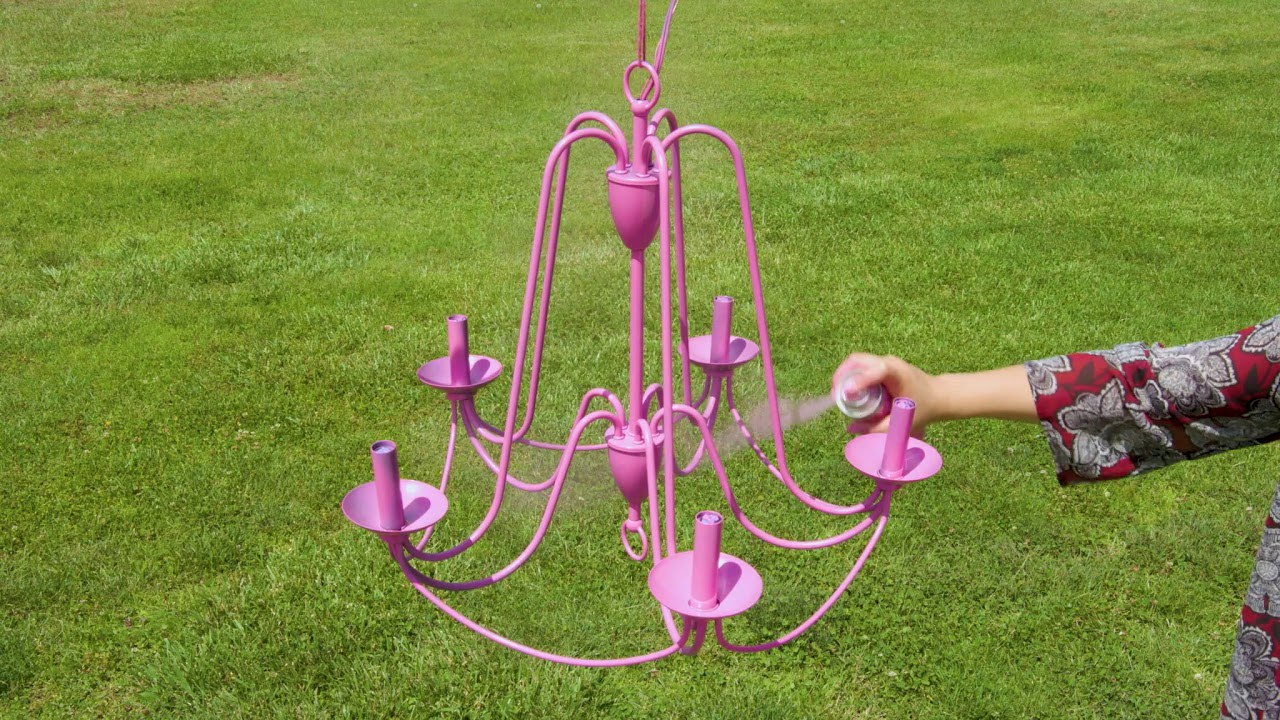
- Apply the primer: Start by applying the primer to the larger and more accessible areas of the chandelier using a small paintbrush or a sprayer. Work in smooth and even strokes, moving along the length of each arm and other parts. Take care not to apply the primer too thickly, as it may lead to drips or an uneven finish.
- Cover all surfaces: Make sure to reach all areas of the chandelier, including crevices, intricate details, and hard-to-reach spots. Use a smaller brush or a foam brush to get into tight corners.
- Allow drying time: Follow the manufacturer’s instructions for the drying time of the primer. Typically, it takes a few hours to dry, but it’s best to wait until it is completely dry to the touch before moving on to the next step.
- Inspect for coverage: Once the primer is dry, carefully inspect the chandelier for full coverage. If there are any areas that appear thin or show the original finish, you may need to apply a second coat of primer.
- Smooth any rough areas: If you notice any rough or uneven spots after the primer has dried, gently sand them with fine-grit sandpaper to create a smooth surface. Make sure to remove any dust or debris after sanding.
By applying a primer to your chandelier, you’ll ensure better adhesion and a smoother finish for the paint. Once the primer is dry and you’re satisfied with the coverage, you can move on to the next step: painting the base coat.
When painting a chandelier, be sure to clean the surface thoroughly and use a high-quality spray paint designed for metal to ensure a smooth and long-lasting finish.
Step 5: Paint the Base Coat
The base coat is where you’ll start to see your chandelier transformation taking shape. This is the layer of paint that will set the foundation for the final color and finish. Follow these steps to paint the base coat of your chandelier:
- Select the right paint: Choose a high-quality paint specifically formulated for the material of your chandelier, whether it’s metal, wood, or another material. Consider using a paint with a built-in primer for convenience.
- Stir the paint: Give the paint a thorough stir to ensure it is well mixed. Follow the manufacturer’s instructions for stirring and any other specific recommendations.
- Start with the larger areas: Begin by applying the base coat of paint to the larger and more accessible parts of the chandelier using a brush or a sprayer. Use long, smooth strokes and work in one direction to achieve an even finish.
- Cover all surfaces: Make sure to reach all areas of the chandelier, including the arms, frame, and any decorative details. Take your time to ensure that each section is coated evenly and thoroughly.
- Apply multiple coats if needed: Depending on the color and coverage you desire, you may need to apply multiple coats of paint. Allow each coat to dry according to the manufacturer’s instructions before applying the next one. This will help achieve a more vibrant and consistent finish.
- Pay attention to drips and runs: As you paint, keep an eye out for any drips or runs. Use a brush or a cloth to quickly catch and smooth out these imperfections before they dry. This will help ensure a professional-looking result.
- Allow drying time: Once you’ve finished applying the base coat, allow the paint to dry fully. This may take several hours or overnight, depending on the paint and environmental conditions.
By painting the base coat, you’re setting the stage for the final color and finish of your chandelier. Take your time and apply the paint carefully to achieve the desired look. After the base coat is completely dry, you can move on to the next step: applying the top coat.
Step 6: Apply the Top Coat
The top coat is the final layer of paint that will give your chandelier its desired color and finish. This step will bring your chandelier transformation to completion. Follow these steps to apply the top coat:
- Choose the right paint: Select a high-quality paint in your desired color and finish. Ensure that the paint is compatible with the material of your chandelier.
- Stir the paint: Give the paint a thorough stir to ensure it is well mixed. Follow the manufacturer’s instructions for stirring and any other specific recommendations.
- Start with the larger areas: Begin by applying the top coat of paint to the larger and more accessible parts of the chandelier using a brush or a sprayer. Use long, smooth strokes and work in one direction for a consistent finish.
- Cover all surfaces: Similar to the base coat, make sure to reach all surfaces of the chandelier, including the arms, frame, and decorative elements. Take your time to achieve an even and thorough coverage.
- Apply multiple coats if necessary: Depending on the opacity of the paint and the desired result, you may need to apply multiple coats of the top coat. Allow each coat to dry according to the manufacturer’s instructions before applying the next one.
- Watch for drips and runs: As you paint, be vigilant for any drips or runs. Correct them immediately by smoothing them out with a brush or a cloth before the paint dries.
- Allow drying time: After applying the top coat, allow the paint to dry fully. This is especially important for achieving a durable and long-lasting finish. Follow the manufacturer’s instructions for the recommended drying time.
By applying the top coat, you’re adding the final touches to your chandelier and bringing it to life with the color and finish of your choice. Take care to paint evenly and allow for proper drying to ensure a stunning result. Once the top coat is completely dry, you can move on to the next step: letting the chandelier dry and cure.
Step 7: Let the Chandelier Dry
After applying the final coat of paint, it’s important to allow the chandelier to dry thoroughly. Drying time is crucial for a proper curing of the paint and ensuring a long-lasting finish. Follow these steps to let your chandelier dry:
- Find a well-ventilated area: Place the painted chandelier in a well-ventilated space where it can dry undisturbed. This will help facilitate the drying process and prevent any accumulation of paint fumes.
- Avoid touching or moving: During the drying period, avoid touching or moving the chandelier as it may cause smudges or damage the freshly painted surface. Let it sit in place until it is completely dry.
- Allow sufficient drying time: The drying time will vary depending on various factors such as the type of paint used, temperature, humidity, and the number of coats applied. Refer to the paint manufacturer’s instructions for the recommended drying time.
- Be patient: It’s important to exercise patience during the drying process. Rushing the drying time can result in a compromised finish. Allow ample time for the paint to dry and cure to achieve the best result.
- Inspect for any touch-ups: Once the chandelier is fully dry, inspect it for any areas that may need touch-ups or additional coats of paint. Address any imperfections before proceeding to the next step.
Properly allowing the chandelier to dry will ensure that the paint cures correctly, providing a durable and smooth finish. Once you are confident that the chandelier is completely dry, you can move on to the final step: reassembling and reinstalling the chandelier.
Read more: How To Fix A Chandelier
Step 8: Reassemble and Install the Chandelier
Now that your freshly painted chandelier is dry and looking fabulous, it’s time to reassemble and reinstall it in its designated space. Follow these steps to reassemble and install your chandelier:
- Gather the components: Gather all the components of your chandelier, including the frame, arms, decorative elements, and any electrical components that were detached during the painting process.
- Inspect for any necessary repairs: Before reassembling, inspect each component of the chandelier for any damage or wear. Repair or replace any broken or damaged parts as needed.
- Attach the arms: Begin by attaching the arms of the chandelier to the main frame, following the manufacturer’s instructions or the original arrangement.
- Reattach decorative elements: Now is the time to reattach any crystals, glass shades, or other decorative elements that were removed. Take care to ensure they are securely fastened but avoid overtightening which may cause damage.
- Reconnect electrical components: If electrical components such as sockets or wiring were removed, carefully reconnect them according to the manufacturer’s instructions or seek the assistance of a professional electrician if needed.
- Test the chandelier: Before installing the chandelier, turn on the electricity and test it to ensure that all light bulbs and electrical connections are functioning properly.
- Choose the installation location: Determine the ideal location to reinstall your chandelier. Ensure that the ceiling can support the weight of the chandelier and that it is centered and properly aligned with your space.
- Securely reinstall the chandelier: Use the appropriate anchors, screws, or mounting hardware to securely reinstall the chandelier to the ceiling. Follow the manufacturer’s instructions for installation or consult a professional if necessary.
- Adjust and level the chandelier: Once the chandelier is installed, adjust its height and level it using the provided chain or adjustable cable. Ensure that it hangs straight and is balanced in the space.
With the chandelier reassembled and properly installed, take a step back and admire the stunning transformation you have achieved. Your painted chandelier will now serve as a beautiful and unique centerpiece in your room, adding a touch of style and personality to your space.
Remember to regularly clean and maintain your painted chandelier to ensure its longevity and preserve its beauty. Now, sit back, relax, and enjoy the ambiance created by your newly painted chandelier!
Conclusion
Painting a chandelier is a fantastic way to breathe new life into your space and give your lighting fixture a fresh and updated look. By following the step-by-step guide outlined in this article, you can successfully transform your chandelier into a stunning focal point that complements your interior decor.
From removing the chandelier and preparing it for painting to applying the primer, base coat, and top coat, each step is crucial in achieving a professional and long-lasting finish. Taking the time to clean the chandelier thoroughly, choose the right materials, and apply the paint carefully will ensure the best results.
Remember to provide adequate drying time between coats and allow the final coat to cure fully. Rushing the process may compromise the quality of the finish. Once the chandelier is dry and ready, reassemble it with care, ensuring all components are securely attached and electrical connections are properly reconnected.
Installing and aligning the chandelier correctly will complete the process. Step back and admire your newly painted chandelier, now serving as a stunning centerpiece that enhances the ambiance and character of your space.
Regular maintenance and cleaning will help preserve the beauty of your painted chandelier. Enjoy the charm and elegance it brings to your room and appreciate the creativity and personal touch you’ve added to your home.
So, don’t shy away from painting your chandelier and unleashing your inner creativity. Follow the steps in this guide, and in no time, you’ll have a striking and customized chandelier that will make a statement in your space.
Frequently Asked Questions about How To Paint A Chandelier
Was this page helpful?
At Storables.com, we guarantee accurate and reliable information. Our content, validated by Expert Board Contributors, is crafted following stringent Editorial Policies. We're committed to providing you with well-researched, expert-backed insights for all your informational needs.


0 thoughts on “How To Paint A Chandelier”