Furniture
How To Fix A Chandelier
Modified: January 18, 2024
Learn how to fix a chandelier with our expert guide. Find step-by-step instructions and tips to repair your furniture and bring back its shine.
(Many of the links in this article redirect to a specific reviewed product. Your purchase of these products through affiliate links helps to generate commission for Storables.com, at no extra cost. Learn more)
Introduction
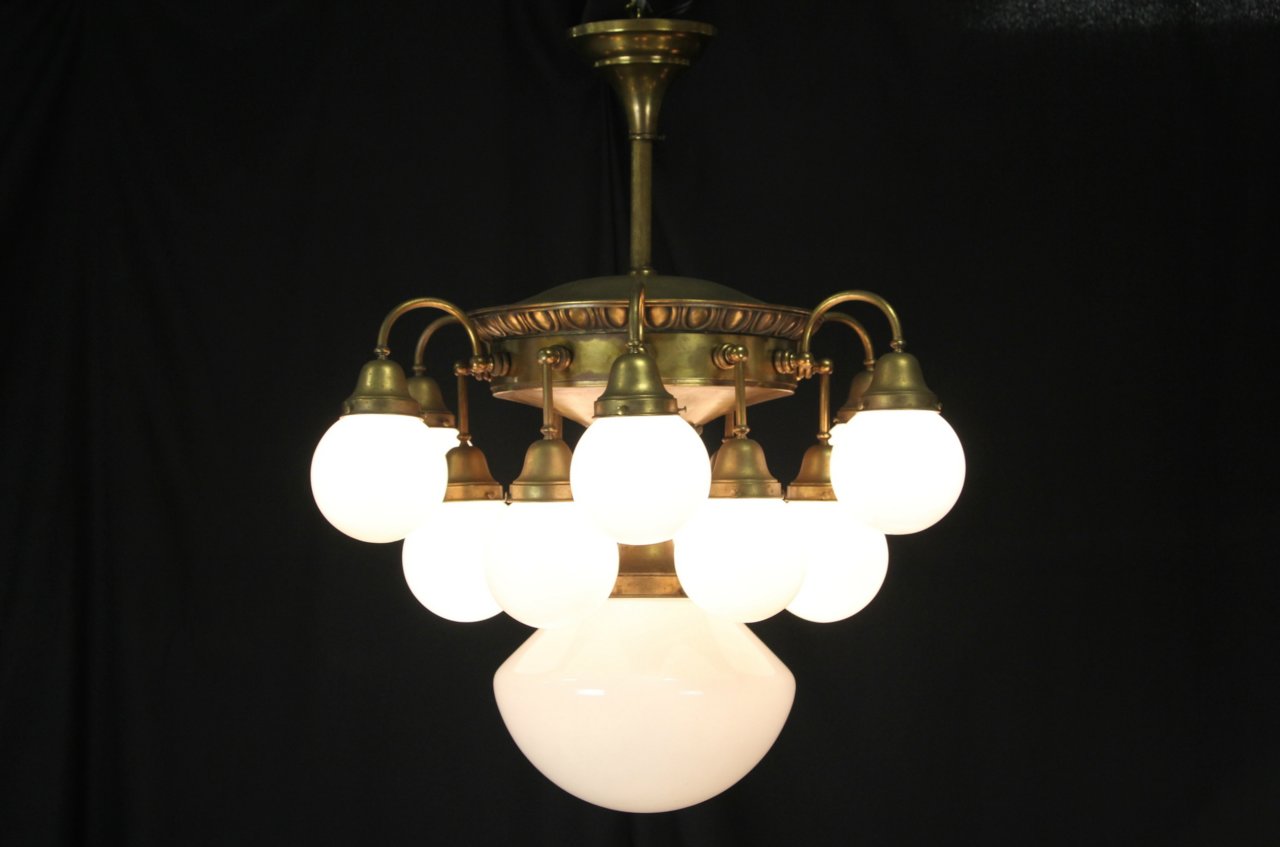
Welcome to our comprehensive guide on how to fix a chandelier. A chandelier is not just a functional lighting fixture; it is often the centerpiece of a room, adding elegance and charm to any space. However, like any other electrical device, chandeliers can encounter issues over time that require some maintenance and repairs.
Whether you have a vintage crystal chandelier or a modern contemporary design, knowing how to troubleshoot and fix common problems can save you time and money. In this article, we will walk you through the step-by-step process of fixing a chandelier, from inspecting it for issues to replacing faulty wiring or components.
Before we delve into the details, it is essential to emphasize the importance of safety. Dealing with electrical components can be dangerous, so always remember to turn off the power and follow proper safety precautions. If you are not comfortable working with electricity or if the issue seems complex, it is recommended to seek the assistance of a professional electrician.
Now, let’s gather our tools and materials and get started on fixing your chandelier!
Key Takeaways:
- Safely and confidently fix your chandelier by following a step-by-step process, from gathering tools to testing the fully repaired fixture. Regular maintenance can prevent future issues and extend its lifespan.
- Address common chandelier problems such as faulty wiring, loose crystals, and dimming lights with the right tools and knowledge. Turn off the power and prioritize safety throughout the repair process.
Read more: How To Clean A Plastic Chandelier
Step 1: Gather the necessary tools and materials
Before you begin the process of fixing your chandelier, it’s important to gather all the necessary tools and materials. Having everything ready beforehand will ensure a smoother and more efficient repair process. Here’s a list of the typical tools and materials you’ll need:
- Step ladder: Depending on the height of your chandelier, you may need a step ladder or a stable platform to reach it safely.
- Screwdriver set: A set of screwdrivers with different sizes and types (such as Phillips and flathead) will come in handy for disassembling and reassembling the chandelier.
- Wire cutters: You may need wire cutters to trim or replace the chandelier’s wiring.
- Wire strippers: These tools are useful for removing insulation from wires when necessary.
- Electrical tester: An electrical tester or voltage detector will help ensure that the power is off before you start working on the chandelier.
- Replacement components: Depending on the issue with your chandelier, you may need replacement bulbs, crystals, sockets, or wiring. Make sure to check the specifications of your chandelier to get the correct replacement parts.
- Cleaning supplies: If your chandelier has accumulated dust or dirt, you may need a soft cloth, a mild cleaning solution, and a gentle brush to clean it.
Once you have gathered all the necessary tools and materials, double-check to make sure you have everything you need before moving on to the next step. This will help minimize interruptions and make the repair process more efficient.
Now that you are fully prepared, it’s time to move on to the next step: turning off the power.
Step 2: Turn off the power
Before you start working on your chandelier, it is crucial to turn off the power to ensure your safety. Dealing with live electricity can be extremely hazardous, so following proper safety precautions is essential.
To turn off the power to your chandelier, you can follow these steps:
- Locate the circuit breaker or fuse box in your home. It is usually found in the basement, garage, or utility room.
- Identify the circuit that controls the chandelier. If you are unsure, you can use a non-contact voltage tester to identify the correct circuit.
- Once you have identified the correct circuit, switch off the circuit breaker or remove the fuse that supplies power to the area where the chandelier is installed. This will ensure that there is no electricity flowing to the chandelier.
- For added safety, it is recommended to use a voltage tester to double-check that there is no power running to the chandelier. Touch the tester to the wires or socket and ensure that it does not detect any voltage. Safety should always be the top priority.
Remember, do not proceed with the repair process until you are absolutely certain that the power is off. If you are unsure or uncomfortable working with electricity, it is safer to call a professional electrician to handle the job.
Now that you have turned off the power, you can move on to the next step: inspecting the chandelier for any obvious issues.
Step 3: Inspect the chandelier for any obvious issues
Now that the power is turned off, it’s time to carefully examine your chandelier to identify any visible issues or irregularities. This step will help you determine the extent of the problem and guide you in the repair process.
Here are some key areas to inspect on your chandelier:
- Examine the wiring: Look for any loose or frayed wires. Pay close attention to the connection points, sockets, and junction boxes. If you notice any damaged or compromised wiring, it will need to be replaced.
- Check the sockets: Inspect each socket to ensure they are securely attached and in good condition. Look for signs of charring or burning around the sockets, as this may indicate a wiring issue.
- Inspect the crystals or pendants: If your chandelier has crystals or pendants, check for any missing pieces or damage. Loose crystals can often be reattached, but if they are damaged or missing, you may need to find suitable replacements.
- Look for loose or broken parts: Check for any loose screws, nuts, or bolts that may be causing the chandelier to hang unevenly or sway. Tighten them if necessary. If you notice any broken parts, such as arms or decorative elements, you may need to source replacements.
- Inspect the canopy: The canopy is the decorative covering that hides the electrical wiring. Ensure that it is firmly attached and aligned properly.
Take your time during the inspection process and make a note of any issues you find. This will help you prioritize the repairs and ensure that you have all the necessary replacement parts before moving forward.
Once you have completed the inspection, you can proceed to the next step: removing the old light bulbs.
Step 4: Remove the old light bulbs
Now that you have inspected the chandelier and identified any visible issues, it’s time to remove the old light bulbs. This step is necessary before proceeding with any further repairs or cleaning.
Follow these steps to safely remove the old light bulbs:
- Ensure that the power to the chandelier is still turned off. Double-check the circuit breaker or fuse box to be certain.
- If the chandelier has individual bulb holders, gently unscrew each light bulb counterclockwise. Be careful not to apply excessive force or twist too hard, as this can damage the bulb or the socket.
- If your chandelier has candle-style bulbs, there may be a decorative cover or sleeve over the bulbs. Carefully remove these covers by gently pulling them away from the socket.
- Set aside the old light bulbs in a safe place, making sure they are not in the way of your work area to avoid accidental breakage.
Once you have removed the old light bulbs, it’s a good idea to inspect the sockets for any debris or buildup that may affect the connection. If you notice any dirt or corrosion, use a soft cloth or a small brush to clean the sockets before installing the new light bulbs.
With the old light bulbs safely removed, you can now move on to the next step: cleaning the chandelier.
Read more: How To Extend Chandelier Wire
Step 5: Clean the chandelier
Now that the old light bulbs have been removed, it’s a perfect time to give your chandelier a thorough cleaning. Over time, dust, dirt, and grime can accumulate on the surface of the chandelier, dulling its appearance and reducing its sparkle. Cleaning your chandelier not only improves its aesthetic appeal but also ensures optimal light output.
Here’s how you can clean your chandelier effectively:
- Prepare the cleaning solution: In a bucket or sink, mix a mild cleaning solution using warm water and a gentle dish soap. Avoid using harsh or abrasive chemicals that could damage the chandelier’s finish or components.
- Protect the area: Lay down a drop cloth or plastic sheeting underneath the chandelier to catch any drips or debris during the cleaning process.
- Dust the chandelier: Start by using a soft, dry cloth or a feather duster to gently remove any loose dust or debris from the chandelier. Pay attention to intricate details and hard-to-reach areas.
- Clean the individual components: If your chandelier has detachable crystals or pendants, remove them carefully and place them in a basin of warm soapy water. Gently clean each piece using a soft brush or cloth to remove any dirt or residue. Rinse them thoroughly and pat them dry before reattaching them to the chandelier.
- Clean the frame: Dip a clean, soft cloth or sponge into the cleaning solution, wring out any excess moisture, and carefully wipe down the chandelier frame. Make sure to clean all surfaces, including the arms, decorative elements, and sockets. Pay attention to any stubborn dirt or stains, and gently scrub them if necessary.
- Dry the chandelier: After cleaning, use a clean, dry cloth to pat the chandelier dry. Make sure there is no remaining moisture to prevent water spots or damage.
Remember to take your time and be gentle when cleaning your chandelier to avoid causing any damage. If you’re unsure about how to clean a specific type of chandelier or if it has delicate materials, it’s best to consult the manufacturer’s instructions or seek professional advice.
With your chandelier now sparkling clean, it’s time to move on to the next step: checking for loose or broken crystals or pendants.
When fixing a chandelier, always turn off the power at the circuit breaker to avoid electrical shock. Use a voltage tester to ensure the power is off before starting any work.
Step 6: Check for loose or broken crystals or pendants
After cleaning the chandelier, it’s important to inspect the crystals or pendants to ensure they are securely attached and undamaged. Over time, vibrations or accidental bumping can cause crystals or pendants to become loose or even break. Checking and addressing these issues will help maintain the integrity and beauty of your chandelier.
Follow these steps to check for loose or broken crystals or pendants:
- Begin by visually inspecting each crystal or pendant. Look for any noticeable signs of damage, such as chips, cracks, or missing pieces.
- Gently wiggle each crystal or pendant to check for any looseness. A loose crystal may need to be reattached, while a broken or missing one will require a replacement.
- If you find a loose crystal, carefully examine the attachment point. Depending on the chandelier design, crystals are typically attached using wires, clips, or small hooks. Reattach any loose crystals securely, ensuring they are properly aligned and positioned.
- If a crystal is broken or missing, you will need to find a compatible replacement. Take careful measurements of the size, shape, and color of the crystal to ensure the replacement matches the rest of the chandelier. Many reputable lighting stores or online retailers offer crystal replacements for common chandelier styles.
- Once all crystals or pendants have been inspected, reattached or replaced as needed, and the chandelier is fully restored, you can move on to the next step: checking for any faulty wiring or sockets.
By regularly checking and maintaining the crystals or pendants on your chandelier, you can ensure that it continues to shine and add a touch of glamour to your space.
Now that you have addressed any loose or broken crystals or pendants, let’s move on to check for any faulty wiring or sockets.
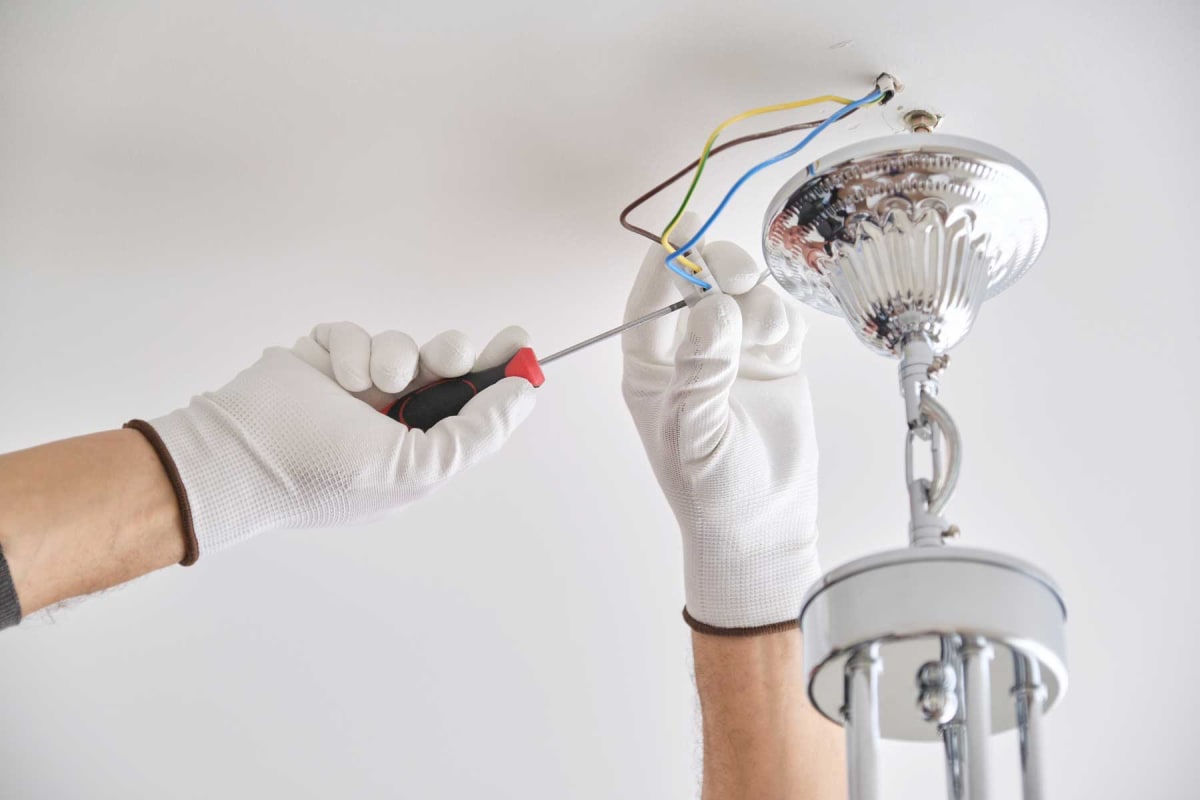
Step 7: Replace any faulty wiring or sockets
Faulty wiring or sockets can be a common issue with chandeliers, leading to intermittent or no power, flickering lights, or even potential electrical hazards. It is important to address these issues promptly to ensure the safety and proper functioning of your chandelier. In this step, we will guide you on how to replace any faulty wiring or sockets.
Here’s what you need to do:
- Before starting any electrical work, make sure the power is turned off at the circuit breaker or fuse box. It’s crucial to follow safety precautions and avoid any risks of electric shocks.
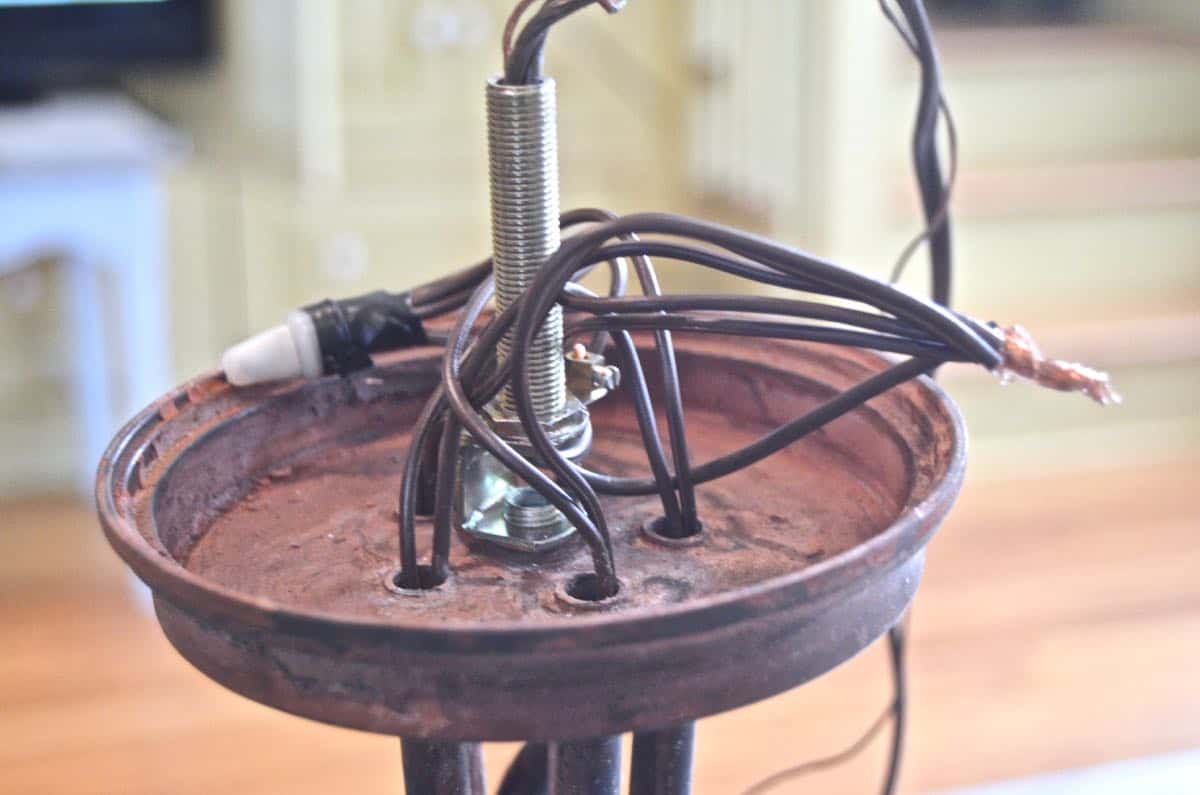
- Identify the faulty wiring or socket. Inspect the wiring for any visible signs of damage, such as exposed wires, fraying, or charring. Look for loose connections or sockets that are no longer secure.
- If you find a faulty socket, you may need to remove and replace it. Start by unscrewing any screws or nuts that hold the socket in place. Carefully detach the wires connected to the socket and remember their placement or take a photo as a reference for reinstallation.
- Install the new socket by connecting the wires to the corresponding terminals. Ensure that the connections are tight and secure. Follow the manufacturer’s instructions for proper wiring and installation.
- If the wiring itself is the issue, you may need to replace the damaged section of wire. Use wire cutters to remove the damaged portion, leaving enough length for reconnecting. Strip off the insulation from the ends of the wires and use wire connectors to join the new wire segment to the existing ones.
- Once the faulty wiring or socket has been replaced, carefully reattach any covers or insulation that were removed during the process. Make sure all connections are secure and the wiring is neatly tucked away.
Remember, if you are uncertain about handling electrical repairs, it’s always best to consult a professional electrician for assistance to ensure the work is done safely.
With any faulty wiring or sockets addressed and replaced, you are ready to move on to the next step: installing new light bulbs.
Step 8: Install new light bulbsWith the faulty wiring or sockets addressed, it’s time to install new light bulbs in your chandelier. Properly functioning light bulbs are essential for restoring brightness and functionality to your chandelier.
Follow these steps to install new light bulbs:
- Ensure that the power is still turned off at the circuit breaker or fuse box. Safety should always be a priority when working with electrical components.
- Choose the appropriate type and wattage of bulbs for your chandelier. Refer to the manufacturer’s instructions or specifications to ensure compatibility.
- Take each new light bulb and gently screw it into the corresponding socket. Make sure not to overtighten the bulbs as this can cause damage.
- If your chandelier utilizes candle-style bulbs with decorative covers or sleeves, carefully slide the covers back over the bulbs, ensuring they are properly aligned.
- Once all the new light bulbs are installed, double-check that they are securely in place and properly seated in the sockets.
After installing the new light bulbs, it is a good idea to turn on the power at the circuit breaker or fuse box to test the functionality of the chandelier. If all the bulbs illuminate, you can proceed to the final step.
However, if any bulbs do not light up, there may still be an underlying issue with the wiring or sockets. In this case, it is recommended to double-check the connections and consult a professional electrician if needed.
Now that you have installed the new light bulbs, it’s time to turn on the power and test the fully repaired chandelier.
Read more: How To Hide Chandelier Wires
Step 9: Turn on the power and test the chandelier
Now that you have completed the necessary repairs and replaced any faulty components, it’s time to turn on the power and test your chandelier. This final step ensures that your hard work has paid off and that your chandelier is functioning properly.
Follow these steps to turn on the power and test the chandelier:
- Double-check that all the repairs and replacements have been completed properly. Ensure that all connections are secure and that no loose parts remain.
- Go to the circuit breaker or fuse box and switch on the power to the area where the chandelier is installed.
- Stand back and observe the chandelier as it lights up. Check for any flickering lights, dimming, or irregularities. These may indicate further issues that need to be addressed.
- If everything looks and functions fine, take a moment to appreciate your beautifully repaired and restored chandelier.
- If you encounter any problems during the testing phase, it’s important to turn off the power again and carefully retrace your steps. Check for loose connections, wiring issues, or any other potential causes of the problem. If necessary, seek professional assistance to resolve the issue.
Once you are satisfied that the chandelier is fully functional and there are no further issues, you can consider the repair process complete. Your chandelier will once again be a stunning focal point in your space, providing elegant lighting and enhancing the overall ambiance.
Regular maintenance and periodic inspections can help prevent future problems with your chandelier. Consider scheduling routine checks and cleanings to keep it in optimal condition and extend its lifespan.
Congratulations on successfully fixing your chandelier! You can now bask in the warm glow of a beautifully restored lighting fixture.
Thank you for following our comprehensive guide on how to fix a chandelier. We hope you found it helpful and that it has empowered you to tackle any issues that may arise with your chandeliers in the future.
Conclusion
Fixing a chandelier may seem like a daunting task, but with the right knowledge and a step-by-step approach, it can be a rewarding and satisfying experience. By following the comprehensive guide provided in this article, you have learned how to troubleshoot and address common issues that may arise with your chandelier.
We began by gathering the necessary tools and materials, ensuring that you have everything on hand for a smooth repair process. Turning off the power was emphasized as a crucial safety step before inspecting the chandelier for any visible issues. From there, we covered removing old light bulbs, cleaning the chandelier to restore its sparkle, checking and addressing loose or broken crystals or pendants, replacing faulty wiring or sockets, and installing new light bulbs.
Finally, we turned on the power and tested the chandelier, making sure all the repairs were successful and the chandelier was functioning properly. Our guide has equipped you with the skills and knowledge to handle common chandelier problems and restore this elegant lighting fixture to its former glory.
Remember, safety should always be a top priority when dealing with electrical components. If you are unsure or uncomfortable working with electricity, it is best to seek the assistance of a professional electrician. They have the expertise and experience to address complex issues and ensure the safety of your chandelier and your home.
With regular maintenance and care, your chandelier can continue to illuminate your space beautifully and be a source of admiration for years to come. So, don’t let those minor issues dampen its charm – follow our guide and give your chandelier the attention and care it deserves.
Thank you for reading this comprehensive guide on how to fix a chandelier. We hope it has been informative and helpful. May your repaired chandelier continue to bring warmth and elegance to your home!
Frequently Asked Questions about How To Fix A Chandelier
Was this page helpful?
At Storables.com, we guarantee accurate and reliable information. Our content, validated by Expert Board Contributors, is crafted following stringent Editorial Policies. We're committed to providing you with well-researched, expert-backed insights for all your informational needs.


0 thoughts on “How To Fix A Chandelier”