Furniture
How To Repair A Pull Chain Lamp
Modified: May 6, 2024
Learn how to repair a pull chain lamp and bring back the functionality to your furniture. Step-by-step guide and tips to fix your broken lamp chain.
(Many of the links in this article redirect to a specific reviewed product. Your purchase of these products through affiliate links helps to generate commission for Storables.com, at no extra cost. Learn more)
Introduction
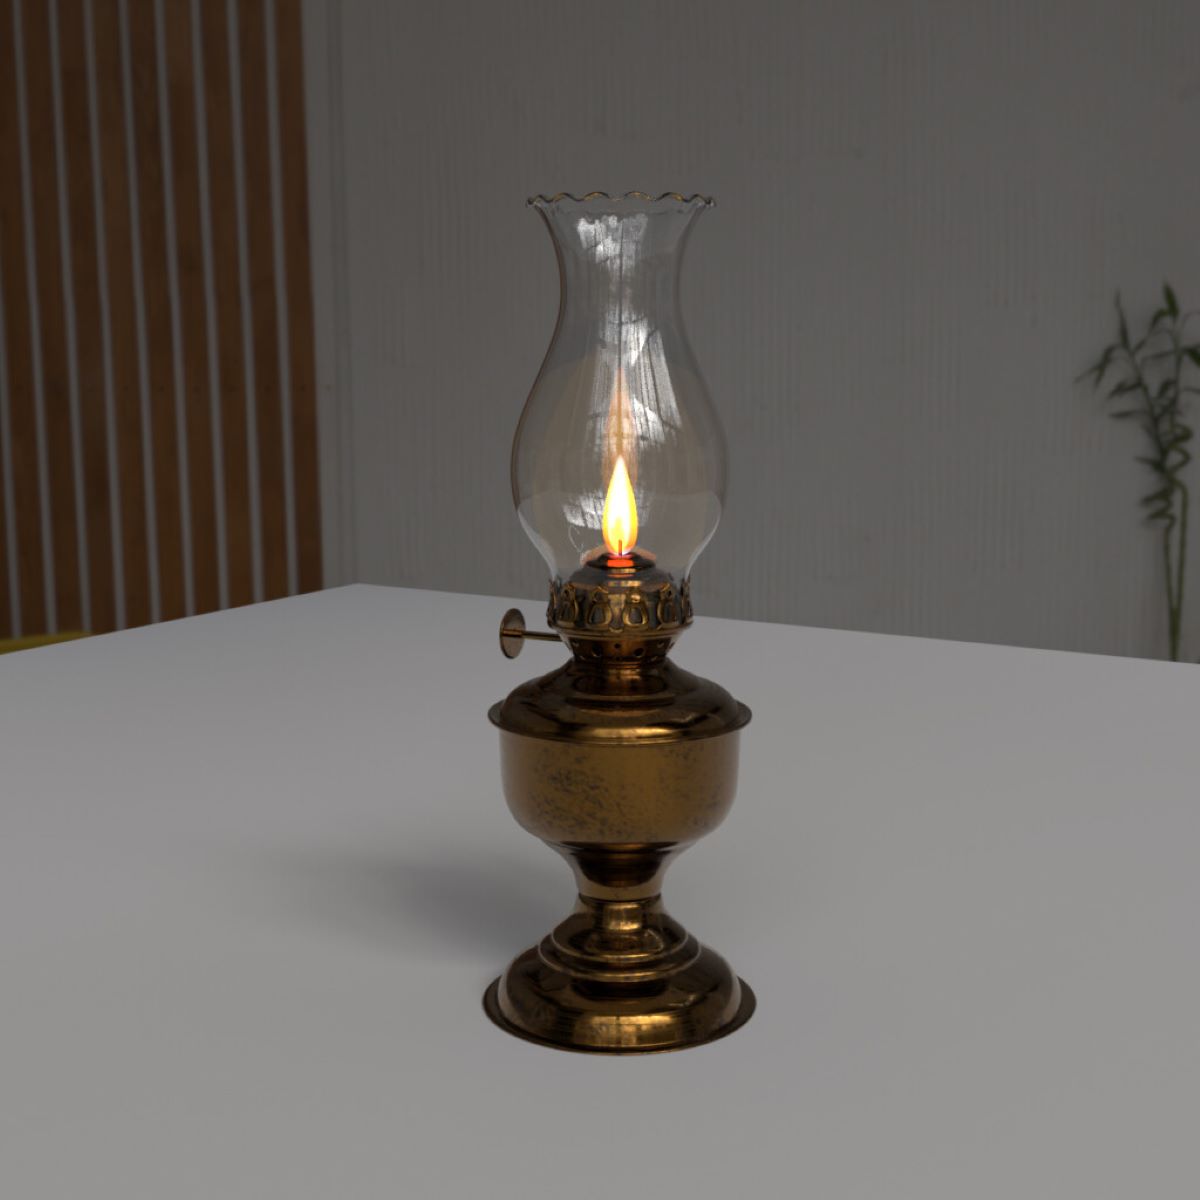
When it comes to home lighting, pull chain lamps have been a popular choice for many years. They are not only functional but also add a touch of vintage charm to any room. However, like any other electrical appliance, pull chain lamps can encounter issues over time. One common problem that you may come across is a faulty pull chain switch.
A pull chain switch is responsible for turning the lamp on and off by simply pulling on the chain. It is a small but crucial component of the lamp, and if it stops working, you may find yourself struggling to illuminate your space. The good news is that repairing a pull chain lamp is a relatively simple task that you can do on your own with the right tools and materials.
In this article, we will guide you through the step-by-step process of repairing a pull chain lamp. From disconnecting the power to reassembling the lamp after replacing the pull chain switch, we will cover it all. So, grab your tools and let’s get started on bringing your pull chain lamp back to life!
Key Takeaways:
- Easily repair a pull chain lamp by following simple steps, from disconnecting power to replacing the switch. Ensure safety, gather tools, and enjoy a fully functional lamp once again.
- With the right tools and know-how, anyone can successfully diagnose and fix a faulty pull chain lamp switch. Follow safety precautions, test the lamp, and bask in the warm glow of success!
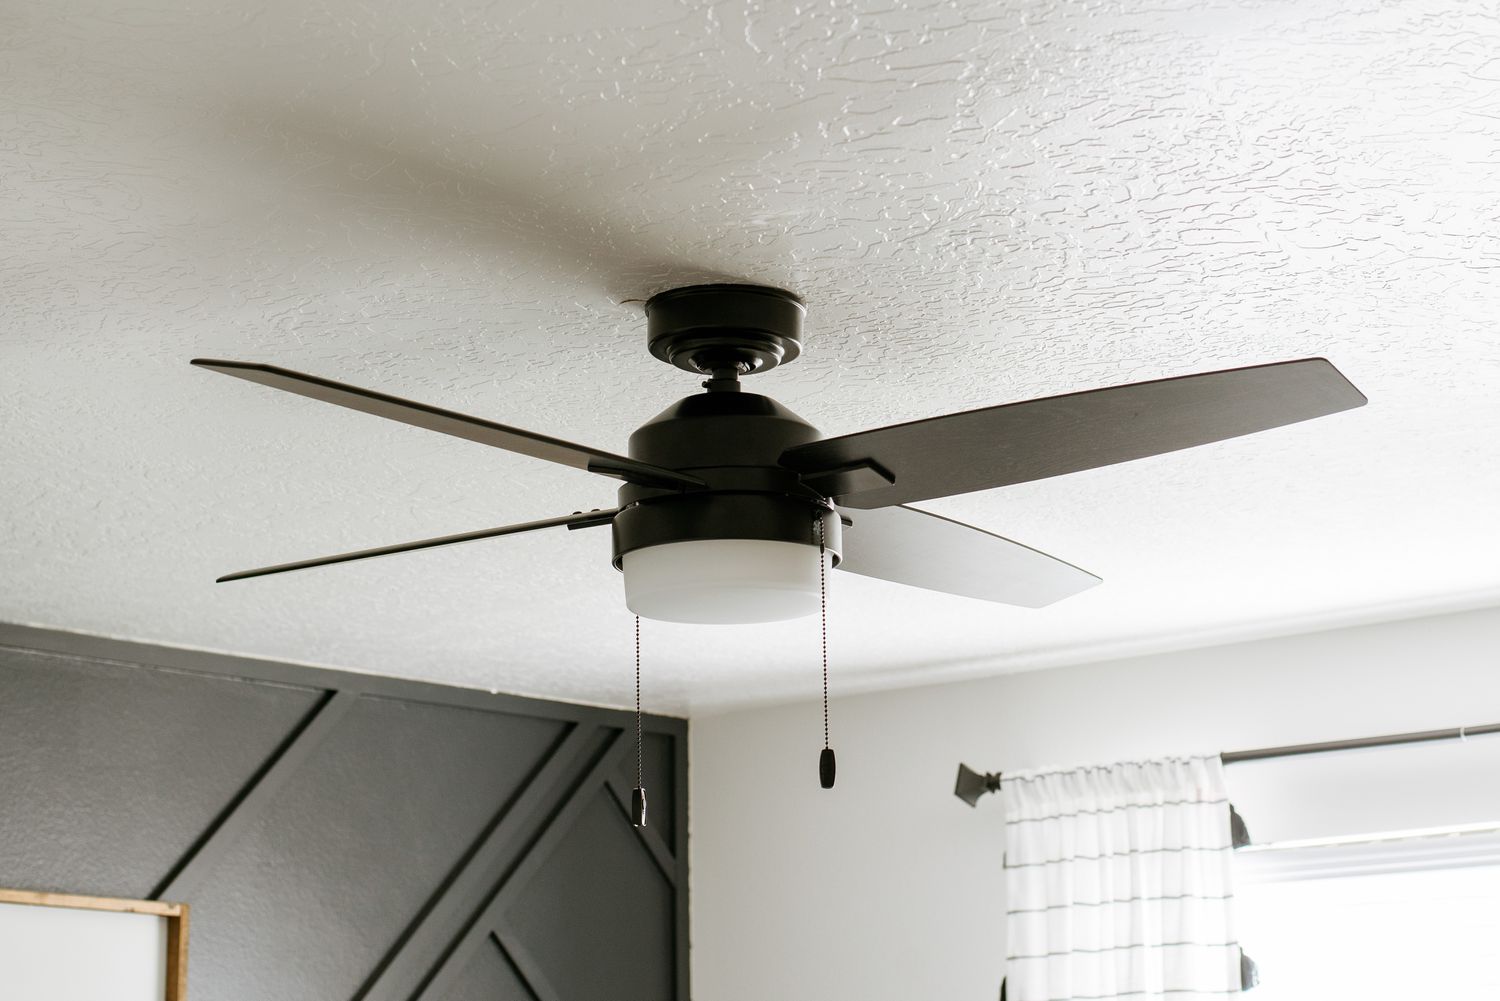
Read more: How To Fix The Pull Chain On A Ceiling Fan
Tools and Materials Needed
Before you start repairing your pull chain lamp, gather the following tools and materials:
- Needle-nose pliers: These will help you with tasks like disconnecting wires and removing the pull chain switch.
- Wire cutters/strippers: These tools are essential for cutting and stripping wires.
- Screwdriver set: You will need a set of screwdrivers to remove screws from the lamp and access the pull chain switch.
- Replacement pull chain switch: Make sure you have a compatible replacement switch for your lamp.
- Electrical tape: This will be used to secure and insulate wires.
- Lampshade: Remove the lampshade to access the internal components of the lamp.
- Lightbulb: It’s a good idea to replace the lightbulb while you’re at it, especially if it is old or not functioning properly.
Make sure you have all the necessary tools and materials before you begin the repair process. This will ensure a smooth and efficient repair job.
Step 1: Safety Precautions
Before you start repairing your pull chain lamp, it’s important to take some safety precautions to ensure your well-being and the integrity of your electrical system. Follow these steps to ensure a safe working environment:
- Turn off the power: Locate the circuit breaker or fuse box that supplies power to the lamp. Switch off the corresponding circuit breaker or remove the appropriate fuse to cut off the power supply. This step is crucial to prevent electric shocks while working on the lamp.
- Allow the lamp to cool down: If the lamp has been recently turned on, give it enough time to cool down before beginning any repairs. Touching hot electrical components can cause burns or injury.
- Wear protective gear: It’s always a good idea to wear safety goggles and protective gloves when working with electrical components. These will protect your eyes and hands from any potential hazards.
- Work in a well-lit area: Ensure that you have proper lighting in your workspace so that you can clearly see what you’re doing. This will minimize the risk of accidents and mistakes.
- Keep children and pets away: If you have young children or pets, it’s important to keep them away from the work area to avoid any accidents or injuries.
By following these safety precautions, you can minimize the risk of accidents and work on your pull chain lamp with confidence. Remember, safety should always be your top priority when dealing with electrical repairs.
Step 2: Disconnecting the Power
Now that you have taken the necessary safety precautions, it’s time to disconnect the power to your pull chain lamp. Here’s how to do it:
- Locate the power source: Identify the power cord of your lamp and trace it back to the wall outlet or power source.
- Unplug the lamp: Carefully unplug the lamp from the wall outlet to ensure that there is no electrical current flowing through it. This step is crucial to prevent any electric shocks while working on the lamp.
- Double-check the power: Once you have unplugged the lamp, use a voltage tester or a lamp to verify that there is no electricity running through it. Ensure that the lamp does not turn on when you try to switch it on. This extra step will provide an additional layer of safety.
By disconnecting the power, you eliminate the risk of electric shock and ensure a safe working environment. Remember to always treat electricity with caution and verify that the power is off before proceeding with any repairs.
Step 3: Removing the Lampshade and Lightbulb
With the power disconnected, you can now proceed to remove the lampshade and lightbulb. Follow these steps:
- Allow the lamp to cool down: If the lamp has been recently turned on, give it enough time to cool down before handling it. Touching a hot lightbulb or lampshade can cause burns.
- Remove the lampshade: Gently lift or slide the lampshade off the lamp base. Some lampshades may have a finial or screw holding them in place, so if necessary, loosen or remove those as well.
- Set the lampshade aside: Find a safe place to set the lampshade aside where it won’t be knocked over or damaged during the repair process.
- Unscrew the lightbulb: Carefully unscrew the lightbulb from the socket and set it aside. If the lightbulb is not working or needs to be replaced, this is an opportune time to do so.
By removing the lampshade and lightbulb, you gain easier access to the pull chain switch and other internal components of the lamp. This step ensures that you can work comfortably and effectively during the repair process.
Read more: How To Fix A Pull Chain On A Ceiling Light
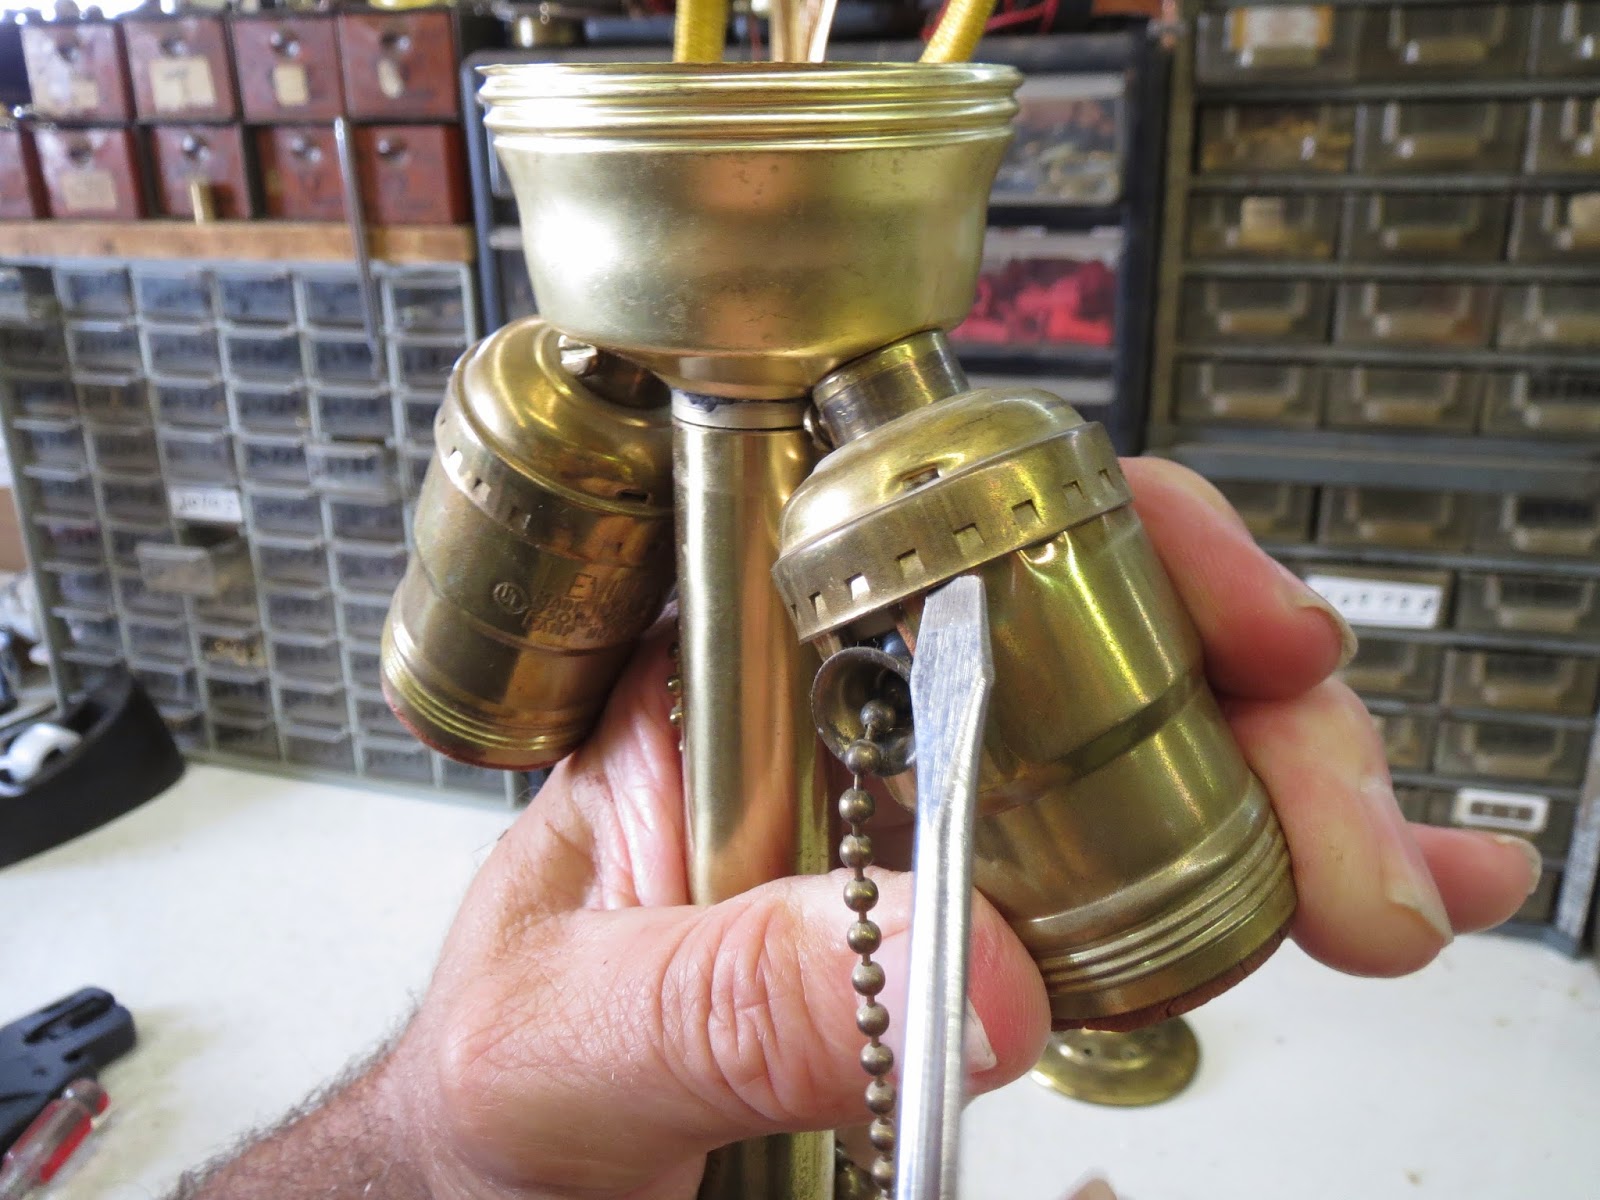
Step 4: Accessing the Pull Chain Switch
With the lampshade and lightbulb removed, you can now proceed to access the pull chain switch. Follow these steps:
- Examine the lamp base: Take a close look at the lamp base to locate any screws, clips, or other fasteners that may be securing the base or housing of the pull chain switch.
- Remove any fasteners: Using the appropriate screwdriver or tool, carefully remove any screws, clips or other fasteners that are holding the lamp base or housing in place. Set them aside in a safe place.
- Separate the lamp base: Gently separate the lamp base or housing from the rest of the lamp. Depending on the design of your lamp, this may involve unscrewing or unclipping the housing from the lamp base.
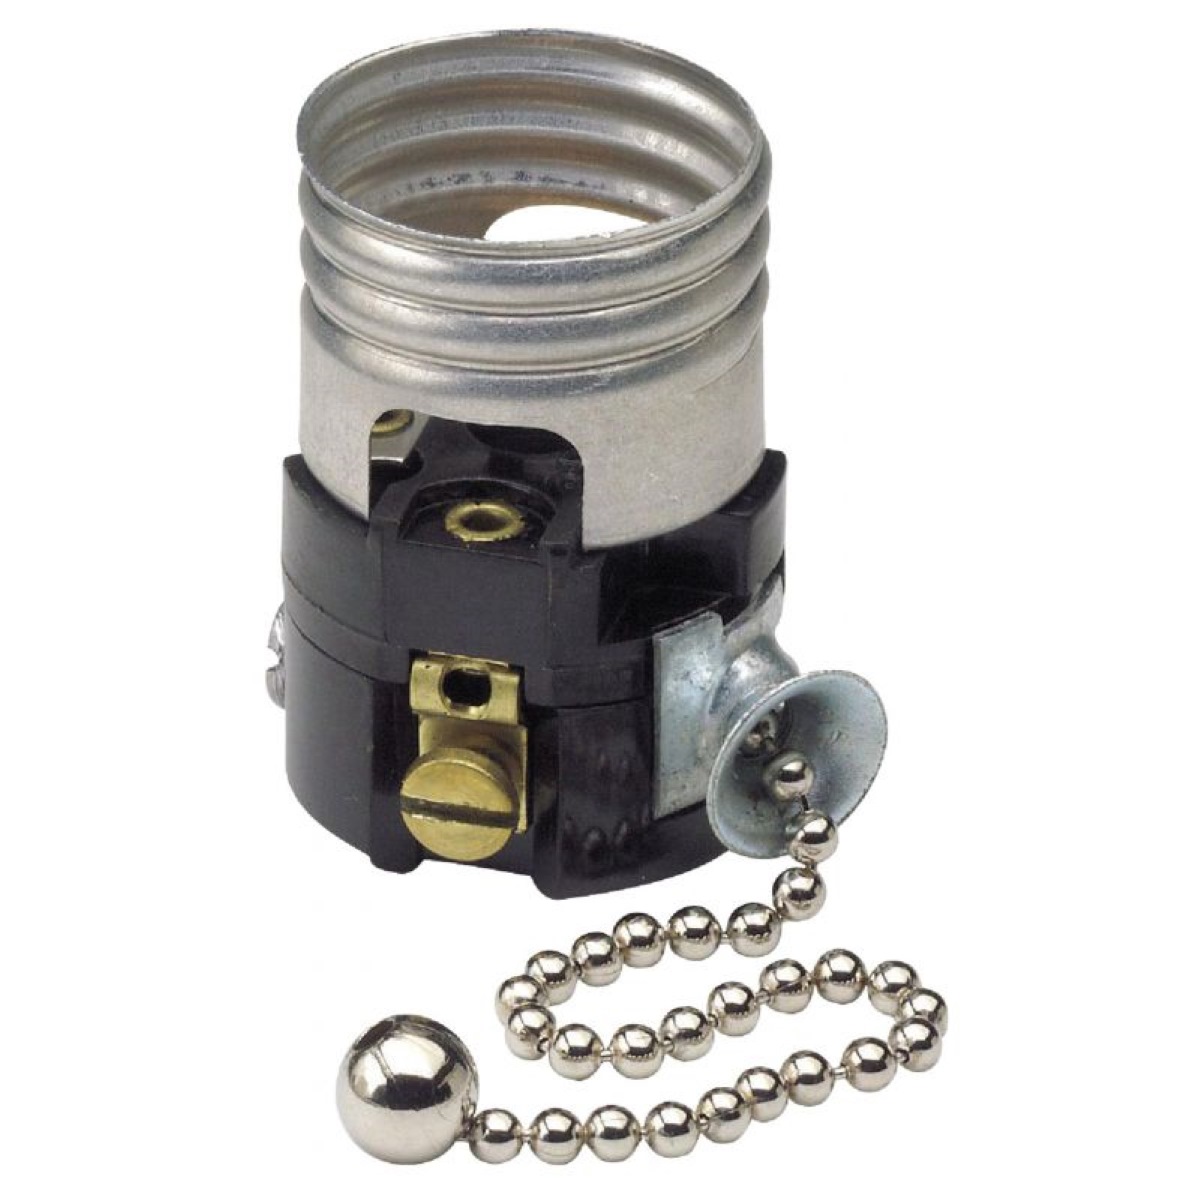
- Locate the pull chain switch: Once you have accessed the interior of the lamp, you should be able to easily locate the pull chain switch. It is typically located near the center or top of the lamp base.
By following these steps, you will be able to access the pull chain switch inside the lamp. This will allow you to inspect the switch and determine whether it needs to be repaired or replaced.
When repairing a pull chain lamp, start by checking the bulb and socket for any issues. If those are fine, then the pull chain switch may need to be replaced. You can find replacement switches at most hardware stores.
Step 5: Checking the Pull Chain Switch
Now that you have accessed the pull chain switch, it’s time to evaluate its condition and determine if it is the cause of the malfunction. Follow these steps to check the pull chain switch:
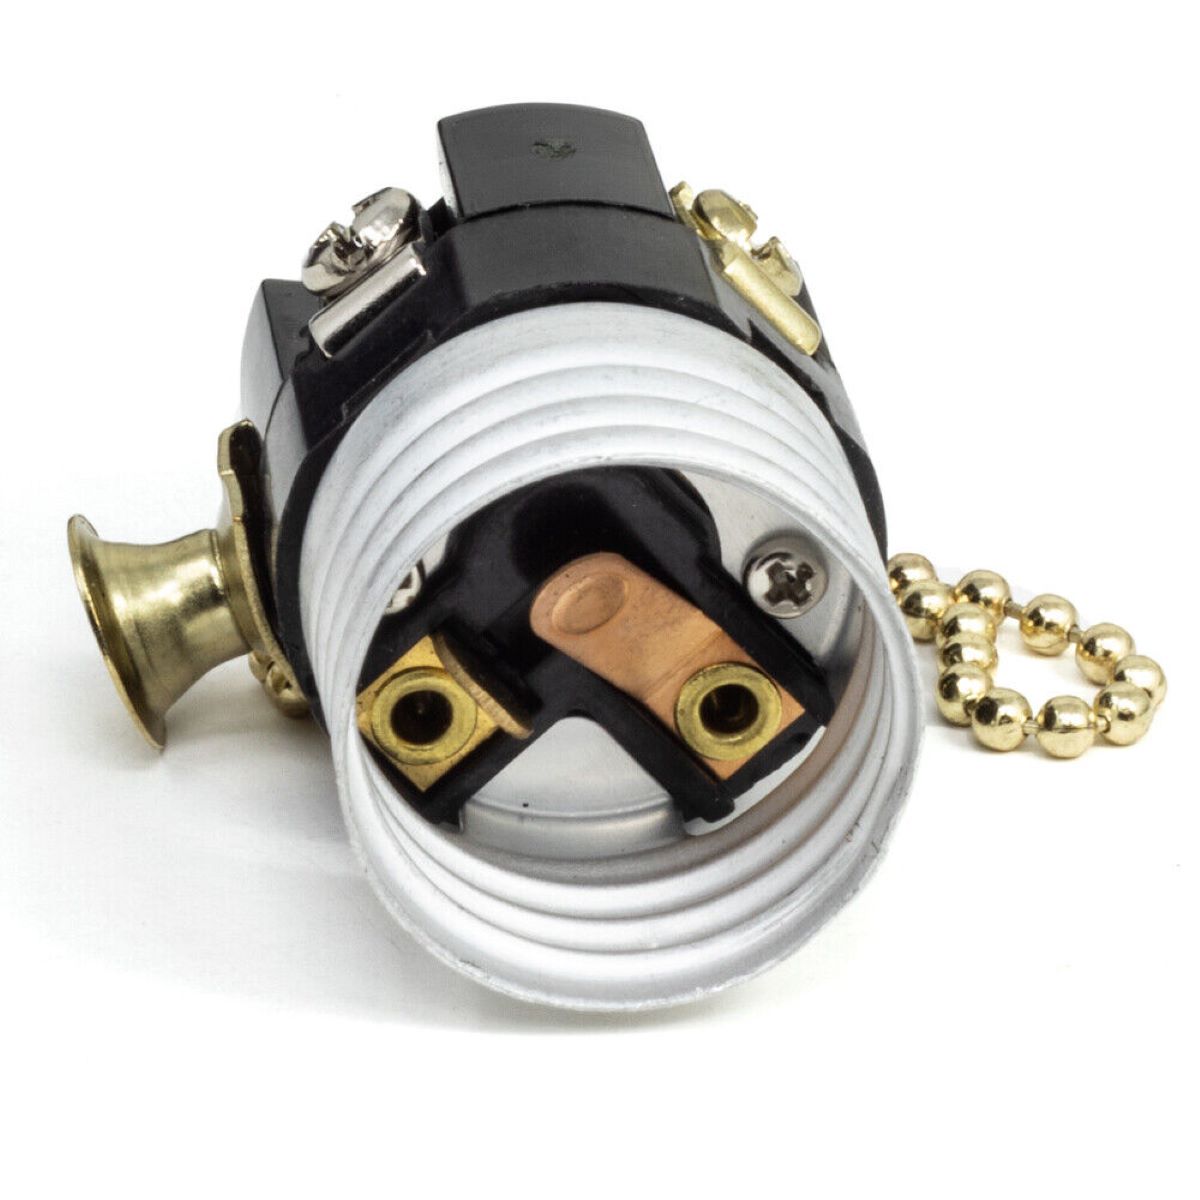
- Inspect the pull chain: Examine the pull chain itself for any signs of damage or breakage. Look for any missing or loose links, as this can indicate a problem with the switch mechanism.
- Test the switch: With the power still disconnected, gently pull the chain to simulate turning the lamp on and off. Pay close attention to the mechanism inside the switch. If there is resistance or the switch doesn’t respond properly, it may be faulty and in need of repairs.
- Check the electrical connections: Look for any loose or disconnected wires inside the switch. If any wires are detached or frayed, they will need to be reconnected or replaced.
- Clean the switch: Over time, debris and dust can accumulate inside the switch, affecting its functionality. Use a small brush or compressed air to clean the switch and remove any dirt or debris that may be interfering with its operation.
By thoroughly inspecting and testing the pull chain switch, you can determine whether it needs to be repaired or replaced. If the switch shows signs of damage or malfunction, proceed to the next step to learn how to replace it.
Step 6: Replacing the Pull Chain Switch
If you have determined that your pull chain switch is faulty and needs to be replaced, follow these steps to install a new one:
- Disconnect the wires: Use your needle-nose pliers to carefully disconnect the wires from the old pull chain switch. Take note of the wire colors or mark them with tape for easy identification during reconnection.
- Remove the old switch: Unscrew or unclip the old pull chain switch from the lamp base or housing.
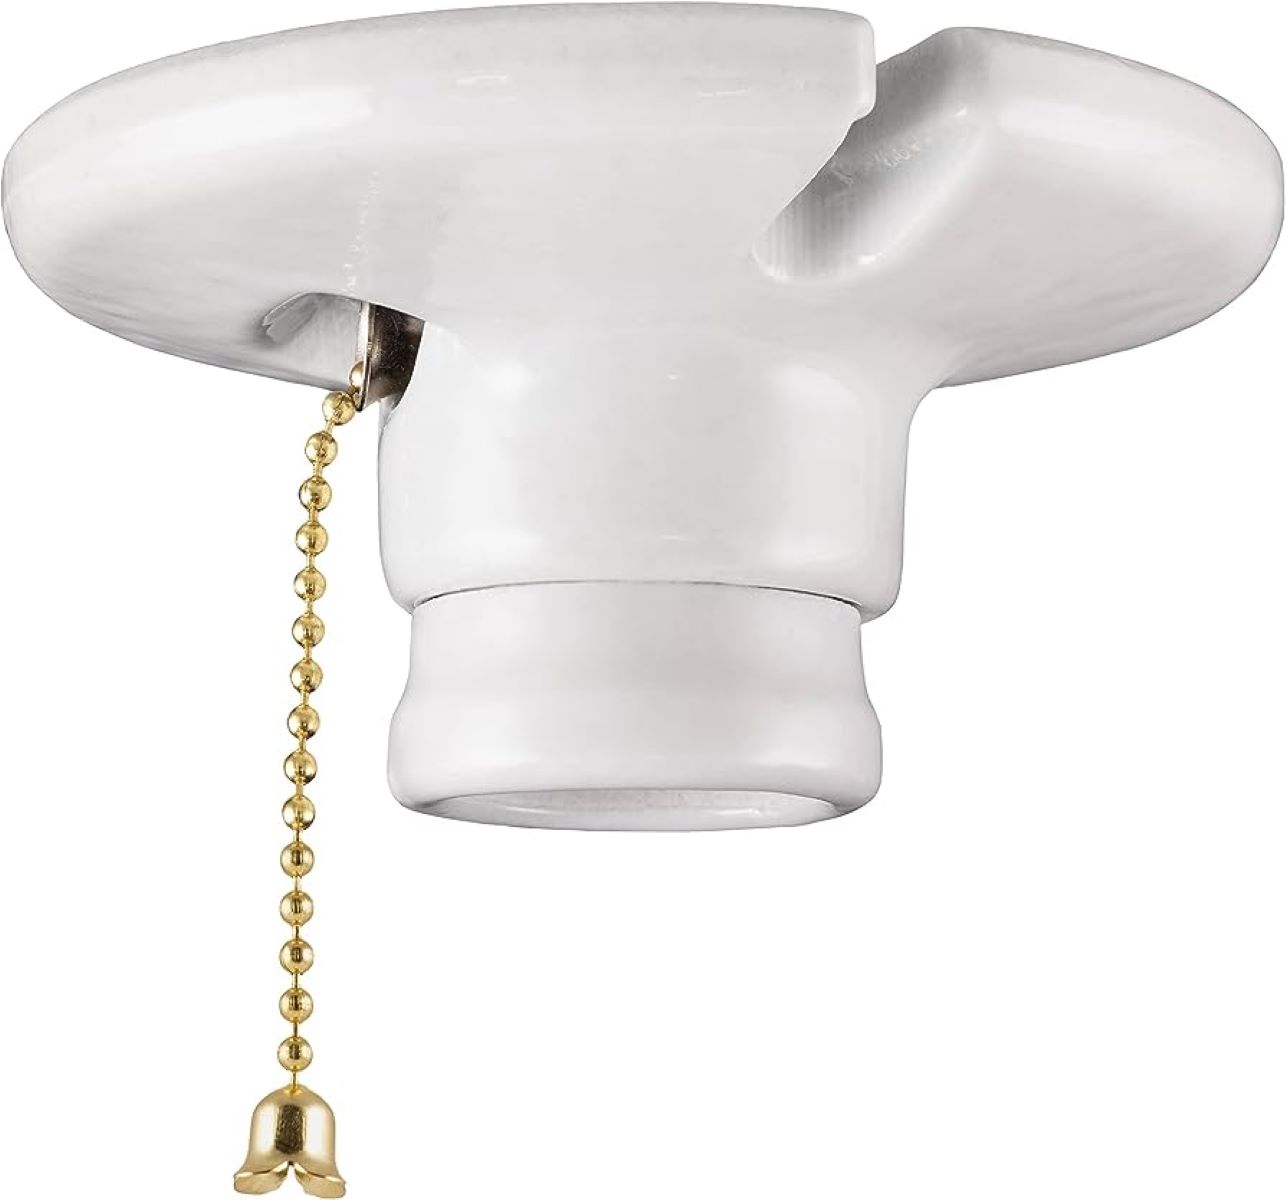
- Purchase a replacement switch: Purchase a new pull chain switch that is compatible with your lamp. You can find these at hardware stores or online.
- Install the new switch: Connect the wires to the appropriate terminals on the new switch, following the same color-coded or marked connections as before. Screw or clip the new switch onto the lamp base or housing.
- Secure the wires: Use electrical tape to secure and insulate the wire connections, ensuring that there is no exposed wire.
By carefully replacing the pull chain switch, you can restore the functionality of your lamp. Make sure to double-check all connections and secure the wires properly to avoid any electrical hazards in the future.
Step 7: Reassembling the Lamp
Now that you have replaced the pull chain switch, it’s time to reassemble the lamp. Follow these steps to put everything back together:
- Reattach the lamp base or housing: Position the lamp base or housing back in place, aligning it with the rest of the lamp structure. Screw or clip it securely to ensure stability.
- Reinstall the lampshade: Carefully slide the lampshade back onto the lamp base, aligning it with any finials or screws that hold it in place. Make sure it is positioned securely and evenly on the lamp.
- Insert the lightbulb: Screw in a new or previously removed lightbulb into the socket. Ensure that it is securely tightened but be careful not to overtighten.
With these steps, you should have successfully reassembled your pull chain lamp. It should now be ready to use and function properly. However, before testing the lamp, it’s essential to follow the final step: testing the lamp’s functionality.
Read also: 10 Amazing Fan Pull Chain for 2025
Step 8: Testing the Lamp
After reassembling the lamp, it’s important to test its functionality to ensure that the repair was successful. Follow these steps to test your newly repaired pull chain lamp:
- Reconnect the power: Plug the lamp into a working wall outlet, and make sure the power switch is turned on.
- Pull the chain: Gently pull the chain to turn the lamp on and off. Pay attention to how smoothly the chain operates and whether the lamp responds as expected.
- Observe the light: Check if the lightbulb illuminates properly and if there are any flickering or dimming issues. If the light functions smoothly and consistently, then your repair was successful!
- Check other features (optional): If your lamp has multiple pull chain switches or other additional features, test them as well to ensure proper operation.
If your lamp is functioning correctly and the repaired pull chain switch is working smoothly, congratulations! You have successfully repaired your pull chain lamp. Now you can enjoy a fully functional and beautifully illuminated space.
However, if you encounter any issues during the testing process, double-check the connections and ensure that all components are securely installed. If the problem persists, it may be necessary to revisit the repair process or seek assistance from a professional electrician.
Remember, safety is paramount when working with electricity. If you are unsure or uncomfortable with any part of the repair process, it is always best to consult a professional.
Conclusion
Repairing a pull chain lamp is a task that can easily be accomplished with the right tools and a little bit of know-how. By following the step-by-step process outlined in this guide, you can successfully diagnose and fix the issue with your lamp’s pull chain switch.
We started by emphasizing the importance of safety precautions before diving into the repair process. Always remember to disconnect the power, wear protective gear, and work in a well-lit area to ensure your safety throughout the task.
With the power disconnected, we then proceeded to remove the lampshade and lightbulb, providing easy access to the pull chain switch. Through careful inspection and testing, you were able to determine whether the switch was faulty and in need of replacement.
If a replacement was necessary, we guided you through the steps of disconnecting the wires, removing the old switch, and installing a new one. Taking care to secure the wires and use electrical tape ensured a safe and reliable connection.
Finally, after reassembling the lamp, it was time to test its functionality. By reconnecting the power, pulling the chain, and observing the light, you were able to ensure that your repair efforts were successful.
Remember, if you encounter any difficulties during the repair process or are unsure about any aspect of it, it’s always best to seek the assistance of a professional electrician. Safety should always be a top priority when working with electrical components.
Now that you have learned how to repair a pull chain lamp, you can enjoy the satisfaction of bringing a functional and stylish lighting fixture back to life. So go ahead, turn on your beautifully repaired pull chain lamp, and bask in the warm glow of success!
Now that you've mastered repairing a pull chain lamp, why not brighten up your space even more? Dive into our guide on stylish LED mirrors that not only illuminate but also add elegance to any room. They're perfect for those looking to enhance their home with smart, contemporary lighting solutions. Don't miss out on finding the ideal mirror to reflect your style!
Frequently Asked Questions about How To Repair A Pull Chain Lamp
Was this page helpful?
At Storables.com, we guarantee accurate and reliable information. Our content, validated by Expert Board Contributors, is crafted following stringent Editorial Policies. We're committed to providing you with well-researched, expert-backed insights for all your informational needs.