Home>Home Appliances>Lighting Appliances>How To Fix A Pull Chain On A Ceiling Light
Lighting Appliances
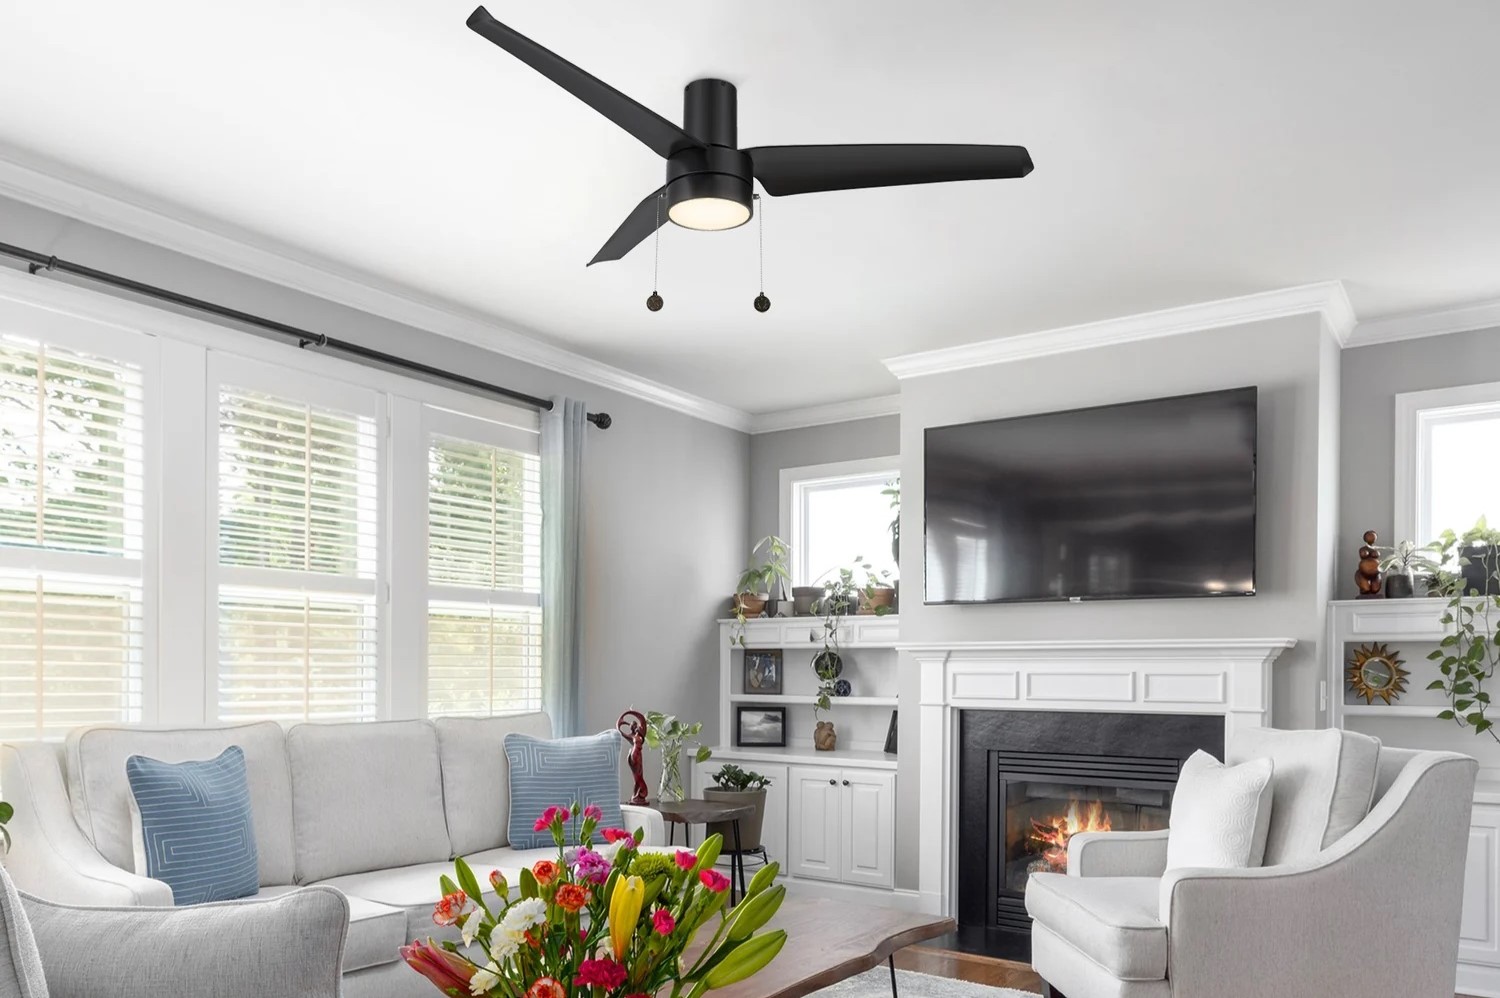
How To Fix A Pull Chain On A Ceiling Light
Modified: August 27, 2024
Learn how to easily fix a pull chain on a ceiling light with our step-by-step guide. Get your lighting appliances working like new in no time!
(Many of the links in this article redirect to a specific reviewed product. Your purchase of these products through affiliate links helps to generate commission for Storables.com, at no extra cost. Learn more)
Introduction
Fixing a pull chain on a ceiling light may seem like a daunting task, but with the right guidance and a bit of know-how, it can be a straightforward and rewarding endeavor. A malfunctioning pull chain can disrupt the functionality of a ceiling light, causing inconvenience and frustration. However, by understanding the underlying mechanism and following a few simple steps, you can restore the convenience and functionality of your lighting fixture.
In this comprehensive guide, we will delve into the intricacies of the pull chain mechanism, explore the tools and materials required for the task, and provide a step-by-step walkthrough to effectively fix a pull chain on a ceiling light. Whether you're a seasoned DIY enthusiast or a novice looking to tackle your first home improvement project, this guide will equip you with the knowledge and confidence to address this common issue.
So, roll up your sleeves, gather your tools, and let's embark on a journey to restore the seamless operation of your ceiling light. By the end of this guide, you'll be empowered to troubleshoot and resolve pull chain issues, ensuring that your lighting fixture illuminates your space with ease and reliability. Let's dive in and shed light on the process of fixing a pull chain on a ceiling light.
Key Takeaways:
- Fixing a pull chain on a ceiling light is a manageable DIY task that restores convenience and functionality. With the right tools and step-by-step guidance, you can confidently troubleshoot and repair the mechanism, illuminating your space with ease.
- Understanding the pull chain mechanism and conducting thorough testing are crucial for a successful repair. By following the repair process and ensuring the reliable operation of the pull chain, you can overcome common household issues and gain valuable DIY skills.
Read more: How To Fix The Pull Chain On A Ceiling Fan
Understanding the Pull Chain Mechanism
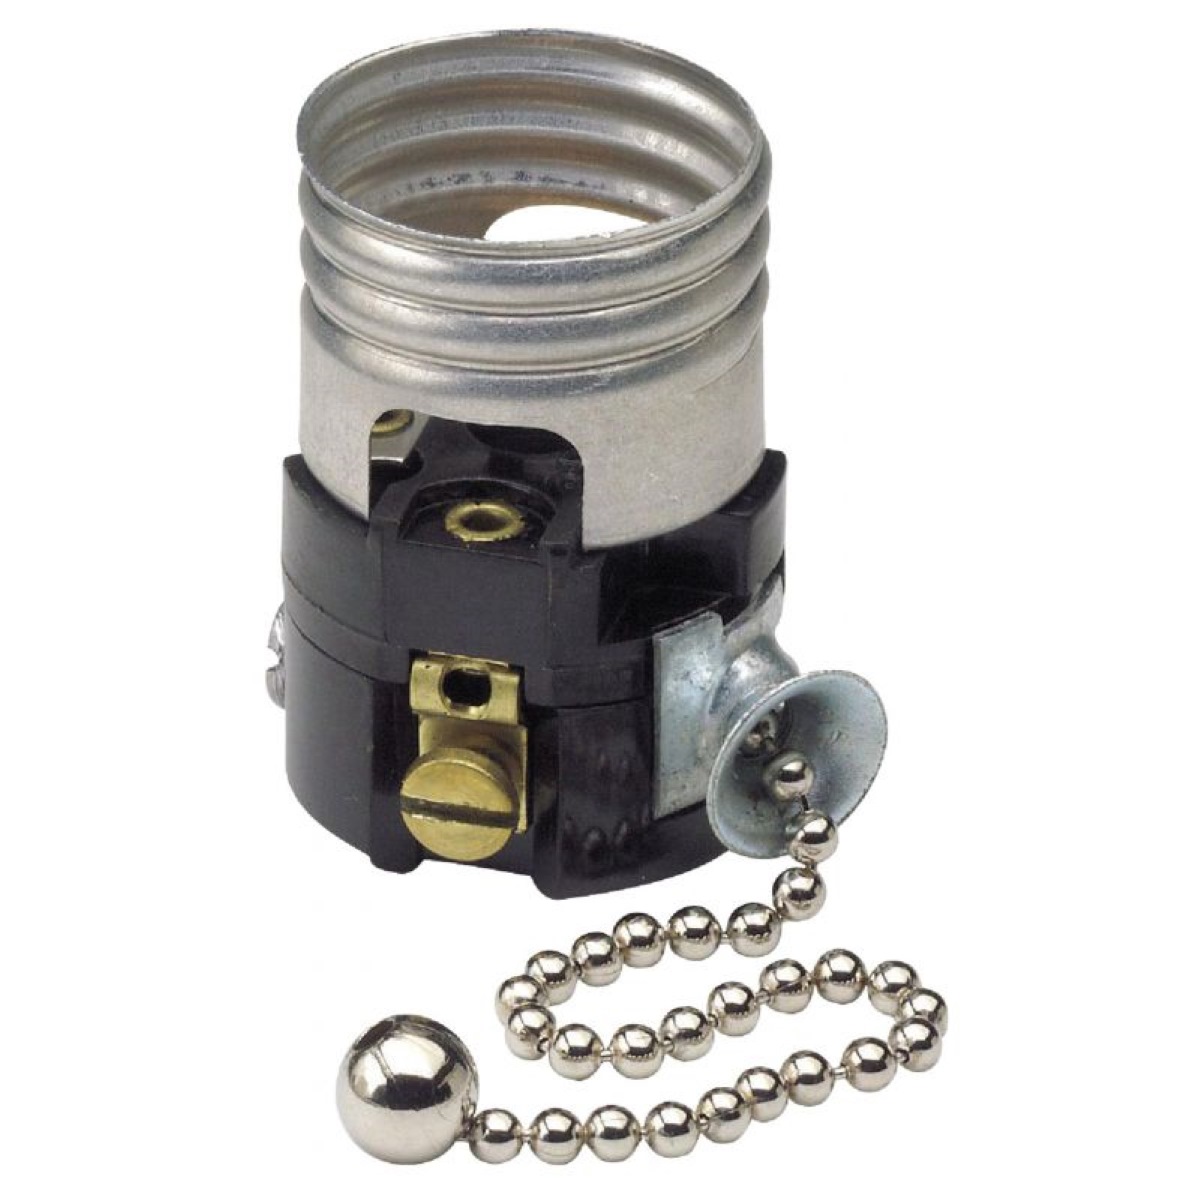
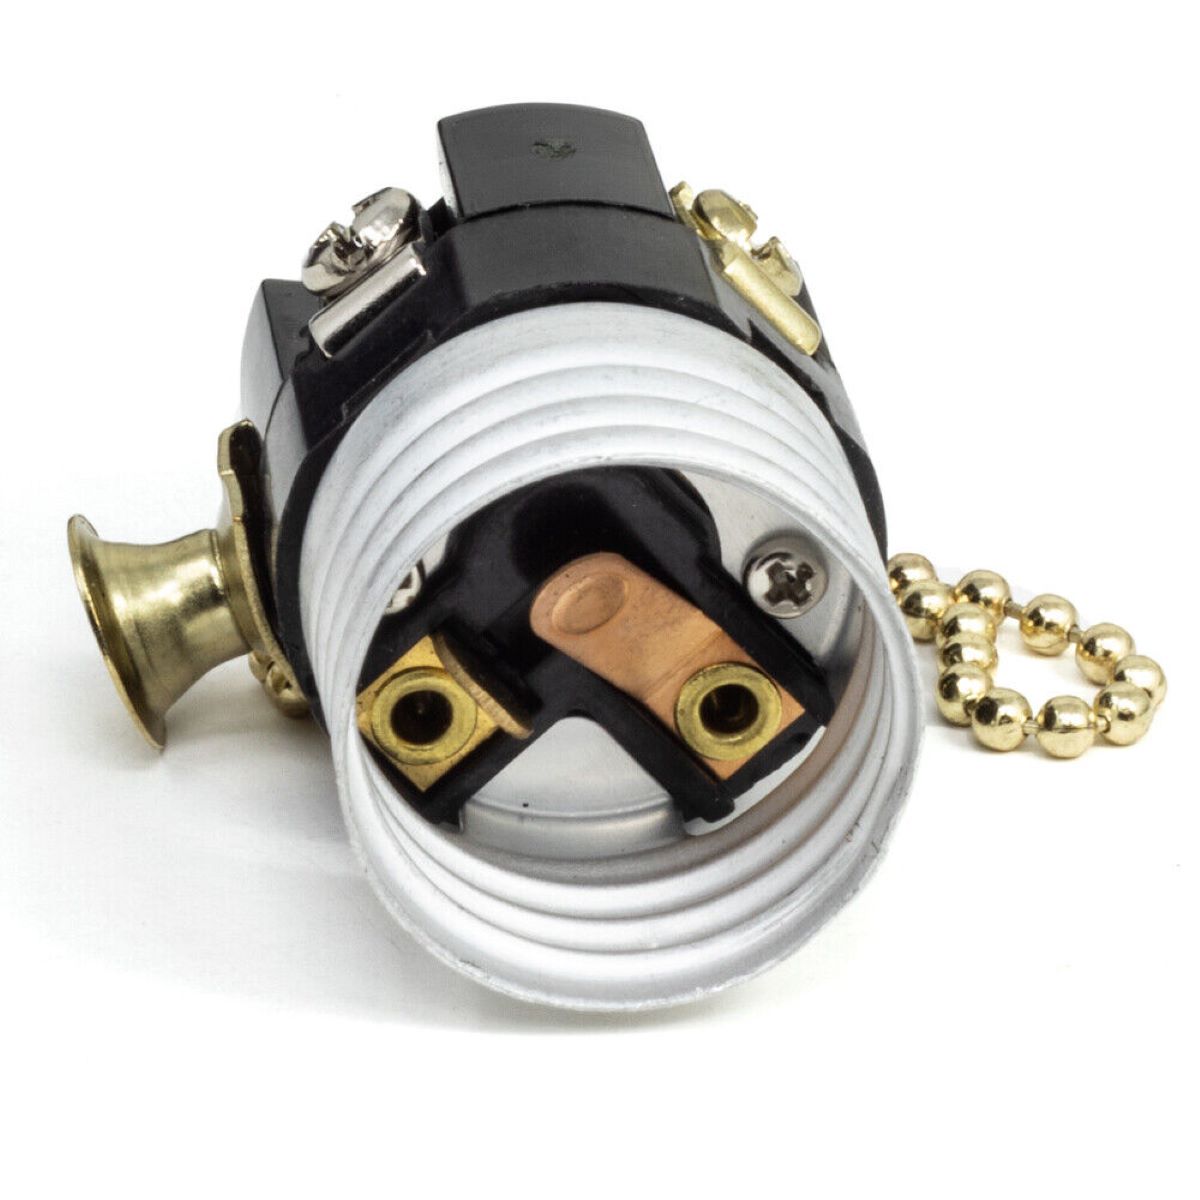
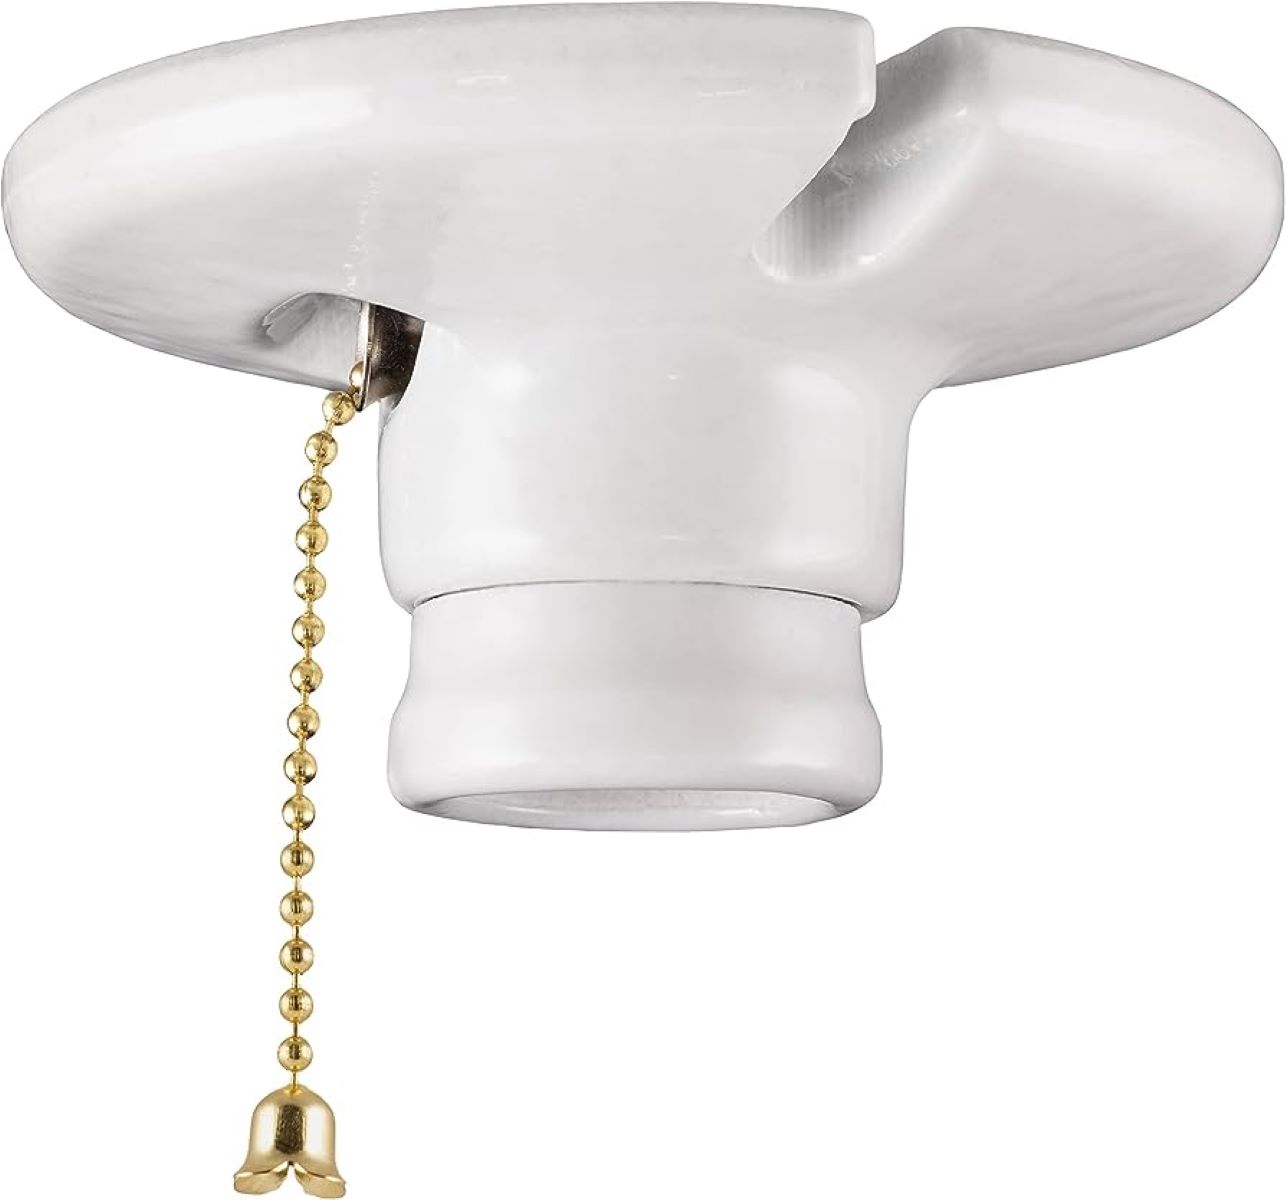
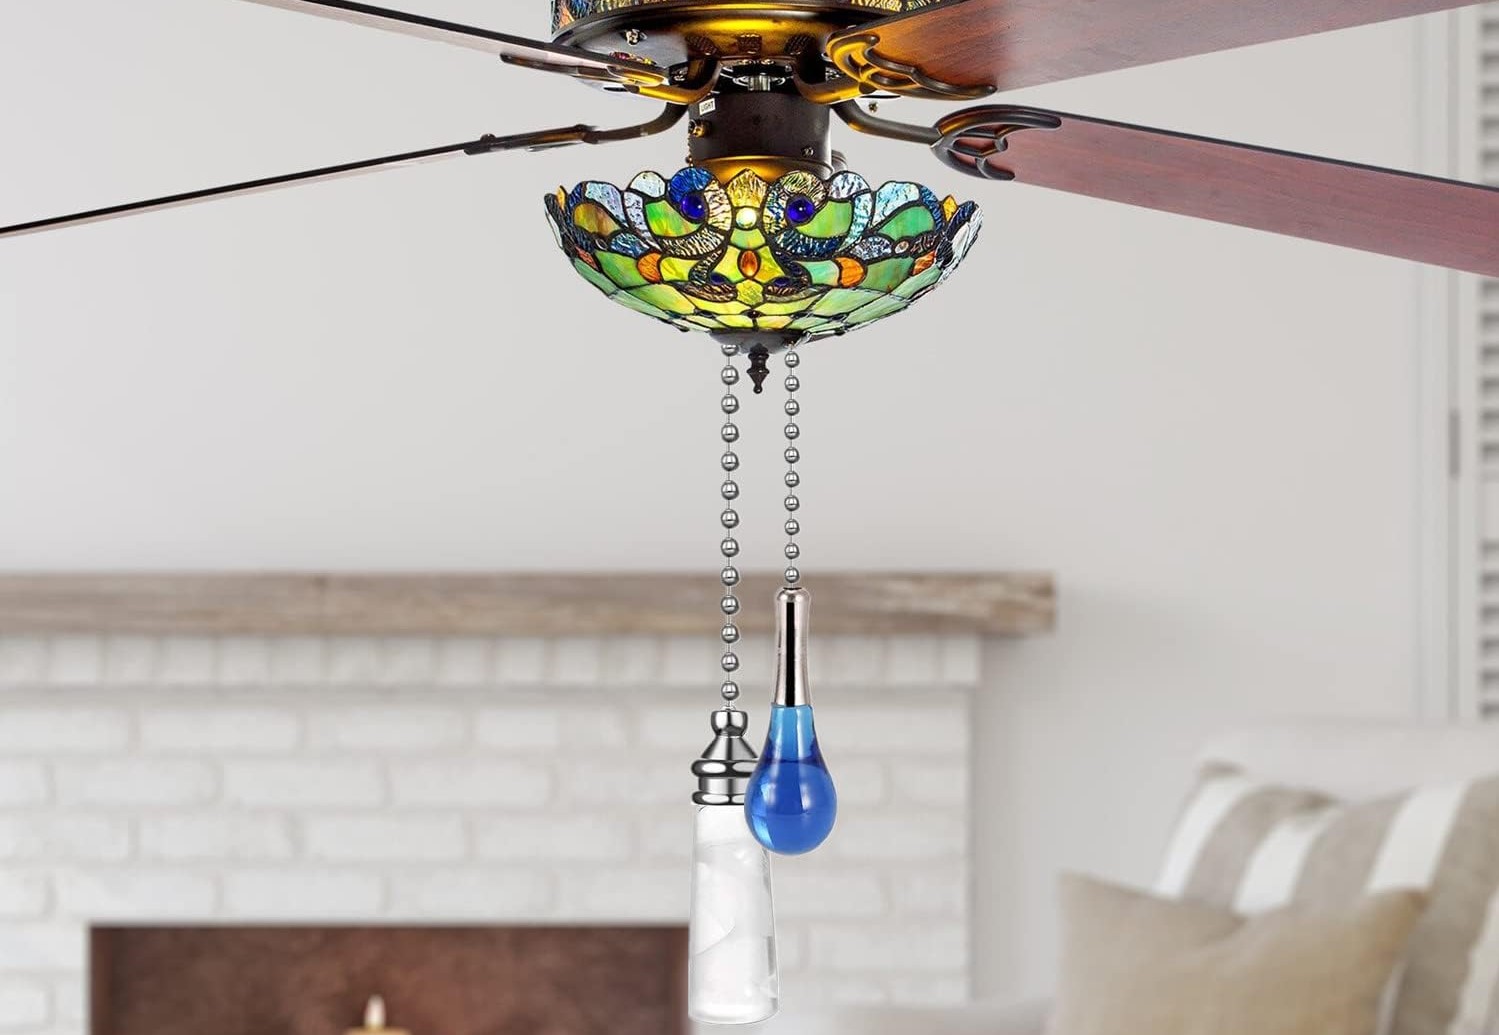
The pull chain mechanism is a fundamental component of many ceiling lights, serving as a convenient means to control the fixture's operation. This mechanism typically consists of a pull chain, a switch, and an internal set of electrical connections. When the pull chain is tugged, it activates the switch, thereby completing or interrupting the electrical circuit to turn the light on or off.
The pull chain is connected to a switch inside the light fixture, which governs the flow of electricity to the bulb. When the chain is pulled, it either makes or breaks the connection, allowing you to control the light without the need for a separate wall switch. This simple yet effective design has been a staple in many ceiling lights for decades, offering a user-friendly way to operate the fixture.
It's important to note that over time, the pull chain mechanism may experience wear and tear, leading to issues such as a broken chain, a faulty switch, or loose internal connections. These issues can result in the pull chain failing to turn the light on or off, causing inconvenience and necessitating a repair.
Understanding the intricacies of the pull chain mechanism is crucial for effectively diagnosing and addressing any issues that may arise. By grasping how the pull chain, switch, and internal connections work together to control the flow of electricity, you'll be better equipped to troubleshoot and fix any malfunctions that may occur.
In the next section, we'll explore the tools and materials needed to undertake the task of fixing a pull chain on a ceiling light. Armed with this knowledge, you'll be prepared to gather the necessary resources and embark on the journey to restore the functionality of your lighting fixture.
Tools and Materials Needed
Before embarking on the task of fixing a pull chain on a ceiling light, it's essential to gather the necessary tools and materials to ensure a smooth and efficient repair process. Here's a comprehensive list of items you'll need to have on hand:
Tools:
-
Screwdriver: A flathead or Phillips screwdriver will be essential for accessing the internal components of the light fixture. The type of screwdriver required will depend on the specific screws used to secure the fixture's housing.
-
Wire Strippers (if needed): In some cases, repairing the pull chain mechanism may involve working with electrical wiring. Wire strippers will enable you to safely remove insulation from the wires if reconnection or replacement is necessary.
-
Needle-Nose Pliers: These are useful for handling small components and making precise adjustments within the light fixture. They can assist in securing electrical connections and manipulating the internal mechanism.
-
Voltage Tester (optional): To ensure safety when working with electrical components, a voltage tester can be used to verify that the power to the fixture has been properly disconnected before beginning the repair.
Materials:
-
Replacement Pull Chain Switch: If the issue with the pull chain is attributed to a faulty switch, having a replacement switch on hand will facilitate a seamless repair. Ensure that the replacement switch is compatible with your specific light fixture model.
-
Electrical Tape: This will be useful for insulating wire connections and securing them in place, reducing the risk of electrical hazards and maintaining the integrity of the repair.
-
Wire Nuts (if needed): If the repair involves reconnecting or replacing electrical wires, having a few wire nuts of appropriate sizes will enable you to securely fasten the wires together.
-
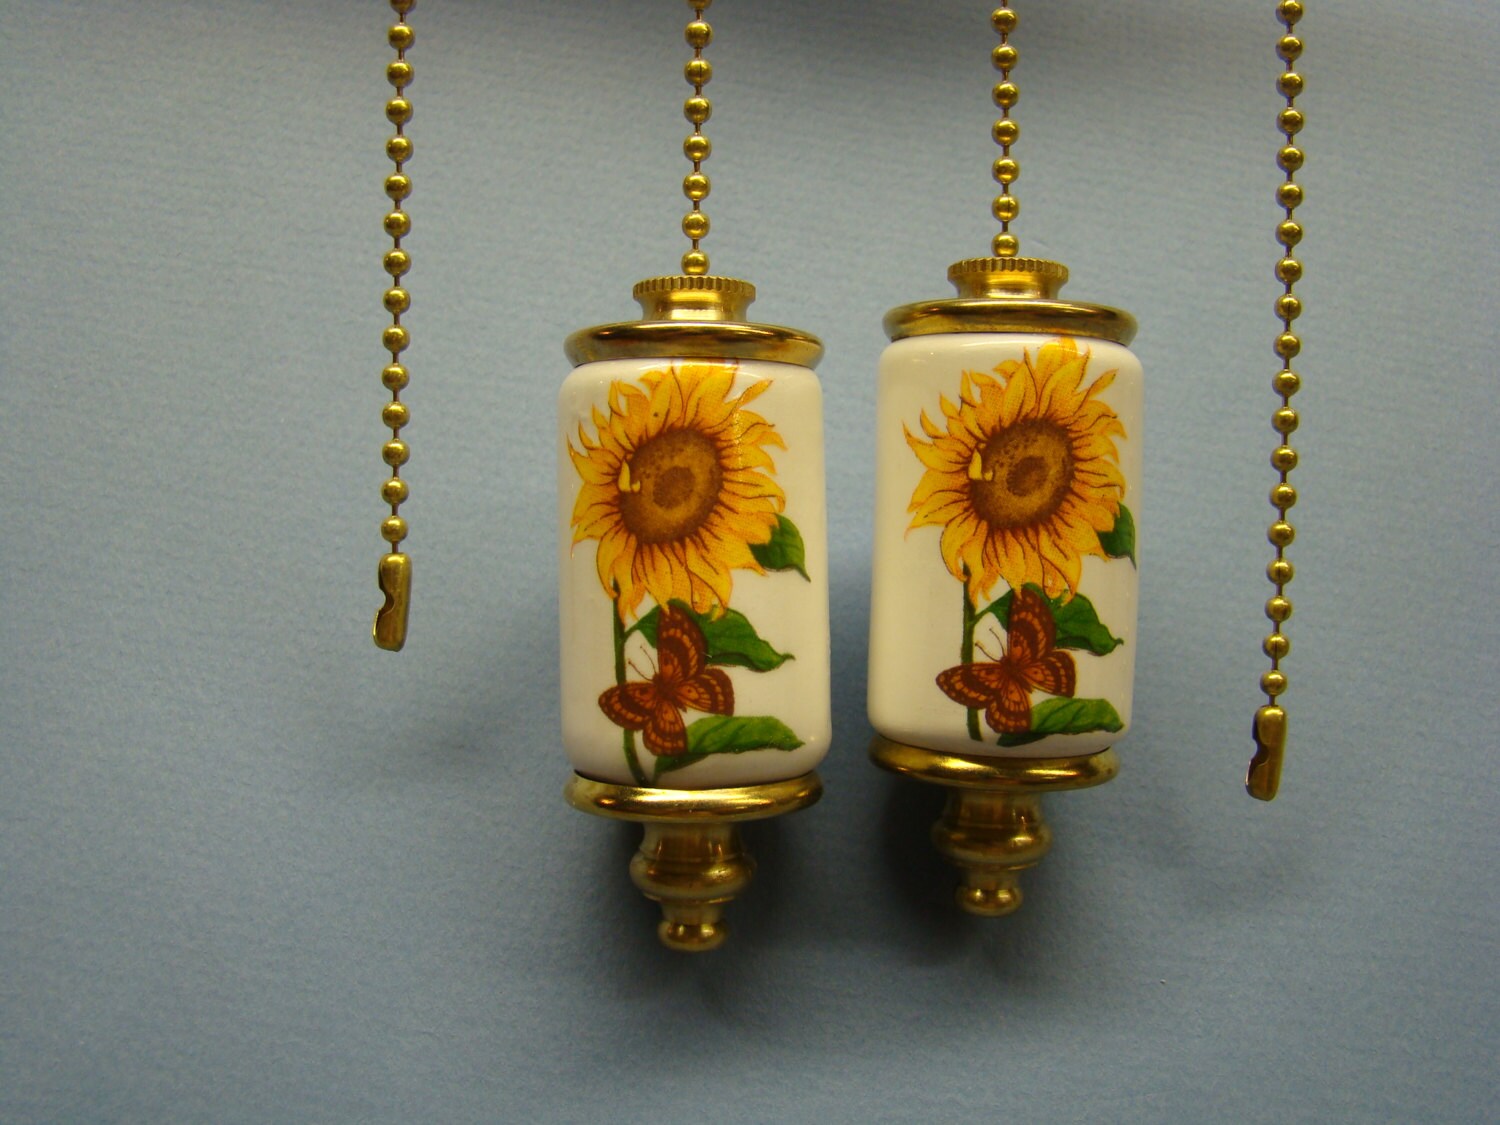
Replacement Pull Chain (if needed): In the event that the pull chain itself is damaged or broken, having a replacement chain that matches the specifications of the original will be necessary to restore the functionality of the mechanism.
By ensuring that you have these tools and materials at your disposal, you'll be well-prepared to address any issues with the pull chain on your ceiling light. With these resources in hand, you can proceed with confidence, knowing that you have everything necessary to effectively troubleshoot and repair the pull chain mechanism.
In the following section, we'll delve into the step-by-step process of fixing a pull chain on a ceiling light, guiding you through the repair with clarity and precision.
Read also: 9 Amazing Ceiling Fan Pull Chain for 2025
Steps to Fix a Pull Chain on a Ceiling Light
-
Turn Off the Power: Before beginning any work on the ceiling light, it's crucial to turn off the power supply to the fixture at the circuit breaker or fuse box. This step is essential for safety and prevents the risk of electrical shock during the repair process.
-
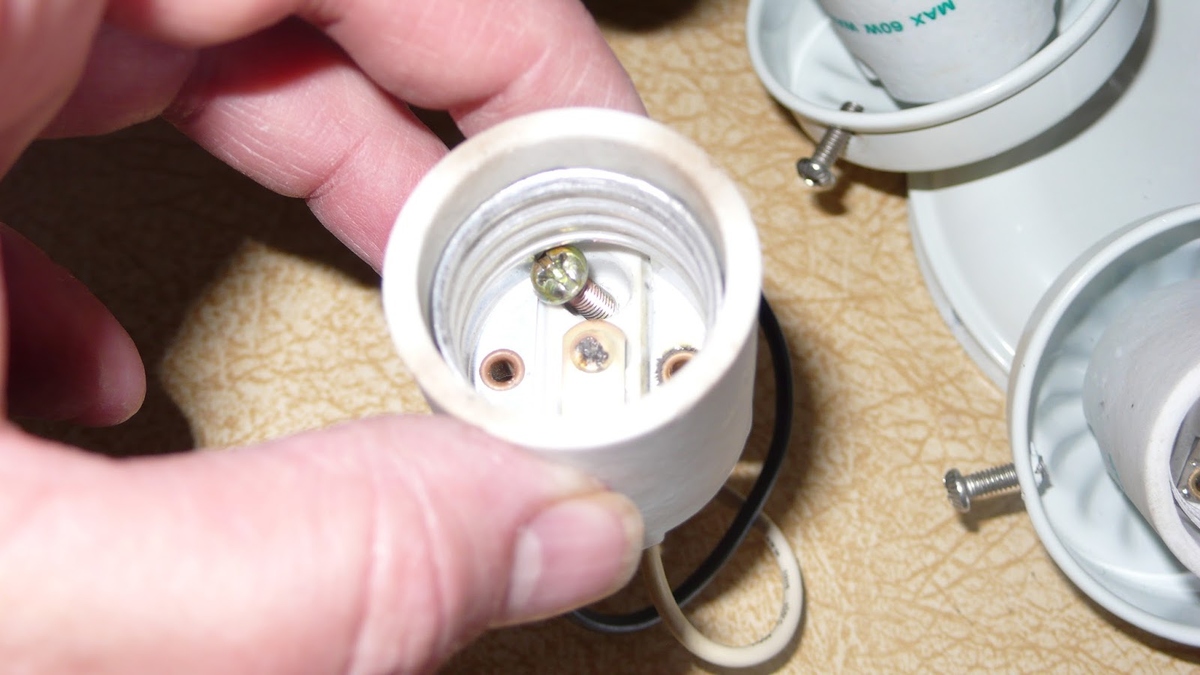
Remove the Fixture Cover: Using a screwdriver, carefully remove the screws securing the fixture cover or canopy. Once the cover is detached, set it aside in a safe place. This will expose the internal components of the light fixture, including the pull chain mechanism.
-
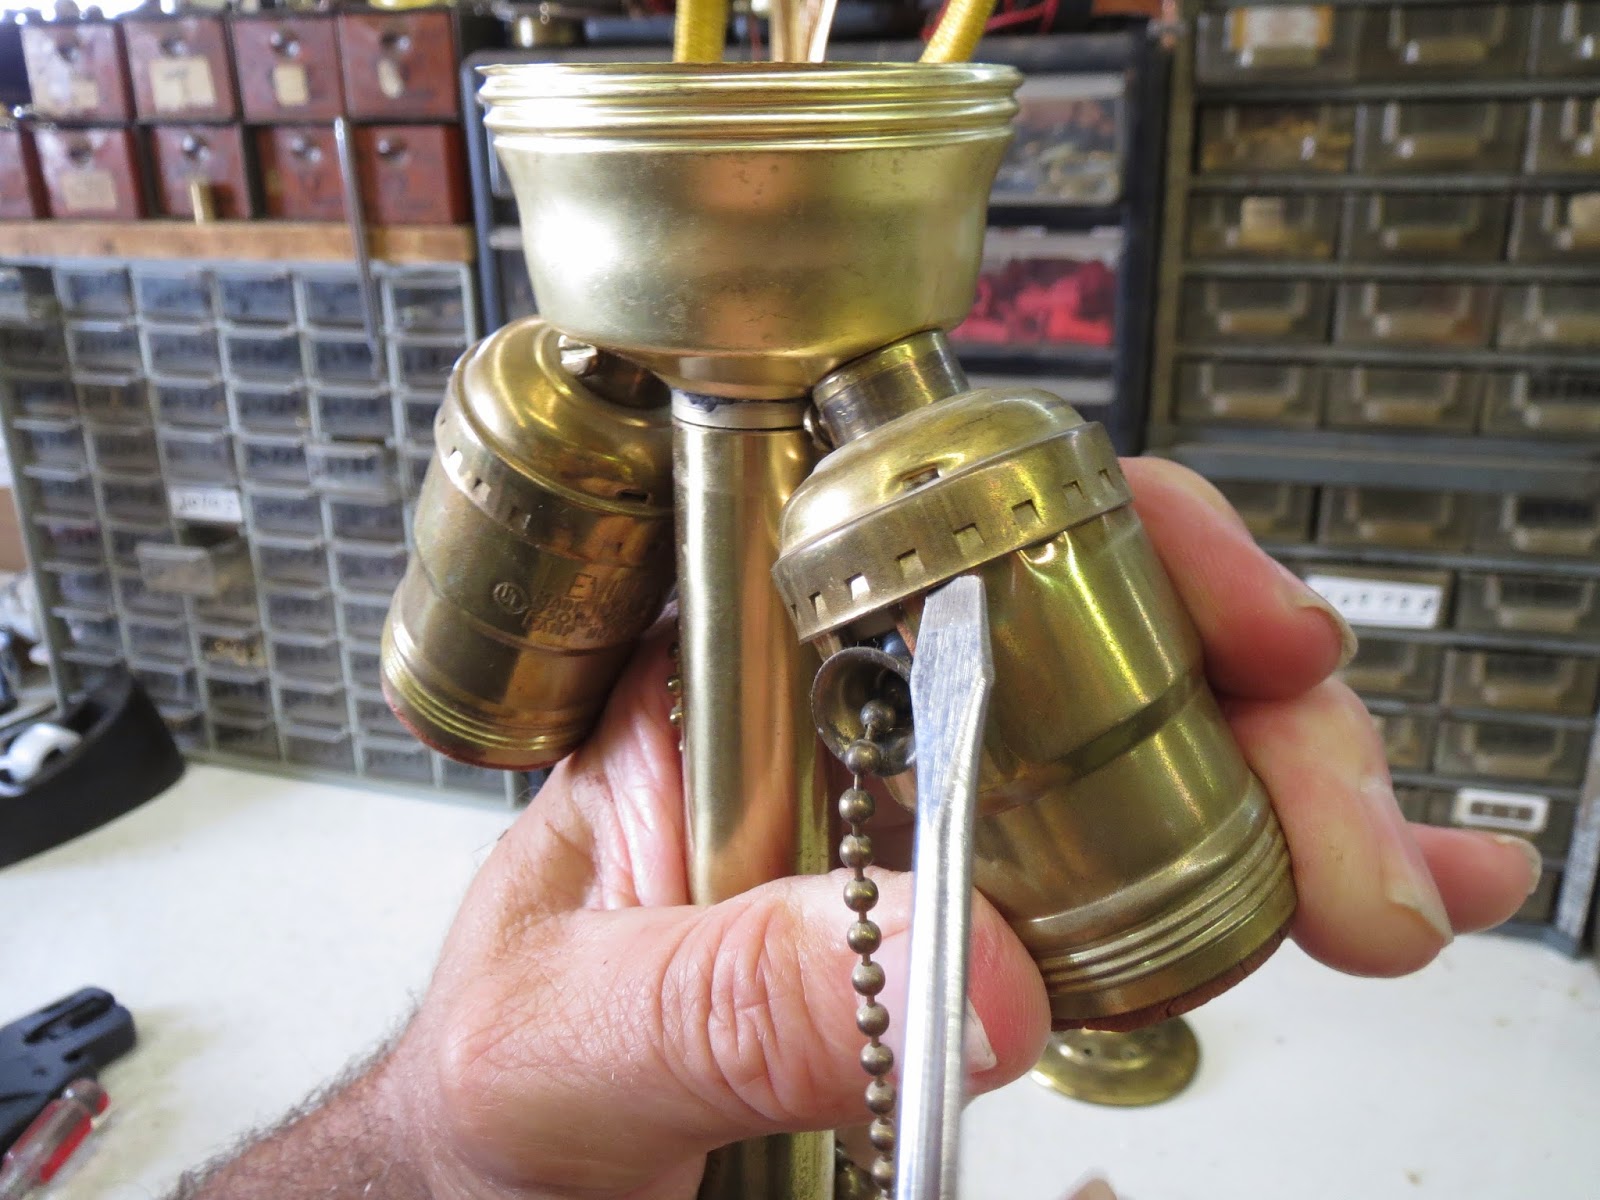
Inspect the Pull Chain Switch: Examine the pull chain switch to identify any visible damage or signs of wear. If the switch appears to be the source of the problem, it may need to be replaced. Unscrew the switch from the fixture and disconnect the wires attached to it.
-
Replace the Pull Chain Switch (if necessary): If the pull chain switch is found to be faulty, replace it with a new switch of the same type. Connect the wires to the corresponding terminals on the new switch, ensuring a secure and proper connection. Use wire nuts to fasten the wires together and insulate them with electrical tape.
-
Inspect and Replace the Pull Chain (if needed): If the pull chain itself is damaged or broken, carefully remove the old chain from the switch and replace it with a new one that matches the specifications of the original. Ensure that the new chain is securely attached to the switch.
-
Reassemble the Fixture: Once the pull chain and switch have been addressed, reattach the fixture cover by securing it with the screws. Ensure that the cover is snugly in place, and the internal components are properly enclosed.
-
Restore Power and Test the Pull Chain: After reassembling the fixture, restore the power supply at the circuit breaker or fuse box. With the power back on, test the pull chain to verify that it now operates the light as intended. Pull the chain to turn the light on and off, ensuring that the mechanism functions smoothly.
By following these steps, you can effectively troubleshoot and repair a malfunctioning pull chain on a ceiling light. With attention to safety and a systematic approach, you can restore the convenience and functionality of your lighting fixture, bringing illumination back to your space.
If the pull chain on your ceiling light is stuck or broken, you can fix it by replacing the pull chain switch. Turn off the power, remove the old switch, and install the new one following the manufacturer’s instructions.
Testing the Pull Chain
After completing the repair process, it's crucial to thoroughly test the pull chain to ensure that the issue has been successfully resolved. Testing the pull chain involves verifying that it can effectively control the operation of the ceiling light, allowing you to confirm that the repair has restored the functionality of the mechanism.
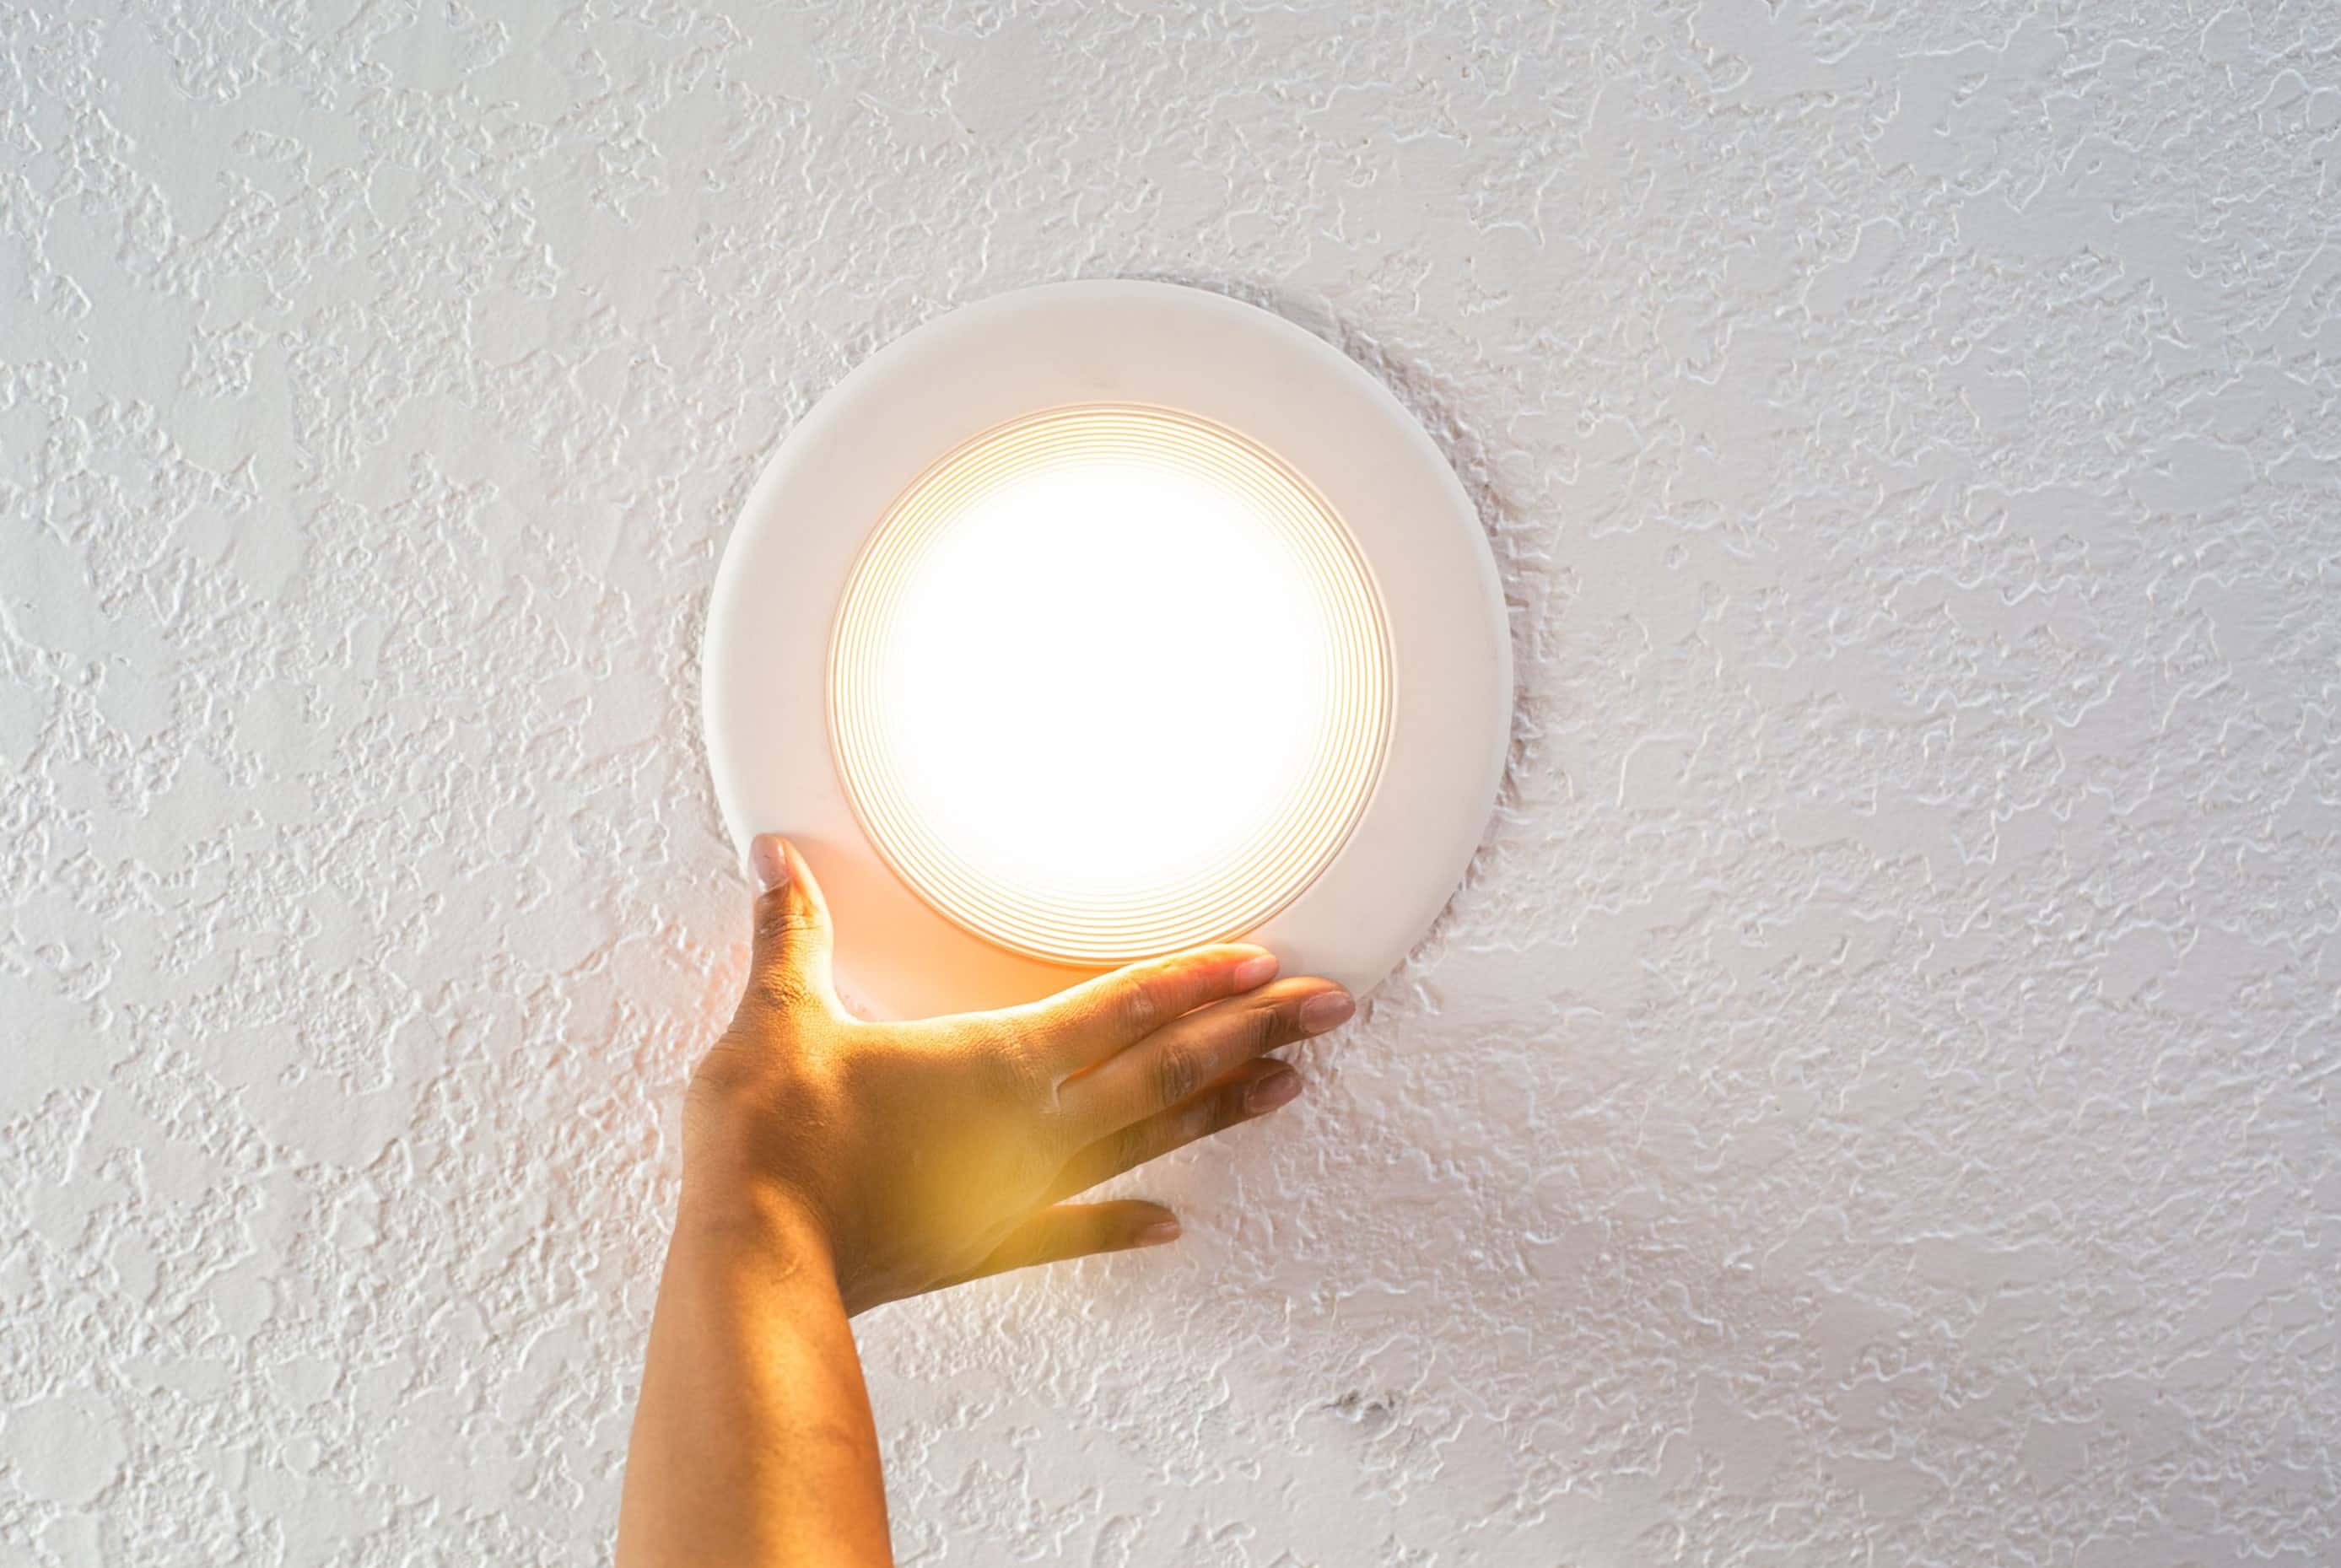
To begin the testing process, restore the power supply to the ceiling light at the circuit breaker or fuse box. With the power back on, stand beneath the fixture and gently pull the chain to activate the light. Observe the response of the fixture as you pull the chain, ensuring that it turns the light on and off smoothly without any hesitation or irregularities.
As the light illuminates, pay attention to any flickering or intermittent operation that may indicate lingering issues with the pull chain or switch. If the light responds promptly and consistently to the pull chain, it signifies that the repair has been successful in addressing the malfunction.
In addition to visual observation, listen for any unusual sounds or clicking noises when operating the pull chain. A properly functioning pull chain should engage the switch seamlessly, resulting in a quiet and reliable operation of the light. Any unexpected sounds or resistance during the testing phase may indicate the need for further adjustments or inspection of the internal components.
Furthermore, it's advisable to test the pull chain multiple times to ensure its reliability and durability. By repeatedly pulling the chain to turn the light on and off, you can assess its resilience and the stability of the repair. Consistent and effortless operation of the pull chain across multiple tests confirms that the mechanism has been effectively restored to optimal working condition.
By conducting a thorough and meticulous testing of the pull chain, you can gain confidence in the success of the repair and the reliable functionality of your ceiling light. This comprehensive evaluation ensures that the pull chain operates as intended, providing a convenient and dependable means to control the illumination of your space.
In the event that any issues are identified during the testing phase, it may be necessary to revisit specific steps of the repair process to address the underlying cause. Whether it involves rechecking the connections, replacing components, or making further adjustments, a diligent approach to testing and troubleshooting will ultimately lead to a fully operational pull chain mechanism.
With the pull chain successfully tested and proven to function reliably, you can enjoy the restored convenience and ease of operation that your ceiling light provides. This final validation of the repair process marks the culmination of your efforts to fix the pull chain, ensuring that your lighting fixture enhances the ambiance of your space with seamless functionality.
Conclusion
In conclusion, addressing a malfunctioning pull chain on a ceiling light is a manageable task that can be accomplished with the right tools, knowledge, and a systematic approach. By understanding the intricacies of the pull chain mechanism and following the step-by-step repair process outlined in this guide, you can effectively troubleshoot and restore the functionality of your lighting fixture.
The journey to fix a pull chain on a ceiling light begins with a comprehensive understanding of the pull chain mechanism, encompassing the switch, internal connections, and the pivotal role of the pull chain itself. Armed with this knowledge, you can confidently diagnose and address issues that may arise, empowering you to take control of the repair process.
Gathering the necessary tools and materials is a crucial preparatory step, ensuring that you have everything needed to tackle the repair with confidence. From screwdrivers and wire strippers to replacement switches and electrical tape, having these resources at your disposal sets the stage for a seamless and efficient repair process.
The step-by-step approach outlined in this guide provides a clear roadmap for addressing a malfunctioning pull chain. From turning off the power and removing the fixture cover to inspecting and replacing the pull chain switch, each step is designed to guide you through the repair process with clarity and precision.
After completing the repair, thorough testing of the pull chain is essential to validate the success of the repair and ensure the reliable operation of the ceiling light. By testing the pull chain's responsiveness, observing its behavior, and listening for any irregularities, you can confirm that the mechanism has been effectively restored to optimal working condition.
Ultimately, the successful repair of a pull chain on a ceiling light brings about a sense of accomplishment and satisfaction, knowing that you've overcome a common household issue and restored the convenience and functionality of your lighting fixture. With a restored pull chain, your ceiling light can once again illuminate your space with ease and reliability, enhancing the ambiance and functionality of your home.
In the end, the process of fixing a pull chain on a ceiling light not only resolves a specific issue but also equips you with valuable DIY skills and confidence to tackle future home improvement projects. By embracing the repair process and gaining a deeper understanding of the pull chain mechanism, you've taken a proactive step toward maintaining and enhancing your living environment.
As you reflect on the journey to fix the pull chain, may the restored functionality of your ceiling light serve as a testament to your resourcefulness and determination. With the knowledge and skills gained from this experience, you're well-prepared to address similar challenges and embark on future DIY endeavors with confidence and expertise.
Frequently Asked Questions about How To Fix A Pull Chain On A Ceiling Light
Was this page helpful?
At Storables.com, we guarantee accurate and reliable information. Our content, validated by Expert Board Contributors, is crafted following stringent Editorial Policies. We're committed to providing you with well-researched, expert-backed insights for all your informational needs.


0 thoughts on “How To Fix A Pull Chain On A Ceiling Light”