Furniture
How To Shorten A Chandelier Chain
Modified: December 7, 2023
Learn how to easily shorten a chandelier chain at home with this step-by-step guide. Transform your furniture and create a stunning focal point in any room.
(Many of the links in this article redirect to a specific reviewed product. Your purchase of these products through affiliate links helps to generate commission for Storables.com, at no extra cost. Learn more)
Introduction
Welcome to our comprehensive guide on how to shorten a chandelier chain! Chandeliers are not only functional lighting sources, but also stunning focal points in any room. However, sometimes the standard length of the chandelier chain may not be suitable for your space. Whether you want to adjust the height of your chandelier to better fit the room’s proportions or simply desire a more customized look, shortening the chain can be a simple but impactful solution.
In this article, we will walk you through the step-by-step process of shortening a chandelier chain. You don’t need to be an expert handyman to accomplish this task – with a few basic tools and some patience, you can easily achieve the desired length and enhance the overall aesthetic of your chandelier.
Before we dive into the process, let’s go over a few important points. First, it’s crucial to ensure that the chandelier is securely attached to the ceiling before attempting any modifications. This will prevent accidents and damage to the fixture or surrounding area. Additionally, take note of the weight limitations and safety instructions provided by the manufacturer.
Now that we have covered the initial precautions, let’s gather the materials needed for this project.
Key Takeaways:
- Customize your chandelier’s height and aesthetic with ease by following our step-by-step guide to shortening a chandelier chain. Achieve a professional result and transform your lighting fixture to suit your space and style.
- Prioritize safety and precision when shortening a chandelier chain to achieve a visually appealing and personalized lighting arrangement. With the right tools and attention to detail, anyone can confidently tackle this project and enjoy impressive results.
Read more: How To Raise A Chandelier Chain
Materials Needed
Before we begin, let’s make sure you have all the necessary materials to successfully shorten your chandelier chain. Luckily, you won’t need many items for this project, and most of them can be easily found in your toolbox or local hardware store.
Here’s a list of the materials you’ll need:
- Chandelier chain pliers or wire cutters
- Measuring tape or ruler
- Wire connector or jewelry connector
- Optional: Ceiling hook or junction box
Chandelier chain pliers or wire cutters are essential for removing and cutting the chain links. You can find specialized chandelier chain pliers at hardware stores or online, but if you don’t have access to them, wire cutters will also do the job.
A measuring tape or ruler will help you accurately determine the desired length for your chandelier chain. Make sure to have a clear idea of how much you want to shorten the chain before starting the process.
A wire connector or jewelry connector will be necessary to reattach the chandelier once the chain has been shortened. This will ensure a secure and stable connection between the chain and the chandelier.
Lastly, you may also need a ceiling hook or junction box if the existing one is not at the desired height. This will provide flexibility in adjusting the overall height of the chandelier.
With these materials ready, we can move on to the step-by-step process of shortening the chandelier chain. Let’s get started!
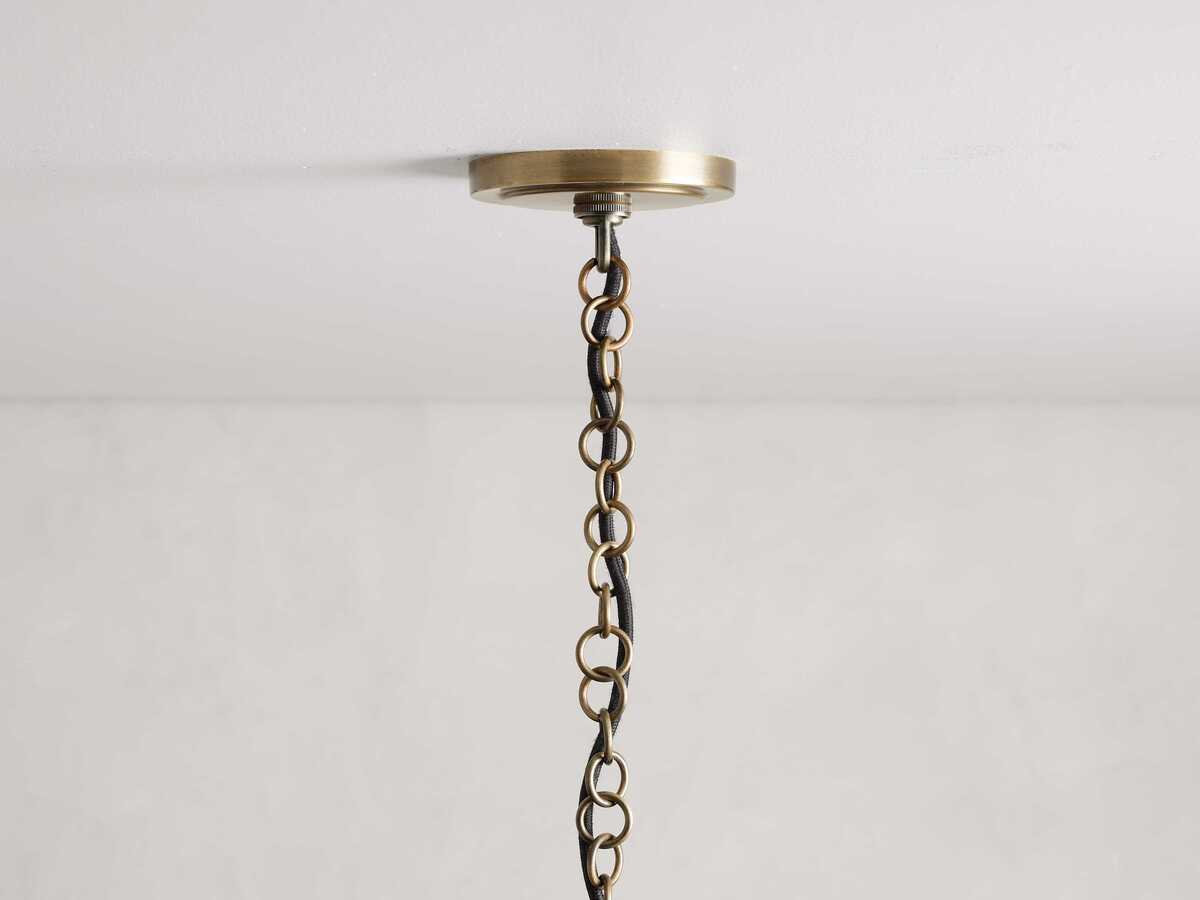
Step 1: Measure and Mark the Desired Length
The first step in shortening a chandelier chain is to determine the desired length and mark it accordingly. This will ensure that you achieve the perfect height for your chandelier.
Start by using a measuring tape or ruler to measure the distance from the ceiling to the desired height for your chandelier. Keep in mind that the chain should be long enough to allow the chandelier to hang at an appropriate level without being too high or too low.
Once you have determined the desired length, locate the last link of the chain that is attached to the chandelier. This link will serve as the reference point for shortening the chain.
Next, mark the point on the chain where you want to remove the excess length. You can use a pencil or a small piece of tape to make the mark. Take care to ensure that the mark is clearly visible and accurate.
Before moving on to the next step, double-check your measurements and confirm that the marked point aligns with your desired length. It’s always better to be precise in this step to avoid any mistakes later on.
With the desired length marked, you’re ready to move on to the next step of removing the chain links. Let’s proceed!
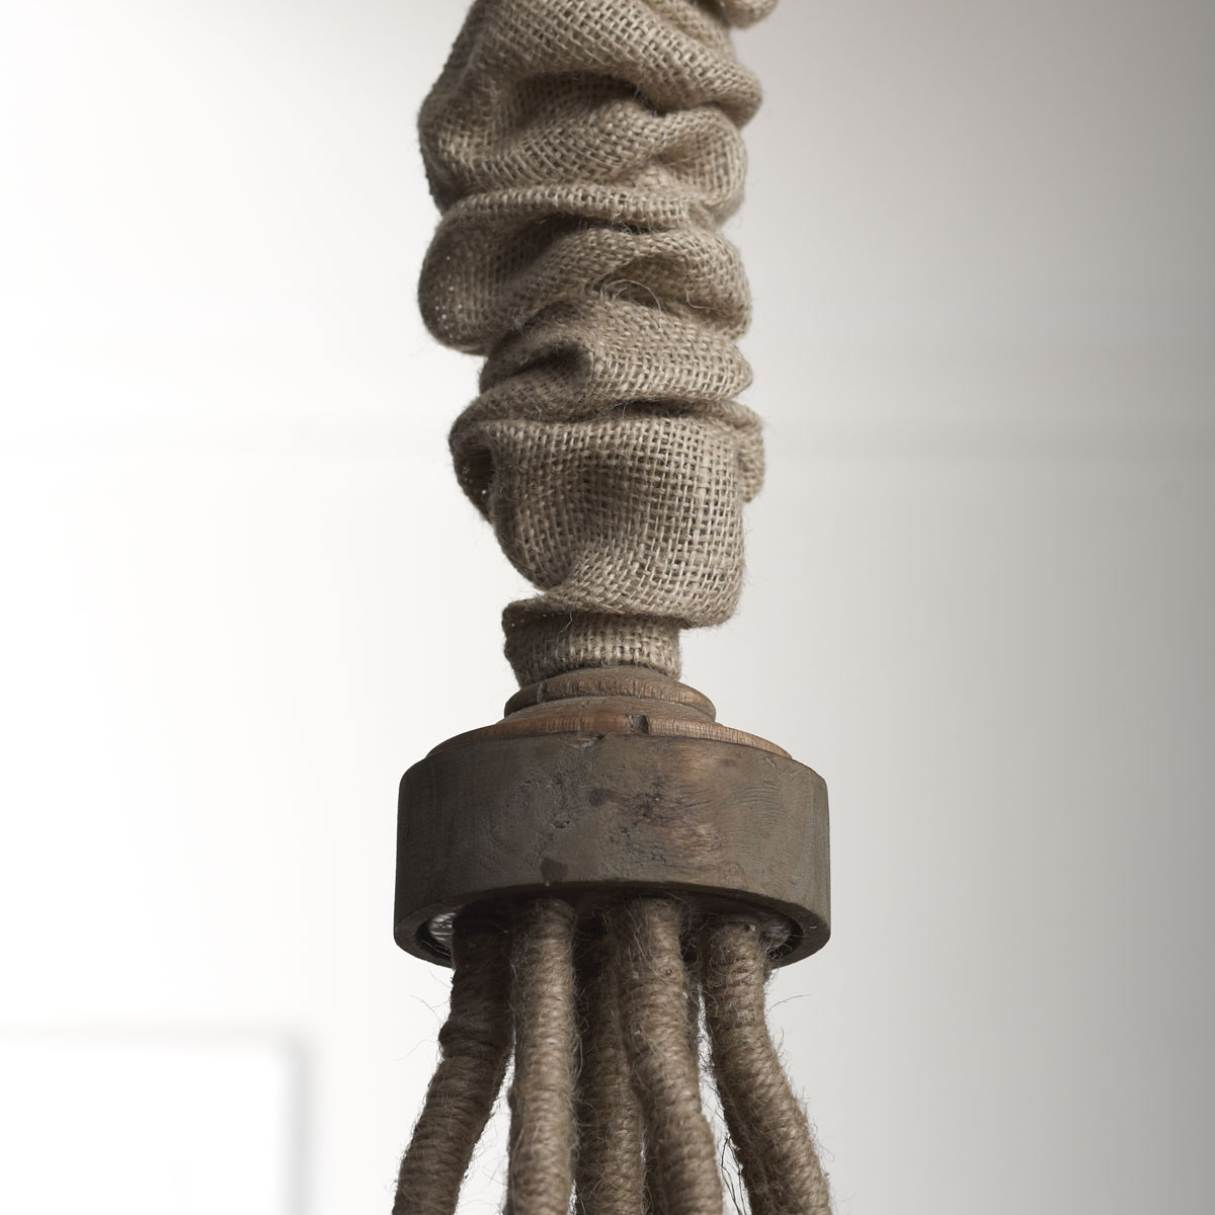
Step 2: Remove the Chain Links
Now that you have marked the desired length of the chandelier chain, it’s time to remove the excess links. This step requires precision and care to ensure a clean and professional-looking result.
Start by securing the chandelier chain pliers or wire cutters around one of the links near the marked point. Apply gentle pressure and carefully cut through the link. Be cautious not to damage any surrounding chain links or the chandelier itself.
After cutting through the link, carefully separate the chain, making sure to remove any remaining metal burrs or sharp edges. You can use sandpaper or a metal file to smooth out any rough areas if necessary.
Continue the process of removing links until you reach the desired length. It’s important to maintain symmetry and ensure that both sides of the chain are evenly shortened to maintain the aesthetic appeal of the chandelier.
Once you have removed the excess links and achieved the desired length, take a moment to inspect the chain. Ensure that the cut ends are clean and smooth, without any sharp edges that could pose a safety hazard.
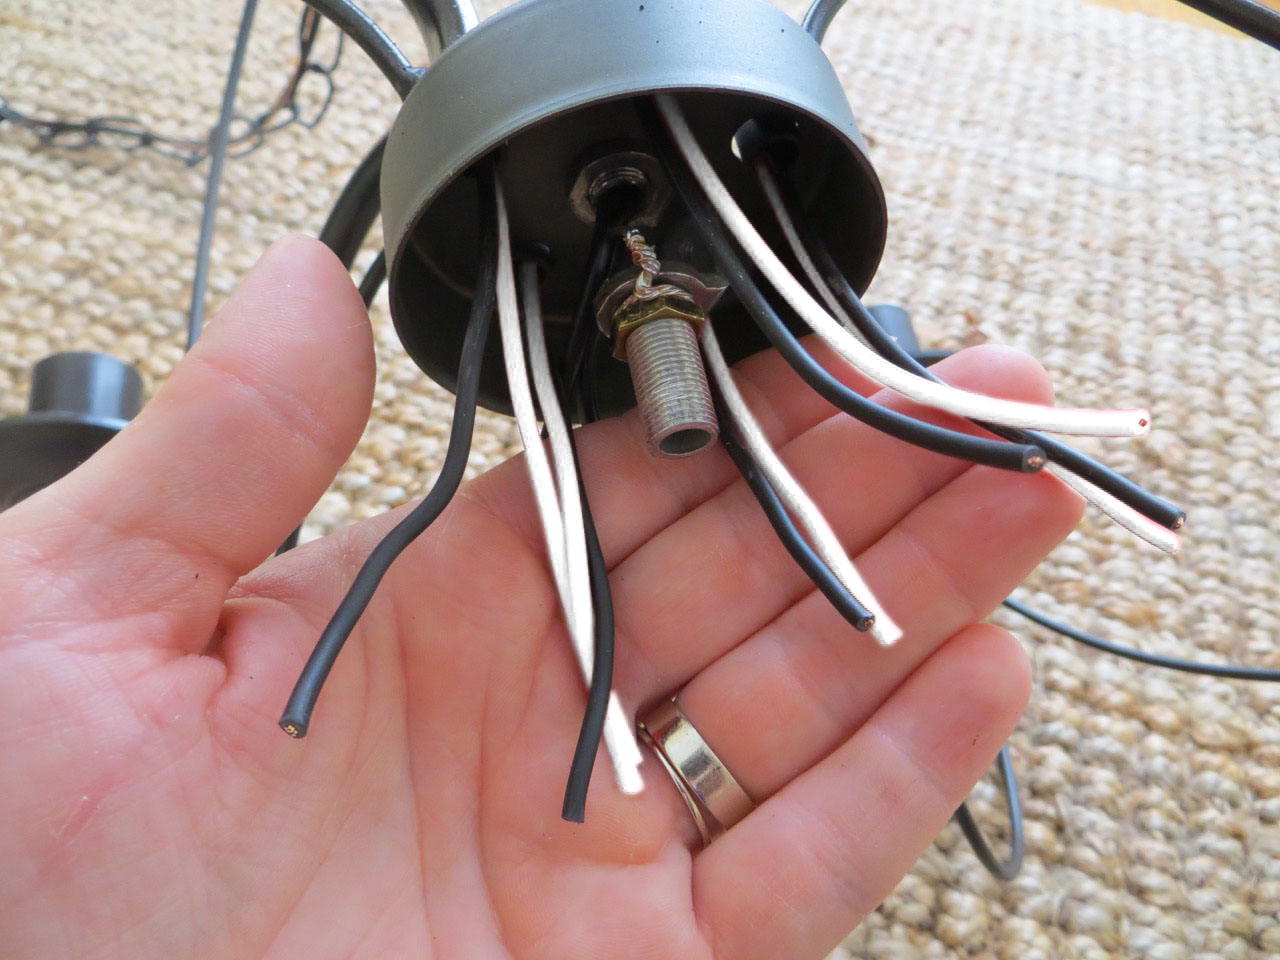
If you are using wire cutters instead of chandelier chain pliers, you may need to use a wire connector or jewelry connector to reattach the chain. Follow the manufacturer’s instructions for securely attaching the chain together. This step will ensure the stability of the chandelier’s suspension.
Now that the chain has been properly shortened, it’s time to reattach the chandelier and test the height. Let’s move on to the next step!
When shortening a chandelier chain, use wire cutters to carefully remove the excess links, then reattach the end link using pliers. Make sure to support the chandelier while working to avoid damage.
Step 3: Reattach the Chandelier
With the chandelier chain now shortened to the desired length, it’s time to reattach the chandelier to the ceiling. This step will ensure that the chandelier is securely suspended and properly aligned.
Begin by carefully lifting the chandelier and aligning the end of the shortened chain with the mounting point on the chandelier. Make sure that the chain is properly inserted into the connector or loop provided by the chandelier manufacturer.
Next, secure the chain to the chandelier by following the manufacturer’s instructions. This may involve tightening screws or bolts to ensure a stable connection. Double-check that the chandelier is securely attached and there is no risk of it falling due to loose fittings.
If your chandelier requires additional support, such as a mounting bracket or strap, make sure to install it according to the manufacturer’s instructions. This will provide extra stability and prevent any swaying or wobbling.
Before moving on to the final step, take a moment to step back and visually inspect the chandelier’s positioning. Ensure that it hangs straight and is evenly aligned with the room’s décor and focal points. Adjust the chain if necessary to achieve the best visual effect.
Now that the chandelier is securely reattached, it’s time to test the height and make any necessary adjustments. Let’s move on to the final step!
Read also: 15 Amazing Chandelier Chain for 2024
Step 4: Test and Adjust the Height
Now that the chandelier is reattached to the ceiling, it’s time to test the height and make any final adjustments. This step ensures that the chandelier hangs at the perfect level and complements the overall aesthetics of the room.
Start by turning on the chandelier and stepping back to observe its height and positioning. Take note of any adjustments that need to be made, such as slightly raising or lowering the chain.
If the chandelier is hanging too low, you can shorten the chain further by repeating the process outlined in Step 2. On the other hand, if the chandelier is too high, you may need to add additional chain links or consider using a ceiling hook or junction box to lower it to the desired height.
If you decide to use a ceiling hook or junction box, make sure to follow the manufacturer’s instructions for installation. This will allow you to adjust the height of the chandelier with ease while maintaining a secure connection.
Once you have made any necessary adjustments, step back again and assess the chandelier’s height and overall appearance. Take into consideration the room’s dimensions, furniture placement, and lighting requirements to achieve the optimal balance and visual impact.
Finally, test the chandelier to ensure that it is stable and secure. Gently shake the chandelier to ensure that there is no wobbling or swaying. If you detect any instability, double-check the chain connections, mounting points, and ceiling supports.
Congratulations! You have successfully shortened the chandelier chain and adjusted the height to your liking. Take a moment to admire your handiwork and enjoy the transformed look of your chandelier.
If you are unsure about any aspect of the process or encounter any difficulties, it’s always recommended to seek assistance from a professional electrician or handyman. They have the expertise to ensure a safe and reliable installation.
Thank you for following this comprehensive guide on how to shorten a chandelier chain. We hope this article has been helpful and that you are now able to customize the height of your chandelier to perfectly suit your space and style.
Remember to always prioritize safety and follow the manufacturer’s instructions throughout the process. Now go ahead and enjoy the renewed beauty and ambiance of your shortened chandelier!
Conclusion
Shortening a chandelier chain is a simple yet effective way to customize the height and appearance of your lighting fixture. Whether you’re looking to improve the proportions of the chandelier in a room, achieve a specific design aesthetic, or address practical concerns, this step-by-step guide has provided you with the knowledge and tools necessary to successfully complete the task.
Throughout this article, we have discussed the importance of measuring and marking the desired length, removing excess chain links with precision, reattaching the chandelier securely, and testing and adjusting the height to achieve the desired result. These steps, when followed carefully, will help you achieve a professional and visually appealing outcome.
Remember to always prioritize safety when working with chandeliers and follow the manufacturer’s instructions. If you are unsure or uncomfortable with any step of the process, it’s best to seek assistance from a professional electrician or handyman.
Shortening a chandelier chain allows you to create a more customized and visually pleasing lighting arrangement in your space. It adds a touch of personalization and transforms the overall ambiance of the room. With the right tools, materials, and attention to detail, anyone can tackle this project and achieve impressive results.
We hope this guide has been informative and helpful. Now you have the knowledge and confidence to confidently shorten your chandelier chain and create the perfect lighting experience in your space. So go ahead, grab your tools, and let your creativity shine!
Frequently Asked Questions about How To Shorten A Chandelier Chain
Was this page helpful?
At Storables.com, we guarantee accurate and reliable information. Our content, validated by Expert Board Contributors, is crafted following stringent Editorial Policies. We're committed to providing you with well-researched, expert-backed insights for all your informational needs.


0 thoughts on “How To Shorten A Chandelier Chain”