Furniture
How To Use An Oil Diffuser Lamp
Modified: August 22, 2024
Discover how to use an oil diffuser lamp to enhance your furniture with soothing aromatherapy. Enjoy a tranquil atmosphere in your home with this elegant and functional decor piece.
(Many of the links in this article redirect to a specific reviewed product. Your purchase of these products through affiliate links helps to generate commission for Storables.com, at no extra cost. Learn more)
Introduction
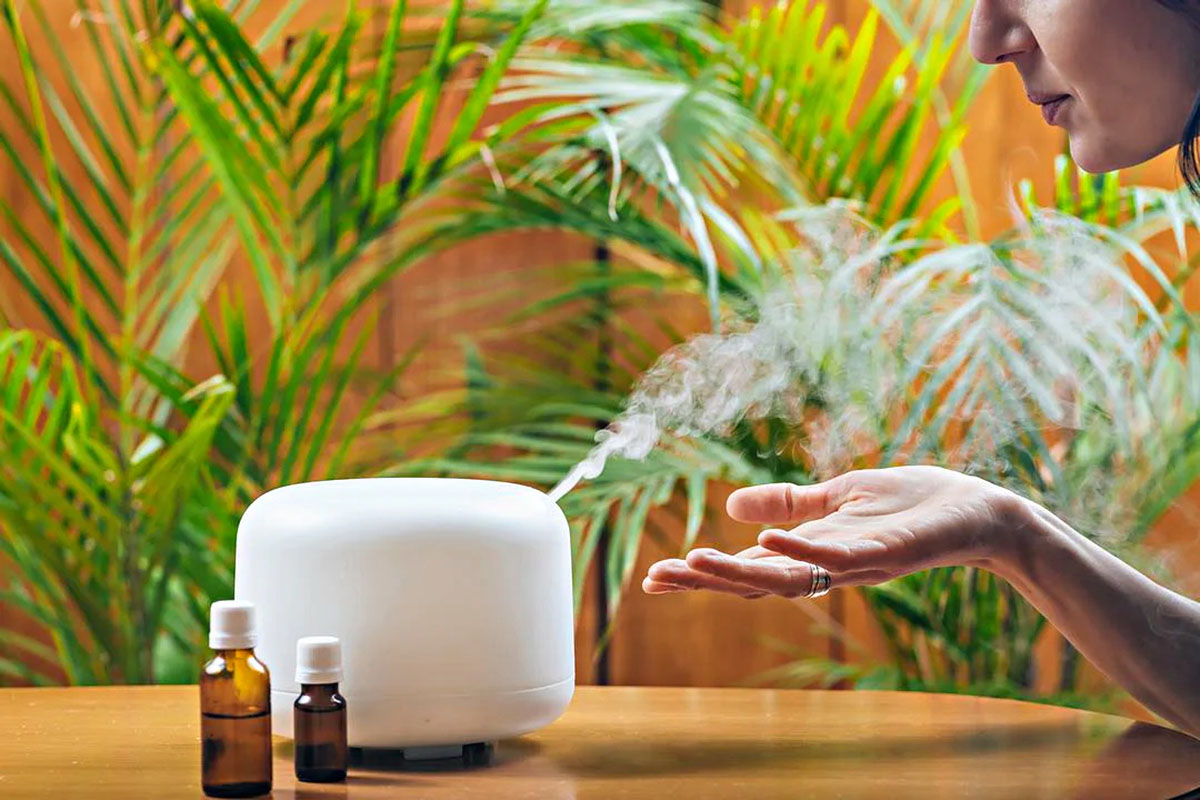
Welcome to the world of oil diffuser lamps! These amazing devices not only add a touch of elegance to your home decor but also work wonders in creating a soothing and relaxing atmosphere. Whether you want to eliminate unpleasant odors, uplift your mood, or simply enjoy the benefits of aromatherapy, an oil diffuser lamp is a must-have addition to your living space.
In this article, we will delve into the fascinating world of oil diffuser lamps, exploring what they are, how they work, and the benefits they bring to your home. We’ll also provide you with a step-by-step guide on how to use an oil diffuser lamp effectively and safely. So, sit back, relax, and let’s get started!
Key Takeaways:
- Transform your living space into a haven of wellness, relaxation, and fragrant bliss with an oil diffuser lamp! Enjoy the therapeutic benefits of aromatherapy, mood enhancement, and natural sleep aid while creating a delightful ambiance.
- Enhance your home with the captivating combination of an essential oil diffuser and a decorative lamp. Experience the soothing power of aromatherapy, relaxation, improved focus, and air purification while adding a touch of elegance to your living space.
Read more: What Oil To Use In A Diffuser
What is an Oil Diffuser Lamp?
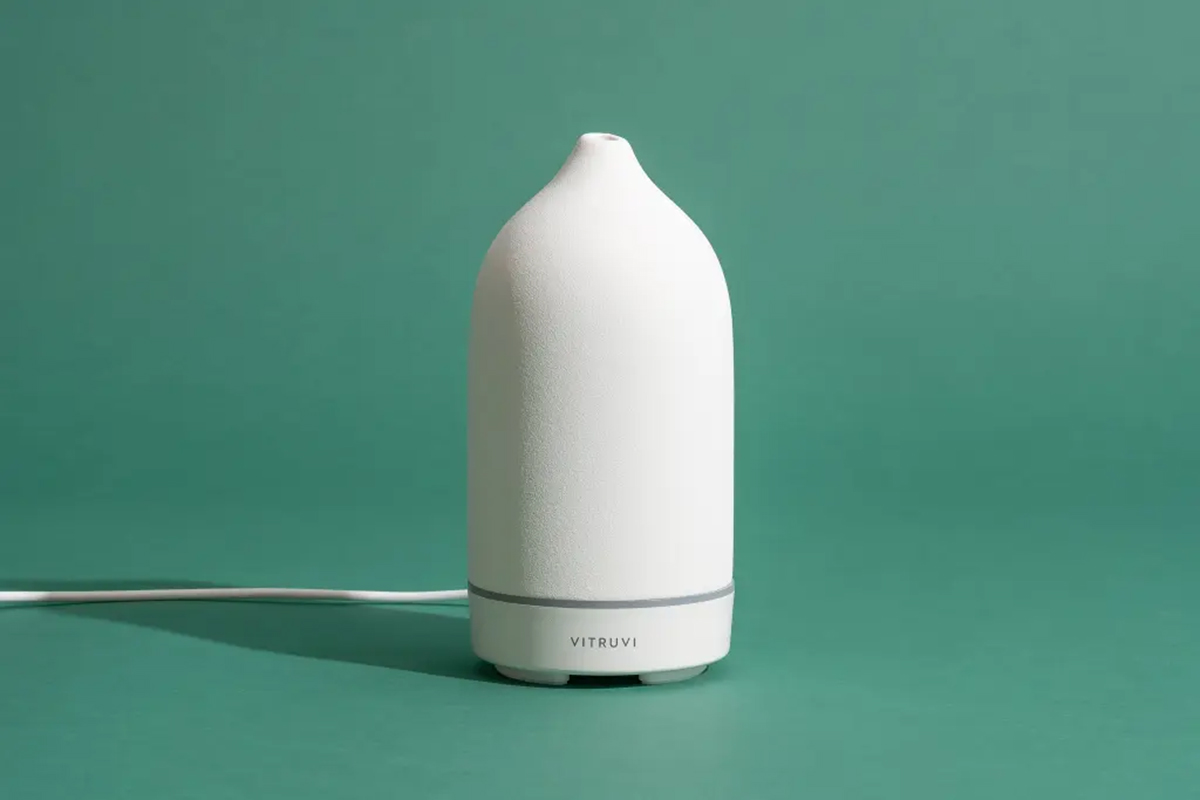
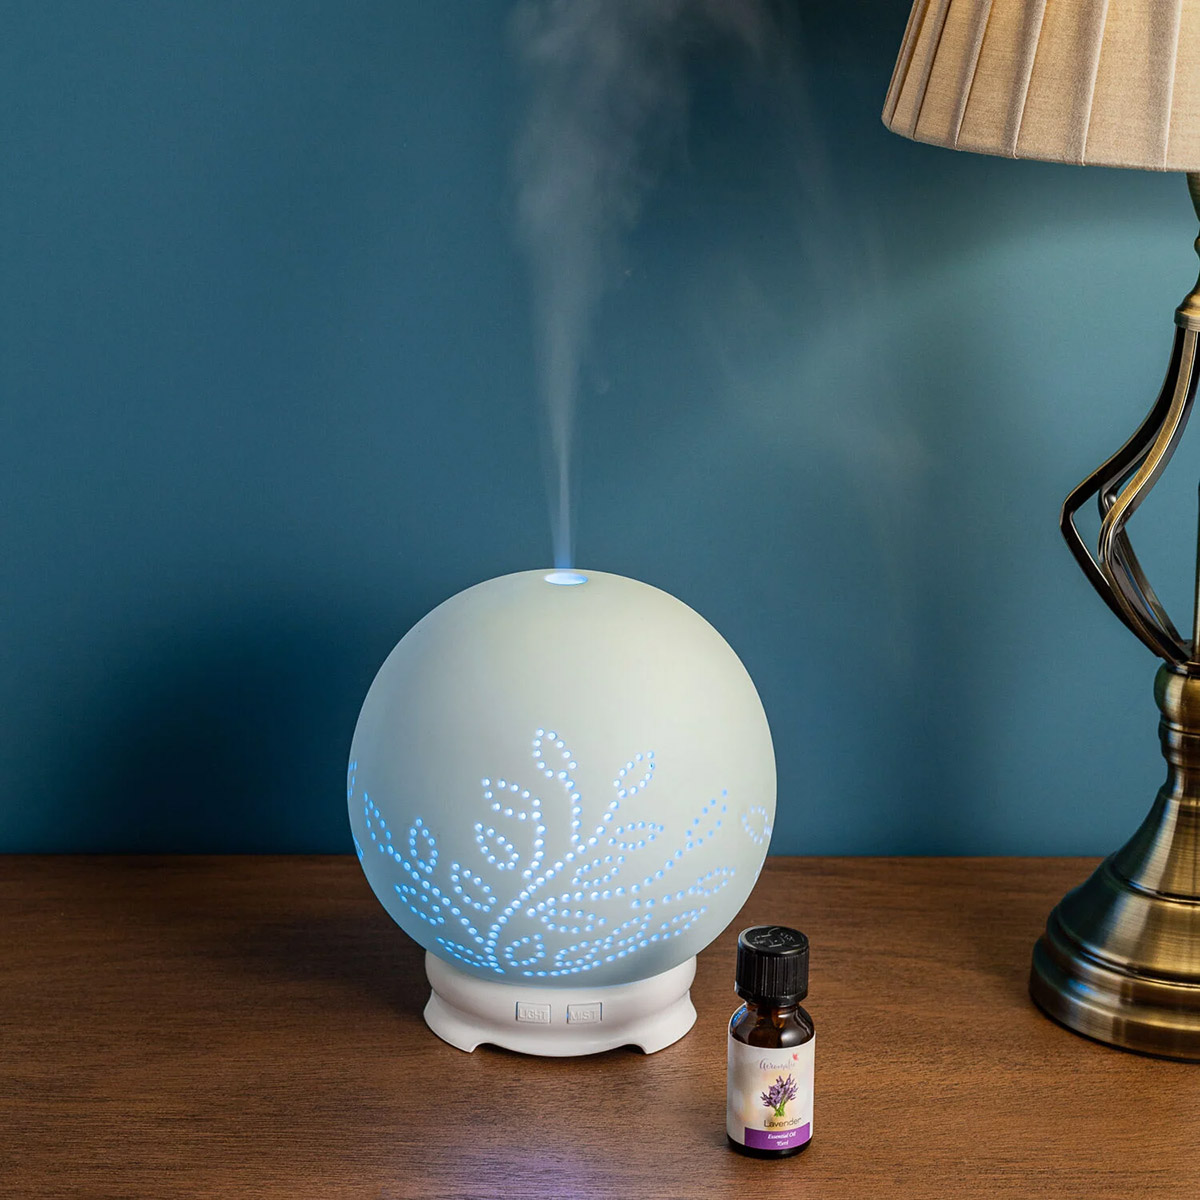
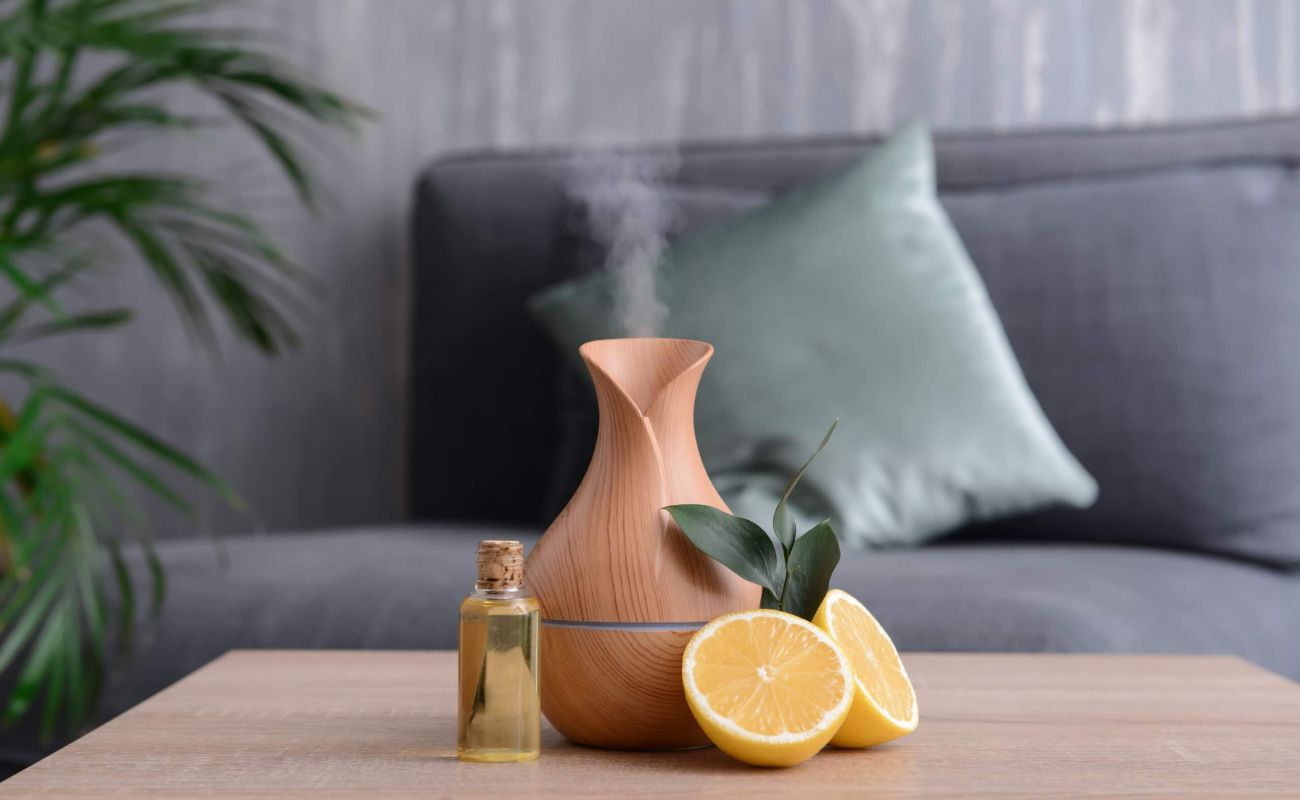
An oil diffuser lamp is a decorative device that combines the functionality of an essential oil diffuser with the aesthetic appeal of a lamp. It is designed to disperse essential oils into the air, filling your living space with delightful fragrances and therapeutic benefits.
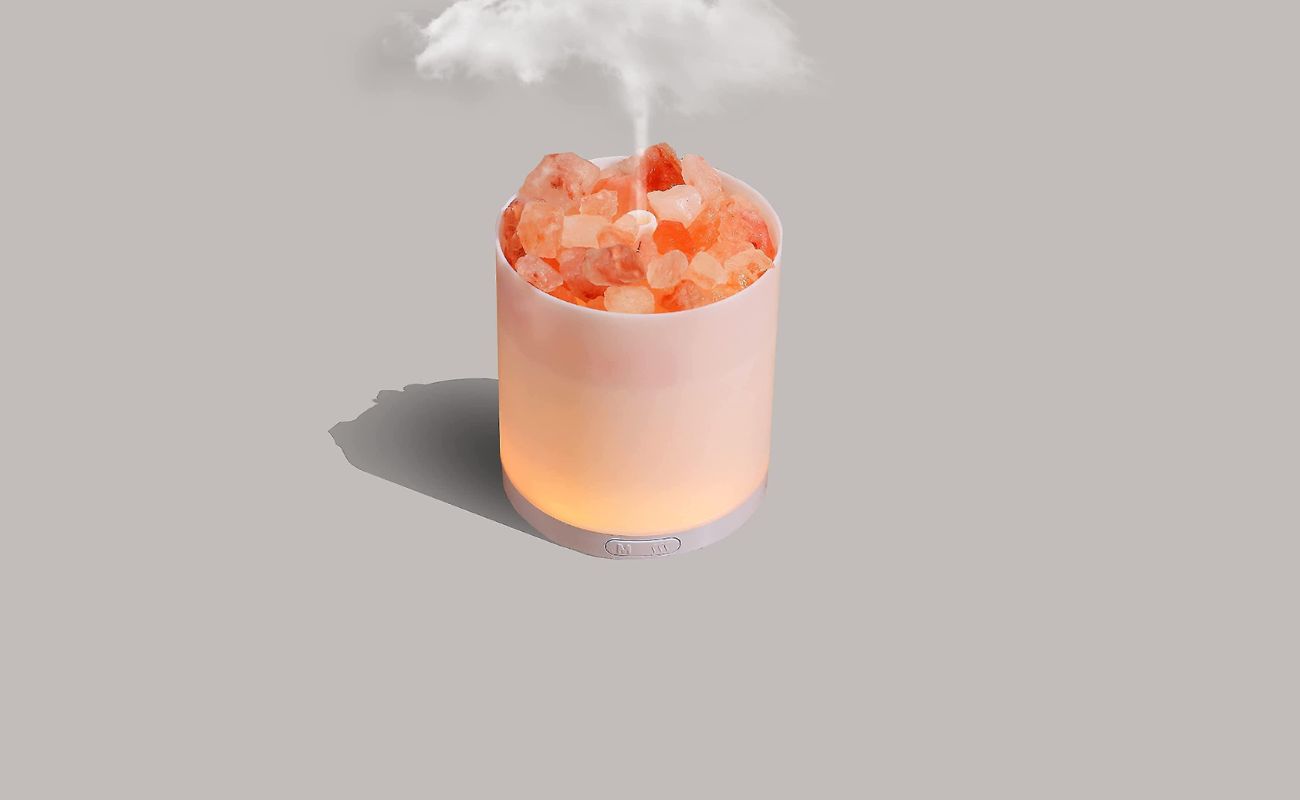
Unlike traditional diffusers that use heat or water to disperse essential oils, an oil diffuser lamp utilizes a unique method called nebulization. This process breaks down the essential oil into microscopic particles, allowing it to be released into the air in a fine mist form. The mist is then illuminated by the lamp, creating a captivating visual display.
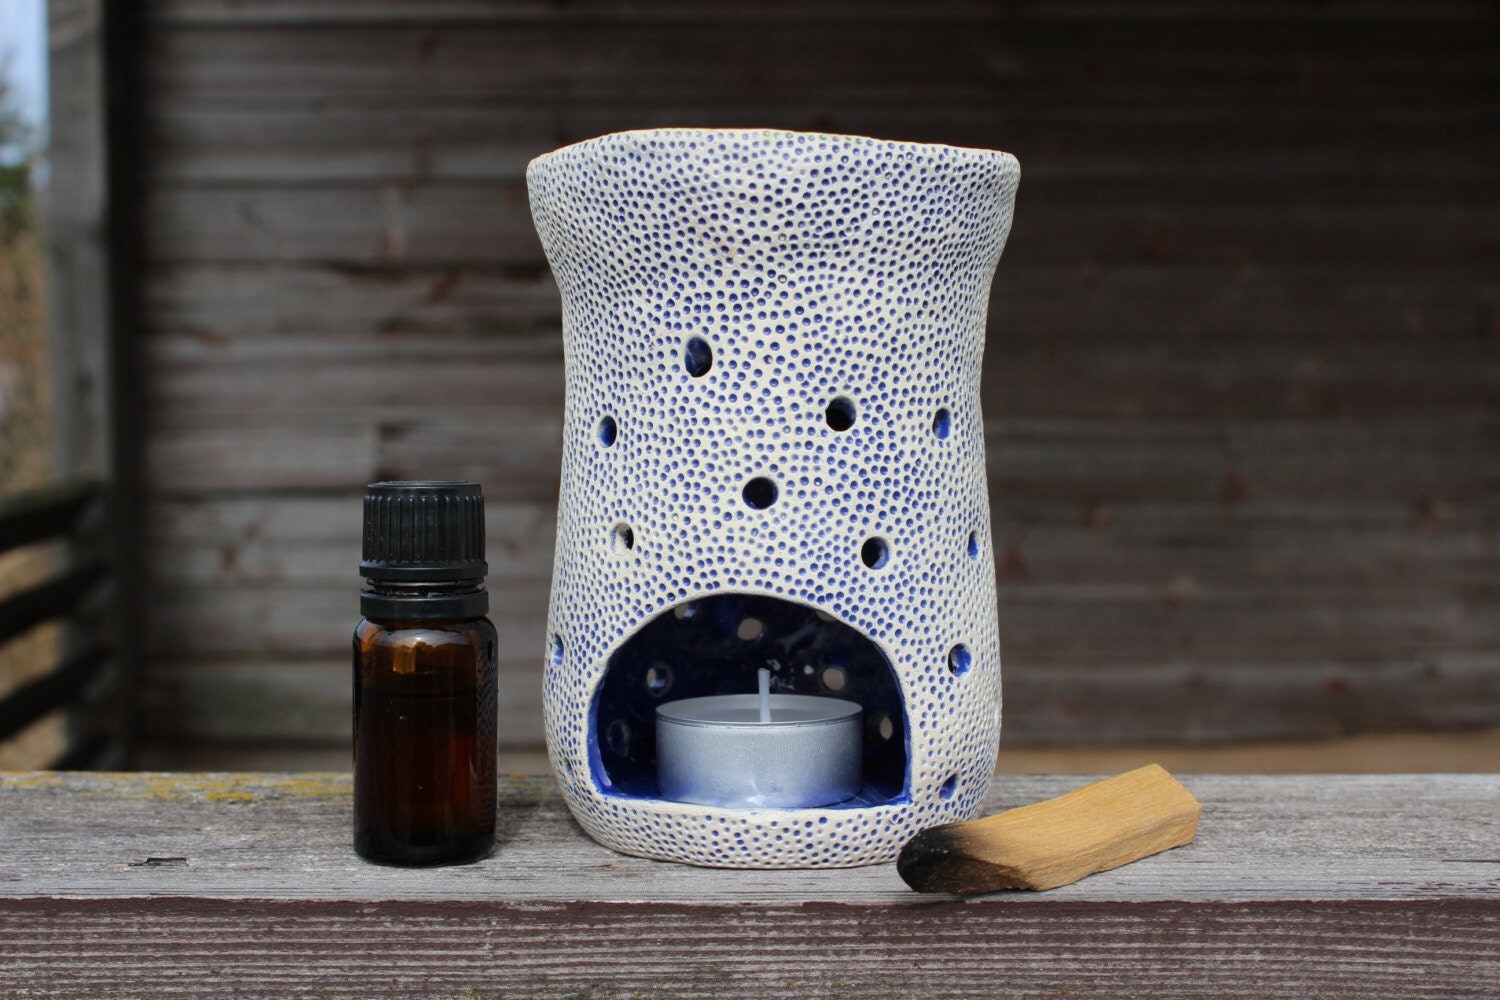
Oil diffuser lamps come in a variety of styles and designs, ranging from sleek and modern to rustic and vintage. They feature a glass or ceramic reservoir where you place a few drops of your chosen essential oil. The reservoir is connected to a nebulizer, which disperses the oil directly into the air. Some lamps also have a dimming feature, allowing you to adjust the intensity of the light according to your preference.
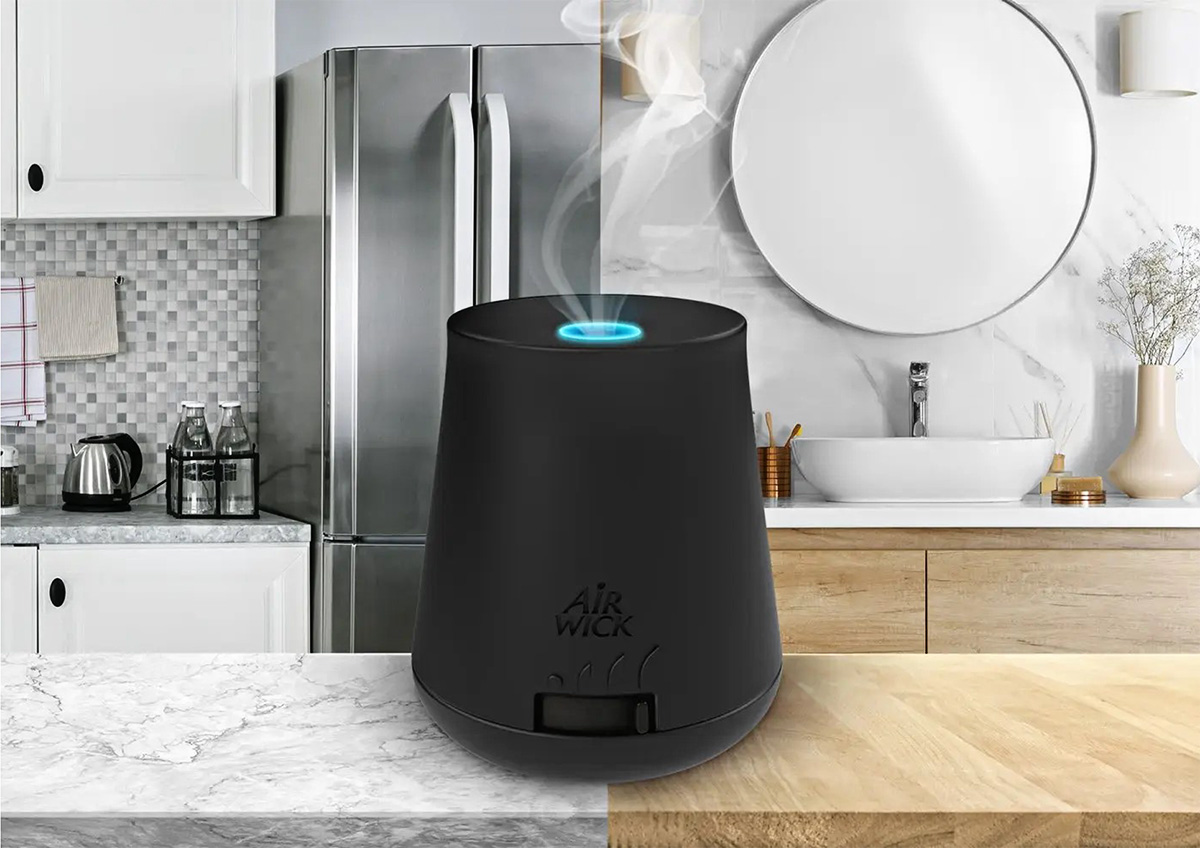
One of the distinguishing features of oil diffuser lamps is their ability to easily blend with any home decor. Whether you have a minimalist theme, a bohemian vibe, or a traditional setting, you can find a diffuser lamp that complements your style perfectly. Not only do these lamps enhance the ambiance of your living space, but they also serve as a beautiful centerpiece or conversation starter.
It’s important to note that oil diffuser lamps are primarily used for their aromatherapy benefits and fragrance diffusion rather than lighting purposes. While they emit a soft, warm glow, they are not designed to provide a significant amount of light. If you’re looking for a primary source of illumination, it’s best to supplement your diffuser lamp with additional lighting options.
Now that you have a better understanding of what an oil diffuser lamp is, let’s explore the remarkable benefits they offer!
Benefits of Using an Oil Diffuser Lamp
Using an oil diffuser lamp in your home brings with it a wide range of benefits for both your physical and mental well-being. Let’s explore some of the key advantages:
- Aromatherapy: One of the primary benefits of using an oil diffuser lamp is the opportunity to experience the therapeutic effects of aromatherapy. Different essential oils have distinct properties that can help in relaxation, stress reduction, sleep improvement, mood enhancement, and even in boosting your immune system. By diffusing these oils in your living space, you can create an ambiance that promotes wellness and balance.
- Unwinding and Relaxation: After a long, tiring day, coming home to the comforting scent of essential oils can help you unwind and relax. Lavender, chamomile, and bergamot are popular choices known for their calming properties, relieving stress and anxiety.
- Air Purification: Essential oils, such as tea tree and eucalyptus, have natural antiviral, antibacterial, and antimicrobial properties. When diffused in an oil diffuser lamp, these oils can help purify the air in your home, reducing airborne bacteria and viruses. This can be especially beneficial during flu season or when dealing with respiratory issues.
- Improved Focus and Concentration: Certain essential oils, like peppermint and rosemary, are known for their stimulating effects. Diffusing these oils in your workspace or study area can enhance your focus, concentration, and mental clarity, helping you be more productive and alert.
- Mood Enhancement: The right combination of essential oils can uplift your mood and create a positive atmosphere in your home. Citrus oils, such as lemon and orange, are particularly effective in boosting energy levels and creating a cheerful ambiance.
- Natural Sleep Aid: Many essential oils have sedative properties that can help improve your sleep quality. By diffusing oils like lavender or chamomile in your bedroom, you can create a soothing bedtime routine, promoting relaxation and better sleep.
- All-natural and Chemical-free: Unlike commercial air fresheners or candles, which often contain harmful chemicals and artificial fragrances, oil diffuser lamps offer a natural and chemical-free option for adding pleasant scents to your home. This makes them a safer choice, especially for individuals with sensitivities or allergies.
These are just a few of the many benefits you can enjoy by incorporating an oil diffuser lamp into your daily life. Experiment with different essential oils and blends to discover the combinations that work best for you, and enjoy the delightful aromas and wellness benefits they bring!
How Does an Oil Diffuser Lamp Work?
An oil diffuser lamp works by utilizing nebulization, a process that breaks down essential oils into tiny particles and disperses them into the air. Let’s take a closer look at how this fascinating mechanism works:
- Reservoir: The oil diffuser lamp features a reservoir usually made of glass or ceramic. This reservoir is where you add a few drops of your chosen essential oil.
- Nebulizer: The reservoir is connected to a nebulizer, which is the heart of the diffuser lamp. The nebulizer consists of a small pump or air compressor, a glass chamber, and a small tube or nozzle. The essential oil is drawn up into the glass chamber, where it is broken down into microscopic particles.
- Microscopic Particles: The nebulizer turns the essential oil into a fine mist or vapor, releasing it into the air in the form of tiny droplets. These droplets are so small that they can remain suspended in the air for an extended period, allowing for maximum fragrance dispersion.
- Lighting Component: As the mist is released, the oil diffuser lamp also functions as a lamp, emitting a soft, warm light. Some diffuser lamps have a dimming feature, allowing you to adjust the light intensity to create the desired ambiance.
- Aromatherapy Effects: The mist containing the essential oil particles fills the room, permeating the air with delightful fragrances. As you breathe in the aromas, the therapeutic effects of the essential oils are released, providing various benefits for your well-being, including relaxation, stress relief, improved focus, and mood enhancement.
It’s important to note that oil diffuser lamps do not require heat or water to disperse the essential oils. This is different from other types of diffusers, such as ultrasonic diffusers or heat diffusers. The nebulization process ensures that the essential oils are in their purest form, without any alteration due to heat or dilution from water.
When using an oil diffuser lamp, it’s crucial to follow the manufacturer’s instructions regarding the operation and maintenance of the device. This will ensure optimal performance and longevity of your diffuser lamp.
Now that you have a better understanding of how an oil diffuser lamp works, let’s explore the next step – choosing the right essential oil for your diffuser lamp!
Choosing the Right Essential Oil for Your Diffuser Lamp
When it comes to selecting the perfect essential oil for your oil diffuser lamp, the possibilities are endless. With a wide variety of scents and therapeutic properties available, you can create a personalized aromatherapy experience that suits your preferences and needs. Here are some tips to help you choose the right essential oil:
- Consider the Purpose: Determine the purpose of using your oil diffuser lamp. Are you looking to create a relaxing atmosphere? Do you want to boost your energy levels and concentration? Are you in need of a sleep aid? Identifying your intention will guide you in selecting the appropriate essential oil.
- Know the Properties: Familiarize yourself with the properties of different essential oils. Lavender, for example, is known for its calming effects, while peppermint has an uplifting and invigorating nature. Research the effects of various oils to find the ones that align with your desired outcome.
- Scent Preference: Consider your personal preference for scents. Some people are drawn to floral aromas like rose or jasmine, while others prefer citrus scents like lemon or orange. Take into account what scents you find appealing and soothing.
- Blending Options: Get creative and experiment with blending different essential oils together. A blend of lavender and bergamot can create a harmonious and relaxing ambiance, while a combination of lemon and eucalyptus can invigorate and refresh your space.
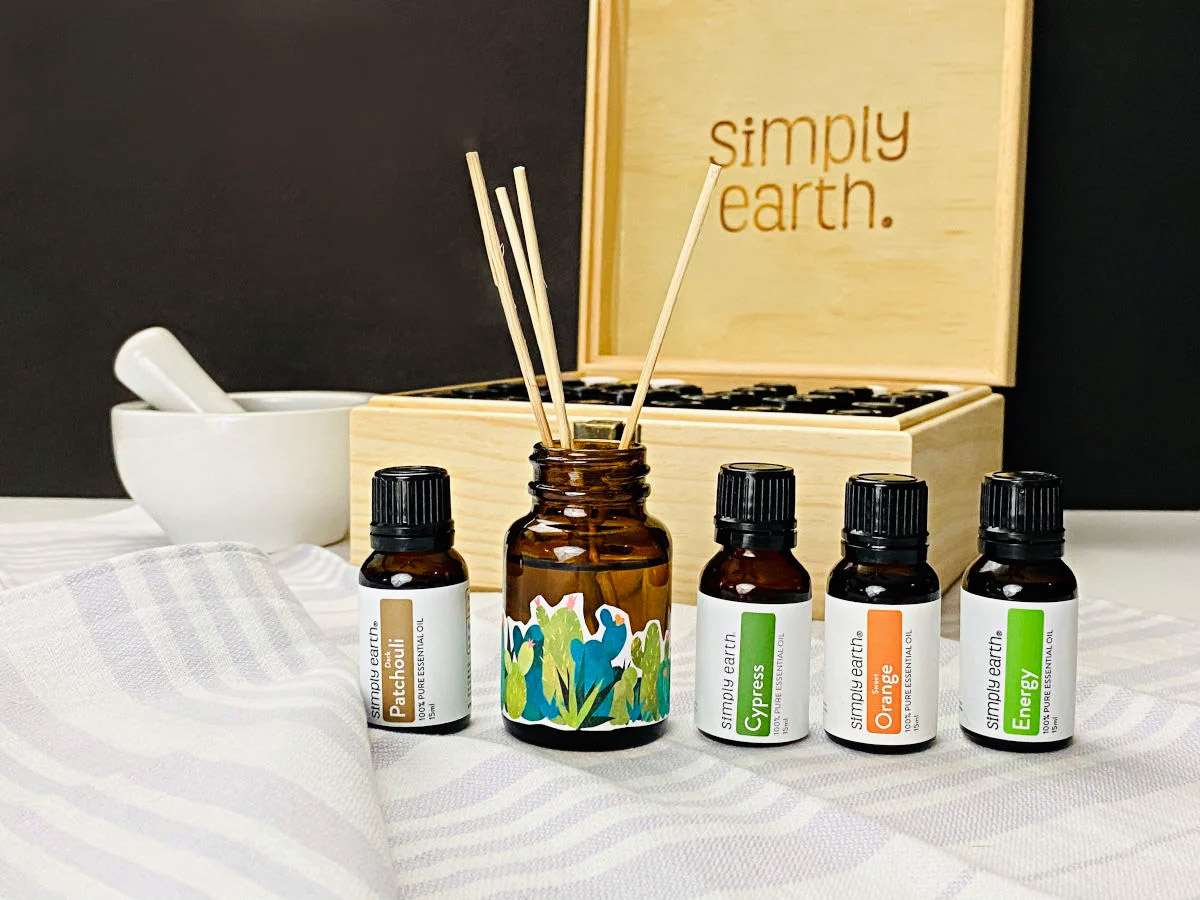
- Purity and Quality: When purchasing essential oils, opt for high-quality, pure oils from reputable brands. Pure essential oils ensure that you are getting the most out of their therapeutic benefits. Look for oils that are labeled as 100% pure and have undergone rigorous testing.
- Consider Safety: Some essential oils may not be suitable for everyone, especially individuals with certain medical conditions or sensitivities. Before using an essential oil, research any contraindications or precautions associated with it. If you have any concerns, consult with a qualified aromatherapist or healthcare professional.
Remember, the selection of essential oils for your diffuser lamp is a personal experience. Take the time to explore and experiment with different scents until you find the ones that resonate with you the most. Enjoy the sensory journey and the benefits that these essential oils bring to your home.
Now that you know how to choose the right essential oil, let’s move on to the practical aspect – a step-by-step guide on how to use an oil diffuser lamp.
When using an oil diffuser lamp, be sure to dilute essential oils with water before adding them to the lamp. This will help to disperse the scent more evenly and prevent the oil from burning.
Read more: How To Use Fragrance Oil In A Diffuser
Step-by-Step Guide on How to Use an Oil Diffuser Lamp
Using an oil diffuser lamp is simple and straightforward. Follow these step-by-step instructions to get the most out of your diffuser lamp:
- Choose a Suitable Location: Select a flat and stable surface for your oil diffuser lamp. Ensure that it is away from any flammable materials, and there is ample space for the mist to disperse throughout the room.
- Add Water (If Required): Some oil diffuser lamps require a small amount of water to be added to the reservoir along with the essential oil. Refer to the manufacturer’s guidelines to determine if water is necessary for your specific lamp model.
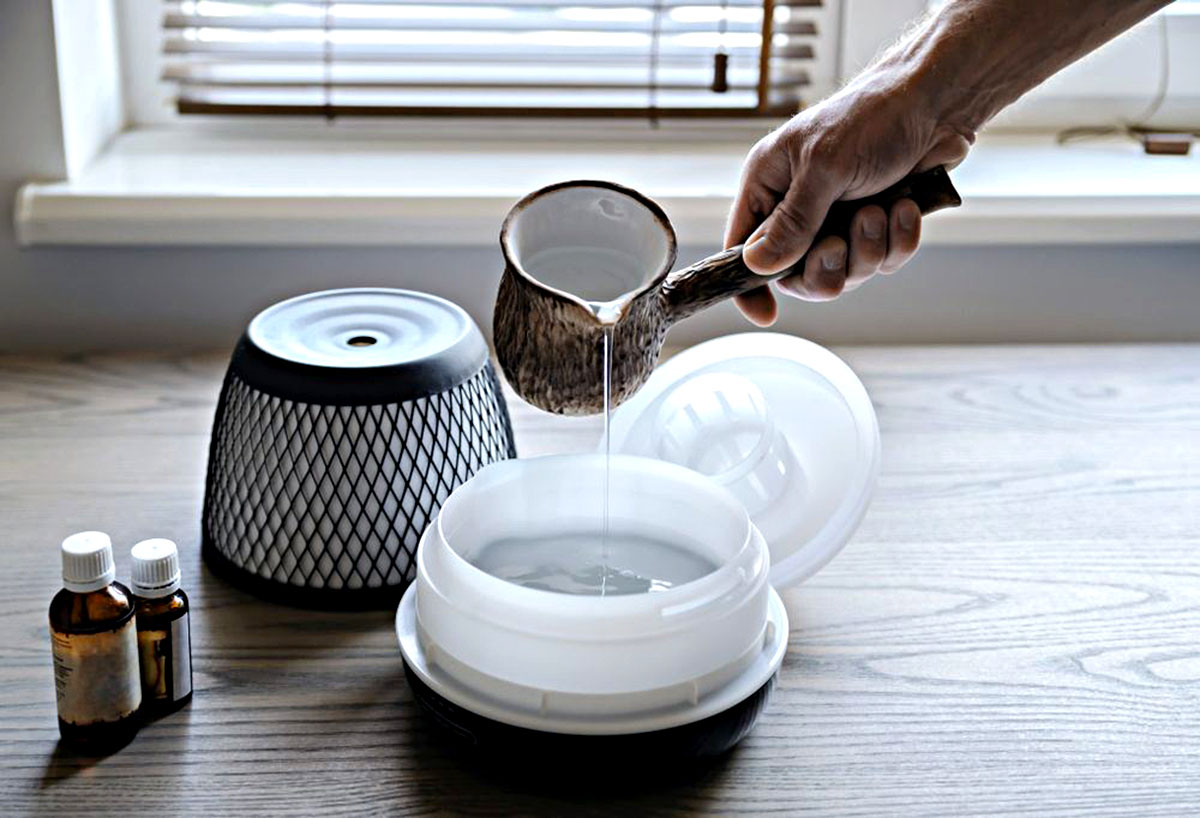
- Fill the Reservoir: If your diffuser lamp requires water, fill the reservoir with clean, room temperature water. Be sure not to exceed the maximum fill line indicated on the lamp.
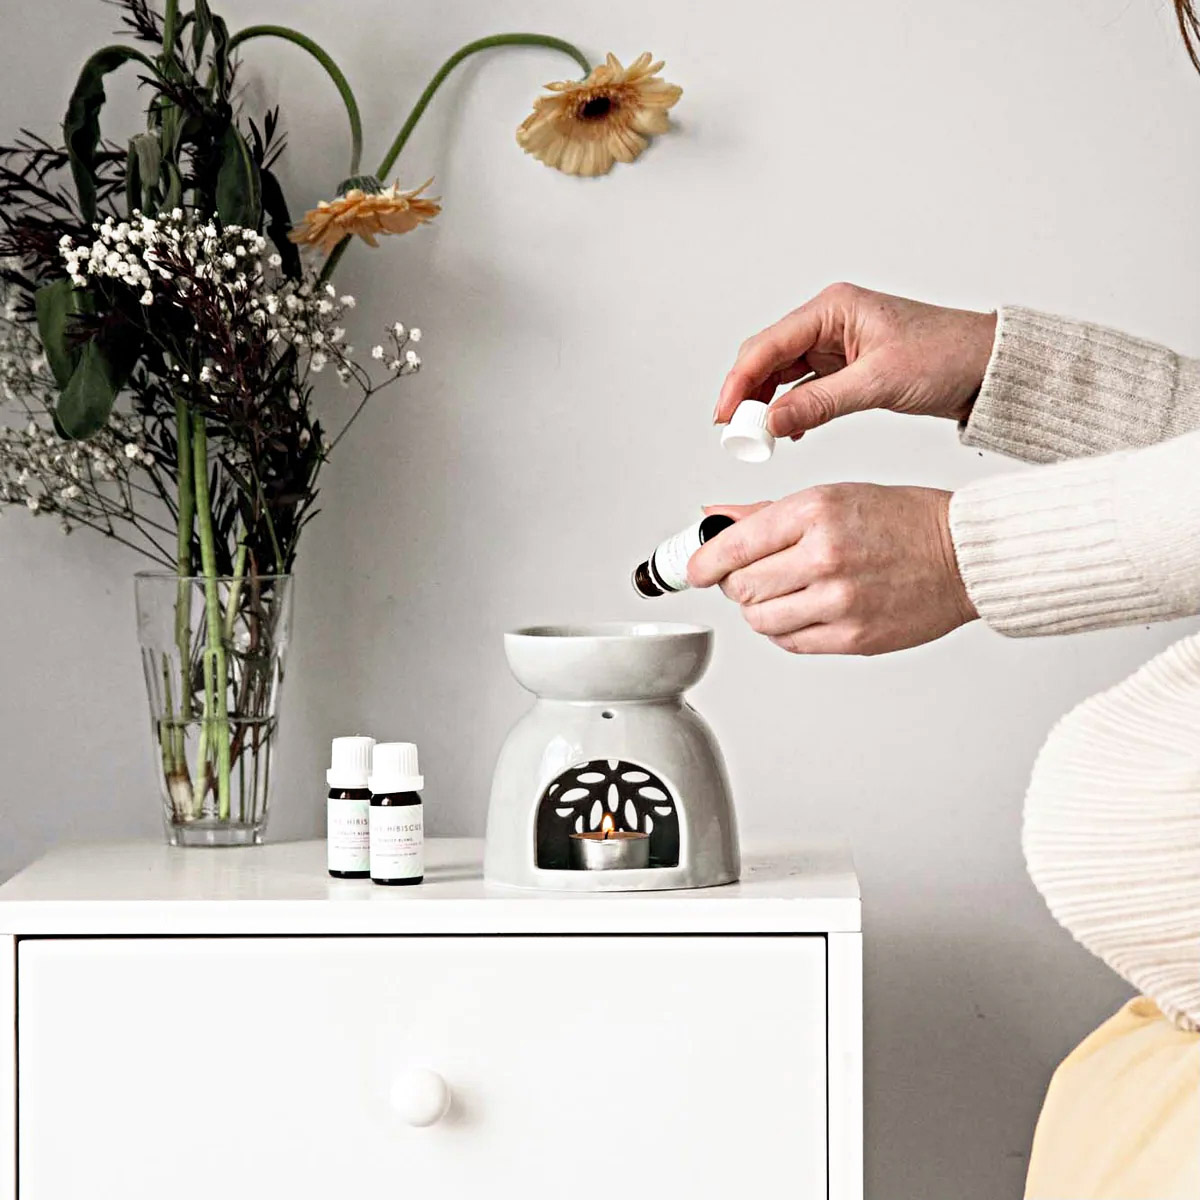
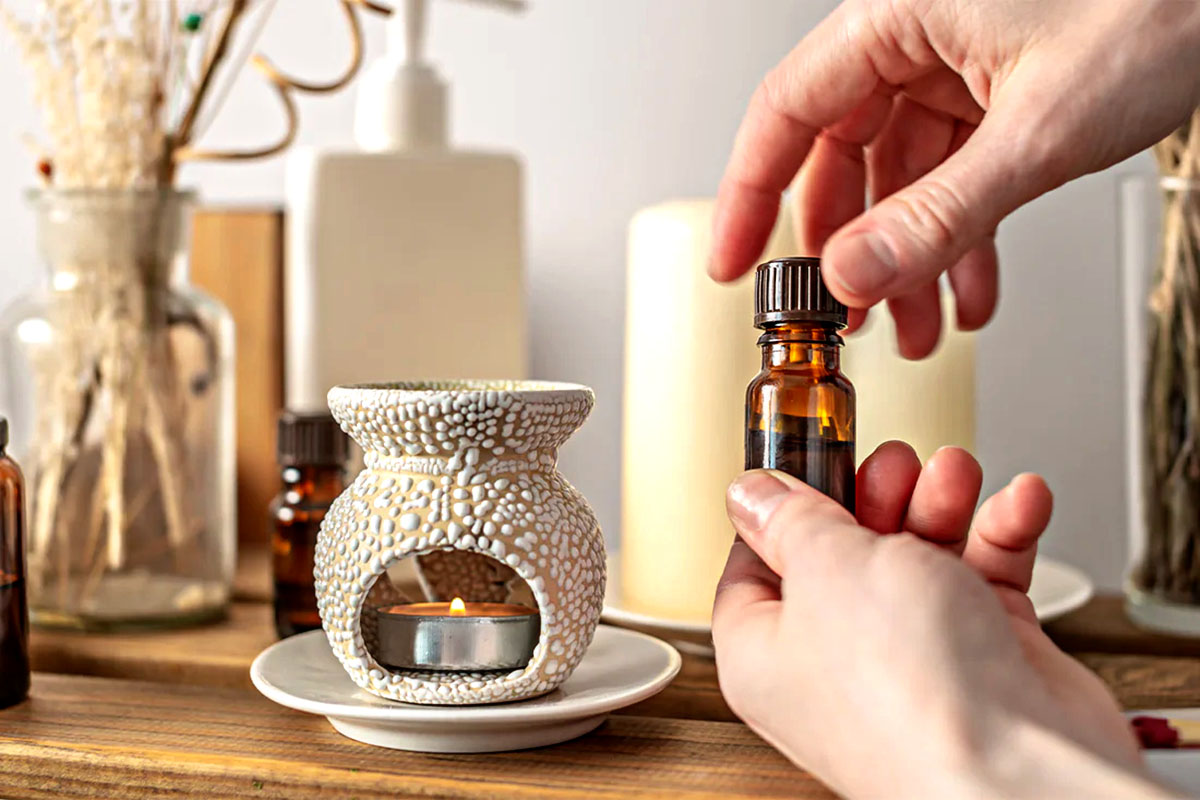
- Add Essential Oil: Add a few drops of your chosen essential oil or oil blend into the water or directly into the reservoir, depending on the instructions provided by the manufacturer. Start with a small amount of oil, and adjust according to your preference for aroma intensity.
- Turn on the Lamp: Plug in the diffuser lamp and turn it on. Some lamps have a separate switch for the light and mist functions, while others may have a single switch that controls both. Follow the instructions provided with your lamp to operate it properly.
- Adjust the Settings: If your diffuser lamp has adjustable settings, such as mist intensity or light brightness, adjust them according to your preference. You can experiment with different settings to find the optimal combination for your desired experience.
- Enjoy the Aromatherapy Experience: Sit back, relax, and breathe in the delightful aromas as the diffuser lamp disperses the essential oil mist throughout the room. Allow yourself to immerse in the soothing and therapeutic benefits of the essential oils.
- Monitor Water Levels: If you’re using a diffuser lamp that requires water, keep an eye on the water level and refill as needed. It’s important to maintain the appropriate water level to ensure proper functioning of the lamp.
- Follow the Manufacturer’s Instructions: Always refer to the specific instructions provided by the manufacturer for your oil diffuser lamp. Each lamp may have unique features or requirements, so it’s crucial to follow the guidelines to ensure safe and effective use.
By following these simple steps, you can create a pleasant and aromatic environment in your home using an oil diffuser lamp. Enjoy the beautiful visuals, the soothing scents, and the therapeutic benefits that these devices provide.
Now that you know how to use an oil diffuser lamp, it’s important to understand how to clean and maintain it for optimal performance. Let’s explore cleaning and maintenance tips in the next section.
Cleaning and Maintaining Your Oil Diffuser Lamp
Proper cleaning and maintenance of your oil diffuser lamp are essential to ensure its longevity and optimal performance. Here are some tips to help you keep your diffuser lamp in excellent condition:
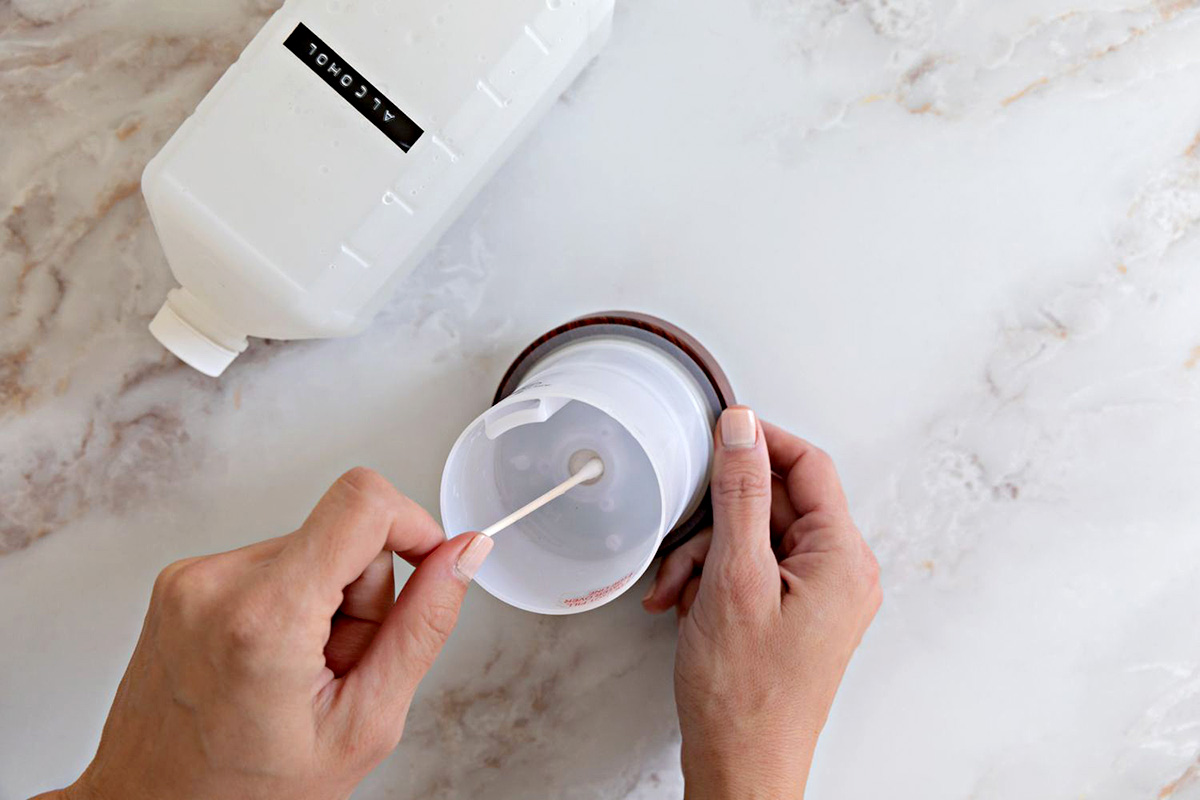
- Regular Cleaning: Clean your oil diffuser lamp after each use to prevent any buildup or residue from essential oils. Empty any remaining water and oil from the reservoir and wipe it clean using a soft cloth or paper towel.
- Deep Cleaning: Periodically, deep clean your diffuser lamp by following the manufacturer’s instructions. This may involve disassembling the lamp and cleaning the individual components, such as the reservoir, nebulizer, and glass chamber. Use mild soap and water for cleaning, and ensure that all components are thoroughly dry before reassembling the lamp.
- Use Distilled Water: If your diffuser lamp requires water, it is recommended to use distilled water instead of tap water. Distilled water is free from impurities and minerals that can accumulate and cause buildup in the diffuser, ensuring the optimal functioning of the lamp.
- Regularly Change Essential Oils: To prevent any oil residue from building up, it’s advisable to alternate between different essential oils and not use the same oil for an extended period. This will also allow you to enjoy a variety of scents and benefits.
- Store Properly: When not in use, store your oil diffuser lamp in a clean and dry place. Protect it from excessive dust or exposure to direct sunlight, which can potentially damage the components of the lamp.
- Replace Parts if Needed: Over time, certain components of the diffuser lamp may wear out or become less effective. If you notice any issues with the nebulizer, light bulb, or other parts, refer to the manufacturer’s guidelines for replacement instructions.
- Handle with Care: Take care when handling the delicate components of your diffuser lamp, such as the glass reservoir or nebulizer. Avoid dropping or mishandling them, as this can cause damage or affect the performance of the lamp.
- Refer to the User Manual: Always refer to the user manual or instructions provided by the manufacturer for specific cleaning and maintenance guidelines. Each diffuser lamp may have unique requirements, so it’s important to follow the recommended procedures for your specific model.
By following these cleaning and maintenance tips, you can ensure that your oil diffuser lamp stays in excellent condition, providing you with continued enjoyment of its beautiful visuals and aromatic benefits.
Now that you know how to clean and maintain your diffuser lamp, let’s move on to the essential safety precautions you should keep in mind when using an oil diffuser lamp.
Safety Precautions When Using an Oil Diffuser Lamp
While oil diffuser lamps are generally safe to use, it’s important to keep in mind some essential safety precautions to ensure a secure and enjoyable experience. Here are some safety tips to consider when using an oil diffuser lamp:
- Use in a Well-Ventilated Area: Ensure that the room where you use the oil diffuser lamp is well-ventilated. This allows for proper air circulation and prevents any buildup or concentration of essential oil vapors.
- Keep Out of Reach of Children and Pets: Place the diffuser lamp in a location where it is inaccessible to children and pets. Essential oils can be harmful if ingested, so it’s crucial to keep them out of reach.
- Follow Essential Oil Guidelines: Adhere to the recommended guidelines for the number of essential oil drops to use in your diffuser lamp. Using excessive amounts of essential oil may cause irritation or adverse reactions.
- Avoid Using Toxic or Perfume Oils: Only use high-quality, 100% pure essential oils in your diffuser lamp. Avoid using toxic or perfume oils, as they may contain additives that are not suitable for diffusing.
- Do Not Leave Unattended: Never leave the oil diffuser lamp unattended while it is operating. It’s essential to monitor the lamp to ensure that it is functioning correctly and to prevent any accidents.
- Set a Timer: If your diffuser lamp has a timer function, use it to avoid running the device continuously for extended periods. This will prevent the overuse of essential oils and prevent the lamp from overheating.
- Use Caution with Night-time Use: If you plan to use the oil diffuser lamp in your bedroom at night, ensure that the light emitted by the lamp is not too bright or distracting. Some diffuser lamps offer dimming features, allowing you to adjust the light intensity for a more sleep-friendly environment.
- Avoid Placing Near Electronics or Water: Keep your oil diffuser lamp away from electronic devices and water sources to prevent any accidental damage or electrical hazards.
- Know Your Sensitivities and Allergies: If you have known sensitivities or allergies to specific essential oils, avoid using them in your diffuser lamp. Always check the safety precautions and contraindications associated with each essential oil before use.
Following these safety precautions will help ensure that you can safely enjoy the benefits of your oil diffuser lamp without any risks or hazards. It’s important to prioritize your well-being and create a safe environment for yourself and those around you.
Now that you’re aware of the safety measures, let’s conclude our exploration of oil diffuser lamps.
Conclusion
Oil diffuser lamps offer a wonderful way to enhance your living space with beautiful scents and therapeutic benefits. These decorative devices combine the functionality of an essential oil diffuser with the aesthetic appeal of a lamp, creating a delightful ambiance in your home.
In this article, we’ve explored what oil diffuser lamps are and how they work. We’ve also discussed the numerous benefits they bring, including aromatherapy, relaxation, air purification, improved focus, mood enhancement, and natural sleep aid. Furthermore, we’ve provided a step-by-step guide on how to use an oil diffuser lamp effectively and safely.
When choosing essential oils for your diffuser lamp, consider your purpose, scent preferences, and the properties of different oils. Blending oils can offer unique combinations and benefits. It’s important to prioritize purity and quality, and be mindful of any safety considerations or sensitivities you may have.
Proper cleaning and maintenance of your diffuser lamp are crucial for optimal performance. Regular cleaning, using distilled water, and handling the lamp with care will ensure its longevity.
Lastly, we’ve highlighted important safety precautions to remember when using an oil diffuser lamp. These precautions include using the lamp in a well-ventilated area, keeping it out of reach of children and pets, and following recommended guidelines for essential oil usage.
With these insights and precautions in mind, you can confidently enjoy the benefits and serenity of your oil diffuser lamp. So, go ahead, indulge in the delightful aromas, create a tranquil atmosphere, and immerse yourself in the soothing power of essential oils.
Transform your living space into a haven of wellness, relaxation, and fragrant bliss with an oil diffuser lamp!
Frequently Asked Questions about How To Use An Oil Diffuser Lamp
Was this page helpful?
At Storables.com, we guarantee accurate and reliable information. Our content, validated by Expert Board Contributors, is crafted following stringent Editorial Policies. We're committed to providing you with well-researched, expert-backed insights for all your informational needs.

0 thoughts on “How To Use An Oil Diffuser Lamp”