Furniture
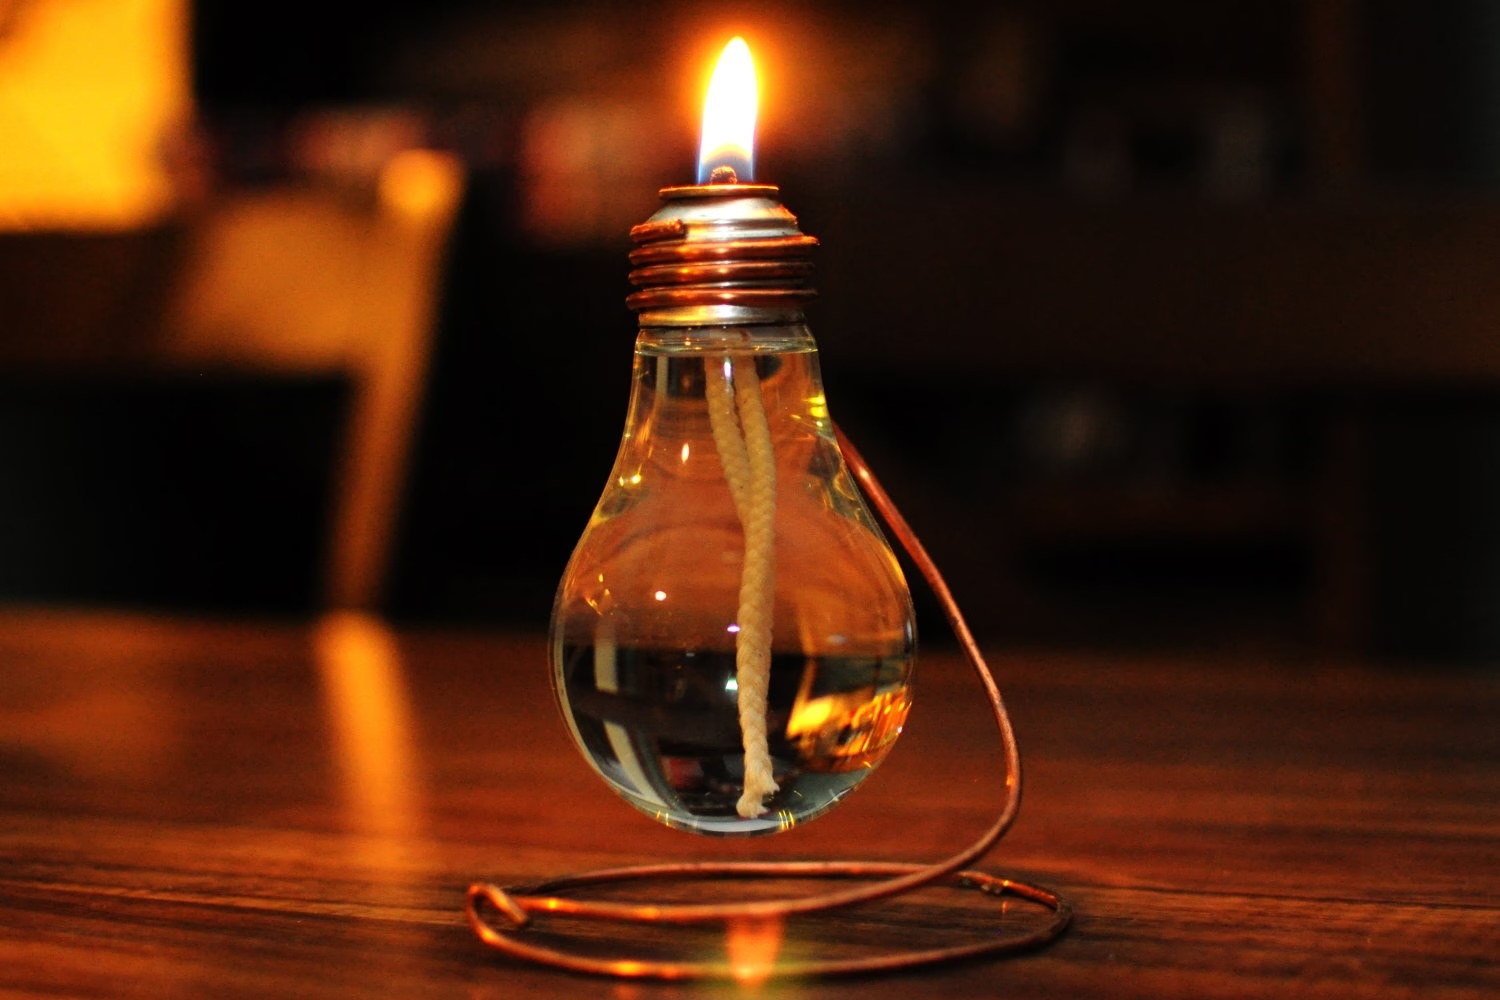
How To Make A Wine Bottle Oil Lamp
Modified: December 7, 2023
Learn how to turn a wine bottle into a stunning oil lamp. Enhance your furniture collection with this unique and stylish DIY project.
(Many of the links in this article redirect to a specific reviewed product. Your purchase of these products through affiliate links helps to generate commission for Storables.com, at no extra cost. Learn more)
Introduction
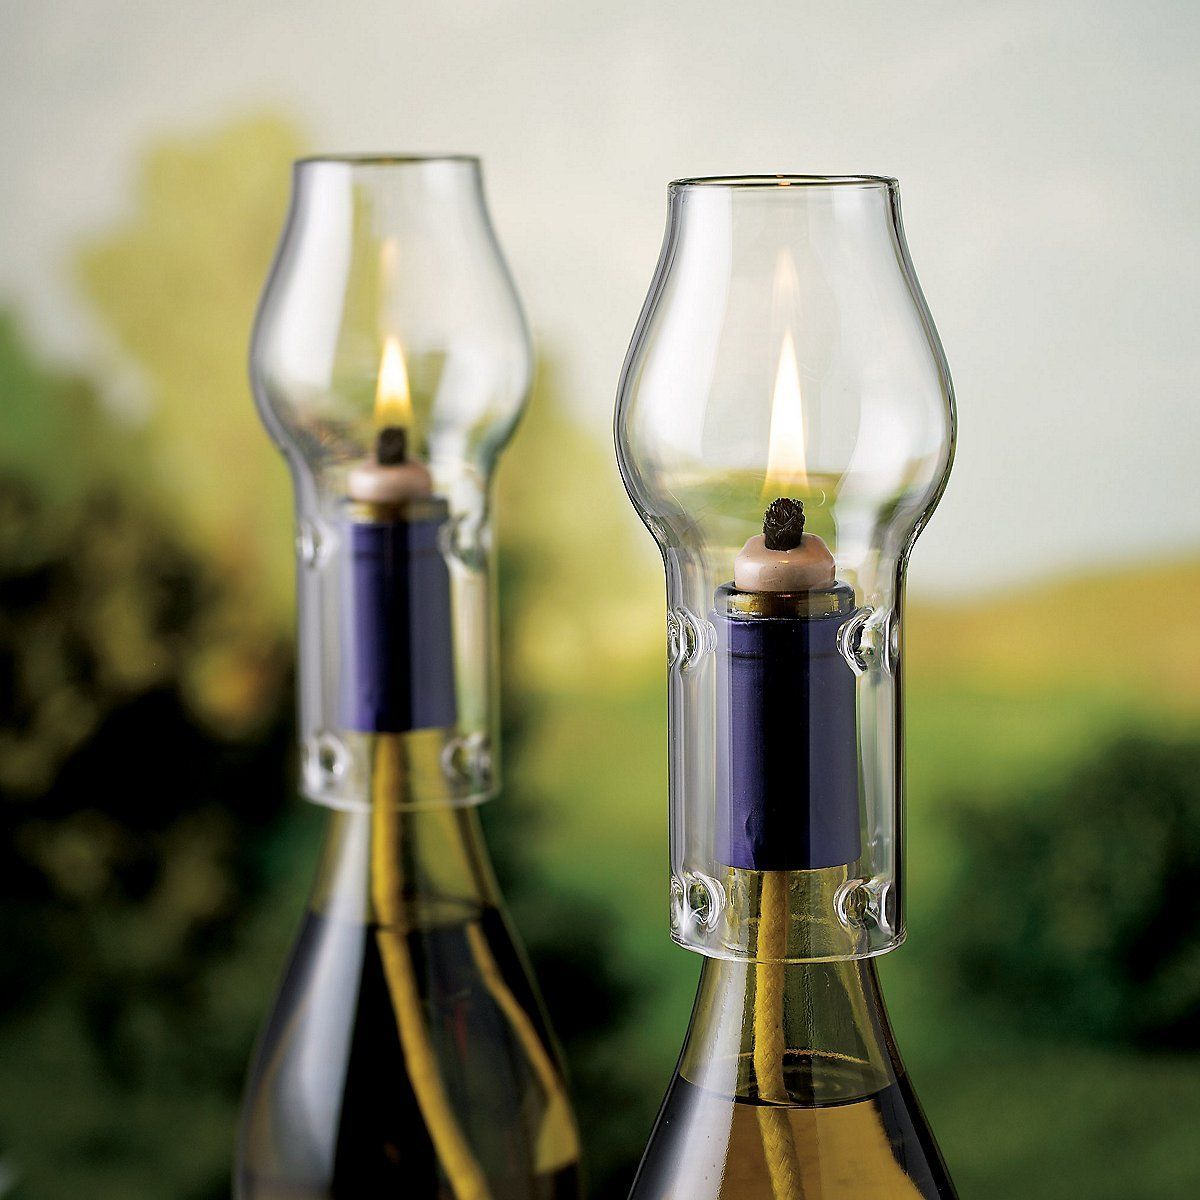
Welcome to the world of DIY home decor! If you’re looking for a unique and stylish way to add ambiance to your living space, then making a wine bottle oil lamp is the perfect project for you. With just a few materials and a little bit of creativity, you can transform an ordinary wine bottle into a stunning and functional piece of art.
Not only are wine bottle oil lamps a great way to repurpose empty bottles, but they also provide a warm and cozy atmosphere when lit. Whether you’re planning a romantic dinner or hosting a dinner party, these oil lamps will definitely impress your guests and add a touch of elegance to any occasion.
In this article, we’ll guide you through the step-by-step process of creating your very own wine bottle oil lamp. So grab your empty wine bottles and let’s get started!
Key Takeaways:
- Transform empty wine bottles into stunning oil lamps for a warm and cozy ambiance. Personalize with creative flair and enjoy the enchanting glow for romantic evenings or special gatherings.
- Repurpose materials and exercise caution to create unique wine bottle oil lamps. Enjoy the warm and inviting atmosphere while adding a touch of charm to any occasion.
Read more: How To Make An Oil Lamp
Materials Needed
Before you begin, make sure you have the following materials:
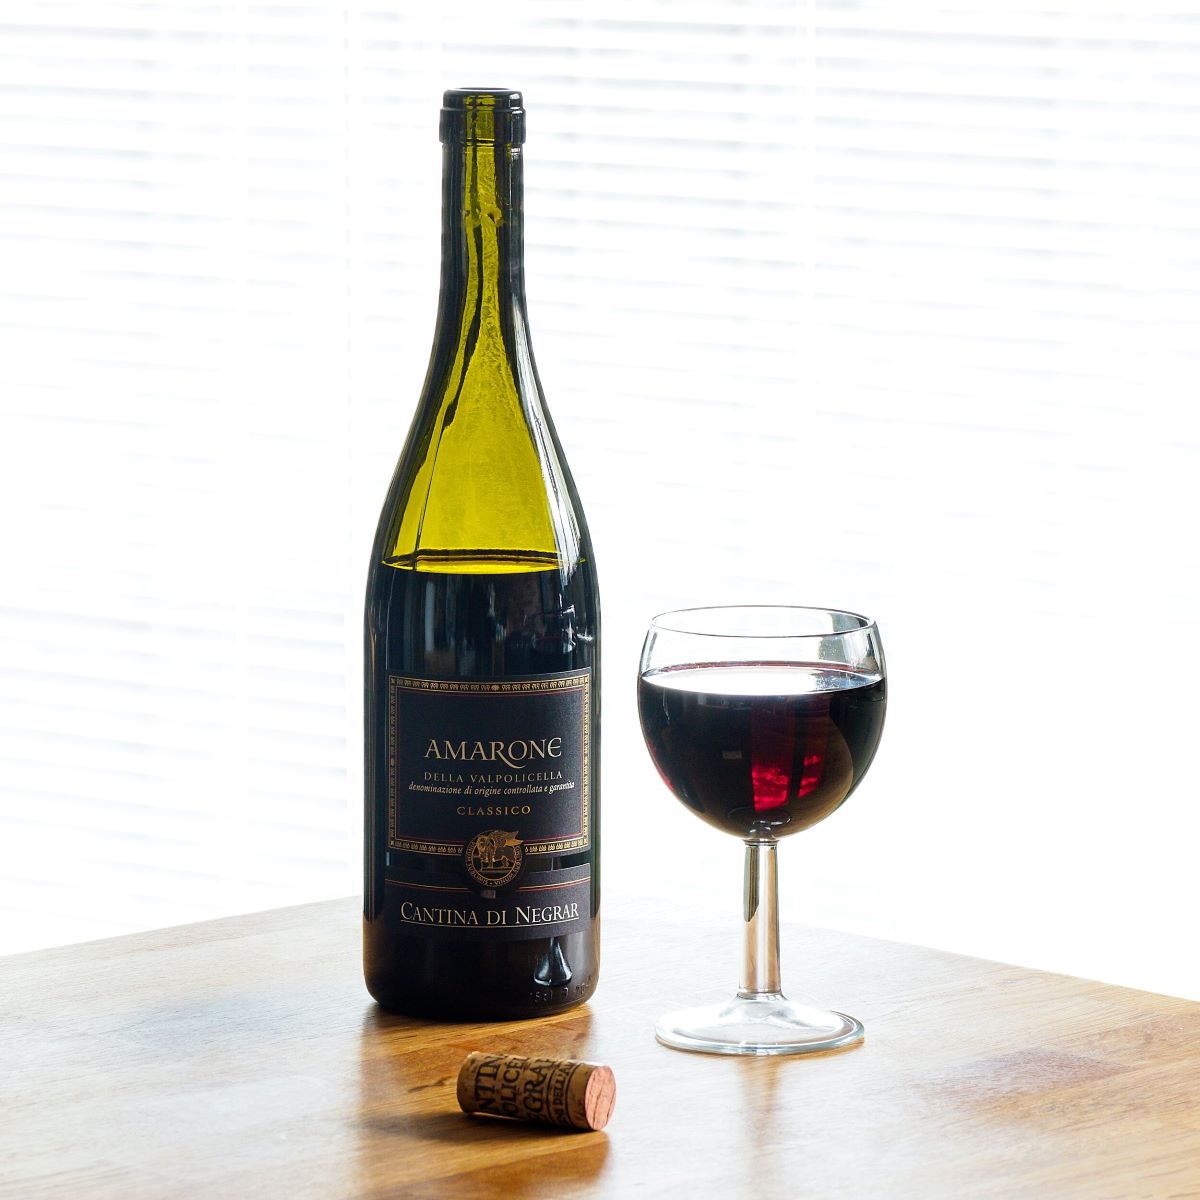
- A clean and empty wine bottle
- A wick (cotton or fiberglass)
- A wick holder
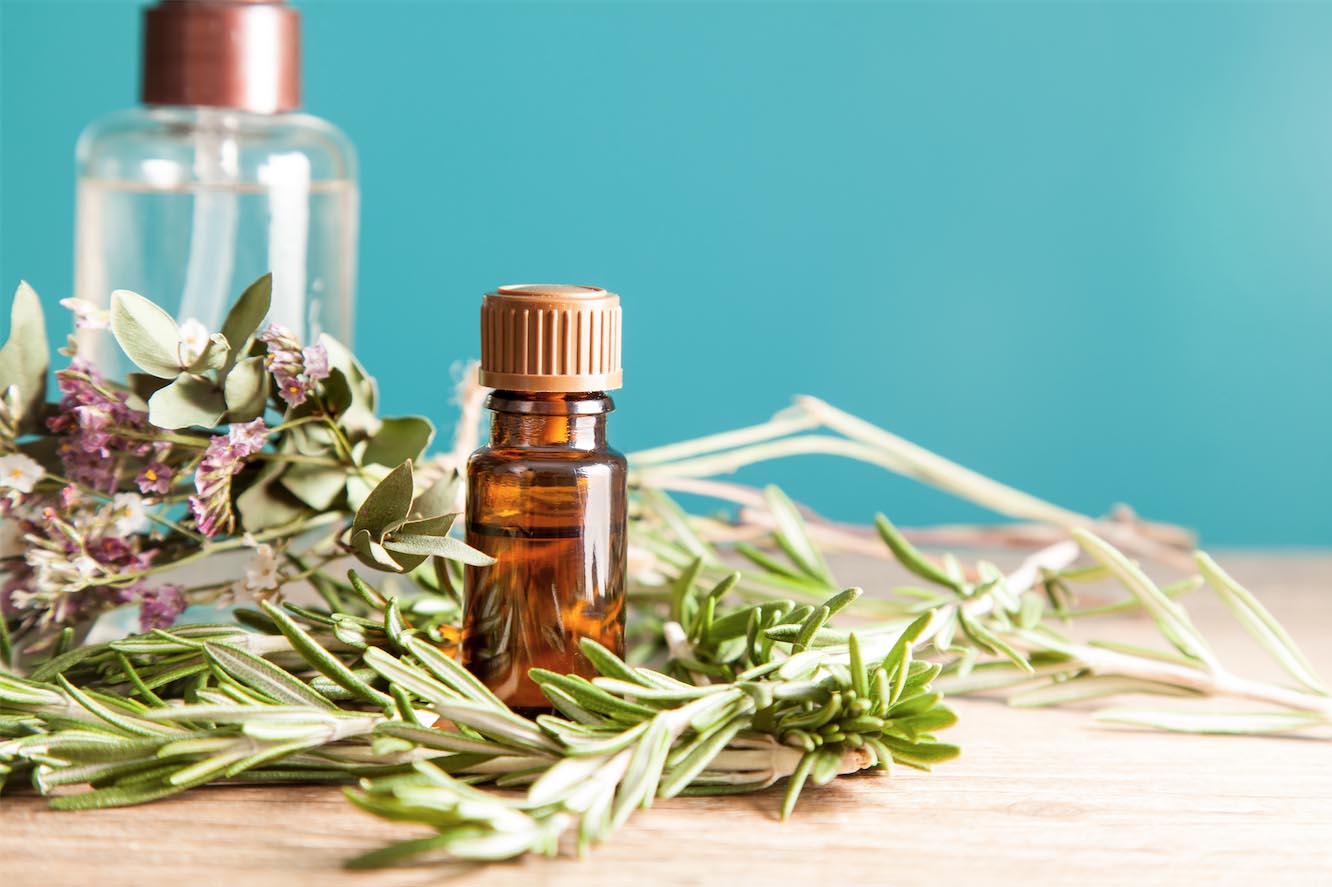
- Lamp oil or paraffin oil
- A funnel
- A pair of scissors
- A lighter or matches
These materials are easily accessible and can be found at most craft stores or online. You can also repurpose items you already have at home, such as an old cotton t-shirt for the wick or a metal charm as the wick holder.
Once you have gathered all the necessary materials, you’re ready to start creating your wine bottle oil lamp!
Step 1: Prepare the Wine Bottle
The first step in making a wine bottle oil lamp is to prepare the wine bottle. Follow these simple instructions:
- Remove any labels or stickers from the bottle. Soak it in warm, soapy water to loosen the adhesive, then scrub off any residue with a sponge or scrub brush.
- Dry the bottle thoroughly with a clean towel to ensure there is no moisture left inside. Any residual water can cause the oil to become cloudy or degrade over time.
- Optional: If desired, you can decorate the bottle with paint, adhesive decals, or etching to personalize it and add a unique touch to your oil lamp. Allow the decorations to dry completely before proceeding.
By taking the time to properly prepare the wine bottle, you’ll ensure that your oil lamp looks clean and professional. Plus, customizing the bottle with your own creative flair will make your oil lamp a real conversation piece.
Step 2: Assemble the Wick and Wick Holder
Now that your wine bottle is ready, it’s time to assemble the wick and wick holder. Follow these simple instructions:
- Measure and cut the wick to a length slightly longer than the height of the wine bottle. This will allow the wick to extend above the neck of the bottle and be easily accessible for lighting.
- If you’re using a cotton wick, you may need to fray the end slightly to promote better oil absorption. Gently unravel a small section of the wick fibers using your fingers or a small tool, being careful not to damage the rest of the wick.
- Screw or insert the wick into the wick holder, ensuring that it sits securely and will not fall out when placed in the bottle.
- Optional: To add a decorative touch, you can attach a charm or bead to the end of the wick holder. This will add a bit of flair to your oil lamp when it’s lit.
Assembling the wick and wick holder may seem like a small step, but it’s an essential part of the process. This will ensure that the wick absorbs the oil properly and provides a steady, controlled flame when lit. Take your time and be careful not to damage the wick while handling it.
When making a wine bottle oil lamp, be sure to use a high-quality fiberglass wick to ensure a clean and efficient burn. Fiberglass wicks are long-lasting and won’t degrade over time like cotton wicks.
Step 3: Fill the Wine Bottle with Oil
Now that the wick and wick holder are assembled, it’s time to fill the wine bottle with oil. Follow these simple instructions:
- Using a funnel, carefully pour lamp oil or paraffin oil into the wine bottle. Fill it to about three-quarters full, leaving enough space for the wick and room for the oil to expand when heated.
- Be careful not to overfill the bottle, as this can cause the oil to spill over when the wick is inserted or when the lamp is moved or lit.
- Choose an oil color that complements your decor or personal preference. Clear oil is the most commonly used, but you can also find colored oils that add a unique ambiance to the flame.
It’s important to use a clean and high-quality lamp oil or paraffin oil for optimal performance. Avoid using cooking oils or other flammable substances, as they can produce excessive smoke, odor, or even pose a fire hazard.
Once the wine bottle is filled with oil, it’s time to move on to the next step of inserting the wick holder into the bottle.
Read more: How To Make A Lamp Out Of A Liquor Bottle
Step 4: Insert the Wick Holder into the Bottle
With the wine bottle filled with oil, it’s time to insert the wick holder. Follow these simple instructions:
- Hold the wick holder with the attached wick and carefully lower it into the neck of the wine bottle.
- Make sure the wick extends above the neck of the bottle, allowing easy access for lighting.
- Ensure that the wick holder is centered and sits securely in the bottle without tipping or leaning.
- Gently push the wick holder down until it reaches the desired height, ensuring that it is immersed in the oil.
Remember to handle the wick and wick holder with care to avoid damaging or displacing them. A properly inserted wick holder will ensure that the flame burns steadily and efficiently, providing a long-lasting and beautiful light source.
Now that the wick holder is in place, it’s time to move on to the final step of lighting the oil lamp!
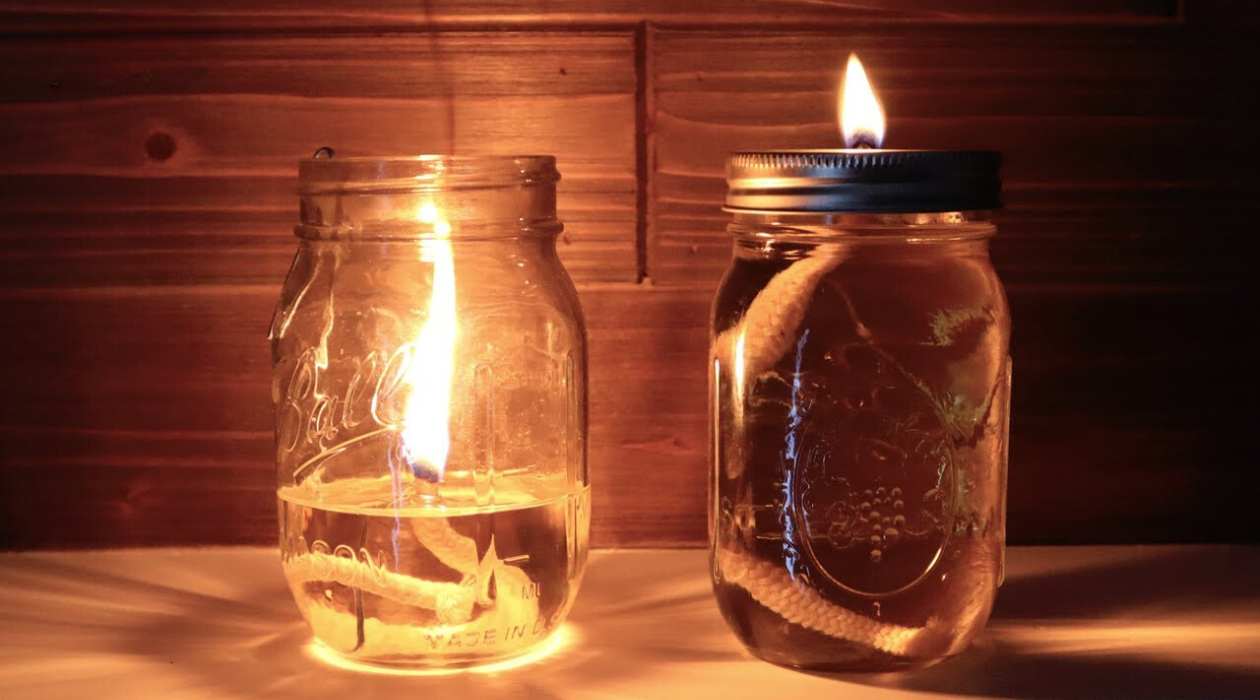
Step 5: Light the Oil Lamp
Congratulations, you’re in the final step of creating your wine bottle oil lamp! Now, it’s time to light it up and enjoy the warm glow. Follow these simple instructions:
- Make sure the area around the lamp is clear of any flammable materials or obstructions.
- Hold a lighter or match above the exposed wick, and carefully ignite it.
- Allow the flame to catch onto the wick and gradually increase the size of the flame.
- Adjust the height of the flame by raising or lowering the wick holder to control the brightness of the lamp.
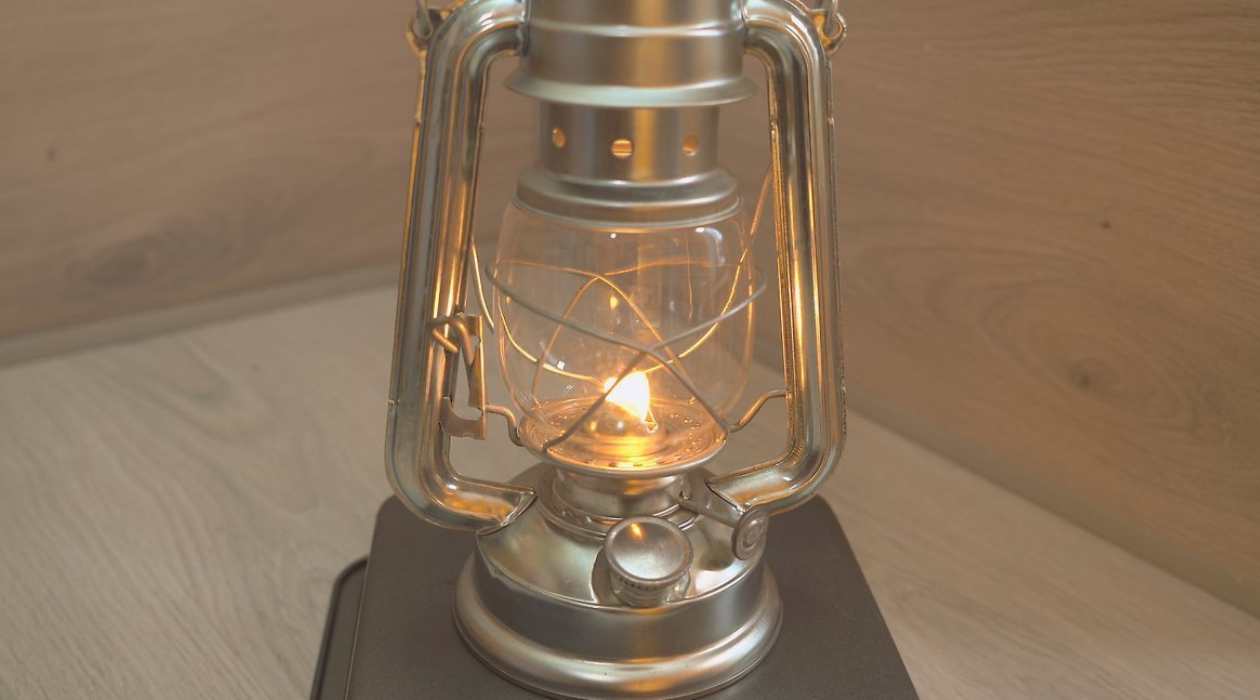
- Sit back, relax, and enjoy the cozy and inviting ambiance of your wine bottle oil lamp!
Keep safety in mind when using your oil lamp. Make sure to extinguish the flame before leaving the room or going to sleep. Never leave the lamp unattended while lit.
It’s also worth noting that the oil and wick will need occasional maintenance. If the flame becomes dim or flickers, trim the wick to remove any carbon buildup. Additionally, if the oil level becomes low, refill the bottle with more oil as needed.
Now that your oil lamp is lit, it’s time to sit back, relax, and bask in the warm and inviting glow it creates. Whether you’re enjoying a romantic evening or hosting a special gathering, your wine bottle oil lamp will undoubtedly add a touch of charm to any occasion.
Conclusion
Congratulations on successfully creating your very own wine bottle oil lamp! By repurposing a wine bottle and using a few simple materials, you’ve transformed it into a beautiful and functional piece of decor that adds a warm and cozy ambiance to any space.
Throughout this DIY project, you’ve learned how to prepare the wine bottle, assemble the wick and wick holder, fill the bottle with oil, insert the wick holder, and light the oil lamp. With these steps, you have the knowledge and skills to create more oil lamps and experiment with different designs and styles.
Remember to exercise caution and safety when working with open flames and flammable materials. Always ensure that the oil lamp is placed on a stable surface and away from any flammable objects. Extinguish the flame before leaving the room or going to sleep.
Now, it’s time to sit back, relax, and enjoy the enchanting glow of your wine bottle oil lamp. Whether you use it for romantic evenings, cozy nights at home, or special occasions, your oil lamp will undoubtedly create a welcoming and inviting atmosphere.
So, gather your empty wine bottles, gather the necessary materials, and let your creativity shine as you embark on this exciting DIY project. Start making your own unique and beautiful wine bottle oil lamps and bring warmth and charm to your home!
Frequently Asked Questions about How To Make A Wine Bottle Oil Lamp
Was this page helpful?
At Storables.com, we guarantee accurate and reliable information. Our content, validated by Expert Board Contributors, is crafted following stringent Editorial Policies. We're committed to providing you with well-researched, expert-backed insights for all your informational needs.