Furniture
How To Make An Oil Lamp
Modified: August 27, 2024
Learn how to make an oil lamp from furniture and add a touch of vintage charm to your home. Enhance your decor with this simple DIY project.
(Many of the links in this article redirect to a specific reviewed product. Your purchase of these products through affiliate links helps to generate commission for Storables.com, at no extra cost. Learn more)
Introduction
Welcome to the world of DIY oil lamps! There’s something magical about the soft, flickering glow of an oil lamp that adds an ambience and charm to any space. Whether you’re looking for a practical solution during a power outage or simply want to create a cozy atmosphere for a romantic dinner, making your own oil lamp is a rewarding and enjoyable project.
In this article, we’ll guide you step by step through the process of making your very own oil lamp. With just a few simple materials and tools, you’ll be able to create a functional and beautiful piece that will light up your life.
Before we dive into the instructions, let’s talk about the materials and tools you’ll need for this project.
Key Takeaways:
- Create a cozy and practical oil lamp using simple materials and steps. Enjoy the warm glow and ambiance while ensuring safety and proper maintenance for a rewarding DIY project.
- Transform everyday objects into unique oil lamp bases, adding charm and elegance to any space. Embrace creativity, caution, and the magical ambiance of your DIY creation.
Read more: How To Make Scented Lamp Oil
Materials and Tools Needed
To make your own oil lamp, you’ll need the following materials and tools:
- Glass container or base
- Cotton or fiberglass wick
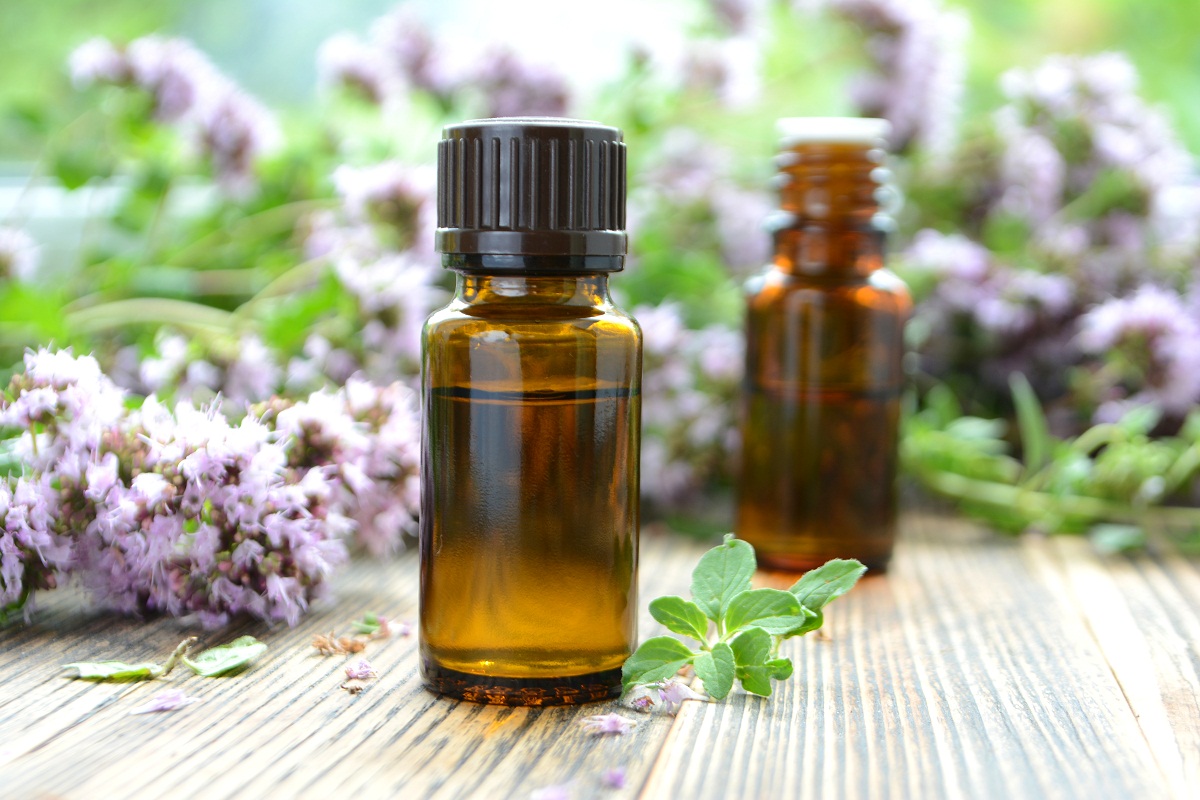
- Lamp oil or paraffin oil
- Decorative elements (optional)
- Scissors
- Pliers
Let’s take a closer look at each of these items:
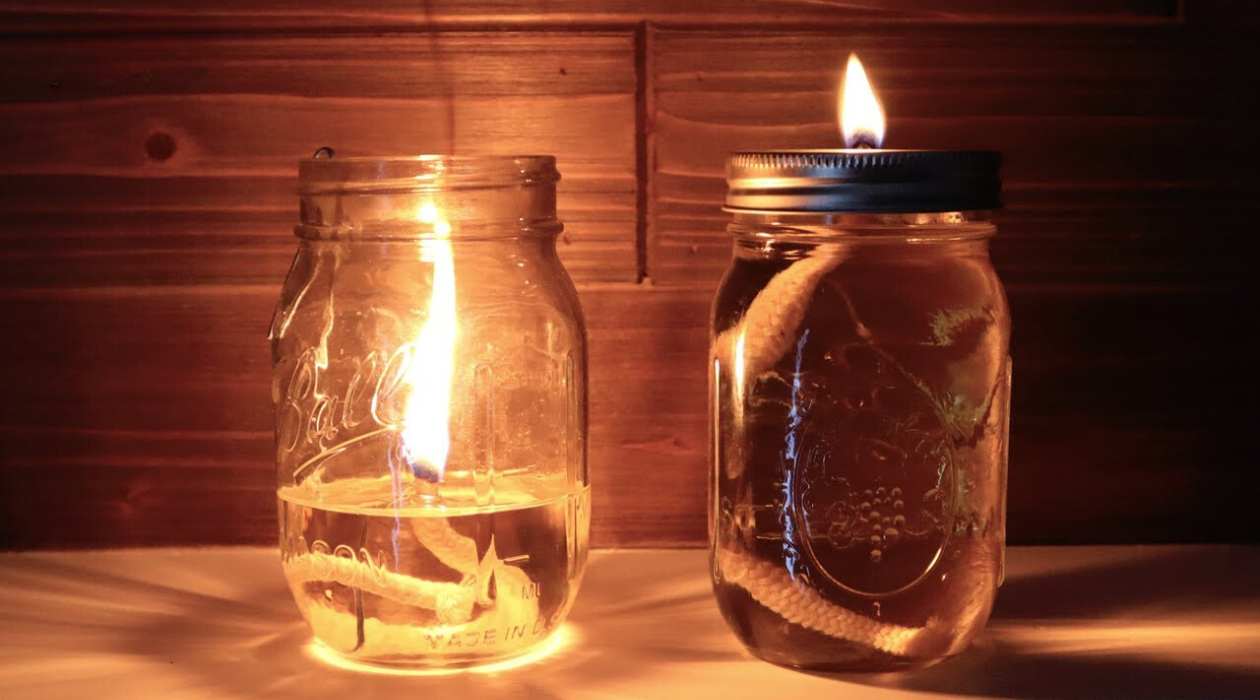
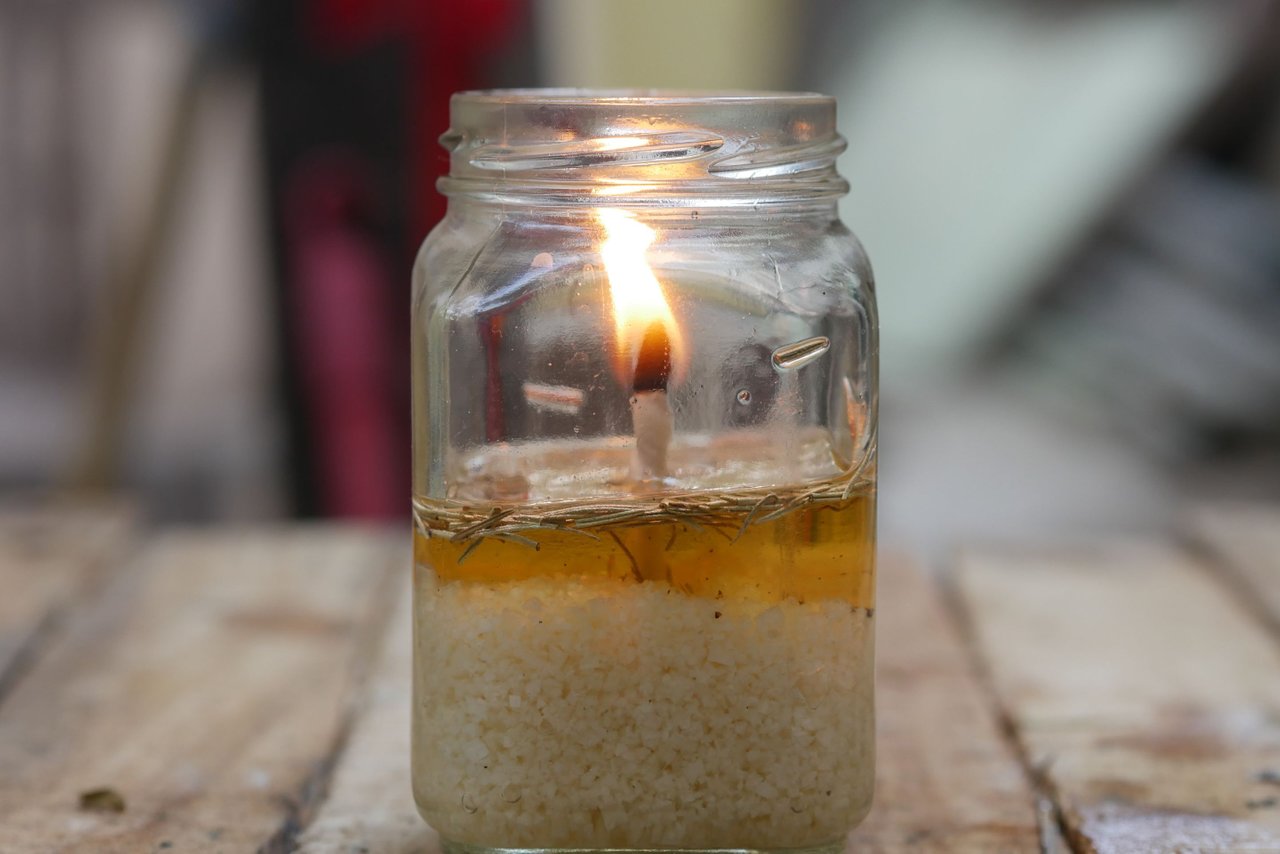
Glass container or base: The first step is to choose a base for your oil lamp. You can repurpose a glass container such as a mason jar, a wine bottle, or even an old glass vase. Make sure the container is clean and free from any cracks or damage.
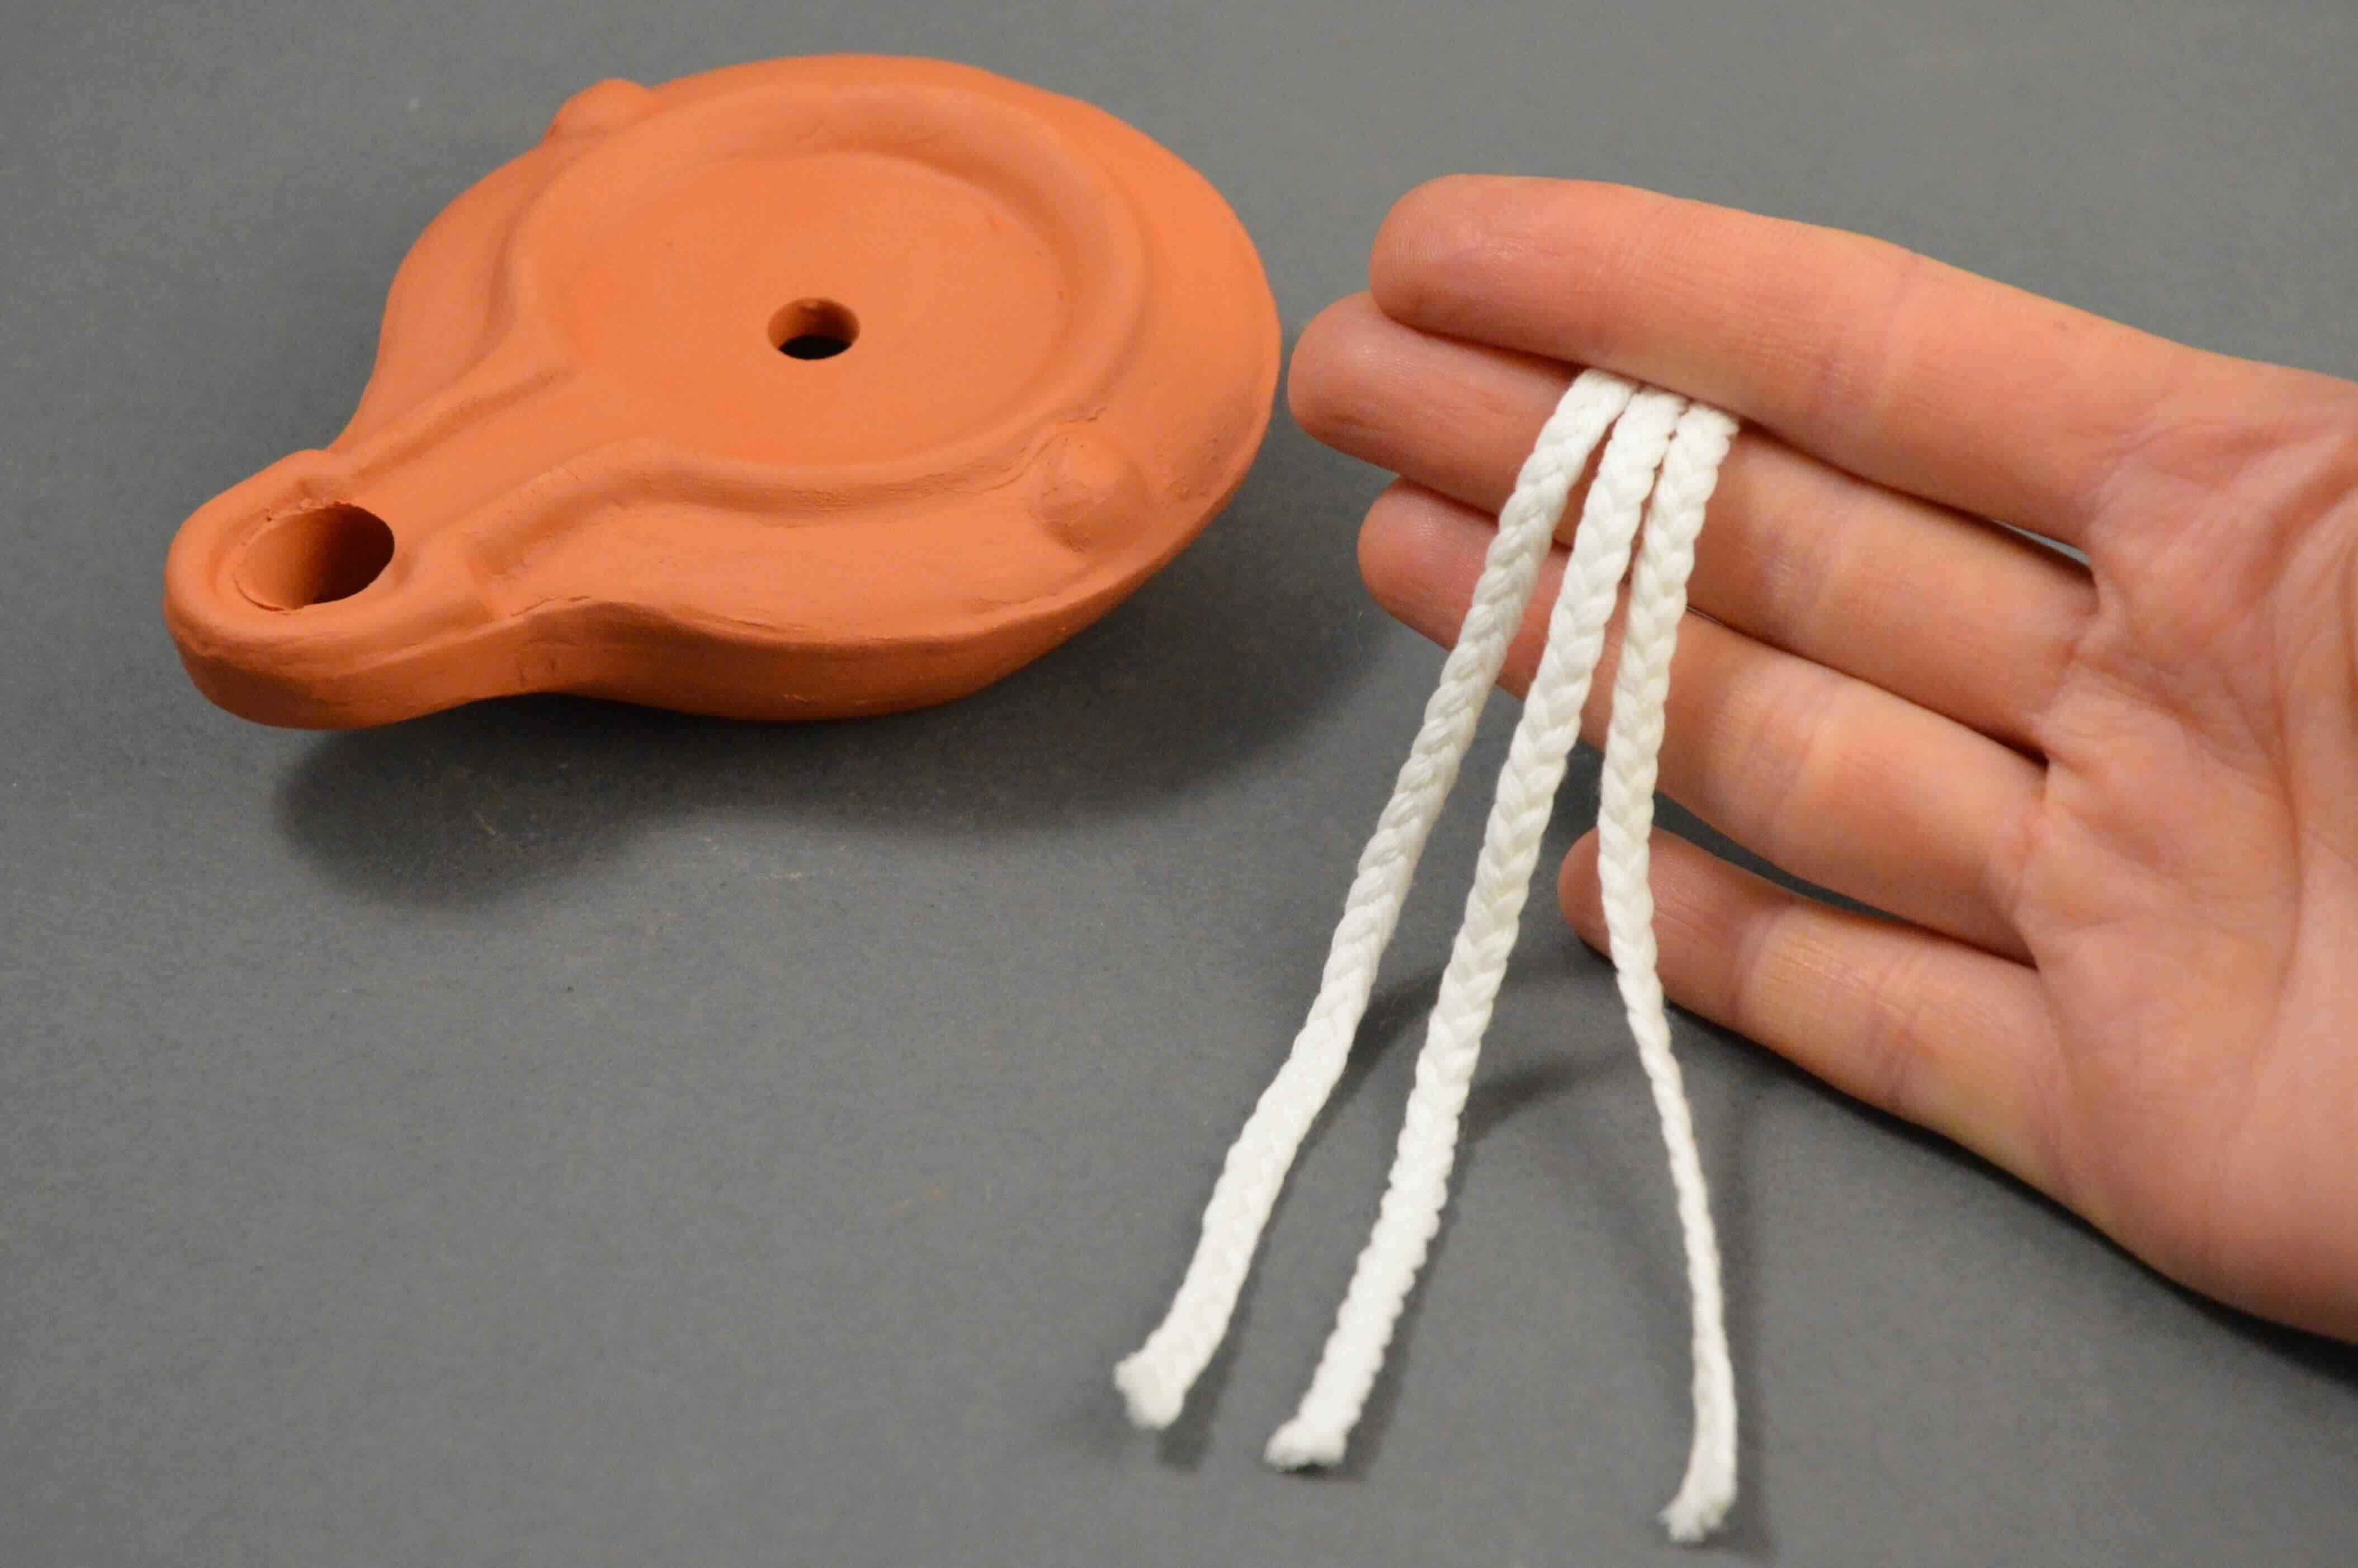
Cotton or fiberglass wick: The wick is responsible for absorbing the oil and providing fuel to the flame. You can use a cotton wick, which is widely available and easy to work with, or opt for a more durable fiberglass wick. Ensure that the wick is long enough to reach the bottom of your chosen container.
Lamp oil or paraffin oil: To fuel your oil lamp, you’ll need lamp oil or paraffin oil. These types of oil are specifically designed for lamps and provide a clean and efficient burn. Avoid using flammable oils or any substances that can create harmful fumes.
Decorative elements (optional): If you want to add a personal touch to your oil lamp, consider adding decorative elements such as shells, stones, or beads to the base. This will enhance the visual appeal of your lamp and make it even more unique.
Scissors: You’ll need a pair of scissors to cut the wick to the desired length. Make sure they are sharp and suitable for cutting fabric.
Pliers: Pliers will come in handy when assembling the oil lamp. They will help you grip and tighten certain components, ensuring a secure and stable construction.
Now that you have all the necessary materials and tools, let’s move on to the step-by-step process of making your own oil lamp.
Step 1: Choosing a Base for Your Oil Lamp
The base of your oil lamp will not only determine its overall look but also play a crucial role in its functionality. When choosing a base, consider the size, shape, and stability of the container. Here are a few options to consider:
- Glass container: Mason jars, wine bottles, and glass vases are popular choices for creating oil lamps. They offer a transparent view of the flame and are readily available in different sizes and styles. Make sure to choose a container with a wide enough opening to accommodate the components.
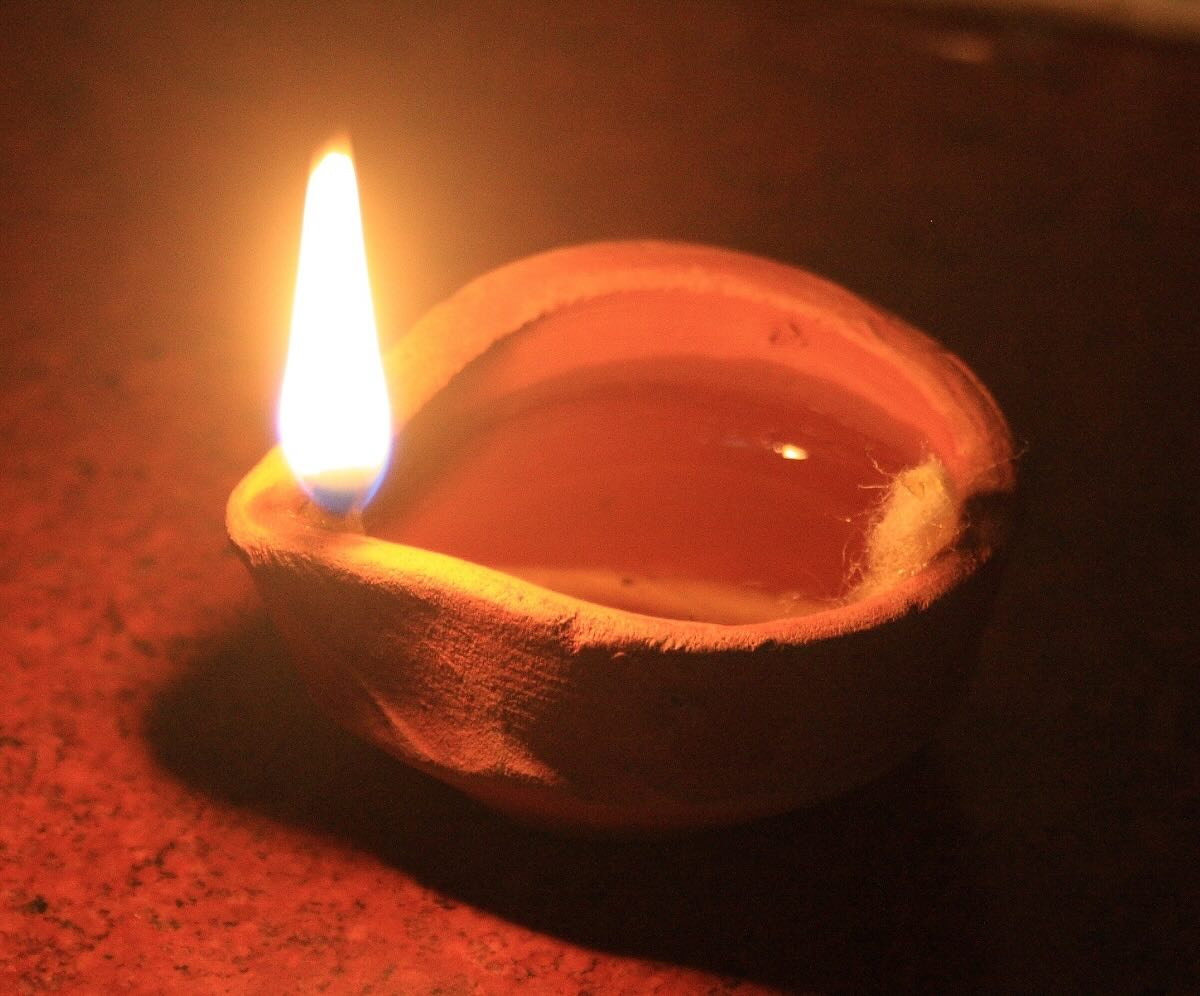
- Ceramic or clay: If you’re looking for a more rustic or artisanal feel, consider using a ceramic bowl or clay pot as the base for your oil lamp. These materials can add a touch of elegance and charm to your lamp.
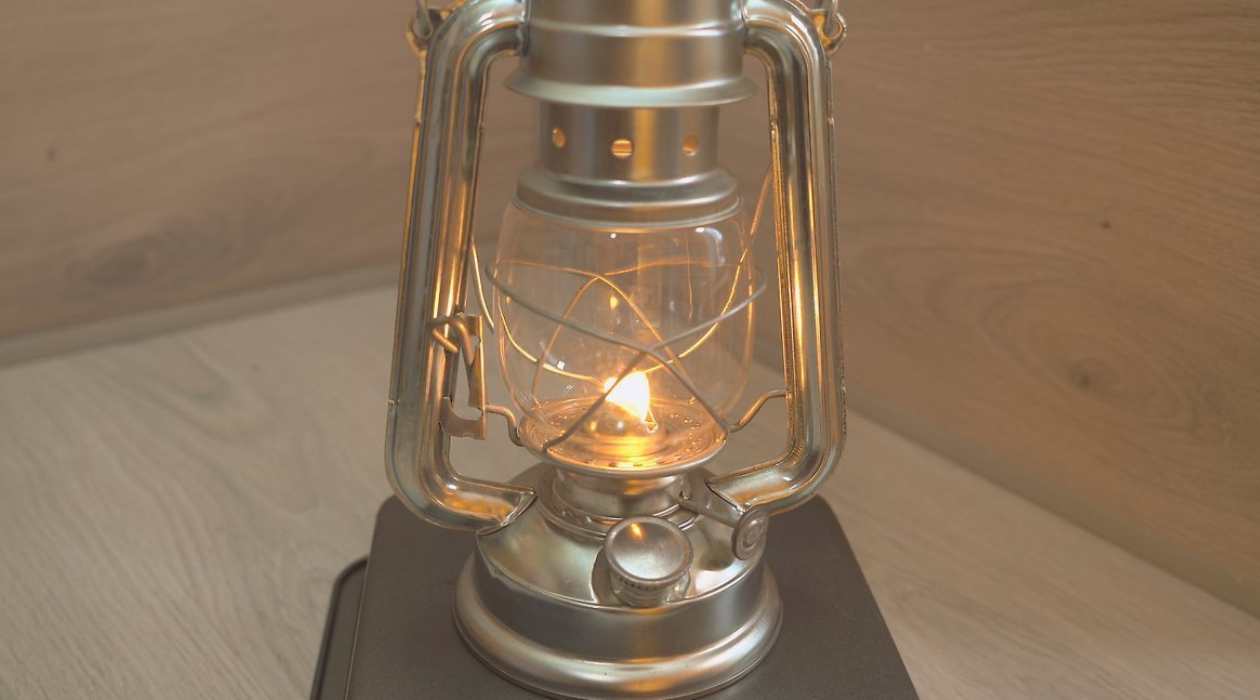
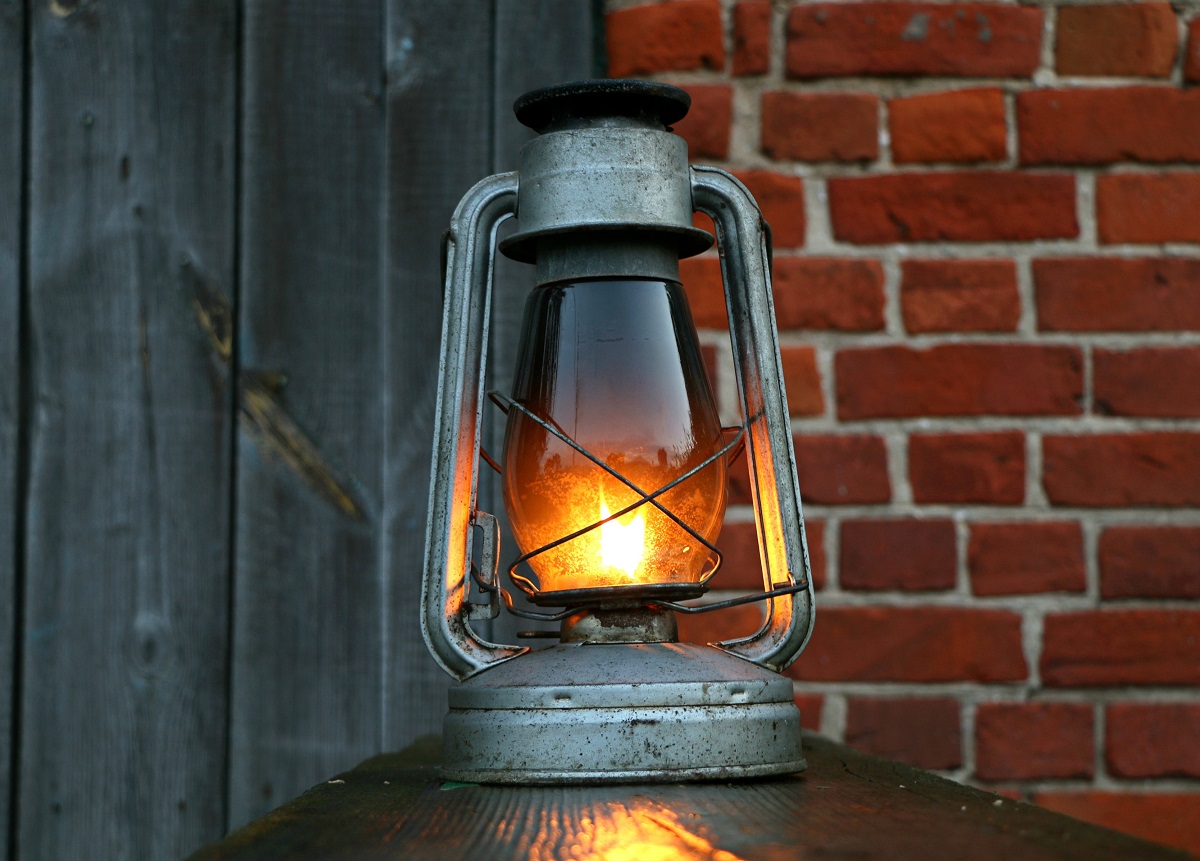
- Unique objects: Get creative and repurpose unique objects as the base for your oil lamp. Old teapots, vintage lanterns, or even seashells can make for interesting and unconventional oil lamp bases.
When selecting your base, keep in mind the stability of the container. Ensure that it sits flat on a surface without wobbling or tilting. This will prevent any accidents and ensure the safe and stable use of your oil lamp.
If you choose to use a glass container, make sure it is made of heat-resistant glass, such as borosilicate glass, to withstand the heat generated by the flame. Additionally, consider the size of the container. A smaller container will require less oil and wick, while a larger container will provide a longer burn time.
Once you have chosen the base for your oil lamp, it’s time to move on to the next step: preparing the base for the assembly of your DIY oil lamp.
Step 2: Preparing the Base
Before you assemble your oil lamp, it’s important to prepare the base to ensure a stable and secure construction. Follow these steps to prepare the base:
- Clean the base: Start by thoroughly cleaning the base of your chosen container. Remove any dust, dirt, or residue to ensure a clean and polished finish.
- Inspect for cracks: Carefully examine the base for any cracks or chips. Cracks can weaken the structure of the container and pose a safety hazard, so it’s important to use a base that is in good condition.
- Create a flat surface (if necessary): If your base is uneven or has an irregular shape, you may need to create a flat surface to stabilize the oil lamp. Use sandpaper or a file to carefully smooth out any rough or uneven areas.
- Place a non-slip pad (optional): To further enhance stability and prevent the lamp from sliding or tipping over, you can place a non-slip pad or adhesive bumper on the bottom of the base. This will provide an additional layer of security when using your oil lamp.
By cleaning, inspecting, and preparing the base, you’re ensuring a solid foundation for your DIY oil lamp. This step is essential for the overall stability and longevity of your lamp and will help prevent any accidents or mishaps during use.
Now that the base is ready, let’s move on to the next step: creating the wick for your oil lamp.
Step 3: Creating the Wick
The wick is an essential component of your oil lamp as it absorbs the oil and provides fuel for the flame. Follow these steps to create a wick for your DIY oil lamp:
- Select the right wick material: There are two common options for wick material – cotton and fiberglass. Cotton wicks are readily available and easy to work with, while fiberglass wicks are more durable and offer a longer lifespan. Choose the material that best suits your needs.
- Cut the wick: Measure and cut the wick to a length that is slightly longer than the height of your container. This will ensure that the wick reaches the bottom of the container and absorbs the oil effectively. Use sharp scissors to make a clean cut.
- Trim the wick: Before placing the wick in your oil lamp, trim the tip to a point. This will make it easier to thread the wick through the opening of the container and ensure a neat appearance.
- Soak the wick: If you’re using a cotton wick, it’s recommended to soak it in water or lamp oil for a few minutes before inserting it into the oil lamp. This will help the wick absorb the oil more efficiently and promote a steady and consistent flame.
Remember that the quality of the wick will directly impact the performance of your oil lamp. Make sure the wick is clean, in good condition, and of suitable length to provide an optimal burn.
Now that you have prepared the wick, it’s time to move on to the next step: creating the oil reservoir for your DIY oil lamp.
When making an oil lamp, use a clean, empty glass jar as the base and fill it with oil to about three-quarters full. Insert a cotton wick into the oil and let it soak for a few minutes before lighting.
Read more: How To Make A Wine Bottle Oil Lamp
Step 4: Making the Oil Reservoir
The oil reservoir is where the fuel for your oil lamp is stored. In this step, we’ll guide you through the process of creating the oil reservoir for your DIY oil lamp:
- Select an appropriate container: Choose a small glass or metal container that will serve as the oil reservoir for your lamp. This container should be able to hold enough oil to provide a decent burn time without being too large or cumbersome.
- Prepare the container: Clean the container thoroughly and ensure it is dry before moving forward. Any residue or moisture could affect the performance of your oil lamp.
- Add the oil: Fill the container with lamp oil or paraffin oil, leaving a small space at the top to prevent overflow when the wick is inserted. Different oils may have different burn times and characteristics, so choose an oil that suits your preferences.
It’s important to note that the type of oil you use can affect the quality of the flame and the overall performance of your oil lamp. Lamp oil or paraffin oil are specifically designed for oil lamps and provide a clean, odorless burn. Avoid using other types of oils, such as cooking oils or motor oils, as they can produce smoke, unpleasant smells, or even be hazardous.
Once you have prepared the oil reservoir, it’s time to move on to the next step: assembling your DIY oil lamp.
Step 5: Assembling the Oil Lamp
Now that you have prepared all the necessary components, it’s time to assemble your DIY oil lamp:
- Place the wick in the oil reservoir: Insert the end of the wick into the oil reservoir, making sure it is fully submerged in the oil. The wick should rest at the bottom of the reservoir.
- Thread the wick through the base: Take the other end of the wick and thread it through the opening of your chosen base. If necessary, use a pair of pliers to help pull the wick through if the opening is tight.
- Arrange the wick: Position the wick in the center of the base and adjust its length so that it sticks out slightly above the top of the base. This will allow for easy lighting and adjustment of the flame.
- Secure the wick in place: If your base has a lid or cap, place it over the wick to secure it in place. This will prevent the wick from moving or falling out during use.
It’s important to ensure that the wick is properly positioned and secured within the base to promote a safe and controlled burn. Make any necessary adjustments before moving on to the next step.
With the components assembled, your DIY oil lamp is taking shape. The next step will guide you through testing and lighting the lamp for the first time.
Step 6: Testing and Lighting the Oil Lamp
Before fully enjoying the warm glow of your DIY oil lamp, it’s important to test and light it properly. Follow these steps to ensure a successful first lighting:
- Choose a safe and well-ventilated area: Find a suitable location for your oil lamp, away from any flammable materials and in a well-ventilated space. This will help prevent any accidents and ensure the proper amount of oxygen for the flame.
- Trim the wick: Before lighting the lamp, trim the exposed portion of the wick to approximately 1/4 of an inch. This will help create a steady flame and prevent excessive smoking.
- Light the wick: Use a long-reach lighter or matchstick to ignite the trimmed end of the wick. Hold the flame just above the wick until it catches fire. Be cautious and keep a safe distance from the flame.
- Observe the flame: Once the wick is lit, observe the flame to ensure it is burning steadily and evenly. Adjust the height of the wick if needed by using a pair of pliers or a wick adjuster, if your oil lamp has one. A shorter wick will produce a smaller flame, while a longer wick will yield a larger flame.
Take the time to observe the flame for a few minutes to ensure that it is stable and not flickering excessively. If the flame is too small, it may be an indication that the wick is not getting enough fuel. Conversely, if the flame is too large or produces excessive smoke, it may be necessary to trim the wick slightly.
Remember to always monitor your oil lamp when it is lit and never leave it unattended. Safety should always be a top priority when using open flames.
With your oil lamp successfully tested and lit, let’s move on to the next step: discussing safety precautions and maintenance.
Step 7: Safety Precautions and Maintenance
Ensuring the safety of your DIY oil lamp is paramount. Follow these safety precautions and maintenance guidelines to enjoy your lamp responsibly:
- Never leave the lamp unattended: Always supervise your oil lamp when it is lit. Accidents can happen quickly, and it’s crucial to be present and aware to prevent any mishaps.
- Keep away from flammable materials: Place your oil lamp away from curtains, fabrics, paper, or any other flammable objects. Ensure that there is ample space around the lamp to prevent accidental contact with combustible materials.
- Use in a well-ventilated area: Oil lamps consume oxygen when burning. Make sure to use your lamp in a well-ventilated area to maintain healthy air circulation and prevent the buildup of harmful fumes.
- Trim the wick regularly: Regularly trim the wick before each use to maintain a steady flame and prevent excessive smoking. A well-trimmed wick ensures efficient fuel absorption and a cleaner burn.
- Store lamp oil safely: Keep lamp oil or paraffin oil in a securely closed container and store it away from heat or direct sunlight. Ensure that it is out of reach of children and pets.
- Check for leaks: Regularly inspect your oil lamp for any signs of leaking or damage. If you notice any leaks, cracks, or loose components, discontinue use and repair or replace the lamp as necessary.
- Clean and maintain the lamp: Clean your oil lamp regularly by wiping away any soot or residue. This not only keeps it looking its best but also ensures the longevity and function of the lamp.
By following these safety precautions and maintaining your oil lamp properly, you can enjoy the comforting glow of your DIY creation with peace of mind.
Congratulations! You have successfully completed all the steps to create and maintain your own oil lamp. Remember to exercise caution and enjoy the warm and inviting ambiance it brings to your space.
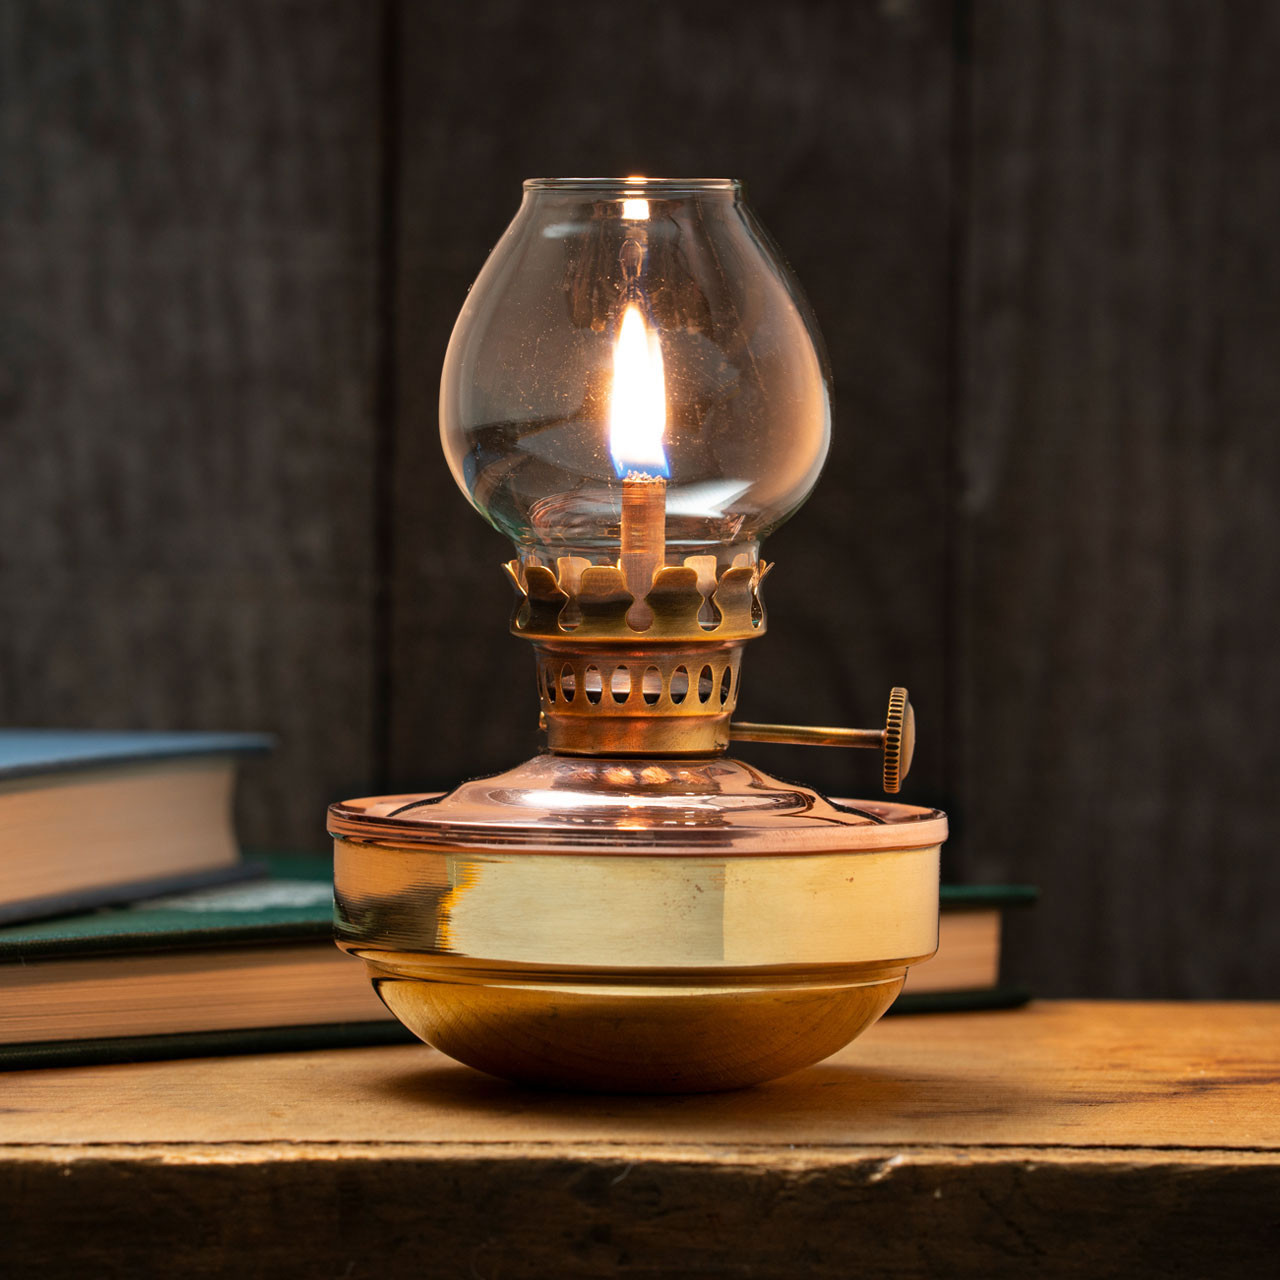
Now it’s time to take a step back and bask in the radiant glow of your DIY oil lamp. Enjoy the magical ambiance and the sense of accomplishment that comes with creating something beautiful and functional with your own hands.
Happy crafting and may your oil lamp illuminate many memorable moments!
Read more: How To Dispose Of Lamp Oil
Conclusion
Creating your own oil lamp is a fulfilling and rewarding DIY project that brings both practicality and charm to any space. By following the steps outlined in this article, you have learned how to choose a suitable base, prepare it for assembly, create a wick, make the oil reservoir, and assemble your oil lamp. Additionally, you’ve gained valuable knowledge on testing and lighting the lamp, as well as implementing safety precautions and proper maintenance.
With your DIY oil lamp now complete, you can enjoy the soft, flickering glow that adds a touch of magic to your surroundings. Whether you’re using it during a power outage, for a cozy evening at home, or as a decorative piece for special occasions, your oil lamp will undoubtedly create a warm and inviting atmosphere.
Remember to always practice caution and follow safety protocols when using an open flame. Never leave the lamp unattended, maintain proper ventilation, and keep flammable materials away from the lamp. Regularly trim the wick, clean the lamp, and store lamp oil safely for ongoing maintenance and optimal performance.
Creating and using your DIY oil lamp not only provides you with a practical lighting solution but also allows you to showcase your creativity and craftsmanship. It can serve as a beautiful centerpiece, a thoughtful gift, or a conversation starter among your friends and family.
So, embrace the beauty of the flickering flame, delight in the warm glow, and take pride in your ability to craft your own source of light. Let your DIY oil lamp illuminate many moments and create memories that will last a lifetime.
Happy crafting!
Frequently Asked Questions about How To Make An Oil Lamp
Was this page helpful?
At Storables.com, we guarantee accurate and reliable information. Our content, validated by Expert Board Contributors, is crafted following stringent Editorial Policies. We're committed to providing you with well-researched, expert-backed insights for all your informational needs.