Furniture
How To Make Colored Lamp Oil
Modified: February 25, 2024
Learn how to make colored lamp oil for your furniture with this step-by-step guide. Discover the perfect hues to enhance the ambiance of your home.
(Many of the links in this article redirect to a specific reviewed product. Your purchase of these products through affiliate links helps to generate commission for Storables.com, at no extra cost. Learn more)
Introduction
Welcome to our guide on how to make colored lamp oil. Adding color to lamp oil can create a beautiful and unique ambiance in your home or outdoor space. Whether you want to match your decor, create a specific mood, or simply add a touch of creativity to your lighting, making your own colored lamp oil is a fun and cost-effective solution.
In this article, we will walk you through the step-by-step process of making colored lamp oil. We will discuss the materials needed, different options for base oils and colorants, and provide tips on how to achieve the desired color intensity. So let’s dive in and discover how to infuse your lamps with vibrant hues!
Key Takeaways:
- Create a personalized ambiance by making your own colored lamp oil using base oils like mineral oil or liquid paraffin oil, and colorants such as liquid dyes or food coloring. Enjoy experimenting with vibrant hues to match your decor or set a specific mood.
- Ensure safety and proper storage when handling colored lamp oil. Store it in a suitable container, label it correctly, and handle it with care to enjoy the captivating ambiance it creates in your home or outdoor space.
Read more: How To Make An Oil Lamp
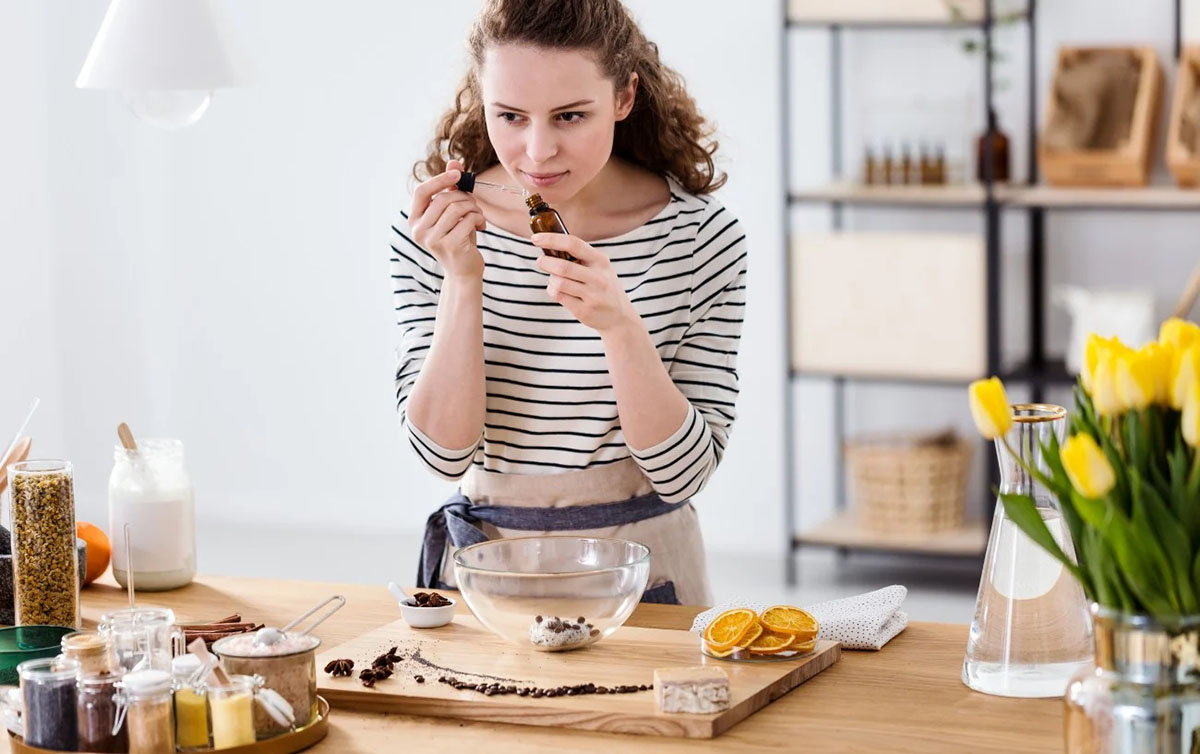
Materials Needed
Before we begin, let’s gather the materials that you will need to make colored lamp oil. Luckily, most of these items can be easily found at your local craft store or online. Here’s what you’ll need:
- A base oil: This will serve as the main component of your lamp oil. Common choices include mineral oil, liquid paraffin oil, or vegetable-based oils such as olive oil or coconut oil.
- Colorants: These will add the desired hue to your lamp oil. You can choose from liquid dyes, food coloring, or specialized candle and soap colorants. Make sure to select colorants that are compatible with the base oil you’ve chosen.
- Measuring tools: You’ll need a graduated cylinder, pipette, or small measuring spoons to accurately measure the amounts of base oil and colorants.
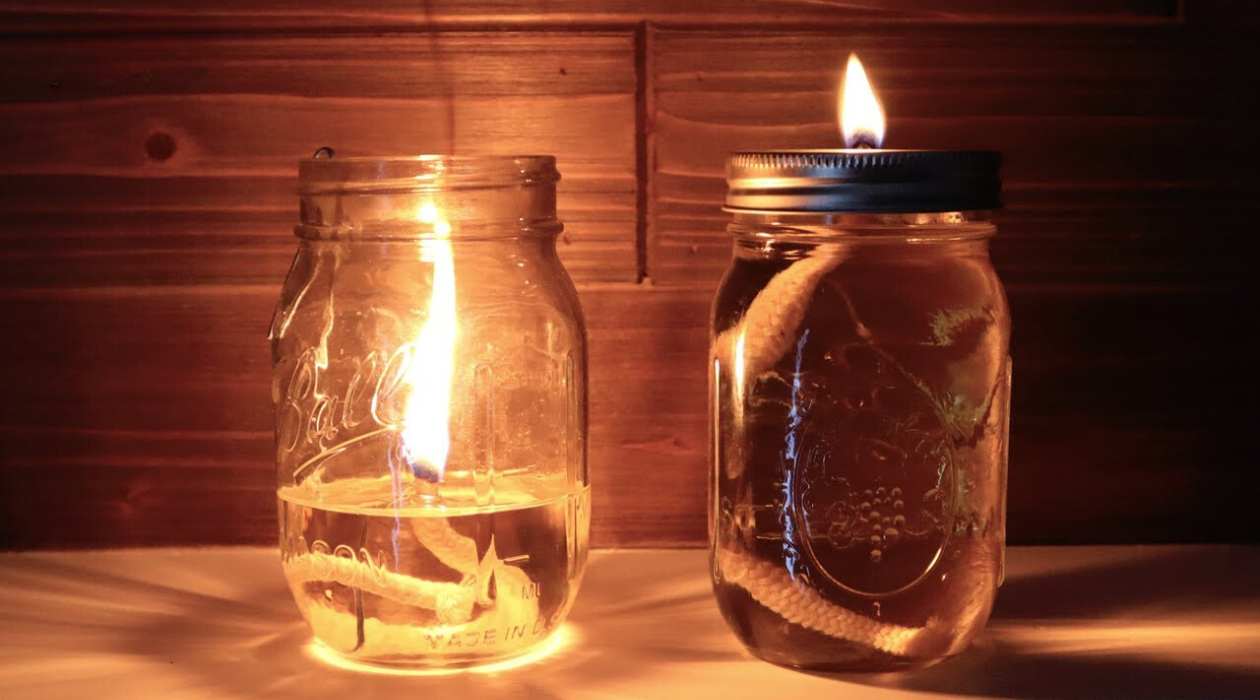
- A glass container: This will be used to mix and store your colored lamp oil. It is recommended to use a clear glass container to easily observe and appreciate the color.
- A stirring implement: A glass stirring rod, a plastic spoon, or a chopstick can be used to mix the base oil and colorants evenly.
- Protective gloves: Wearing gloves will prevent skin irritations or stains from handling the colorants.
These materials are the foundation for creating your own colored lamp oil. With these items readily available, let’s move on to the next steps of the process: choosing a base oil and selecting your colorants.
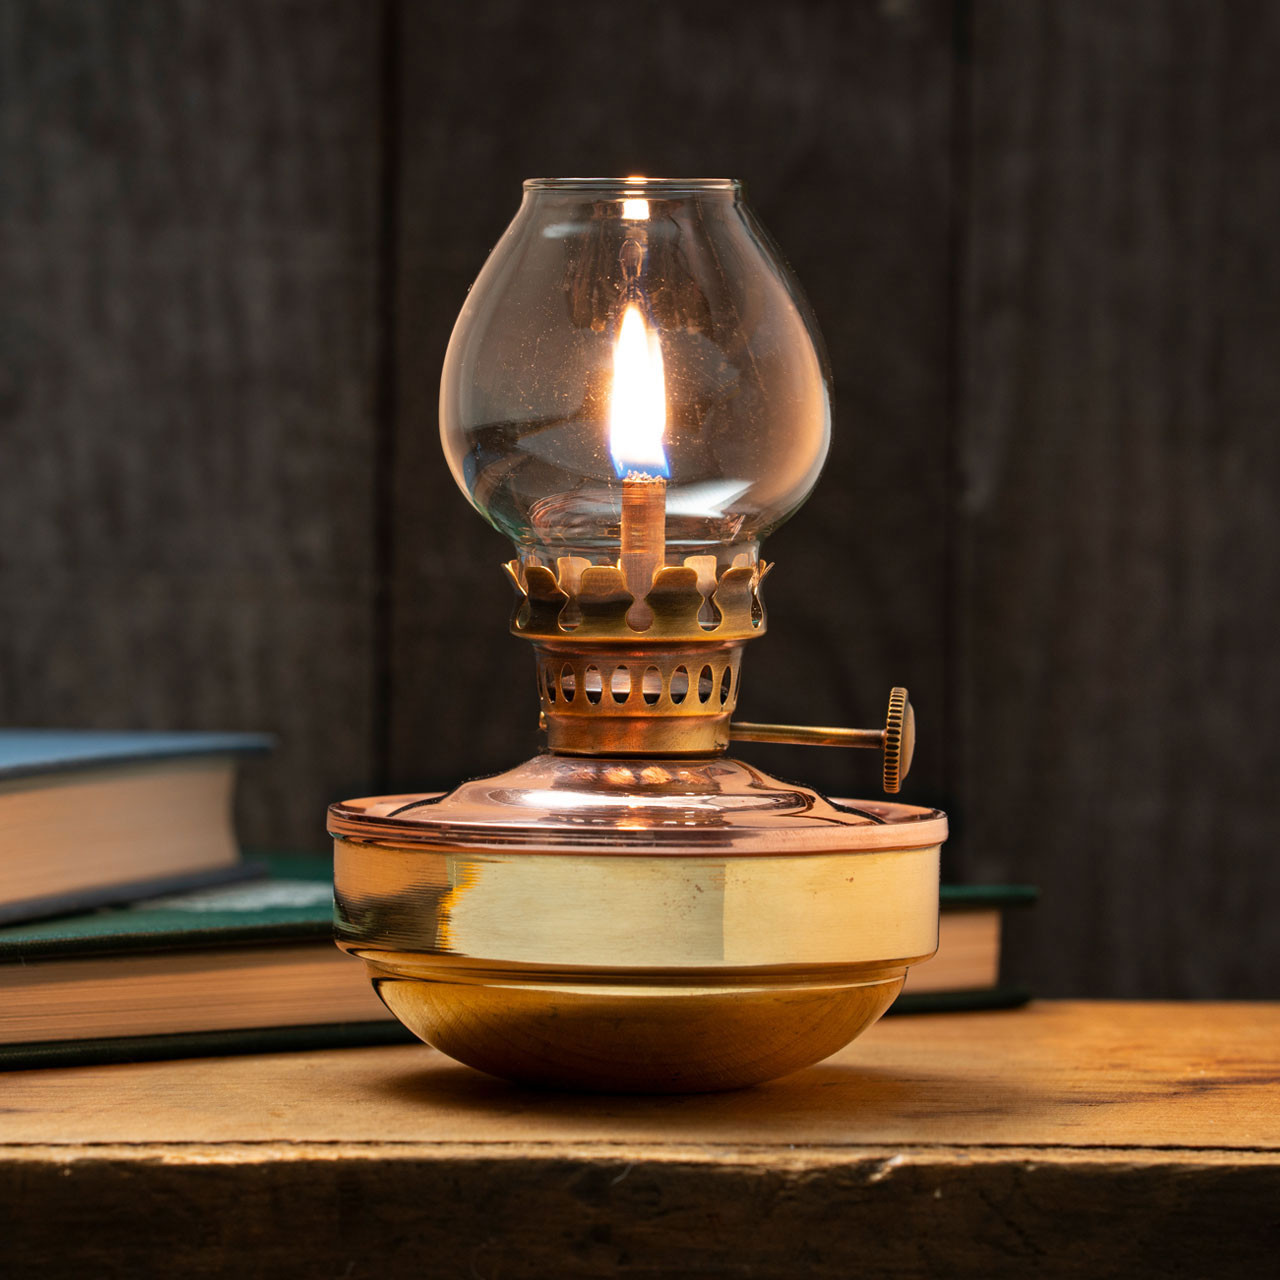
Step 1: Choose a Base Oil
The first step in making colored lamp oil is selecting a suitable base oil. The base oil serves as the carrier for the colorants and provides the fuel for the lamp. Here are some popular options to consider:
Mineral oil: Mineral oil is a common choice for lamp oil due to its stability, low odor, and clean-burning properties. It is readily available and relatively inexpensive. Mineral oil can be found in drugstores, supermarkets, or online.
Liquid paraffin oil: Liquid paraffin oil, also known as paraffin lamp oil, is another popular choice. It has a high flash point, which makes it safer for indoor use. Liquid paraffin oil can be found in hardware stores, candle supply stores, or online.
Vegetable-based oils: If you prefer a more natural alternative, you can use vegetable-based oils such as olive oil or coconut oil. These oils are renewable, eco-friendly, and produce a subtle scent when burned. Keep in mind that vegetable-based oils may have a lower flash point compared to mineral oil or liquid paraffin oil.
When selecting a base oil, consider factors such as availability, cost, safety, and any specific requirements of your lamps or lanterns. It’s important to choose an oil that is compatible with your lighting devices and won’t damage them.
If you’re unsure about which base oil to choose, consult the manufacturer’s recommendations or do some research to see what others have used successfully. Now that we’ve selected a base oil, let’s move on to the next step: selecting your colorants.
Step 2: Select Your Colorants
Choosing the right colorants is crucial to achieve the desired hue for your lamp oil. There are several options available, each with its own characteristics and effects. Here are some popular choices:
Liquid dyes: Liquid dyes specially formulated for candles or soap making are a convenient option for coloring lamp oil. They are highly concentrated and often come in a wide range of vibrant colors. Liquid dyes are usually oil-based, making them compatible with most lamp oil bases. Be sure to follow the manufacturer’s instructions for proper usage.
Food coloring: If you’re looking for a more accessible and affordable option, food coloring can be used to add color to lamp oil. However, keep in mind that food coloring is water-based, so it may not fully mix with oil. You may need to shake or stir the lamp oil periodically to maintain the color. Additionally, food coloring may produce a slightly cloudy effect in the lamp oil.
Candle and soap colorants: Candle and soap colorants are specifically designed for use in wax and oil-based products. They come in various forms, such as chips, blocks, or liquid bottles. Candle colorants are usually oil-based, making them compatible with lamp oil. Soap colorants are often dye-based and can work well too. Check the instructions provided by the manufacturer for best results.
When selecting your colorants, consider factors such as color intensity, compatibility with your base oil, and any specific safety precautions. It is recommended to start with a small amount of colorant and gradually add more until you achieve the desired hue.
Remember to wear protective gloves when handling colorants, as some may stain skin or clothing. It’s also a good idea to test a small sample of your colored lamp oil before using it in your lamps or lanterns to ensure that it burns safely and produces the desired effect.
Now that we have our base oil and colorants ready, let’s move on to the next step: preparing the colored dye solution.
When making colored lamp oil, use high-quality dye or pigment designed for use in oil-based products to ensure the color is vibrant and long-lasting. Avoid using water-based dyes, as they will not mix well with the oil.
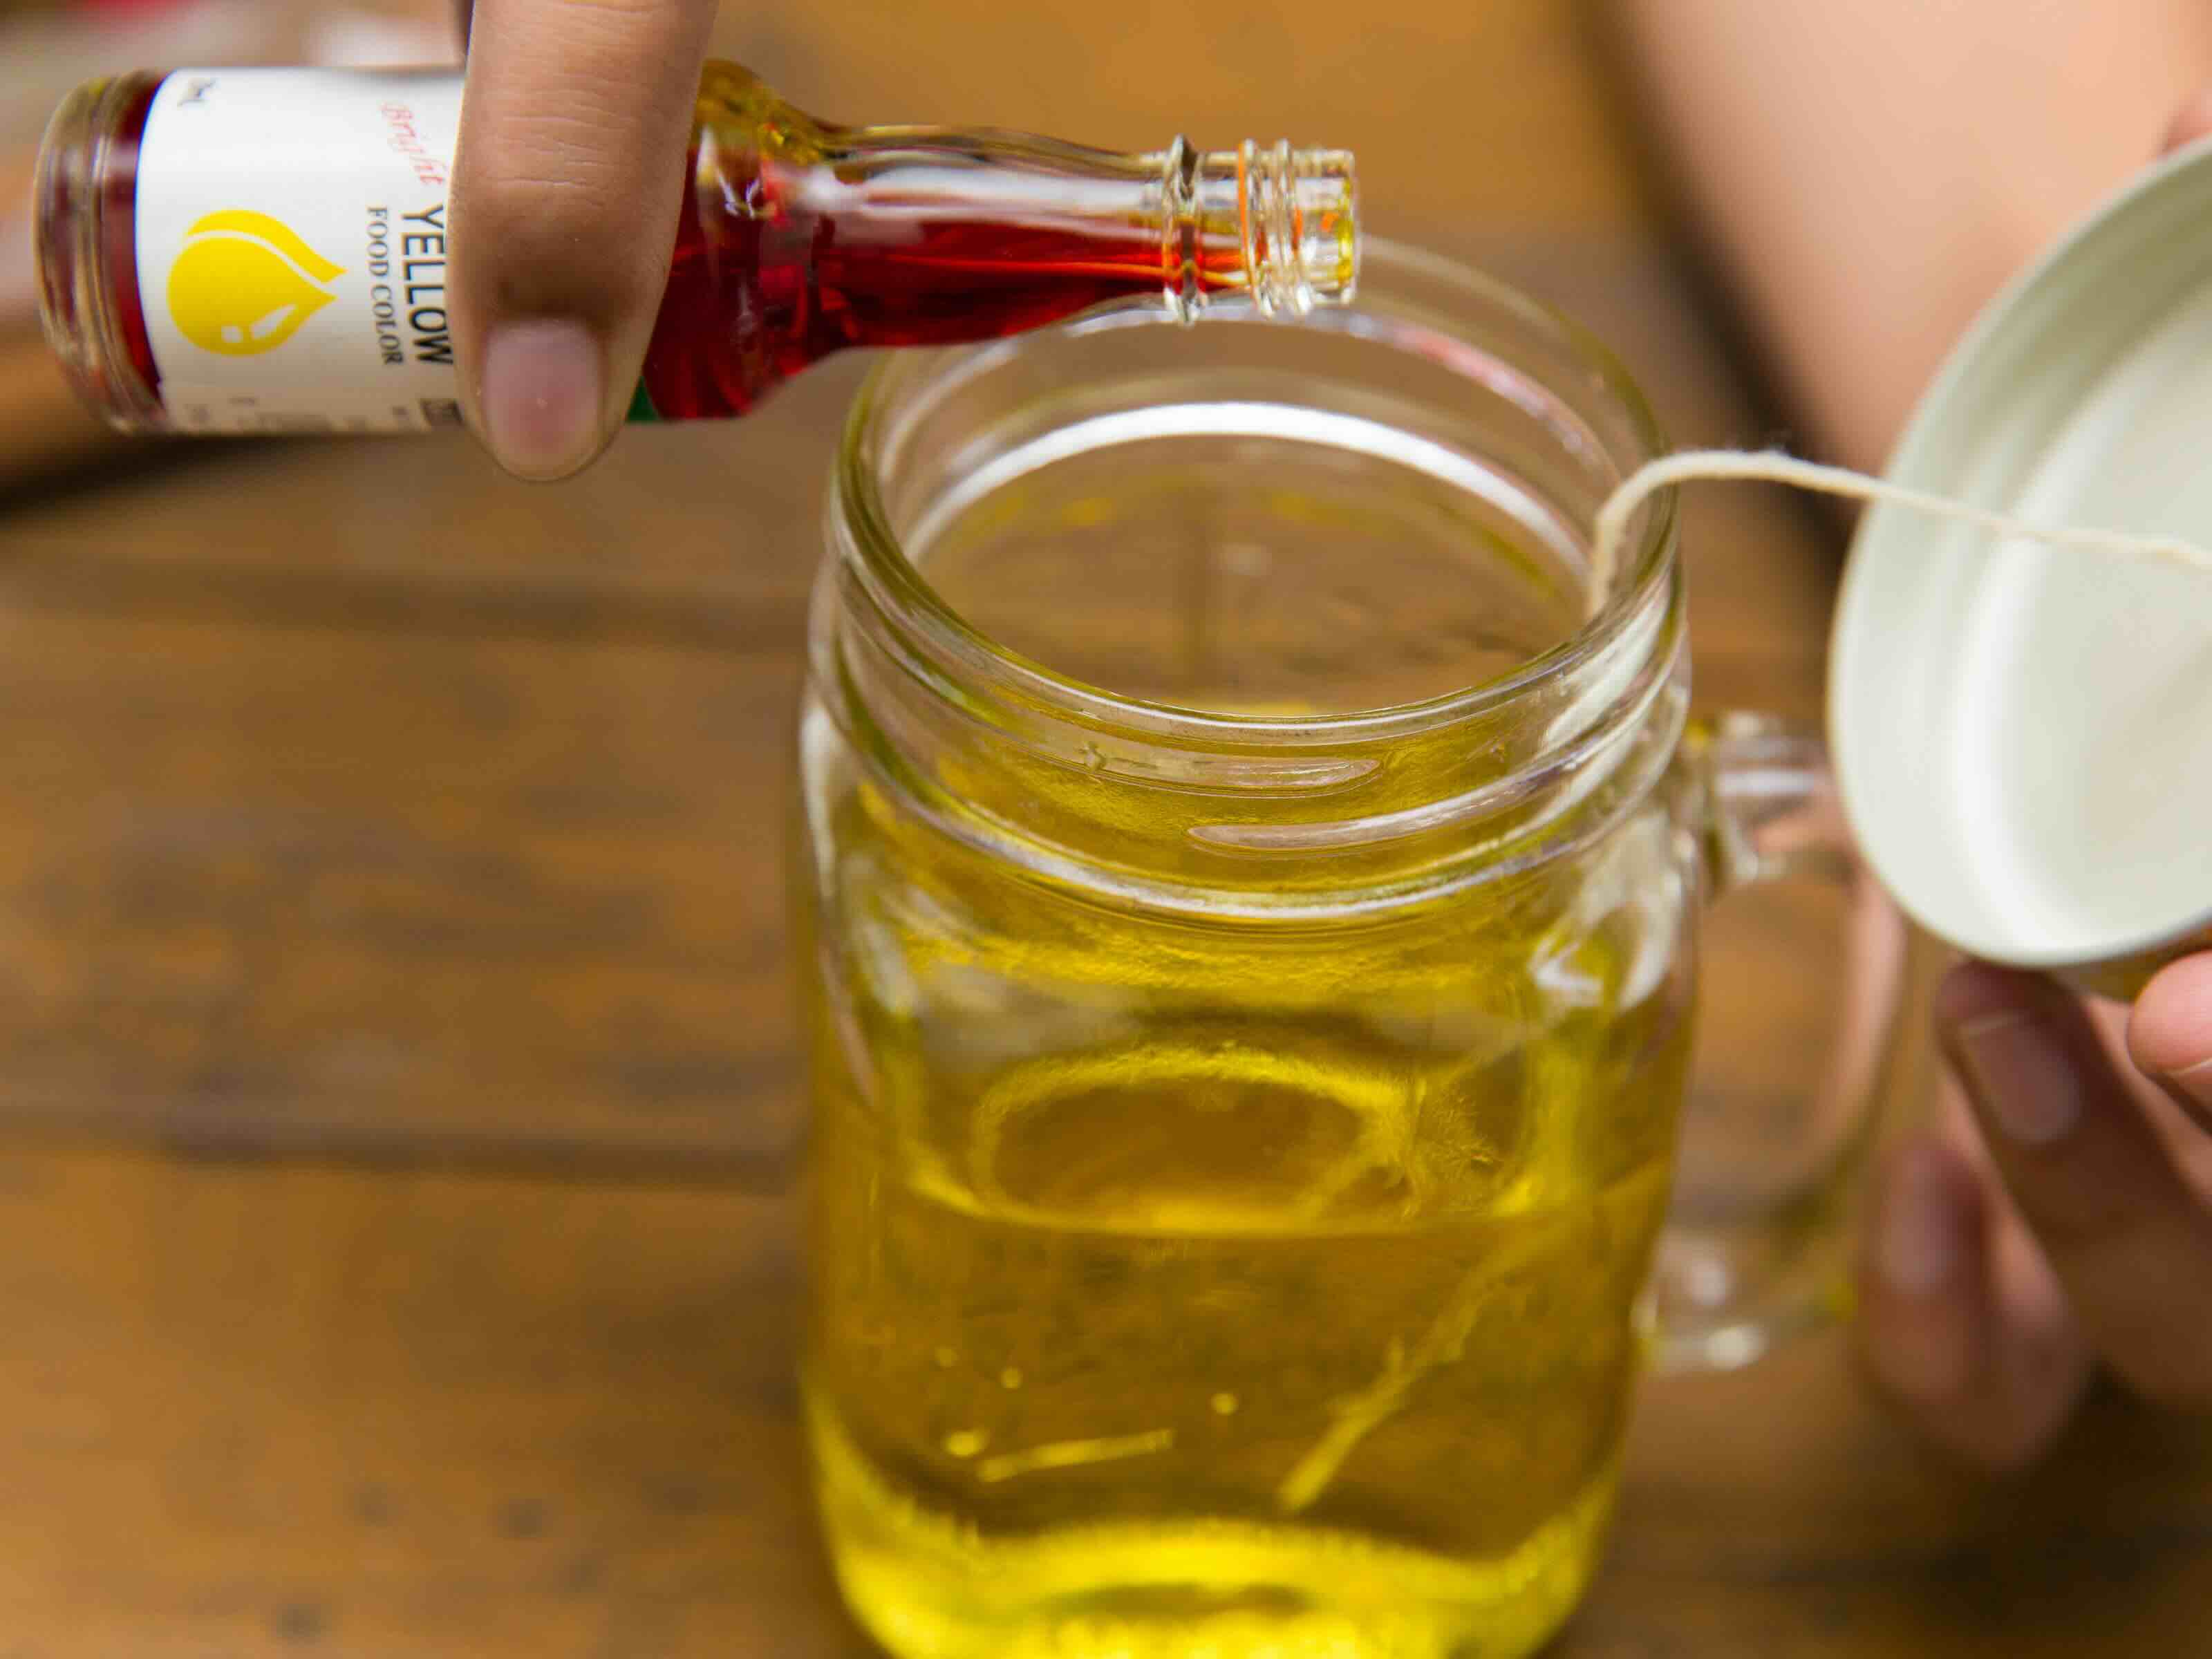
Step 3: Prepare the Colored Dye Solution
Now that you have chosen your base oil and colorants, it’s time to prepare the colored dye solution. This solution will be mixed with the base oil to create your colored lamp oil. Follow these steps to prepare the dye solution:
- Measure your base oil: Start by measuring the desired amount of base oil using a graduated cylinder or any other suitable measuring tool. Consider the volume needed based on the size of your lamps or lanterns and the duration of burning.
- Choose a container: Select a glass container or bottle to hold the dye solution. It should be large enough to accommodate your measured base oil and allow room for mixing.
- Add the colorant: Carefully add a small amount of your chosen colorant to the glass container. The exact quantity will depend on the intensity of color you desire and the manufacturer’s instructions. Start with a small amount and gradually add more if needed, ensuring that the colorant is fully dissolved.
- Mix thoroughly: Use a glass stirring rod, plastic spoon, or chopstick to mix the colorant and base oil thoroughly. Stir gently but consistently to avoid creating air bubbles. Continue stirring until the colorant is evenly distributed throughout the base oil.
- Test the color: Take a small sample of the colored dye solution and place it on a white surface. This will allow you to evaluate the color and make any necessary adjustments. If the color is too light, add a bit more colorant. If it is too dark, add more base oil.
Remember to follow the manufacturer’s instructions for the recommended amount of colorant to base oil ratio. Different colorants may require different concentrations to achieve the desired hue.
Once you have prepared the colored dye solution, it’s time to move on to the next step: mixing the dye solution with the base oil.
Read more: How To Make Scented Lamp Oil
Step 4: Mix the Dye Solution with the Base Oil
Now that you have prepared the colored dye solution, the next step is to mix it with the base oil. This will create your final colored lamp oil. Follow these steps to ensure a proper mixture:
- Measure your colored dye solution: Using a graduated cylinder or measuring tool, carefully measure the desired amount of colored dye solution. Consider the volume needed based on the size of your lamps or lanterns and the intensity of color desired.
- Add the colored dye solution to the base oil: Gradually pour the measured colored dye solution into the container containing the base oil. Be cautious to avoid spills or splashes.
- Stir gently: Use a glass stirring rod, plastic spoon, or chopstick to gently stir the mixture. The goal is to ensure that the dye solution and base oil are well-blended. Avoid vigorous stirring, as this can create bubbles and affect the overall appearance of the colored lamp oil.
- Inspect the color: Take a moment to observe the color of the lamp oil. If it is not as vibrant as you’d like, you can add more colored dye solution in small increments until you achieve the desired intensity. Take note of the amount added so you can reproduce the color in the future if needed.
It’s essential to mix the colored dye solution and base oil thoroughly to achieve a consistent color. However, be cautious not to overmix or agitate the mixture excessively, as this can introduce air bubbles that may affect the appearance when the lamp oil is burned.
Once you are satisfied with the color and the mixture is well-incorporated, your colored lamp oil is ready to use. Proceed to the next step to learn how to store and use your creation.
Step 5: Store and Use Your Colored Lamp Oil
Now that you have successfully made your colored lamp oil, it’s important to store it properly and use it safely. Follow these guidelines for storing and using your creation:
- Store in a suitable container: Transfer your colored lamp oil to a clean, airtight container that is specifically designed for storing lamp oil. Avoid using containers that are made of materials that react with oil or are not meant for oil-based products.
- Label the container: Clearly label the container with the contents and the date of preparation. This will help you keep track of the color and ensure the freshness of your lamp oil.
- Store in a cool, dark place: Lamp oil is best stored in a cool and dark location, away from direct sunlight. Exposure to heat and light can affect the color and quality of the oil over time.
- Handle with care: When handling your colored lamp oil, make sure to avoid spills and drips. Use a funnel or a steady hand to pour the oil into your lamps or lanterns.
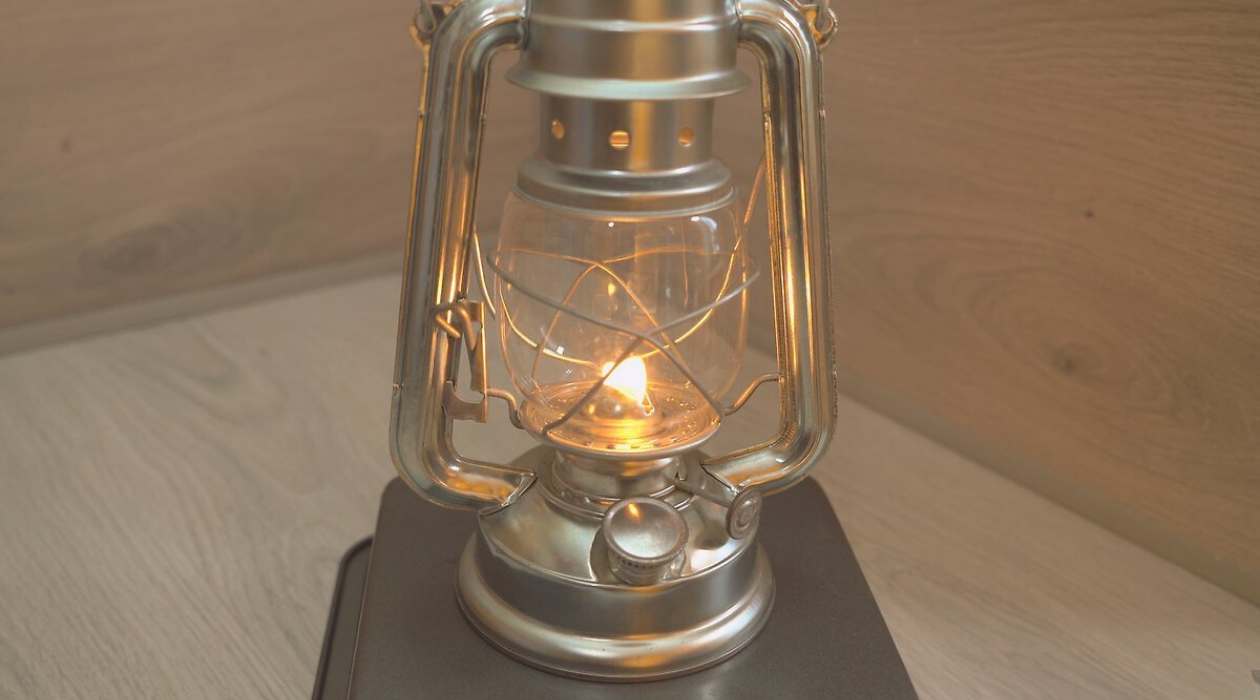
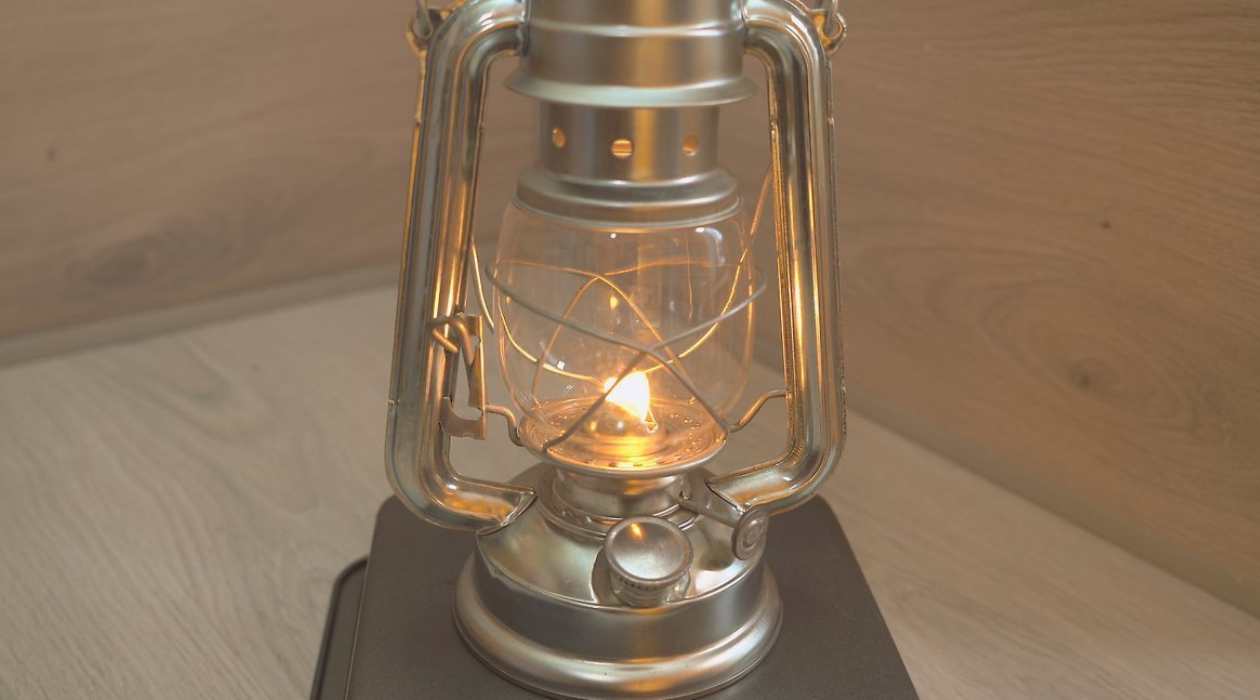
- Follow safety precautions: When using lamps or lanterns fueled with colored lamp oil, always follow the manufacturer’s instructions and exercise caution. Keep the lamps away from flammable materials and never leave them unattended while lit.
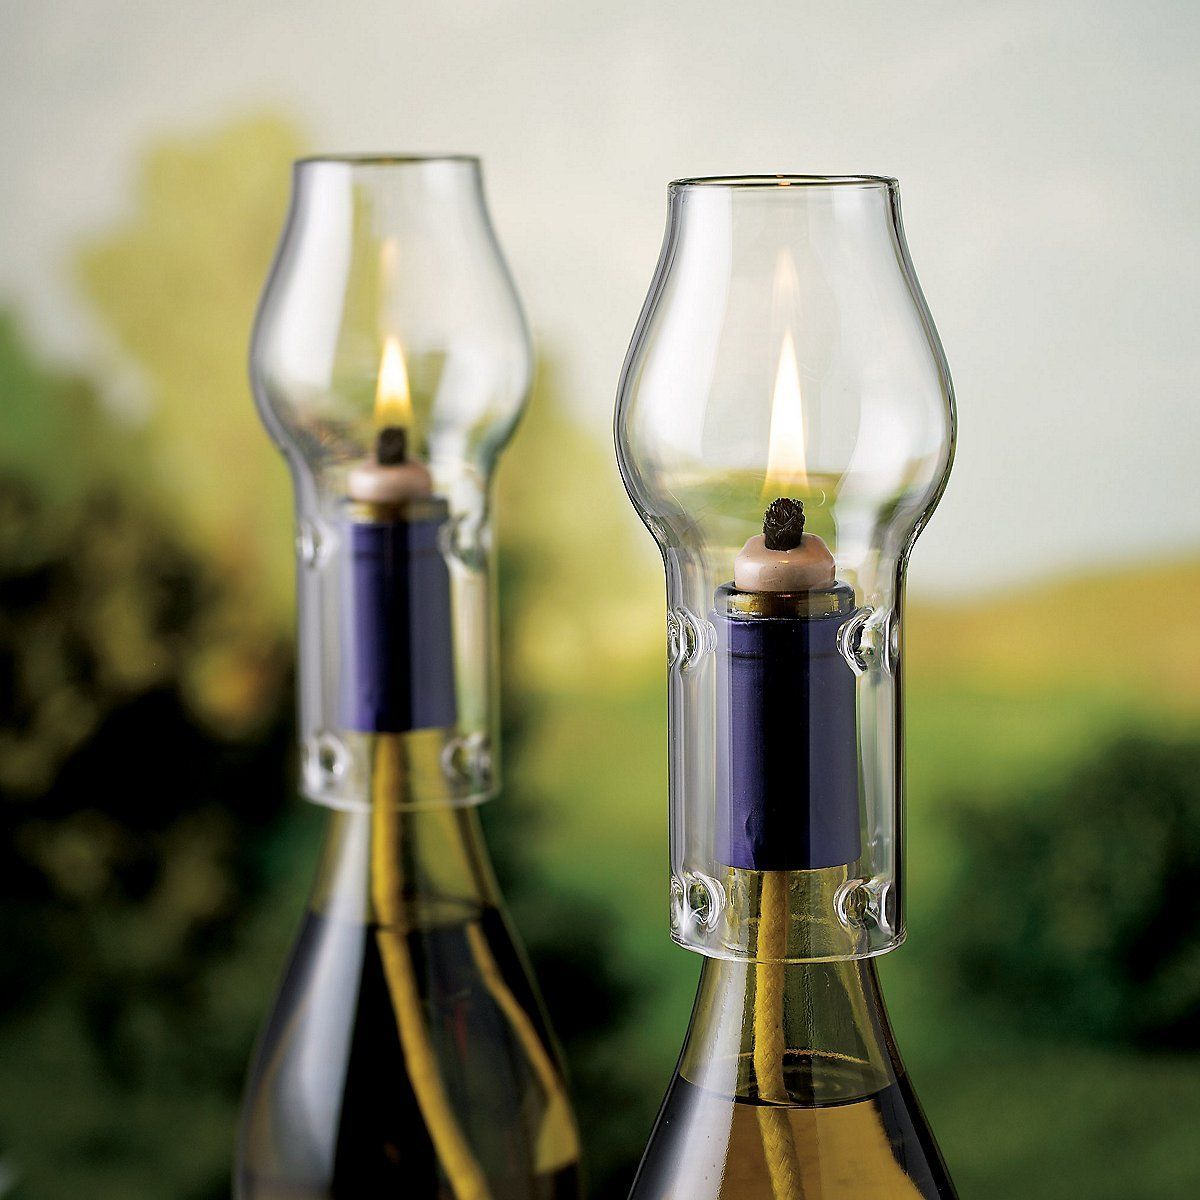
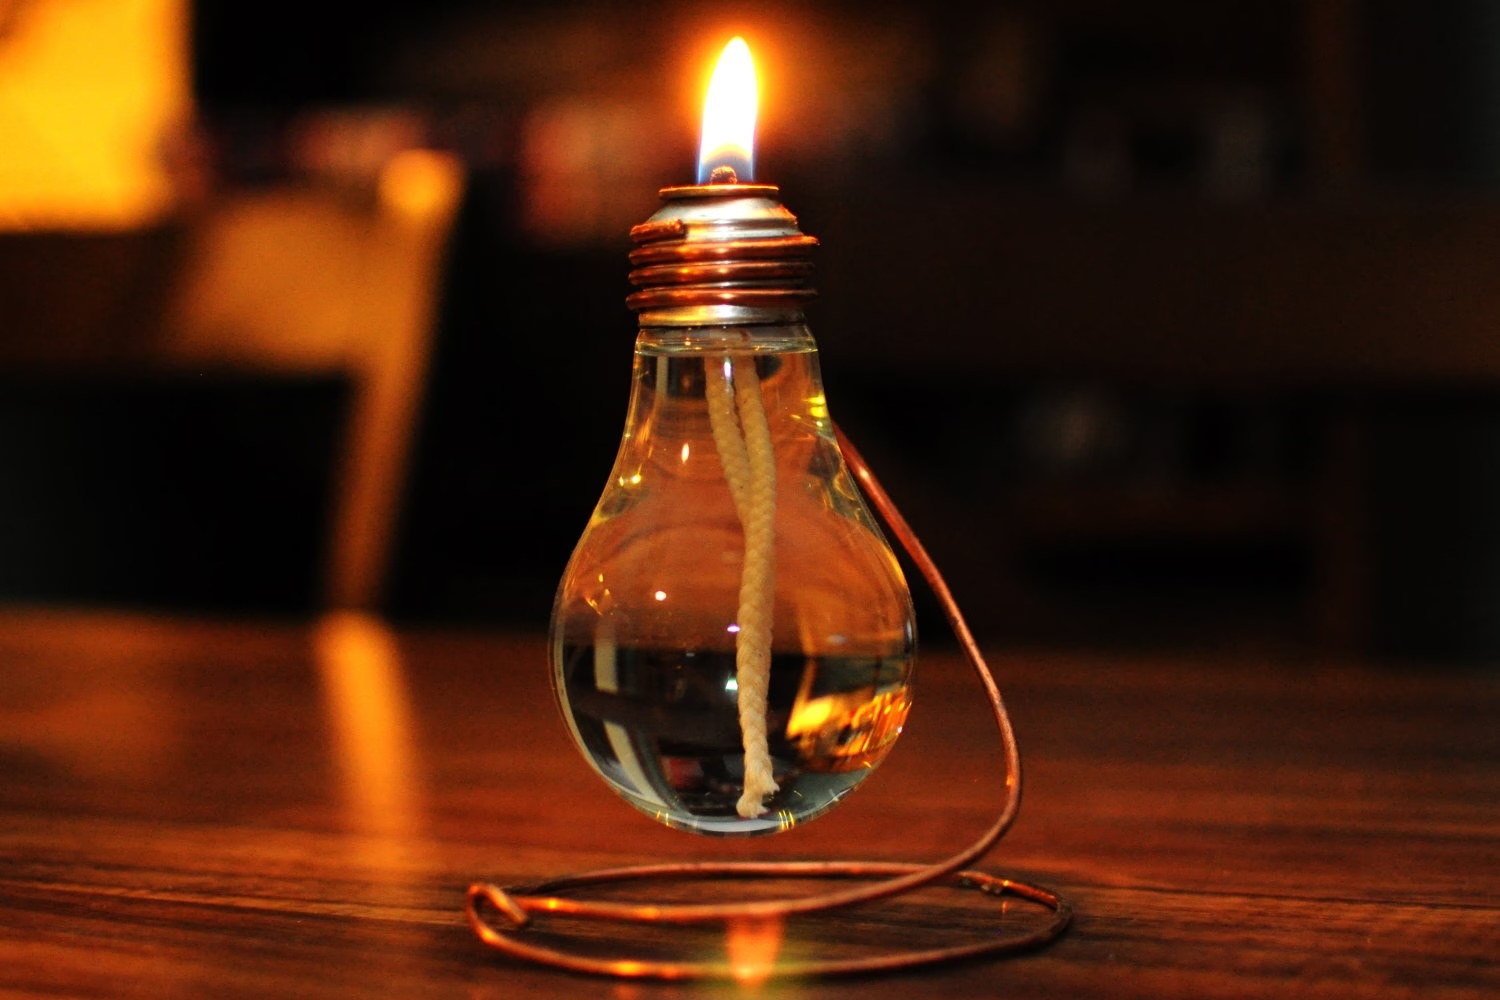
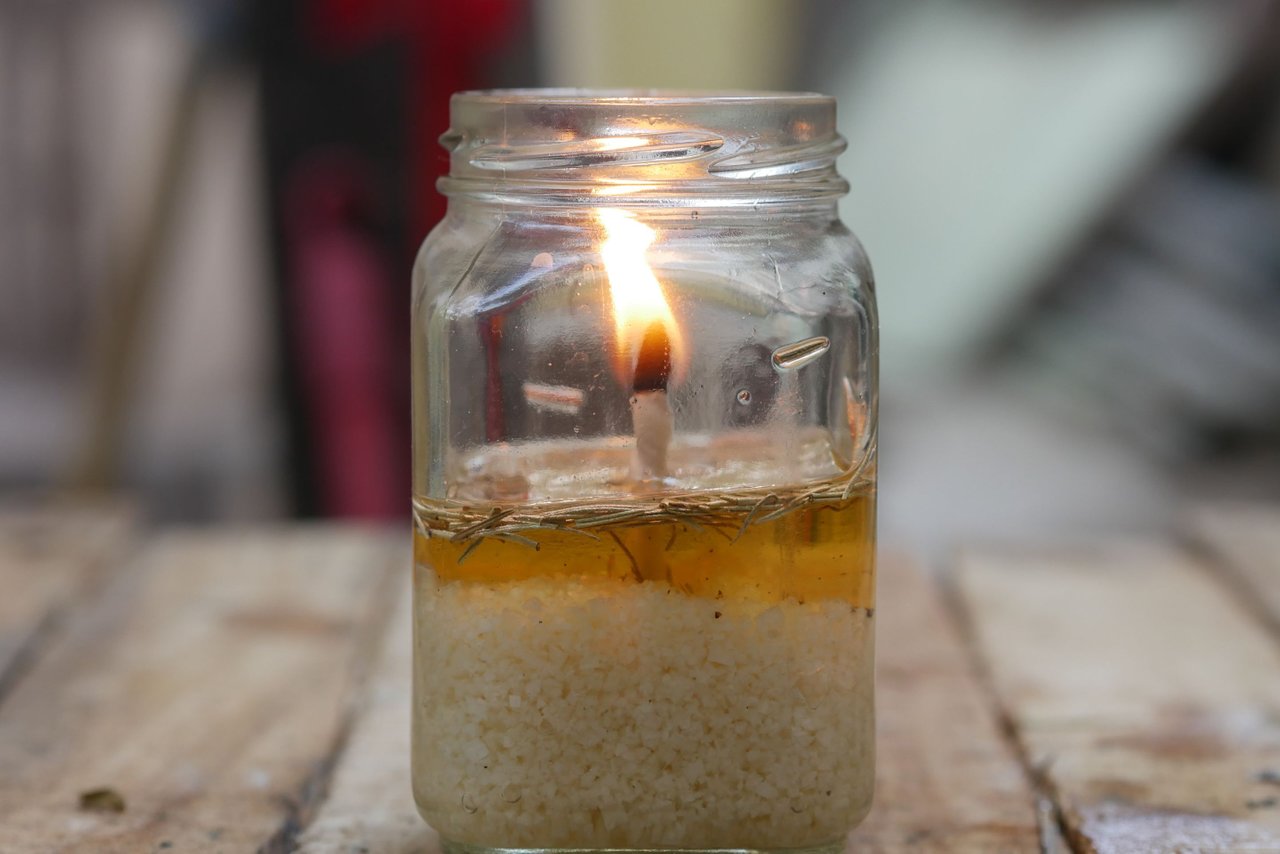
- Enjoy the ambiance: Light up your lamps and lanterns filled with your homemade colored lamp oil and enjoy the beautiful ambiance it creates. Whether indoors or outdoors, the vibrant colors will add a captivating touch to any space.
- Monitor and replenish: Keep an eye on the level of your colored lamp oil and replenish as needed. If you desire a different color or want to experiment with different hues, simply follow the previous steps to create a new batch.
Remember to exercise caution and common sense when working with and using lamp oil. Always prioritize safety and use your colored lamp oil responsibly.
Congratulations! You have successfully learned how to make colored lamp oil. By infusing your lighting with your chosen hues, you can create a unique and personalized atmosphere in your home or outdoor space. Have fun experimenting with different colors and let your creativity shine!
That concludes our guide on how to make colored lamp oil. We hope you found it informative and inspiring. Happy crafting!
Conclusion
Congratulations on completing our guide on how to make colored lamp oil! By following these simple steps, you have learned how to transform ordinary lamp oil into a vibrant and captivating element of your lighting decor.
With the right base oil and colorants, you can create a wide range of hues to suit your personal style and enhance the ambiance of any space. Whether you want to match your decor, set a specific mood, or add a touch of creativity, colored lamp oil allows you to customize your lighting in a unique and appealing way.
Remember to choose a suitable base oil such as mineral oil, liquid paraffin oil, or vegetable-based oils and carefully select your colorants, whether it be liquid dyes, food coloring, or candle and soap colorants. Preparing the colored dye solution and mixing it with your base oil will result in a well-blended and vibrant lamp oil.
Make sure to store your colored lamp oil in a proper container, label it correctly, and store it in a cool, dark place to maintain its quality and freshness. Handle the lamp oil with care and always follow safety precautions when using your lamps or lanterns fueled with colored oil.
Now, it’s time to enjoy the beautiful ambiance created by your colored lamp oil. Light up your lamps and lanterns, and let the captivating hues illuminate your space and create a unique atmosphere.
Remember to monitor the amount of lamp oil and replenish as needed. If you ever want to try different colors or experiment with new hues, simply follow the step-by-step process outlined in this guide to create a fresh batch of colored lamp oil.
We hope this guide has empowered you to get creative and add a personal touch to your lighting decor. Enjoy the process of making your own colored lamp oil, and may it bring warmth, vibrancy, and beauty to your home or outdoor space.
Thank you for joining us on this journey. Happy crafting!
Frequently Asked Questions about How To Make Colored Lamp Oil
Was this page helpful?
At Storables.com, we guarantee accurate and reliable information. Our content, validated by Expert Board Contributors, is crafted following stringent Editorial Policies. We're committed to providing you with well-researched, expert-backed insights for all your informational needs.