Articles
How To Repair Microwave Oven
Modified: September 1, 2024
Learn how to repair a microwave oven with informative articles and expert tips. Whether it's a simple fix or troubleshooting complex issues, our articles have got you covered.
(Many of the links in this article redirect to a specific reviewed product. Your purchase of these products through affiliate links helps to generate commission for Storables.com, at no extra cost. Learn more)
Introduction
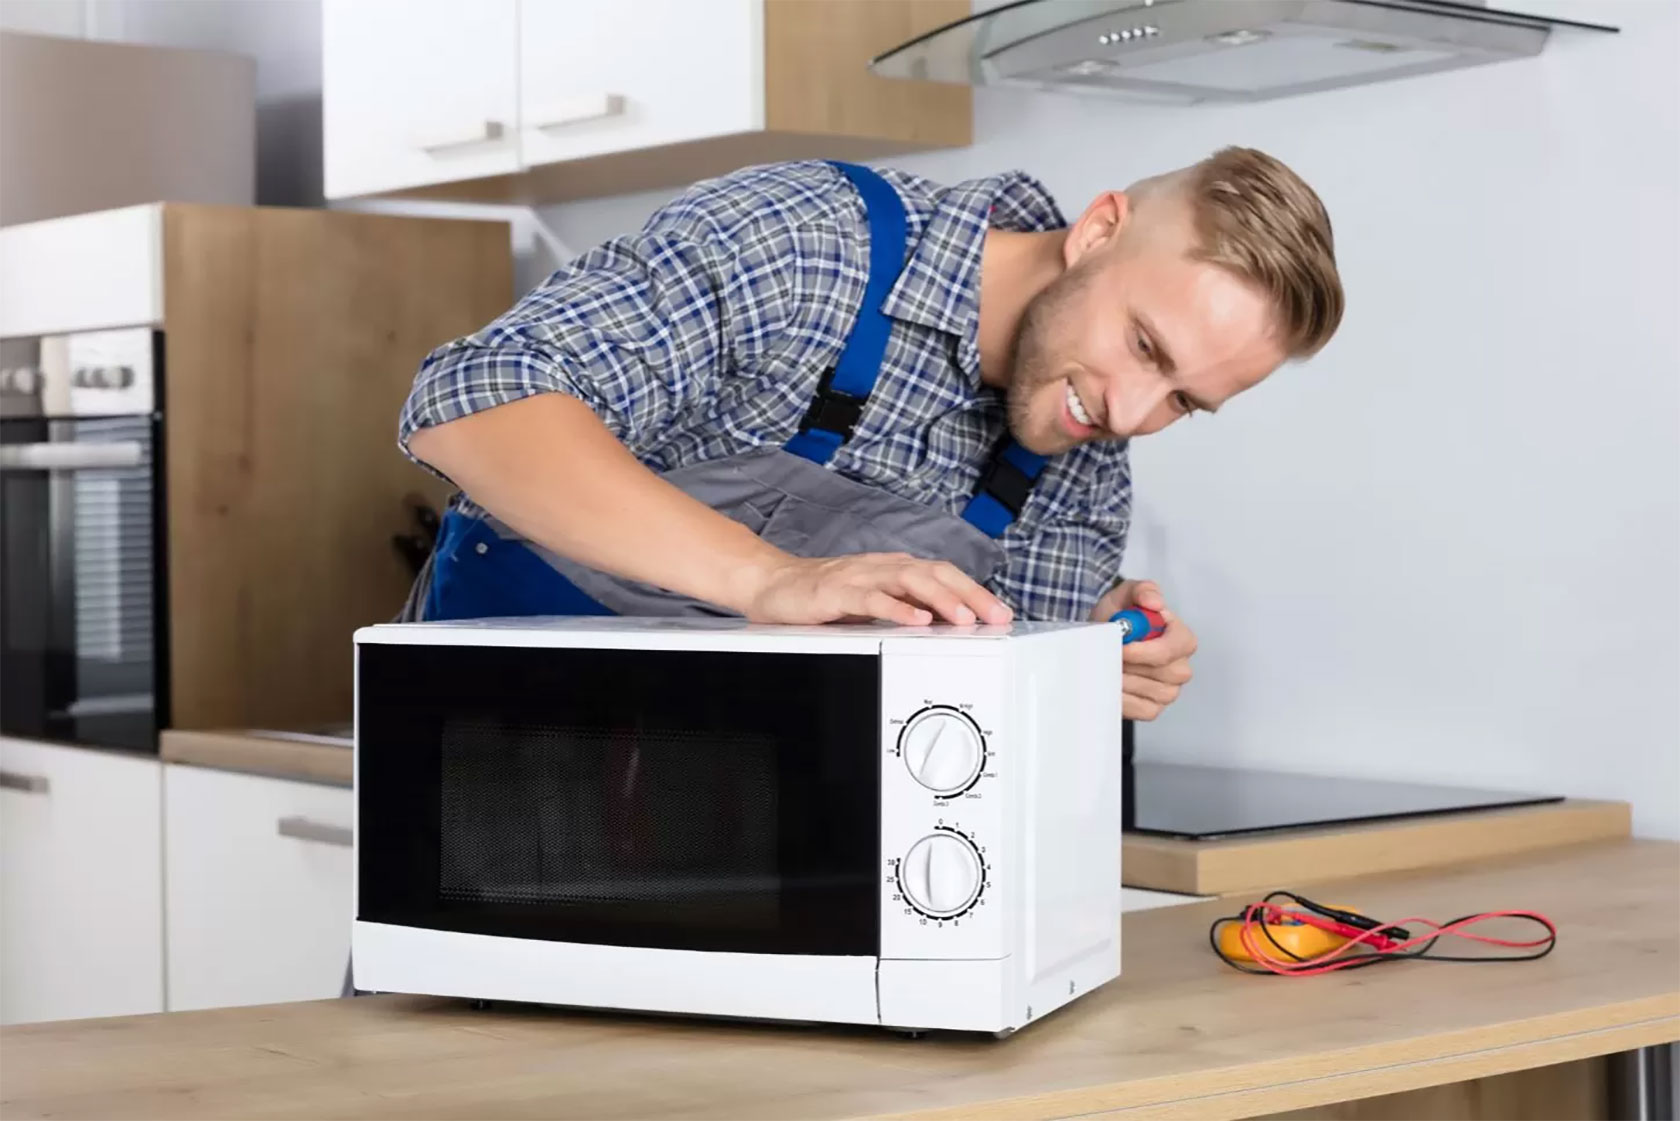
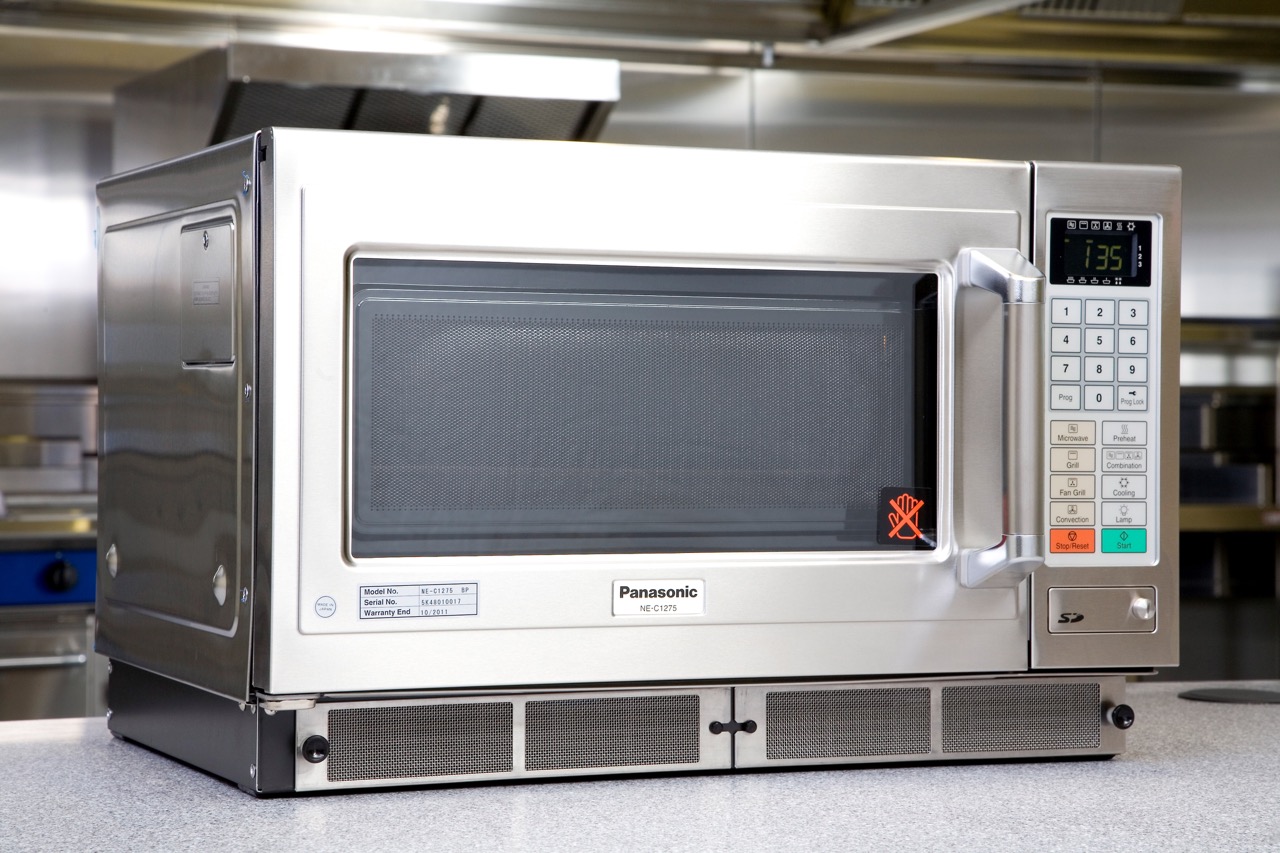
Welcome to this comprehensive guide on how to repair a microwave oven. Microwaves have become an essential appliance in many households, making it extremely inconvenient when they break down. While it may be tempting to immediately call a professional for repairs, you might be surprised to learn that you can save time and money by troubleshooting and fixing the issue yourself.
In this article, we will walk you through the steps required to diagnose and repair common problems that can arise with microwave ovens. We will provide safety precautions, list the tools and materials you will need, and guide you through each repair step.
Before we dive into the repair process, it is crucial to emphasize the importance of safety. Microwaves operate at high voltages, and tampering with them without taking proper precautions can lead to electric shocks or other hazards. Please ensure that the microwave oven is fully unplugged before attempting any repairs, and proceed with caution throughout the entire process.
So, if you have a malfunctioning microwave oven and have decided to take matters into your own hands, let’s get started!
Key Takeaways:
- Takeaway 1: DIY Microwave Repair
Save time and money by safely troubleshooting and fixing common microwave issues yourself. From testing the door switch to inspecting wiring, this guide empowers you to become more self-reliant. - Takeaway 2: Safety First
Prioritize safety when repairing a microwave oven. Unplug the appliance, use protective gear, and seek professional help if unsure. With the right tools and precautions, you can successfully troubleshoot and repair common problems.
Read more: What Is A Microwave Oven
Safety Precautions
Repairing a microwave oven requires utmost care and precaution to ensure your safety. Before you begin, it is essential to follow these safety guidelines:
- Unplug the microwave oven: Before starting any repair work, disconnect the microwave oven from the power source to avoid the risk of electric shock. It is crucial to make sure the oven is completely unplugged during the entire repair process.
- Protective gear: When working on the microwave, consider wearing rubber gloves and safety goggles to protect yourself from electrical shocks and other hazards. This will protect your hands and eyes from any potential harm.
- Avoid metal objects: Metal objects inside a microwave can cause sparks and fires. Do not use any metal tools or utensils while repairing the oven. Instead, opt for non-metallic tools to conduct any necessary repairs.
- Stay away from high voltage components: The capacitor in a microwave oven stores a high amount of electrical charge even when unplugged. Avoid touching any high voltage components, such as the capacitor or magnetron, to prevent electric shock.
- Exercise caution with internal parts: During repairs, handle internal components with care. Avoid damaging any wires or circuit boards, as this can lead to further issues. Follow the manufacturer’s instructions and guidelines for safe handling and removal of parts.
- Keep children and pets away: To ensure their safety, keep children and pets away from the repair area. Microwaves contain potentially dangerous components, and it is best to keep them out of reach during the repair process.
- Work in a well-ventilated area: Repairing a microwave oven can release fumes or odors from cleaning agents or burnt components. It is recommended to work in a well-ventilated area or use a fan to prevent inhalation of any harmful substances.
- Consult a professional if unsure: If you are uncertain about any repair step or if the issue seems beyond your expertise, it is best to contact a professional. They have the knowledge and experience to handle complex repairs safely and effectively.
Remember, your safety comes first. By following these safety precautions, you can minimize the risks associated with repairing a microwave oven and successfully troubleshoot and fix common issues.
Tools and Materials Required
Before you begin repairing your microwave oven, it’s essential to gather the necessary tools and materials. Here is a list of items you will need:
- Screwdriver set: A set of screwdrivers with different sizes and types (flathead and Phillips) will be needed to remove the screws holding the microwave’s cover in place.
- Multimeter: A multimeter is a crucial tool for diagnosing electrical issues. It will help you test components, check for continuity, and measure voltage to identify faulty parts.
- Insulated gloves: Insulated gloves will provide an extra layer of protection to help prevent electrical shocks while working on the microwave’s internal components.
- Non-metallic tools: It is recommended to use non-metallic tools, such as plastic prying tools or nylon spatulas, to avoid damaging sensitive components or creating sparks inside the oven.
- Replacement parts: Depending on the specific issue you are facing, you may need to replace certain components. This could include items like fuses, door switches, control boards, or wiring harnesses. Make sure to identify the faulty parts before proceeding.
- Cleaning supplies: It’s a good idea to have cleaning supplies on hand to remove any dirt, grease, or food residue from the microwave’s interior during the repair process. This can include mild soap, water, and a soft cloth.
- Repair manual: If available, refer to the microwave oven’s repair manual. It will provide specific instructions and diagrams related to your model, making the repair process easier and more efficient.
- Safety goggles and rubber gloves: As mentioned earlier, protective gear, including safety goggles and rubber gloves, should always be worn to protect yourself from electrical shocks and other potential hazards.
- Workspace: Ensure you have a clean and well-lit workspace to carry out the repairs. A sturdy table or workbench with sufficient room to lay out the parts and tools will make the process more organized and efficient.
By gathering these essential tools and materials before you start, you’ll have everything you need to successfully repair your microwave oven.
Step 1: Unplug the Microwave Oven
The first step in repairing a microwave oven is to ensure it is completely disconnected from the power source. This is a critical safety precaution that will protect you from the risk of electric shock during the repair process.
To unplug the microwave oven, follow these steps:
- Locate the power cord: The power cord is typically located at the back of the microwave. It may be connected directly to the unit or plugged into an outlet.
- Remove the plug: Gently pull the power plug from the outlet or disconnect any other connections, such as an extension cord or power strip.
- Ensure complete disconnection: Once the plug is removed, verify that there is no power running to the microwave oven by attempting to turn it on. If it doesn’t power up, you have successfully disconnected it.
- Keep the microwave unplugged: Throughout the entire repair process, it is crucial to keep the microwave unplugged to prevent accidental electrocution or damage to electrical components.
Remember, safety should be your top priority when working with any electrical appliance. Unplugging the microwave oven ensures that there is no power supply to the unit, reducing the risk of electric shock while you proceed with the repair.
Step 2: Remove the Cover
After unplugging the microwave oven, the next step is to remove the cover to access the internal components. Removing the cover will give you a clear view of the inside and allow you to proceed with the necessary repairs.
Here’s a step-by-step guide to removing the cover:
- Locate the screws: Look for the screws that secure the outer cover of the microwave. These screws are typically located on the back or sides of the oven.
- Choose the right screwdriver: Select the appropriate screwdriver from your screwdriver set that matches the type and size of the screws. Commonly, microwave oven covers are held in place by Phillips or flathead screws.
- Remove the screws: Carefully unscrew each screw, ensuring not to misplace them. Keep track of the screws as you remove them, as they will be needed when reassembling the microwave later.
- Remove the cover: Once all the screws are removed, gently lift and remove the cover from the microwave oven. Be cautious as the cover may still be connected to the oven by internal wiring or other components.
- Set aside the cover: Find a safe and clean place to set aside the removed cover. You can place it on a soft cloth or in a designated container to prevent any damage.
By following these steps, you can successfully remove the cover of your microwave oven and gain access to its internal components. Remember to keep the screws safely stored to ensure easy reassembly later. With the cover removed, you are now ready to move on to the next steps of repairing your microwave oven.
Read more: How To Bake In A Microwave Oven
Step 3: Inspect and Clean the Interior
With the cover of the microwave oven removed, it’s time to inspect and clean the interior. This step is crucial as it allows you to identify any visible issues and ensure that the interior components are free from dirt, debris, or food residue.
Follow these steps to inspect and clean the interior of your microwave oven:
- Visually inspect for any visible damage: Take a close look at the interior components of the microwave oven. Look for any signs of burnt wires, melted parts, or visible damage to the wiring harness, control board, or other components. Make note of any issues you observe, as these may need to be addressed during the repair process.
- Clean the microwave interior: Use a soft cloth or sponge and a mild soap and water solution to clean the inside of the microwave. Pay special attention to areas that come into direct contact with food, such as the turntable, walls, and ceiling. Wipe away any dirt, grease, or food residue that has accumulated over time. Be gentle to avoid damaging any sensitive components.
- Remove and clean the turntable and roller guide: If your microwave oven has a removable turntable and roller guide, take them out and clean them separately. Wash them in warm, soapy water, rinse thoroughly, and dry before placing them back into the microwave.
- Check the microwave door: Inspect the door and its seals for any signs of damage or wear. Ensure that the door is closing properly and that the seals are intact. Any damage or faulty seals should be addressed and replaced to ensure the microwave oven operates safely and efficiently.
- Dry thoroughly: After cleaning, make sure to dry the interior of the microwave thoroughly to prevent any moisture from affecting the components. Use a clean and dry cloth or allow the microwave to air dry completely before proceeding.
Inspecting and cleaning the interior of your microwave oven not only helps ensure optimal performance but also creates a hygienic environment for heating and cooking food. Once the interior is inspected and cleaned, you can move on to the next steps of repairing your microwave oven.
Always unplug the microwave before attempting any repairs. Use a multimeter to check for continuity in the fuse, door switch, and magnetron. Replace any faulty components carefully.
Step 4: Check and Replace the Fuse
One common issue that can cause a microwave oven to malfunction is a blown fuse. The fuse acts as a safety device, protecting the electrical components from power surges and preventing damage. If the microwave suddenly stops working, checking the fuse should be one of the first steps in troubleshooting the problem.
Follow these steps to check and replace the fuse in your microwave oven:
- Locate the fuse: The fuse in a microwave oven is generally located near the power cord or on a fuse board inside the appliance. Refer to the microwave’s manual or do a quick online search to find its exact location in your model.
- Unplug the microwave: Always remember to unplug the microwave oven before attempting any repairs or handling internal components to avoid any risk of electric shock.
- Access the fuse: Depending on the specific model of your microwave, you may need to remove the control panel or specific panels to gain access to the fuse. Follow the manufacturer’s instructions or refer to the manual for guidance on disassembling the necessary parts.
- Inspect the fuse: Once you have located the fuse, visually inspect it for any signs of damage, such as a broken filament or blackened appearance. If the fuse appears to be intact, you can use a multimeter set to continuity mode to test it. Place the multimeter leads on each end of the fuse and check if it shows a continuous circuit. If the continuity reading is zero or very low, the fuse is working fine. However, if there is no continuity, the fuse is blown and needs to be replaced.
- Replace the fuse: If the fuse is blown or faulty, it needs to be replaced. Purchase a new fuse of the same rating and type as the original one. Carefully remove the old fuse from its holder, and insert the new fuse in its place. Ensure that it fits securely and is seated properly.
- Reassemble the microwave: Once the new fuse is in place, carefully reassemble the microwave by following the reverse order of disassembly. Ensure that all screws are securely tightened. Make sure you reconnect any disconnected wires or components.
Replacing a blown fuse can often resolve power issues in a microwave oven. However, if the fuse blows again shortly after replacement, it may indicate a deeper electrical problem. In such cases, it’s best to consult a professional technician to diagnose and fix the issue.
Remember to always prioritize safety and exercise caution when working with electrical components. If you are unsure about any aspect of working with fuses or have limited experience with electrical repairs, it is advisable to seek the assistance of a qualified technician.
Step 5: Test the Door Switch
The door switch of a microwave oven is a critical component that ensures the oven operates safely. If the door switch is faulty or not functioning correctly, it can prevent the microwave from working altogether. In this step, we will walk you through how to test the door switch to determine if it is causing the issue.
Follow these steps to test the door switch in your microwave oven:
- Unplug the microwave: As always, start by unplugging the microwave oven from the power source to ensure your safety during the testing process.
- Locate the door switch assembly: The door switch assembly is typically located near the door latch mechanism inside the microwave. Refer to the manual or search online for the specific location in your microwave model.
- Access the door switch: In some cases, you may need to remove the control panel or other parts to access the door switch assembly. Follow the manufacturer’s instructions or consult the manual for guidance on accessing the door switch.
- Identify the door switches: The microwave oven usually has two to three door switches. One is the primary interlock switch, and the others are secondary interlock switches. It is important to identify each switch correctly for testing.
- Use a multimeter to test continuity: Set your multimeter to the continuity mode. Start by disconnecting the wires attached to each door switch. Place one multimeter probe on one terminal of the switch and the other probe on the other terminal. Press and release the switch and observe the multimeter reading. If the switch is working correctly, it will show continuity (a low resistance reading) when pressed, and no continuity when released. Repeat this process for each door switch.
- Replace faulty door switches: If any of the door switches fail the continuity test, they are likely faulty and need to be replaced. Purchase the appropriate replacement switches and install them following the manufacturer’s instructions. Ensure that the connections are secure.
- Reassemble the microwave: Once the testing and replacement of door switches are complete, reassemble the microwave oven by following the reverse order of disassembly. Make sure all the screws are tightened and all components are properly connected.
Testing the door switch will help you determine if it is causing the issue with your microwave oven. By following these steps, you can identify any faulty switches and replace them as needed. However, if the microwave still does not work after replacing the door switches, further troubleshooting may be required, and it is recommended to consult a professional technician.
Remember to always prioritize safety and ensure the microwave oven is unplugged when working with internal components.
Step 6: Inspect and Replace Faulty Wiring
Faulty wiring can cause a variety of issues in a microwave oven, such as power failures, intermittent operation, or complete malfunction. In this step, we will guide you through the process of inspecting the wiring and replacing any faulty wires that may be causing the problem.
Follow these steps to inspect and replace faulty wiring in your microwave oven:
- Unplug the microwave: Always start by unplugging the microwave oven from the power source to ensure your safety during the inspection and replacement process.
- Locate the wiring harness: The wiring harness is a collection of wires that connects the various components of the microwave oven. It is usually bundled and secured together. Refer to the manual or online resources to locate the wiring harness in your specific model.
- Inspect the wiring harness: Examine the wiring harness for any signs of damage, such as frayed or burnt wires, loose connections, or melted insulation. Pay close attention to areas where wires come into contact with other components or may have been exposed to heat.
- Test the wiring with a multimeter: Set your multimeter to the continuity mode and test the wiring connections for proper continuity. Place one probe on each end of a wire or connection and check for a low resistance reading. If there is no continuity or a high resistance reading, it indicates a faulty wire that needs to be replaced.
- Replace the faulty wiring: If you identify any faulty wires during the inspection and testing, carefully remove the damaged portion or the entire wire, depending on the extent of the damage. Replace it with a new wire of the same gauge and ensure secure connections.
- Test the connections: After replacing the faulty wiring, it is essential to test the connections for continuity using a multimeter once again to ensure that the new wires are properly installed and functioning correctly.
- Reassemble the microwave: Once the replacement of faulty wiring is complete, reassemble the microwave oven by following the reverse order of disassembly. Be sure to tighten all screws, reconnect any disconnected components, and ensure everything is properly secured.
Inspecting and replacing faulty wiring can often resolve issues with a microwave oven’s electrical system. However, it is important to exercise caution and ensure that you have the necessary knowledge and expertise to handle electrical components. If you are unsure about any aspect of inspecting or replacing wiring, it is advisable to seek the assistance of a professional technician.
Remember to always prioritize safety and ensure the microwave oven is unplugged when working with internal components.
Step 7: Test and Repair the Control Board
The control board, also known as the main control unit or PCB (Printed Circuit Board), is the brain of a microwave oven. It regulates and controls the various functions and settings of the appliance. If the microwave is not functioning properly or displaying error codes, there may be an issue with the control board. In this step, we will guide you through testing and repairing the control board if necessary.
Follow these steps to test and repair the control board of your microwave oven:
- Unplug the microwave: As always, start by unplugging the microwave oven from the power source to ensure your safety during the testing and repair process.
- Locate the control board: The control board is usually located behind the control panel or accessible by removing a protective cover. Refer to the manual or online resources to identify the precise location of the control board in your specific model.
- Inspect for visible damage: Visually inspect the control board for any visible signs of damage, such as burnt components, cracked circuits, or bulging capacitors. Make note of any issues you observe, as these may need to be addressed during the repair process.
- Test with a multimeter: Use a multimeter to test the control board for proper voltage readings. Refer to the manual or online resources for the specific voltage values required for your model. Use the multimeter probes to check the voltage supply and to test the various connections on the control board.
- Replace faulty components: If you identify any faulty components or circuits during the inspection and testing, they may need to be replaced. This can include capacitors, resistors, integrated circuits, or other damaged parts. Purchase the appropriate replacement components and carefully install them according to the manufacturer’s instructions.
- Verify repairs and retest: After replacing any faulty components, retest the control board with a multimeter to ensure that the voltage readings are within the specified range. This will help ensure that the repairs were successful in restoring the control board’s functionality.
- Reassemble the microwave: Once the testing and repair of the control board are complete, reassemble the microwave oven by following the reverse order of disassembly. Make sure all screws are tightened, and all components are properly connected.
Testing and repairing the control board can be a more advanced task, as it involves working with electrical components and circuits. If you are not confident in your abilities or lack experience with electronic repairs, it is recommended to seek the assistance of a professional technician.
Remember to always prioritize safety and ensure the microwave oven is unplugged when working with internal components.
Step 8: Reassemble the Microwave Oven
After completing the necessary repairs and ensuring that all components are in working order, it’s time to reassemble the microwave oven. Reassembling the oven correctly is crucial to ensure its proper functioning and safety. Follow these steps to reassemble the microwave:
- Gather all the necessary components: Ensure that you have all the parts, screws, and wires needed to reassemble the microwave oven. Double-check that you have reconnected any disconnected wires and components.
- Place the cover back on: Begin the reassembly process by placing the cover back onto the microwave oven. Line up the screw holes and ensure that the cover fits securely and evenly. If there were any clips or tabs holding the cover in place, make sure they are properly engaged.
- Tighten the screws: Insert and tighten the screws that were removed during the disassembly process. Be careful not to overtighten them, as this can damage the cover or other components.
- Test the microwave oven: Once the cover is securely in place, plug the microwave oven back into the power source. Conduct a quick test to ensure that it powers on and functions properly. Test the different features, such as heating food or setting the timer, to ensure everything is working as it should.
- Make final adjustments: If any issues are still present, double-check the connections and ensure all components are in their correct positions. If necessary, consult the microwave oven’s manual or seek the help of a professional technician to address any remaining issues.
Reassembling the microwave oven properly is essential to restore its functionality and ensure safety. Take your time during this step to ensure that all screws are securely tightened, all components are properly connected, and the cover is fitted snugly. Once you have completed the reassembly and conducted the necessary tests, you can now enjoy using your repaired microwave oven.
Remember to always prioritize safety and ensure that the microwave oven is unplugged when working with internal components.
Conclusion
Repairing a microwave oven can be a cost-effective and rewarding experience. By following the steps outlined in this comprehensive guide, you have learned how to diagnose and fix common issues that can arise with microwave ovens. From identifying safety precautions to inspecting and repairing various components, you have gained the knowledge necessary to tackle many repair tasks.
Throughout the repair process, it is essential to prioritize safety. Always remember to unplug the microwave oven before working on it, use protective gear, and exercise caution when handling internal components. If you ever feel unsure or uncomfortable with any repair step, it is always best to seek the assistance of a qualified professional technician.
By having the right tools and materials ready, you can effectively troubleshoot and repair common problems with your microwave oven. Whether it’s replacing a blown fuse, testing the door switch, inspecting and replacing faulty wiring, or repairing the control board, you now have the skills to perform these tasks with confidence.
As you reassemble your microwave oven and see it coming back to life, you will not only save money on costly repairs but also gain a sense of accomplishment. Repairing your appliances empowers you to take control and become more self-reliant when faced with common household issues.
Remember to always refer to the specific manual or manufacturer’s instructions for your microwave oven model, as each model may have its unique features and repair requirements.
We hope this guide has been informative and helpful in your journey to repair your microwave oven. With the information provided, you are now better equipped to troubleshoot and address common issues. May your future repair endeavors be successful, and your microwave oven serve you for many more delicious meals to come!
Frequently Asked Questions about How To Repair Microwave Oven
Was this page helpful?
At Storables.com, we guarantee accurate and reliable information. Our content, validated by Expert Board Contributors, is crafted following stringent Editorial Policies. We're committed to providing you with well-researched, expert-backed insights for all your informational needs.


0 thoughts on “How To Repair Microwave Oven”