Home>Furniture>Living Room Furniture>How To Recover RV Cushions
Living Room Furniture
How To Recover RV Cushions
Modified: March 16, 2024
Learn how to recover your RV cushions with our step-by-step guide. Transform your living room furniture with our easy DIY tips and tricks.
(Many of the links in this article redirect to a specific reviewed product. Your purchase of these products through affiliate links helps to generate commission for Storables.com, at no extra cost. Learn more)
Introduction
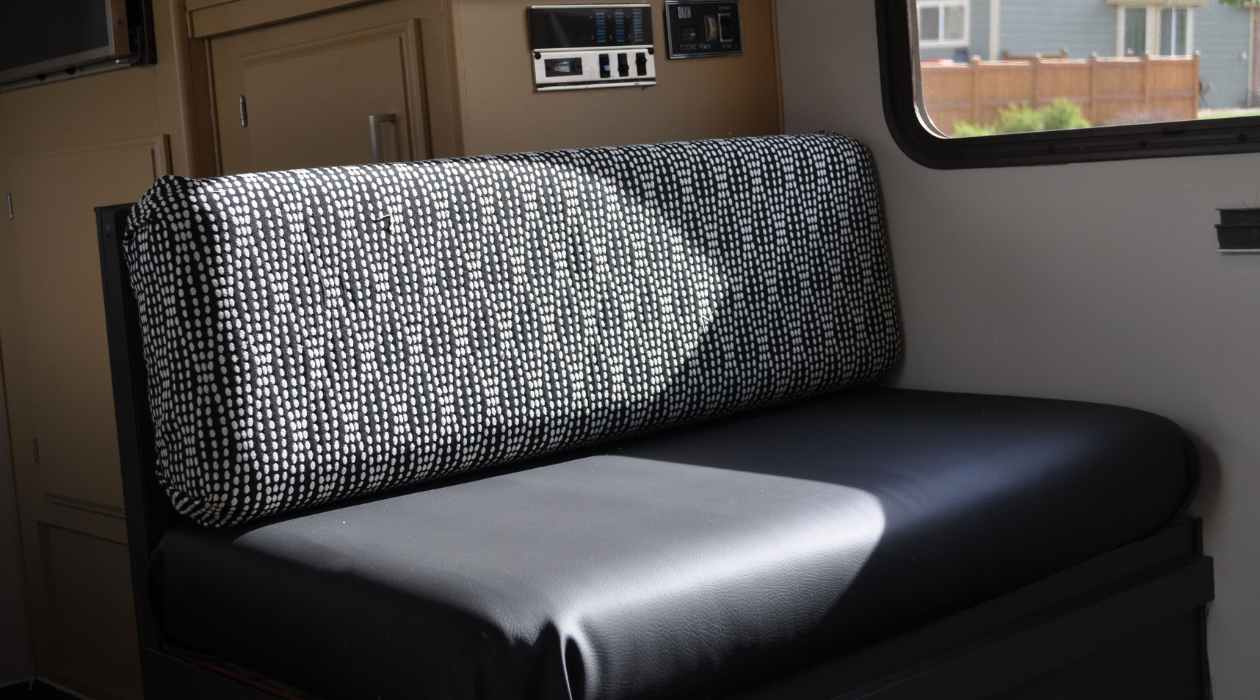
Welcome to our comprehensive guide on how to recover RV cushions! Whether you are a seasoned RVer or just embarking on your first adventure, keeping your living space comfortable and stylish is key to enjoying your home on wheels. Over time, RV cushions can become worn, stained, or torn, compromising both their appearance and comfort. However, with a little know-how and some DIY skills, you can easily recover your RV cushions and give them a fresh new look.
In this article, we will provide you with step-by-step instructions on assessing the damage to your RV cushions, cleaning them thoroughly, repairing any tears or rips, replacing the foam if necessary, selecting new upholstery fabric, reupholstering the cushions, and adding extra padding for optimal comfort. So, let’s dive in and learn how to transform your RV cushions into cozy and inviting seating areas!
Key Takeaways:
- Transform your RV cushions with DIY skills. Assess, clean, repair, and reupholster for a cozy and inviting living space on wheels.
- Add extra padding for enhanced comfort. Choose durable upholstery fabric and replace worn-out foam for a stylish and comfortable seating experience.
Read more: How To Recover Cushions For Glider Rocker
Assessing the Damage
Before you begin the process of recovering your RV cushions, it’s important to assess the extent of the damage. Take a close look at each cushion and note any issues such as stains, tears, or sagging foam.
If your cushions are stained, determine whether they can be cleaned or if they are beyond repair. Some stains, especially those caused by spills or food, can be easily removed with a stain remover or a mixture of mild detergent and water. However, if the stains are deep-set or the cushions are heavily soiled, it may be best to consider replacing them altogether.
Next, check for any tears or rips in the upholstery. Small tears can often be repaired with a needle and thread, while larger tears may require more extensive repairs or complete replacement of the upholstery fabric. Assess the condition of the foam as well. If it has become flattened or worn out, replacing the foam will be necessary for optimal comfort.
Additionally, inspect the zippers on your cushions. If they are damaged or no longer functioning properly, you may need to replace them along with the upholstery fabric.
By carefully assessing the damage to your RV cushions, you can determine the most appropriate course of action to restore them to their former glory. Whether it’s a simple cleaning, minor repairs, or a complete overhaul, understanding the extent of the damage will ensure you have a clear plan and the necessary materials to recover your RV cushions successfully.
Cleaning the Cushions
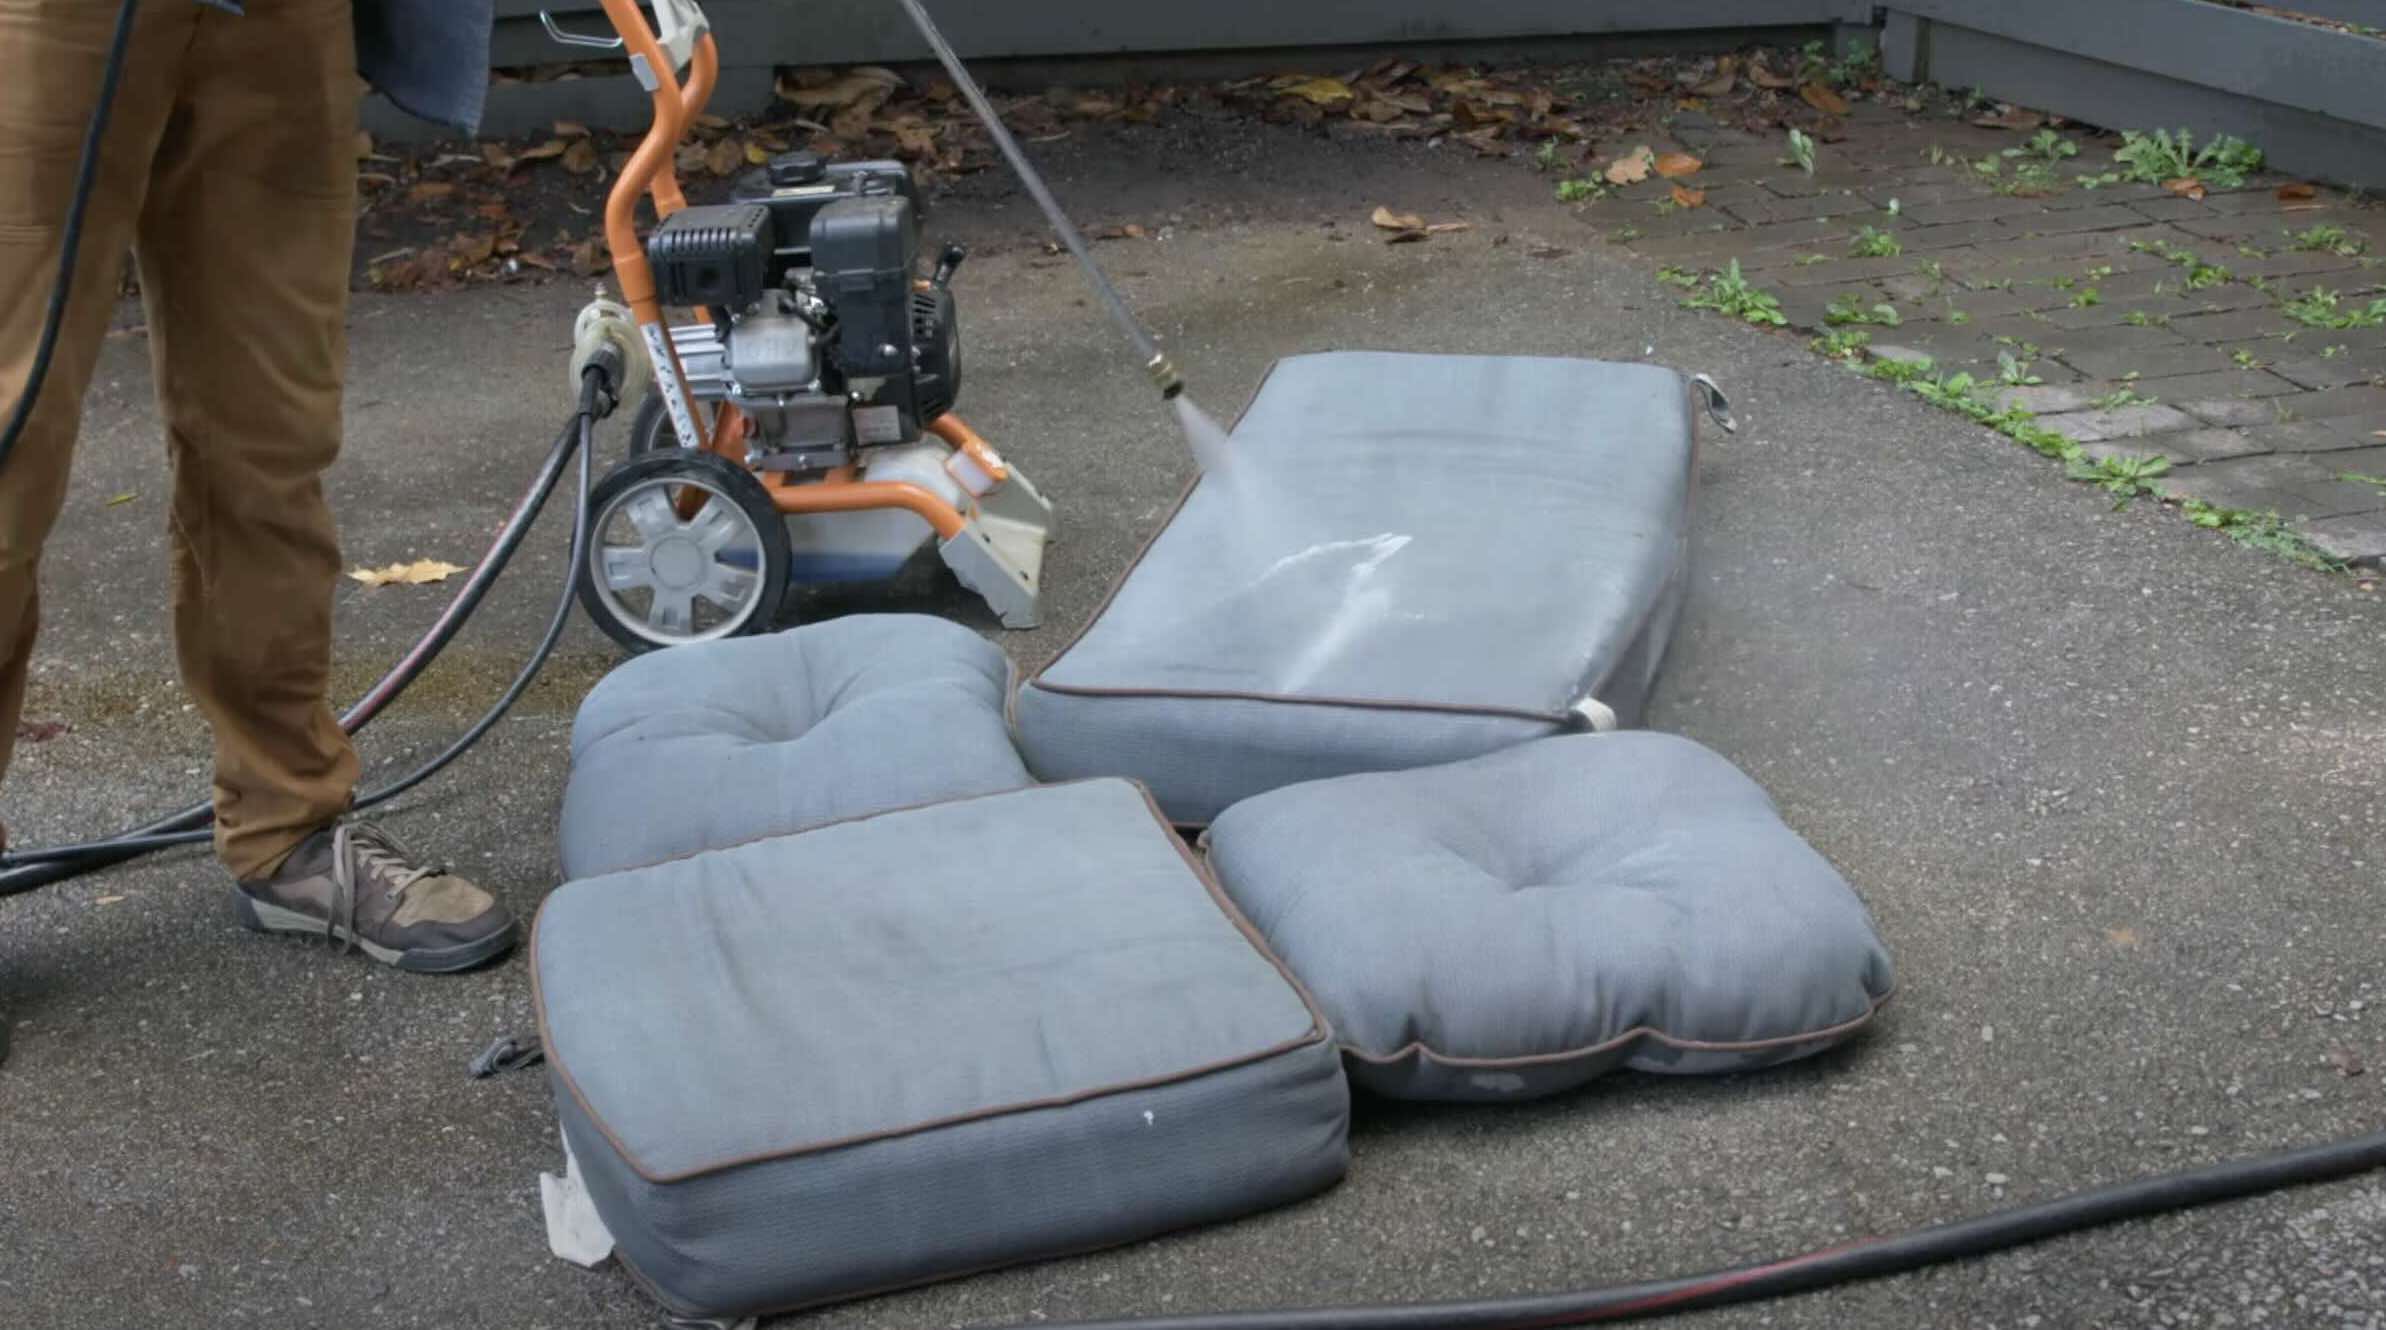
Once you have assessed the damage and determined that your RV cushions are salvageable, it’s time to give them a thorough cleaning. Proper cleaning will not only remove dirt and stains but also help freshen up the cushions.
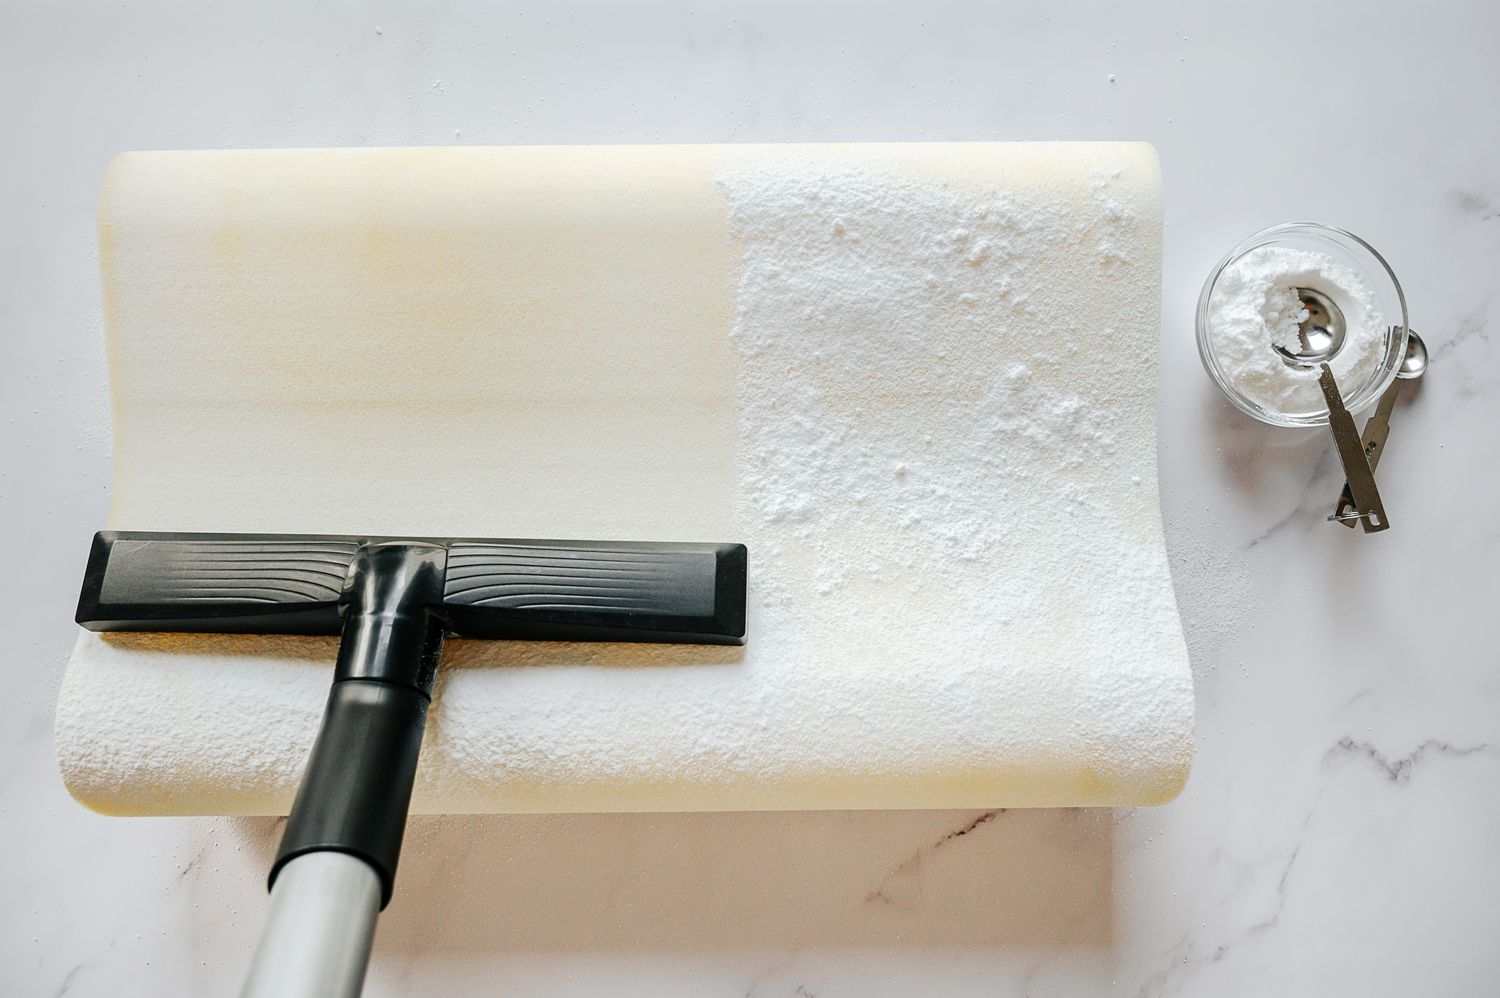
Start by removing the cushions from your RV and taking them to a spacious and well-ventilated area. This could be outside or in a well-ventilated room or garage. Vacuum the cushions to remove any loose dirt or debris.
If the cushions have removable covers, check the care instructions on the label and follow them for cleaning. Most covers can be machine-washed on a gentle cycle using mild detergent. For tough stains, pretreat the fabric with a stain remover or a mixture of warm water and mild detergent before washing.
If the cushions do not have removable covers, you can spot clean them. Create a solution by mixing equal parts of water and mild detergent in a spray bottle. Spray the solution onto the stained areas and gently scrub with a soft-bristle brush or sponge. Avoid oversaturating the cushions as it can lead to mold or mildew growth.
After cleaning, rinse the cushions thoroughly with clean water. If possible, hang them in a sunny spot to air dry. Sunlight helps to kill bacteria and freshens the cushions. Alternatively, lay them flat on a clean surface and turn them occasionally to ensure even drying.
Once the cushions are completely dry, give them a final vacuum to remove any lingering dust or debris. This will make them ready for the next step in the recovery process, whether it’s repairing tears, replacing foam, or reupholstering.
By cleaning your RV cushions thoroughly, you not only improve their appearance but also create a clean and healthy living space in your RV. Regular cleaning and maintenance will help prolong the life of your cushions and keep them looking and feeling great for years to come.
Repairing Tears or Rips
One of the most common issues with RV cushions is tears or rips in the upholstery fabric. Thankfully, these can often be repaired with a few simple steps, saving you the cost of replacing the entire cushion.
Start by examining the size and location of the tear. If it’s a small tear, you can use a needle and thread to mend it. Choose a thread that matches the color of the upholstery fabric for a seamless repair. Thread the needle and tie a knot at the end.
Gently align the torn edges of the upholstery fabric and use small, straight stitches to sew them together. Make sure to keep the stitches close together for better strength and durability. Once you’ve sewn the entire length of the tear, tie off the thread securely and trim any excess.
If the tear is larger or more significant, you may need to patch it. Cut a piece of matching upholstery fabric slightly larger than the tear. Apply fabric glue along the edges of the tear and press the patch onto it, ensuring that it covers the entire damaged area. Smooth out any wrinkles or bubbles and allow the glue to dry according to the manufacturer’s instructions.
For an even stronger repair, you can reinforce the patch with small hand stitches around the edges. This will provide added security and prevent the patch from lifting or peeling over time.
It’s important to note that while these repair methods can fix minor tears and rips, they may not be suitable for extensive damage or if the fabric is severely worn. In such cases, it may be best to consider reupholstering the cushion entirely.
By taking the time to repair tears or rips in your RV cushions, you can extend their lifespan and maintain their appearance. These simple repair techniques are cost-effective and relatively easy to perform, allowing you to enjoy your RV’s seating without the need for costly replacements.
Replacing Foam
Over time, the foam inside RV cushions can become flattened, compressed, or worn out, compromising the comfort and support they provide. If your RV cushions feel saggy or offer inadequate cushioning, replacing the foam is a necessary step in the recovery process.
Start by removing the cushion covers or upholstery fabric carefully. This will give you access to the foam inside. Take note of the dimensions and thickness of the existing foam so that you can purchase the appropriate replacement.
Measure the length, width, and thickness of the cushion. It’s important to choose a foam with the same dimensions or slightly larger to ensure a snug fit. Foam thickness typically ranges from 2 to 6 inches, so select a thickness that meets your desired level of comfort and support.
When selecting foam, consider the density as well. Foam density is measured in pounds per cubic foot (PCF), with higher numbers indicating greater durability and longevity. A density of 1.5 to 2 PCF is suitable for occasional use, while higher densities of 2.5 to 3 PCF are better for daily use cushions.
Cut the foam to the appropriate size using a sharp utility knife or an electric carving knife. Ensure that the edges are straight and even. If the foam is too thick, you can trim it down to the desired thickness using the same cutting tools.
Once you have the new foam cut to size, insert it into the cushion cover or upholstery fabric. Ensure that it fits snugly and fills out the corners and edges of the cover evenly. If necessary, you can use spray adhesive to secure the foam to the fabric for a neater finish.
Reattach the cushion cover or upholstery fabric, making sure it is stretched taut and smooth. Use a staple gun or upholstery tacks to secure the fabric to the cushion’s base or frame. Trim off any excess fabric and secure any loose edges for a clean and polished look.
By replacing the foam inside your RV cushions, you can restore their comfort and resilience. Choosing the right density and thickness of foam will ensure that your cushions provide the support necessary for a comfortable seating experience during your travels.
To recover RV cushions, measure the cushions and choose a durable, easy-to-clean fabric. Use a sewing machine to create new covers, and consider adding zippers for easy removal. This will give your RV cushions a fresh new look.
Read more: How To Recover Patio Cushions
Choosing New Upholstery Fabric
When it comes to recovering RV cushions, selecting the right upholstery fabric is crucial for both aesthetics and durability. The fabric you choose should be able to withstand the unique demands of RV living, such as frequent use, exposure to sunlight, and potential spills.
Start by considering the style and ambiance you want to create in your RV. Are you aiming for a cozy and rustic feel or a modern and minimalist look? The fabric you choose should align with your desired aesthetic and complement the overall interior design of your RV.
Next, prioritize durability. RV cushions endure a lot of wear and tear, making it important to choose a fabric that can withstand frequent use. Look for materials such as heavy-duty polyester, nylon, or blends that are known for their strength and resistance to abrasion. These fabrics are more likely to hold up well over time, even with constant use.
Additionally, consider the fabric’s resistance to stains and its cleaning requirements. Opt for fabrics that have stain-resistant properties, as this will make maintenance easier. Fabrics that can be spot cleaned or machine washed without compromising their quality are ideal for RV cushions.
Sunlight exposure is another factor to consider, as RVs often have large windows that allow direct sunlight to enter. Look for fabrics that are fade-resistant or have been treated with UV protection. This will help prevent the fabric from fading or becoming discolored over time.
Finally, consider the comfort of the fabric. While durability is important, you also want the cushions to be comfortable to sit on. Choose a fabric with a soft and pleasant texture that will enhance your overall seating experience in the RV.
Visit fabric stores or browse online to explore the wide variety of options available. Take the time to touch and feel different fabrics to assess their quality and determine which ones align with your preferences. Consider bringing home fabric samples to see how they look in your RV’s lighting and against the other elements in your interior.
By carefully selecting the upholstery fabric for your RV cushions, you can enhance both the visual appeal and functionality of your living space. With the right fabric, you’ll be able to enjoy comfortable and stylish seating for years to come.
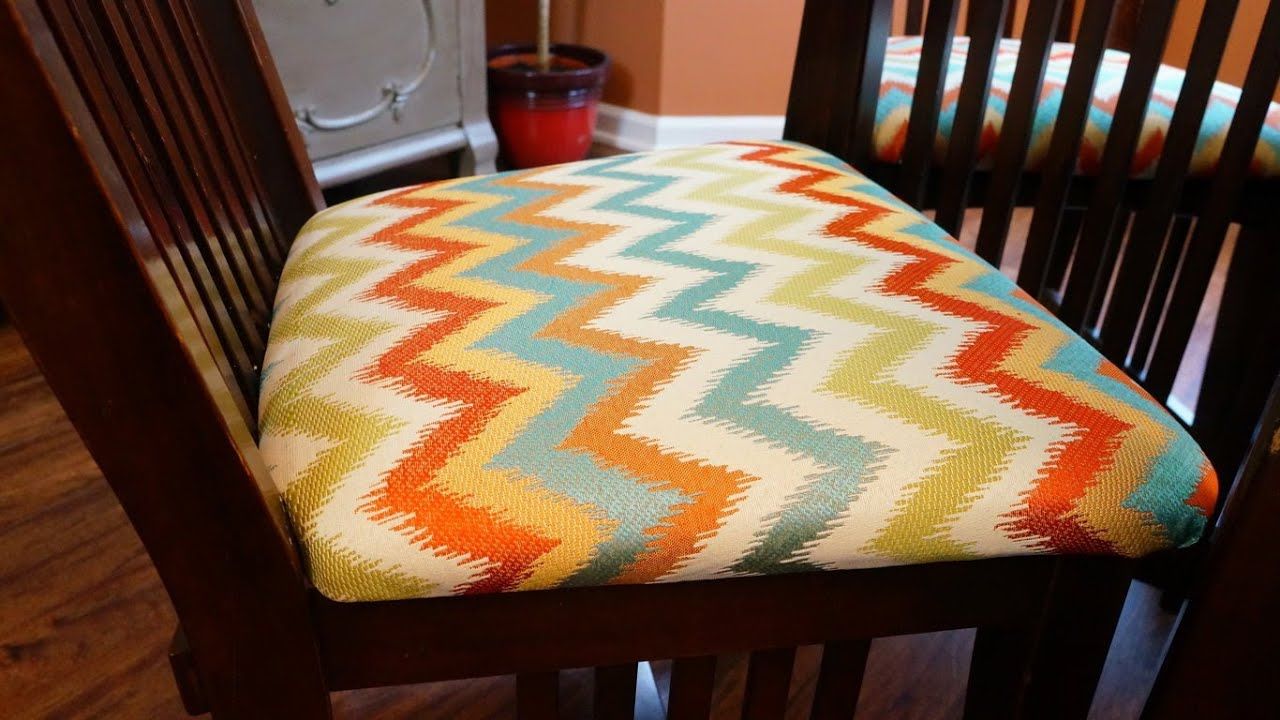
Reupholstering the Cushions
Reupholstering your RV cushions is a great way to give them a fresh and updated look. While it may seem like a daunting task, with the right tools and instructions, you can easily reupholster your cushions and achieve professional-looking results.
Start by removing the old upholstery fabric from the cushion. Carefully use a seam ripper or small scissors to detach any stitches or staples holding the fabric in place. Take note of the order in which the fabric was attached, as this will be helpful when reupholstering.
Once the old fabric is removed, lay it flat on a clean surface and use it as a pattern to cut the new fabric. Place the new fabric face down and position the old fabric on top, aligning the edges. Use fabric chalk or a pen to trace around the old fabric, ensuring you leave enough allowance for attaching it to the cushion.
Cut the new fabric along the traced lines, being careful to maintain clean and straight edges. Repeat this step for each cushion you plan to reupholster.
Before attaching the new fabric, inspect the foam and make any necessary adjustments or repairs. If the foam is damaged or worn, consider replacing it as we previously discussed.
Next, position the new fabric over the cushion, making sure the pattern or texture is aligned correctly. Smooth out any wrinkles or creases, ensuring the fabric is taut and evenly stretched.
Starting from one side, secure the fabric to the cushion with staples or upholstery tacks. Work your way around, pulling the fabric gently as you go to maintain an even tension. Ensure the fabric is snugly attached to the cushion, but not overly tight to avoid distorting the shape.
Continue stapling or tacking the fabric until you reach the starting point. Trim any excess fabric, leaving a small allowance for a clean finish.
If your cushions had piping or trim in the previous upholstery, you can recreate it by sewing or gluing it onto the new fabric. This will give your reupholstered cushions a polished and professional look.
Once all the cushions are reupholstered, reattach them to the RV furniture frame. Ensure they fit properly and are securely fastened.
Reupholstering your RV cushions may require some time and effort, but the end result is well worth it. A fresh, updated upholstery will transform the look of your RV and make your living space more comfortable and inviting.
Replacing Zippers
When recovering your RV cushions, it’s important to ensure that all components are in good working condition, including the zippers. Over time, zippers can become worn, damaged or fail to function properly. If you notice issues with the zippers on your cushion covers, it’s time to replace them.
Start by removing the old zipper from the cushion cover. Use a seam ripper or small scissors to carefully cut the stitches holding the zipper in place. Take note of the length and type of the old zipper, as you’ll need to find a suitable replacement.
When choosing a new zipper, make sure it matches the specifications of the old one. Measure the length of the existing zipper and select a replacement that is the same length. It’s also important to choose a zipper that is appropriate for the weight and thickness of your cushion fabric.
Begin the process of replacing the zipper by measuring the length of the zipper opening on the cushion cover. Mark the midpoint and use a seam ripper or small scissors to carefully remove the necessary stitches, creating an opening for the new zipper.
Align the new zipper with the opening and pin it in place. Double-check that the zipper teeth are facing the correct direction and that the zipper pull is positioned correctly for easy opening and closing.
Using a zipper foot on your sewing machine, sew the new zipper onto the cushion cover. Start at one end of the zipper and carefully stitch along the edge, using a straight stitch and following the line of the existing zipper opening. Backstitch at the beginning and end to secure the stitches.
Once the new zipper is attached, carefully remove any basting stitches or excess fabric to create a clean and polished finish. Test the zipper to ensure it opens and closes smoothly.
If you’re not comfortable using a sewing machine or prefer a no-sew option, there are adhesive zippers available that can be easily applied with an iron or fabric glue.
Replacing the zippers on your RV cushion covers will ensure that they can be easily removed and put back on for cleaning or updating in the future. A functional zipper not only makes life easier but also prolongs the lifespan of your cushions.
Adding Extra Padding
While reupholstering your RV cushions, you have the perfect opportunity to add extra padding for enhanced comfort. Adding an extra layer of padding can make a significant difference in the overall softness and support of the cushions.
One of the simplest ways to add extra padding is to use foam inserts. These inserts can be placed on top of the existing foam or cushioning inside the cover. Measure the dimensions of the cushion and cut the foam insert to fit snugly inside. This extra layer of foam will provide additional cushioning and help restore any lost firmness.
An alternative option is to use a foam topper or pillow-top cushion. These pre-made cushions are designed to provide extra plushness and comfort. Simply place them on top of the existing cushion or foam for an instant boost in softness.
If you prefer a softer and more luxurious feel, you can also consider using down or cushion fillers. Down feathers or polyester fibers can be inserted into a cushion cover or pillowcase to create a fluffy and cozy seating option. These fillers can be easily adjusted to achieve the desired level of firmness or softness.
Another option is to add batting, which is a layer of polyester or cotton fiber that provides extra padding. Cut the batting to the dimensions of the cushion and place it over the foam or cushioning inside the cover. The batting will add a layer of softness and create a plumper appearance.
When adding extra padding, ensure that the cushion cover can still close properly without being overstuffed. You want to maintain a neat and balanced appearance while improving the comfort level.
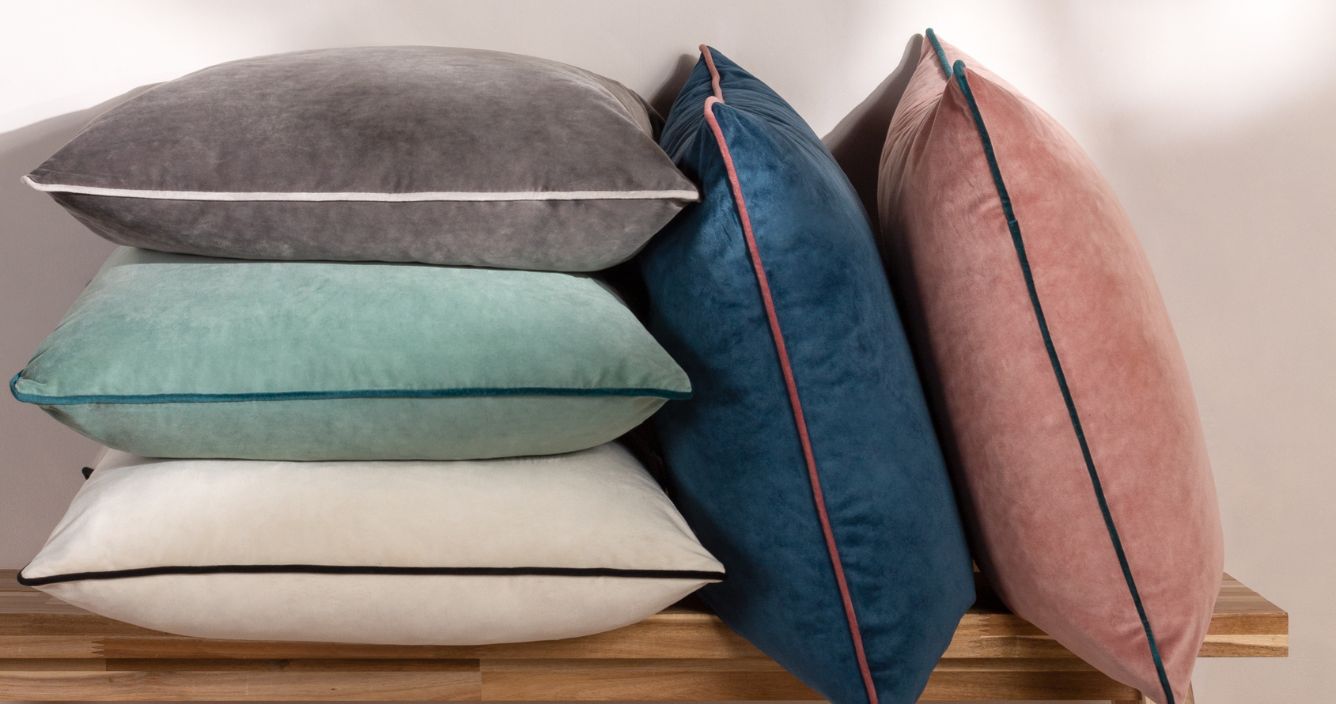
Additionally, consider the type of fabric you choose for the cushion cover. Some fabrics, such as velvet or chenille, have a naturally plush texture that adds to the overall comfort and coziness. These fabrics can enhance the luxurious feel of the cushions and contribute to a more enjoyable sitting experience.
By adding extra padding to your RV cushions, you can create a more comfortable and inviting seating area. Whether you choose foam inserts, toppers, fillers, or batting, the added cushioning will help you and your guests relax and enjoy your time in your RV.
Read more: How To Recover Sofa Cushions
Conclusion
Recovering your RV cushions is a fantastic way to breathe new life into your living space on wheels. Whether you’re aiming to update the aesthetic or improve the comfort, the process of recovering RV cushions can be both rewarding and cost-effective. By following the steps outlined in this guide, you can achieve professional-looking results and create a cozy and inviting atmosphere inside your RV.
Remember to assess the damage to your cushions, whether it’s stains, tears, or worn-out foam. Clean the cushions thoroughly to remove dirt and grime, and repair any tears or rips in the upholstery fabric. If necessary, replace the foam to enhance comfort and support. When selecting new upholstery fabric, prioritize durability, stain resistance, and UV protection to ensure longevity and easy maintenance.
Reupholstering the cushions allows you to give them a fresh new look. Take your time to remove the old fabric carefully and replace it with the new one, ensuring a snug and secure fit. Pay attention to details like zippers, replacing them if necessary to maintain the functionality of the cushion covers.
Lastly, consider adding extra padding to enhance the comfort of your RV cushions. Whether through foam inserts, toppers, fillers, or batting, this additional layer will provide a more luxurious seating experience for you and your guests.
By incorporating these steps and techniques, you can transform your RV cushions into stylish and comfortable seating areas. Whether you’re embarking on a road trip, camping adventure, or simply enjoying a weekend getaway, you’ll be able to relax and unwind in a space that feels like home.
So, embrace your DIY skills, get creative, and enjoy the process of recovering your RV cushions. Let your personal style guide your choices and make your living space a haven of comfort and beauty on your on-the-road journeys.
Frequently Asked Questions about How To Recover RV Cushions
Was this page helpful?
At Storables.com, we guarantee accurate and reliable information. Our content, validated by Expert Board Contributors, is crafted following stringent Editorial Policies. We're committed to providing you with well-researched, expert-backed insights for all your informational needs.


0 thoughts on “How To Recover RV Cushions”