Home>Furniture>Outdoor Furniture>How To Clean A Wooden Patio

Outdoor Furniture
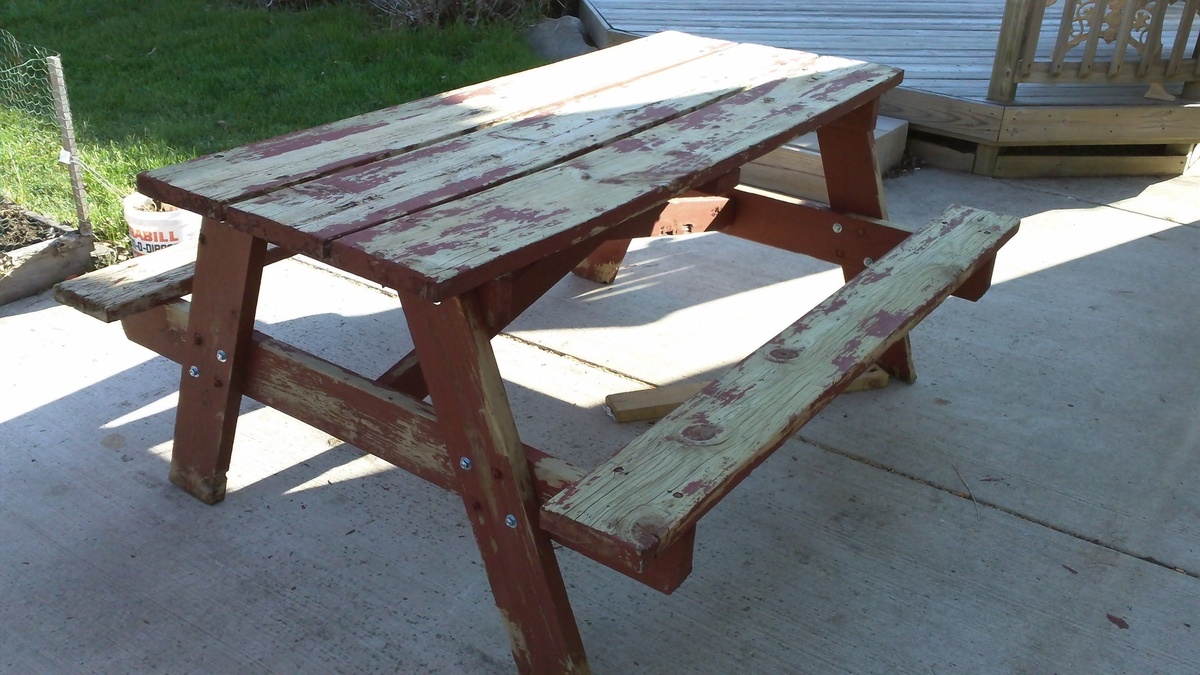
How To Clean A Wooden Patio
Modified: September 2, 2024
Learn how to clean and maintain your outdoor furniture, specifically wooden patio pieces, with our step-by-step guide. Enhance the longevity and appearance of your favorite outdoor wooden furniture.
(Many of the links in this article redirect to a specific reviewed product. Your purchase of these products through affiliate links helps to generate commission for Storables.com, at no extra cost. Learn more)
Introduction
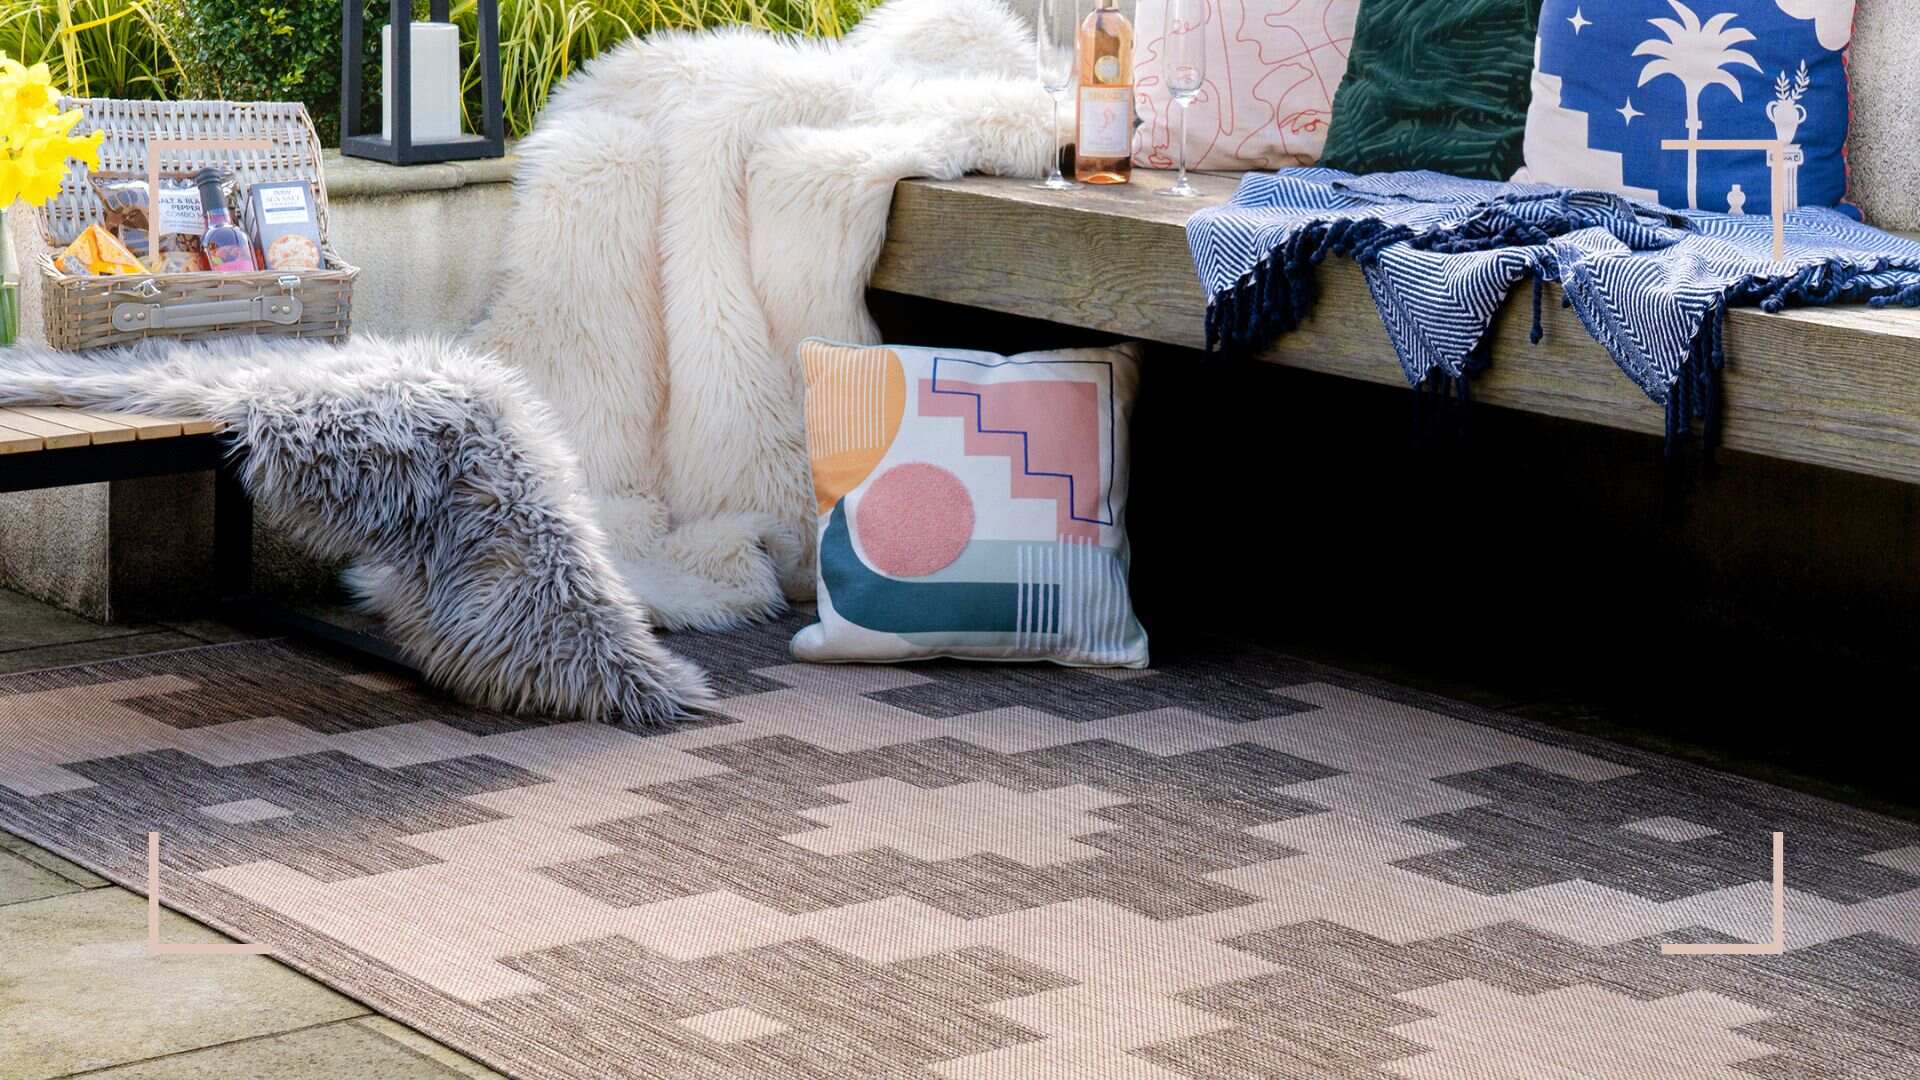
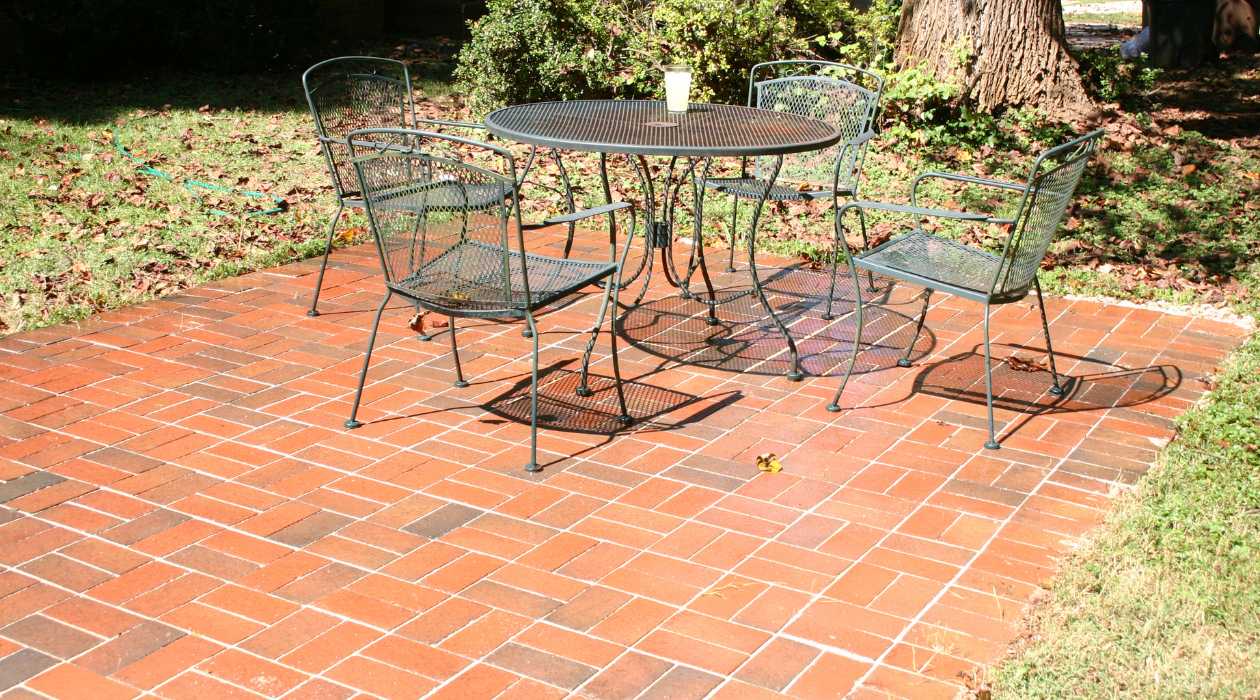
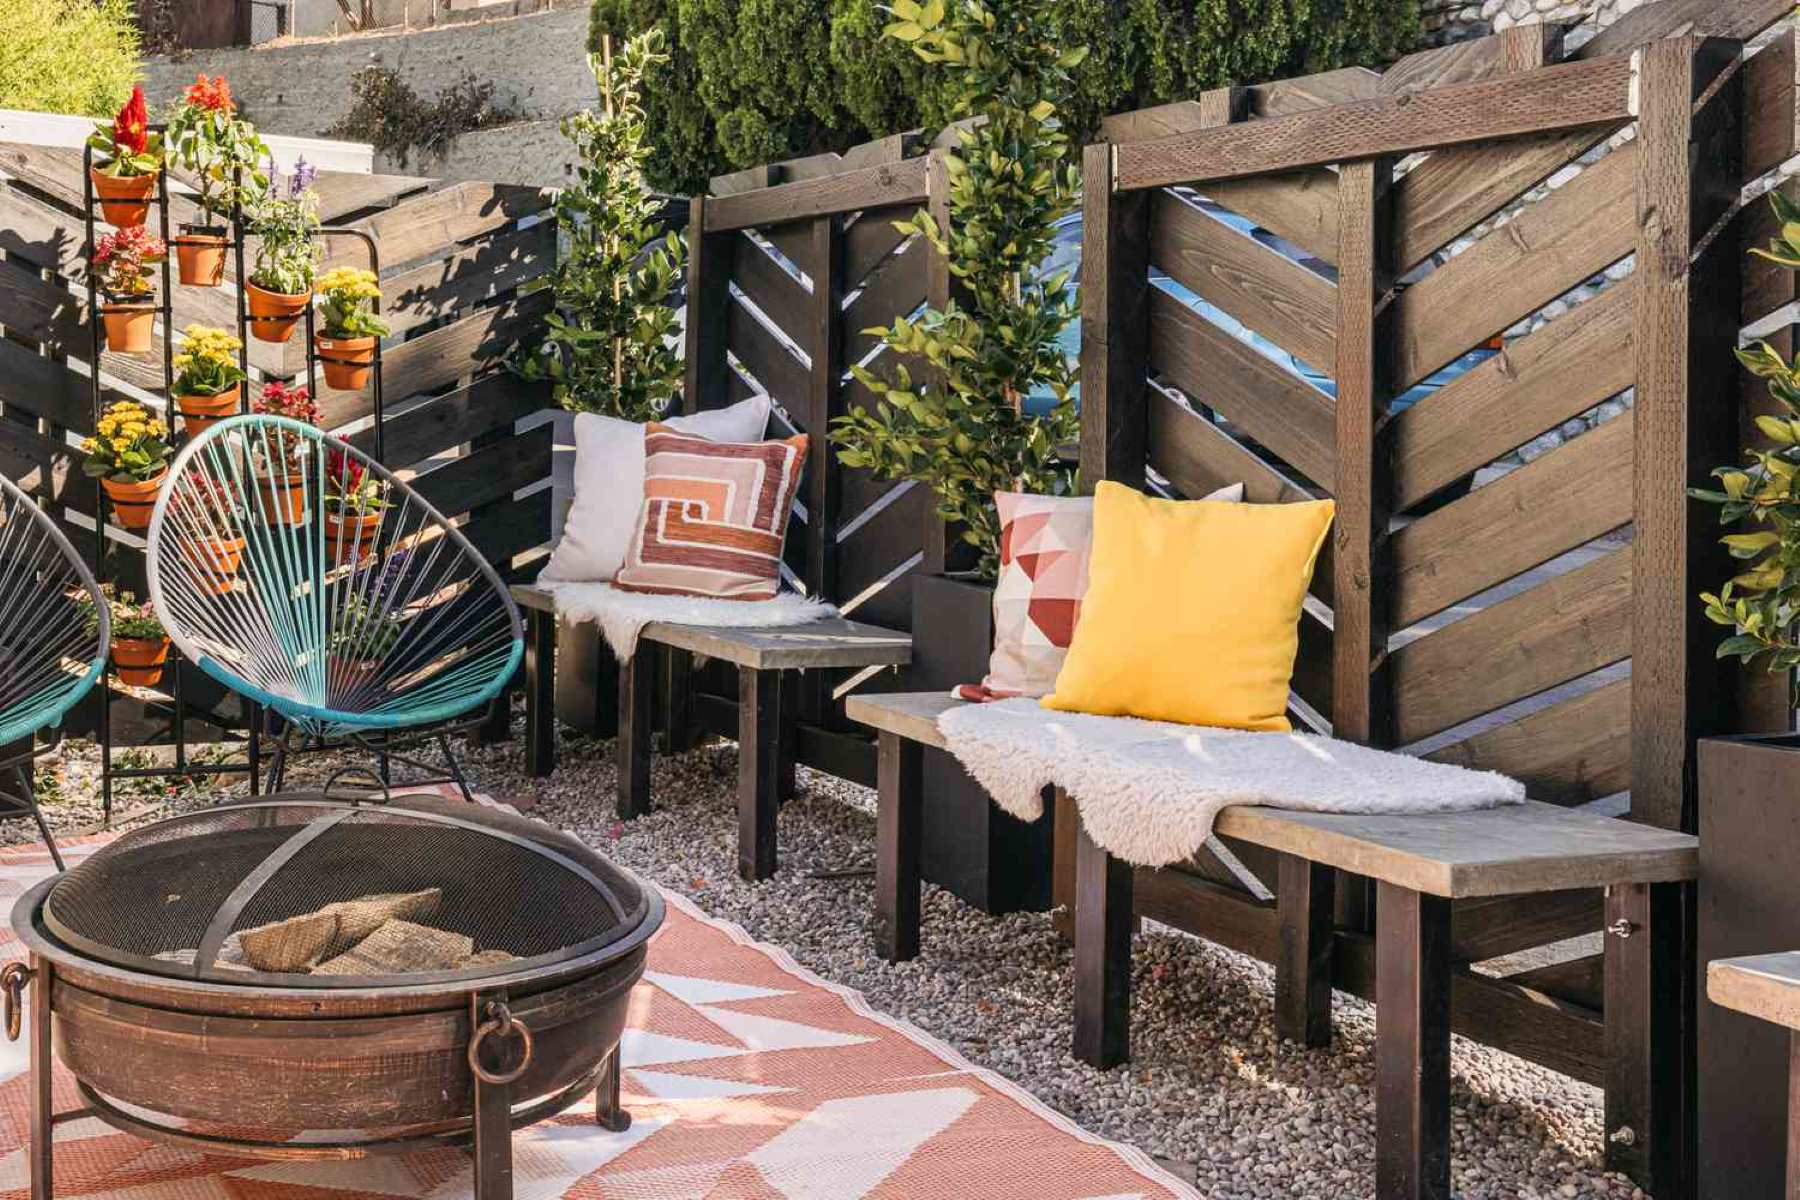
Welcome to the world of outdoor furniture! Having a wooden patio can bring warmth and beauty to your outdoor space, creating a relaxing and inviting atmosphere. However, over time, your wooden patio may become weathered, dirty, and stained, diminishing its appearance and potentially compromising its durability. That’s where proper cleaning and maintenance come into play.
In this article, we will guide you through the process of cleaning and revitalizing your wooden patio. By following our step-by-step instructions and utilizing the right tools and materials, you can restore your patio to its former glory and extend its lifespan.
So, let’s roll up our sleeves, grab our cleaning supplies, and dive into the world of wooden patio care!
Key Takeaways:
- Transform your weathered wooden patio into a stunning outdoor space by following our step-by-step cleaning and revitalization process. Enjoy a beautiful and inviting patio for years to come!
- Keep your wooden patio looking its best with regular cleaning, stain removal, and protective sealant application. Enjoy a revitalized outdoor oasis for all your relaxation and entertaining needs!
Read more: How To Clean A Wooden Fence
Tools and Materials Needed
Before getting started, gather the following tools and materials to make the cleaning process go smoothly:
- A sturdy broom or brush
- A pressure washer or garden hose
- Mild dish soap or specially formulated wood cleaner
- A bucket
- A scrub brush or sponge
- A plastic tarp or drop cloth
- Sandpaper (various grits)
- A paintbrush or roller
- Exterior wood stain or paint (if desired)
- A clear wood sealant or waterproofing product
- Protective gloves
- Eye protection
- A dust mask
These are the fundamental tools and materials you will need for cleaning and maintaining your wooden patio. If you have specific concerns or unique circumstances, you may need additional items, such as a wood conditioner or stain remover. Always ensure you have the appropriate safety gear to protect yourself during the cleaning process.
Now that we have all the necessary tools and materials ready, let’s move on to preparing the patio for cleaning!
Preparing the Patio
Before diving into the cleaning process, it’s important to properly prepare your wooden patio. Follow these steps to ensure a thorough and effective cleaning:
- Clear the area: Remove any furniture, plants, or other objects from the patio to create an open space for cleaning.
- Sweep or brush away debris: Use a sturdy broom or brush to remove loose dirt, leaves, and other debris from the surface of the patio. This will make the cleaning process more effective and prevent scratching when scrubbing.
- Protect surrounding areas: If there are any adjacent surfaces, such as walls or plants, that you want to protect from cleaning solutions or debris, cover them with a plastic tarp or drop cloth.
By preparing your patio in advance, you’ll have a clear and clean surface to work on, ensuring that the cleaning process is as efficient as possible.
Now that you’ve prepared the patio, it’s time to move on to the next step: cleaning the wooden surface. Read on to learn how to effectively remove stains and discoloration from your patio.
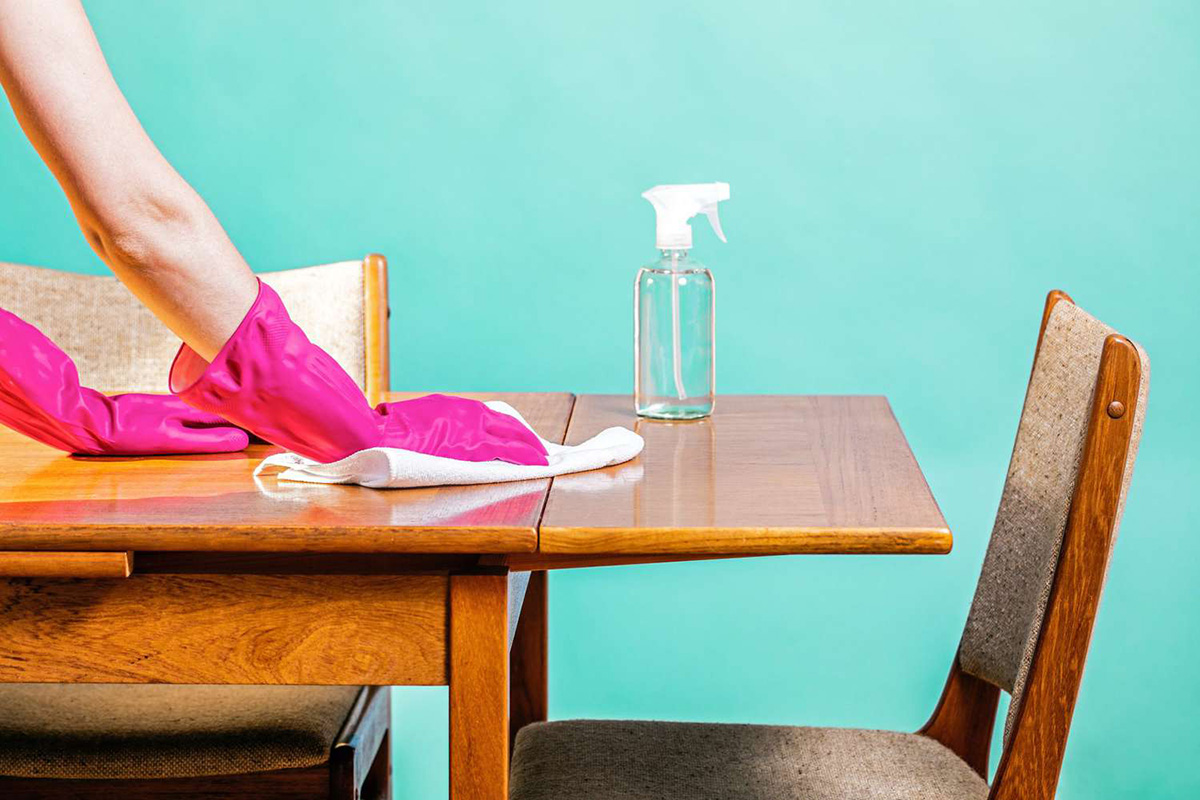
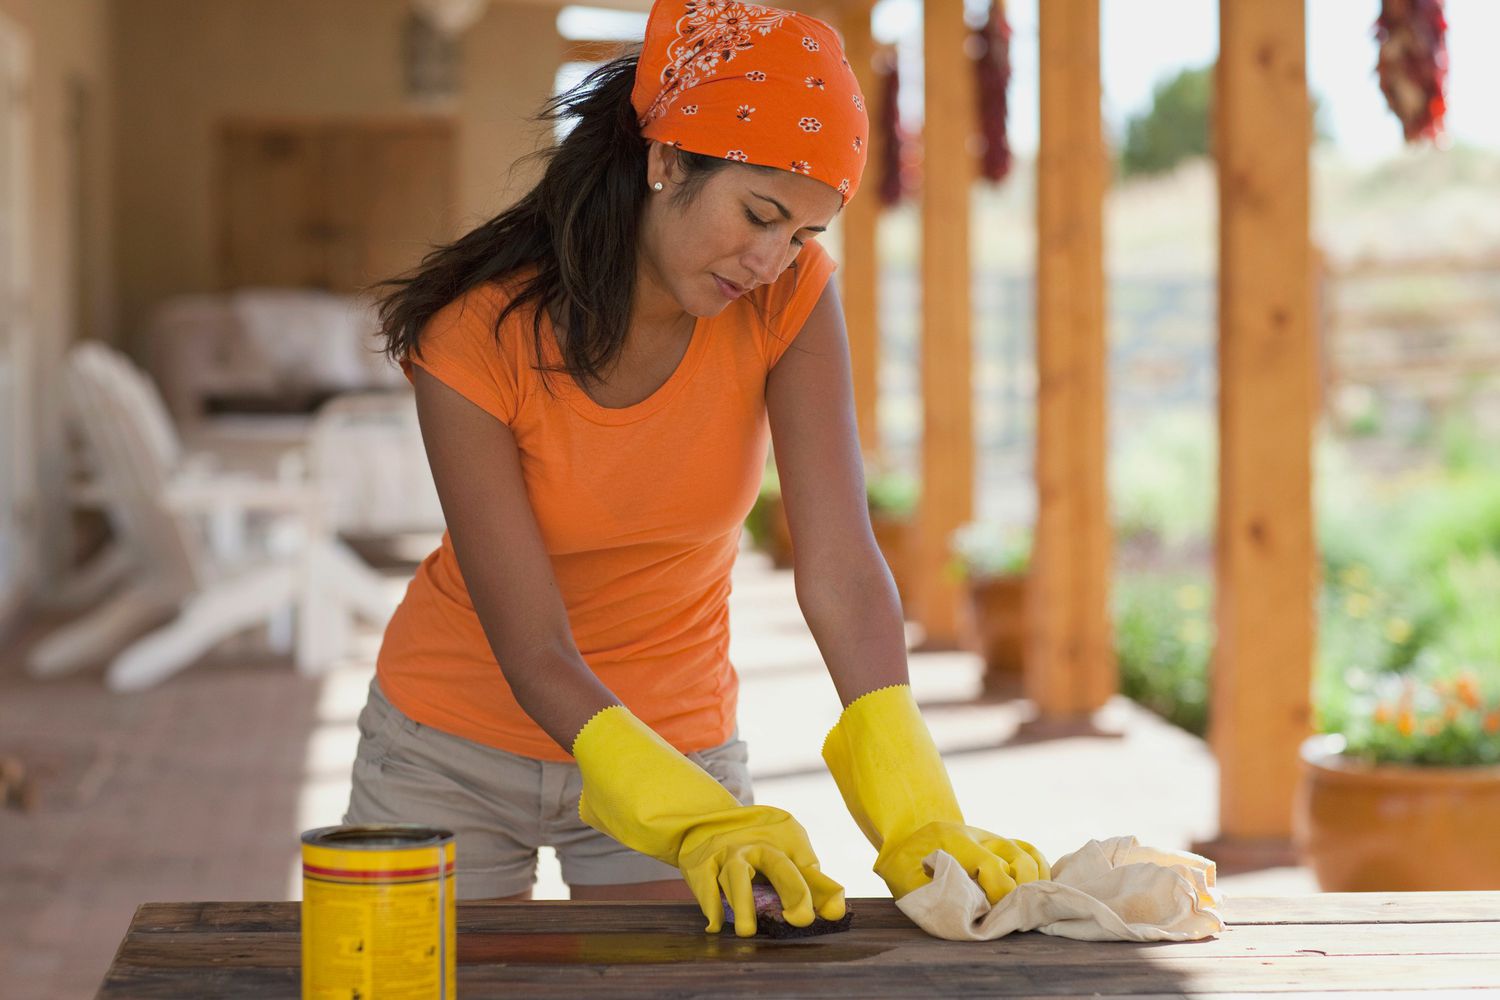
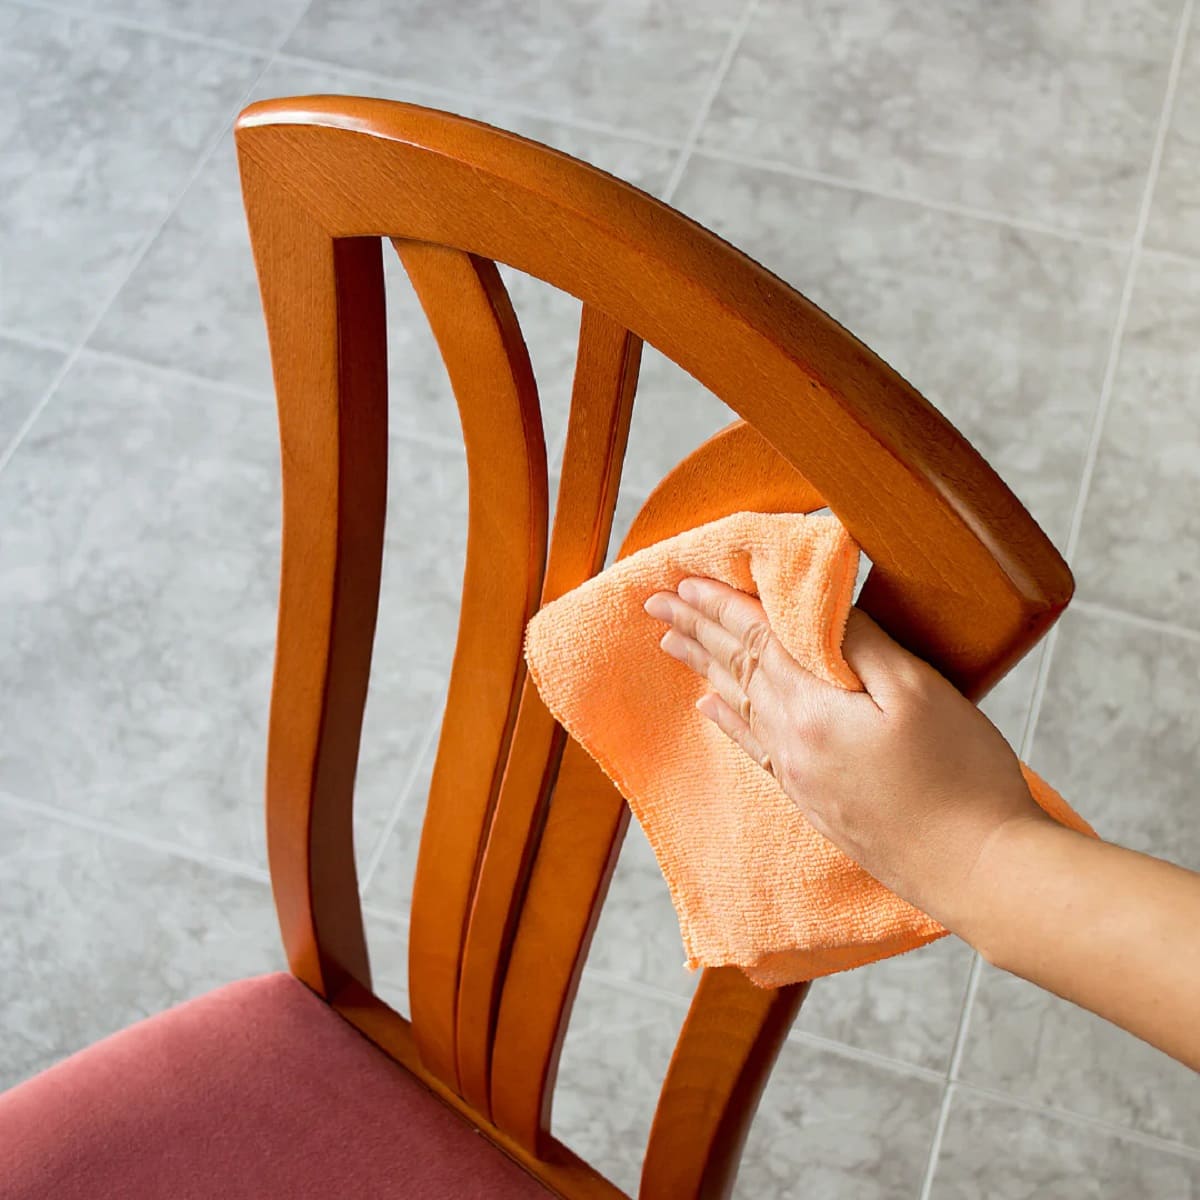
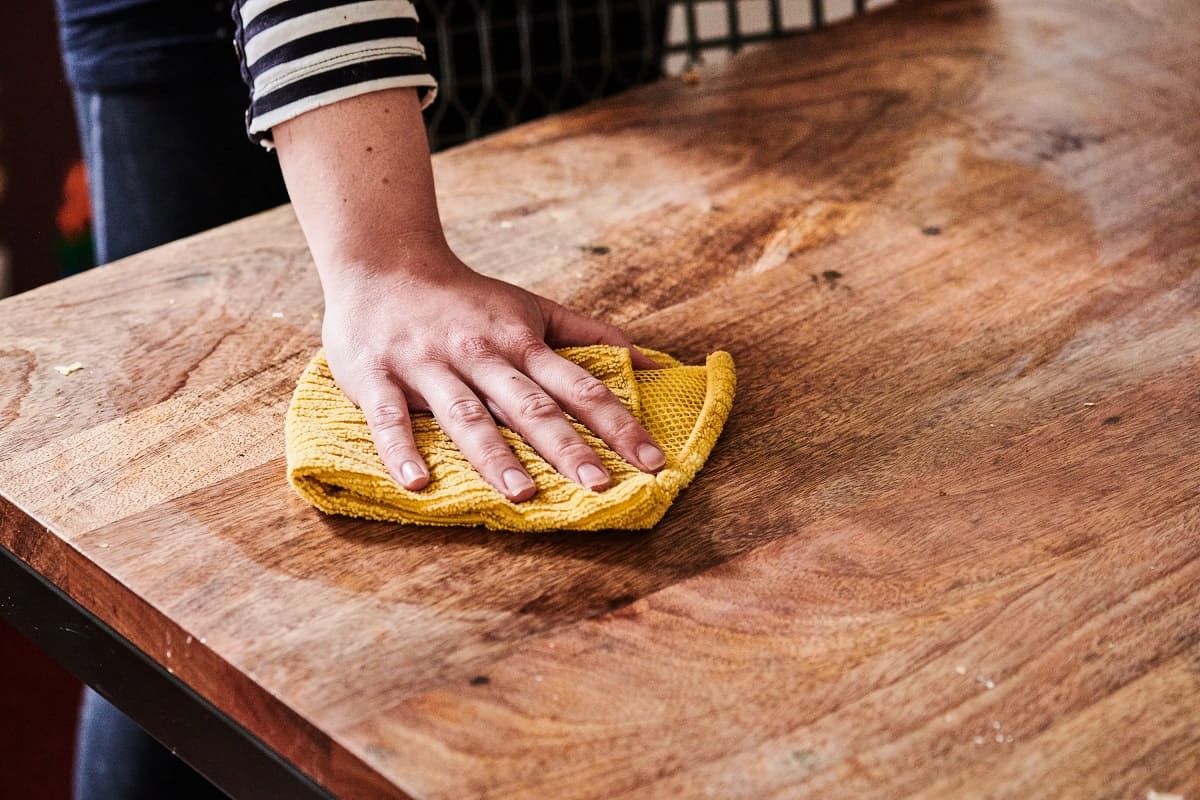
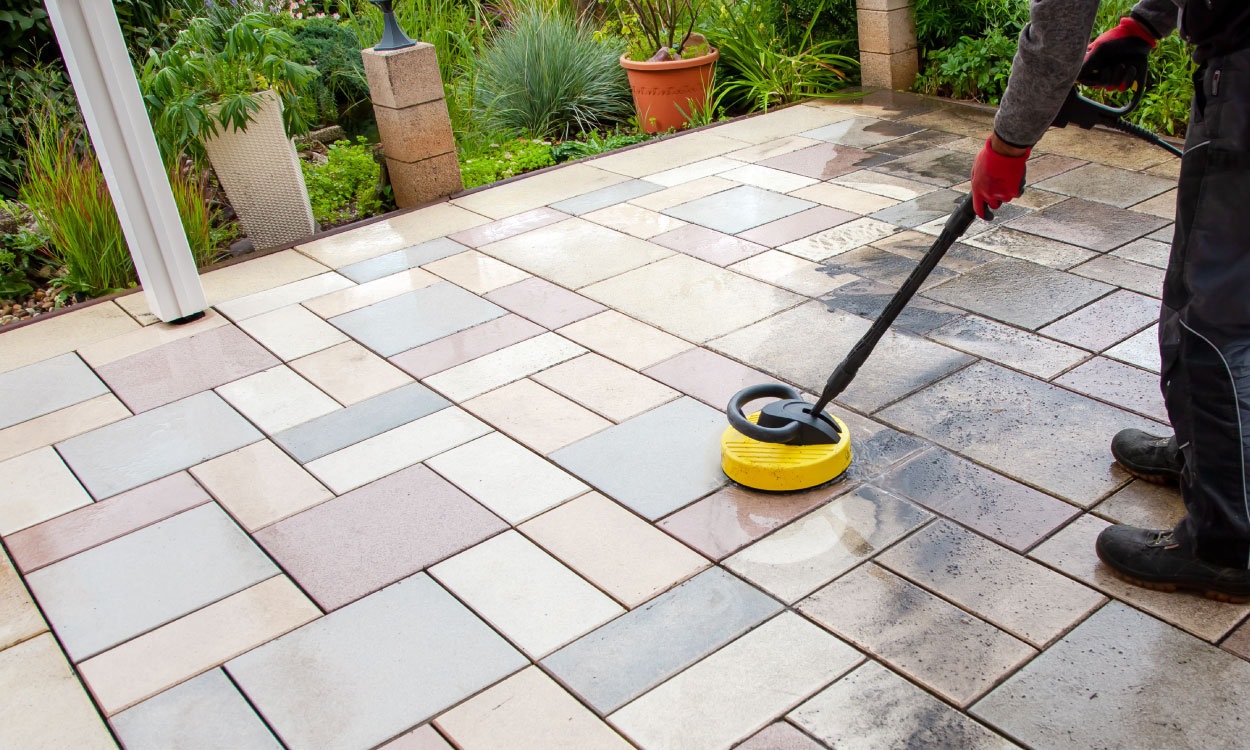
Cleaning the Wooden Patio
Now that your patio is prepped, it’s time to start cleaning the wooden surface. Follow these steps to remove dirt, grime, and other buildup:
- Mix a cleaning solution: In a bucket, combine mild dish soap or a specially formulated wood cleaner with warm water. Follow the manufacturer’s instructions for the proper ratio of cleaner to water.
- Wet the patio: Use a garden hose or pressure washer on a low setting to wet the wooden surface. This will help loosen any surface dirt and debris.
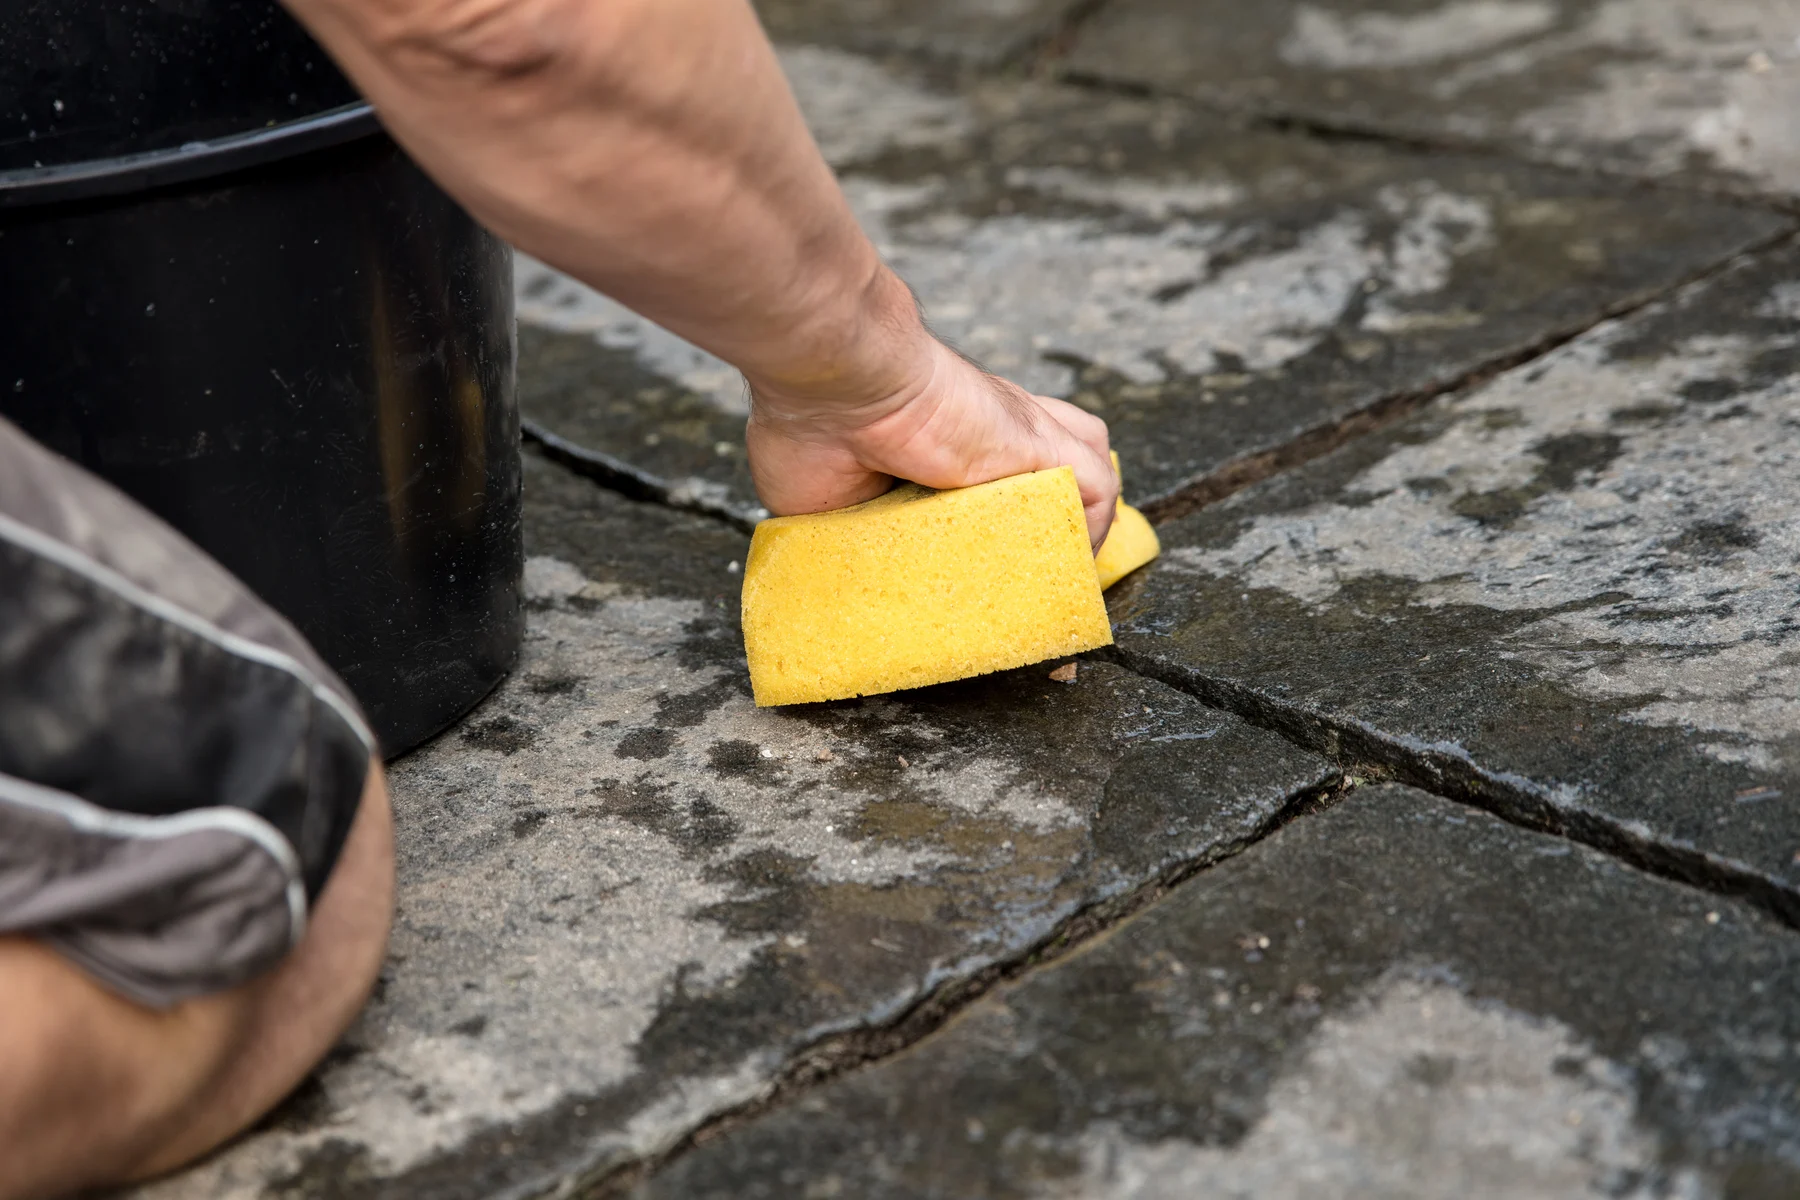
- Apply the cleaning solution: Use a scrub brush or sponge to apply the cleaning solution to the patio. Scrub in a circular motion, working in small sections at a time.
- Scrub the surface: With the cleaning solution applied, use the scrub brush or sponge to scrub away dirt, stains, and grime. Pay extra attention to heavily soiled areas.
- Rinse the patio: Once you’ve scrubbed the entire surface, rinse away the cleaning solution using a garden hose or pressure washer on a low setting. Make sure to thoroughly rinse off any residual soap or cleaner.
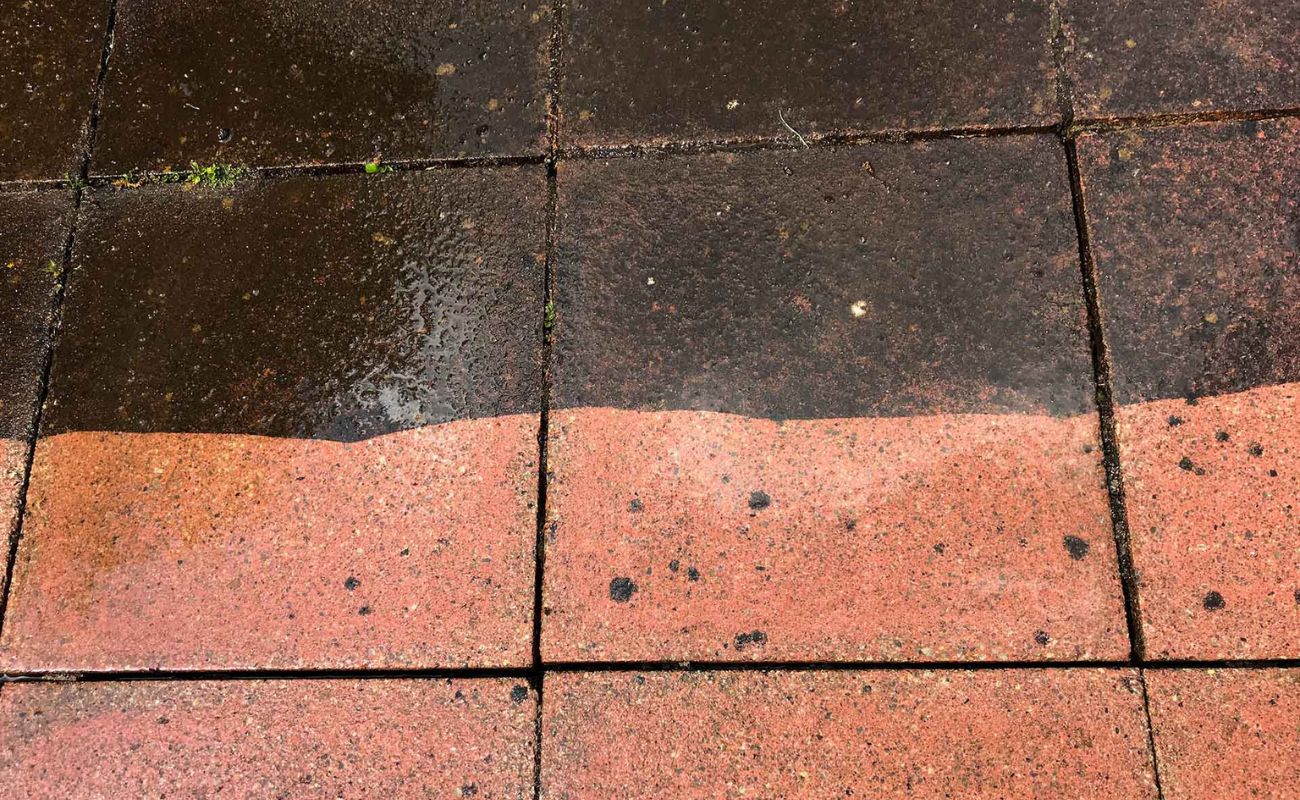
By following these steps, you can effectively clean the wooden patio and remove surface dirt and grime. However, if you notice stubborn stains or discoloration, additional steps may be required. Let’s explore how to tackle those next!
To clean a wooden patio, mix a solution of warm water and mild dish soap. Use a soft-bristled brush to scrub the surface, then rinse with a hose. Avoid using a pressure washer, as it can damage the wood.
Removing Stains and Discoloration
If your wooden patio has stubborn stains or discoloration, don’t worry – there are solutions available to restore its appearance. Here’s how to handle common staining issues:
- Grease or oil stains: Sprinkle baking soda or cornstarch on the affected area and let it sit for a few minutes to absorb the oil. Then, scrub the stain gently with a scrub brush and rinse with water.
- Mold or mildew: Mix equal parts water and vinegar in a bucket, and use a sponge or brush to apply the solution to the affected areas. Let it sit for a few minutes, then scrub the mold or mildew away. Rinse thoroughly.
- Rust stains: Apply lemon juice or vinegar directly to the rust-stained area and let it sit for a few minutes. Then, scrub gently with a scrub brush, rinse, and repeat if necessary.
- Discoloration or water stains: Lightly sand the affected area with fine-grit sandpaper until the stain is removed. Wipe away the dust, and if necessary, apply a wood bleach according to the manufacturer’s instructions to even out the color.
Remember to always test any cleaning or stain removal solution in a small, inconspicuous area before applying it to the entire patio. This will ensure that it doesn’t cause any unwanted damage or discoloration to the wood.
By following these stain removal techniques, you can effectively address common staining issues and restore the appearance of your wooden patio. But that’s not the end of the process – your patio may benefit from sanding and refinishing as well. Read on to learn more!
Read more: How To Clean A Wooden Dresser
Sanding and Refinishing the Patio
After cleaning and removing stains from your wooden patio, it may be necessary to sand and refinish the surface to restore its smoothness and protect it from further damage. Here’s how to go about it:
- Sanding the patio: Start by selecting the appropriate grit sandpaper for the job. Begin with a coarser grit, such as 60 or 80, to remove any rough or uneven areas. Sand in the direction of the wood grain, applying even pressure. Gradually work your way up to finer grit sandpaper, such as 120 or 180, to achieve a smooth surface.
- Removing dust: Once you’ve finished sanding, use a soft cloth or brush to remove any dust or debris left behind by the sanding process. Make sure the surface is clean and free of particles before moving on.
- Applying wood stain (optional): If you want to change the color of your patio or enhance its natural beauty, you can apply a wood stain. Choose a stain that is specifically formulated for exterior wood and follow the manufacturer’s instructions for application and drying time. Use a paintbrush or roller to apply the stain evenly, working in the direction of the wood grain.
- Applying a protective sealant: To protect your patio from the elements and prolong its lifespan, it’s crucial to apply a protective sealant. Choose a clear wood sealant or a waterproofing product designed for exterior wood. Apply the sealant according to the manufacturer’s instructions, using a paintbrush or roller. Allow the sealant to dry completely before using the patio.
By sanding and refinishing your wooden patio, you can not only improve its appearance but also enhance its durability and resistance to weathering. Remember to take your time and follow each step carefully for the best results.
Now that your patio is sanded, refinished, and protected, it’s time to enjoy your outdoor space once again!
Applying a Protective Sealant
After cleaning, removing stains, and sanding your wooden patio, the final step in the restoration process is applying a protective sealant. A sealant acts as a barrier, helping to prevent moisture, UV rays, and other elements from damaging the wood. Follow these steps to properly apply a protective sealant to your patio:
- Choose the right sealant: Look for a clear wood sealant or a waterproofing product specifically designed for exterior wood. Read the product label to ensure it is suitable for your particular type of wood and climate.
- Prepare the patio: Make sure the patio is clean, dry, and free of any residue or dust from sanding. If needed, use a soft brush or cloth to remove any debris.
- Apply the sealant: Stir the sealant thoroughly before application. Use a paintbrush or roller to evenly coat the wooden surface, working in the direction of the wood grain. Ensure complete coverage, including the edges and corners.
- Allow for drying time: Follow the manufacturer’s instructions regarding the drying time between coats and the total curing time. It is essential to give the sealant enough time to fully dry before using the patio.
- Apply additional coats if necessary: Depending on the type of wood and the desired level of protection, you may need to apply multiple coats of the sealant. Allow each coat to dry thoroughly before applying the next.
By applying a protective sealant, you can significantly extend the lifespan of your wooden patio and enhance its resistance to moisture, UV rays, and other outdoor elements. It also adds a layer of beauty and shine to the wood, giving your patio a finished look.
Now that you’ve completed the restoration process and applied the protective sealant, it’s time to sit back, relax, and enjoy your revitalized and protected wooden patio! Remember to periodically check and maintain the sealant to ensure its effectiveness and keep your patio in top condition for years to come.
Conclusion
Congratulations! You have successfully learned how to clean and revitalize your wooden patio, ensuring its longevity and beauty for years to come. By following the step-by-step process outlined in this article, you have transformed your weathered and stained patio into a stunning outdoor space.
Remember, maintaining your wooden patio is an ongoing process. Regular cleaning and maintenance, including sweeping away debris and periodically reapplying a protective sealant, will help to preserve its appearance and protect it from the elements.
Additionally, it’s essential to consider the specific needs of your wooden patio, such as the type of wood and the climate it is exposed to. Understanding these factors will allow you to make informed decisions about cleaning products, stains, and sealants that are best suited for your patio.
Now that you have the knowledge and tools to maintain your wooden patio, go ahead and enjoy your outdoor oasis. Whether you’re relaxing with a cup of coffee in the morning or hosting a barbecue with friends, your revitalized patio will provide a beautiful and welcoming space for all your outdoor activities.
So, don’t wait any longer – put on your gloves, grab your broom, and let’s get started on transforming your wooden patio into a stunning outdoor retreat!
Frequently Asked Questions about How To Clean A Wooden Patio
Was this page helpful?
At Storables.com, we guarantee accurate and reliable information. Our content, validated by Expert Board Contributors, is crafted following stringent Editorial Policies. We're committed to providing you with well-researched, expert-backed insights for all your informational needs.

0 thoughts on “How To Clean A Wooden Patio”