Home>Furniture>Outdoor Furniture>How To Restore Teak Patio Furniture

Outdoor Furniture
How To Restore Teak Patio Furniture
Modified: August 16, 2024
Learn the step-by-step process of restoring your teak patio furniture with our expert tips and advice. Bring back the beauty of your outdoor-furniture and enjoy it for years to come.
(Many of the links in this article redirect to a specific reviewed product. Your purchase of these products through affiliate links helps to generate commission for Storables.com, at no extra cost. Learn more)
Introduction
Welcome to the world of outdoor furniture restoration! If you have a beautiful teak patio furniture set that has seen better days, don’t worry – it’s not a lost cause. With a little time and effort, you can bring your teak furniture back to its former glory and enjoy many more years of outdoor relaxation.
Teak wood is highly prized for its durability, natural beauty, and resistance to the elements. However, even the best quality teak furniture can become weathered and worn over time. From dirt and grime buildup to fading and discoloration, your once pristine patio set may now look dull and uninviting.
The good news is that restoring teak patio furniture is a fairly straightforward process. By following a few simple steps, you can refresh the appearance of your furniture and extend its lifespan. In this article, we will guide you through each stage of the restoration process, from cleaning and sanding to applying teak oil and sealing the wood.
Before we dive in, it’s important to note that teak furniture restoration isn’t just about improving aesthetics. Proper maintenance also helps to protect the wood and prevent further damage, ensuring that your investment in outdoor furniture will last for years to come.
So, if you’re ready to roll up your sleeves and give your teak patio furniture some much-needed TLC, let’s get started with step one: cleaning the furniture.
Key Takeaways:
- Reviving teak patio furniture is a simple process involving cleaning, sanding, applying teak oil, removing stains, and sealing. Regular maintenance ensures longevity and keeps the furniture looking beautiful for outdoor relaxation.
- By following the restoration steps, you can bring back the natural beauty of your teak furniture and protect it from the elements. With a little effort, you can enjoy many more years of outdoor leisure in style.
Read more: How To Care For Teak Wood Patio Furniture
Step 1: Cleaning the Teak Furniture
The first step in restoring your teak patio furniture is to give it a thorough cleaning. Over time, dirt, dust, and grime can accumulate on the surface of the wood, dulling its natural beauty. Fortunately, cleaning teak furniture is relatively simple, and you can do it with basic household items.
Start by removing any cushions or fabric covers from the furniture. This will allow you to access all areas of the wood without obstruction. Use a soft brush or a microfiber cloth to gently brush away loose debris and dust.
Next, prepare a mild solution of warm water and a few drops of dish soap or a teak-specific cleaner. Avoid using abrasive cleaners or chemicals as they can damage the wood’s surface. Dip a sponge or soft cloth into the solution and gently wipe down the entire piece of furniture, paying special attention to any areas that are heavily soiled.
If you come across any stubborn stains or discoloration, you can make a paste using equal parts water and baking soda. Apply the paste to the affected areas and let it sit for a few minutes before gently scrubbing it away with a soft brush. Rinse the furniture thoroughly with clean water to remove any soap residue.
Once you’ve cleaned the teak furniture, allow it to dry completely before moving on to the next step. It’s important to remember that teak is a naturally moisture-resistant wood, so it should dry relatively quickly. However, if you’re dealing with high humidity or rainy weather, you may want to consider drying the furniture in a well-ventilated area or using a fan to speed up the process.
Cleaning your teak furniture not only removes dirt and grime but also prepares the surface for the next stage of the restoration process: sanding. By sanding the wood, you will smooth out any rough patches or uneven areas, giving the furniture a fresh start and a rejuvenated look. So, let’s move on to step two: sanding the furniture.
Step 2: Sanding the Furniture
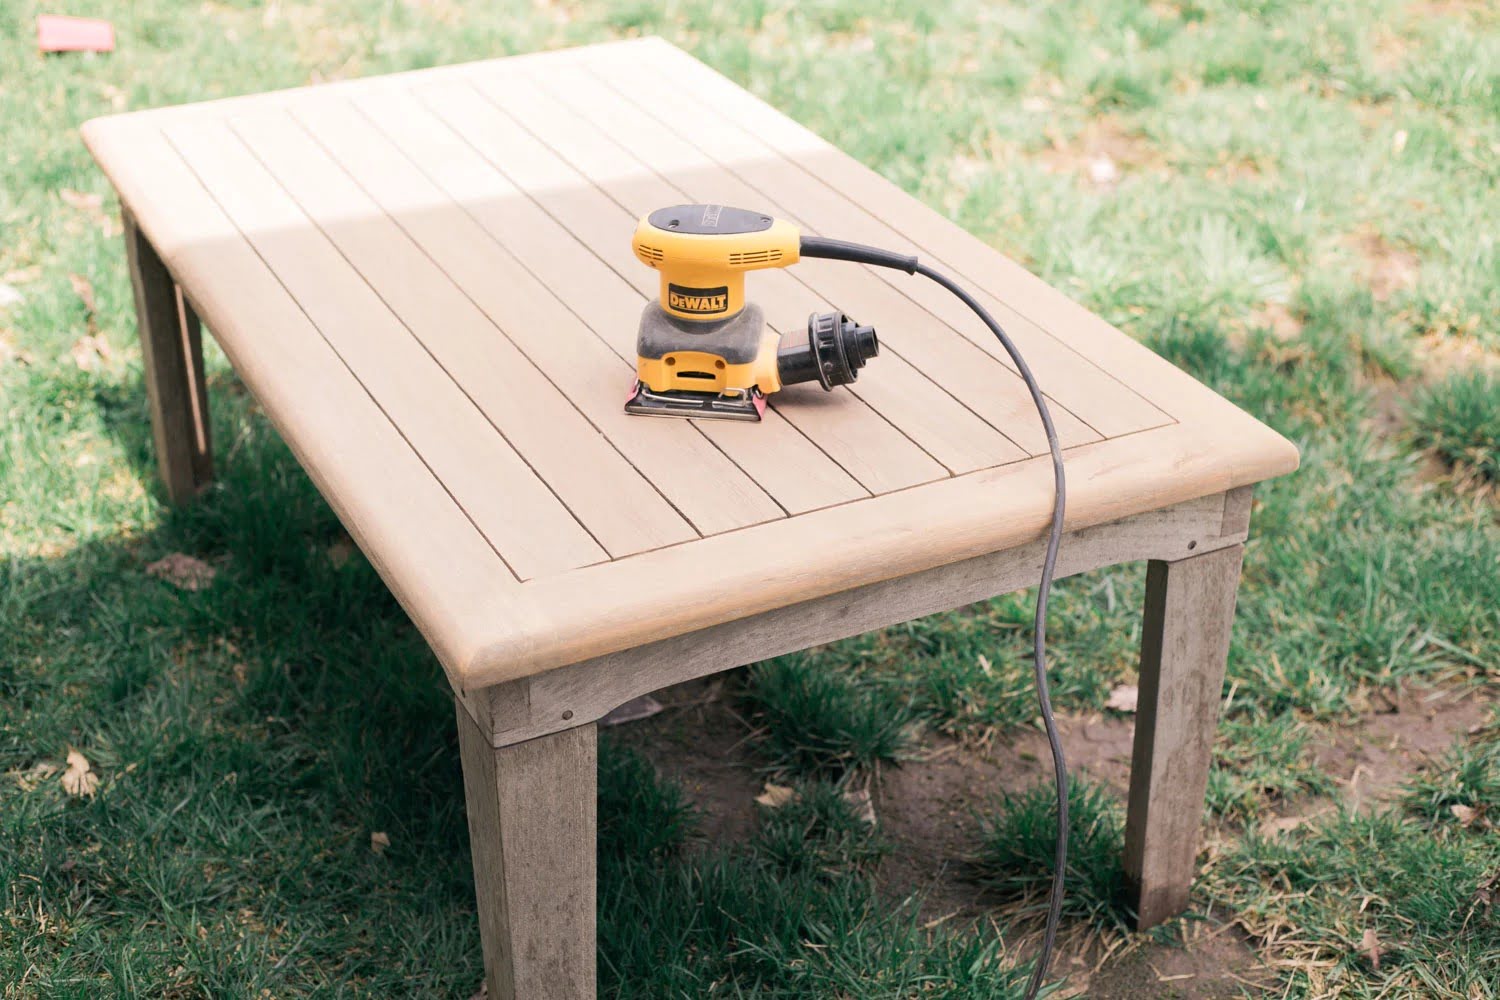
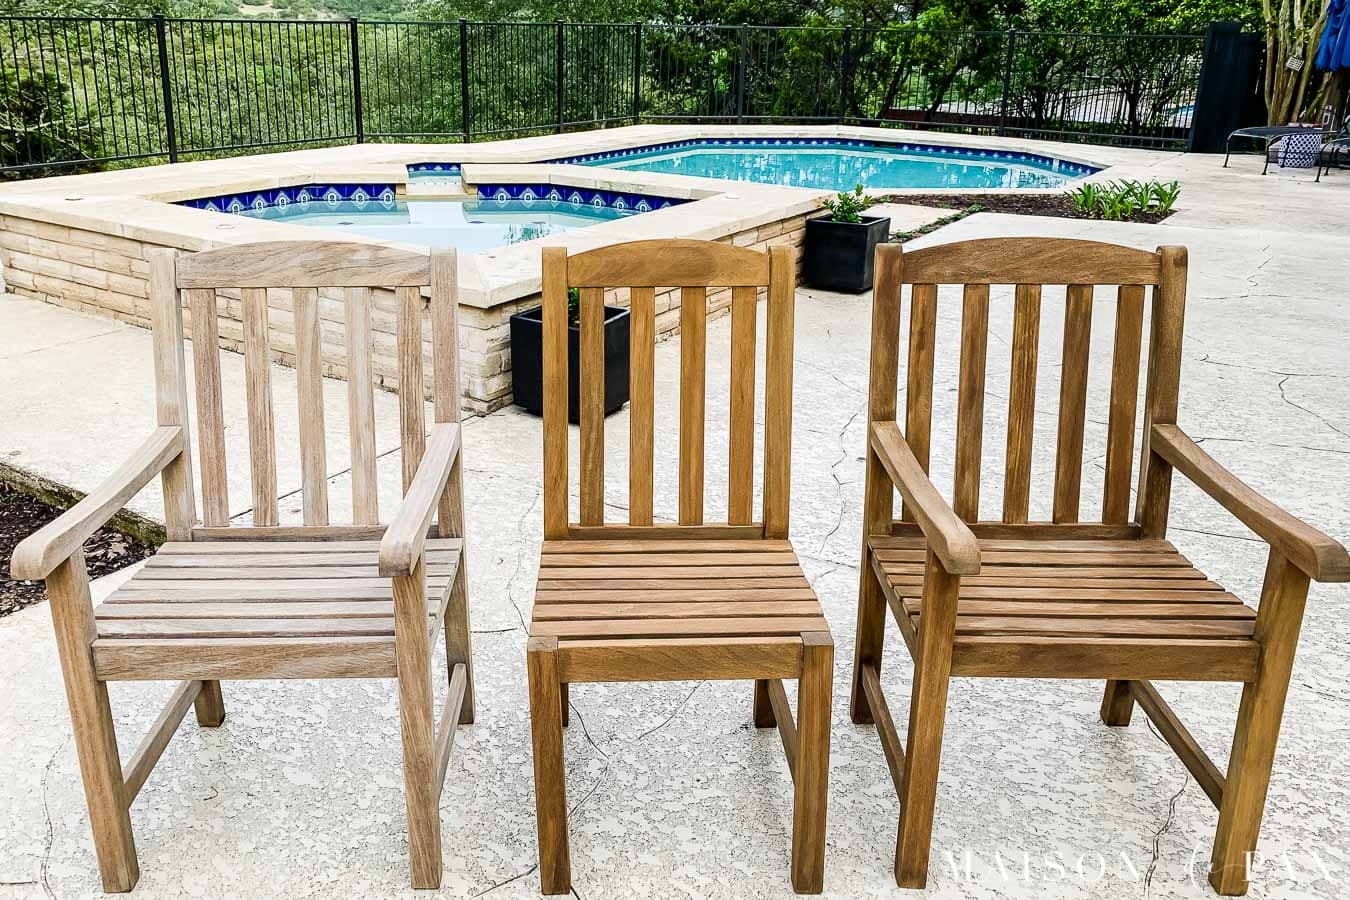
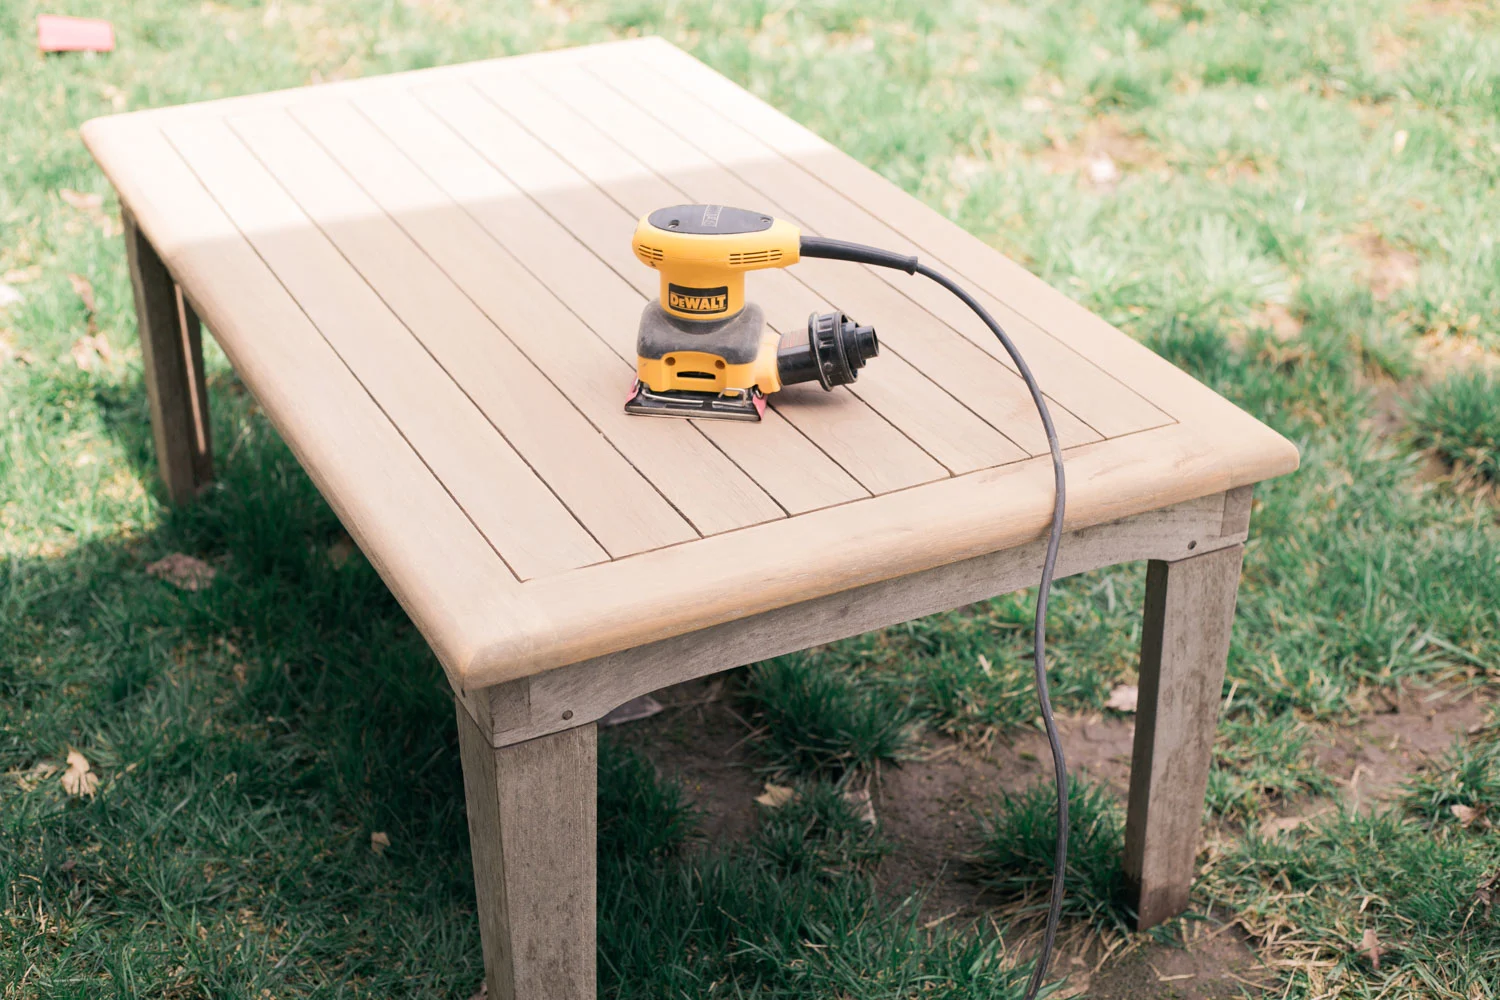
After cleaning the teak furniture, the next step in the restoration process is to sand the wood. Sanding not only smooths out any rough patches or imperfections but also helps to remove the thin layer of grayed, weathered wood that may have formed on the surface.
Start by selecting a medium-grit sandpaper, such as 120 or 150 grit. Wrap the sandpaper around a sanding block or use a sanding sponge to ensure even pressure and better control. Begin sanding in the direction of the wood grain, applying light to moderate pressure.
Work systematically, starting from one end of the furniture and moving in smooth, even strokes. Pay extra attention to any areas that are uneven or have deeper scratches or stains. Slowly and gradually, the sandpaper will remove the grayed layer and reveal the fresh, natural teak color underneath.
Be sure to sand the entire surface of the furniture, including the arms, legs, and backrests. Take your time and periodically check your progress to make sure you’re achieving the desired result. Remember, the goal is to create a smooth and uniform surface that will be ready for the next step of the restoration process.
Once you’ve finished sanding with the medium-grit sandpaper, it’s time to move on to a finer grit sandpaper, such as 220 or 240 grit. This finer sandpaper will help to further smooth out the wood and prepare it for the next stage of restoration.
Again, sand in the direction of the wood grain, using light to moderate pressure. Continue sanding until the entire surface feels smooth to the touch. Take care not to oversand or apply excessive pressure, as this can damage the wood. The goal is to achieve a smooth, clean surface that is free from imperfections.
After sanding, use a brush or a soft cloth to remove any sanding dust from the furniture. Once the dust is removed, you’re ready to move on to the next step: applying teak oil to nourish and protect the wood.
Step 3: Applying Teak Oil
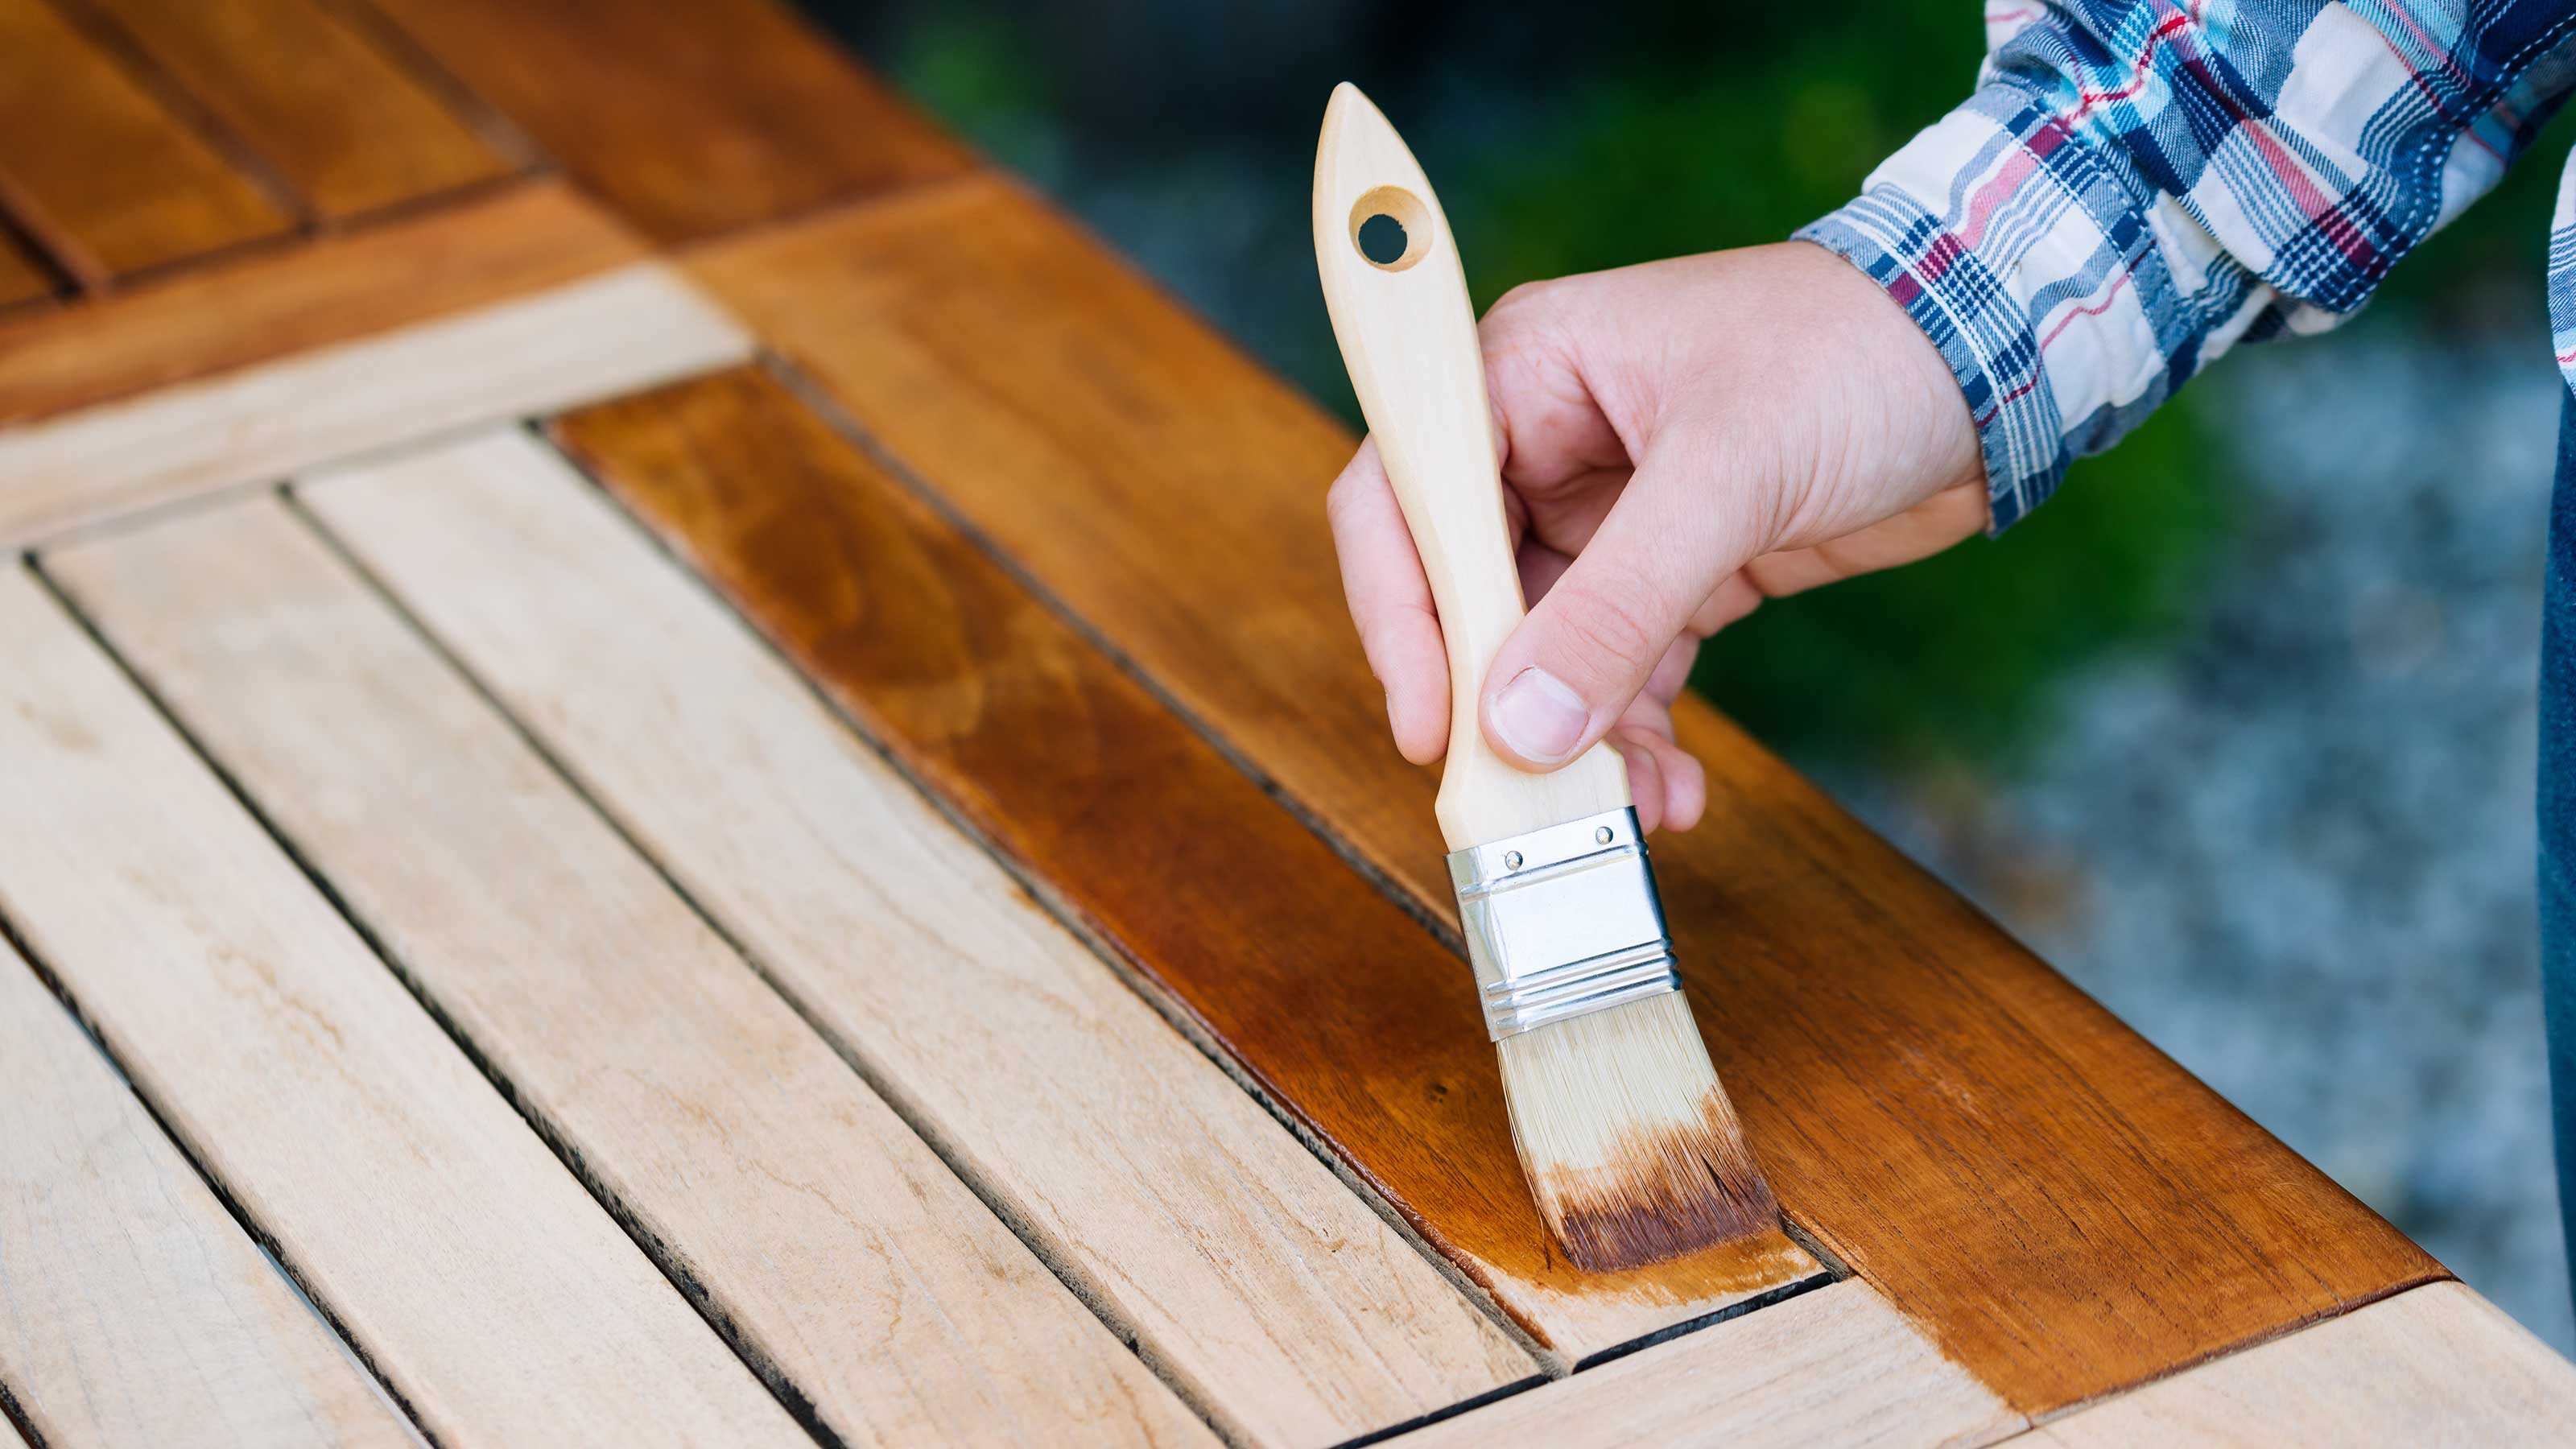
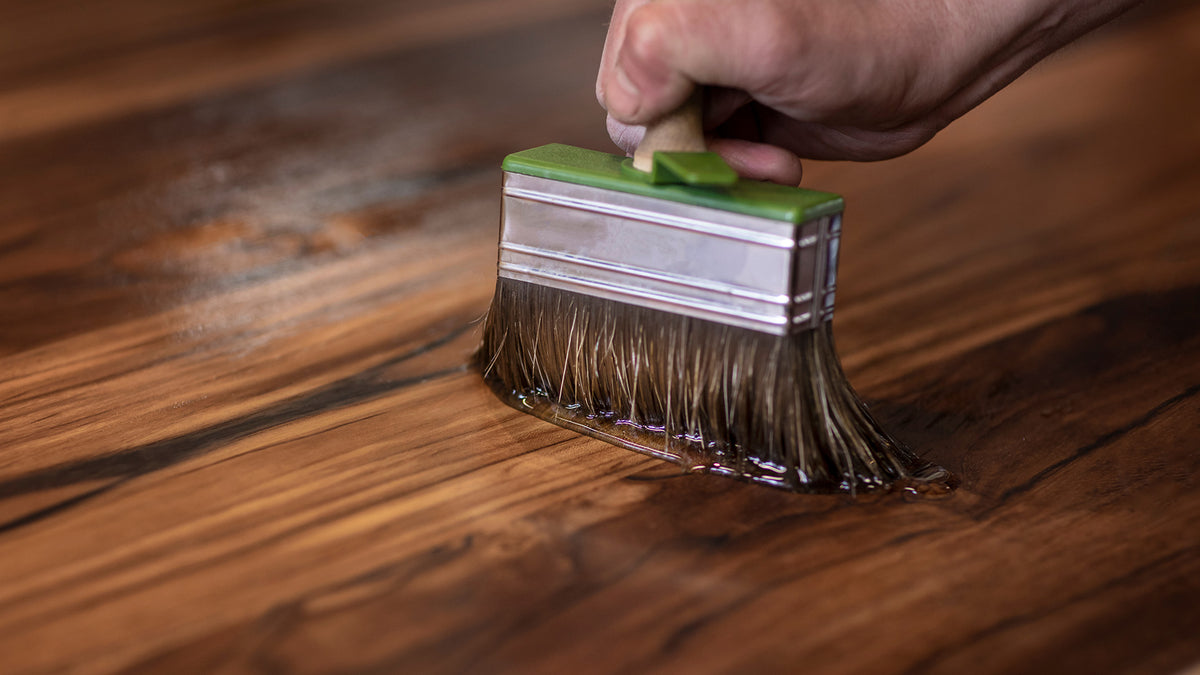
Once you have finished sanding the teak furniture, it’s time to apply teak oil. Teak oil helps to nourish and protect the wood, enhancing its natural beauty and extending its lifespan. It also helps to restore the rich, golden color that teak is known for.
Before applying the teak oil, make sure the furniture is clean and free from any dust or debris. Use a brush or a clean cloth to ensure that the surface is smooth and prepared for the oil application.
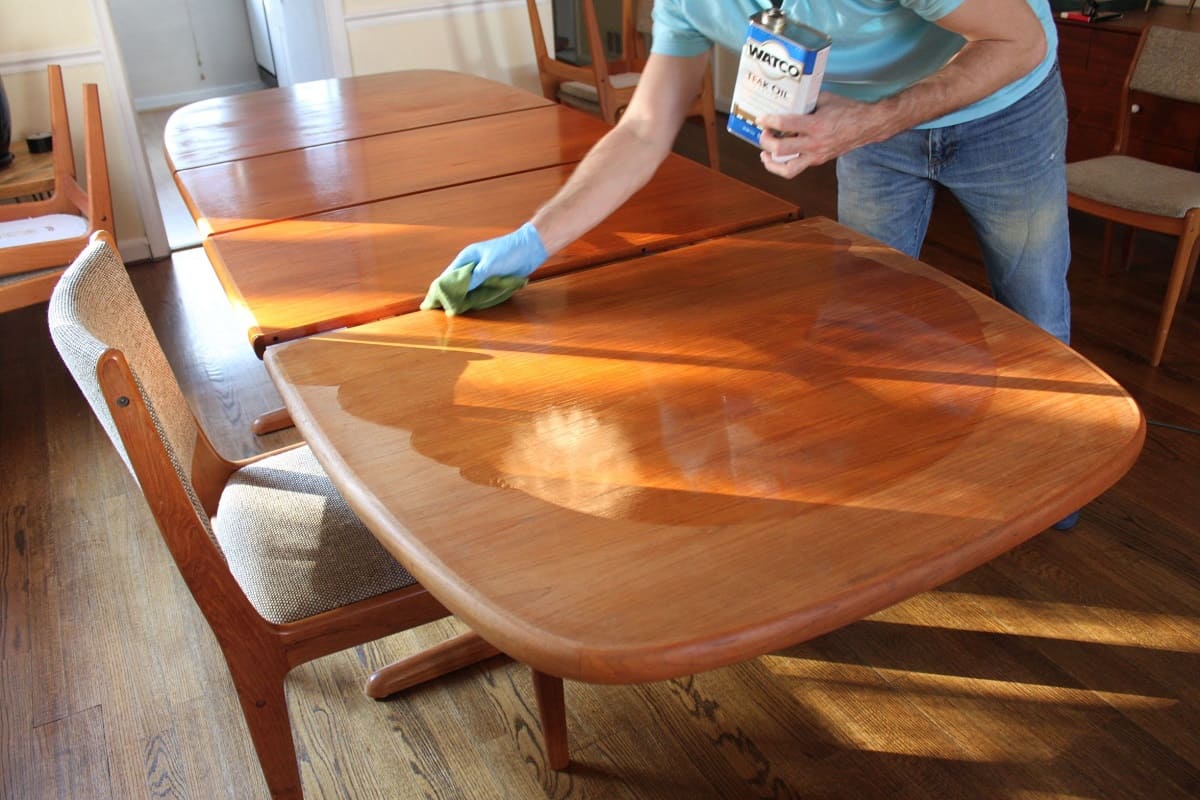
Start by pouring a small amount of teak oil onto a clean cloth or sponge. Begin applying the oil in the direction of the wood grain, working in small sections at a time. Use a smooth, even motion to spread the oil evenly over the surface of the furniture.
Allow the teak oil to penetrate the wood for about 15-20 minutes. This will allow the oil to deeply nourish the teak and enhance its natural color. After the waiting period, use a clean cloth to wipe away any excess oil that has not been absorbed by the wood. Make sure to remove any pools or drips of oil to avoid uneven coloring.
Repeat the process of applying the teak oil and wiping away the excess until you have treated the entire piece of furniture. Take your time and ensure that each section receives an even coating of oil. This will ensure a consistent appearance and optimal protection for the teak wood.
Once you have finished applying the teak oil, allow the furniture to dry completely. This can take anywhere from a few hours to a day, depending on the weather conditions. It’s important to note that teak oil may darken the wood temporarily, but as it cures, it will gradually lighten to reveal the rich teak color.
After the teak oil has fully dried, take a moment to admire your handiwork. The furniture should have a renewed luster and a warm, golden hue. But the restoration process isn’t over just yet – there are a few more steps to take to ensure the longevity of your teak furniture.
In the next step, we’ll tackle the issue of stains and mildew, and learn how to restore the furniture to its original pristine condition. So, let’s move on to step four: removing stains and mildew.
To restore teak patio furniture, start by cleaning the surface with a mixture of water and mild soap. Then, sand the furniture to remove any gray patina. Finally, apply teak oil to protect and restore the natural color of the wood.
Step 4: Removing Stains and Mildew
Over time, teak furniture may develop stains or mildew due to exposure to the elements. These unsightly marks can detract from the natural beauty of the wood. In this step, we will guide you through the process of removing stains and mildew to restore your teak furniture to its original condition.
If you notice any stains on your teak furniture, begin by mixing a solution of warm water and mild detergent or a teak-specific cleaner. Dampen a soft cloth or sponge with the cleaning solution and gently rub the affected area. Be careful not to scrub too vigorously, as this can damage the wood. Instead, use gentle, circular motions to lift the stain.
If the stain persists, you can try using a soft brush or a toothbrush to gently scrub the area. Be sure to use a brush with soft bristles to avoid scratching the wood. Rinse the area thoroughly with clean water and dry it completely.
In some cases, your teak furniture may develop mildew growth, especially if it’s located in a humid or damp environment. To remove mildew, prepare a solution of equal parts water and white vinegar or bleach. Dip a sponge or soft cloth into the solution and gently wipe the affected area. Let the solution sit for a few minutes to allow it to penetrate the mildew. Then, scrub the area gently with a soft brush or sponge to remove the mildew stains.
After removing the stains or mildew, rinse the furniture thoroughly to remove any cleaning residue. Ensure that the wood is dry before moving on to the next step. This will help to prevent any moisture-related issues and maintain the integrity of the teak.
Removing stains and mildew not only improves the appearance of your teak furniture but also helps to preserve the wood and prevent further damage. By taking the time to address these issues, you are ensuring the longevity of your furniture and prolonging its beauty.
Now that we’ve tackled cleaning, oiling, and stain/mildew removal, it’s time to move on to the final step in restoring your teak furniture: sealing the wood for added protection.
Read more: How To Restore Patio Furniture Cushions
Step 5: Sealing the Furniture
The final step in restoring your teak furniture is to seal the wood for added protection. Sealing helps to create a barrier that shields the wood from moisture, UV rays, and other outdoor elements, keeping it looking beautiful and extending its lifespan.
Before applying a sealant, make sure the furniture is clean, dry, and free from any dust or residue. Choose a high-quality teak sealer that is specifically designed for outdoor use. These sealers are formulated to penetrate the wood and provide long-lasting protection.
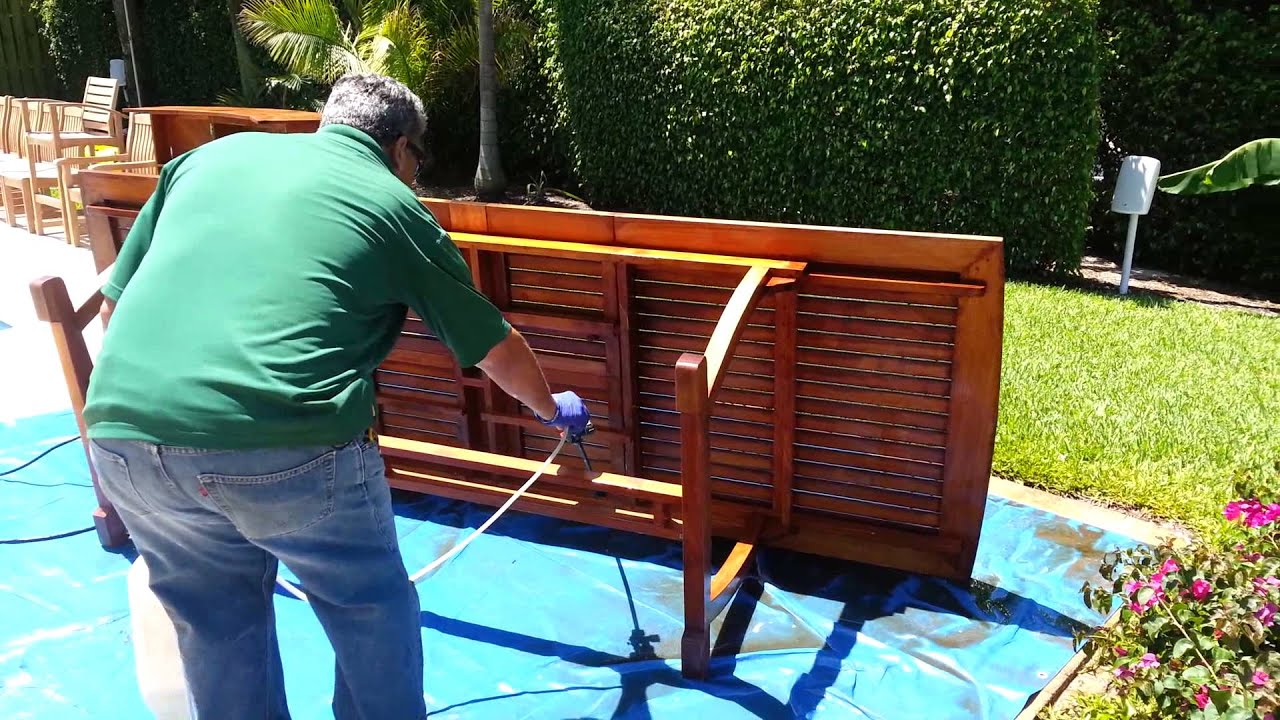
Apply the sealer using a soft brush or a clean cloth in the direction of the wood grain. Make sure to cover the entire surface of the furniture, including the underside if applicable. Apply the sealer evenly and follow the manufacturer’s instructions regarding the number of coats and drying time.
Allow the sealer to dry completely before using the furniture. This may take several hours or even overnight, depending on the product and weather conditions. Once the sealer has dried, you can enjoy the peace of mind knowing that your teak furniture is well-protected.
While a sealant provides an additional layer of protection, it’s important to note that teak wood is naturally resistant to decay and rot. However, regular maintenance and reapplication of the sealant are necessary to ensure optimal protection and longevity.
Depending on the climate and usage of your teak furniture, you may need to reapply the sealant every year or every few years. Keep an eye on the condition of the wood, and if you notice any fading or signs of wear, it’s time to clean, sand, and apply a fresh coat of sealer.
By following these steps and maintaining your teak furniture regularly, you can enjoy its beauty and functionality for many years to come. Remember to clean the furniture periodically, especially if you notice any dirt or stains. Regularly applying teak oil and resealing the wood will help to keep it looking its best and protect it from the elements.
Now that you have restored your teak patio furniture, it’s time to sit back, relax, and enjoy the fruits of your labor. Invite friends and family over to bask in the beauty of your outdoor oasis, knowing that your teak furniture is not only visually appealing but also well-cared for.
Thank you for joining us on this journey of teak furniture restoration. We hope these steps have been helpful in bringing new life to your outdoor space.
Happy relaxing!
Conclusion
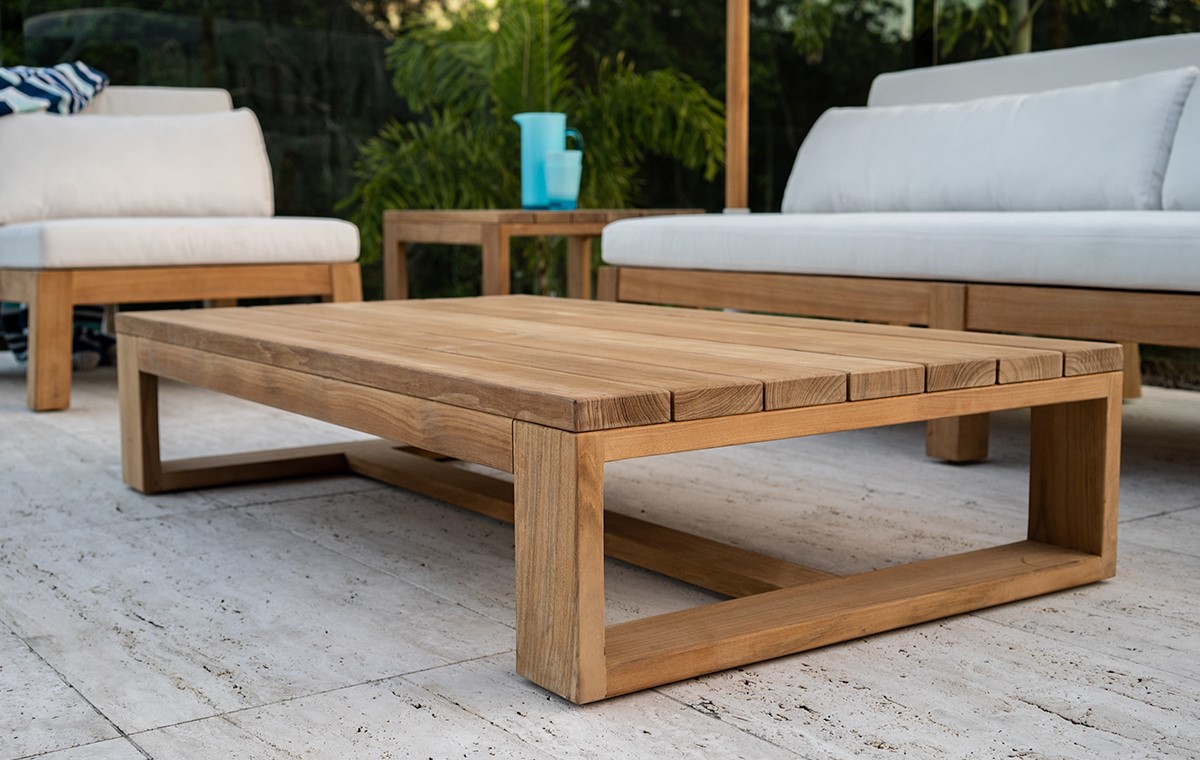
Congratulations on successfully restoring your teak patio furniture! By following the steps outlined in this guide, you have revitalized the beauty of your outdoor space and extended the lifespan of your beloved furniture.
Teak wood is a remarkable material known for its durability and natural resistance to the elements. However, even the most resilient teak furniture can benefit from regular maintenance and restoration to keep it looking its best.
The restoration process involves cleaning the furniture, sanding away imperfections, applying teak oil to nourish the wood, removing stains and mildew, and sealing the furniture for added protection. Each step plays a crucial role in rejuvenating the furniture and bringing back its original luster.
Remember to maintain your teak furniture regularly by cleaning it, reapplying teak oil, and periodically resealing it to ensure it remains in optimal condition. This will help to protect it from environmental factors such as moisture, UV rays, and dirt buildup.
By investing time and effort in maintaining your teak furniture, you can enjoy many more years of outdoor relaxation and create lasting memories with your family and friends.
Thank you for joining us on this teak furniture restoration journey. We hope this comprehensive guide has been informative and helpful in your quest to restore your outdoor furniture to its former glory.
Now, take a moment to sit back, unwind, and soak up the beauty of your revitalized teak patio furniture – you deserve it!
Frequently Asked Questions about How To Restore Teak Patio Furniture
Was this page helpful?
At Storables.com, we guarantee accurate and reliable information. Our content, validated by Expert Board Contributors, is crafted following stringent Editorial Policies. We're committed to providing you with well-researched, expert-backed insights for all your informational needs.



0 thoughts on “How To Restore Teak Patio Furniture”