
Articles
How To Light Rv Water Heater Pilot
Modified: May 6, 2024
Discover top articles on how to light the RV water heater pilot and ensure a cozy camping experience with our expert tips and step-by-step instructions.
(Many of the links in this article redirect to a specific reviewed product. Your purchase of these products through affiliate links helps to generate commission for Storables.com, at no extra cost. Learn more)
Introduction
When embarking on a camping trip with your RV, one of the most essential components to ensure a comfortable experience is a properly functioning water heater. However, there may be instances when the pilot light of your RV water heater goes out and needs to be relit. Lighting the pilot light of an RV water heater may seem daunting for those who are unfamiliar with the process, but with a few simple steps, you can quickly get your water heater up and running again.
In this article, we will guide you through the process of lighting the pilot light on your RV water heater. Whether you are a seasoned RV enthusiast or a novice camper, our step-by-step instructions will help you navigate the process smoothly and ensure that your water heater is functioning optimally.
Before we dive into the steps, it’s important to note that the exact process may vary slightly based on the make and model of your water heater. Therefore, it’s always best to consult the user manual provided by the manufacturer for specific instructions. That being said, our comprehensive guide will give you a general overview of the process and equip you with the knowledge to get started.
Now, let’s get started with step one: locating the water heater in your RV.
Key Takeaways:
- Easily relight the pilot light of your RV water heater by following simple steps, ensuring a comfortable and hassle-free camping experience with a steady supply of hot water.
- Prioritize safety and regular maintenance to keep your RV water heater functioning optimally, providing uninterrupted hot water for a relaxing and enjoyable camping adventure.
Read also: 13 Best RV Water Heater for 2025
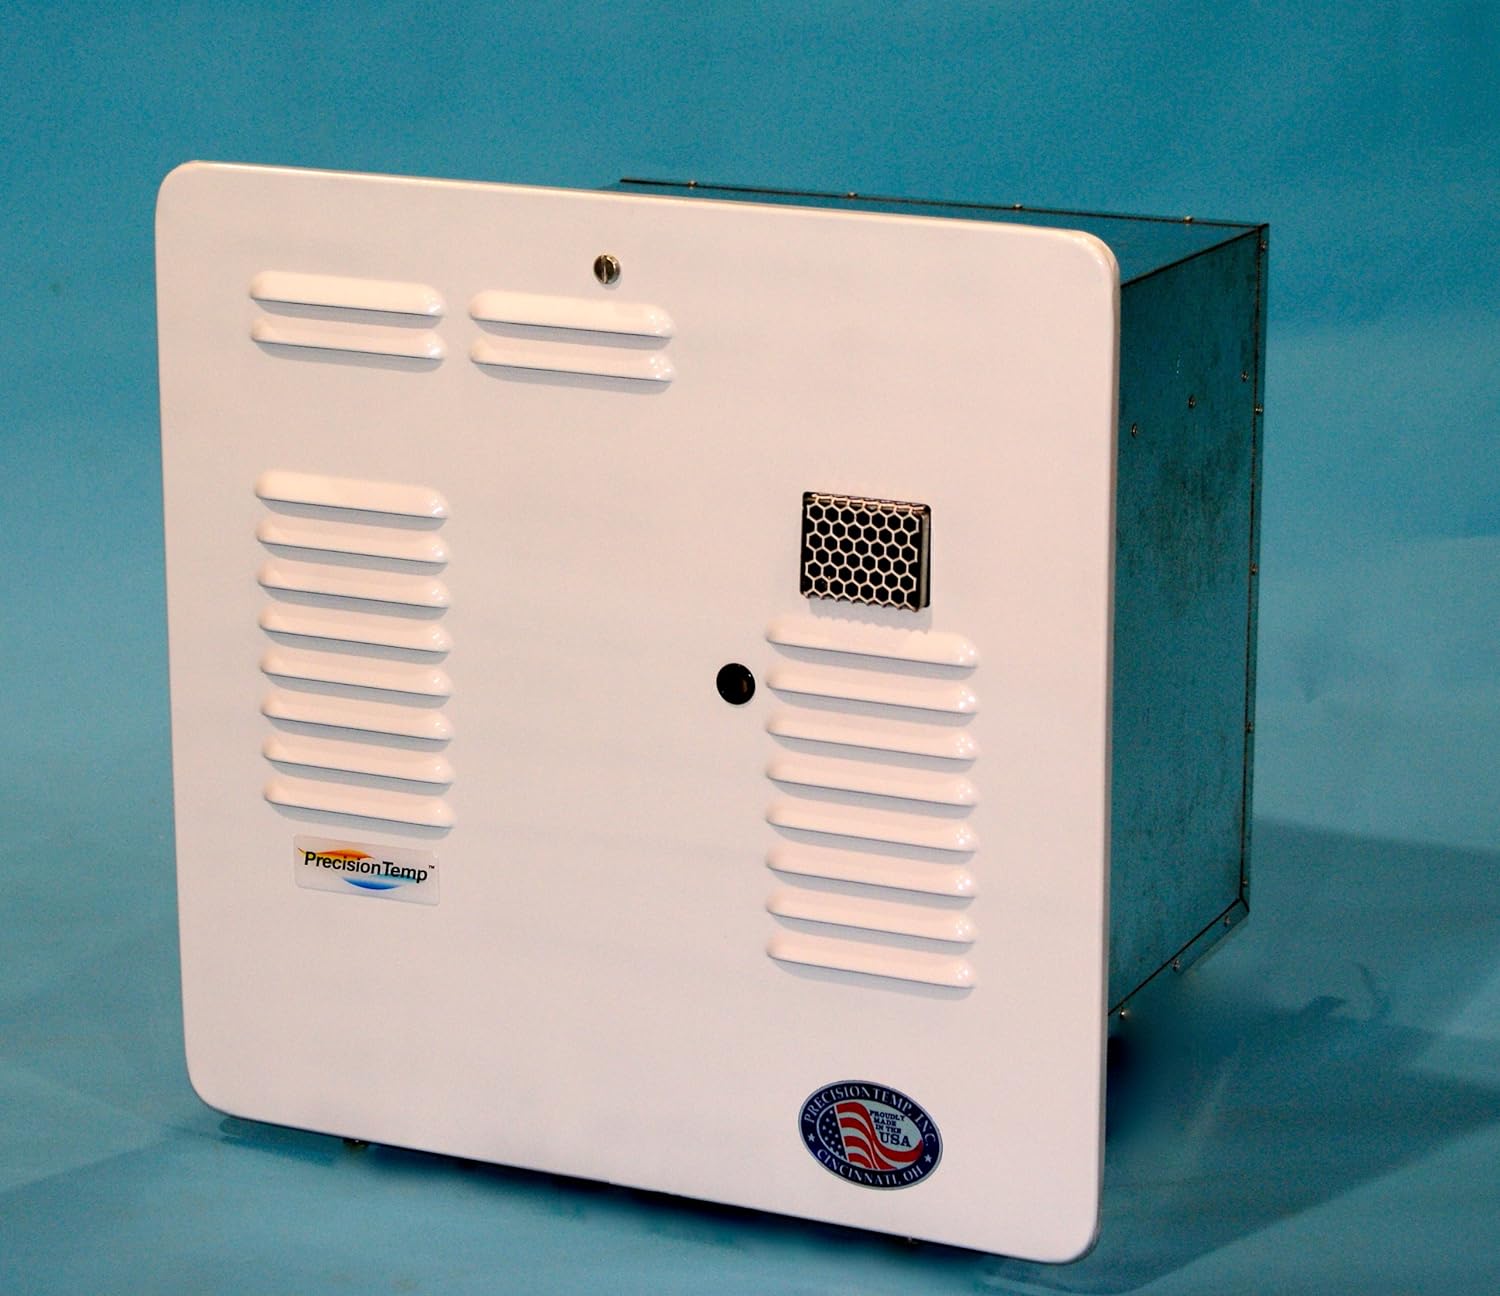
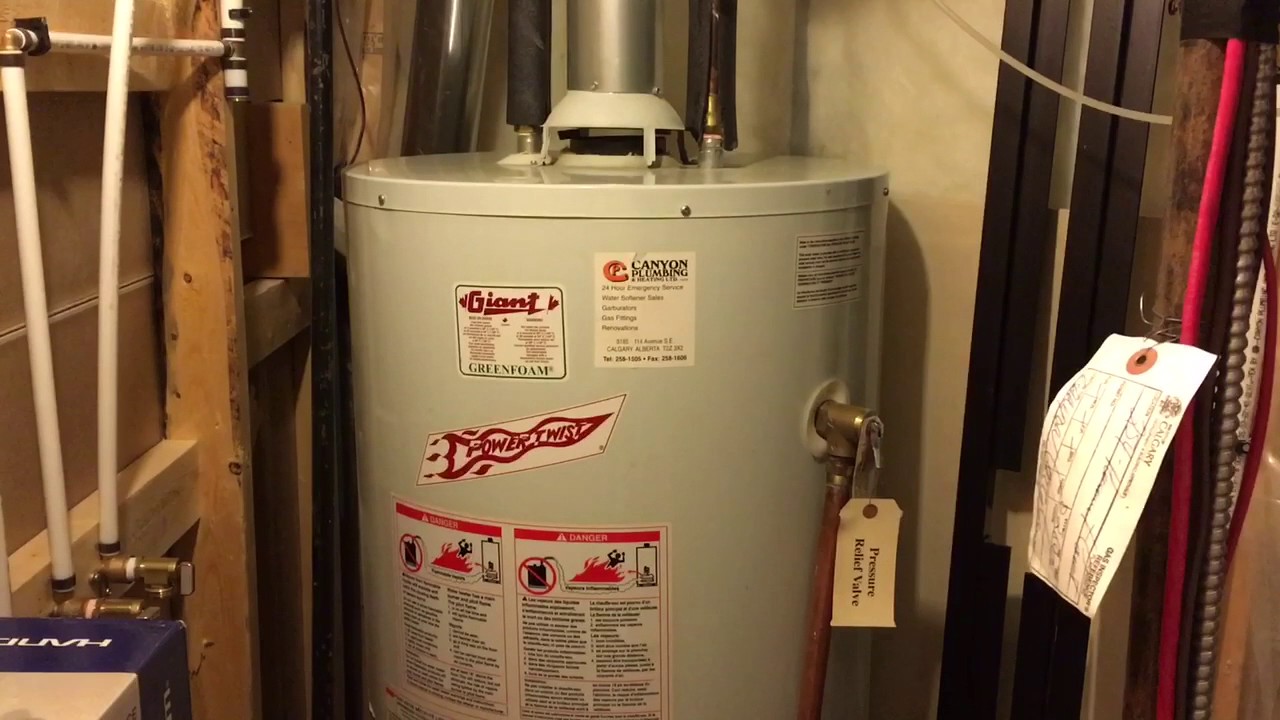
Step 1: Locate the Water Heater
The first step in lighting the pilot light of your RV water heater is to locate the water heater itself. The water heater is typically located in the interior of your RV, and its position may vary depending on the RV model.
Begin by identifying the area in your RV where hot water is generally used, such as the bathroom or kitchen. The water heater is commonly situated nearby to provide convenient access to hot water. Look for a cabinet or access panel in that area that conceals the water heater.
If you are unsure about the exact location of your water heater, consult your RV’s user manual or contact the manufacturer for guidance. The user manual should provide you with detailed information on the specific location of the water heater in your RV model.
Once you have located the water heater, you can move on to step two: turning off the gas supply.
Step 2: Turn Off the Gas Supply
Before proceeding with any maintenance or repair work on your RV water heater, it is crucial to ensure that the gas supply is turned off. This is important for your safety and to prevent any accidents or gas leaks.
To turn off the gas supply to your water heater, locate the gas valve on the side or near the bottom of the water heater. The gas valve typically has a lever or knob that can be turned to shut off the gas flow.
Using caution, turn the lever or knob to the “Off” or “Closed” position. It’s always a good idea to double-check that the gas supply is completely turned off by ensuring that the lever or knob is fully in the closed position.
Once the gas supply is turned off, you can move on to the next step: removing the access panel.
Note: If you cannot locate the gas valve or are unsure how to turn off the gas supply, consult your RV’s user manual or contact a professional for assistance. It’s important to prioritize your safety.
Step 3: Remove the Access Panel
With the gas supply turned off, the next step is to remove the access panel of your RV water heater. The access panel provides you with direct access to the pilot light and control knob.
The access panel is typically located on the front of the water heater and is secured with screws or clips. Use the appropriate tool, such as a screwdriver or pliers, to loosen and remove the screws or release the clips that hold the access panel in place.
Once the screws or clips are removed, gently pull the access panel away from the water heater, being careful not to damage any surrounding components.
Some water heaters may have multiple access panels, depending on their design. In such cases, only remove the access panel that directly reveals the pilot light and control knob.
Once the access panel is removed, you will have a clear view of the pilot light and control knob, which are essential for the next step: locating the pilot light and control knob.
Note: If you encounter any difficulties in removing the access panel or are unsure about the process, consult your RV’s user manual or consider seeking professional assistance to avoid any damage to the water heater.
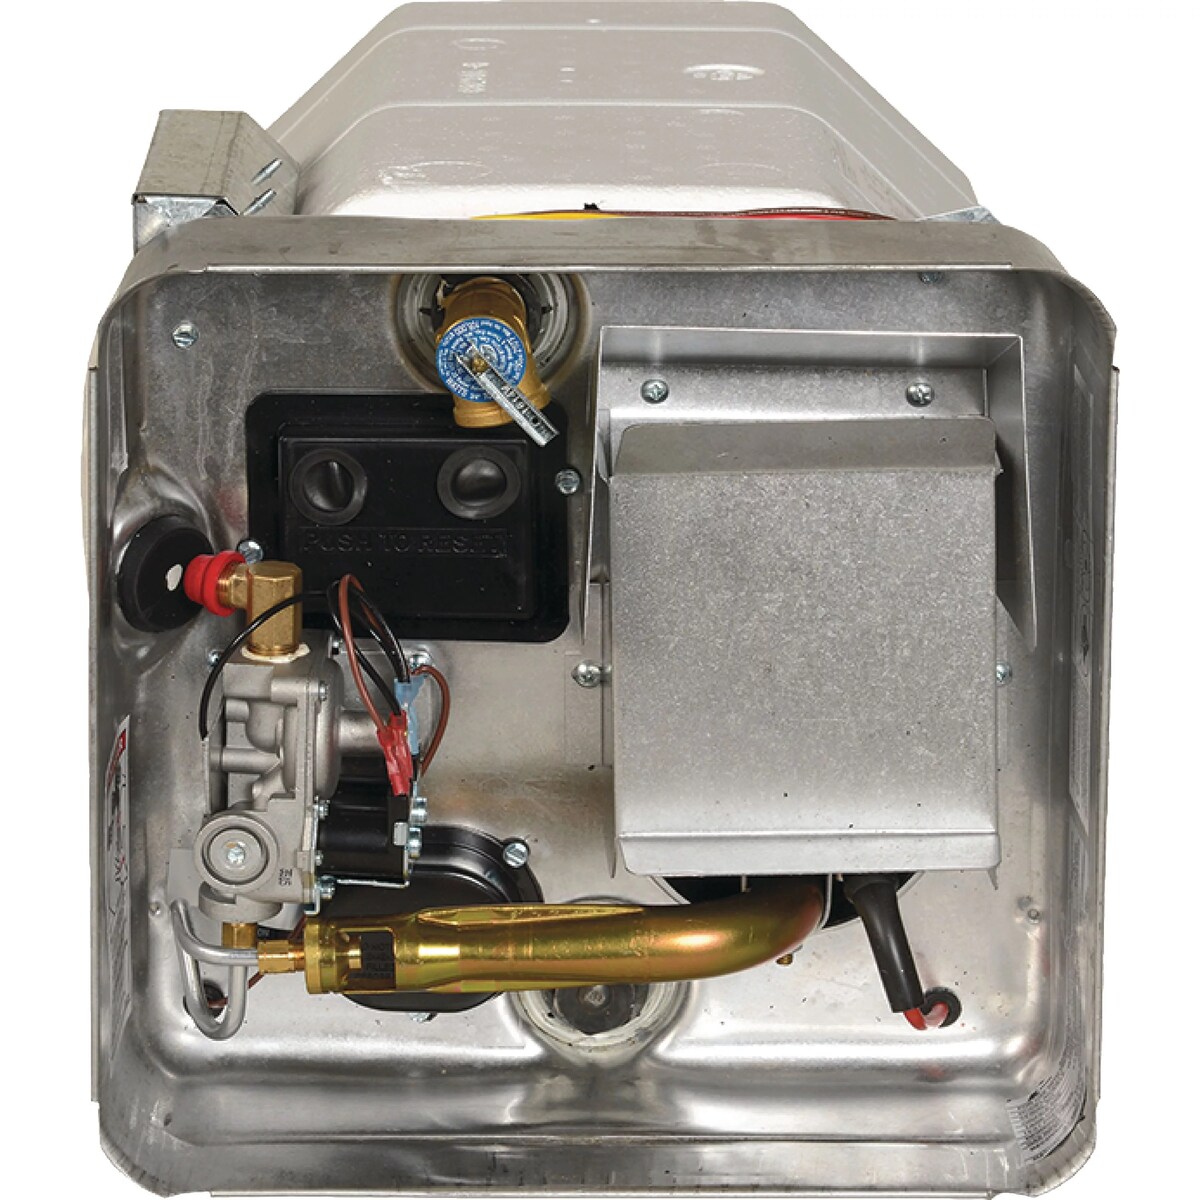
Step 4: Locate the Pilot Light and Control Knob
Now that you have removed the access panel, you can proceed to locate the pilot light and control knob. These two components play a crucial role in lighting and maintaining the pilot flame of your RV water heater.
The pilot light is a small flame that ignites the main burner of the water heater when hot water is needed. It is usually located near the bottom of the water heater and is visible once the access panel is removed. The pilot light is typically a small tube or assembly with a flame at the end.
The control knob is responsible for regulating the flow of gas to the pilot light and controlling the temperature of the water heater. It is usually located near or adjacent to the pilot light. The control knob often has markings or indicators that indicate different settings, such as “Off,” “Pilot,” and temperature levels.
Take a moment to familiarize yourself with the position and appearance of the pilot light and control knob. It’s important to understand their locations and functions before proceeding to light the pilot. This will help you navigate the process with confidence and precision.
Once you have located the pilot light and control knob, you can move on to the next step: preparing to light the pilot.
Note: If you are having trouble locating the pilot light or control knob, refer to your RV’s user manual or consult a professional for assistance. It’s important to avoid any accidental damage to the water heater.
Step 5: Prepare to Light the Pilot
Now that you have located the pilot light and control knob, it’s time to prepare to light the pilot. Before doing so, make sure you have taken the necessary precautions to ensure a safe and smooth process.
Here are a few steps to follow:
- Make sure the gas supply to the water heater is still turned off. You should never attempt to light the pilot with the gas supply on.
- Take a moment to inspect the area around the water heater for any signs of gas leaks, such as the smell of gas or hissing sounds. If you detect any indications of a gas leak, do not proceed with lighting the pilot and immediately contact a professional for assistance.
- Ensure that the area surrounding the water heater is well-ventilated. Proper ventilation allows for the safe release of combustion byproducts. If the area is poorly ventilated, consider opening a nearby window or door before proceeding.
- Gather the necessary tools and equipment. You will need a long-reach lighter or a fireplace match to safely ignite the pilot flame. Avoid using regular matches or short lighters, as they may not be able to reach the pilot light safely.
- Be sure to have a flashlight on hand. This will help you navigate the area around the water heater and provide better visibility while lighting the pilot.
Once you have completed these preparations, you are ready to proceed with lighting the pilot. In the following step, we will guide you through the process of igniting the pilot flame.
Note: It’s important to prioritize safety throughout the process. If you are uncertain or uncomfortable with any part of lighting the pilot, consider contacting a professional to assist you.
Make sure to turn off the gas supply and let the water heater cool down before attempting to light the pilot. Follow the manufacturer’s instructions carefully and use a long lighter to avoid getting too close to the flame.
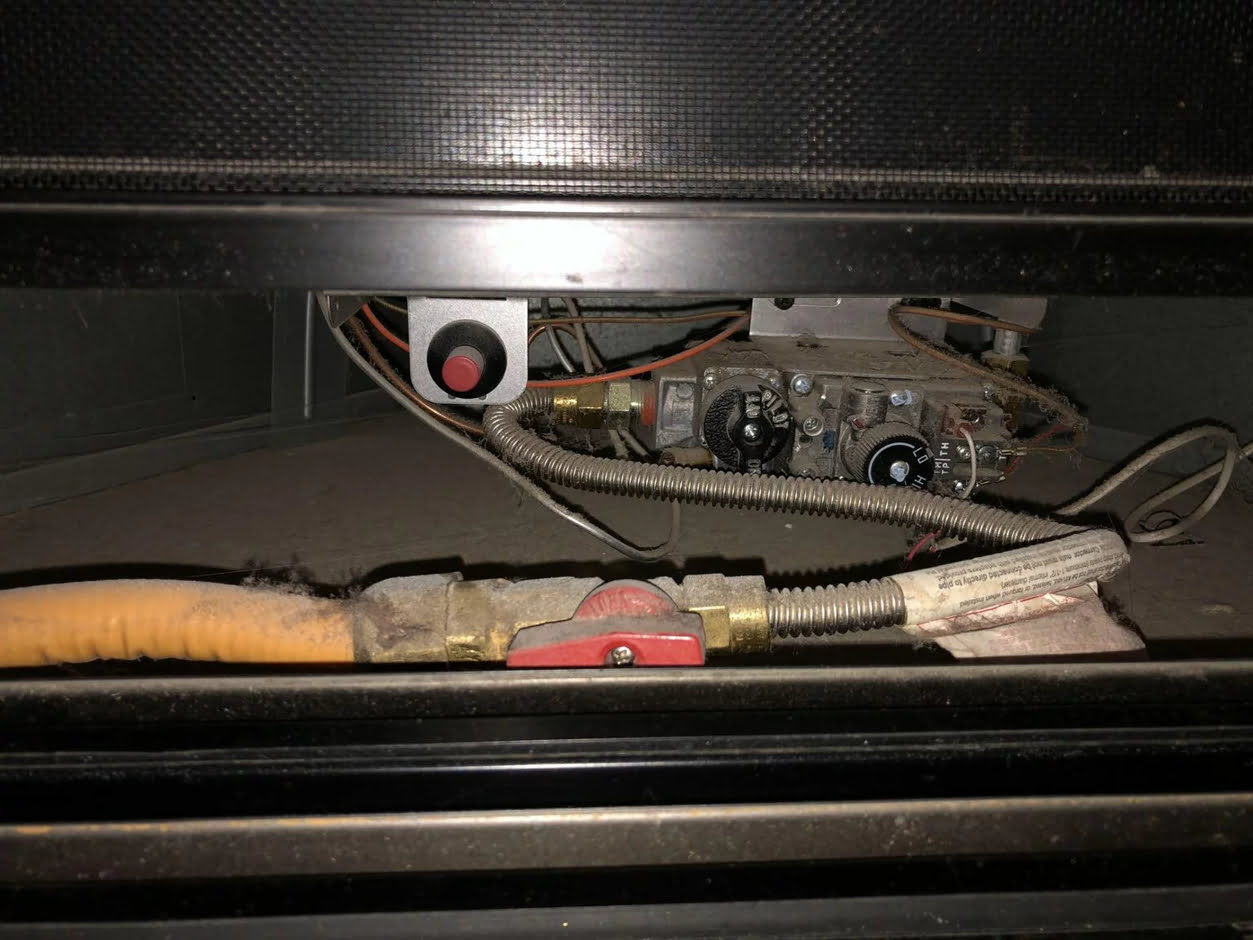
Step 6: Light the Pilot
Now that you have prepared to light the pilot, it’s time to ignite the pilot flame. Follow these steps carefully to ensure a successful and safe lighting process:
- Verify that the control knob is in the “Off” position. This prevents gas from flowing when you ignite the pilot.
- Locate the pilot light assembly and position your long-reach lighter or fireplace match near the pilot light.
- While keeping the lighter or match in position, use your free hand to slowly turn the control knob to the “Pilot” position.
- With the control knob in the “Pilot” position, press and hold the knob down. This will allow gas to flow to the pilot light.
- As you continue holding the control knob down, carefully bring the lit lighter or match towards the pilot light assembly. Position it close enough to ignite the gas.
- Once the pilot light ignites, continue to hold the control knob down for about 30 seconds to 1 minute. This allows the thermocouple (a safety device) to heat up and maintain the gas flow.
- After the specified time, release the control knob slowly. The pilot flame should remain lit. If it goes out, repeat the process from Step 4 onwards, carefully following the instructions.
It’s important to note that the pilot may take a few seconds to light. Be patient and ensure that the flame is steady and consistent before moving on to the next step.
Congratulations! You have successfully lit the pilot flame of your RV water heater. In the next step, we will discuss holding down the control knob to keep the pilot flame lit.
Note: If you encounter any difficulties or the pilot flame does not light despite repeated attempts, consult your RV’s user manual or contact a professional for assistance.
Step 7: Hold Down the Control Knob
After successfully lighting the pilot flame, the next step is to hold down the control knob. This step is crucial as it ensures a continuous flow of gas to keep the pilot flame lit.
Here’s what you need to do:
- With the pilot flame lit, continue to hold down the control knob for an additional 30 seconds to 1 minute.
- As you hold down the control knob, pay close attention to the pilot flame. Make sure it remains steady and consistent. If the flame starts to flicker or goes out, release the control knob and repeat the lighting process from Step 6.
- If the pilot flame remains lit and stable, proceed to the next step of monitoring the pilot flame.
Remember that holding down the control knob is essential to keeping the pilot flame ignited. The pilot flame is responsible for igniting the main burner when hot water is needed. By ensuring a consistent pilot flame, you can ensure the proper functioning of your RV water heater.
Continue to hold down the control knob and observe the pilot flame for any abnormalities. If you notice any significant changes in the size or color of the flame, or if it becomes erratic, it is advisable to turn off the gas supply and seek professional help to inspect and resolve the issue.
In the next step, we will discuss how to monitor the pilot flame to ensure it is functioning correctly.
Note: Always exercise caution when working with gas appliances. If you are not confident with any step of the process or encounter any issues, consult your RV’s user manual or seek assistance from a professional.
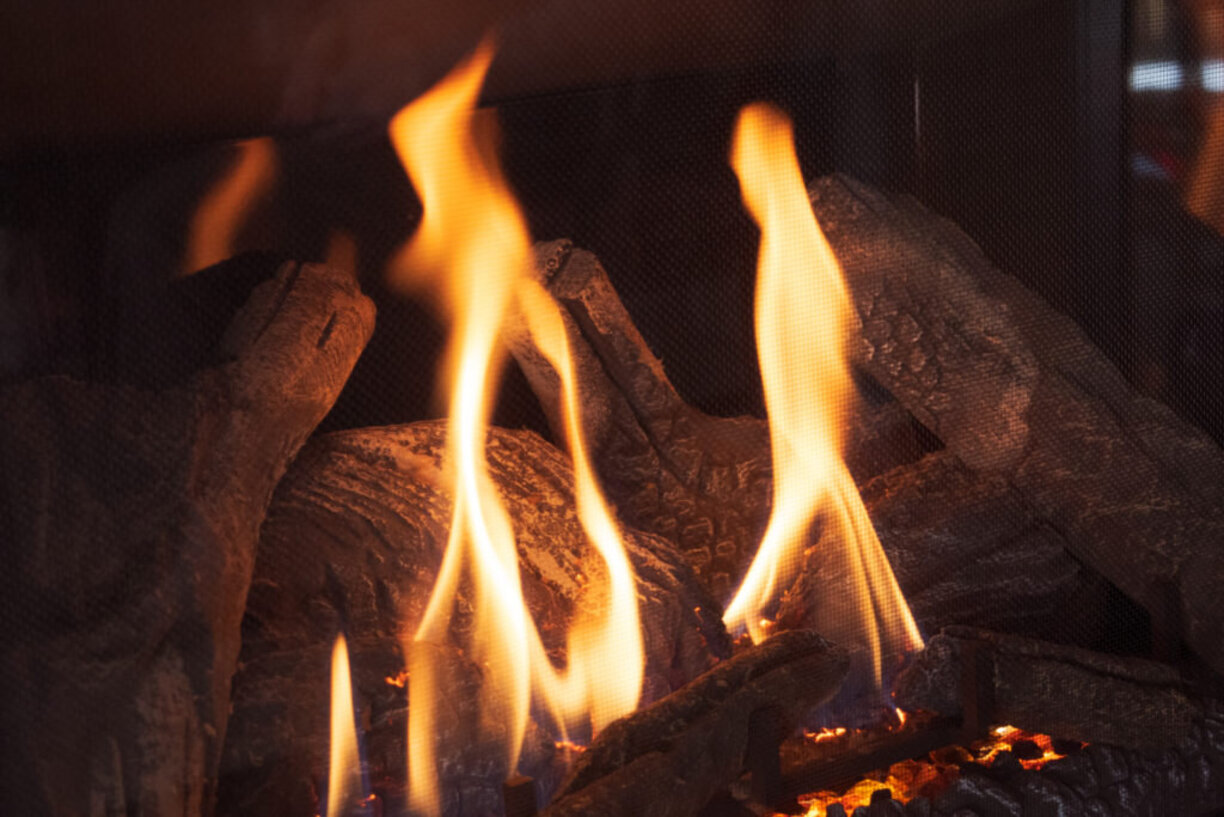
Step 8: Monitor the Pilot Flame
Continuously monitoring the pilot flame of your RV water heater is an important step to ensure its proper functioning. By observing the pilot flame, you can identify any irregularities or issues that may arise while the water heater is in use.
Here are a few important points to remember while monitoring the pilot flame:
- Size and Shape: The pilot flame should appear as a small, steady, and blue flame. It should not be excessively large or wavering. A consistent flame indicates proper gas flow and combustion.
- Color: The flame should be predominantly blue. If the flame appears predominantly yellow or orange, it may indicate an issue with the gas-air mixture. In such cases, it’s best to consult a professional to investigate and resolve the issue.
- Stability: The pilot flame should remain stable and consistent. It should not flicker, sputter, or go out on its own. If you notice any instability in the flame, it’s important to investigate the cause or seek professional help if needed.
- Time of Observation: Monitor the pilot flame for at least a few minutes after initially lighting it. This observation period ensures that the flame maintains its stability even after the initial lighting process.
Regularly checking the pilot flame can help you identify any potential problems with your RV water heater. If you notice any significant changes or concerns with the pilot flame, it’s advisable to turn off the gas supply and consult a professional for further inspection and resolution.
By monitoring the pilot flame, you can ensure the proper functioning and efficiency of your RV water heater, providing you with a reliable source of hot water during your camping adventures.
In the next step, we will discuss replacing the access panel of the water heater.
Note: Always exercise caution when working with gas appliances. If you are unsure about any aspect of the process or encounter any issues, consult your RV’s user manual or seek assistance from a professional.
Read more: How To Light A Honeywell Water Heater
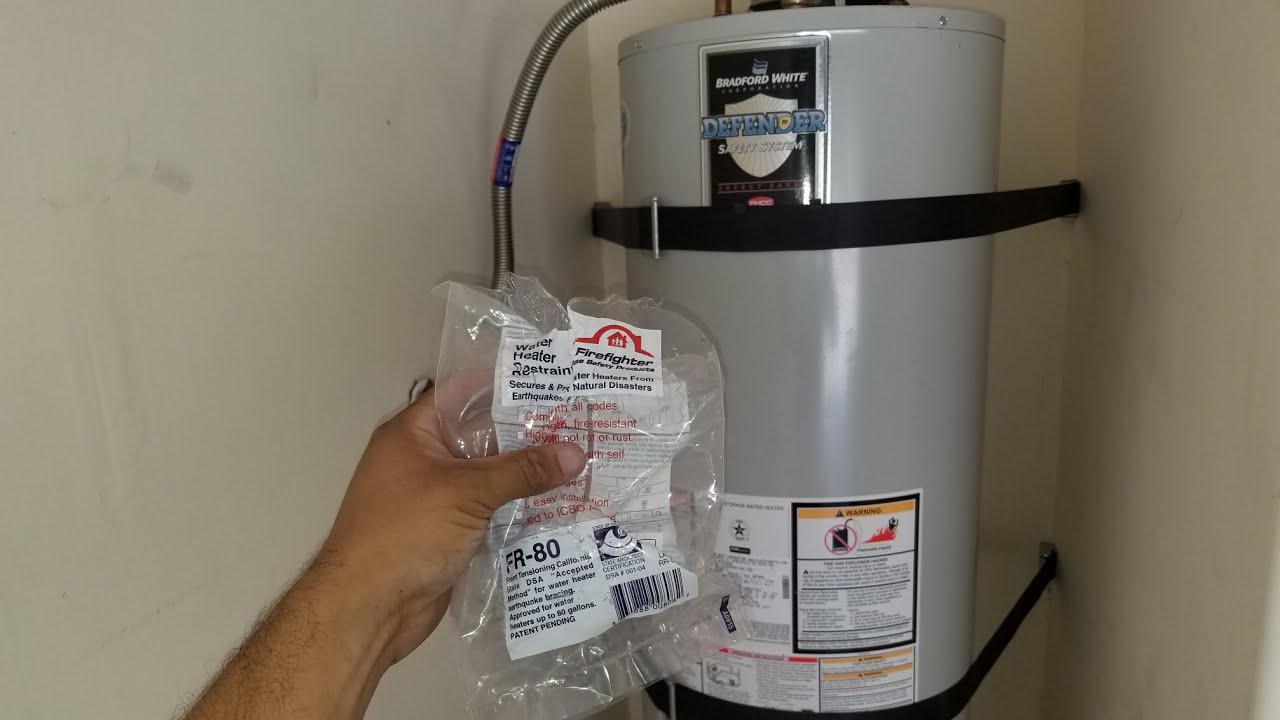
Step 9: Replace the Access Panel
Now that you have successfully monitored the pilot flame and ensured its stability, it is time to replace the access panel of your RV water heater. The access panel provides protection to the internal components and keeps them secure.
Follow these steps to replace the access panel:
- Align the access panel with the appropriate openings on the front of the water heater.
- Gently push the access panel towards the water heater to fit it back into place.
- Align the screw holes or clips on the access panel with the corresponding holes on the water heater.
- Secure the access panel by tightening the screws or clipping it back into place.
- Ensure that the access panel is tightly secured and does not have any loose or wobbly parts.
Replacing the access panel not only safeguards the internal components of the water heater but also prevents any accidental contact with the pilot flame or control knob.
Once the access panel is securely in place, you are ready for the final step: turning on the gas supply.
Note: If you encountered any difficulties while removing or replacing the access panel, refer to your RV’s user manual or contact a professional for guidance. It is crucial to handle the components with care to avoid any damage to the water heater.
Step 10: Turn On the Gas Supply
The last step in the process of lighting the pilot light of your RV water heater is to turn on the gas supply. This step allows gas to flow to the water heater, providing the fuel needed for the pilot flame to remain ignited.
Follow these steps to safely turn on the gas supply:
- Ensure that the access panel is securely in place and all screws or clips are tightened.
- Locate the gas valve on the side or near the bottom of the water heater.
- Using caution, turn the gas valve lever or knob to the “On” or “Open” position.
- Double-check that the gas valve is fully turned on and the lever or knob is in the correct position.
- Allow a few seconds for the gas to flow through the system.
By turning on the gas supply, you are providing the necessary fuel for the pilot flame to function and maintain a steady heating source for the water heater. This step completes the process of lighting the pilot light of your RV water heater.
Finally, it is important to observe the water heater during the first few minutes of operation to ensure that it is functioning as expected. Monitor for any unusual noises, smells, or leaks. If you notice anything abnormal, turn off the gas supply and seek professional assistance.
Congratulations! You have successfully relit the pilot light of your RV water heater. With a properly functioning pilot light, you can now enjoy hot water during your camping trips and make the most of your RV experience.
Note: If you encounter any difficulties or have concerns about turning on the gas supply, consult your RV’s user manual or contact a professional for guidance. Safety should always be the top priority when working with gas appliances.
Conclusion
Relighting the pilot light of your RV water heater may seem like a daunting task, but with the right knowledge and a systematic approach, it can be easily accomplished. By following the steps outlined in this guide, you can safely and effectively light the pilot light and ensure that your RV water heater is functioning optimally.
Remember to always prioritize safety throughout the process. Take the necessary precautions, such as turning off the gas supply and carefully monitoring the pilot flame. If you encounter any difficulties or are unsure about any aspect of the process, don’t hesitate to consult your RV’s user manual or seek assistance from a professional.
Regular maintenance and periodic checks of your RV water heater, including the pilot light, are key to maintaining its efficiency and reliability. By staying proactive and addressing any issues promptly, you can prevent problems and enjoy uninterrupted hot water during your camping adventures.
We hope that this guide has provided you with the necessary information and confidence to successfully relight the pilot light of your RV water heater. With this knowledge, you can embark on your RV journeys with the assurance of a hassle-free hot water system.
Remember, a properly functioning water heater enhances the overall comfort and enjoyment of your camping experience, allowing you to relax and unwind after a long day of outdoor activities. Stay safe, stay informed, and enjoy the convenience of a well-functioning RV water heater!
Now that you've mastered lighting your RV water heater pilot, why not ensure you're equipped with the best gear? For those looking to upgrade or replace their current setup, our detailed guide on selecting a top RV water heater will be invaluable. If your adventures often take you beyond the reach of your RV's amenities, consider diving into our comprehensive review of the best portable water heaters available. These guides are crafted to help you maintain comfort no matter where your travels take you.
Frequently Asked Questions about How To Light Rv Water Heater Pilot
Was this page helpful?
At Storables.com, we guarantee accurate and reliable information. Our content, validated by Expert Board Contributors, is crafted following stringent Editorial Policies. We're committed to providing you with well-researched, expert-backed insights for all your informational needs.


0 thoughts on “How To Light Rv Water Heater Pilot”