Home>Garden Essentials>How Do You Dry Pumpkin Seeds

Garden Essentials
How Do You Dry Pumpkin Seeds
Modified: August 17, 2024
Looking to dry pumpkin seeds from your garden? Learn the step-by-step process and tips for drying pumpkin seeds for a delicious and nutritious snack.
(Many of the links in this article redirect to a specific reviewed product. Your purchase of these products through affiliate links helps to generate commission for Storables.com, at no extra cost. Learn more)
Introduction
Welcome to the world of gardening! If you’ve ever grown pumpkins in your garden, you know that they not only provide delicious fruit but also offer a treasure trove of seeds. Harvesting and drying these pumpkin seeds can be a rewarding process that allows you to enjoy the fruits of your labor even after the growing season is over.
In this article, we will guide you through the steps to properly dry your pumpkin seeds. Not only will this ensure that you can store them for future use, but it will also help enhance their flavor and texture. So let’s get started!
Key Takeaways:
- Harvest mature pumpkins, separate and clean the seeds, then dry them thoroughly. Store in a cool, dry place for a delicious and nutritious snack all year round!
- Enjoy the rewards of your garden harvest by properly drying and storing pumpkin seeds. Add flavor, extend shelf life, and savor the fruits of your labor!
Read more: How Do You Eat Pumpkin Seeds
Step 1: Harvesting Pumpkin Seeds
The first step in drying pumpkin seeds is to harvest them from your mature pumpkins. Here’s how to do it:
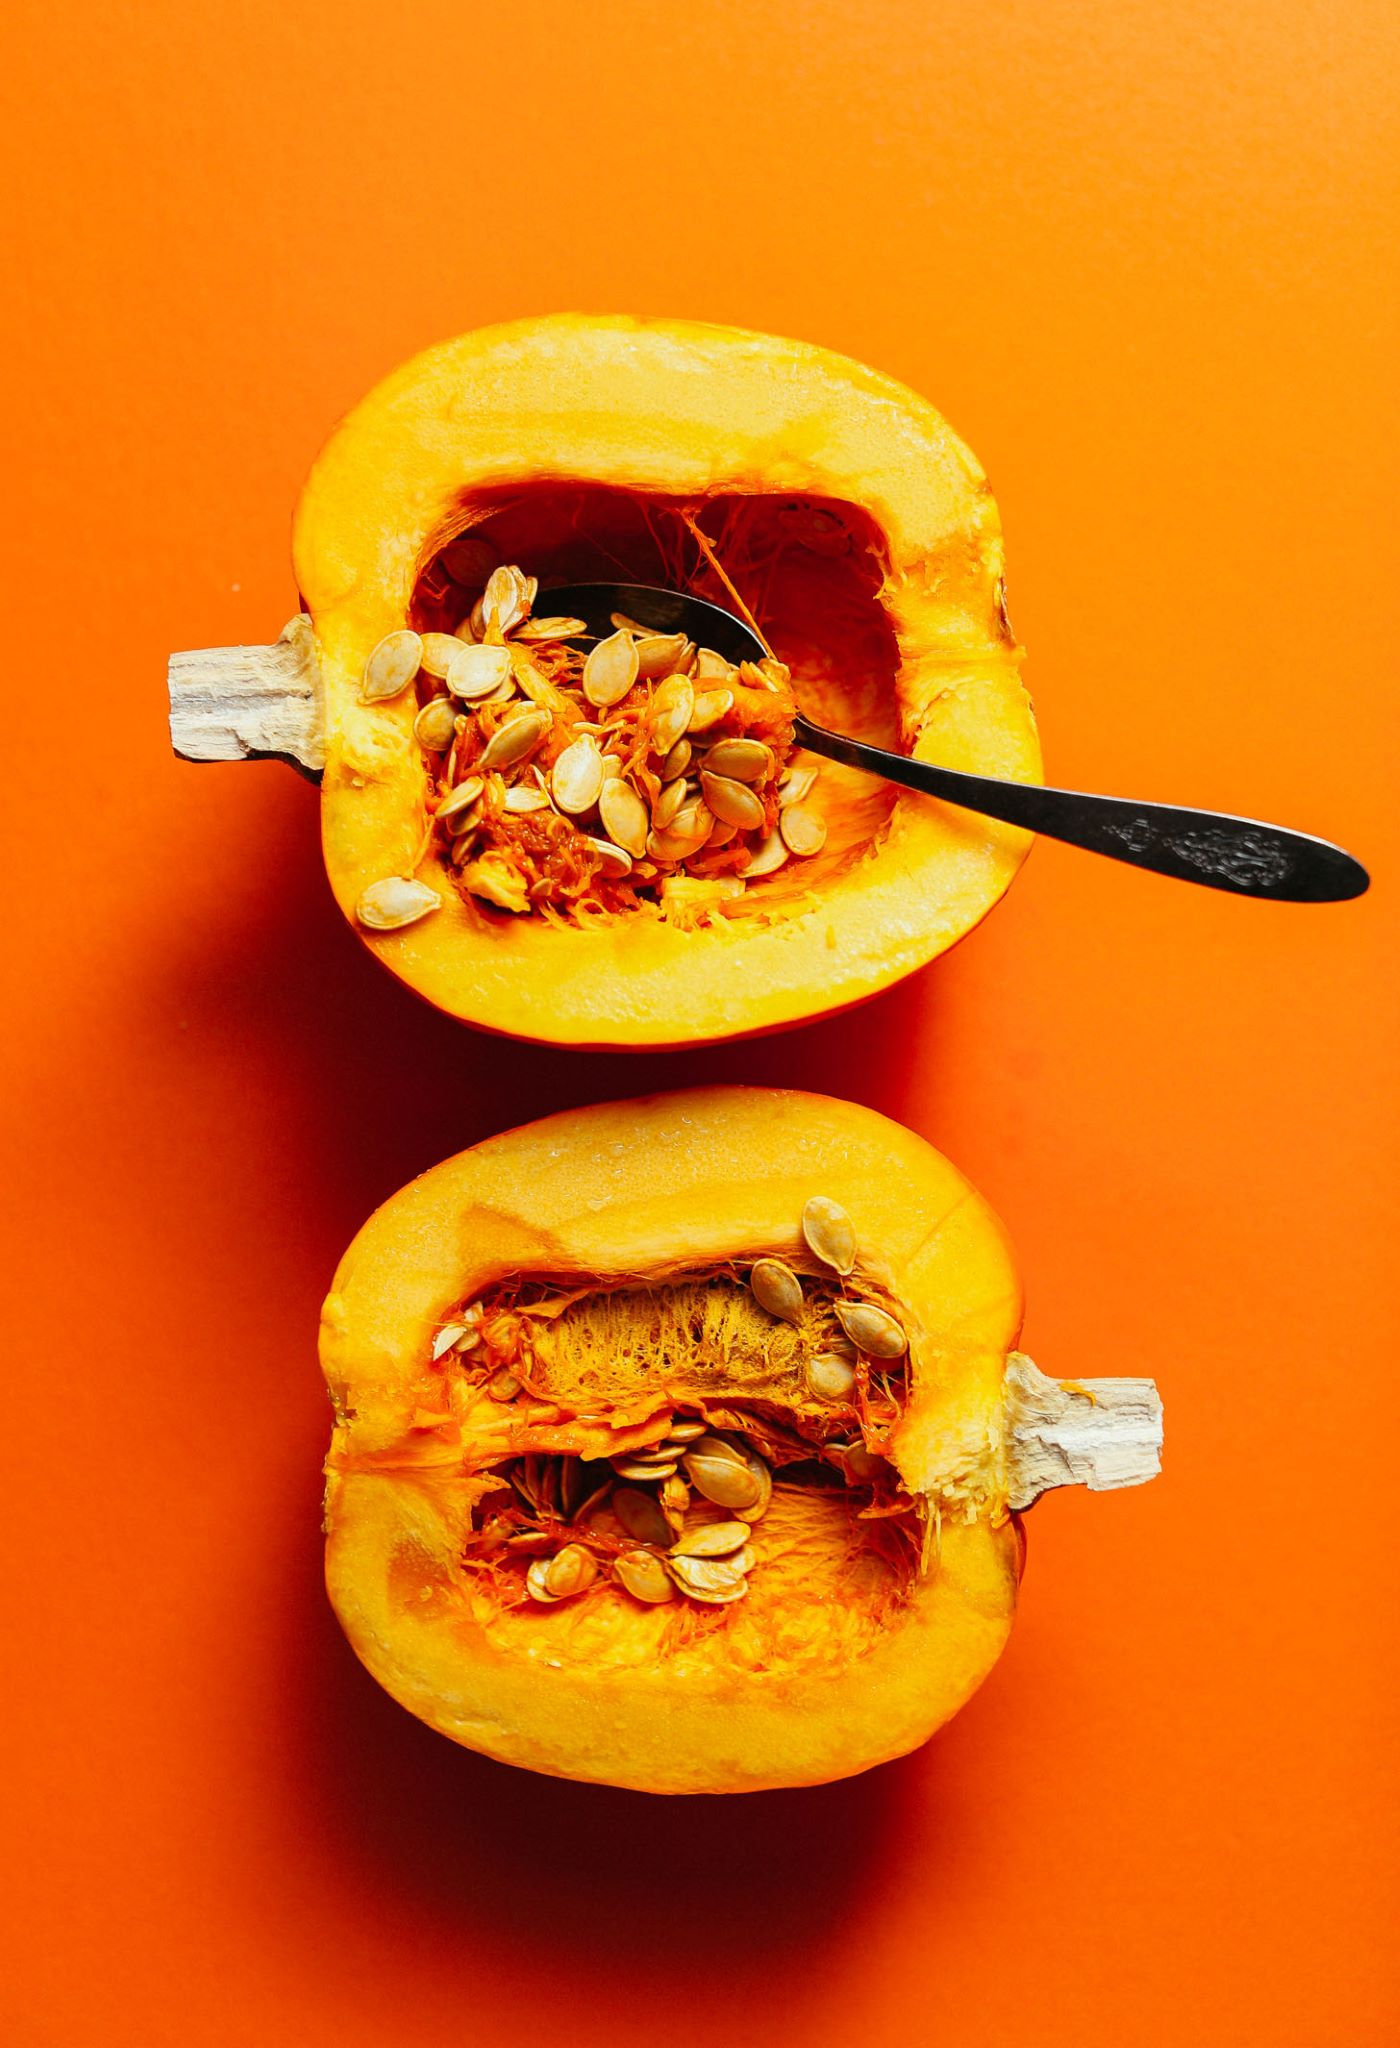
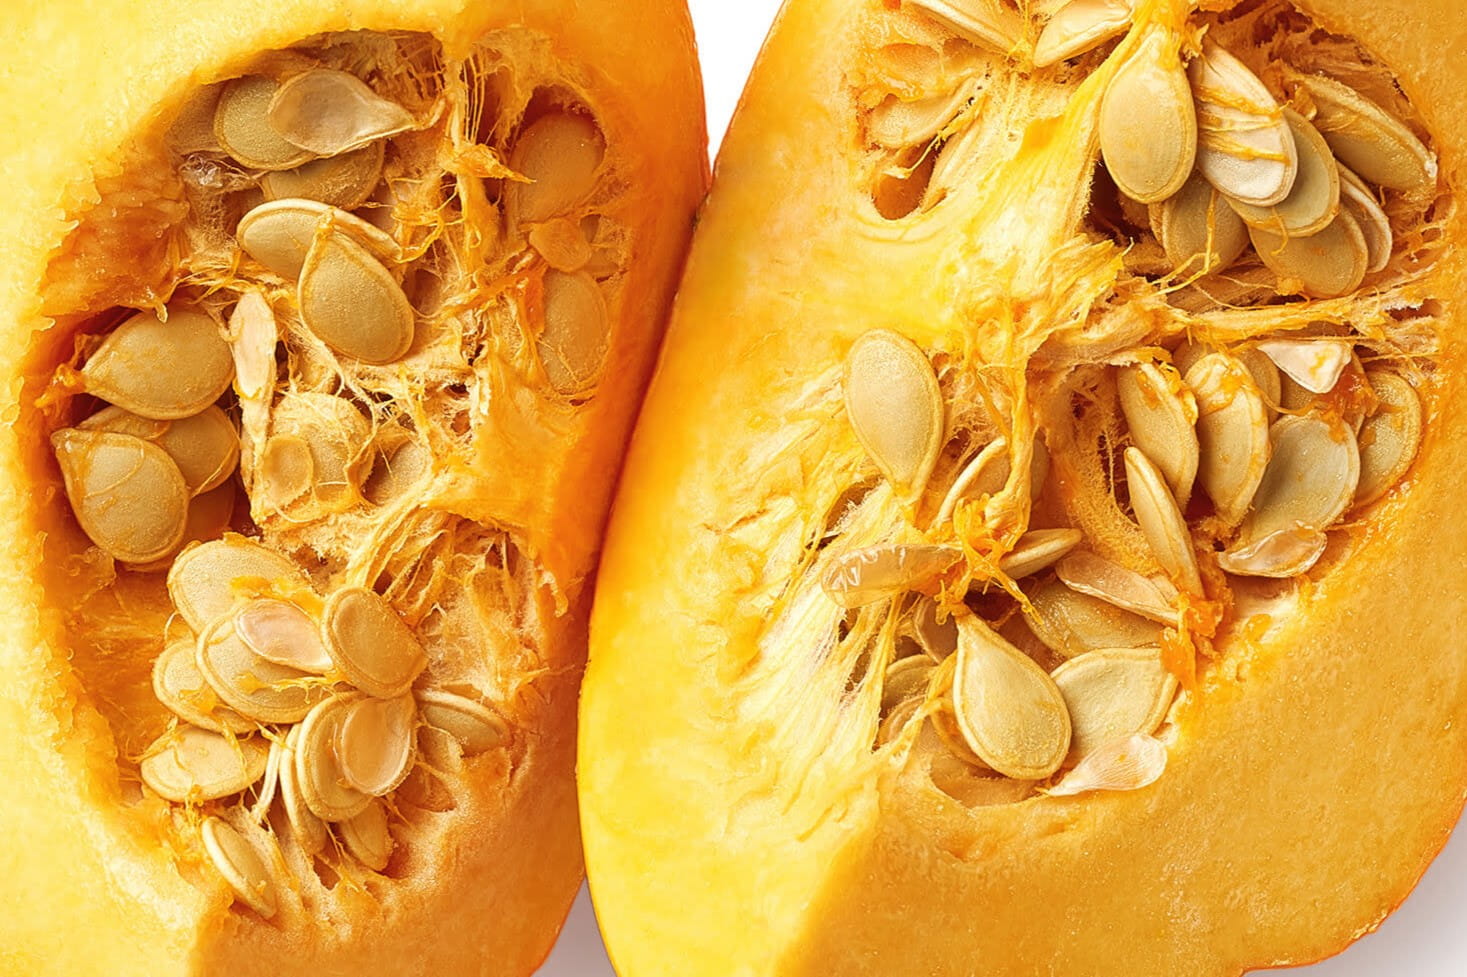
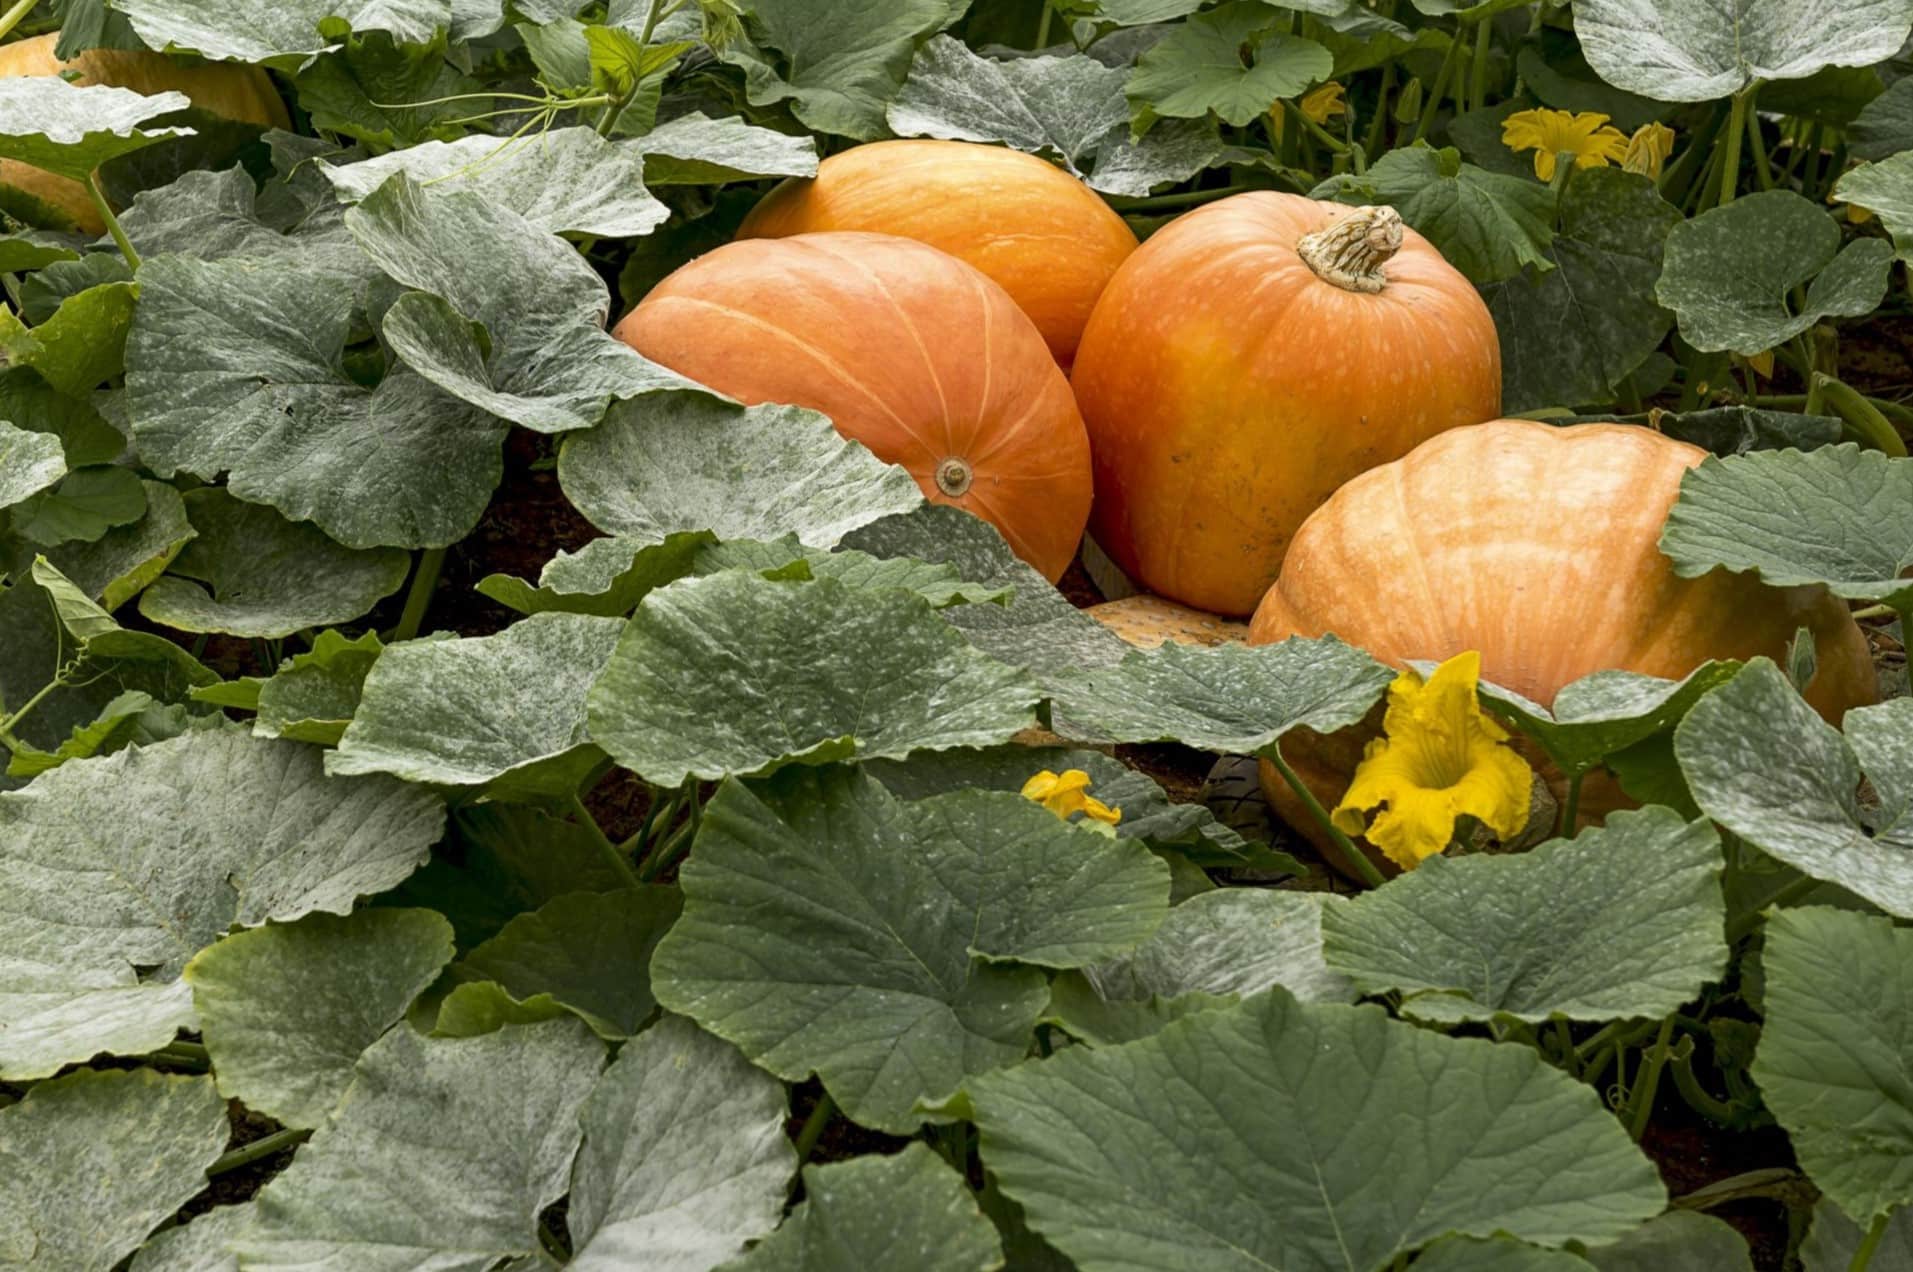
- Choose ripe pumpkins: Select pumpkins that are fully mature and have reached their peak ripeness. Look for pumpkins that have turned a deep, vibrant color and have a hard skin. This ensures that the seeds inside are fully developed.
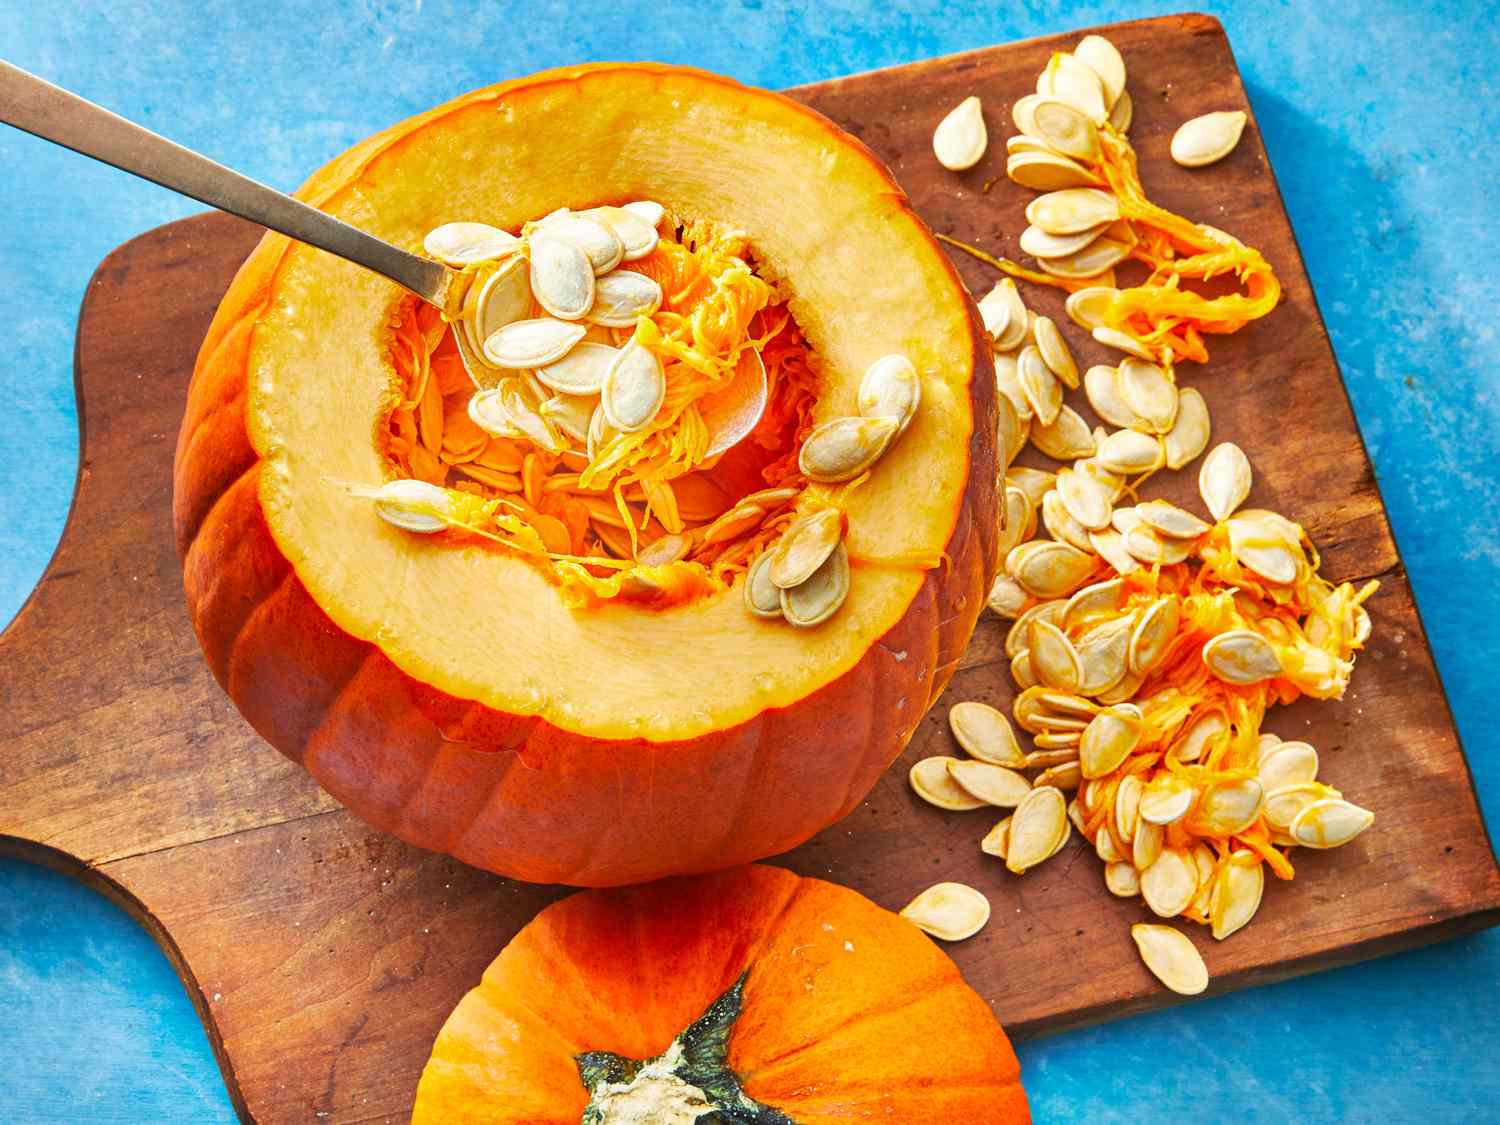
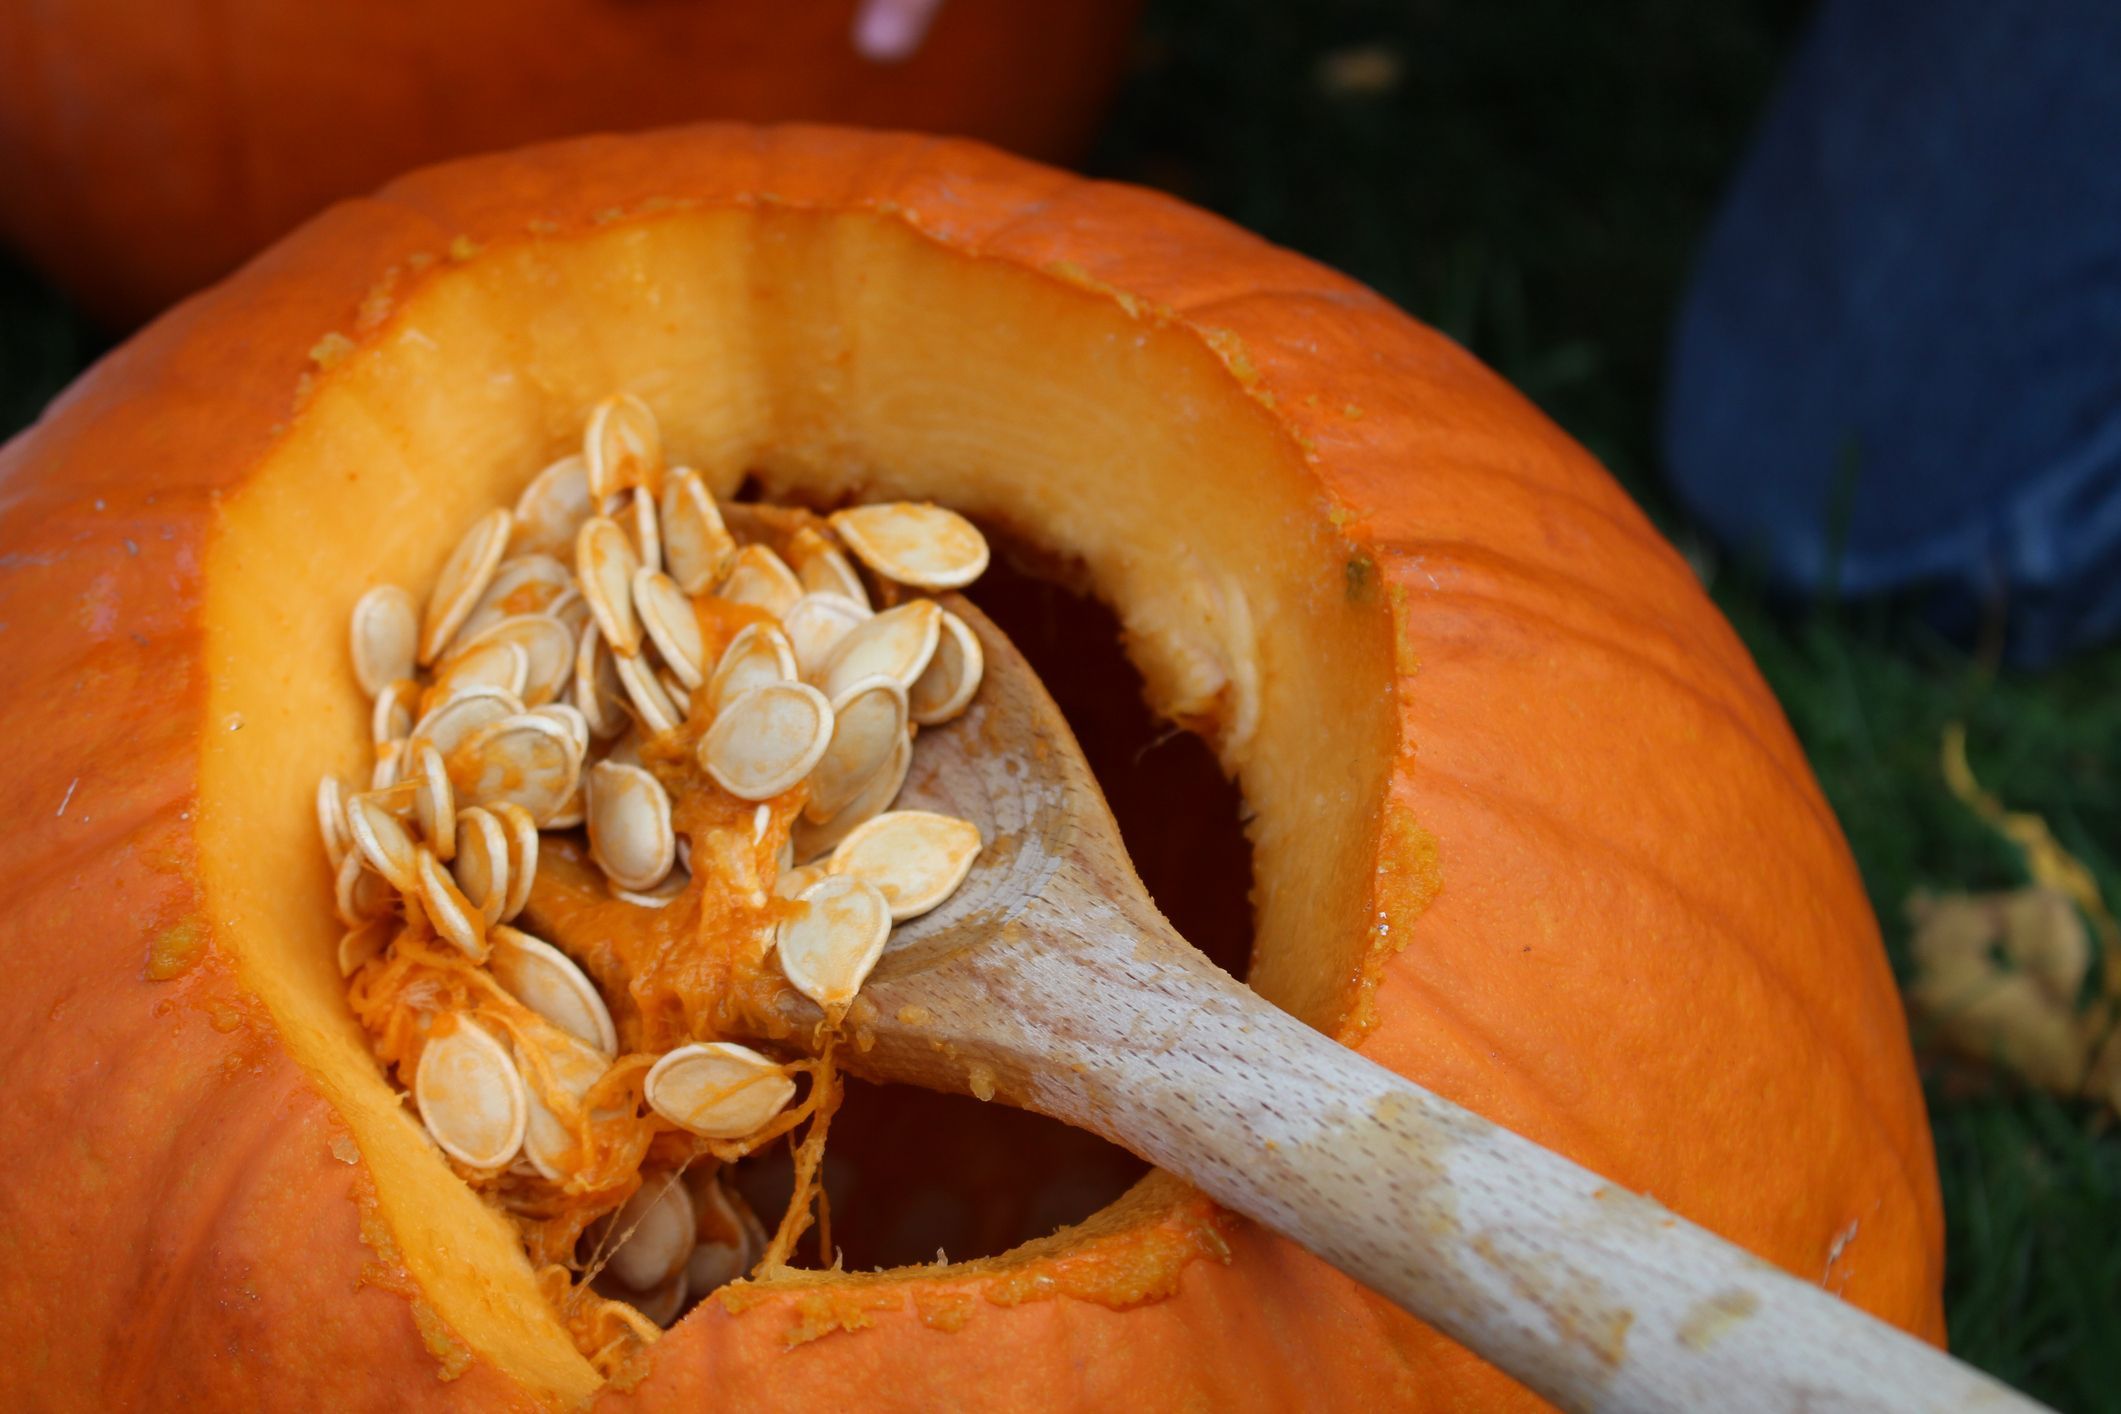
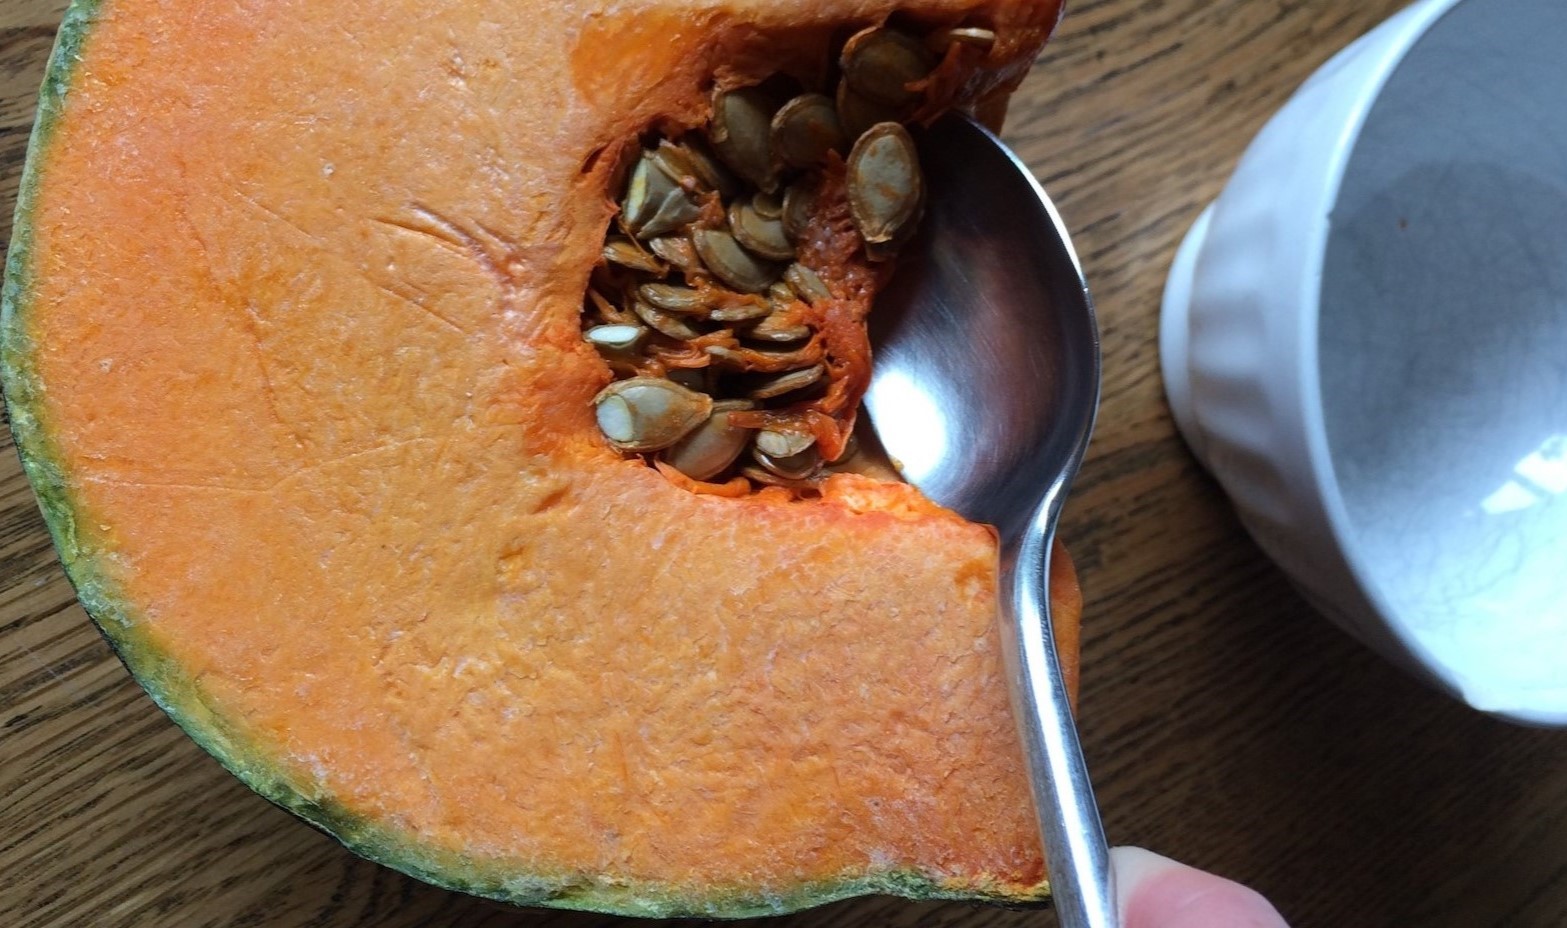
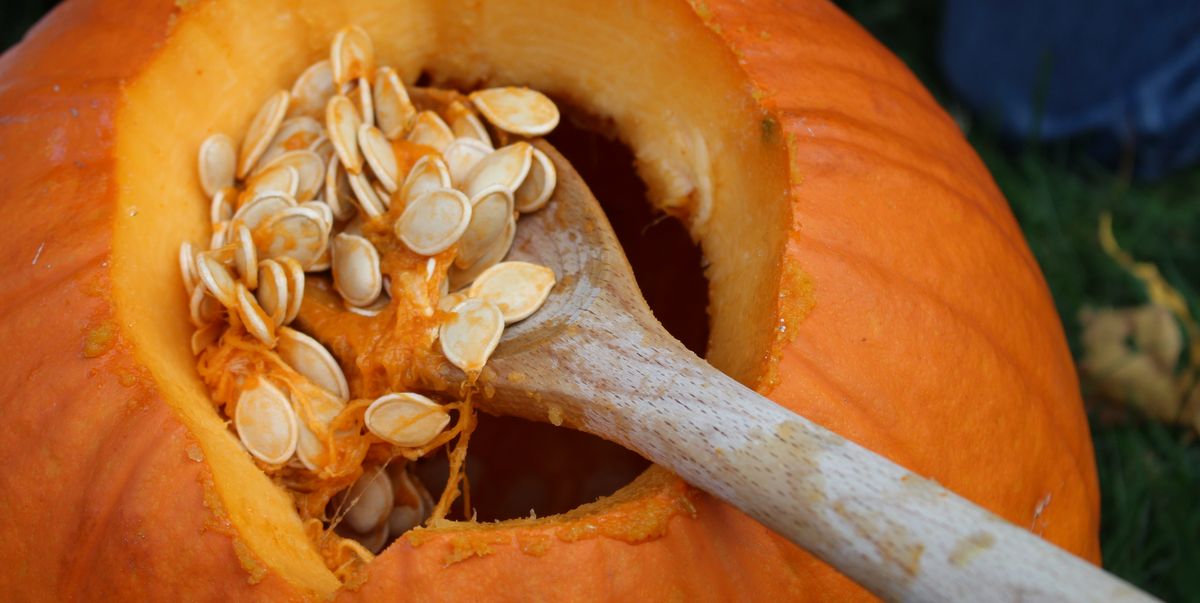
- Cut open the pumpkin: Use a sharp knife to carefully cut open the pumpkin. Start by cutting around the stem and make a circular motion until you have a large enough opening to easily access the seeds.
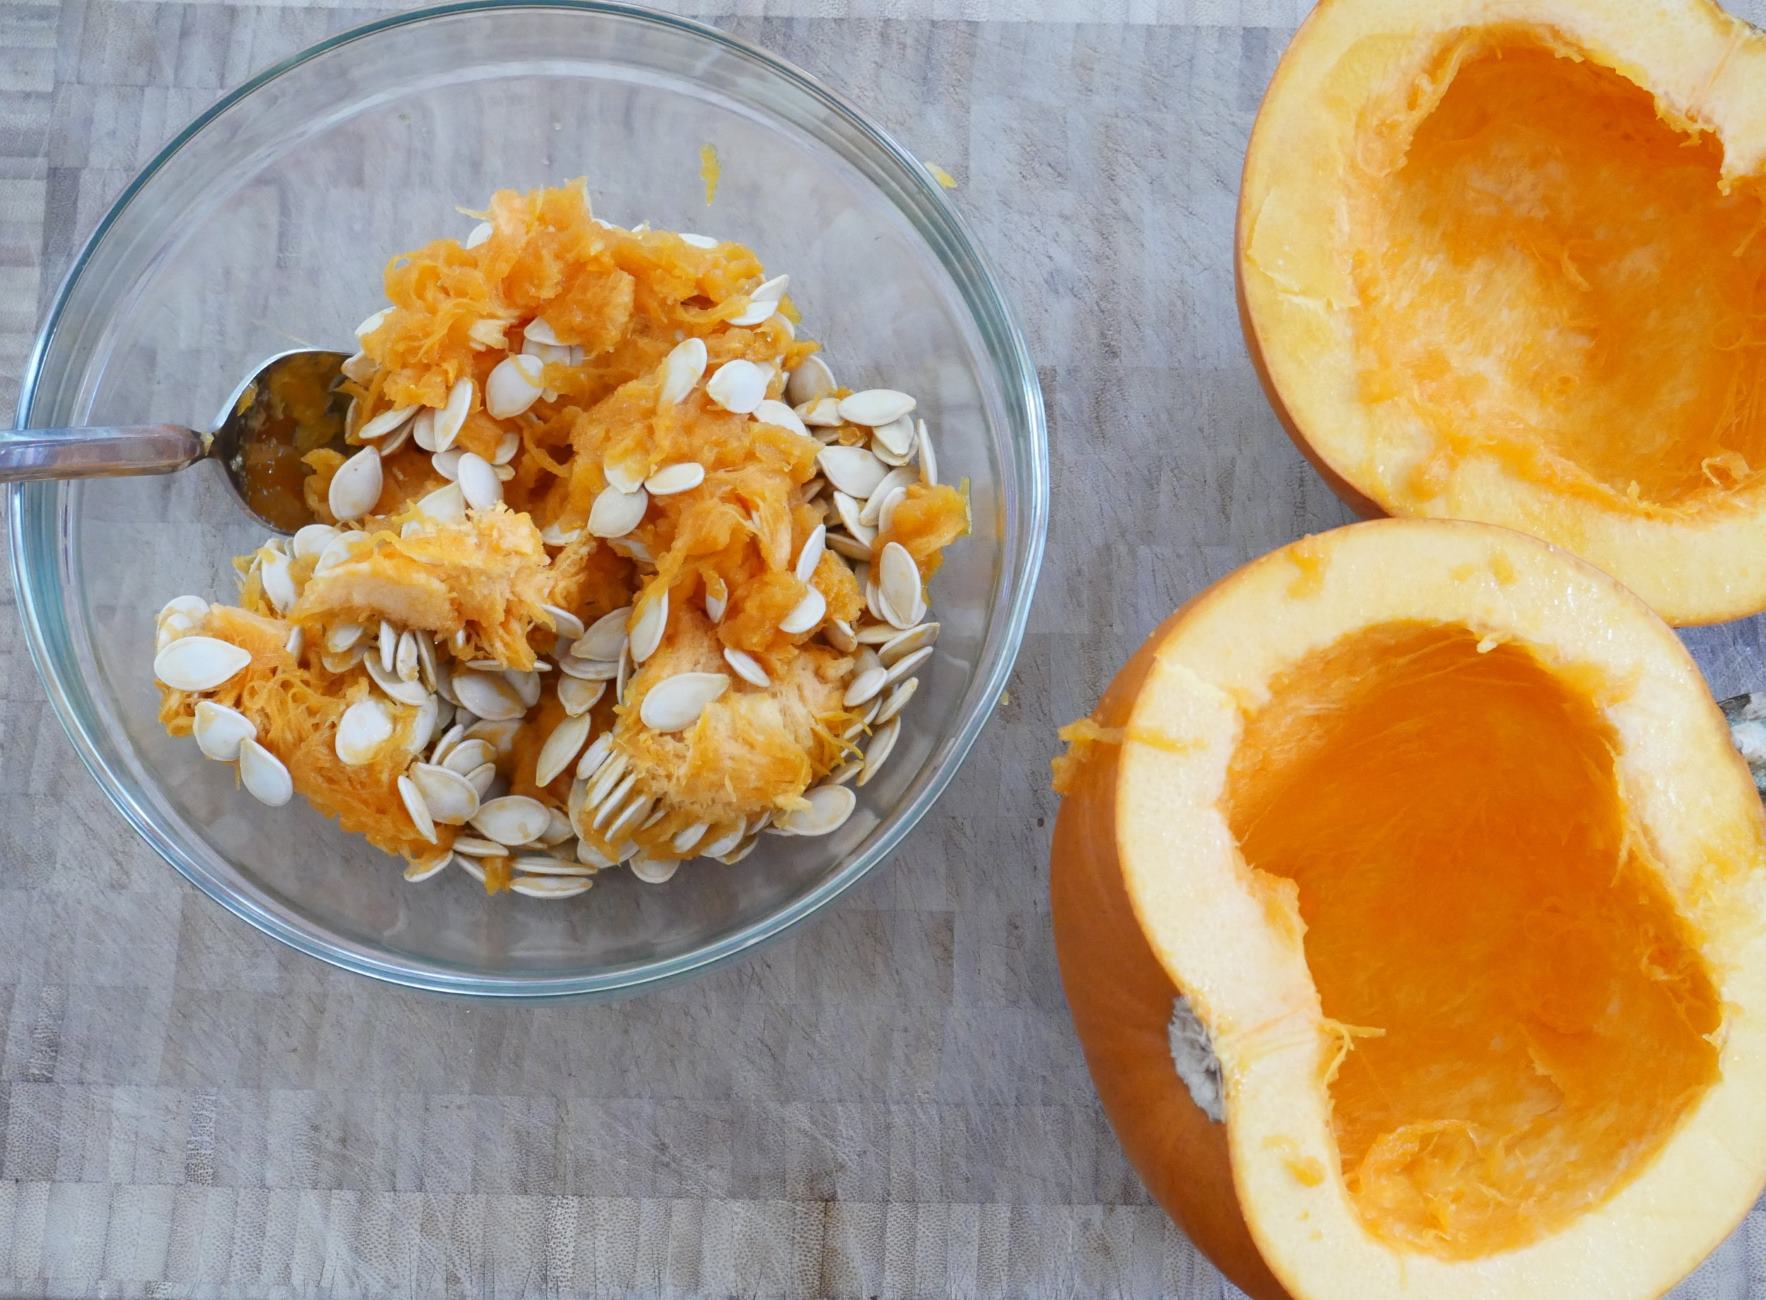
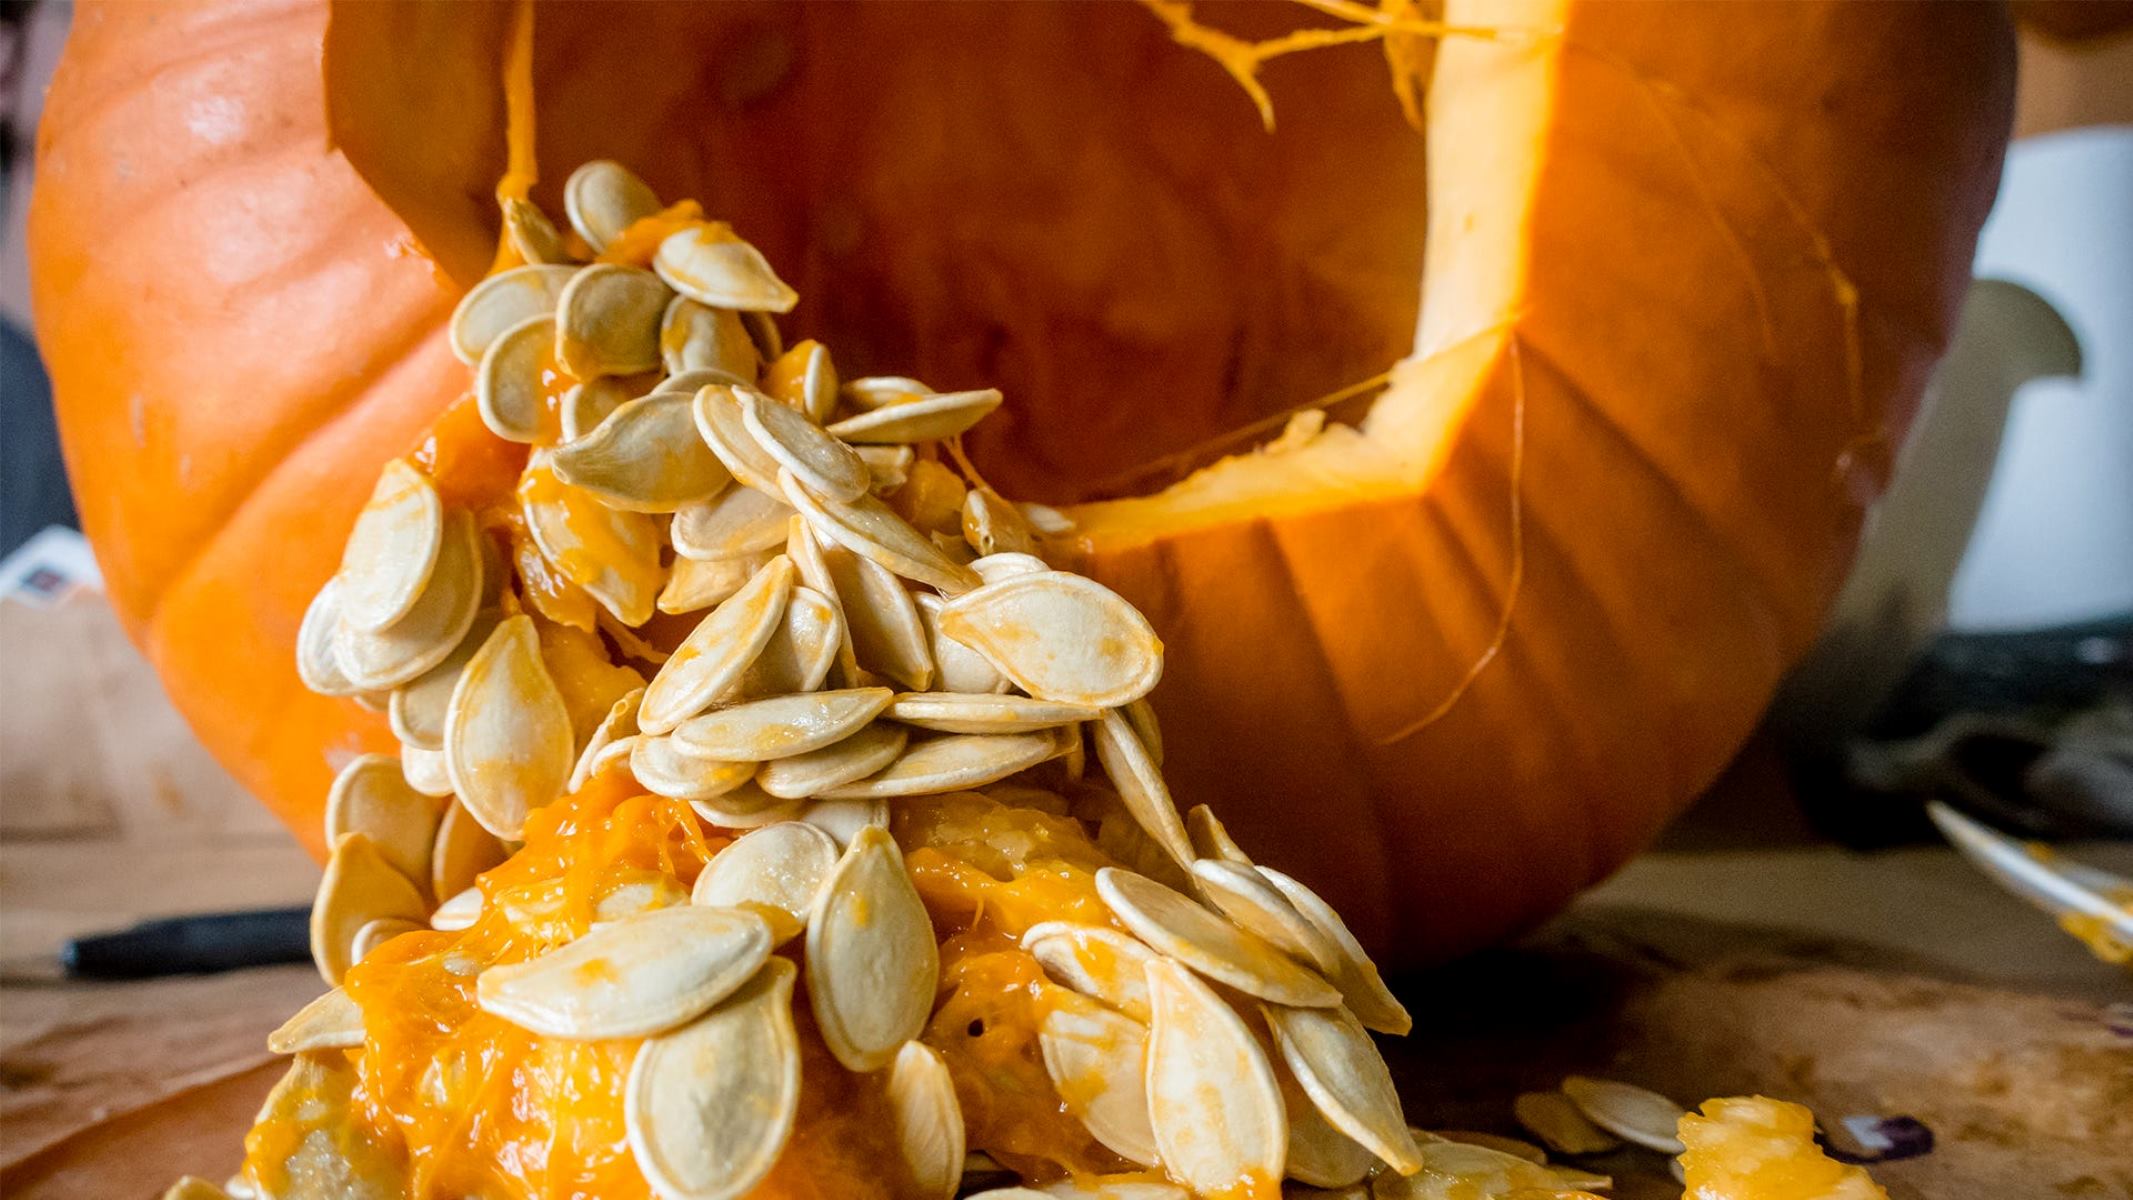
- Scoop out the pulp: Use a large spoon or your hands to scoop out the pumpkin’s inner pulp and seeds. Place them in a bowl or colander.
- Separate seeds from pulp: Separate the seeds from the pulp by gently pulling them apart. Try to remove as much pulp as possible, as it can cause the seeds to mold during the drying process.
Once you have harvested and separated the pumpkin seeds, it’s time to move on to the next step: cleaning them.
Step 2: Cleaning the Pumpkin Seeds
Now that you have harvested the pumpkin seeds, it’s essential to clean them thoroughly before drying. Cleaning removes any remaining pulp or debris and helps prevent the seeds from spoiling. Here’s how to clean pumpkin seeds:
- Rinse the seeds: Place the pumpkin seeds in a colander or fine-mesh strainer and rinse them under cool running water. Use your fingers to gently rub the seeds and remove any clinging pulp.
- Remove floating seeds: After rinsing, carefully inspect the seeds for any that are floating on the surface. Floating seeds are usually empty or not fully mature, so it’s best to discard them.
- Soak the seeds: To further clean the seeds, you can soak them in a bowl of water overnight or for about 6-8 hours. This helps loosen any remaining debris and makes the seeds easier to clean.
- Drain and pat dry: After soaking, drain the seeds and spread them out on a clean kitchen towel, parchment paper, or a baking sheet lined with paper towels. Pat them dry gently using another towel or paper towels. Let them air dry for a few hours until they are completely dry to the touch.
Now that your pumpkin seeds are clean and dry, it’s time to prepare them for the drying process.
Step 3: Preparing the Pumpkin Seeds for Drying
Before you begin the drying process, it’s important to prepare the pumpkin seeds to ensure optimal results. Here’s how to prepare the seeds for drying:
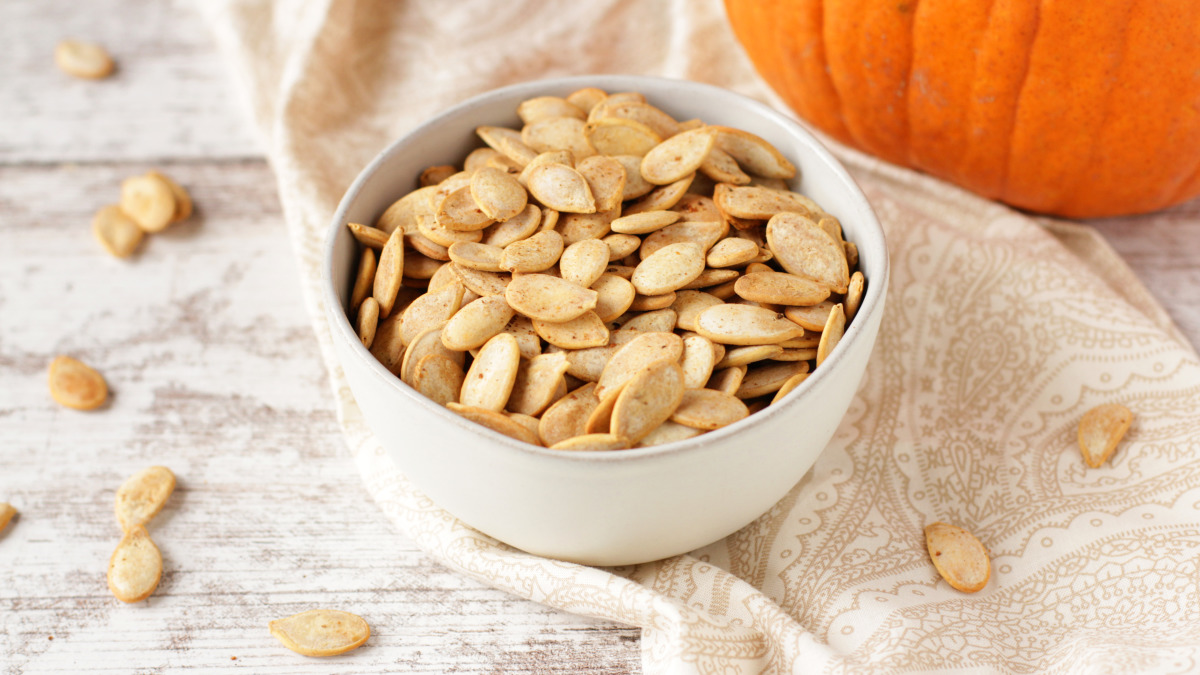
- Season the seeds (optional): If you prefer to add some flavor to your dried pumpkin seeds, you can season them with various spices or herbs. Common options include salt, garlic powder, paprika, or even a dash of cayenne pepper for some heat. Toss the seeds in a bowl with the desired seasonings to coat them evenly.
- Spread the seeds in a single layer: Lay the prepared pumpkin seeds in a single layer on a baking sheet or a clean, flat surface. This will allow for even drying and prevent the seeds from sticking together.
- Allow for air circulation: Ensure that there is sufficient airflow around the seeds during the drying process. Avoid overcrowding them, as this can lead to dampness and hinder proper drying.
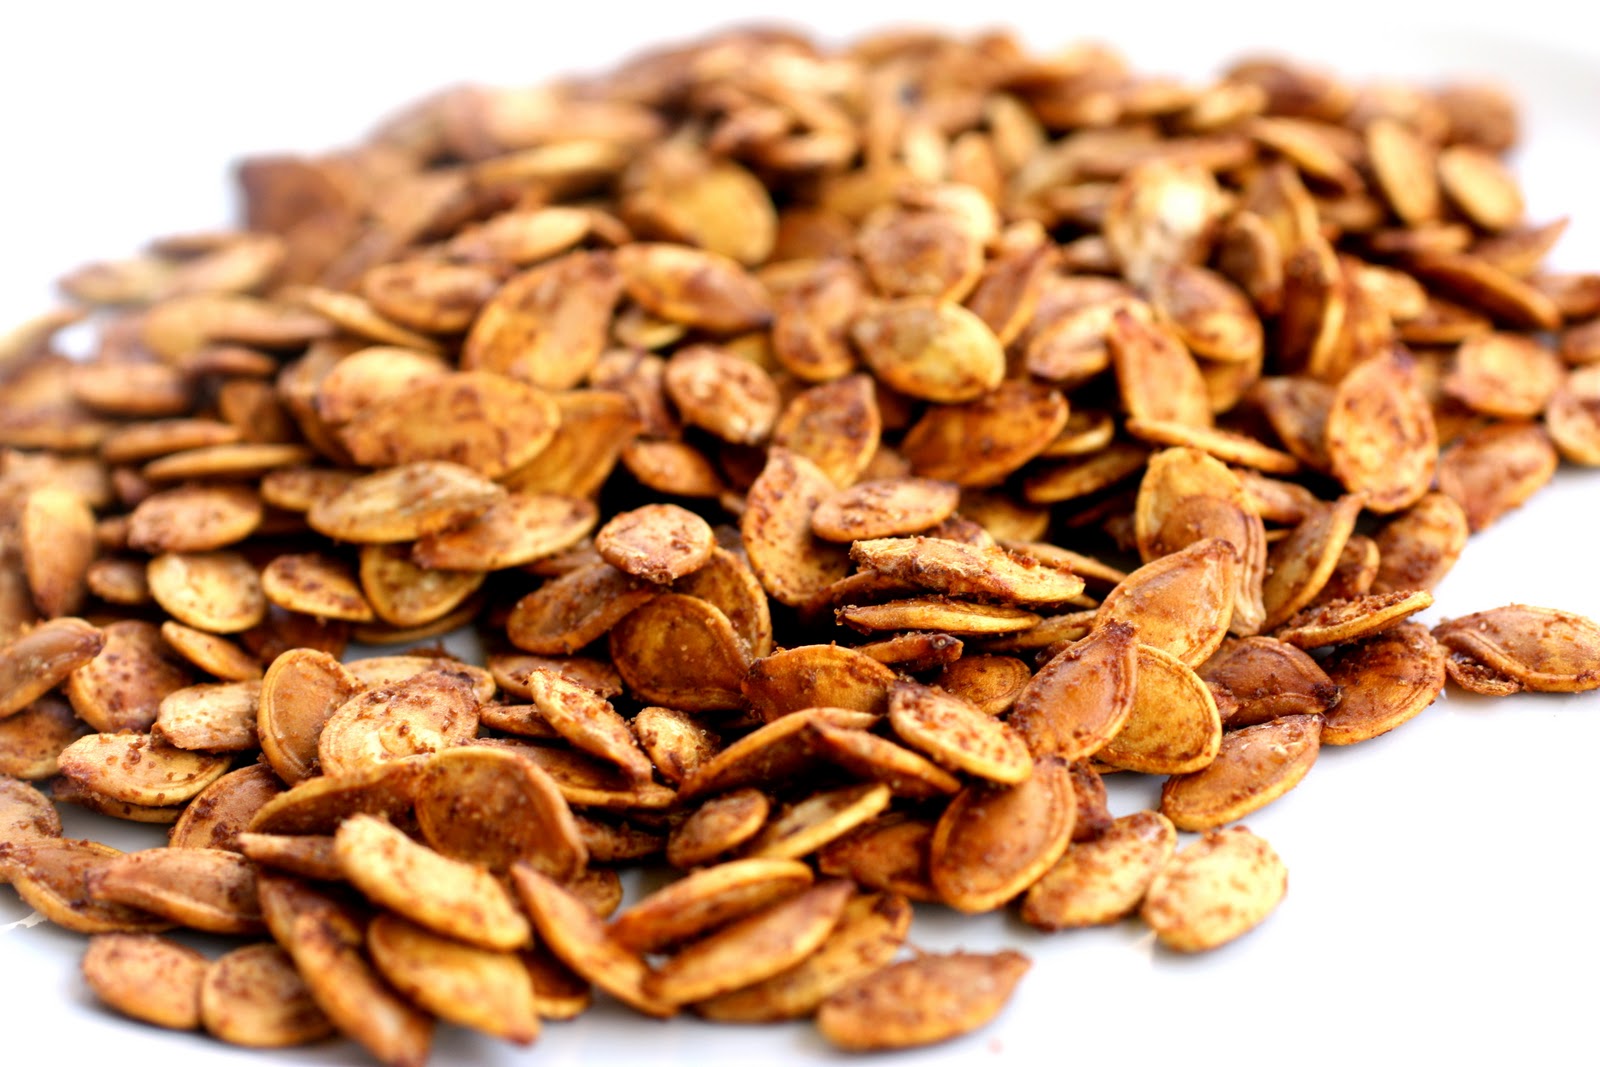
- Optional step: Pre-roasting the seeds (skip this step if you prefer raw seeds): To enhance the flavor and texture of your dried pumpkin seeds, you can pre-roast them in the oven. Place the baking sheet with the spread seeds in a preheated oven at 325°F (163°C) and roast them for about 10-15 minutes, or until they turn golden brown. This step is purely optional and can be skipped if you prefer to have raw pumpkin seeds.
Once you have prepared the pumpkin seeds for drying, it’s time to move on to the next step: drying them to perfection.
After removing the seeds from the pumpkin, rinse them and pat them dry with a paper towel. Then, spread them out on a baking sheet and let them air dry for a few hours before roasting them in the oven.
Step 4: Drying the Pumpkin Seeds
Now comes the crucial step of drying the pumpkin seeds. Proper drying removes any remaining moisture from the seeds, ensuring their long-term storage and preserving their quality. Here’s how to dry pumpkin seeds:
- Air drying method: The simplest way to dry pumpkin seeds is by air drying. Spread the prepared seeds in a single layer on a clean, dry surface, such as a baking sheet or a mesh drying rack. Place them in a well-ventilated area away from direct sunlight. Allow the seeds to air dry for approximately 1-2 weeks, or until they are completely dry and crispy to the touch. Periodically check on the seeds and gently stir them to ensure even drying.
- Oven drying method: If you prefer a quicker drying process, you can use your oven. Preheat the oven to a low temperature, around 150°F (66°C). Spread the seeds in a single layer on a baking sheet lined with parchment paper. Place the baking sheet in the oven and leave the oven door slightly ajar to allow moisture to escape. Let the seeds dry for 2-3 hours, or until they are thoroughly dried and crispy.
Remember, the key is to ensure that the seeds are completely dry before moving on to the final step of storing them.
Read more: How Do You Clean Pumpkin Seeds
Step 5: Storing Dried Pumpkin Seeds
Congratulations! You have successfully dried your pumpkin seeds, and now it’s time to store them properly to maintain their quality and freshness. Here’s how to store dried pumpkin seeds:
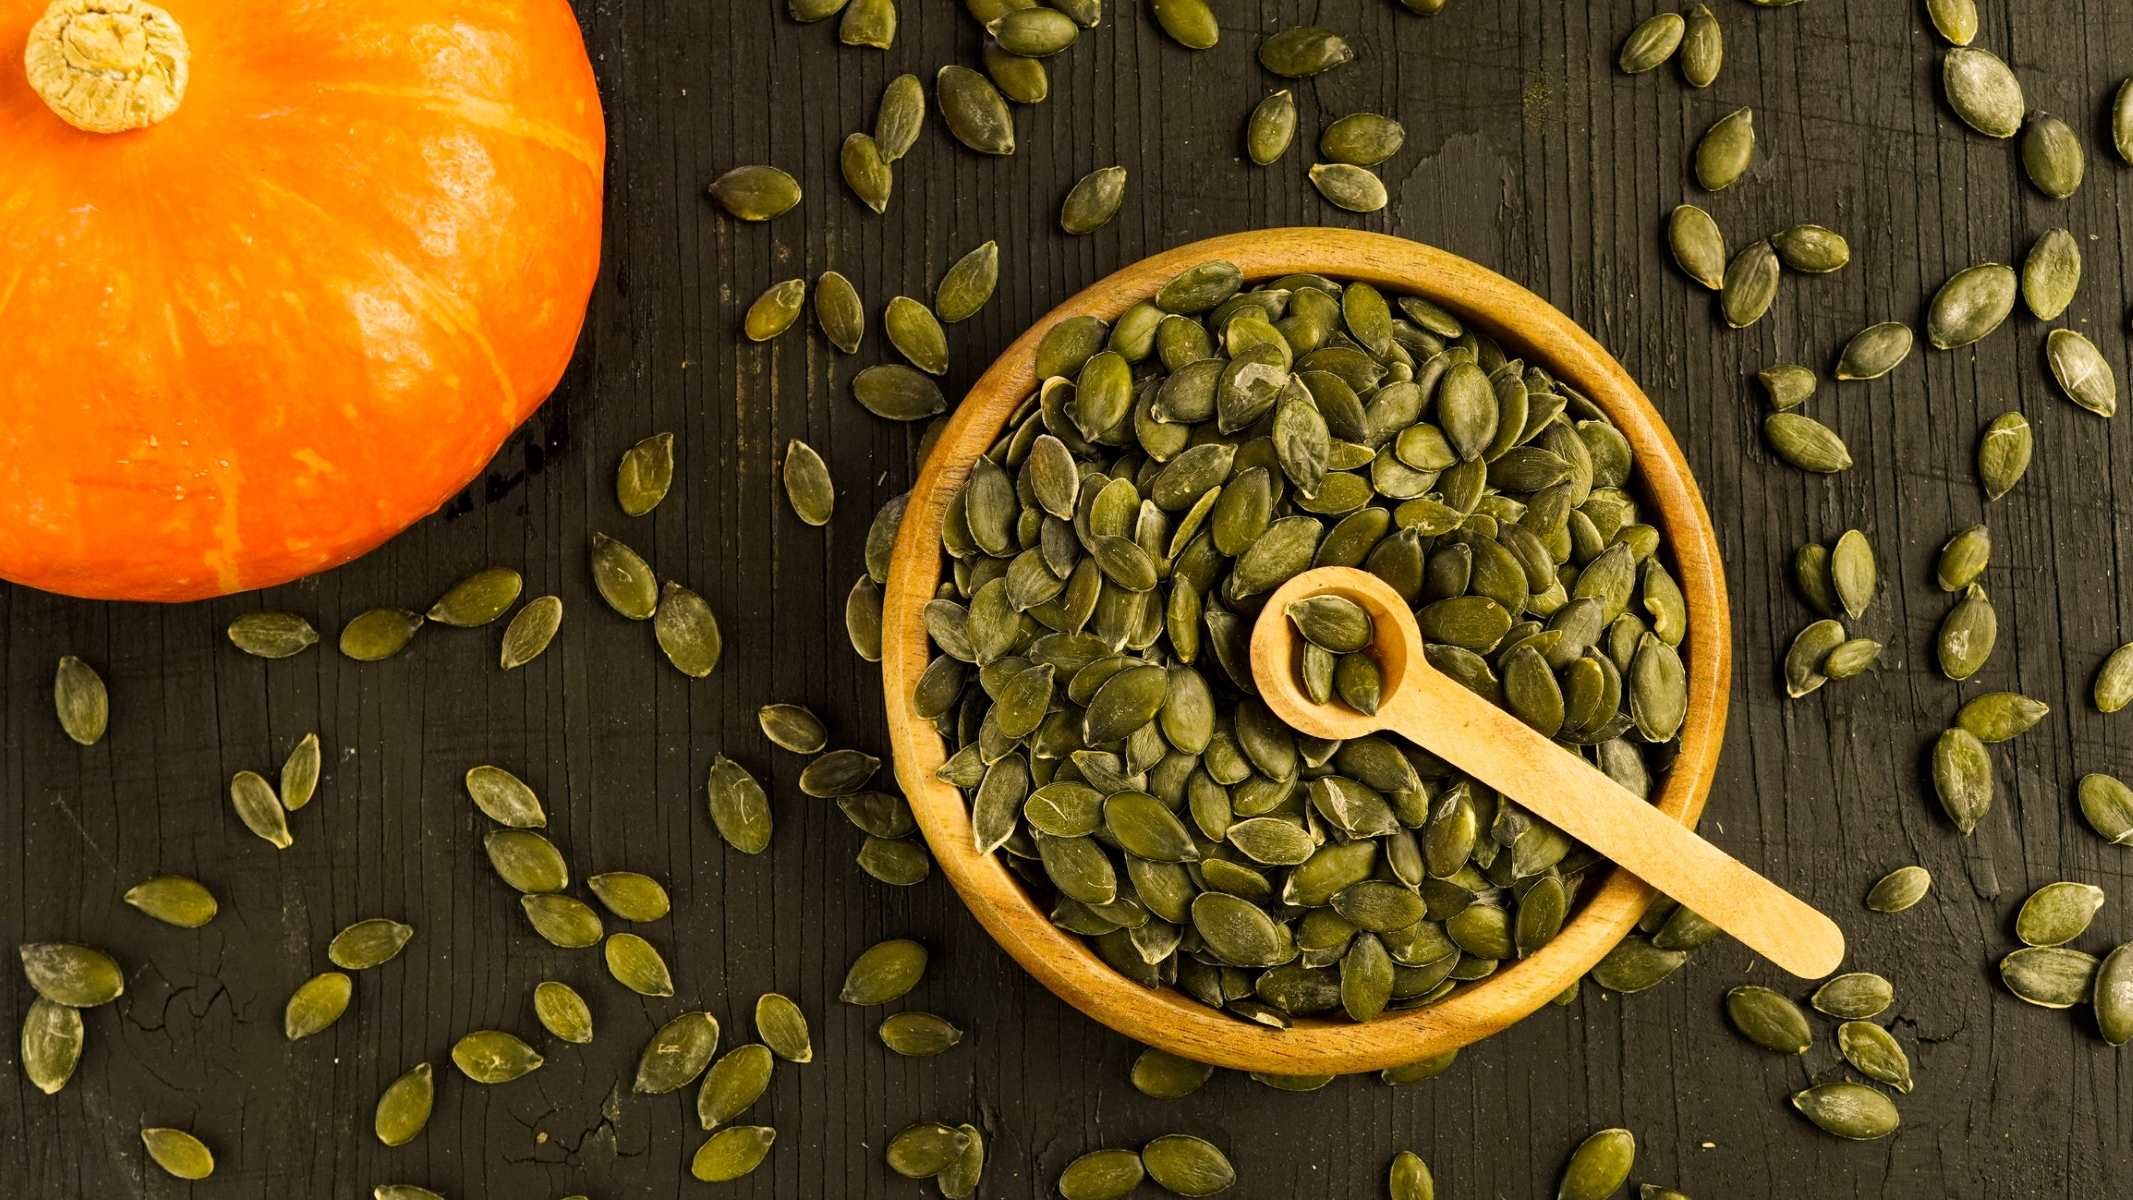
- Cool and dry storage: It is crucial to store dried pumpkin seeds in a cool, dry place to prevent them from becoming rancid or spoiling. Choose an airtight container, such as a glass jar or airtight plastic bag, and transfer the dried seeds into it.
- Absorb moisture: To further protect the seeds from moisture, you can consider placing a desiccant packet or a silicon gel pack in the container. These help absorb any remaining moisture and maintain the dryness of the seeds.
- Label and date: Keep track of the storage by labeling the container with the type of seeds and the date of drying. This will help you keep track of freshness and determine when it’s time to use or discard the seeds.
- Store in a cool location: Find a cool storage spot for the container, away from direct sunlight or any sources of heat. A pantry or a cupboard is an ideal location.
Properly stored, dried pumpkin seeds can last for several months, allowing you to enjoy them as a healthy snack or use them in various culinary creations.
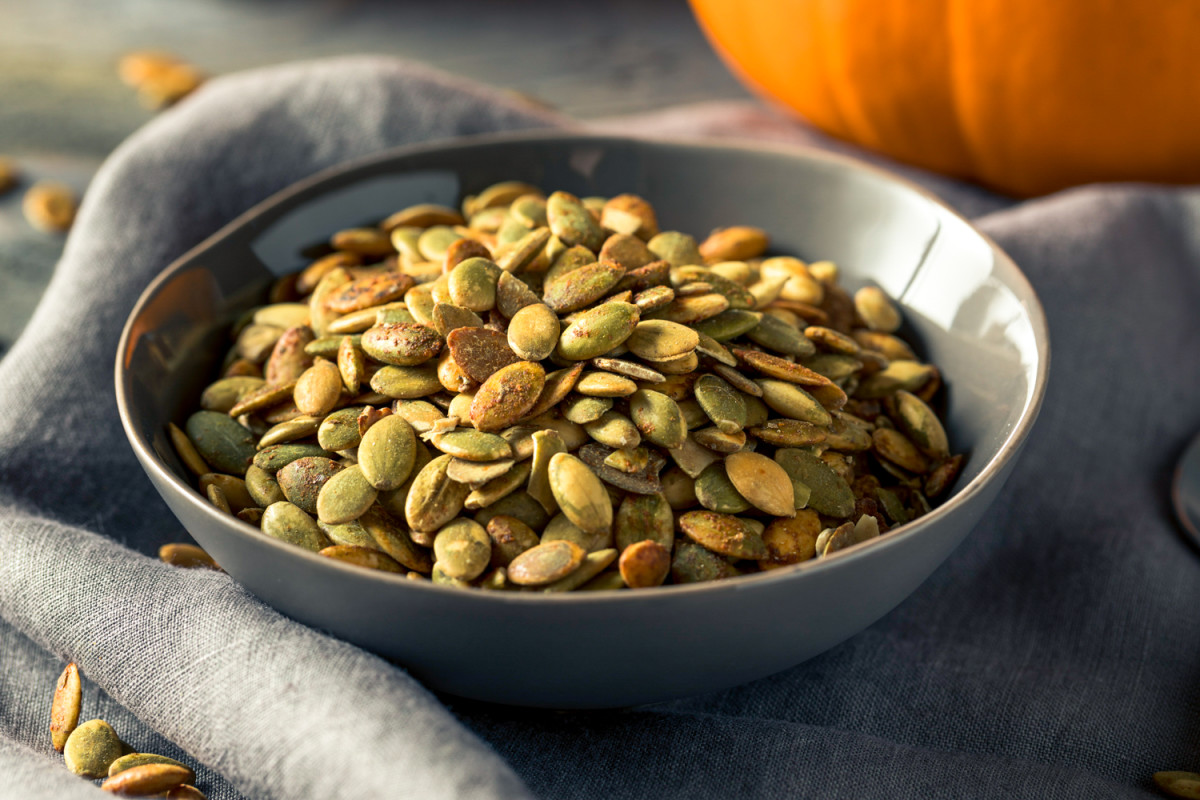
When you’re ready to use the dried pumpkin seeds, you can toast them, add them to salads, use them in baking, or simply enjoy them as a nutritious snack.
Now that you have learned the steps to dry and store pumpkin seeds, you can enjoy the rewards of your harvest throughout the year. Happy gardening and seed drying!
Conclusion
Drying pumpkin seeds allows you to extend the enjoyment of your garden harvest and provides you with a delicious and nutritious snack. By following the steps outlined in this guide, you can successfully harvest, clean, prepare, dry, and store your pumpkin seeds for long-term use.
Remember to start by harvesting mature pumpkins and carefully scooping out the seeds. Cleaning the seeds thoroughly ensures their quality and extends their shelf life. Preparing the seeds for drying, whether through seasoning or pre-roasting, adds flavor and enhances their texture.
Proper drying is essential to remove any remaining moisture and prevent the seeds from spoiling. You can choose between air drying or using the oven drying method, depending on your preference and time availability.
Finally, storing the dried pumpkin seeds in a cool, dry place keeps them fresh for months to come. Ensure the container is airtight and consider adding moisture-absorbing packets to maintain their crispness.
Whether you enjoy the dried pumpkin seeds as a snack or use them in various culinary creations, you’ll appreciate the added flavors and textures they bring to your dishes.
So, let your garden harvest continue to delight you throughout the year by properly drying and storing your pumpkin seeds. Happy gardening and happy seed drying!
Frequently Asked Questions about How Do You Dry Pumpkin Seeds
Was this page helpful?
At Storables.com, we guarantee accurate and reliable information. Our content, validated by Expert Board Contributors, is crafted following stringent Editorial Policies. We're committed to providing you with well-researched, expert-backed insights for all your informational needs.
0 thoughts on “How Do You Dry Pumpkin Seeds”